Stitch side-by-side with Natalie as she guides you through making the Hattie’s Hearth Quilt, a cozy 61" square design that’s as welcoming as it is beautiful. This quilt shines in the Farmer’s Daughter collection by Edyta Sitar for Andover Fabrics, but it’s just as lovely in your favorite fabric palette. With framed pinwheel blocks and diamonds that glow outward from a center star, this quilt has a warm, homespun feel that’s impossible to resist.
Natalie is the host of Quilting 101, Embroidery 101 and the Creative Strategist and Editor of Block Magazine at Missouri Star Quilt Company. She was taught how to sew by her mom, of course, and began quilting when she grew up.
Stitch side-by-side with Natalie as she guides you through making the Hattie’s Hearth Quilt, a cozy 61" square design that’s as welcoming as it is beautiful. This quilt shines in the Farmer’s Daughter collection by Edyta Sitar for Andover Fabrics, but it’s just as lovely in yo...
How long is the tutorial video?
The tutorial video is 00:22:30.
Are supplies listed for this tutorial?
Yes. The tutorial page includes the supplies and materials connected to this project.
Video Transcript
Hi everybody. I'm Natalie with Missouri Star Quilt Company and today I have a fun project for you. Take a look at this quilt behind me. I think it's beautiful. It has some fun patterns that come together with colors. I'm calling it Hattie's Hearth, and I think you're going to love how it comes together. So, let's get started. Okay, so to make this quilt, you're going to need one package of 10-in pre-cut squares. And we've used Farmer's Daughter by Laundry Basket Quilts for Andover. You're going to need a yard and a half of background fabric. And this includes your inner border. You'll need a yard of outer border. And if your fabric that you've chosen doesn't have quite enough of the colors that you're looking for, you may want to add a third of a yard just so you have enough to create those patterns with your colors. The outer border is a great place to add a little extra yardage to get the patterns that you need. Um, for your backing, we'll need 3 and 7/8 yards if you use a 45 in wide backing or 2 yards if you use a 108. Other helpful tools will be your squaring tools. Now, some of our favorites are the Clearly Perfect Trimmer or the block Lock. And those work great. Or if you have a squaring tool that's your favorite, that will be perfect for you. We're going to be doing a lot of squaring half square triangles to 4 and 1/2 in. So, that's it. We are ready to go. All right. So, this is the block that we're going for. It's a nice big 24 and 1/2 in block. It comes together really quick. And this quilt, if you'll you'll notice, only has four of them. So, we have one, two, three, and four blocks. So, it's going to come together pretty fast. Now, obviously, you can make it bigger if you want to, but I think this is great for a wall hanging or a lap quilt. Good for a baby quilt. If you made it in baby colors, that would be really fun, too. So, to get started, first first off, we need to cut some background fabric. We're going to use some 10in squares and some 2 and 1/2 in squares. So, we're going to cut those strips first, and then we will get into stacking and organizing all of our colors because this quilt really is about color and how we choose to use the fabrics that come in the pack that we have. All right, grab my ruler. I'm just going to straighten up this edge because, you know, even if it comes with a nice cut, it might not be as straight as you want it. We're going to do 10 in squares and I'm going to do one a 2 and 1/2 in strip because we've got some snowball blocks in the corners. So that's what those will be for. All righty. I like to just turn this and keep it all stacked up because it's very quick and efficient to get our 10in squares this way. And you really can't get more than four out of a strip of fabric. Yep. All righty. So, I'm going to set these aside and then I'll cut my 2 and 1/2 in squares. And you typically get 16 from a strip. Sometimes you can get more if you're working with fabric that is a little bit longer. It depends on the manufacturer. We typically write for um 40 in even though a lot of times you can get 40 up to 45 sometimes. It just depends on the manufacturer. But we don't want anybody not to have enough. So, we go with that low number. Just so you know. It's one of those little secrets. Industry secret. Don't tell anyone I told you. All righty. Whoops. Didn't quite catch that little thread right there. Now that that opened up, I'm just going to leave it open and keep going. There we go. Two and a half strips are ready or squares, I mean. And I'm going to set this aside. Obviously, if you wanted to, you could cut for your entire quilt all at once, but we're just going to talk through making one block because all four are the same. All right. So, the first thing we're going to do is separate our fabric into colors because you'll see in this in this block, we've kind of divided it into blues and pinks and reds. So, we've got our dark blues and light blues, and they're going to connect to create those patterns. So depending on the fabric that you have Oh, this is connected. That's cool. Okay, we're just going to divide them up. And I didn't use any of the cream fabrics from this line because I wanted my background to stand out really, really uh boldly. I wanted the colors to pop so you could see the pattern. So, I'm going to pull out all of my blues and keep those in a stack. and then all of the reds and pinks and keep those in a stack. Then we're going to start with um cutting down some 4 and 1/2 in squares. Now you're going to need several to go all the way around the outside edge and then you're going to need four for your corners. And so as you cut these down, just keep them together because I liked for my colors to to create patterns. I'm kind of kind of symmetrical in that way. So, I put like these four from a block and then these four and then I did the four in the corners. And that just kind of for me it provides like a sense of peace. Obviously, if you wanted to, you could completely mix them up and scrappy scrapify the whole thing. It's it's just one of those creative design decisions that you've got to make as you're going along. And this is where you get to be creative and make the quilt uniquely yours. So, I think that's super fun. I'm going to go ahead and choose this one. We'll cut down. Well, no. I've already got that one in my corners. I think I'm going to choose this one. I'm going to cut this down into four and a half inch squares because I've got a bunch cut already. And so, I'll set those aside after. There we go. I was I don't know why I went left looking for my ruler. Okay. So, I'm going to start by lining this up on the side and cut a 4 and 1/2 inch strip. And then I'm going to cut one more 4 and 1/2 in strip here. Then I'll stack them. And that is your waist. You can put that in your crumb bin if you like. I feel like it's just enough to save, but maybe not. It depends on how tiny you like to work. All righty. And there's that piece, too. Okay. So, I'm going to keep my squares here. I've got these ones, these guys. So, now we're going to need to make some half square triangles. And to do that, we're going to combine one of our background squares with one of our blues because we're doing and and you'll also notice on the quilt, I kind of did opposites. So on one of them, this bold square is red and then on this one it's blue. So, you know, depending on which color way you're working with, you're going to make, you know, your half square triangles out of each color. And then around the outside edges, you'll see that I've got a blue and a red and then a red and blue. and they go together in that order. So, you're going to be making several different sets of half square triangles for different purposes. So, we're just going to make one to get us started. And what we're going to do is pair that up right sides facing. And we're going to draw the line corner to corner and then stitch on both sides of both lines. I'm just going to grab a pen. And it doesn't really matter. You could use a marker if you wanted to or a pencil. This line gets cut through and you'll never see it. So, it doesn't have to doesn't have to be any specific type of fabric marker. All righty. So, I'm going to go and stitch this up. Sewing on both sides of both lines. All right. So, now we're going to do our cuts. And I like to do my cuts the vertical and horizontal first because I have those lines for the diagonals and it just makes it easy in case you get interrupted or something slides around. So, we're going to first do our vertical cut and then our horizontal cut and then keeping everything where it's at, we'll cut diagonally both directions right on those lines. All right. Now, all of these are going to get squared to um 4 and 1/2 in. And as I said, you could use your favorite trimming tool, whatever you like to square with. I will show the clearly perfect, which you're going to use this before you press. You're going to line up the dashed line on the ruler with your stitch line as best you can see it lined up just like that. If you've got a good straight edge, you can use that one. And then you only have to cut one side. So, I'm going to do that here. Then you can also cut off your little edges. This reduces bulk. Um if you don't want to use the little notches, like if you're worried about your blade getting in there, you can always use a little scissor. And then you've got a perfectly squared half square triangle. And we'll press those after. So I'll do a couple of these. And then the others I'm going to press open and I will show you how to use the block lock because that one is very convenient. One of the things I love the most about block lock is that they come in a set that has a six and a half, four and a half, and two and a half. And those sizes are just so common in the quilting world that it makes it very easy for you to um it makes it very easy to square them up because you're just going all the way around the ruler. You don't really have to worry about lining up the lines when you're squaring. So, let me press a couple of these open. Scoot that out of the way. kind of making a mess here. I think I think I'm pretty normal in that whole messy creative space. I don't know about you guys, but for me, it kind of stays messy till the project's done and then I clean it up and start a new one. All right, so these are pressed and ready to square. So, the way that it typically works, if you press to the dark, then the the block lock writing is going to go on your background. So, I line that up and then you can slide this little notched edge into the seam and you can trim all the way around. You can see there's very little space, but it really will make your squares very, very square and easy to stitch together as they're all the same size. And it also helps you keep your points So there you go. That one is just squared up and ready. And we'll do the same thing here. And this one has a little bit more space just because, you know, our seam allowances are not always perfect. But that is why we square things up. You can spin it around and we'll cut that last side. There we go. All righty. I'm going to square these or I mean press them. Sorry. Sometimes I get all the words mixed up. I'll set set my seam. Press it back. And we're going to start by making a little pin wheel for the middle. So, we're going to lay that out. And mom usually mantras it. She'll do print background, print background, or color white, whatever she wants to call it. It's gets lined up just like that. And you don't have to worry too much about these all going the same direction, but I I would probably do that just for continuity in your quilt. But what we're going to do is just stitch these together on this side. Then we will open that up and stitch across the middle and have a pin wheel for our center. Then we can start building with all those 4 and 1/2 in squares. And if you keep them connected, you end up with these pieces that are together and it sort of acts like a little bit of a pin. in so that you can then fold this this direction and just stitch without having to worry too much about your pieces coming apart. And this is called chain piecing. All right. So, I'm going to fold these in opposite directions and nest my seams so that I keep that point. And I'll show you that again so you can see it. Can you see that how they're connected there? All right. And now I'm going to go ahead and press this We'll do a And we've got our center. So, we also have all of our 4 and 1/2 in squares cut. And I've made all of the um all the rest of my half square triangles. All right. So, the next step is we're going to pick four of our 4 and 1/2 in squares and we're going to snowball one corner. So, let me grab that one and we will start. So, you're going to take your you're going to take your little 2 and 1/2 in squares and you're going to mark a line from corner to corner. It doesn't matter which direction it goes uh because it's all going to work out. And you are going to just choose a corner and snowball them. And you can get all of these done at once if you want to. We're going to stitch on the line this time using that as our guide. Now, you can press it or you can eyeball it or you can use your seam tape, your quarterinch seam tape. Um, but drawing a line is pretty straightforward and easy. And so, that that is typically what I do unless I have a the seam tape or a laser guide. Something like that will work, too. So, we're going to line that up. Sorry, I did a quarter of an inch from my seam and just cut off the rest. You can also use scissors. super, you know, user friendly, kind of straightforward, whatever it is that makes you feel the most comfortable. Then we're going to set that seam and roll this back and we will have a 4 and 1/2 in square with a snowalled corner. So now we have all of the components that we need to make our block. I'm going to scoot this out of the way and we are going to just start building. I'm going to move these So, starting with our pin wheel in the middle, we're going to need some of our squares, which I don't think I picked up everything that I have. Oh, here they are. Okay. So, I'm going to line up my 4 and 1/2 in squares. And I want these to be opposite each other just for organization. It's very satisfying to me to see everything come together. Then these guys go up here. I have to scoot this because this is a big block. And then I've got my corners. I'll have to expand it a bit so everything fits. Alrighty. Now I'm going to put my snowalled corners out because that is fun to see that come together and it gives me a good border spacing. There we go. And now for our half square triangles, the one thing that you need to remember is that your corners are going to be matching. Okay? So, it doesn't matter to me whether you choose to put your red corners over here or you know which side or which colors they are. You just want to make sure that they end up matching because that's how you're going to create that pattern in the quilt behind us. So, I did the reds in this corner and we're going to go red to red so that they create that little diamond shape. And then we'll do blue to blue. And we want to to have that peak here in the middle. That helps us to create some of those diamonds that are in the negative space. And then our blue also creates another little diamond shape. All right. Just like that. Then we go back to our reds, which is like that. And like that way. There we go. Sometimes it can get confusing with all the angles, but once you've made one, then you have a a good guideline for making all the rest of them. And we'll do our blues. There we go. And our last little bit goes in just like that. And that's it. That's the whole block. It comes together nice and easy. I would suggest sewing them together in rows. That makes sense to me. Um, of course, if you wanted to, you could stitch together like little sections at a time or do quadrants. It's completely up to you, whatever your style is. But that's it. You sew together the block. You'll make four of them. And you want to make sure that they're identical. So, as your pieces come together, each block should have the matching blues and reds in the same corners. Because then what you're going to do is you're going to bring them together like this. And then you're going to tilt it so that this red then is up in this top corner. So that these reds match to create this little diamond here. And then you'll have this diamond from your snowballs. And so it creates this really cool pattern. And you'll notice also that the blues connect and you can kind of imagine that they run together behind and then go back up like you know up and down. So they they make all these really cool patterns. So this quilt after you've put your four blocks together, you'll add a 2 and 1/2 in border for the inner border and then a 5-in outer border. It comes together so great. It's 61 in square. Let me show you what we put on the back. We use this beautiful floral from the line. I love how it incorporates all the colors and then brings this bold pop of yellow you can see in these flowers. It's just so stunning. It's bright and fun. We quilted it with ginger snap, which is one of our newer patterns and I think it just looks great on everything. It's very loose and loopy. So again, I love how these colors come together to create these patterns that sort of sit back behind the these blocks, but it creates a great amount of visual interest and impact. And so I think it's a really great quilt and I hope that you too enjoyed this tutorial on Hattie's Hearth from the Missouri Star Quilt Company. See you next time. Hi everybody. I hope you enjoyed today's video. We're trying super hard to get to a million subscribers. So if you enjoyed it and you want to see more, just hit subscribe and share with your friends and encourage them to do the same. And I will see you next Friday with a brand new tutorial.


 Natalie Doan
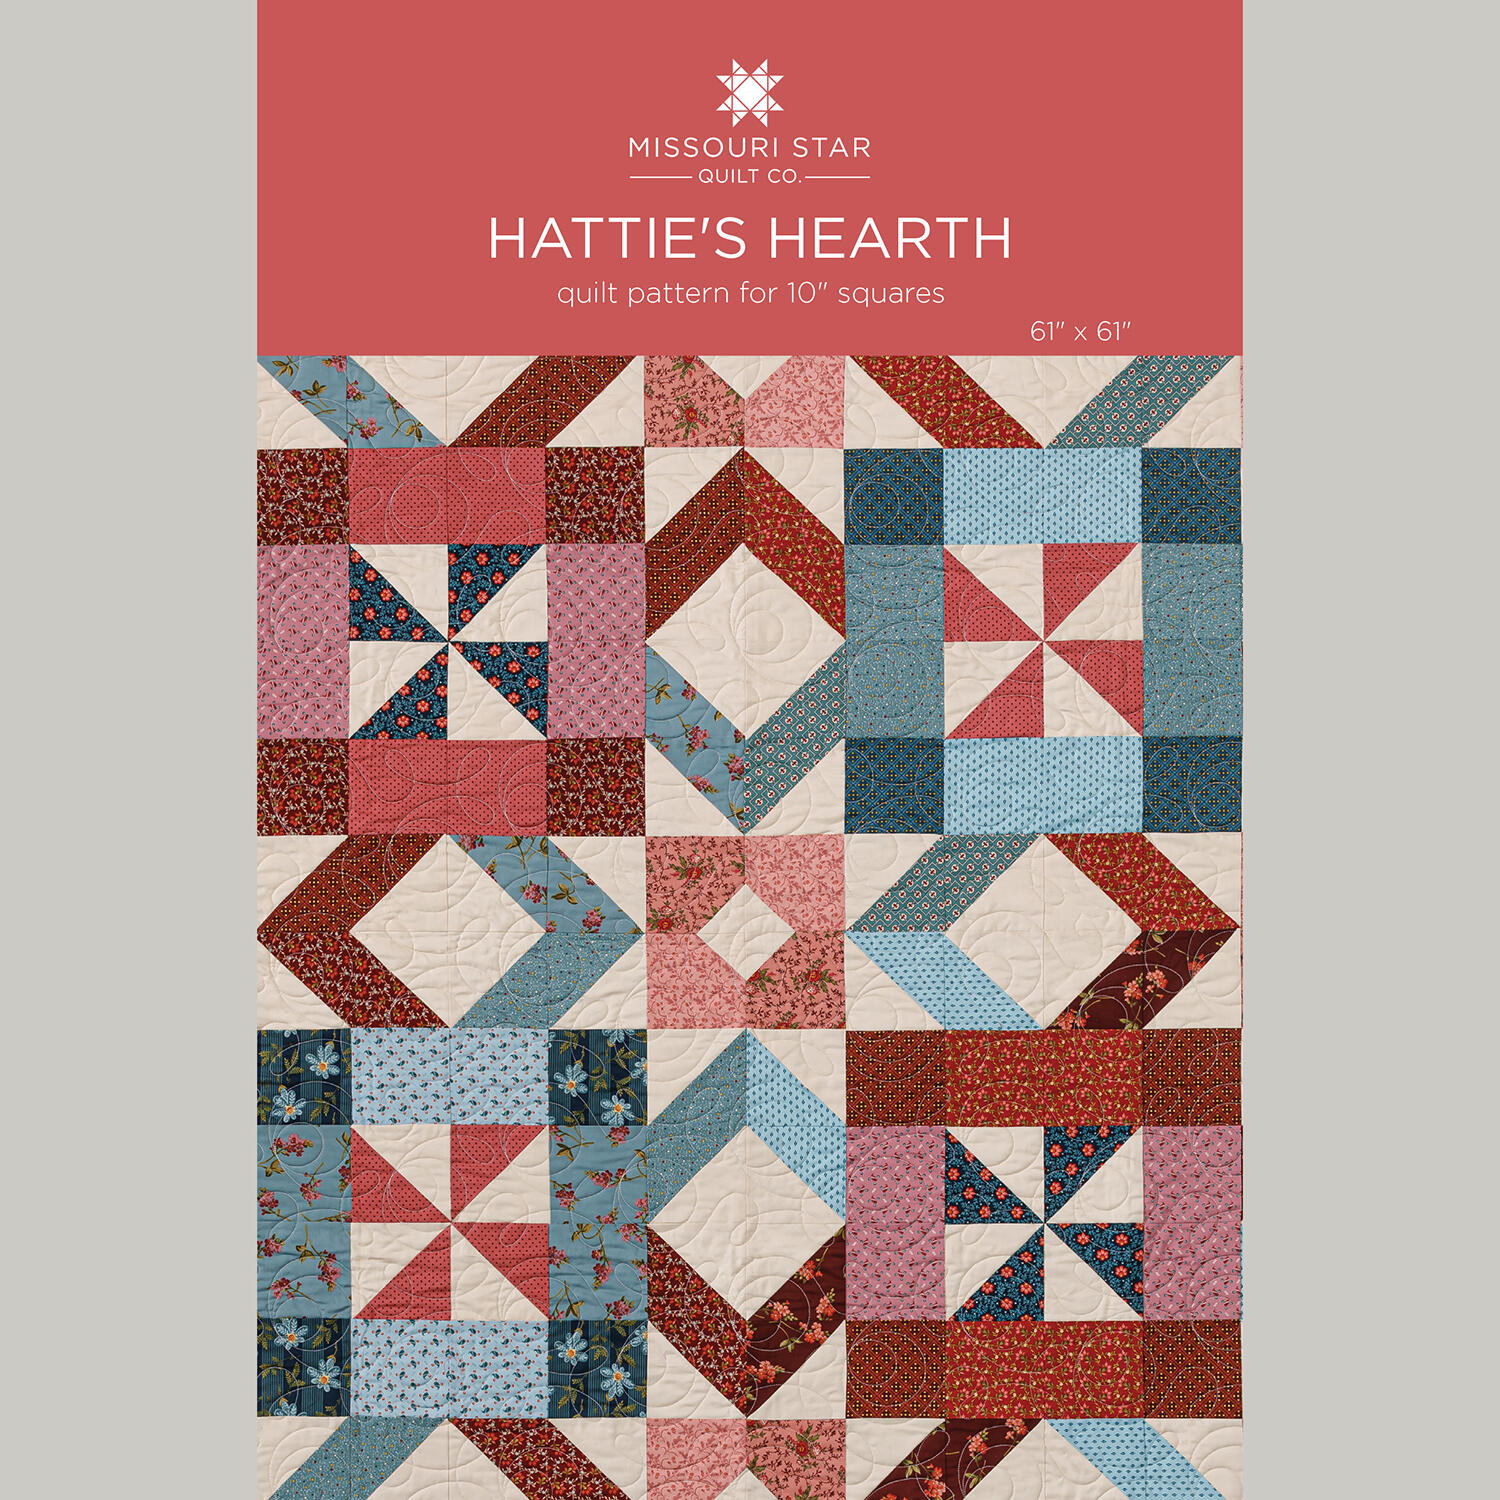 Hattie's Hearth Quilt Pattern by Missouri Star$8.50Shop →
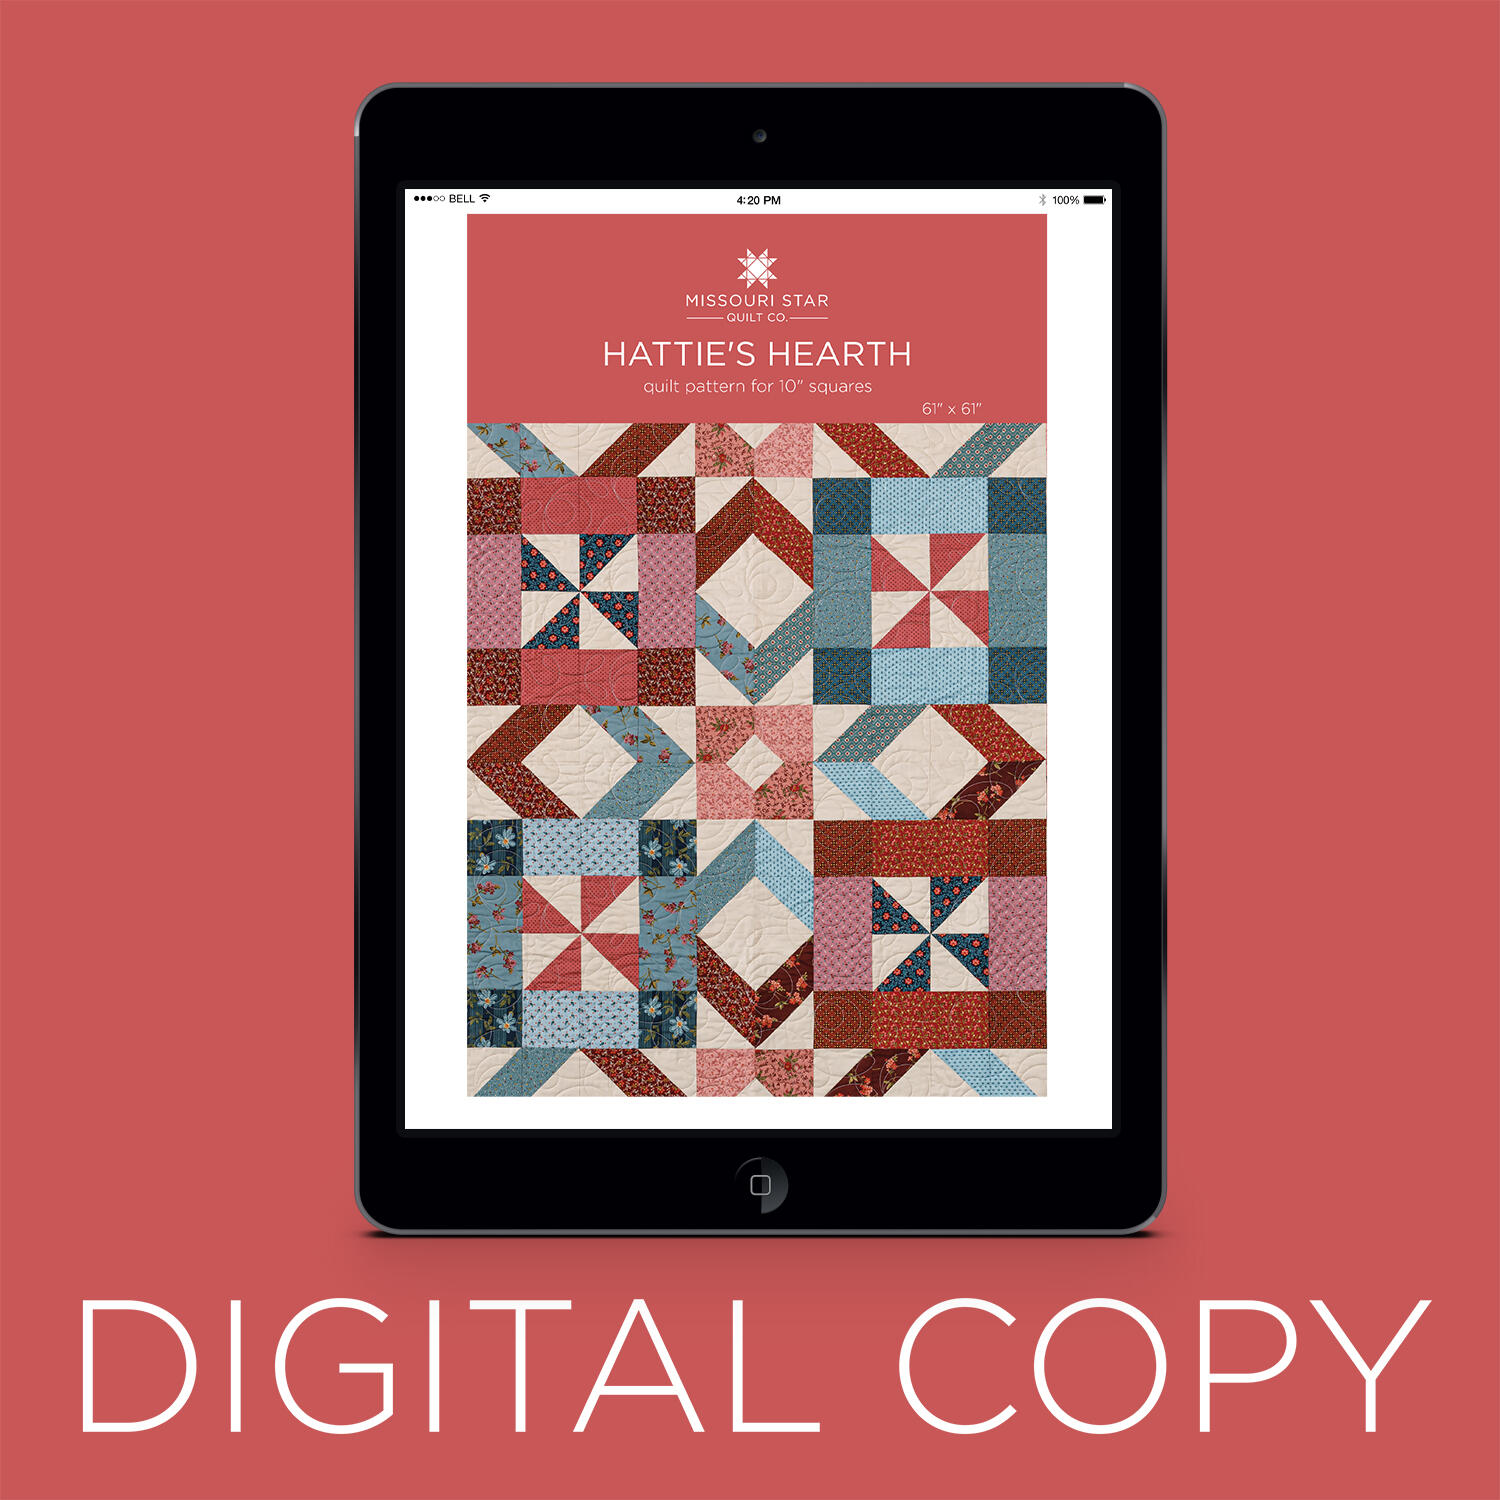 Digital Download - Hattie's Hearth Quilt Pattern by Missouri Star$6.95Shop →
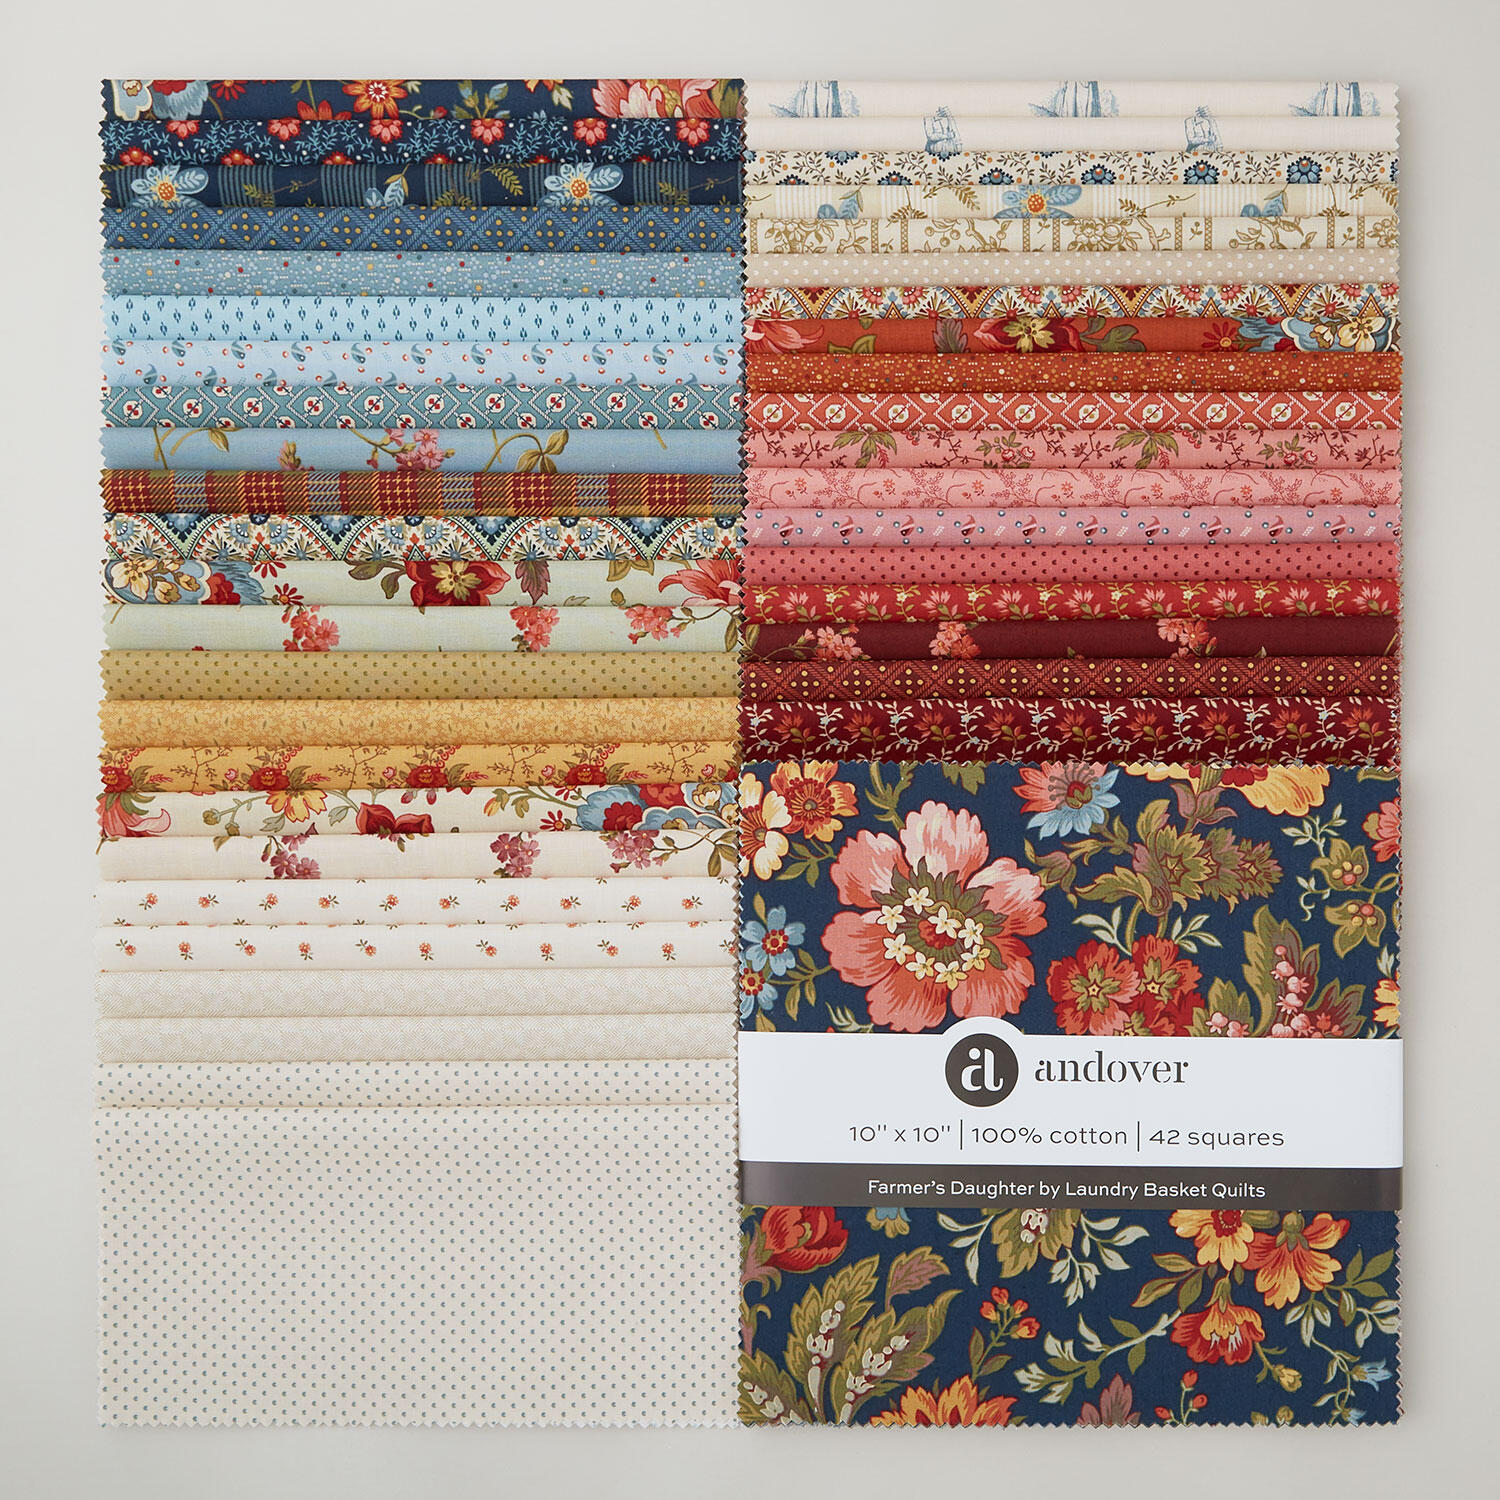 Farmer's Daughter Sundaes$44.95Shop →
 Colorworks Premium Solids - Alabaster Yardage$8.12Shop →
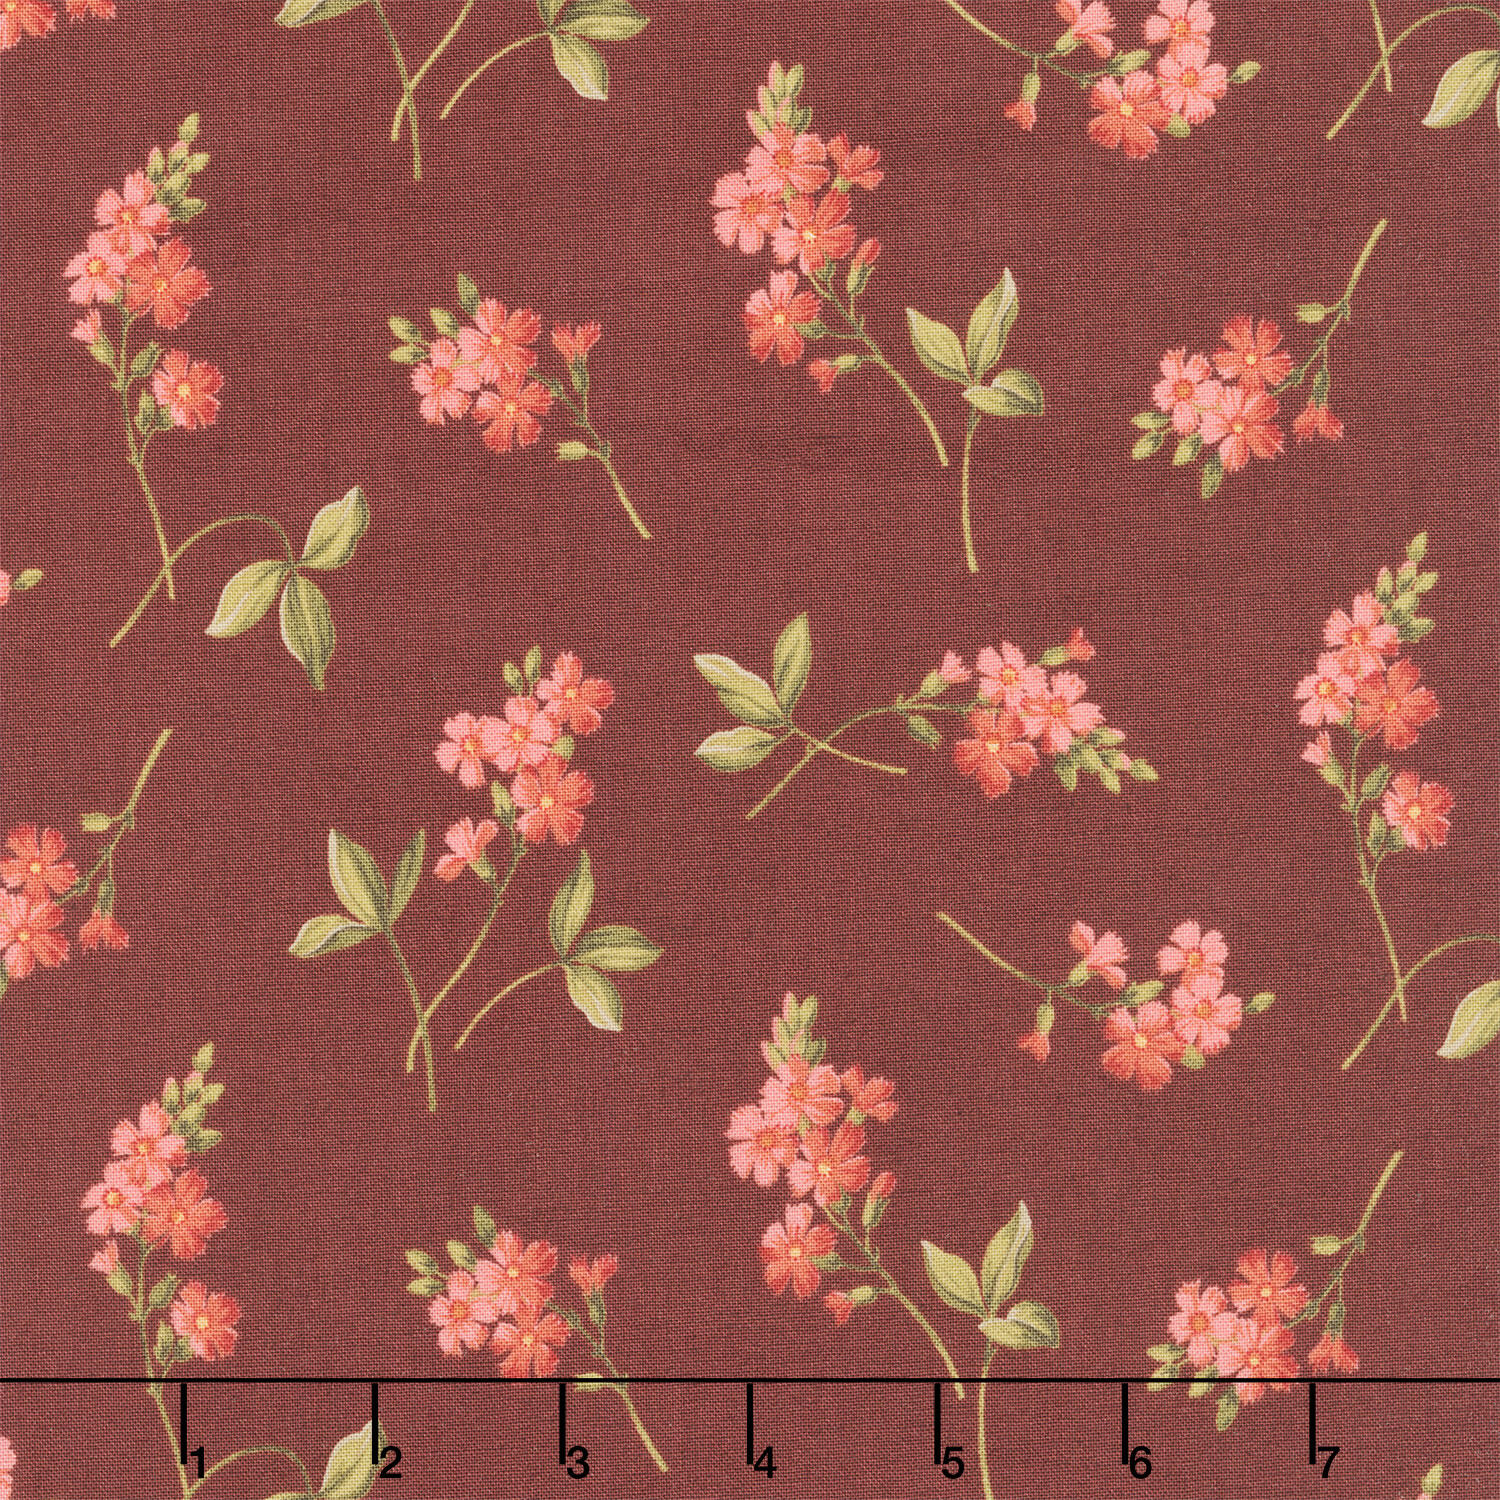 Farmer's Daughter - Cornflower Sandcastle Yardage$11.96Shop →
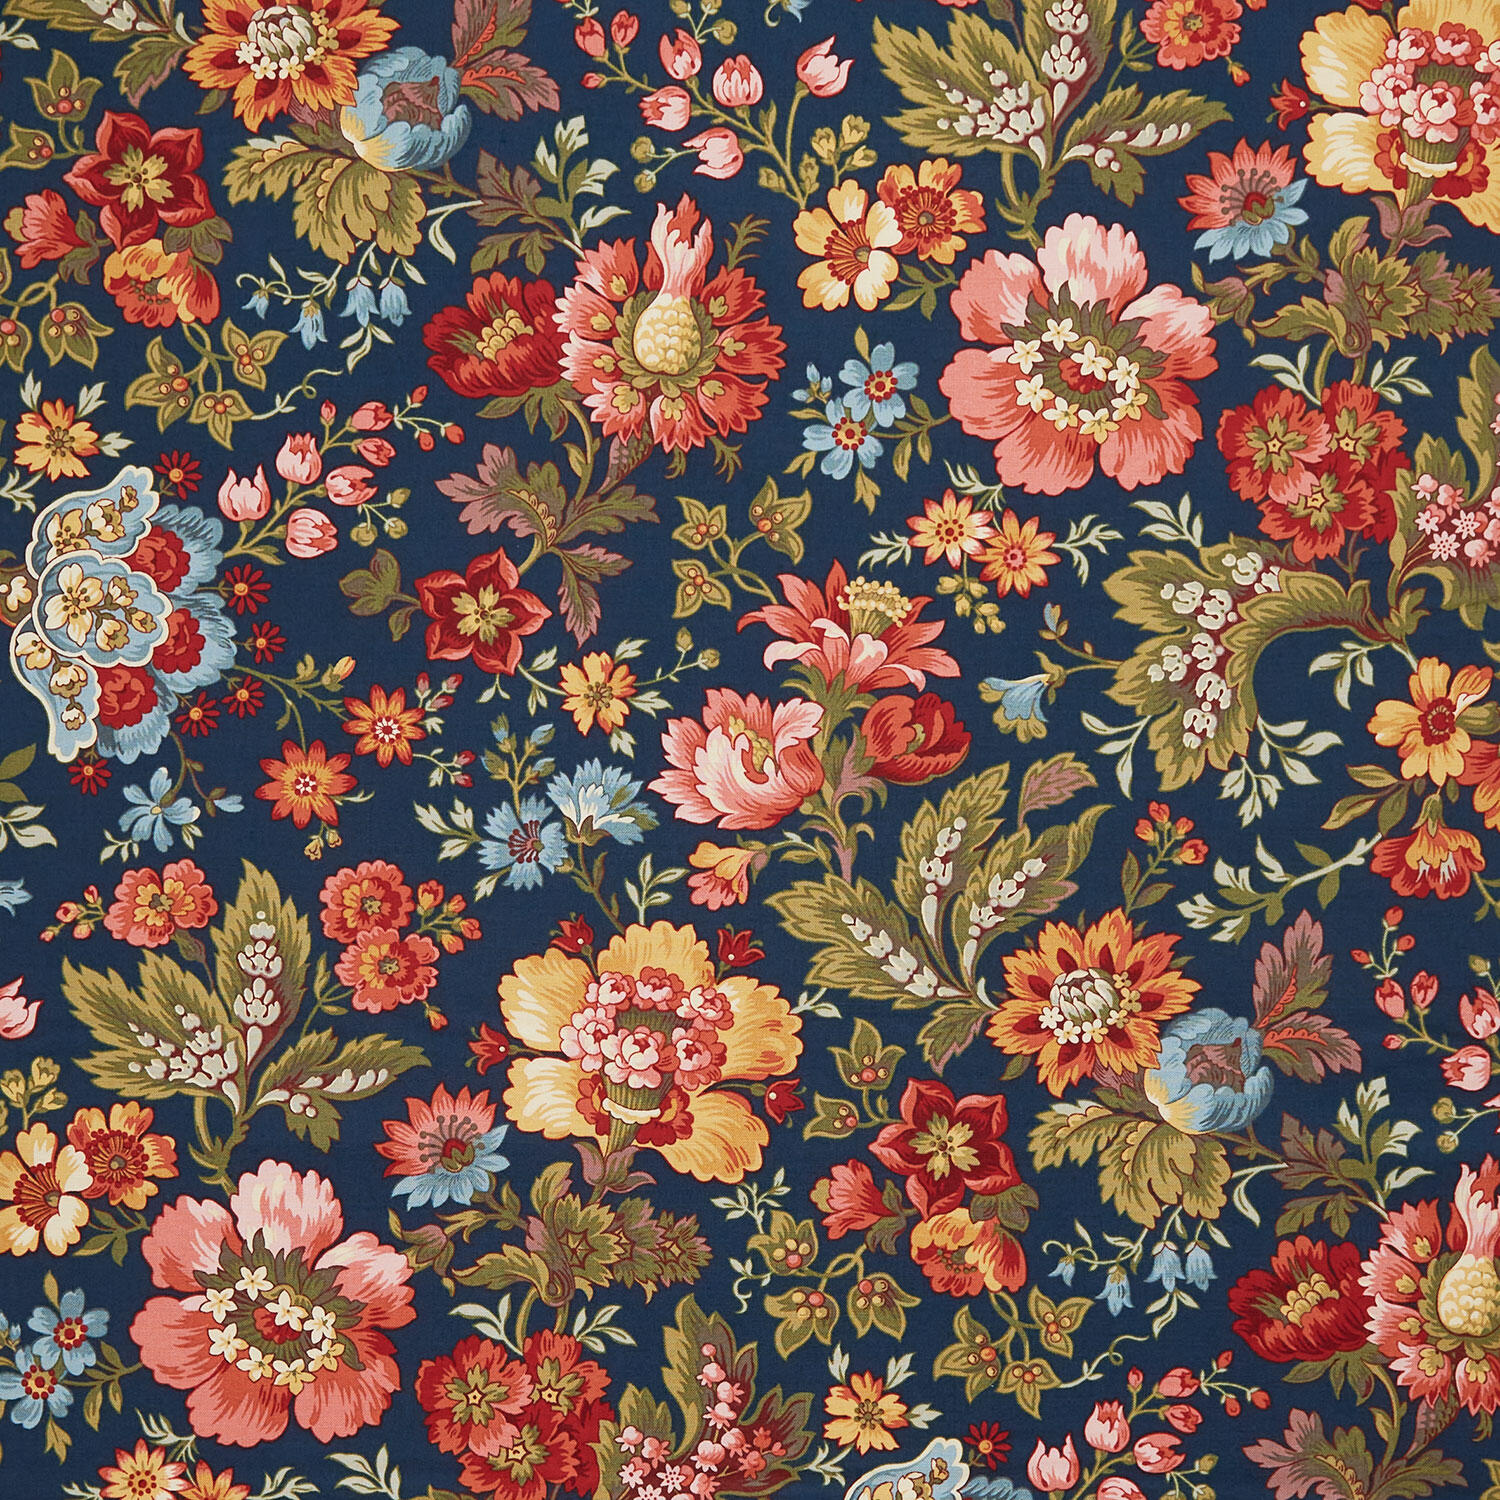 Farmer's Daughter - Milk and Honey Midnight Yardage$11.96Shop →
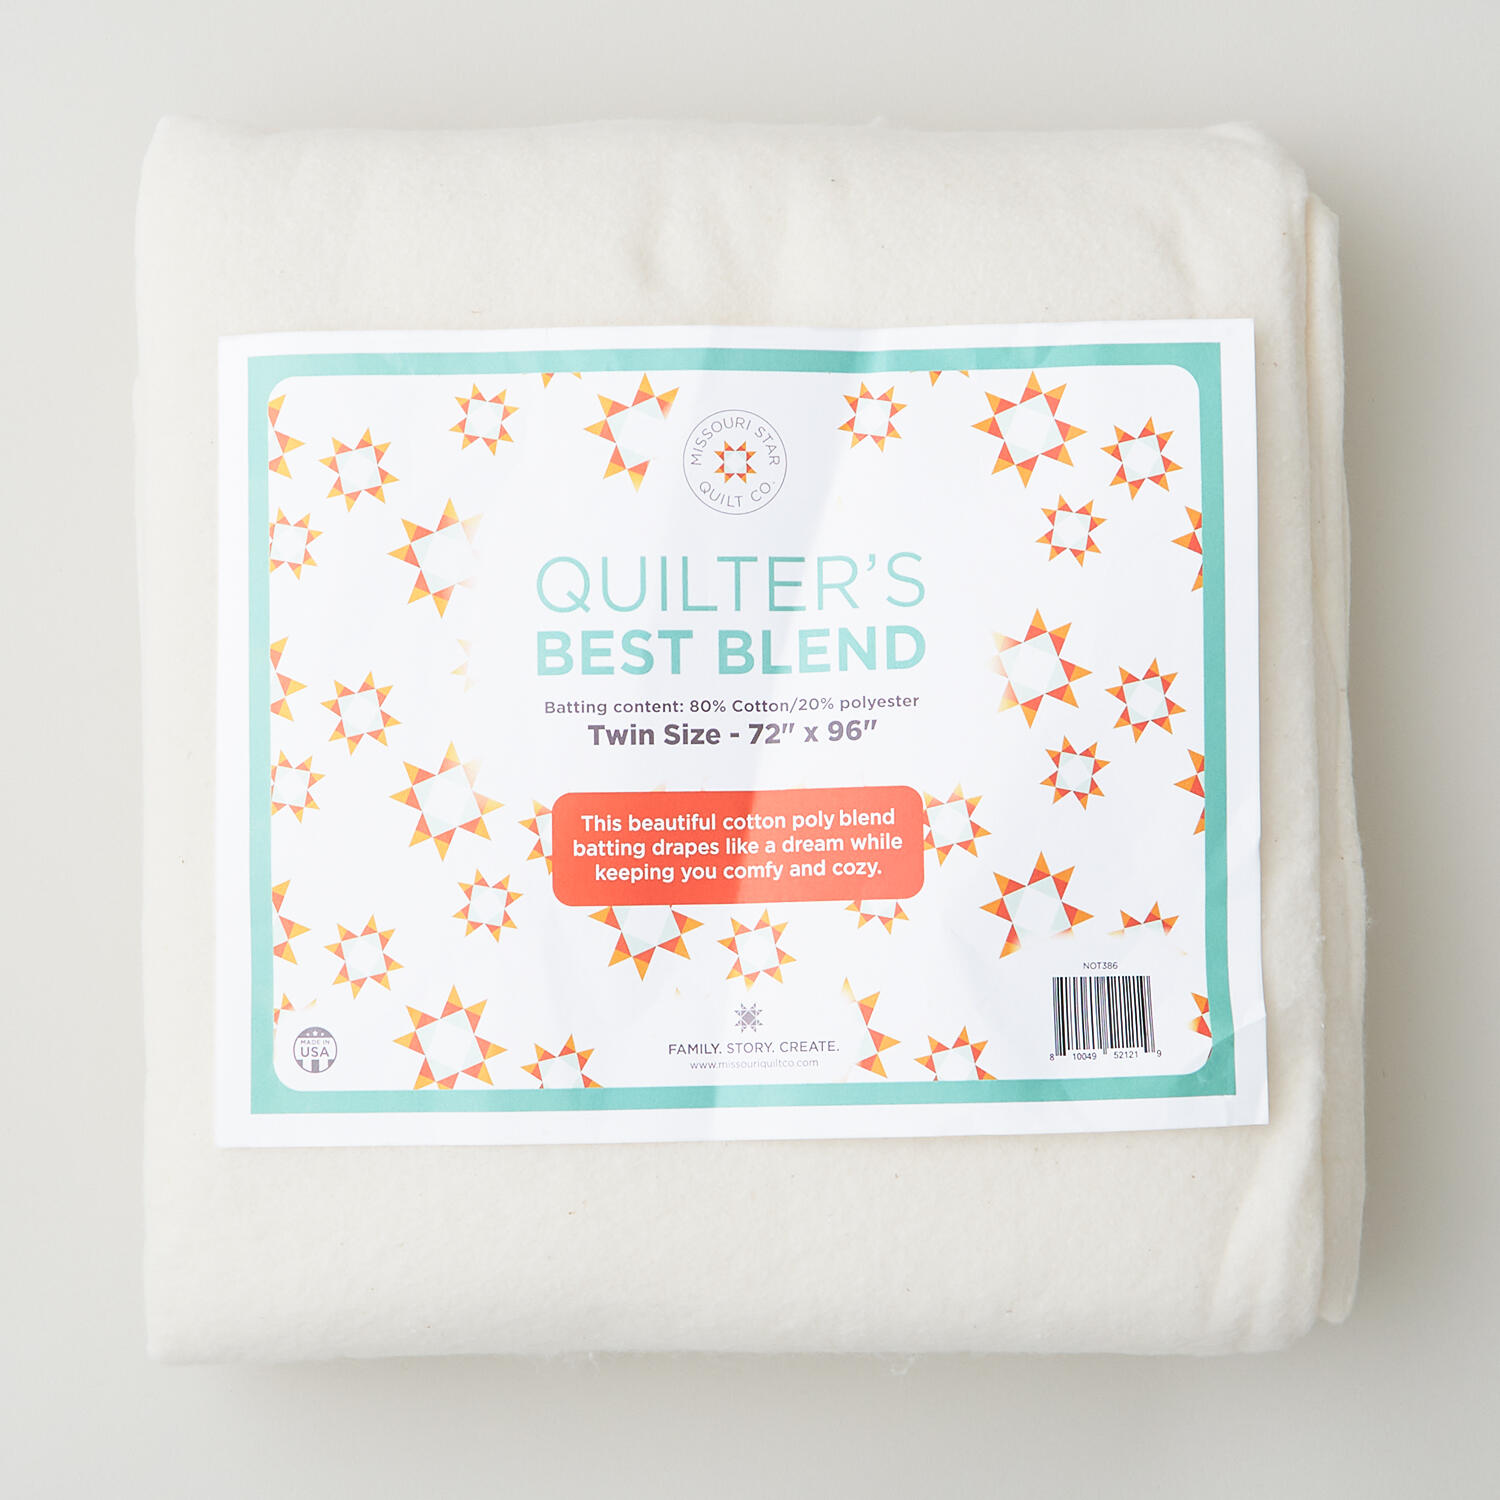 Missouri Star Quilter’s Best Blend Twin Batting$26.95Shop →
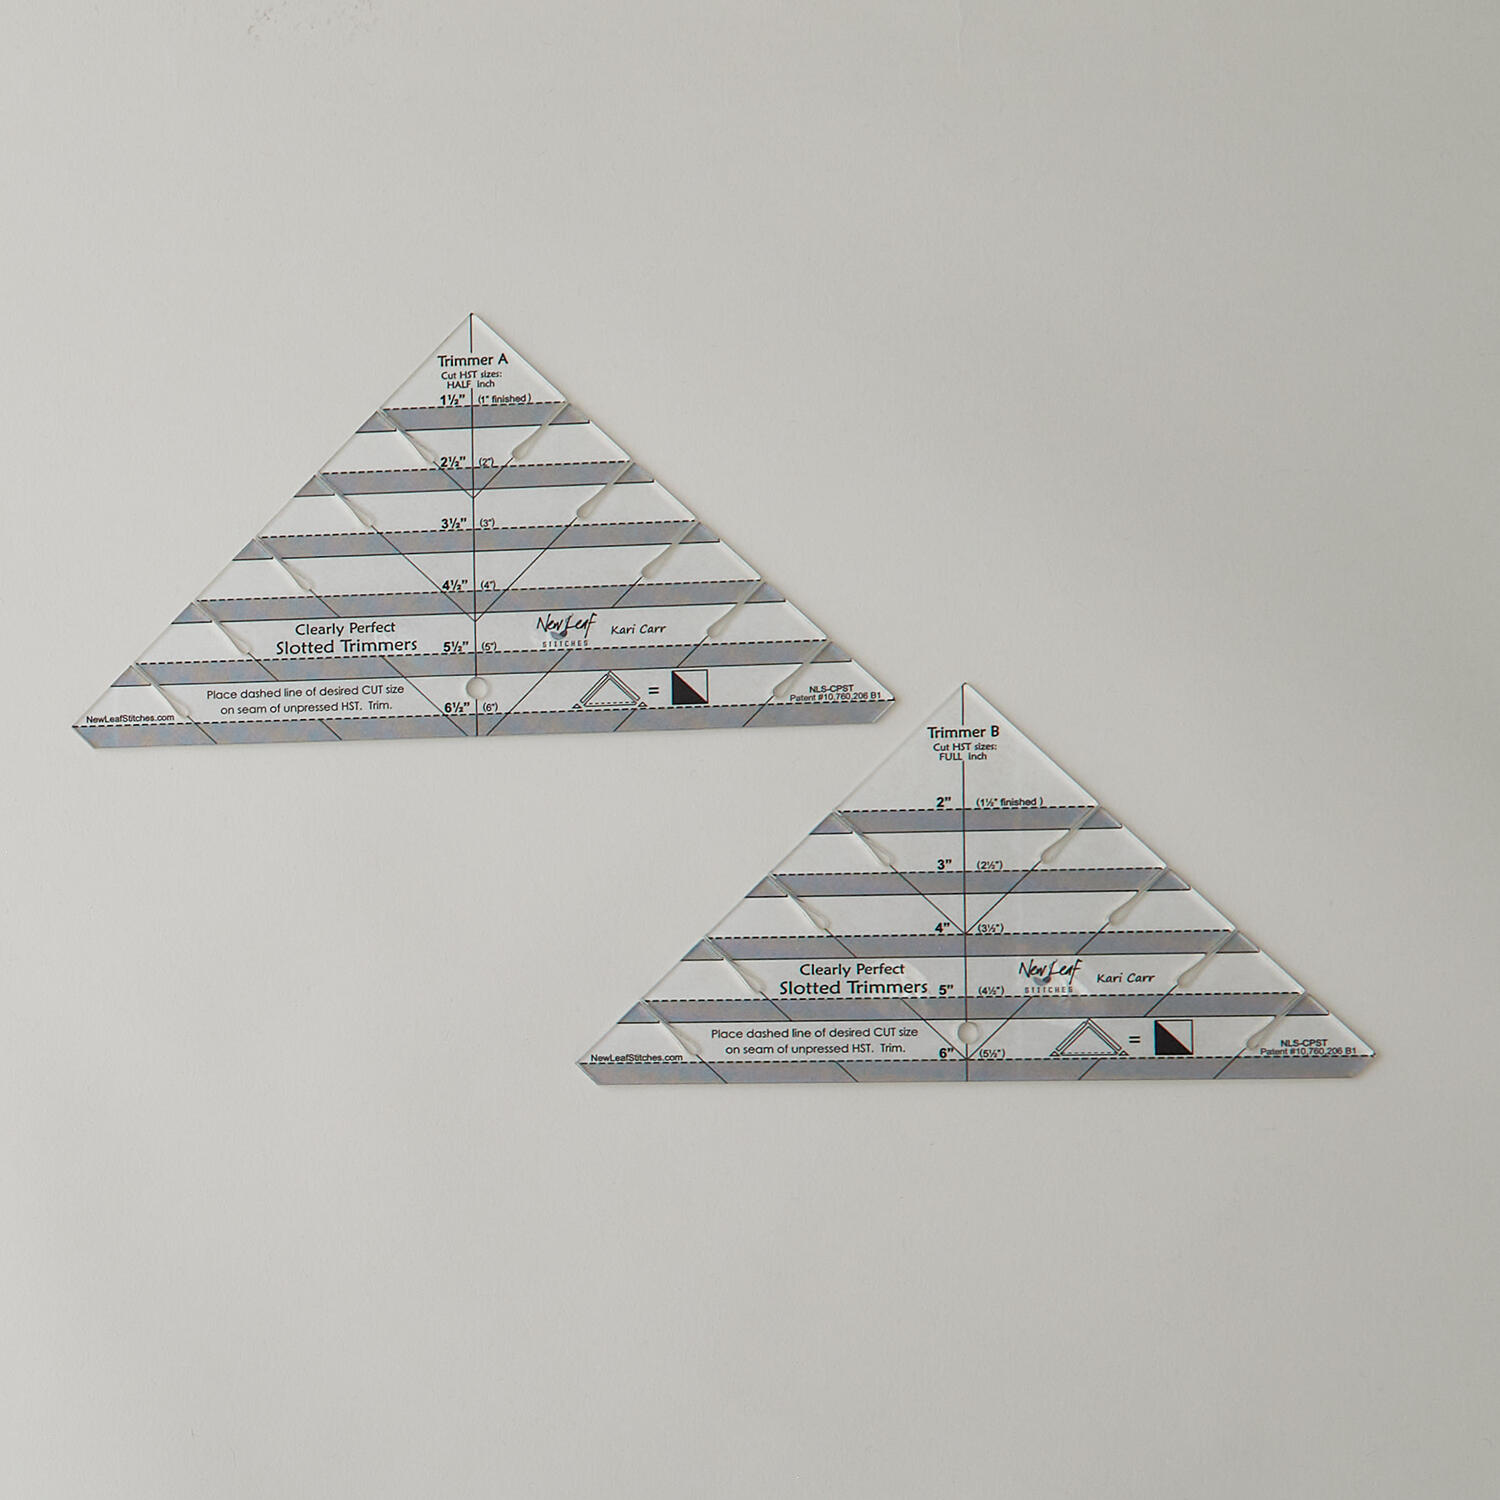 Clearly Perfect Slotted Trimmers$33.95Shop →
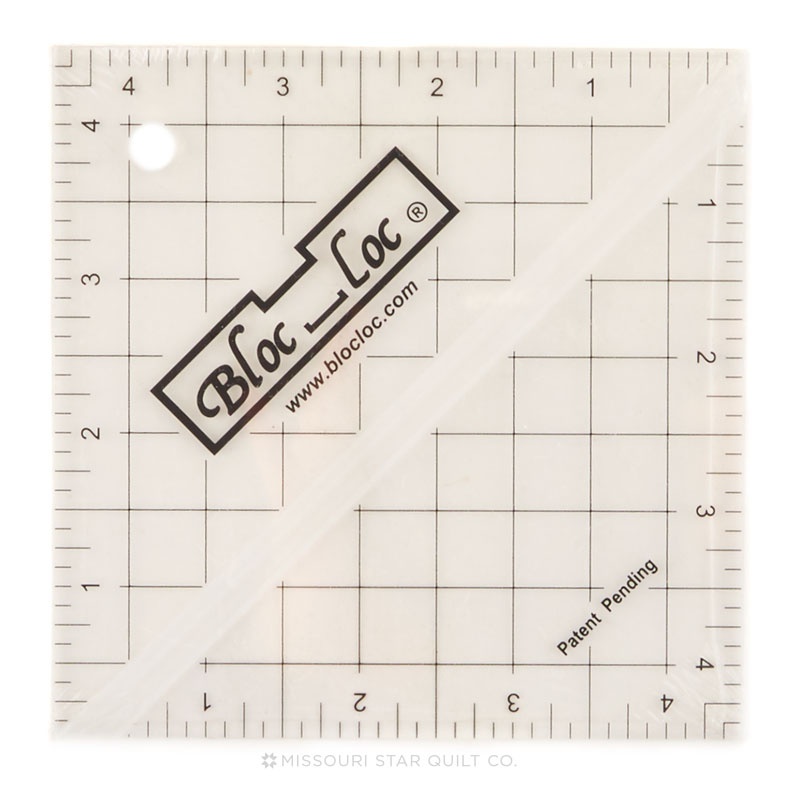 Bloc Loc 4 1/2" Square Up Ruler$32.50Shop →
 Missouri Star 5" x 15" Ruler$19.95Shop →
 Missouri Star 45mm Rotary Cutter - Olga$19.95Shop →
 Missouri Star + Oliso TG1600 ProPlus Iron$209.95Shop →



