

Heart to Heart Quilt
 Misty Doan
- Layer Cake
- Modern
- Quilts
- Advanced
- Quilt size 70" × 70"
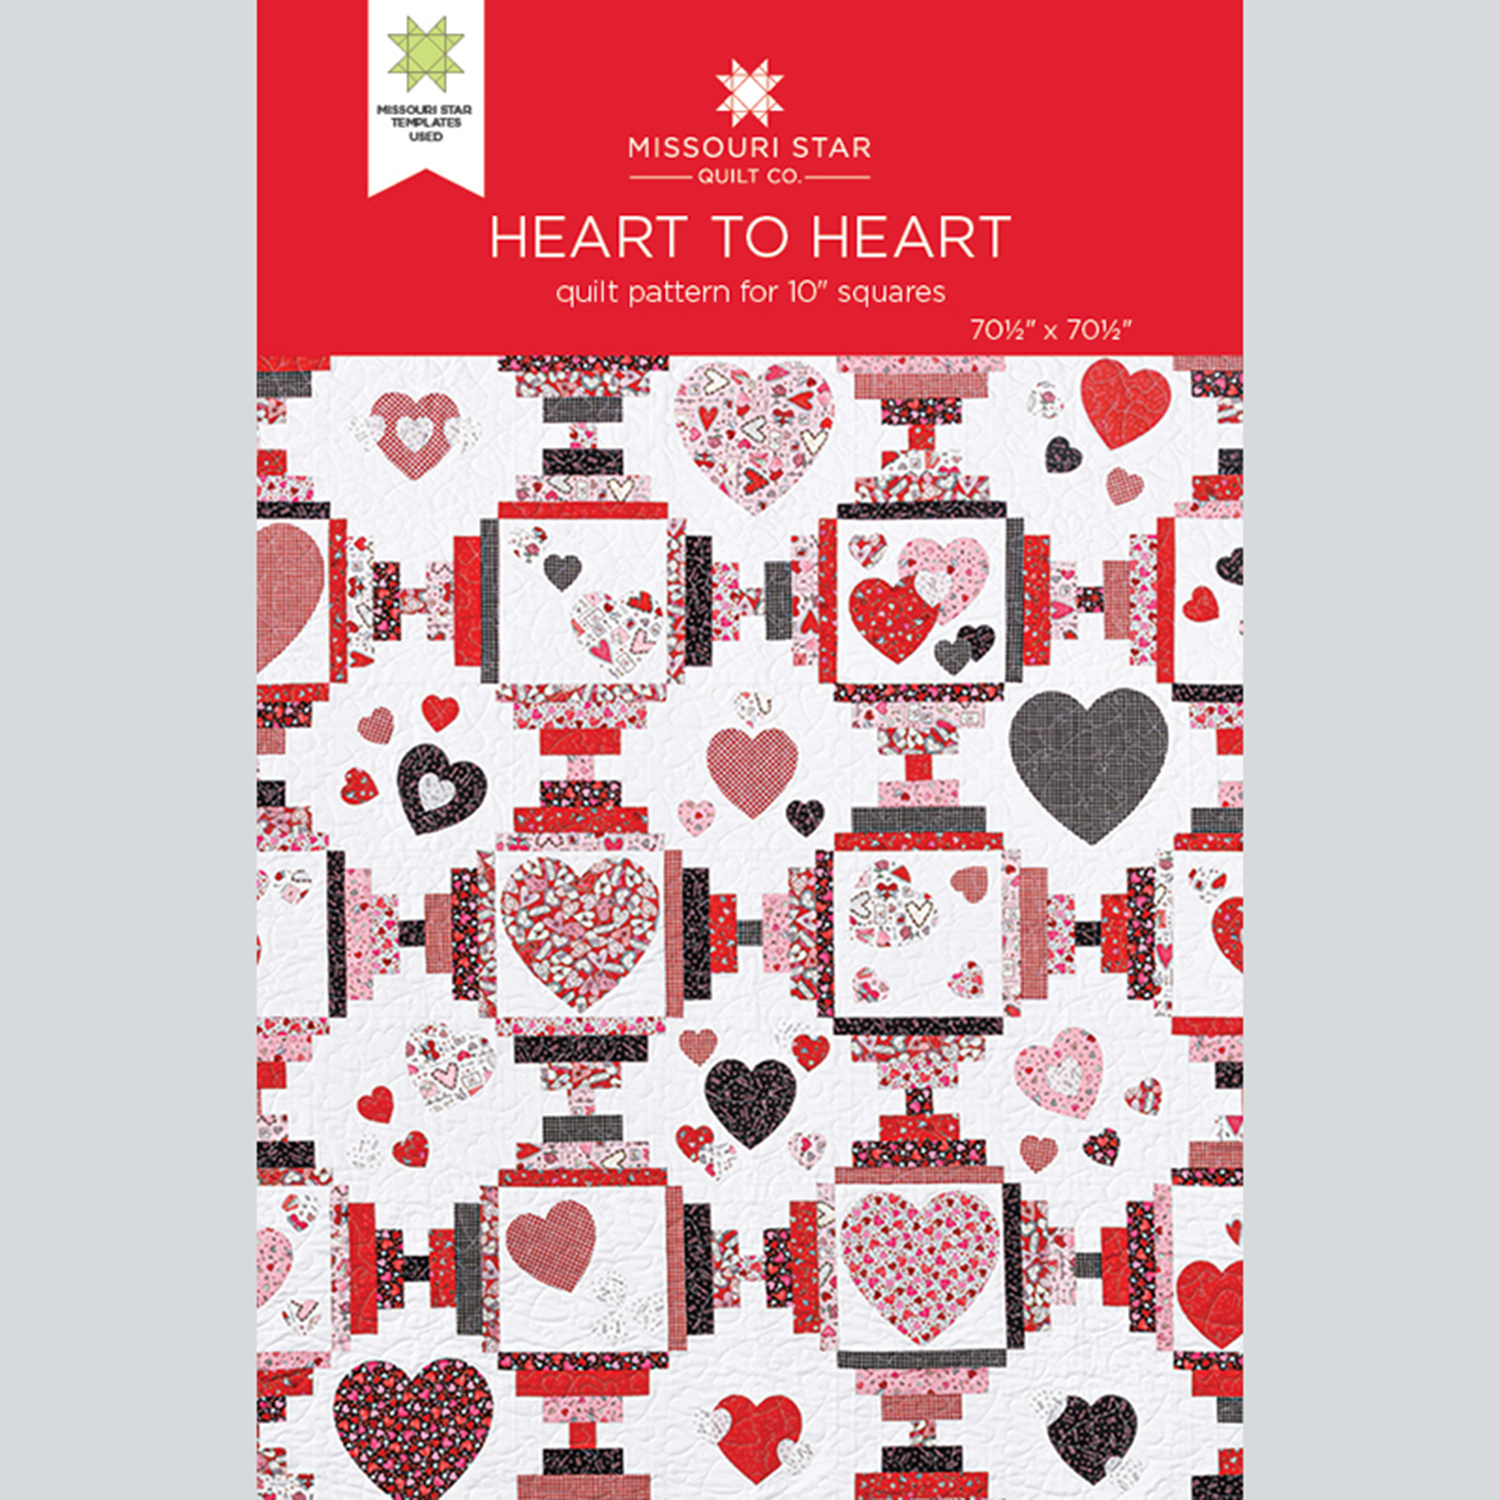
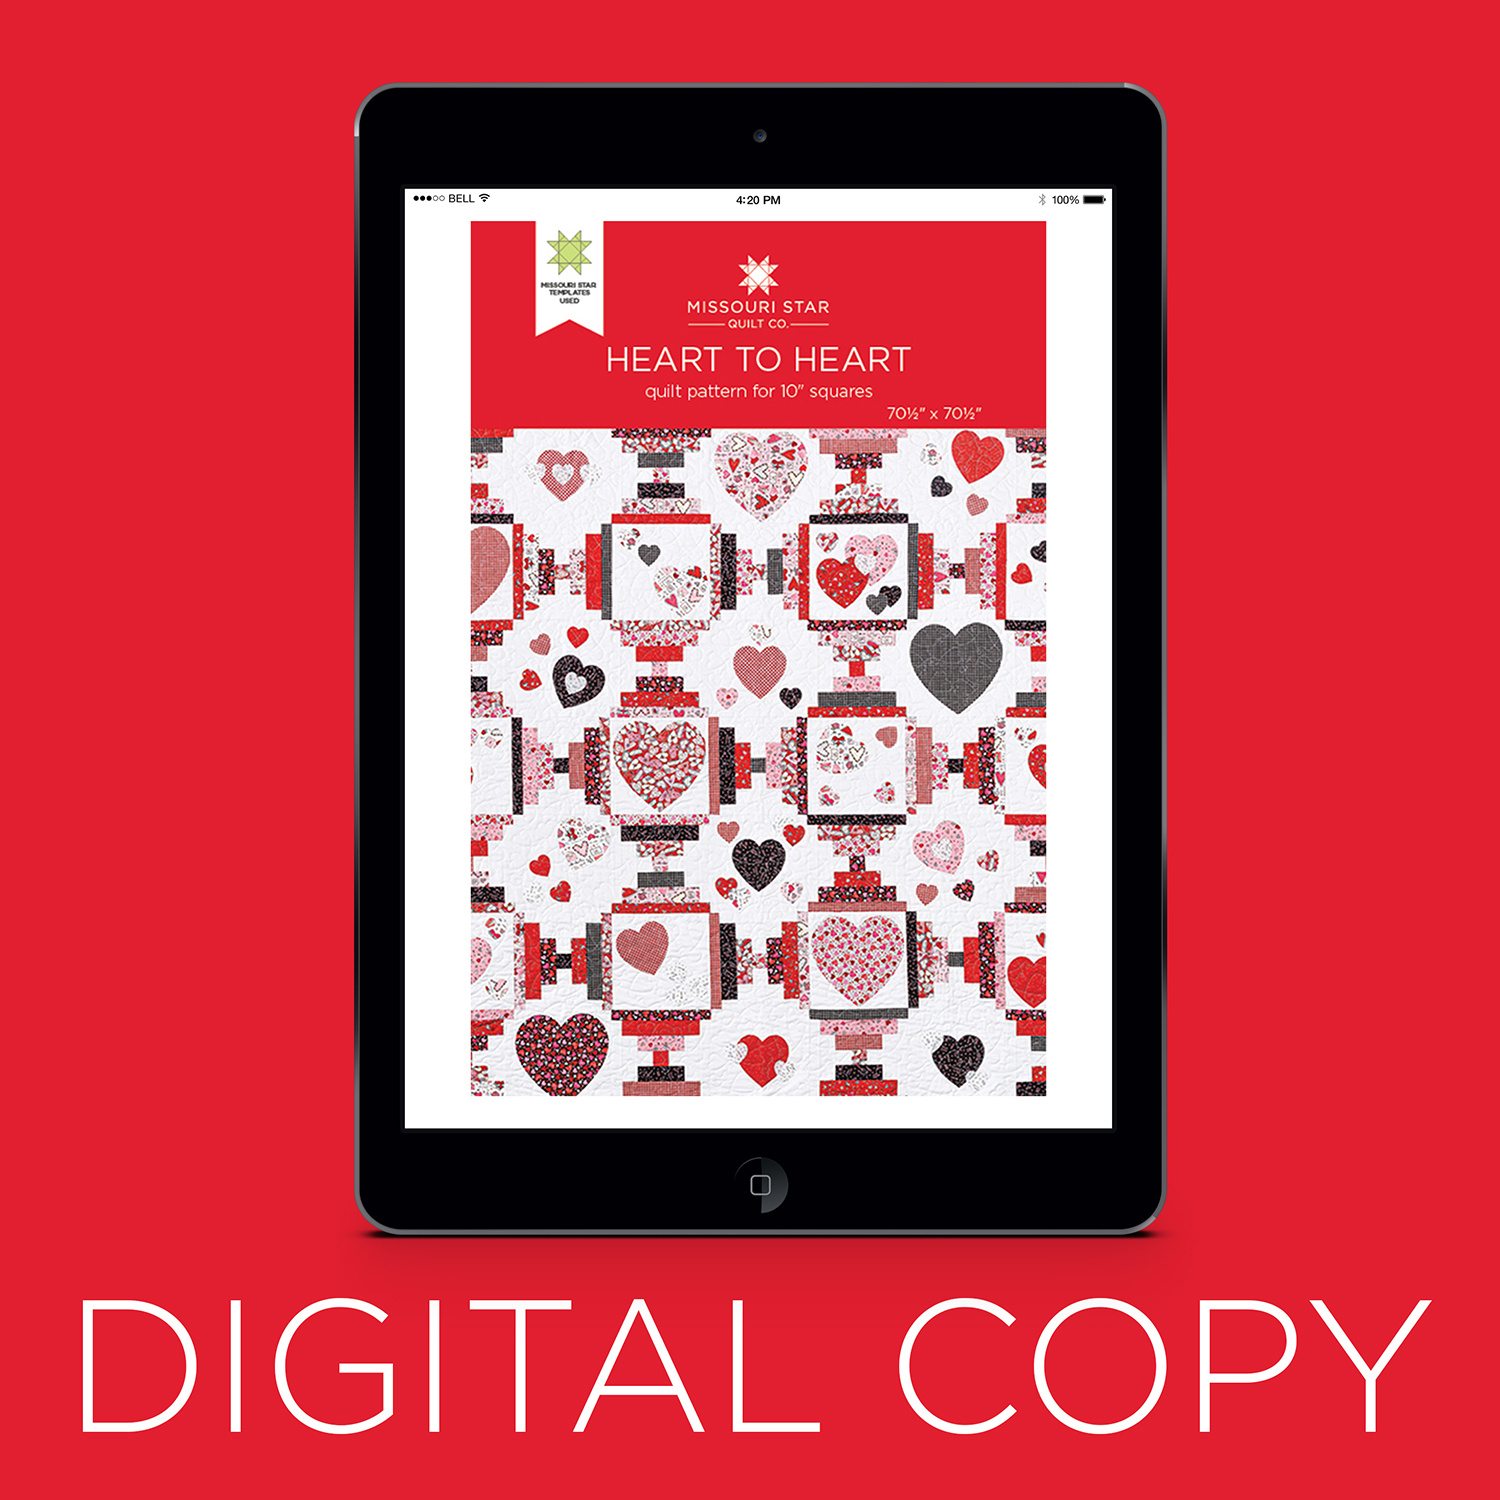
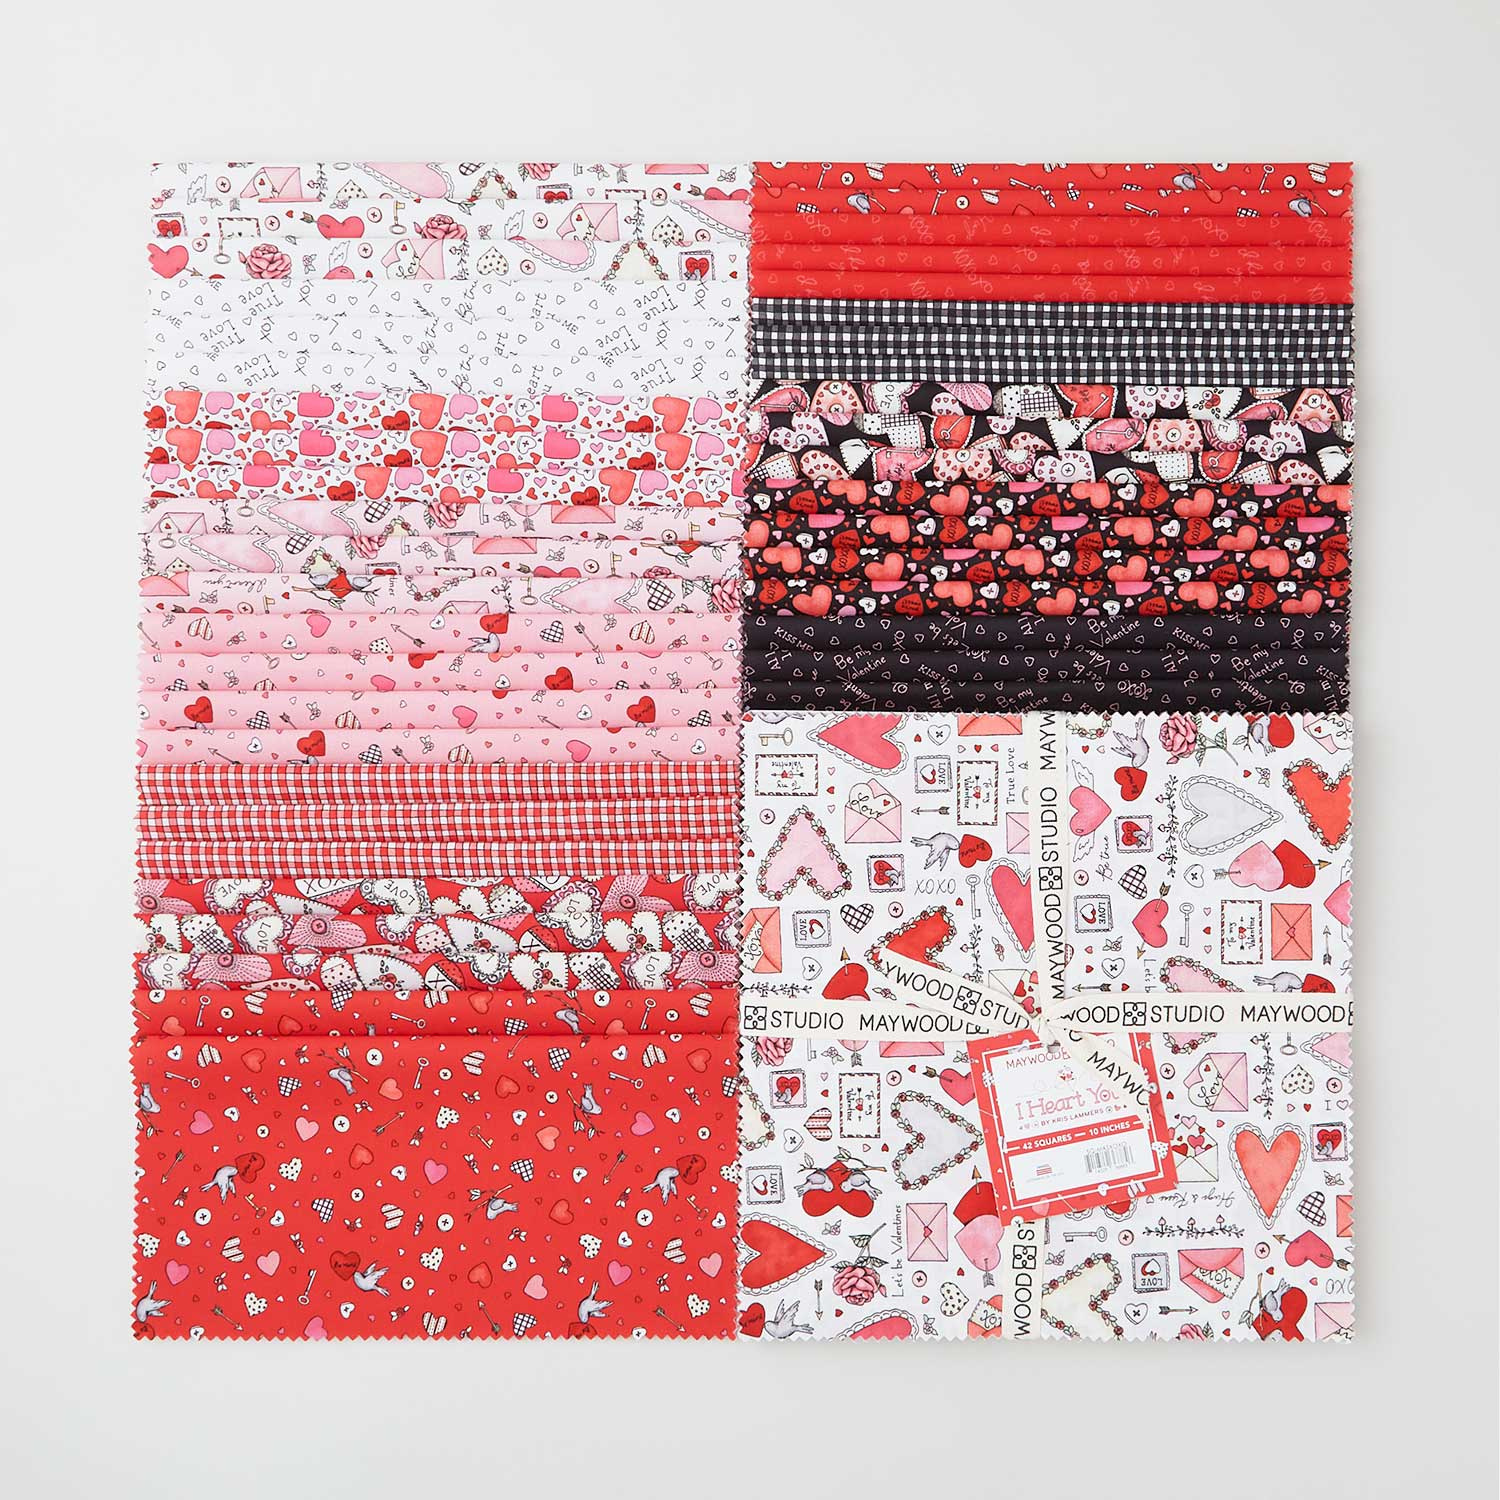
This adorable quilt will make your heart skip a beat! Heart to Heart is a pieced and appliquéd quilt that’s bursting with charm. The Missouri Star Nesting Hearts Template Set makes it easy to create perfect heart shapes, and Kris Lammers’ I Heart You fabric collection provides sweet whimsy you will love!
Instructor
Misty Doan
Misty Doan grew up surrounded by sewing and quilting. She loves spending time sharing tutorials each week each week, and when she’s not stitching up one of her fun sewing projects for home decor, most likely you’ll find her hanging out with her husband and three awesome kids or working on a house project.
Shop this tutorial
 Heart to Heart Quilt Pattern by Missouri Star$8.50Shop →
 Digital Download - Heart to Heart Quilt Pattern by Missouri Star$6.95Shop →
 I Heart You 10" Squares$42.95Shop →
 Kona Cotton - White Yardage$7.48Shop →
 I Heart You - Tossed Hearts White Yardage$11.96Shop →
 Missouri Star Quilter’s Best Blend Full Batting$32.95Shop →
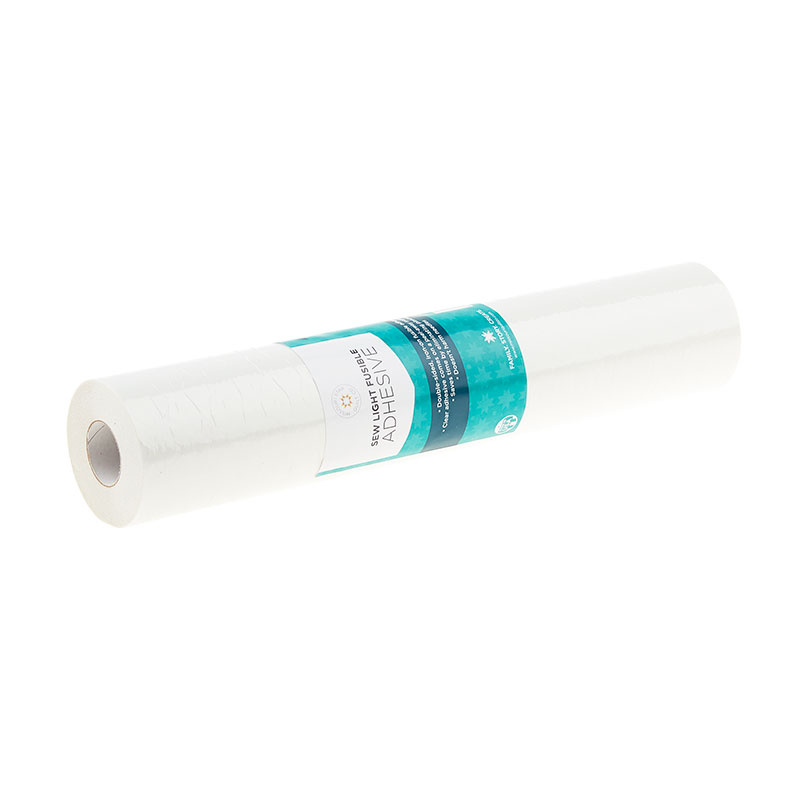 Missouri Star Sew Light Fusible Adhesive - 12" x 15 yards$28.95Shop →
 Quilter's Favorite Dispenser - Quilt Town$18.95Shop →
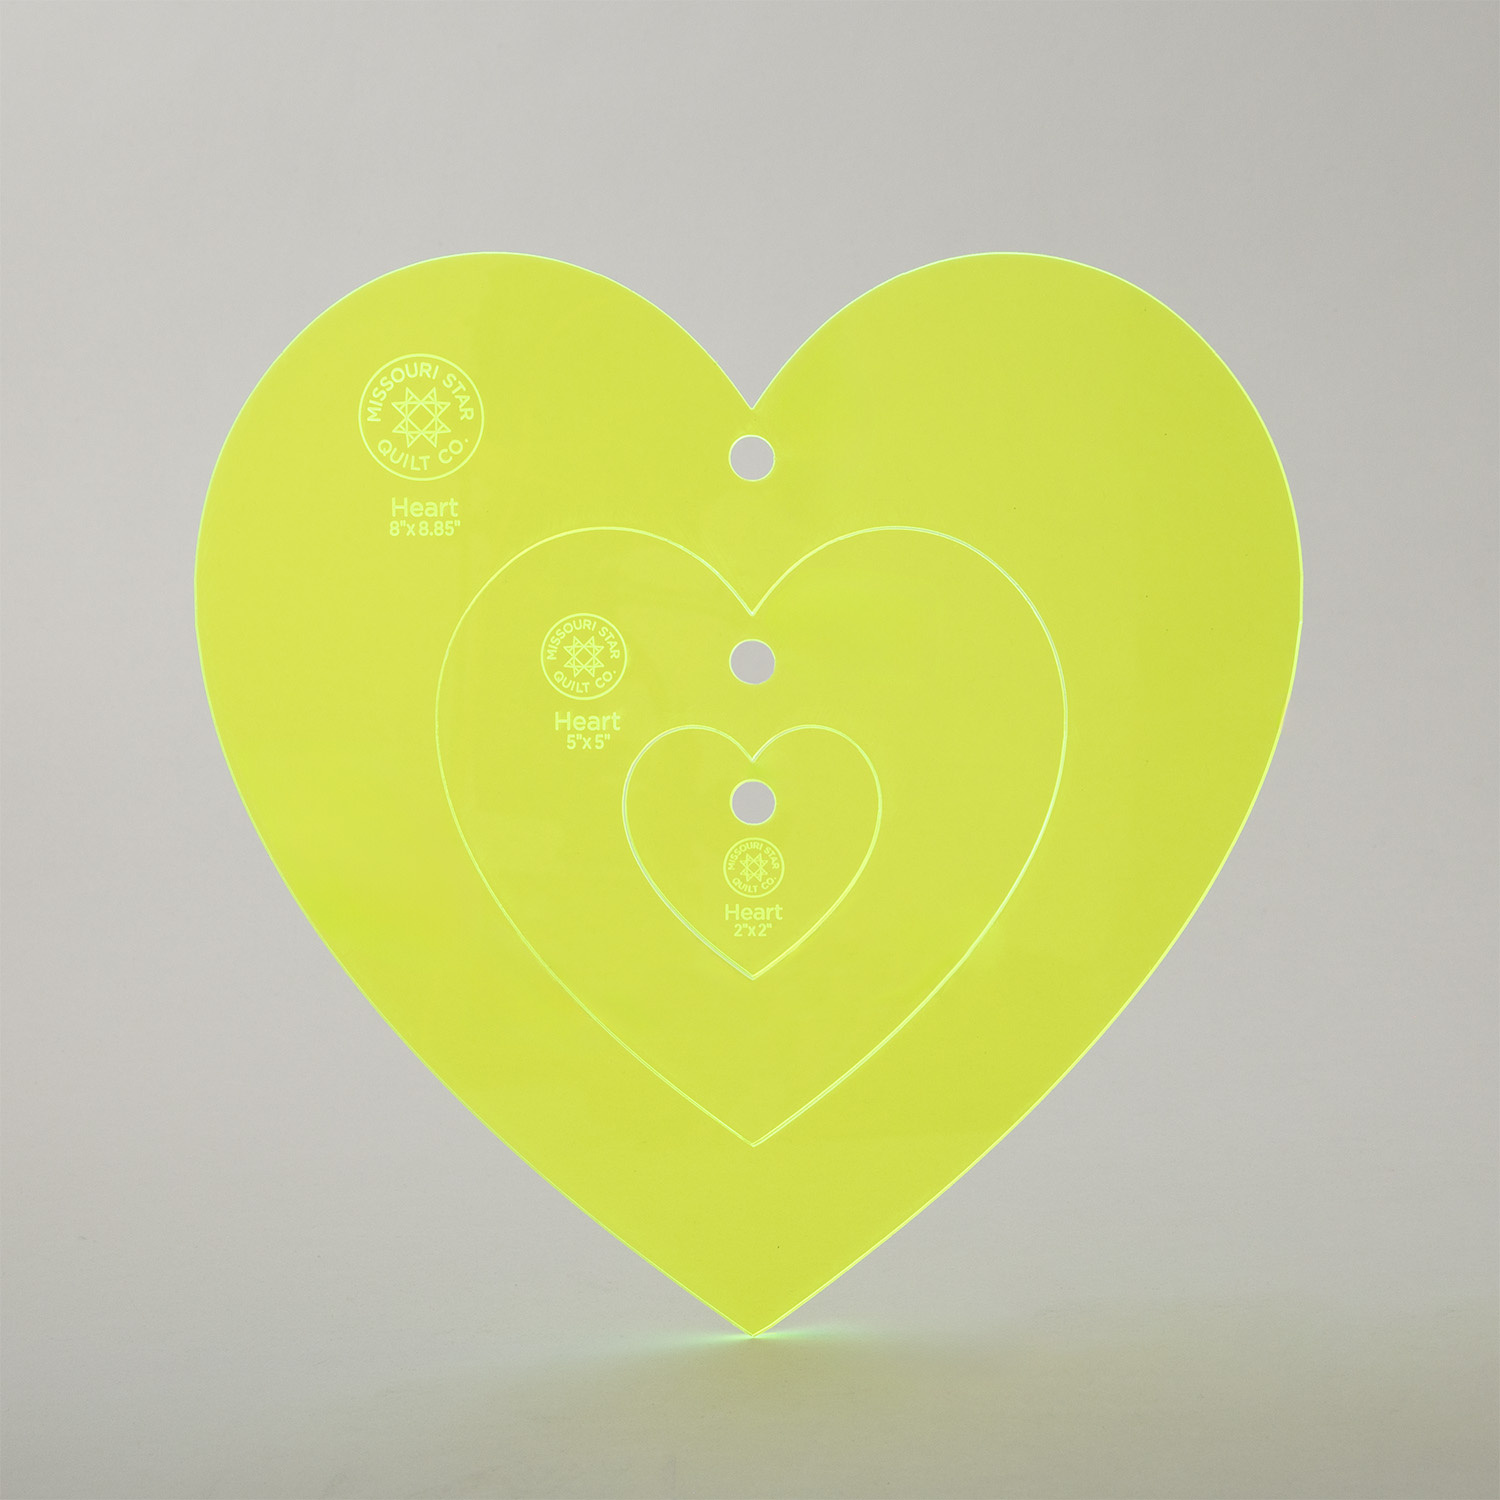 Missouri Star Nesting Heart Templates$12.95Shop →
 Missouri Star 5" x 15" Ruler$19.95Shop →
 Missouri Star 45mm Rotary Cutter$19.95Shop →
 Missouri Star Seam Ripper$9.95Shop →
 Missouri Star 8" Everyday Scissors$19.95Shop →
 Learn Embroidery Stitch by Stitch with Missouri Star$34.95Shop →
 MonoPoly™ Invisible Thread - Clear$8.75Shop →
 Missouri Star + Oliso TG1600 ProPlus Iron$209.95Shop →
 Missouri Star Wooly Betty Board - 17.25" x 25.5" Orange Border$99.95Shop →
 Bernette 77 Sewing and Quilting Machine$1499.00Shop →
Common Questions
What is covered in Heart to Heart Quilt?
This adorable quilt will make your heart skip a beat! Heart to Heart is a pieced and appliquéd quilt that’s bursting with charm. The Missouri Star Nesting Hearts Template Set makes it easy to create perfect heart shapes, and Kris Lammers’ I Heart You fabric collection provides...
How long is the tutorial video?
The tutorial video is 00:16:39.
Are supplies listed for this tutorial?
Yes. The tutorial page includes the supplies and materials connected to this project.
Is a transcript available?
Yes. A written transcript is available on the tutorial page.
Video Transcript
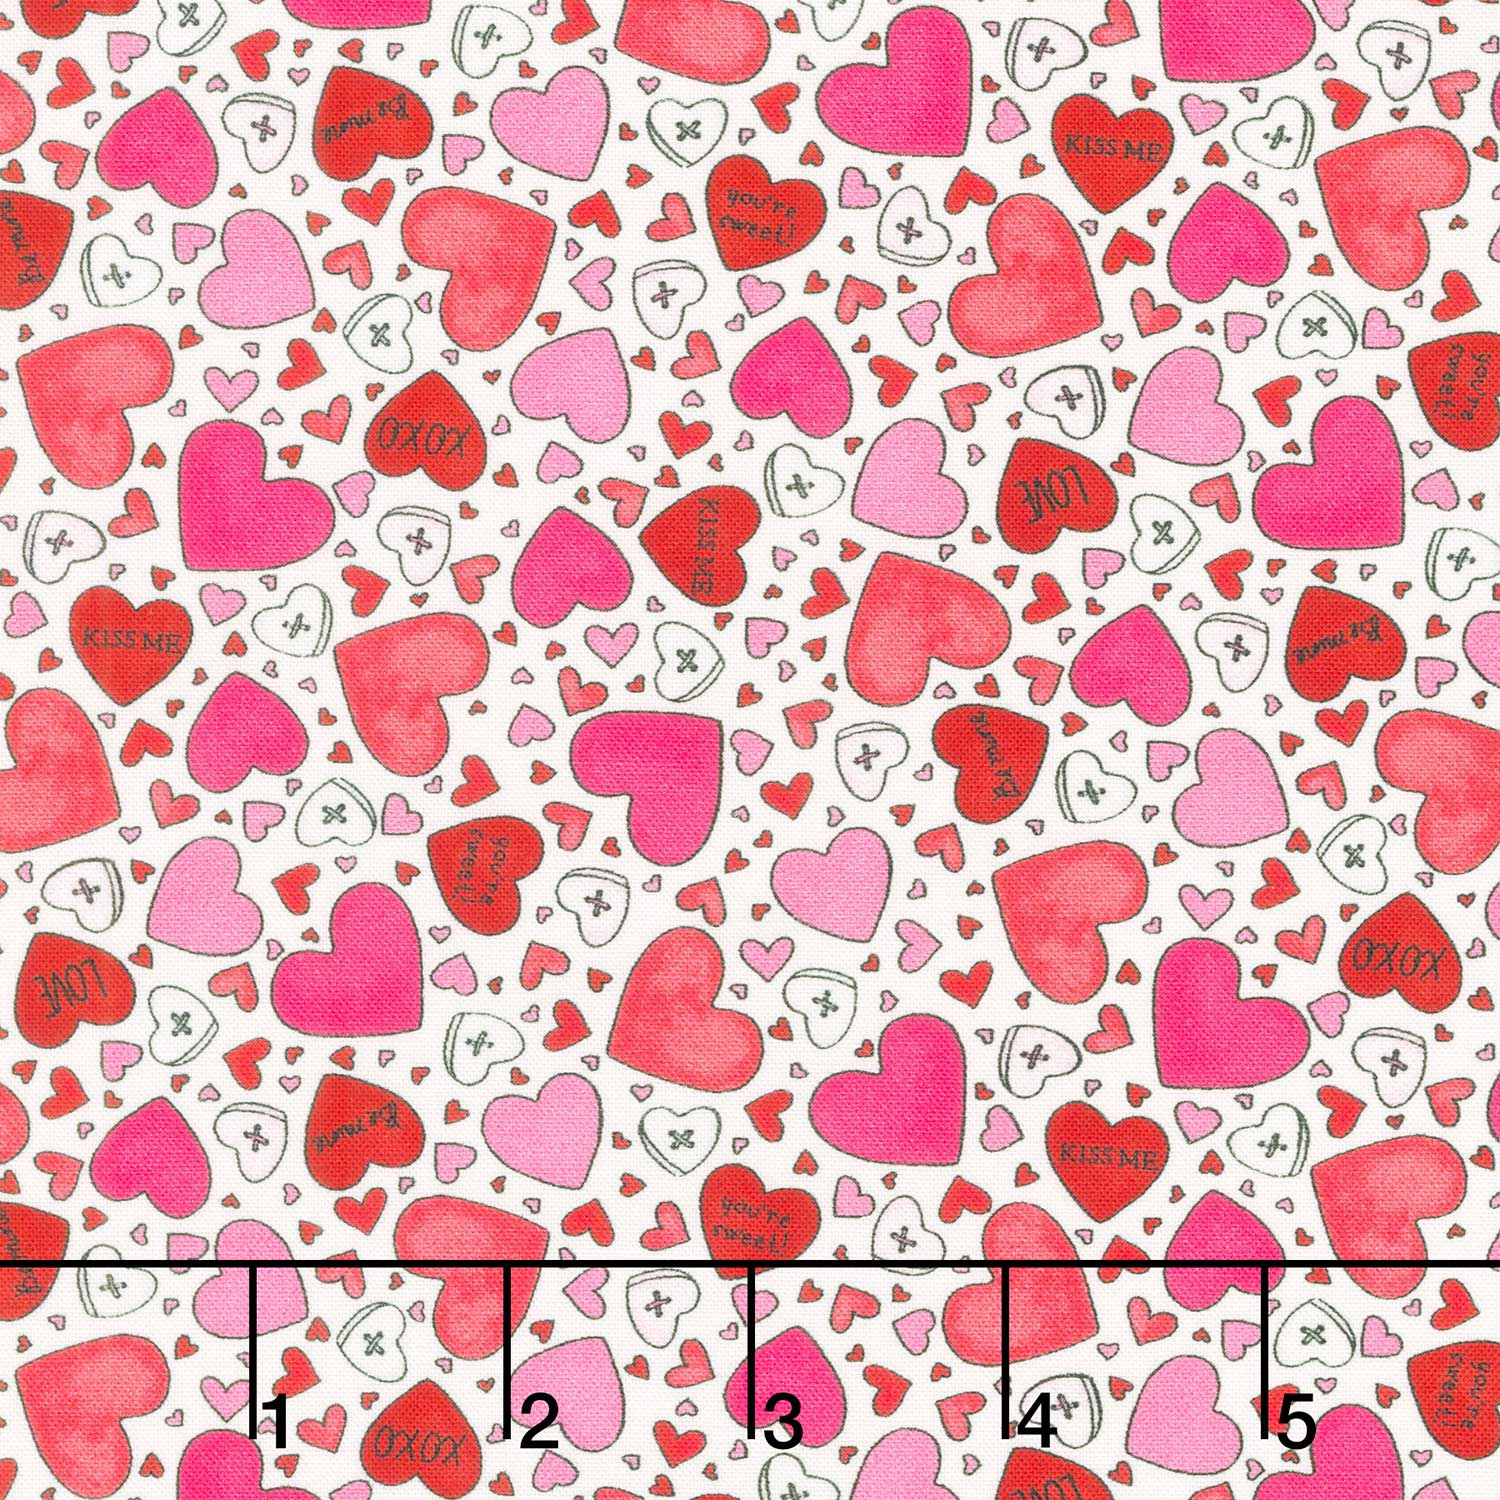
This quilt is a super easy one! We're going to combine some fusible applique blocks with some pieced blocks to get this beautiful quilt you see behind me. And to make it you're going to need one package of 10 inch squares - I used I Heart You by Kris Lamers for Maywood Studio. You're also going to need about 3 ⅓ yards of background fabric - I just went with white. This is what I used for my binding, you'll need ¾ yard for that. and then for your backing you'll need 4 ⅜ yards. I use this really cute heart print that reminds me of the little conversation hearts. And so that will be everything you need. Oh well not quite. You need our nesting heart template as well as some fusible. And if you want to make it a little bit faster for you on your top stitching, some Invisible Thread will do the trick. So let's get started!
Okay, so first up you are going to take your 10-inch pack and you're going
to select 25 that we are going to use to make our scrappy Courthouse Steps blocks. So pick a few of those. I'm just going to pick a few different ones from my stack. You can stack at least four at a time if you're comfortable with that. Just make sure I have some variety in my
prints… maybe a pink down here, yeah that'll work. Okay so then let me straighten these all up and we are going to cut all of our 10 inch squares that we're using for these courthouse steps blocks in the same way, which makes the cutting go really fast. So the first thing we're going to do is we are going to cut three 2 inch strips. So there's one, and this first one I'm going to go ahead and cut off a 2 inch square, just like so. Here's our second one, make sure we're nice and straight. And so same thing, we're going to cut off that 2 inch square. And you just want to keep these sizes stacked together. So we have some that measure 2” by 8” and some that
measure 2” by 2”. Then we're going to cut one more 2 inch strip. And this one we're going to cut exactly in half, so that they measure 2” by 5”. And we can just stack those together. And so for our last cuts, those are going to be 1 ½ inch strips and we're going to leave these at 10 inches long. So one more and this little bit is our waste, so you can just put that in the scrap bin or the trash. And so I just made giant piles here because I want these to be scrappy. So you can see here's my 2 inch, my 5 inch, my 8 inch and my 10 inch strips.
And so now we can start assembling our courthouse steps blocks. And so we're going to begin by taking some of our background fabric, and you're
going to do the same thing. You're going to cut 2 inch strips and sub-cut those into 2 inch squares, and 2” x 5,” and then you're going to cut 1 ½ inch strips and sub-cut those into 8 inch sections. So let's go ahead and begin by taking one of our 2 inch squares and we're going to sew two of our background on either side. So let's take this to the machine.
So now I can just go ahead and give this a little press. It's nice if you have the iron right next to you. We'll just press that over and then we'll add our background square to the other side. Trim my threads and again we'll give that a press. Okay now I'm going to go ahead and slide some of these piles over closer to me to make it easier to build on this, there we go. And so up next I need some of these 5 inch strips that we cut. And I opted to make the whole thing scrappy. You could make two sides matching as you build out if you'd like, totally up to you. So I'm just going to go ahead and add one of my 2 x 5 inch print strips here. And now I'm just going to finger press that out of the way and go ahead and add the other side. Just make sure to keep it all lined up. Now that I have both of those on, I'll go ahead and give it a press. I think it does make a difference to press as you go here to have a really nice flat block and to have everything match up. Of course you want to make sure that your seam is consistent as well.
And so now that we've added those print strips to these sides, I know I'm going to add my background strips to the opposite sides here. So I'm going to grab two of those and I'm going to place one on either side in the exact same way. And we are just going to keep building out our block until we finish it up. And the block will end up 10 inches, which is what we want so it matches up with our pre-cut squares.
Okay so we've added the white. We move on to our 8 inch strips next, one on each side. Okay, now we're back to our background fabric. This is where we switched to that 1 ½ inch size, and the reason that we did this is so that our block ends up 10 inches. And that way if you wanted to you could match this up with just a plain 10 inch square from your pack. Just saves this a little bit of time. You can use those pre-cut background squares. Just take a few stitches and then line up my ends and I can zoom all the way down. Okay, give that a quick press and then we'll add our last strips on either side here. See this one here, I've already used this print. How about we do this? There we go - it's fun to just mix them up and see all those fun prints. And our last seam for this block. Okay, let's give this one final press roll out those last seams, and the other side here. All right, so now we are all finished with our Courthouse Steps block. That is half of this quilt - super easy!
And now we can move on to our Applique Hearts block. So up first you
are going to take your fusible. I use the Missouri Star Sew Light fusible. And I went ahead and pre-cut it into 10 inch squares. And we are just going to fuse that on the wrong side of our remaining 10 inch squares. And so if you're not familiar with this, it has a bumpy glue side and a paper side. Of course the glue is going to go towards the wrong side of the fabric. So let's go ahead and take this over to the ironing board. We will just make sure that we have this centered on our square. You do want to be careful that you don't get any of that glue on your mat or on your iron. You will be sad if you do. Just use a nice hot dry iron until the whole thing is fused, just like so.
All right and so now using our nesting heart template we get all of these fun sizes. Three different sizes! So this one is 8” by 8 ½,” this is 5” x 5” and
this little guy is a 2” heart. And so of course if you use the smaller size, you
can get multiples out of one 10 inch square. Or if you use the larger you can just get one. And so let me find my pen. Here we are, just going to trace this onto the paper, just like so. There we go, there's our nice big heart. And then grab our scissors and you would just cut on the line all the way around. You could try to cut it with a rotary cutter if you want, but I usually just go for my scissors. And we'll pivot at that little inside point, okay perfect. There we go - it is all cut out.
And so this is where if you want to save some time and use those pre-cut 10 inch squares for your background you can. Of course the pattern calls for yardage, but if you have them in your stash like me, you might as well grab some of these to get going. So that's what I have here: a 10-inch background square. And now we get to just play! I've cut out a few different hearts in the various sizes and these are all just totally up to you with whatever your heart desires. You can see in the quilt behind me, we did a few little sprinkled around a line. You really can't get it wrong, so I encourage you to just play and make each block unique.
So we are just going to peel off the paper backing, and it helps if you put like a little crease there and then it will just lift away. I say that of course and now it's being difficult, there we go. We will just peel that away and I think I'm just going to float this one in the middle. So I'll just kind of eyeball it there and I think I'm going to put one of these inside it just to stack them. So let's go ahead and grab that as well. We could even do a third one - that might be fun. Kind of echo our little nesting template with fabric - there we go. How cute is that?
And so of course you could do this on the ironing board so you don't have to transfer it, but it stays pretty well. There's just a little bit of tack to it. So you just want to be careful. Then we'll make sure everything looks good and then you want to press straight down. You don't want to slide your iron when you're working with fusible. Just hold it in place until that glue can really set in. We'll make sure we get our whole block fused down, there we go. Okay so that is all fused. So now all you have to do is finish that off with some top stitching to secure it in place. I really recommend using this Superior Invisible Thread - it's a great product and you just use regular thread in your bobbin. That way you don't have to change colors - it makes the top stitching go super quick.
And so then now we just get to set our blocks together. So let's look at the quilt behind me. We have seven blocks across by seven down. So I just started with the courthouse steps blocks kind of facing up all the way
across in this first row. And then the next one I just alternated. And they're
on their side and that surrounds our fun applique heart blocks, which was the look I was going for. And so then I finished it off with a 2 ½ inch border with my background just on all sides. I like that it just kind of floated the design a little bit. And I quilted it with this fun heart pattern. It ends up 70 inches square, which is a great throw size.
I hope you guys enjoyed this and I'll see you next time on At Home!



