Skip to content

Free quilting video tutorials from Missouri Star

Quilting Tutorials
Heirloom Blooms Baby Quilt

Heirloom Blooms Baby Quilt

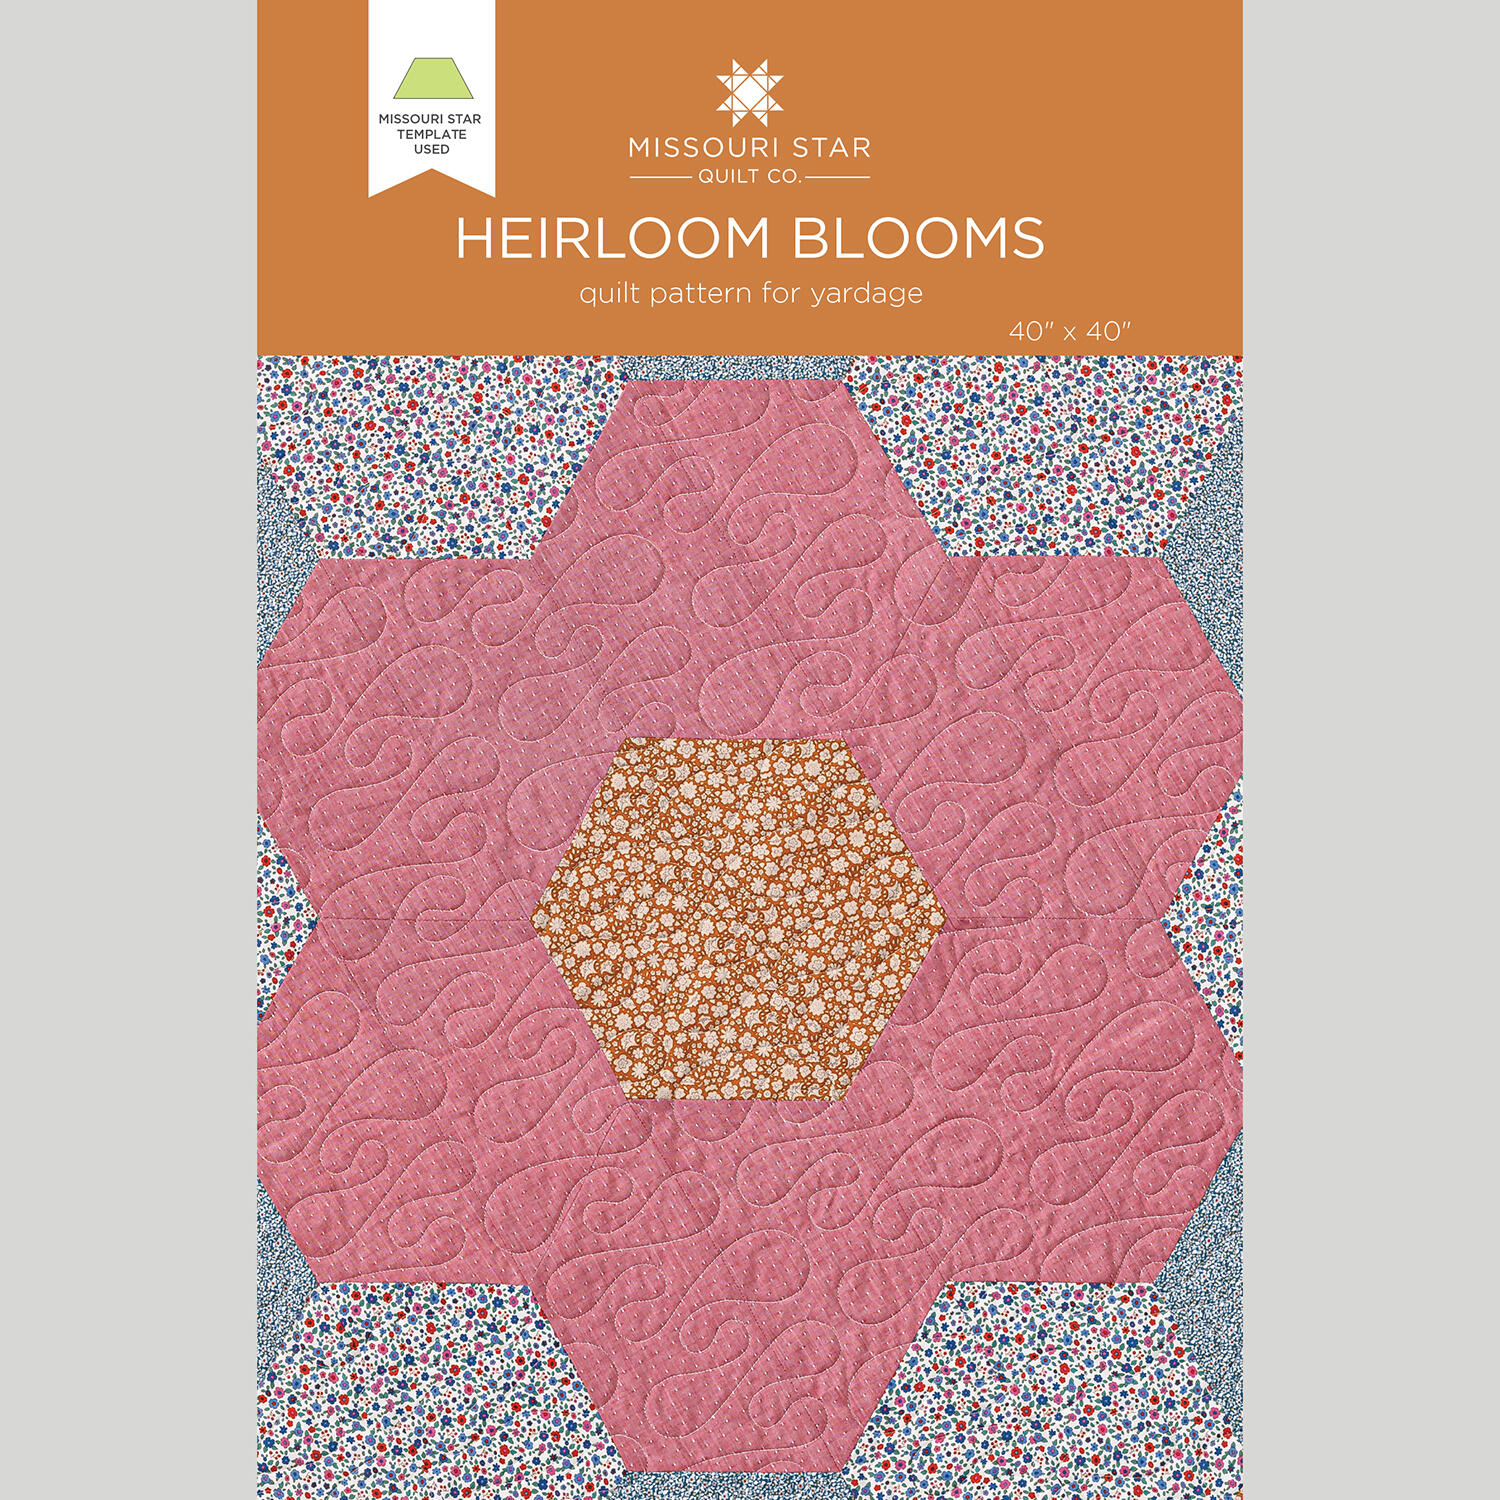
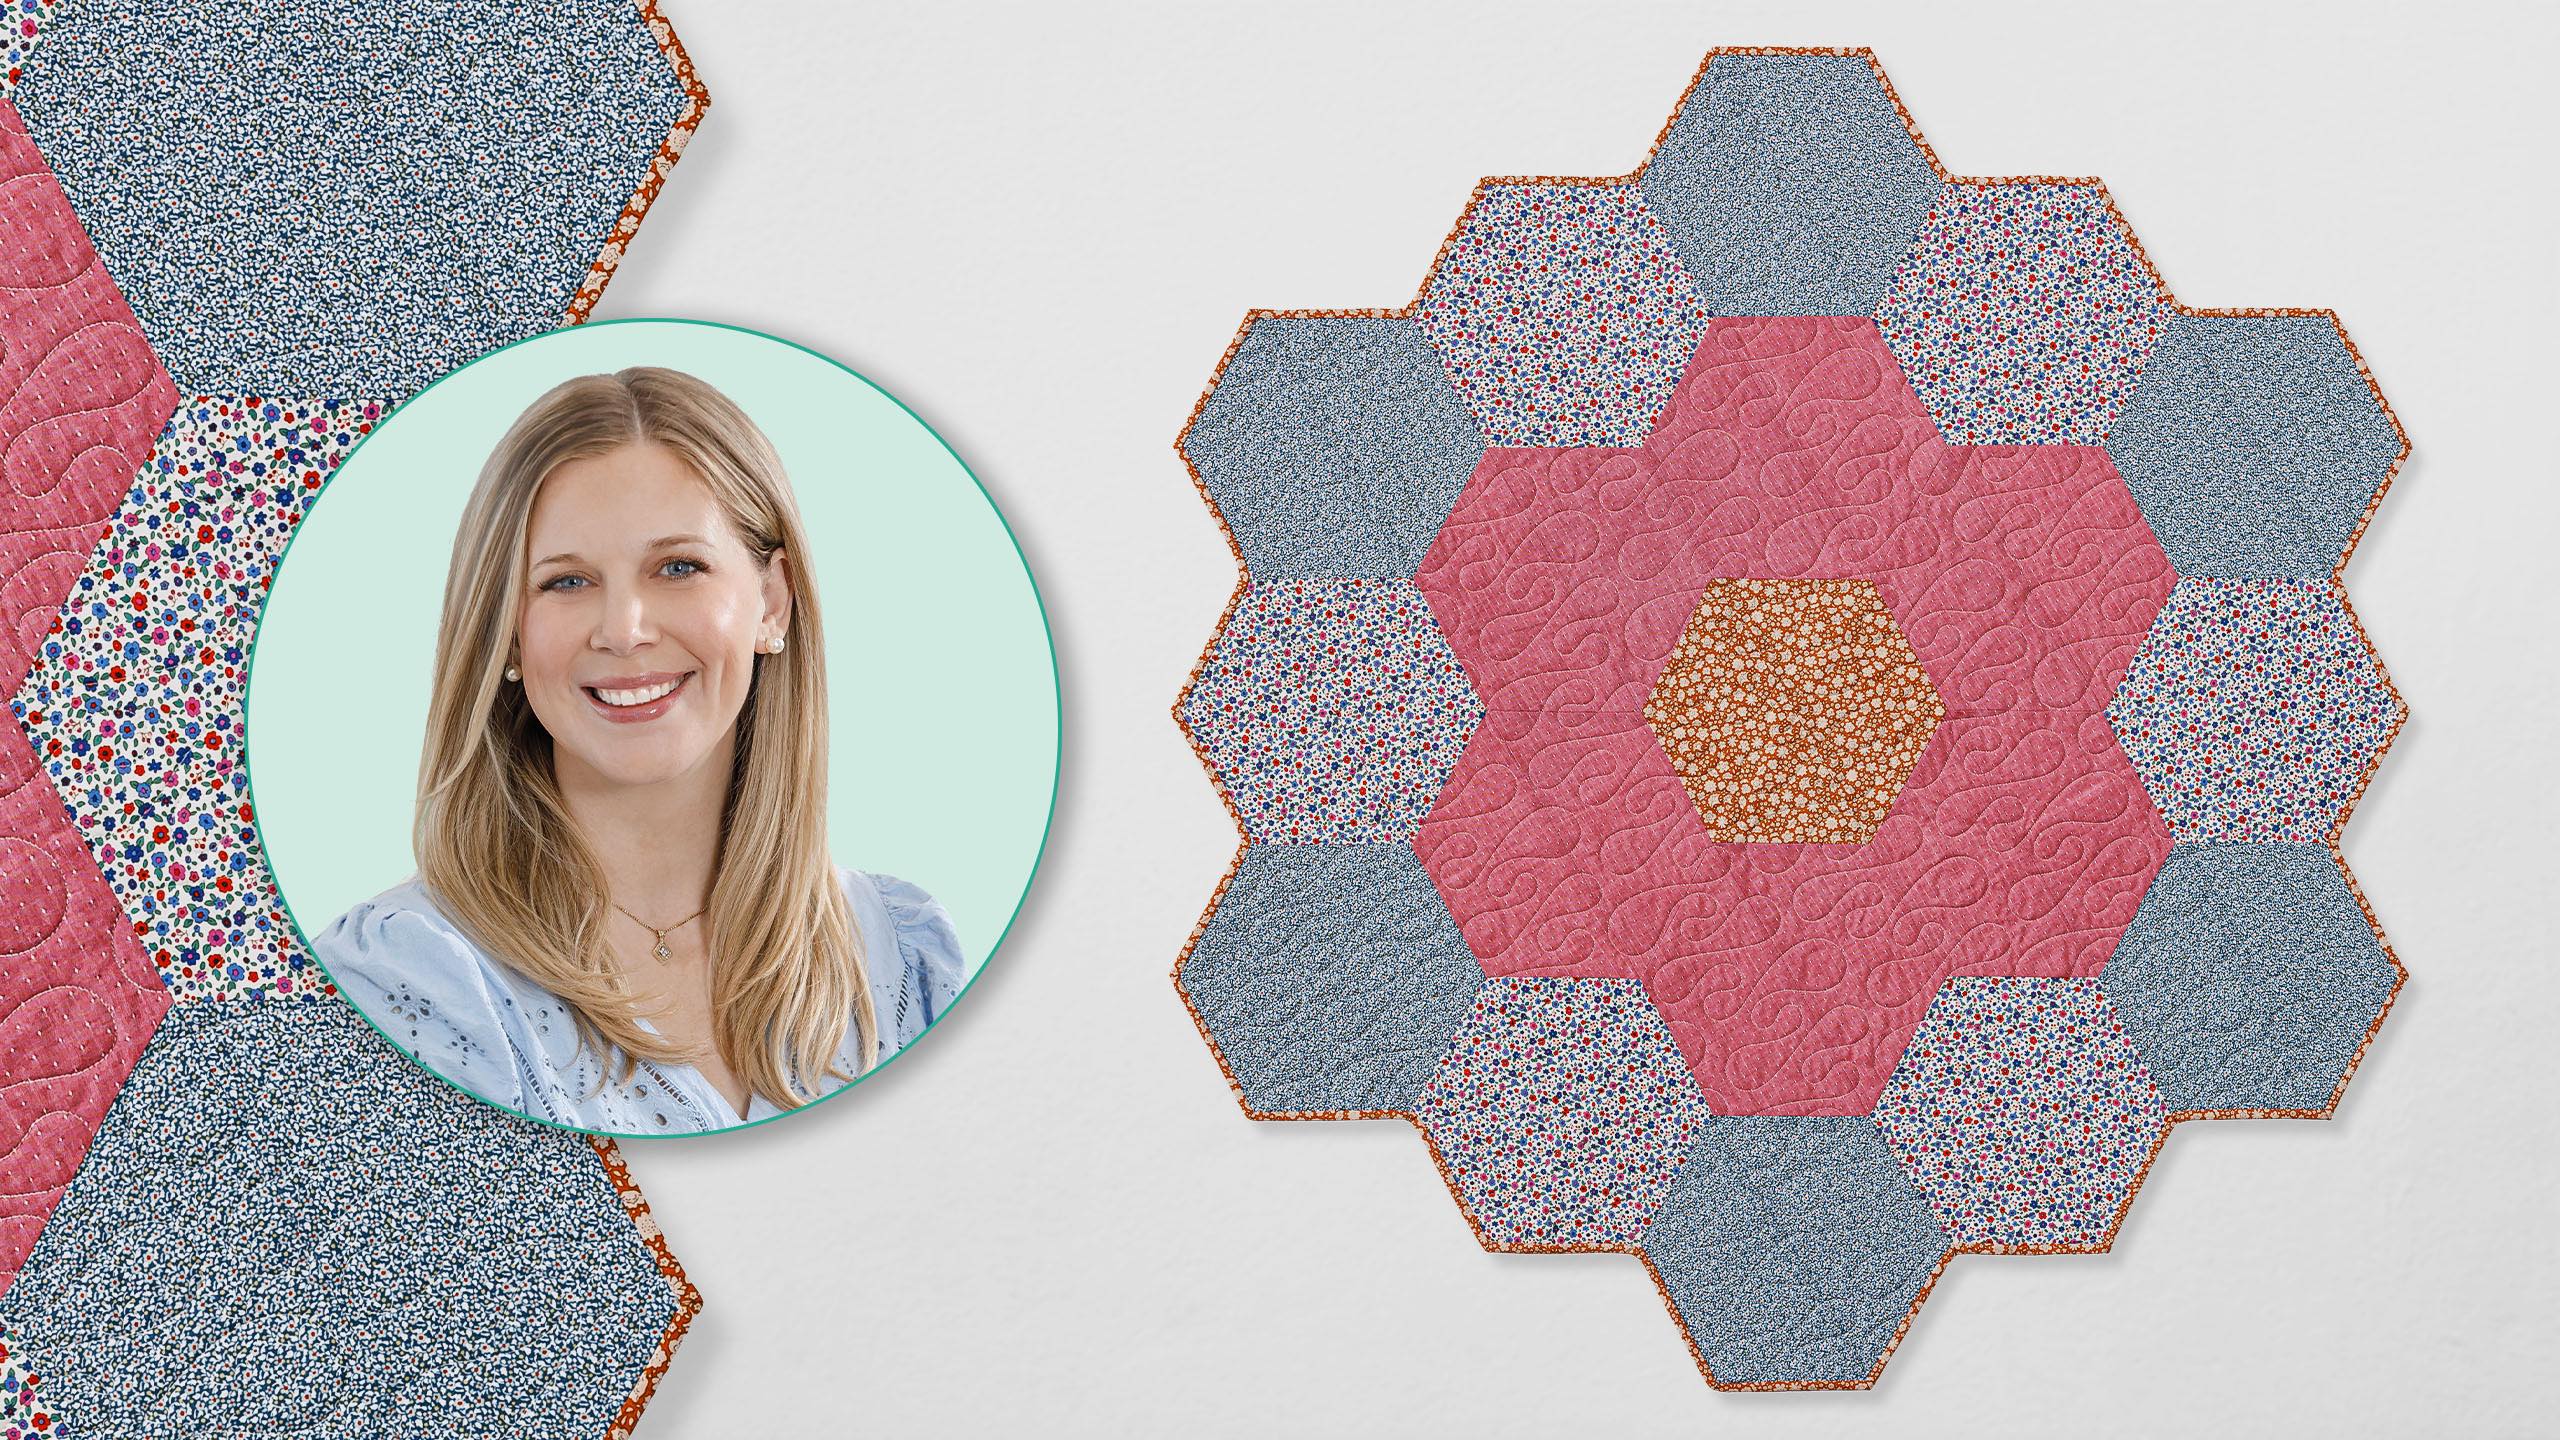
Make a beautiful baby quilt that is sure to become an heirloom! Using English paper piecing, you make large hexagons that form a darling flower shape. Misty shows you how easy it is to perform this hand-sewing technique.

Instructor

Misty Doan

Misty Doan grew up surrounded by sewing and quilting. She loves spending time sharing tutorials each week each week, and when she’s not stitching up one of her fun sewing projects for home decor, most likely you’ll find her hanging out with her husband and three awesome kids or working on a house project.

Common Questions

What is covered in Heirloom Blooms Baby Quilt?

Make a beautiful baby quilt that is sure to become an heirloom! Using English paper piecing, you make large hexagons that form a darling flower shape. Misty shows you how easy it is to perform this hand-sewing technique.

How long is the tutorial video?

The tutorial video is 00:10:59.

Are supplies listed for this tutorial?

Yes. The tutorial page includes the supplies and materials connected to this project.

Video Transcript

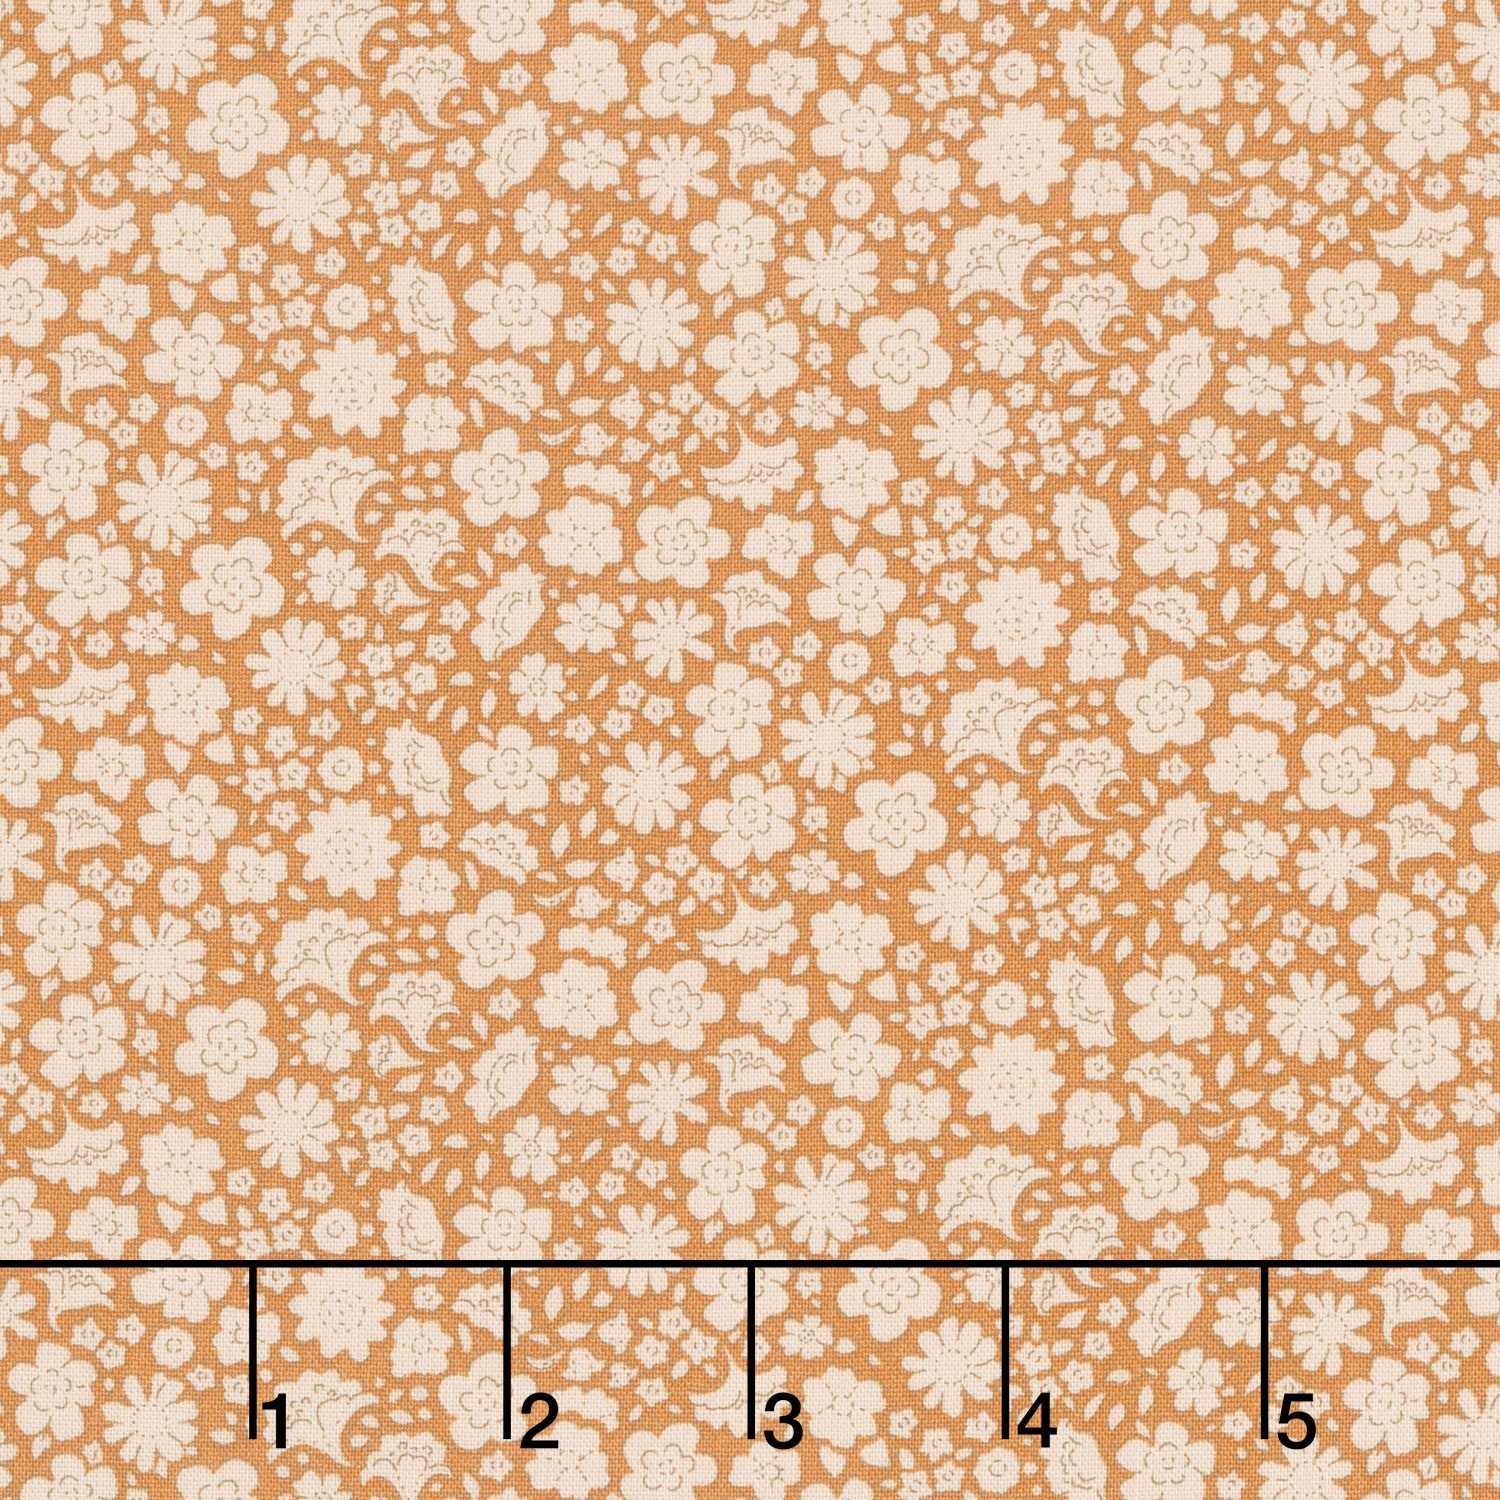
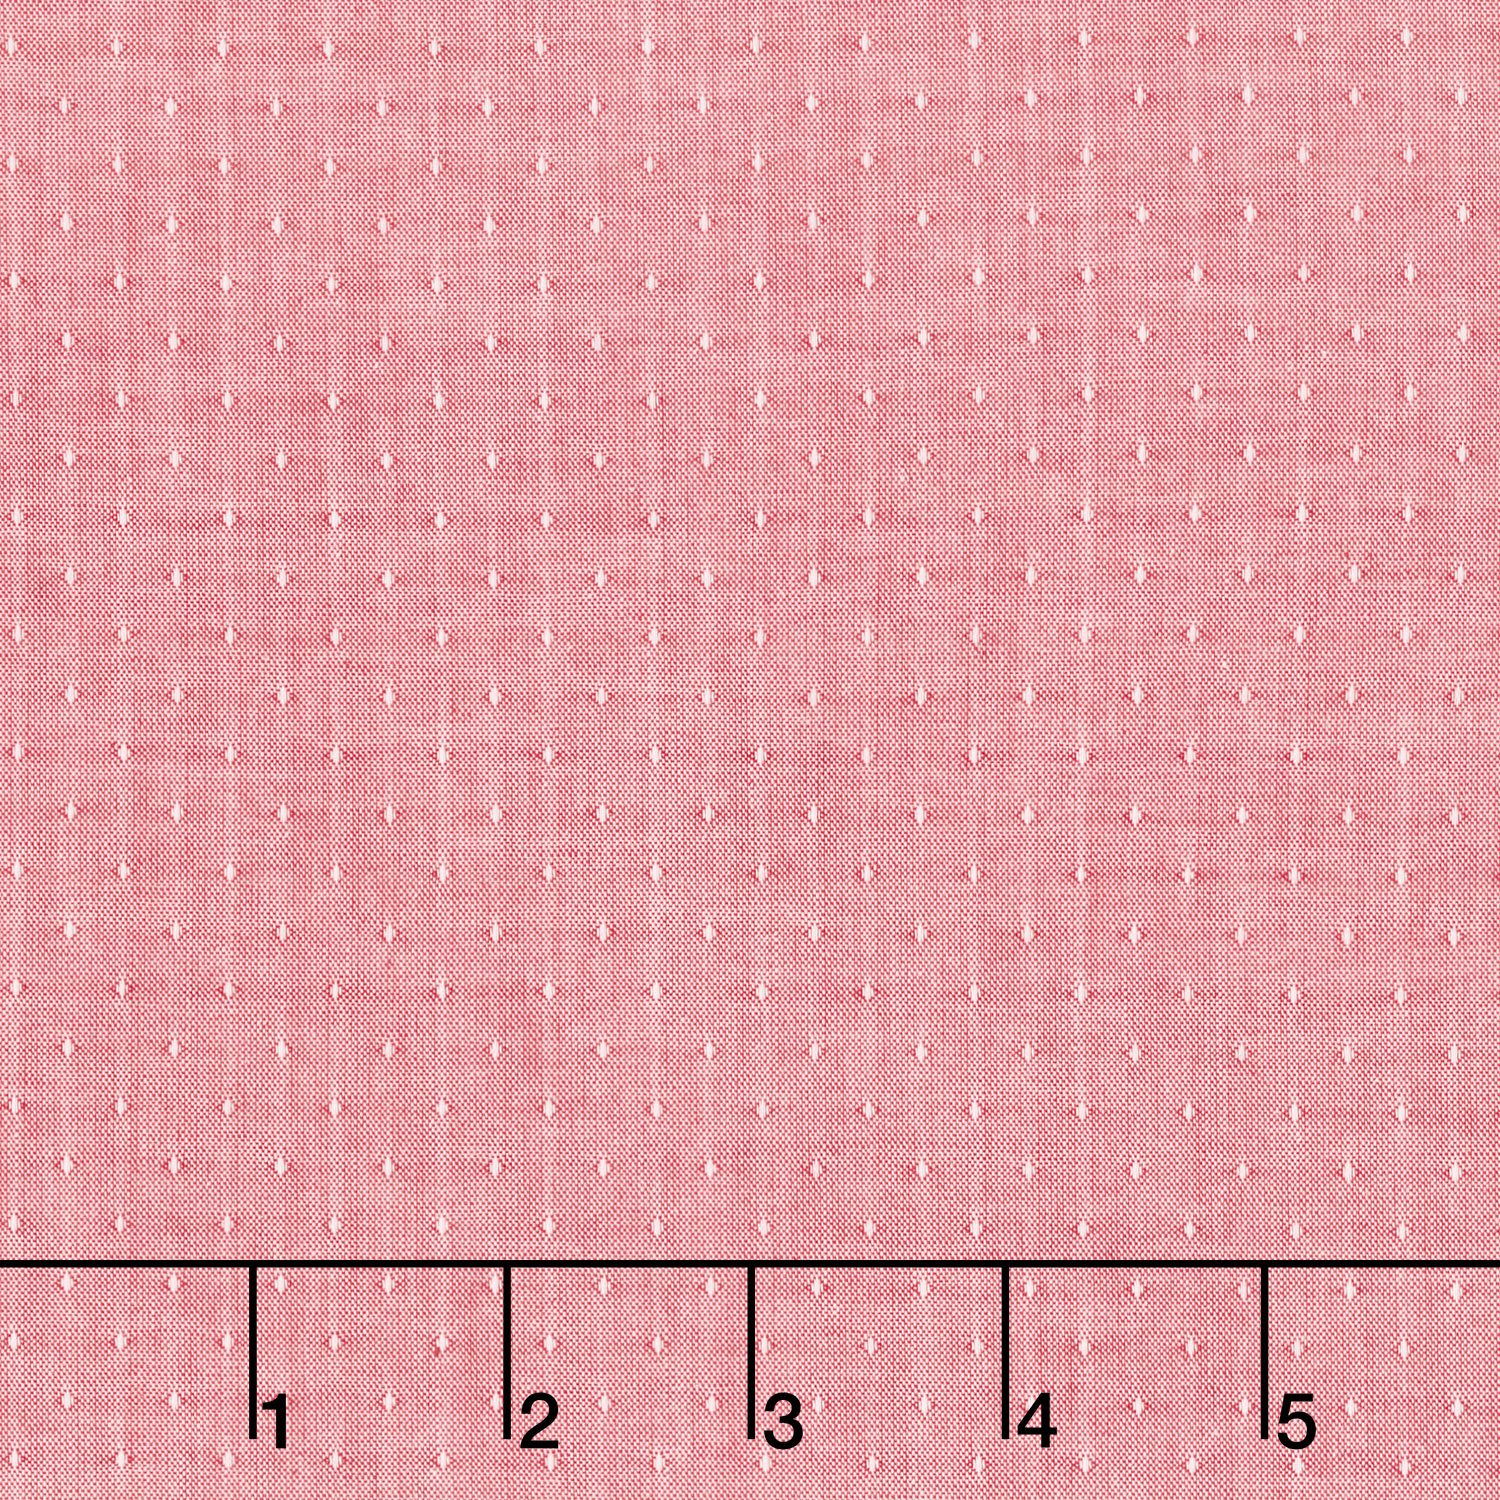
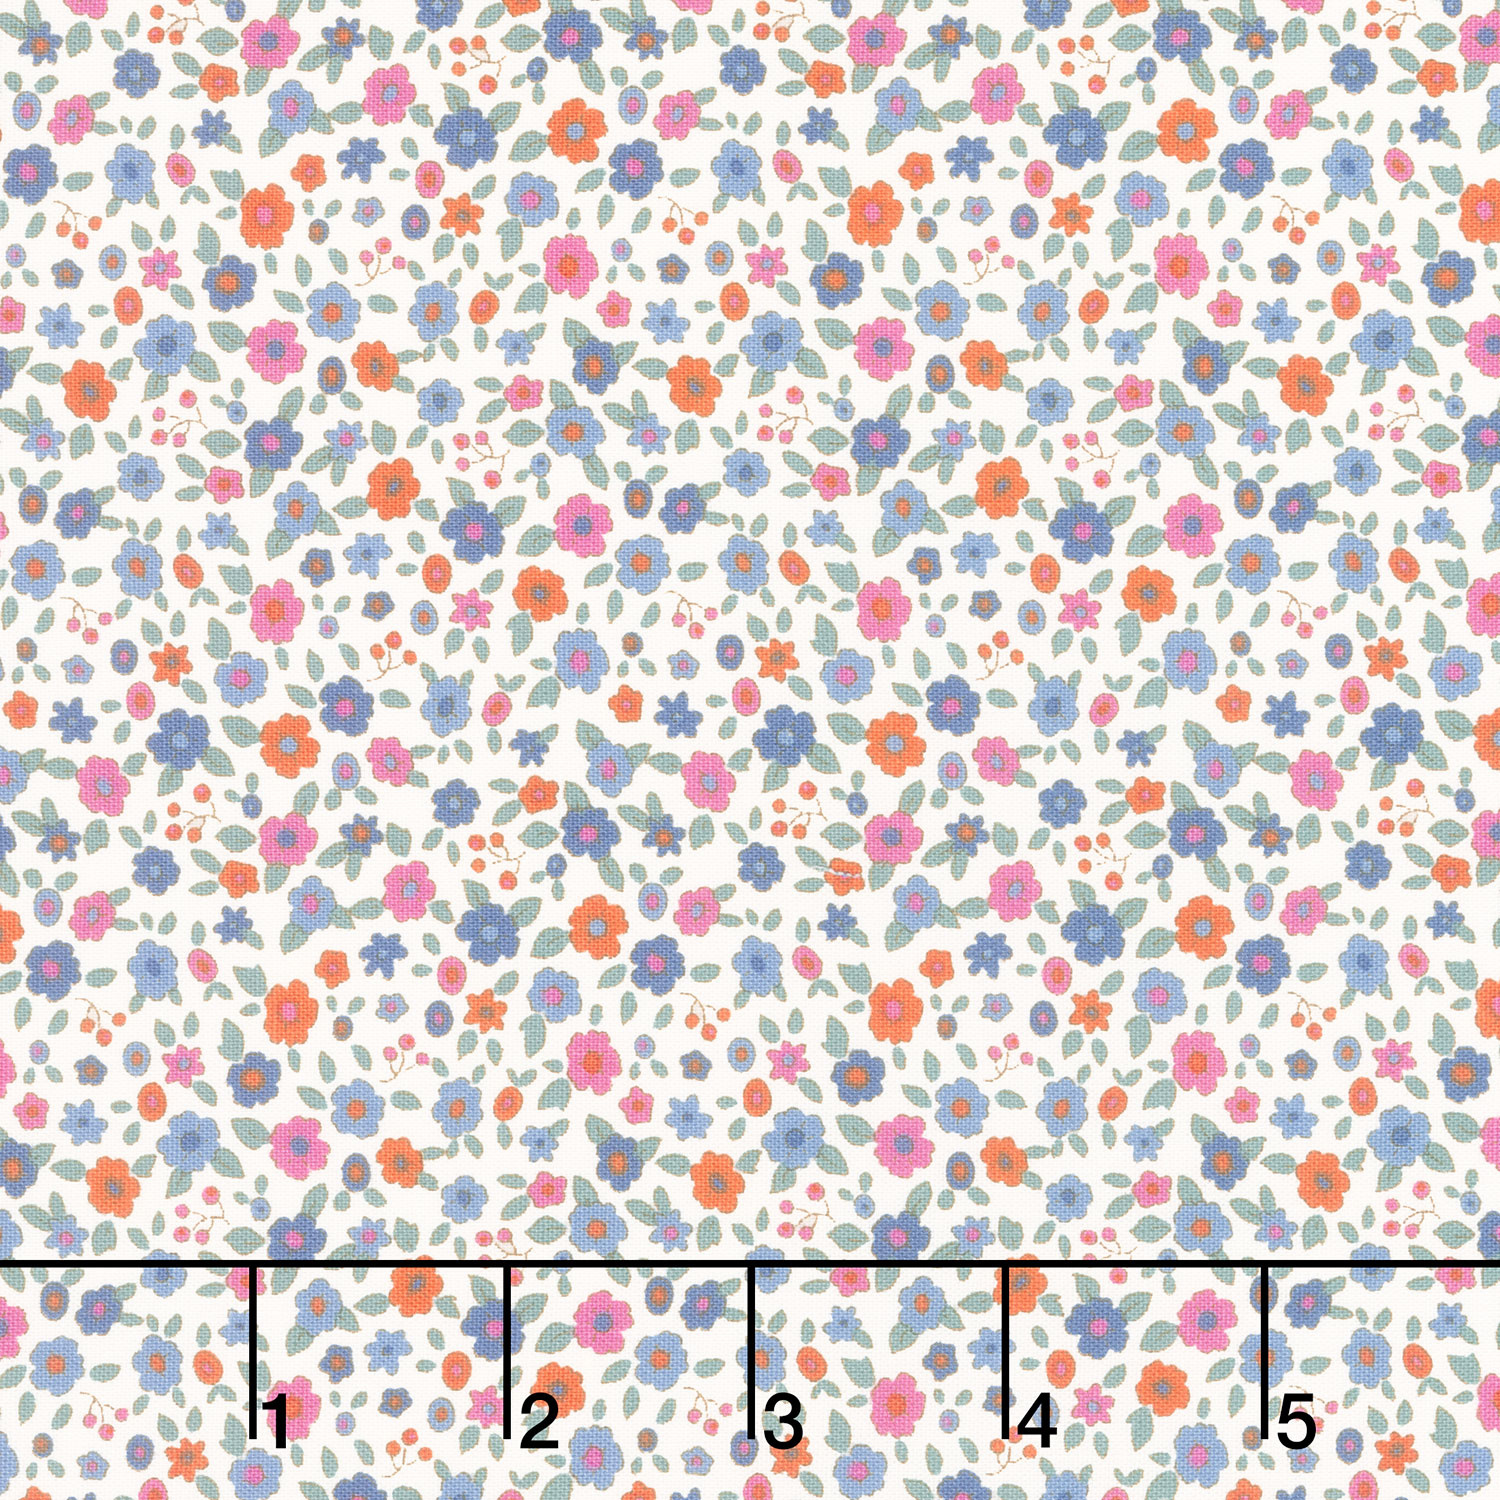
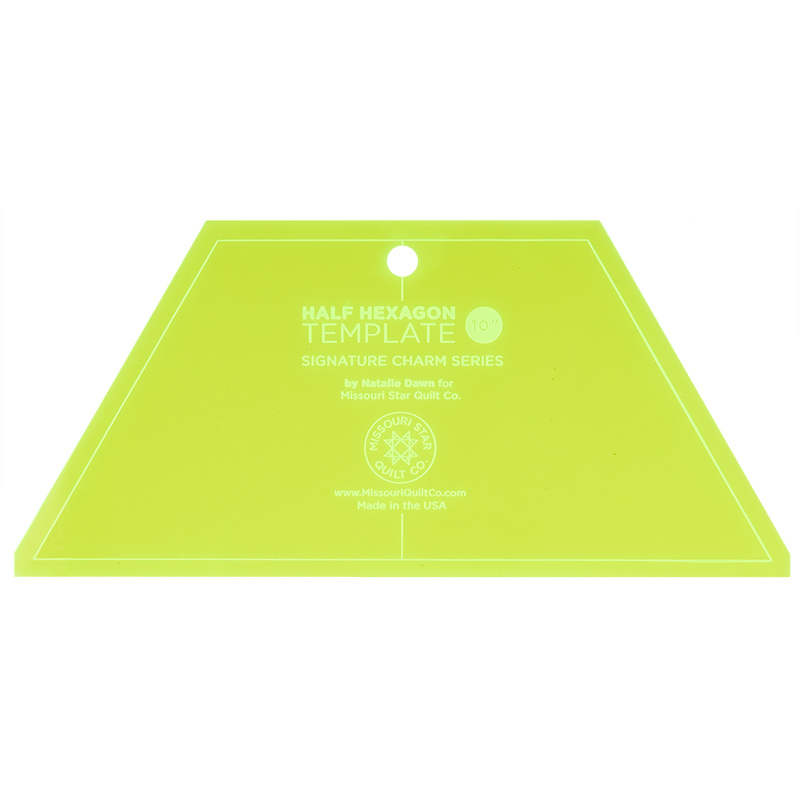
hi everyone welcome to at home I'm super excited about today's project we're going to make this adorable heirloom blooms baby quilt let me show you how to make [Music] [Music] it today's project is so quick and easy but I love it so much I think it's just so sweet and perfect for a little baby girl or even for a springtime tabletop your choice and you can make this bigger once I show you how it's done it's really really simple so to make the size that you see behind me you are going to need a qu of a yard for your Center Fabric and then 5/8 of a yard for the other three Fabrics that you're using you're also going to need the Missouri Star half hexagon template a nice sharp rotary cutter and let's get started so all of these Fabrics that I chose for this project are those beautiful prints from Tilda her creating memories line and I think the tiny florals really add to the the perfect little kind of vintage Vibe of this project which is what I was going for and so from each of those to start with you're going to take your Fabric and we are going to cut it into 5 in strips so I have some here and the pattern of course will tell you exactly how many of each strip color you need but basically we are just going to then cut at out our half hexagons so I'm going to make sure that's nice and straight and that my Salvage isn't going to be peeking through on the back side there we go and I've already cut some off of this one so it's not a whole strip but it gives you a good idea make that first cut and trim trim trim there we go I'm just going to stack it up and then you can open this up and I can get at least one more out of this that little Notch it is helpful to go ahead and cut those out and that looks a little crooked so I'll straighten it there we go and so you're just going to continue by cutting out all of your half hexagons and then the Magic in this Quil is really all in the layout so let's go ahead now that I have a stack of each of my Fabrics you can see here's my pink this sweet little floral here this one here and the orange for my middle let's go ahead and pull this down and we're going to use this design wall to talk about the layout so since the layout is really the magic of this project I have our Missouri Star design wall here behind me but just a reminder you can lay this out on your floor your sewing table whatever you need the trick is just really that you need to lay this out first um this is flannel so if even if you have some scrap flannel you could pin that up on the wall um and it would hold your blocks for you as well and so we're going to start with our orange half hexis since that's what I've selected for the center and I'm just going to place these on the design Wall To indicate the center of my little Bloom and then from there there I know that the pink is going to surround all the way around that middle and so I'm going to go ahead and start building out there we go so we'll have one here and one here and I really want to get kind of this top half laid out for you so you can see how it comes together here we go just enough to get going oh here's a good little call out that I'm just noticing one side of these they look really similar but one side has white dots and the other has a red dot because it's actually the reverse side so I'm going to fix that real quick I think I like the little white dot best it's a good thing to watch for and so then up next I'm going to come in with these cute florals and those are going to go here and here and then also [Music] here these kind of alternate all right here's this of course this little one's going to go here and then our last print is this one here and so let's add that just like so and I just think this is so fun once it really starts to take shape we'll add one more over here and you can see how we will just repeat this layout so that it continues on the bottom side and completes our flower the other thing that's really fun is once you understand this you can keep adding and make this as large as you want so the P possibilities are really endless I think this would be the most fun if you made like a a big picnic size can you just imagine sitting on this big flower how cute would that be so now let's talk about sewing these together because our rows as you can see are now kind of different sizes so I'm going to go ahead and slide this one up first and we'll we'll work on this little row of three here so I like to just stack it just like that and we'll take it to the sewing machine so if you've never worked with half hexis before we have our little stack here and we of of course we want them to end up lining up like this so when we sew them we're actually going to fold it back and this little NCH that we cut out is going to line up perfectly with the notch there and you can see how we'll have a little bit of overhang at both the top and bottom that's what you're looking for that's going to give you a nice clean seam and it's going to sew beautifully and so let's go ahead and sew our quarter inch seam just like normal there's [Music] one and so now you can see when I fold that back how nicely that lines up let's go ahead and give it a press at the iron and so I'm just going to roll that back make sure it lays nice and flat and so so same thing we can now come back and add our next hexagon by just folding that back lining up the little Notch that we caught we cut and so we see that little bit of overhang top and bottom that's our quarter inch seam allowance and sewing this down all right now I'll press that as well okay so now let me go ahead and grab the little single half hexy that we're going to add to this because I know it can be a little confusing to add you know a partial row and that you're going to be doing a lot of that in this project and so you can see here we're going to just kind of float this on top of this block and fold it back back and you should have about a qu inch of overhang on both sides and we are just going to go ahead and find that starting place with our needle make sure I'm lined up down here as well and in this case just CU I like to I do back stitch just because I want to make sure that I've locked those seams in when I go to quilt this or trim it later and then now you can see we're just going to roll that back and take it over here to the iron and we'll just go ahead and roll that back and it looks great let me bring it over here to make sure you guys can see exactly how this turns out so once this is pressed you have this quarter inch of overhang on both sides and that's going to be absolutely fine because once this is quilted and trimmed when we go to sew on our binding it's going to cover that that's going to get lost in the seam and so that's exactly what you're looking for every single juncture once you keep adding this is going to look exactly like that so if you see that you're doing it correctly you're not making any mistakes and so then the only other trick to this quilt is we did use um a bias binding so we can make all of these little Curves in and out beautifully to make our way all the way all the way around and you'll need 5/8 of a yard in order to bind that and then we added this little floral to the back and quilted it with dollop I think it turned out super cute and it's about 4 4 in square all finished so I hope you guys enjoyed this tutorial on heirloom blooms and I'll see you next time on at home hey everyone thank you so much for watching at home we're so excited to be almost a million Quilters strong here at Missouri Star and so if you haven't already joined our family be sure to subscribe and hit that notification Bell so you can be notified of all of our future tutorials and we'll see you soon [Music]

More Fabric by Yard tutorials

See all