
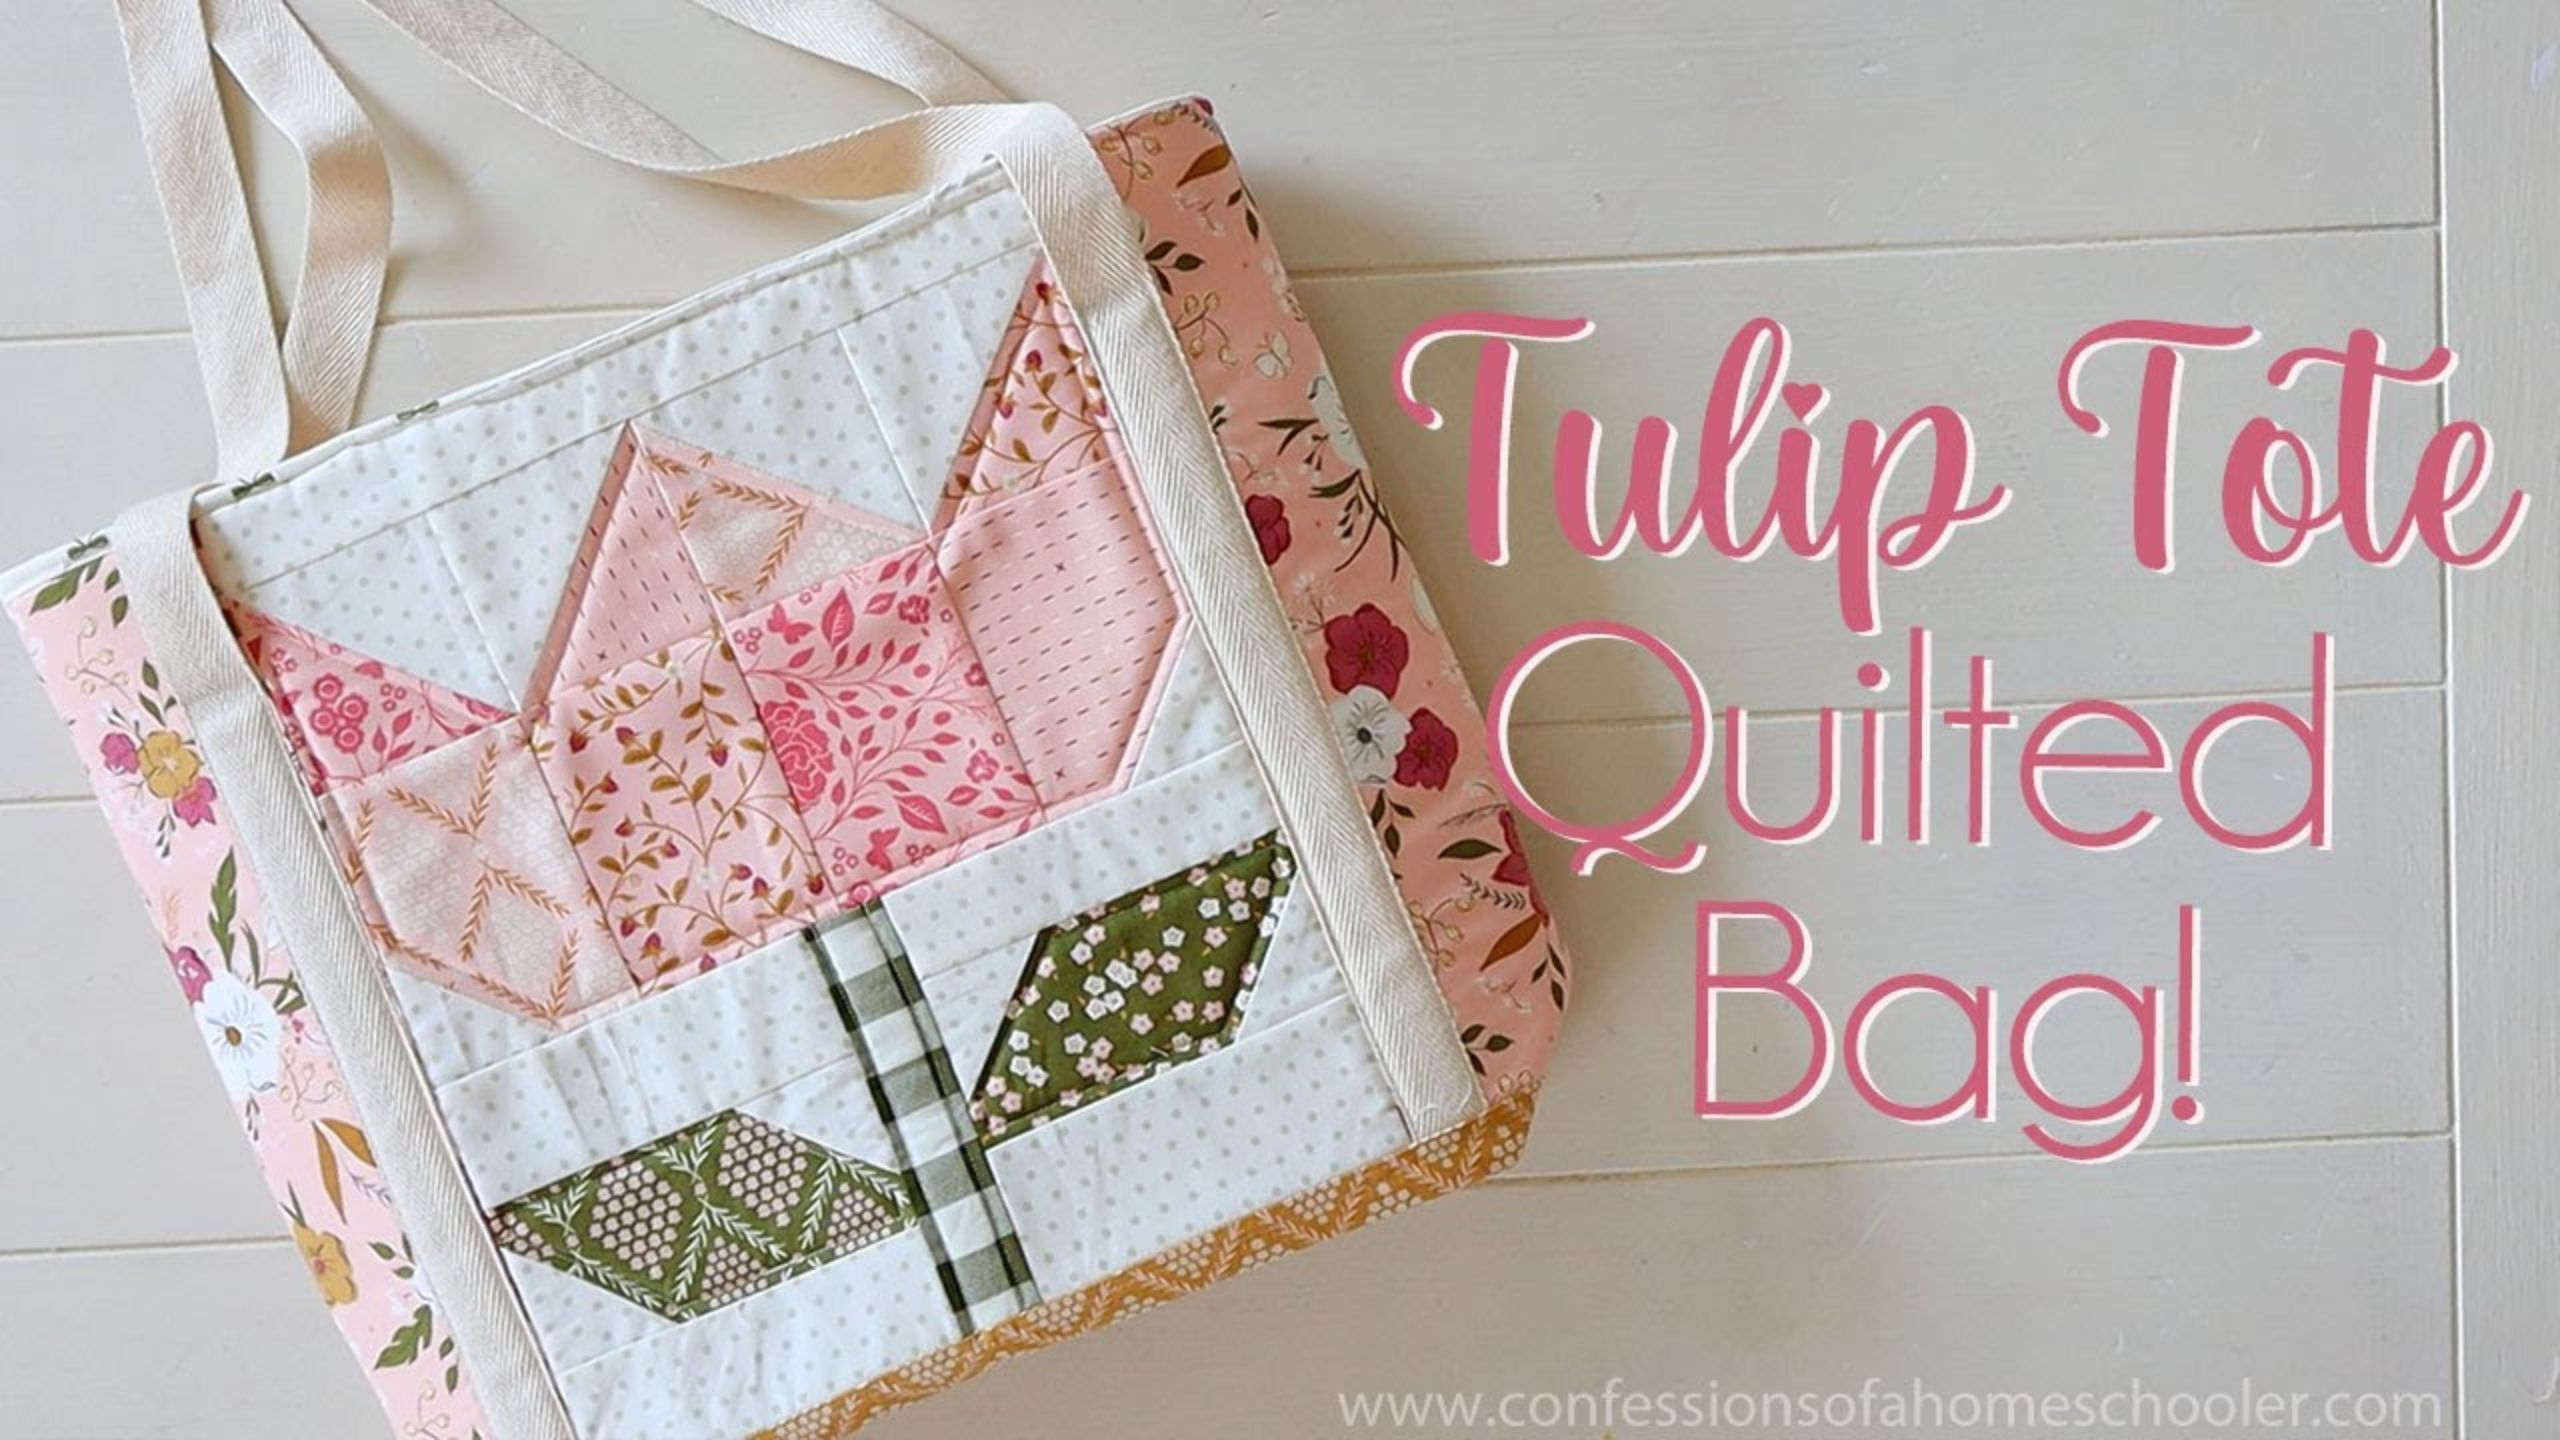
How to add an Inset Zipper Pocket & Recessed Zipper | The Tulip Tote Bag with Erica Arndt
 Erica Arndt
- Fabric by Yard
- Totes, Bag, Purses
- Beginner
- Quilt size 13" × 5"
Get ready to upgrade your bag game with Erica Arndt's latest tutorial: The TULIP TOTE BAG! Learn how to add inset zipper pockets and a recessed zipper top closure. For this bag, Erica is using Evermore by Sweet Fire Road for Moda Fabrics - it's the prettiest line!
Instructor
Erica Arndt
Erica is a blogger, author, quilter, knitter, and maker of all the things! She is perhaps most well known for her homeschooling website, Confessions of a Homeschooler where she share homeschooling tips, curriculum, and organizational ideas, in addition to her quilting patterns and videos. She loves creating weekly video tutorials to share helpful tips, tricks, tutorials, fun projects, and inspiration for sewing and quilting.
Shop this tutorial
 Bosal In-R-Form Plus Fusible Foam Stabilizer - 20" x 58"$16.75Shop →
 Sulky Fuse 'n Stitch Stabilizer - One Yard$7.25Shop →
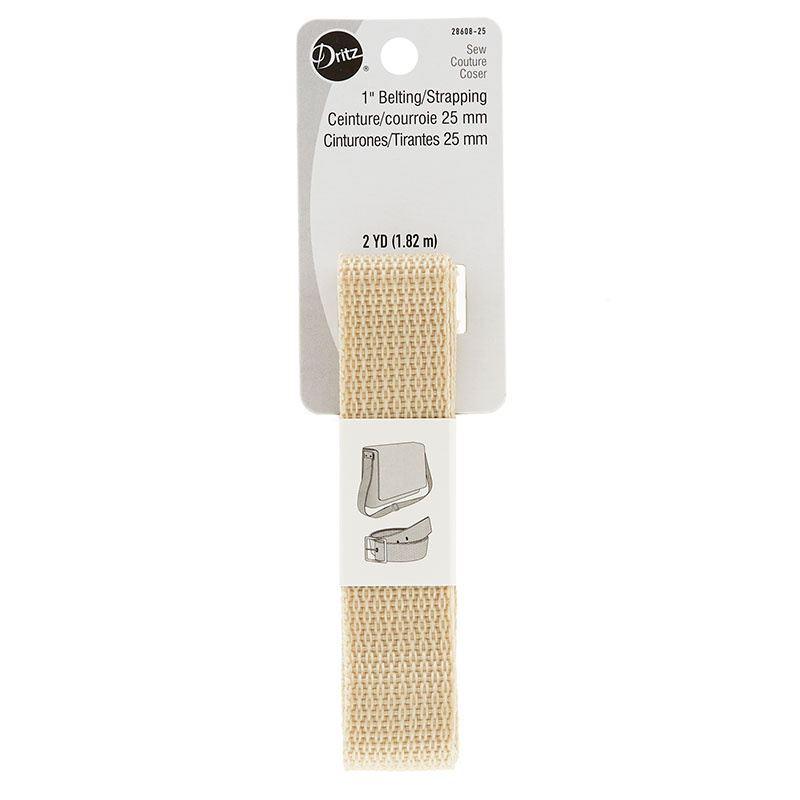 1" Polypro Purse Strapping - Natural$5.95Shop →
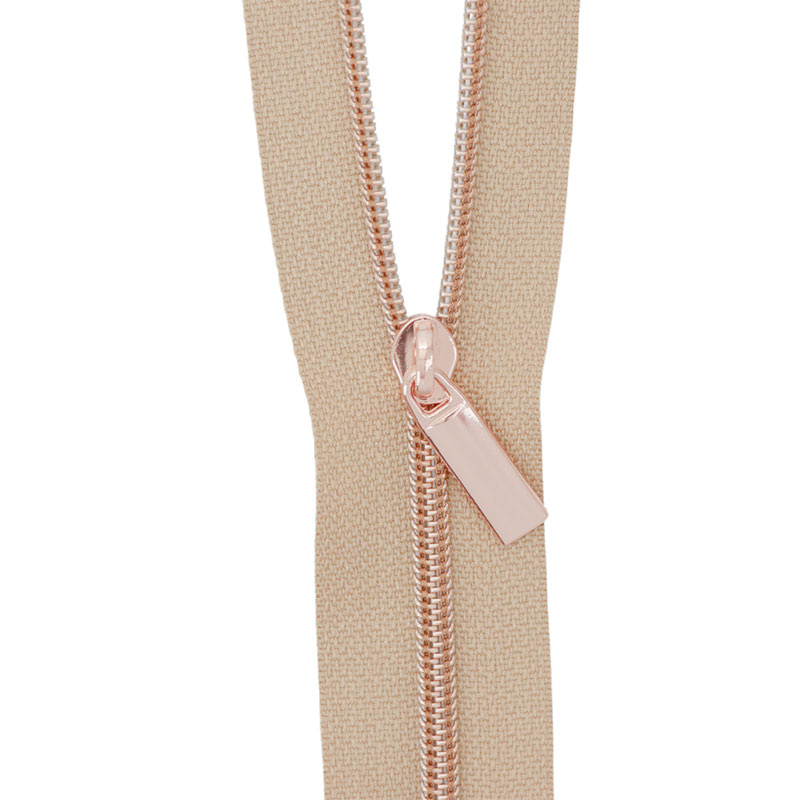 Sallie Tomato #3 Nylon Zippers & Pulls - Natural with Rose Gold Coil$12.75Shop →
 Olfa Splash Aqua 45mm Rotary Cutter$18.75Shop →
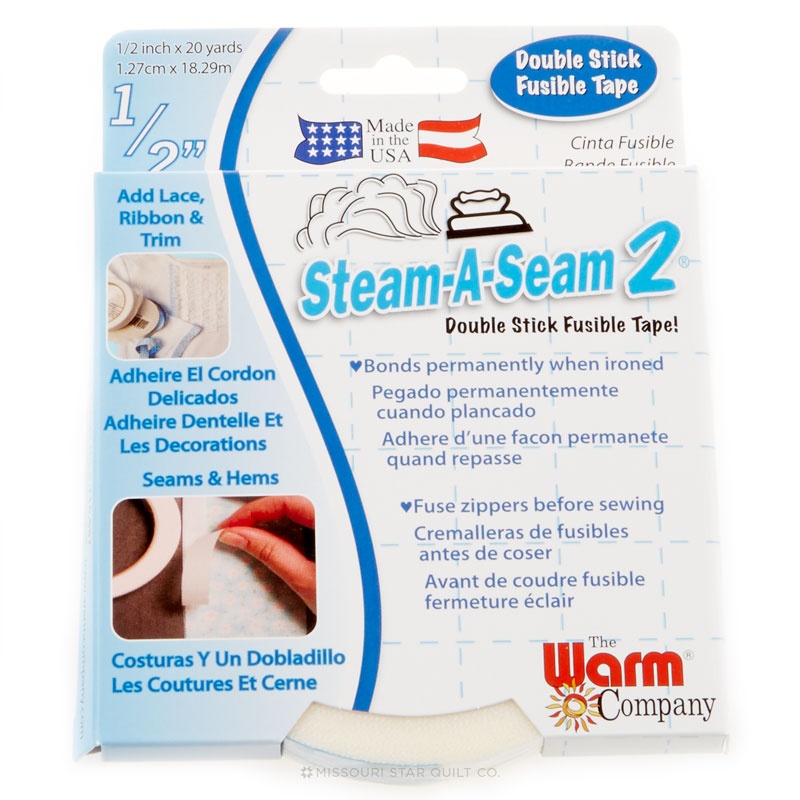 Steam-A-Seam 2 - 1/2 x 20 yds$5.45Shop →
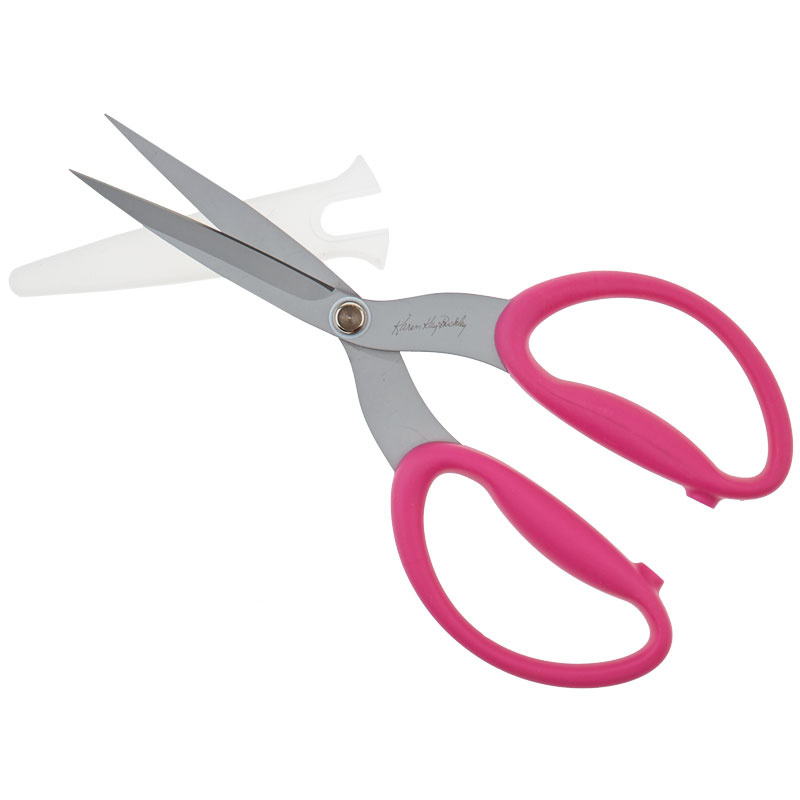 Perfect Scissors Multipurpose Large 7 1/2"$30.95Shop →
 Creative Grids Quilting Ruler 6 1/2 x 24 1/2in$31.99Shop →
 Oliso® TG1600Pro+ Smart Iron® - Turquoise$199.99Shop →
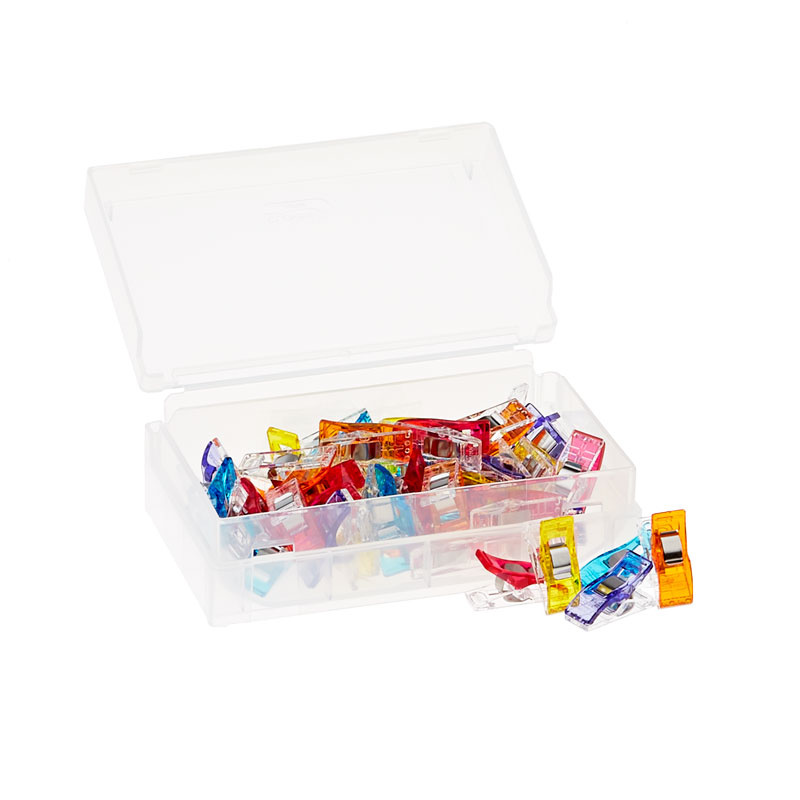 Wonder Clips - Assortment 50 Count$33.95Shop →
Chapters
Common Questions
What is covered in How to add an Inset Zipper Pocket & Recessed Zipper | The Tulip Tote Bag with Erica Arndt?
Get ready to upgrade your bag game with Erica Arndt's latest tutorial: The TULIP TOTE BAG! Learn how to add inset zipper pockets and a recessed zipper top closure. For this bag, Erica is using Evermore by Sweet Fire Road for Moda Fabrics - it's the prettiest line!
How long is the tutorial video?
The tutorial video is 00:39:11.
Are supplies listed for this tutorial?
Yes. The tutorial page includes the supplies and materials connected to this project.
Is a transcript available?
Yes. A written transcript is available on the tutorial page.
Video Transcript
Materials you will need:
Fabric pieces
Zipper (matching length to the opening)
Sewing machine or needle and thread
Fabric scissors
Pins or clips
Iron
Step 1: Prepare your fabric pieces
Ensure that the fabric pieces you want to attach the zipper to are cut and prepared according to your project requirements. It's a good idea to finish the raw edges of the fabric to prevent fraying.
Step 2: Mark the zipper placement
On one of the fabric pieces, mark the placement of the zipper. Use a fabric pencil or tailor's chalk to draw a straight line down the center of the fabric where the zipper will be inserted.
Step 3: Prepare the fabric for sewing
Fold and press the seam allowances on both sides of the fabric along the marked line. This creates a clean edge for the zipper to be attached.
Step 4: Attach the zipper to one fabric piece
Lay one fabric piece right side up on your work surface. Place the zipper face down on top of the fabric, aligning the zipper teeth along the pressed seam allowance. Pin or clip the zipper in place.
Step 5: Sew the first side of the zipper
Using a zipper foot on your sewing machine or a needle and thread, stitch close to the zipper teeth, sewing through both the zipper tape and fabric. Start sewing at the top of the zipper and sew all the way down to the bottom. Backstitch at the beginning and end to secure the stitches.
Step 6: Attach the other fabric piece
Place the second fabric piece right side down on your work surface, aligning it with the fabric piece to which you've attached the zipper. Make sure the zipper is sandwiched between the two fabric pieces, with the right sides facing each other. Pin or clip everything in place.
Step 7: Sew the other side of the zipper
Again, using a zipper foot on your sewing machine or a needle and thread, stitch close to the zipper teeth, sewing through both the zipper tape and fabric. Start sewing at the top of the zipper and sew all the way down to the bottom. Backstitch at the beginning and end to secure the stitches.
Step 8: Test the zipper
Before proceeding, zip up and down the zipper a few times to ensure it moves smoothly and the fabric pieces lie flat when closed.
Step 9: Finish the seam
Open up the fabric pieces and press the seam allowances away from the zipper on both sides. If desired, you can topstitch along the edges of the zipper tape to give it a finished look.
That's it! You have successfully inserted a zipper into your fabric. With practice, you'll become more comfortable with this technique and achieve professional-looking results.


