
How to Free Motion Quilt Jagged Crazy Weave with Leah Day
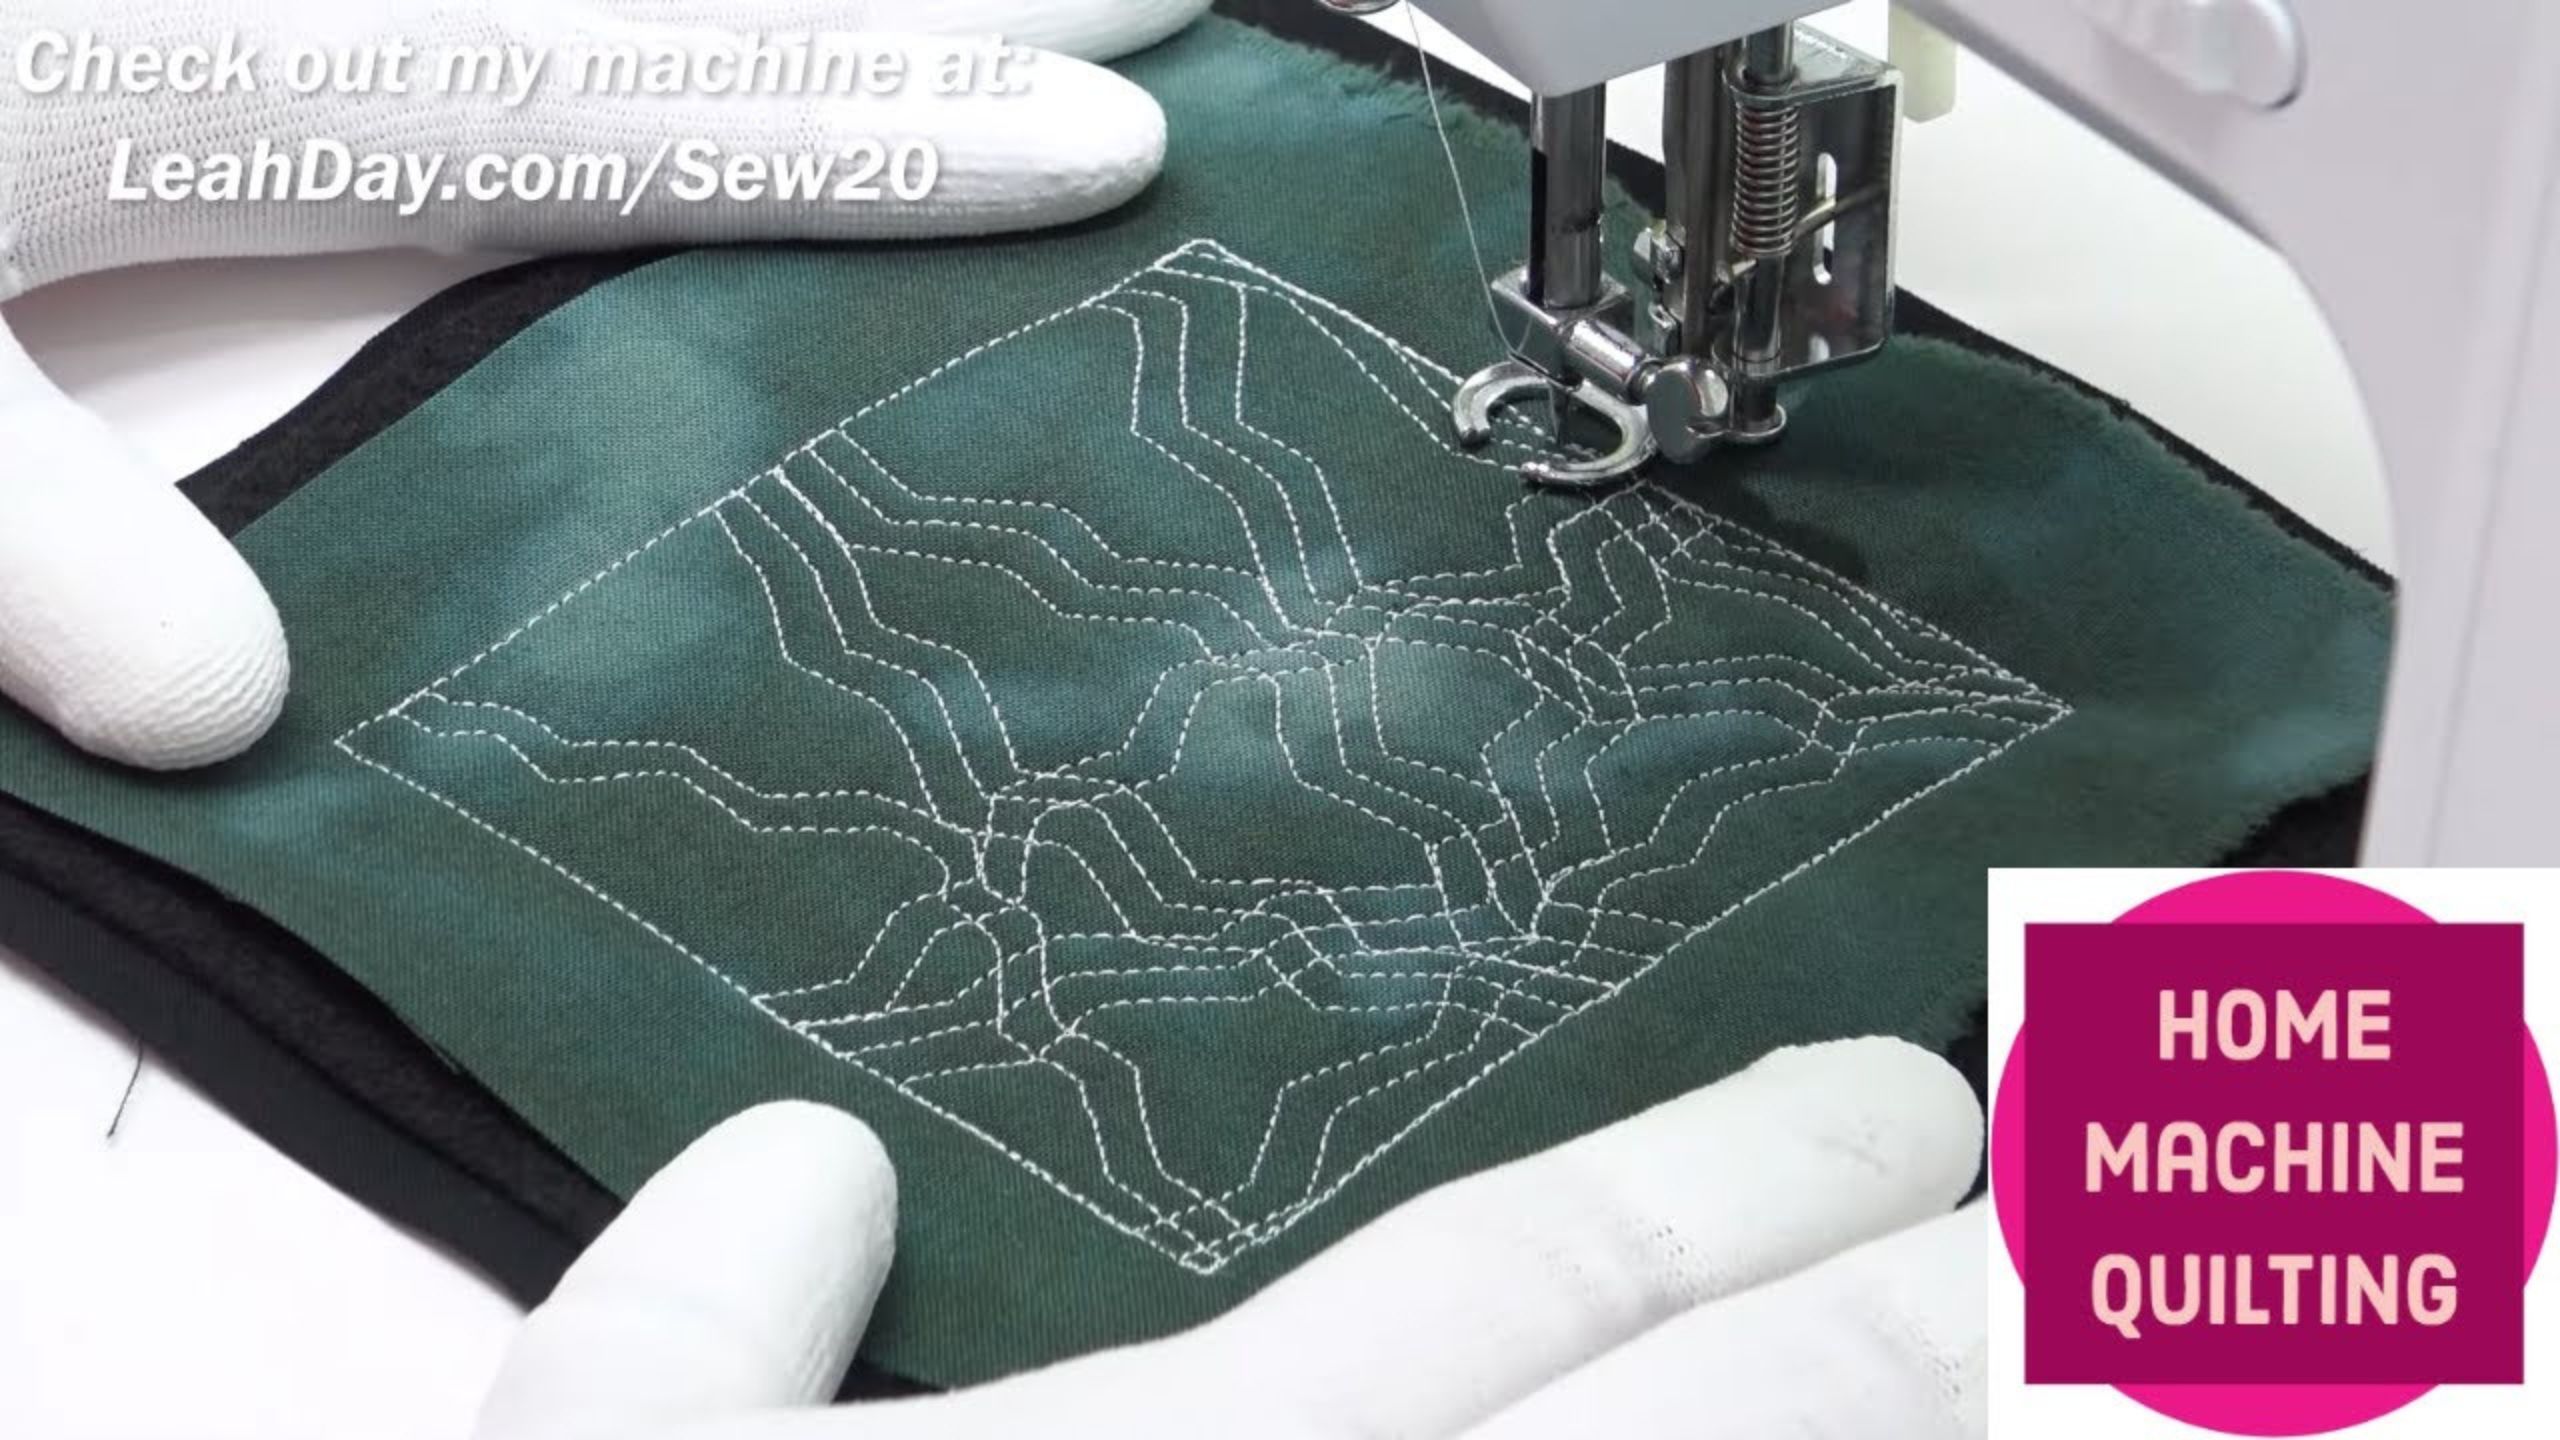
It's time to learn a new free motion quilting stitch! Join Leah Day as she shows you how to machine quilt Jagged Crazy Weave on a home sewing machine.
Instructor
Leah Day
Leah Day is an online quilting teacher and founded LeahDay.com in 2009. She teaches quilting online via free YouTube videos and is also a dealer for Grace longarm machines and frames. Her mission is to empower and encourage quilters of all skill levels learn to make beautiful quilts.
Shop this tutorial
Common Questions
What is covered in How to Free Motion Quilt Jagged Crazy Weave with Leah Day?
It's time to learn a new free motion quilting stitch! Join Leah Day as she shows you how to machine quilt Jagged Crazy Weave on a home sewing machine.
How long is the tutorial video?
The tutorial video is 00:03:56.
Are supplies listed for this tutorial?
Yes. The tutorial page includes the supplies and materials connected to this project.
Is a transcript available?
Yes. A written transcript is available on the tutorial page.
Video Transcript
This is a really funky design that's going to be stitched both in this direction as I zigzag across my quilting space and in the opposite direction. So this is how it starts out. You're going to stitch some zigzaggy lines across your quilting space and then occasionally leave gaps big spaces open in the design. And this is going to open it up make sure it's not too dense. Make sure it's not you know quilting a little bit too much on your
quilt. And it's also leaving that nice beautiful texture.
So like here I'm going to leave that gap open because I think it looks really cool. And occasionally you can see that I would leave the gap in the middle. And then also occasionally I would stitch over and leave the gap a little bit on the top and a little bit on the bottom.
So if you want to learn how to quilt this design by itself in a little bit more detail, check out my other video on how to quilt jagged lines, that's the name of this design when it's like this. But when we double it, it becomes jagged crazy weave.
So here we go. I'm going to start stitching. I'm going right across with my
zig zaggy line and I pretend like there's a gap to the left of that. So I'm going to kind of zig in and over and you can probably already tell that this is going to be a little challenging to keep track of where you are and what you're doing, like what you're echoing.
So right now I'm going to echo that line. What I mean by echo, I mean that I'm stitching another line parallel and equal distance away. So I'm aiming
for just a little bit less than a quarter inch distance spacing.
All right, so now I want to make my little gap area. And again you have to kind of pay attention to what you're doing because we're now at the point we're really overlapping. So I'm going to stitch out. I think I'm going to stitch over, kind of create like a v-shaped gap. So I'm going to stitch over a good bit, about an inch or so. And then now I'm going to zigzag in and connect with that line I just stitched. So there we go, connect with that line. I'm going to travel stitch along it for a short distance and then I'm going to veer out again with another zigzaggy line creating two nice
open v shapes there.
But of course a little bit overlapping. So it's a little confusing so just remember what you're doing at any given time. Okay so now I'm going to echo that. I'll probably echo this two times and this is a great design to practice echoing. This is a great design to practice quilting straight lines and sharp angles in free motion, which as you can see is absolutely possible. And it's actually a really good thing to practice because you always end up with straight lines and sharp angles on your quilts stitching in the ditch. You can do that with free motion quilting, you can do that with ruler quilting too, but it's honestly a little bit faster and easier if you can master that skill just with regular free motion quilting too.
All right so we've got a gap there and a gap there and this is looking really
nice and crazy and overlapping. So I'm going to do another gap. I'm going
to travel stitch down and then I'm going to veer off making that gap this time kind of in the middle. There we go, reconnect and stitch to the side.
So this is an edge to edge design, so I'm going to depend on the edges of my quilting space for travel stitching. I'm going to depend on that in order to space out the lines of the design. So it's really necessary to have an edge of your quilting space. So this is going to work great in something like borders or sashing where you've got nice edges to build off of and work off of.


