
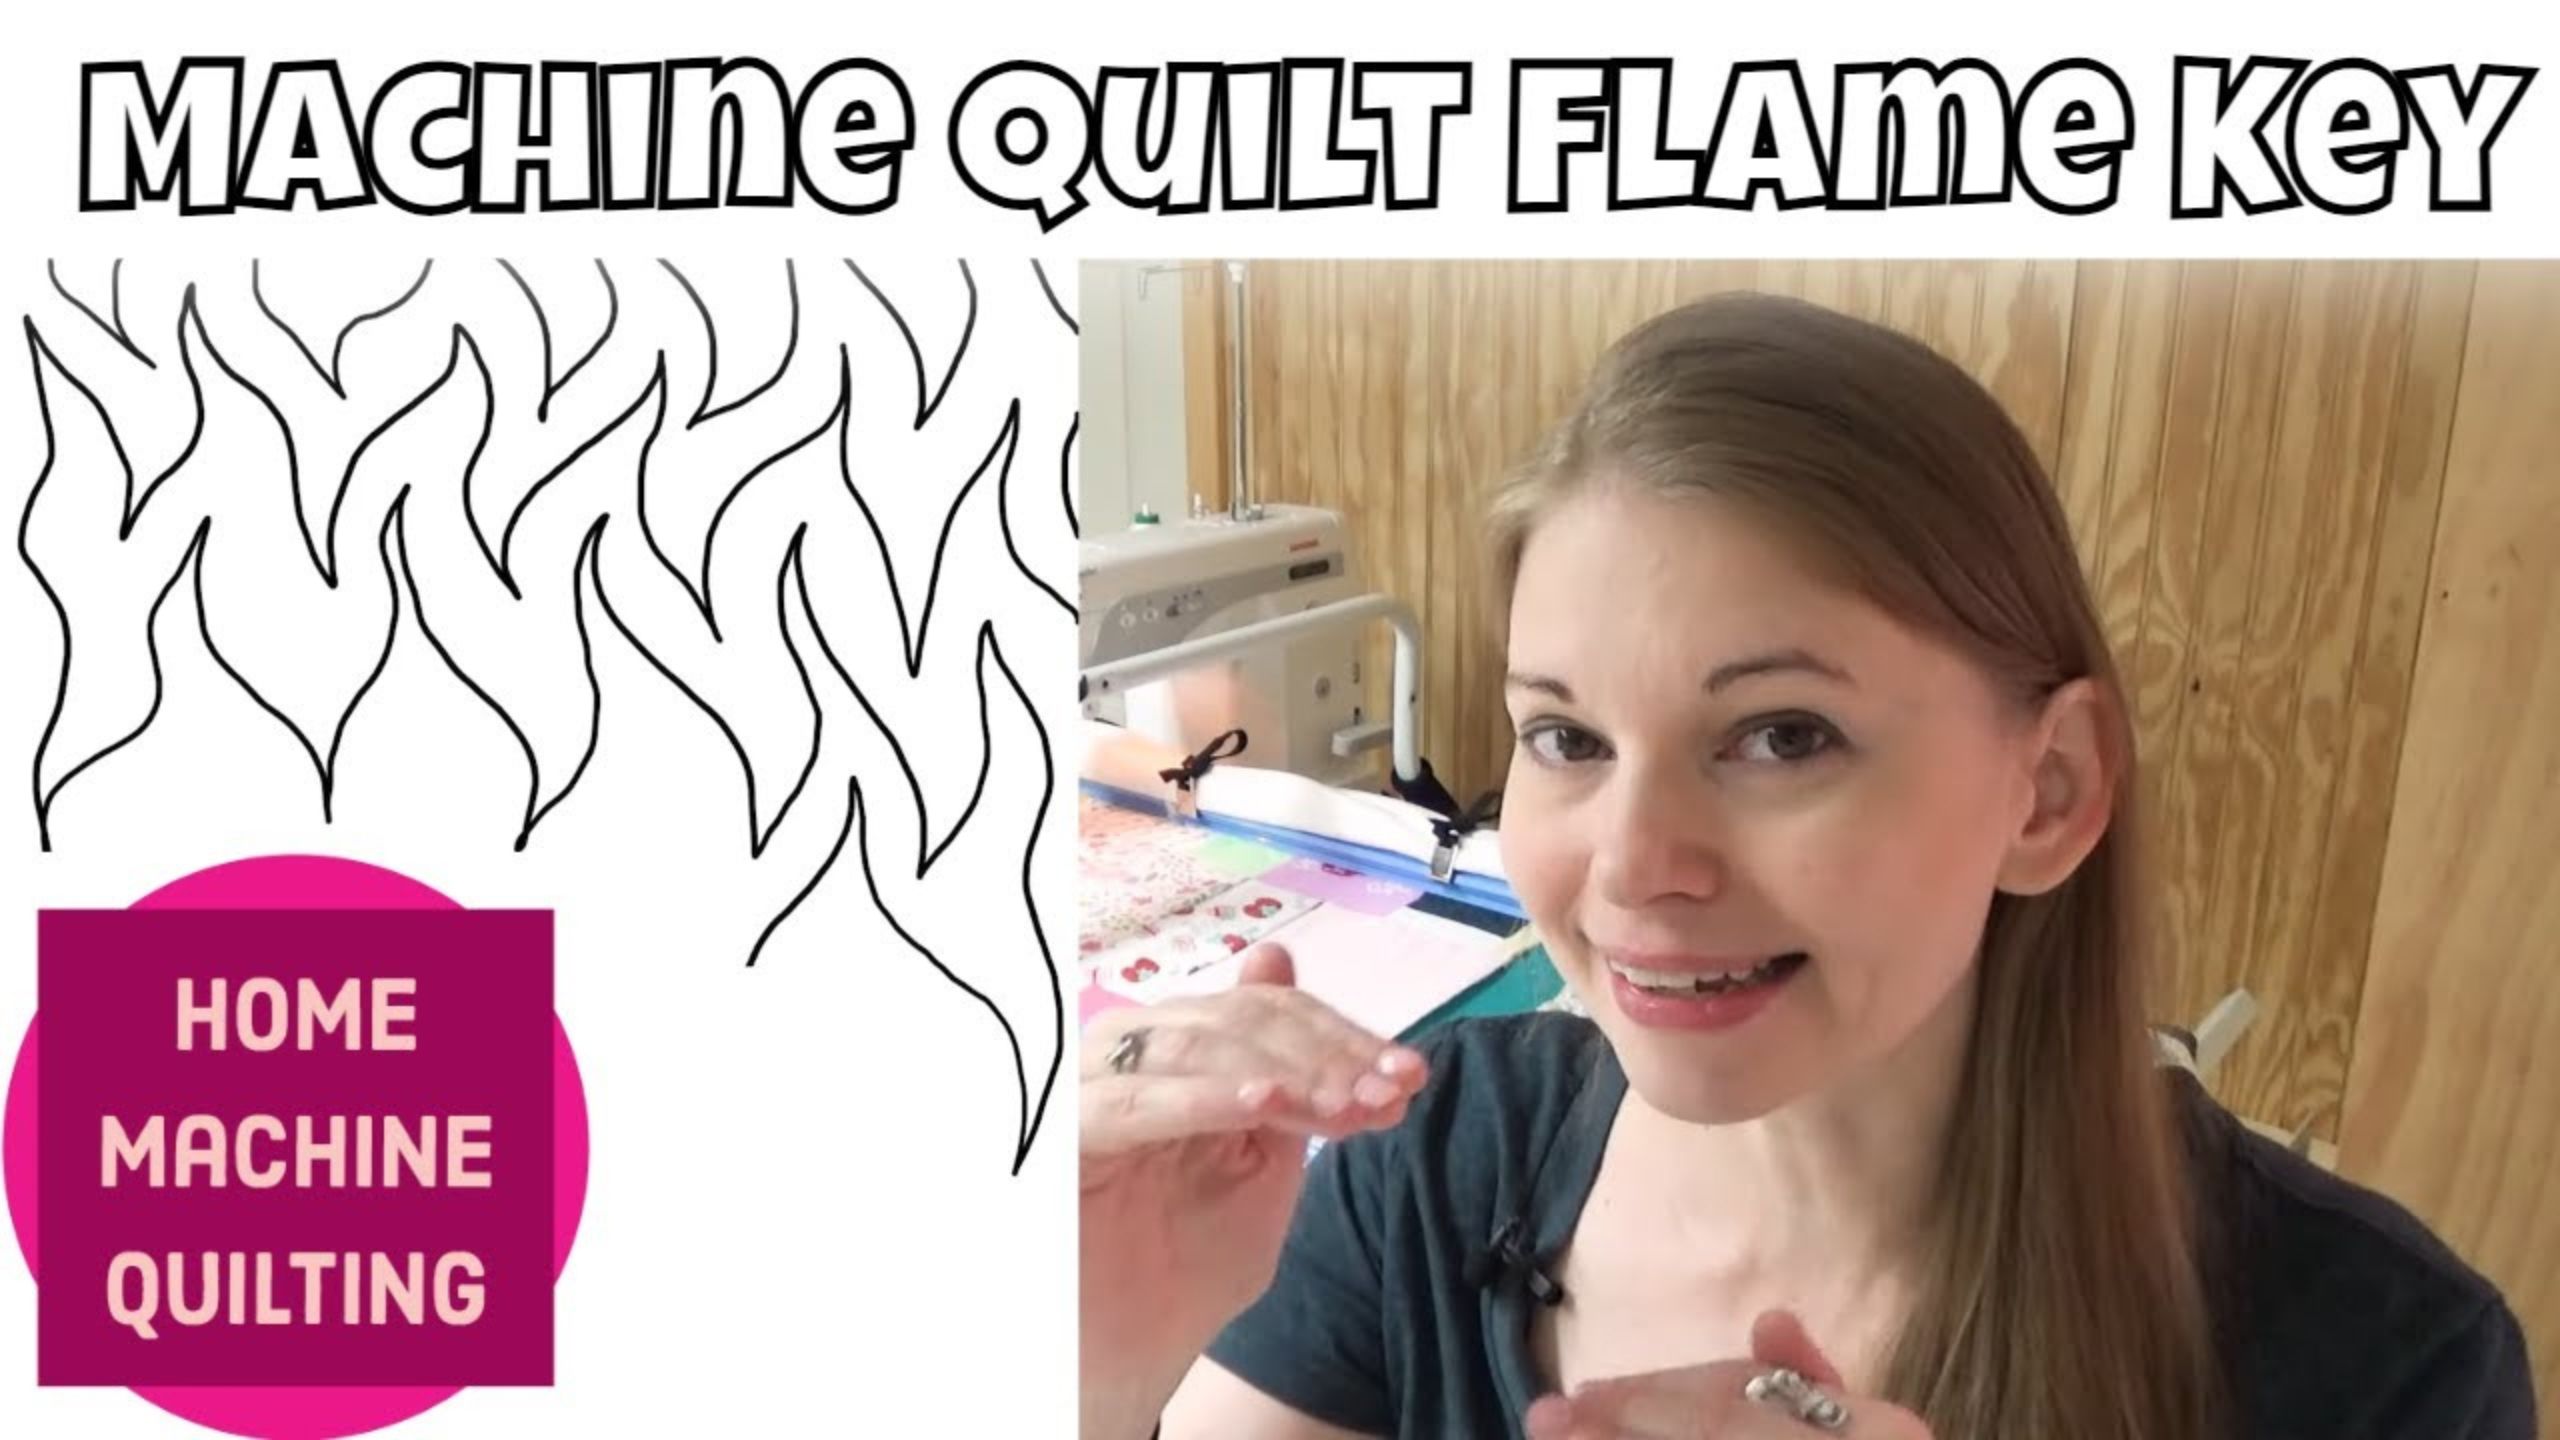
How to Machine Quilt a Baby Quilt with a Flame Key Pattern
Today Leah Day shows you how to machine quilt a baby quilt with a Flame Key pattern. This simple free motion quilting design adds a beautiful texture to your quilt and is very easy to quilt on your home sewing machine.
Instructor
Leah Day
Leah Day is an online quilting teacher and founded LeahDay.com in 2009. She teaches quilting online via free YouTube videos and is also a dealer for Grace longarm machines and frames. Her mission is to empower and encourage quilters of all skill levels learn to make beautiful quilts.
Chapters
- 0:00Machine quilting Flame Key
- 0:11Let's draw Flame Key to learn the design
- 0:41Machine quilting this design on a Cutie Frame
- 1:13Free motion quilting Flame Key
- 1:33Watch out for pleats while quilting a T-shirt quilt!
- 2:08Securing the edge of the quilt
- 2:42Quilting over a very bulky spot
- 3:28Quilting up to the next row of Flame Key
- 3:56Maximizing your quilting space on your home machine and frame
Common Questions
What is covered in How to Machine Quilt a Baby Quilt with a Flame Key Pattern?
Today Leah Day shows you how to machine quilt a baby quilt with a Flame Key pattern. This simple free motion quilting design adds a beautiful texture to your quilt and is very easy to quilt on your home sewing machine.
How long is the tutorial video?
The tutorial video is 00:05:00.
Are supplies listed for this tutorial?
Yes. The tutorial page includes the supplies and materials connected to this project.
Is a transcript available?
Yes. A written transcript is available on the tutorial page.
Video Transcript
We're going to draw it together. So this design is stitched by creating
first a kind of a foundation of a wiggly flame shape. And you're going to stitch that in a row. Now when quilting on the Cutie FrameI could have gone all the way across my quilt, but I would have had to stop and shift the quilt in order to get it to the next section so I can cut all the way across.
So I decided I'm going to actually break the rules a little bit of flame key
and wiggle down and then wiggle back up and echo that line rather than having to stop and shift going ahead and stitch the maximum amount of space I can stitch with this design in one area. And you can see that creates kind of a little bit of an extra wiggle there. But I think that this is going to work great. It's going to be a great way to use the space that you have in your frame, maximizing the space in your home sewing machine.
And that's going to make quilting that much faster, that much easier.
So I'm getting started with that first row of flame shapes and I can speed up my machine here using my speed controller. So I got a pretty fast pace and I'm just waling up, coming to a point, wiggling back down, and I'm creating and establishing that texture.
Now one thing I've noticed with these T-shirts, they do tend to wiggle and move because that's knit fabric. So every once in a while I'll mention it with my hand just to make sure I don't stitch a pleat in the quilt. But, you know, I have stitched a few. I'll be completely honest. There have been a few little wiggles and blips on this quilt, and it really isn't a big deal. So if you have that happen to you, please don't feel bad about it. Knit fabric is knit fabric. It's gonna move.
All right. So we're coming up here on the end. And what is our game plan?
We want to keep going with this design. But I also want to kind of stitch down and secure this edge. So I'm going to do that. I'm going to stitch all the way down. It's kind of mushing on that fabric just to know how far I can stitch, you know, where does my machine bottom out, where does the motor hit that back rail? And it's about right there.
All right, now I can start my next row, so I just wiggle. And I'm going to keep these lines roughly about a half an inch apart. You could widen that if you wanted a softer quilt, put an inch between those lines of quilting.
But I really like texture, so that's why I am having those lines come just a little bit closer together.
Now it looks like I have a really, really bulky spot here, so I'm going to needle down, make sure my needles in the down position and I kind of squish on that just a little bit just to make sure it's underneath my presser foot so that as I take the next stitch, it's going to be on to that hump of fabric. Like I said, knit fabric is knit fabric. There we go.
When in doubt, stop, wiggle, fiddle with it, and it will all work out. But if I just plowed right through there, I would have gotten a snowplow. It might have hung up on my foot, you know, all kinds of stuff. So just watch out for that kind of thing. If you are making a baby onesie T-shirt quilt, too, or any sort of T-shirt quilt, just understand it's always going to be a little adventure in fabric manipulation.
All right. So this is where I shifted my fabric over in order to make this kind of seamless. I'm just going to come to a little wiggly point and then begin wiggling my way back. And this is the last row of the design. So I'm actually going to extend it until I feel my foot bottom out against the back of the machine. So right here, this is kind of the limit of how far I can stitch, and that's making the best use of my quilting space with this machine on this frame.
So this is a really important tactic. If you are using a smaller home sewing machine on a frame, you want to use the most out of that space. You want to actually get as much quilting done in that area as you can. So I think Flame Key - stitching it this way is really going to work great. And I love the way this texture looks on the front and the back!
So that's it for this video. I hope you enjoyed learning Flame Key with me and you're excited about giving this a try, no matter whether you're stitching on a home sewing machine, on a frame or on a table or on a longarm, hopefully this has given you some inspiration and ideas for taking a design, modifying it a little bit if you need to, to make it work in a new area and stitching it up a notch so it creates a beautiful texture for your quilts.


