Skip to content

Free quilting video tutorials from Missouri Star

Quilting Tutorials
How to Make 9 Quick and Easy Last Minute Gift Ideas - Free Project Tutorial

How to Make 9 Quick and Easy Last Minute Gift Ideas - Free Project Tutorial

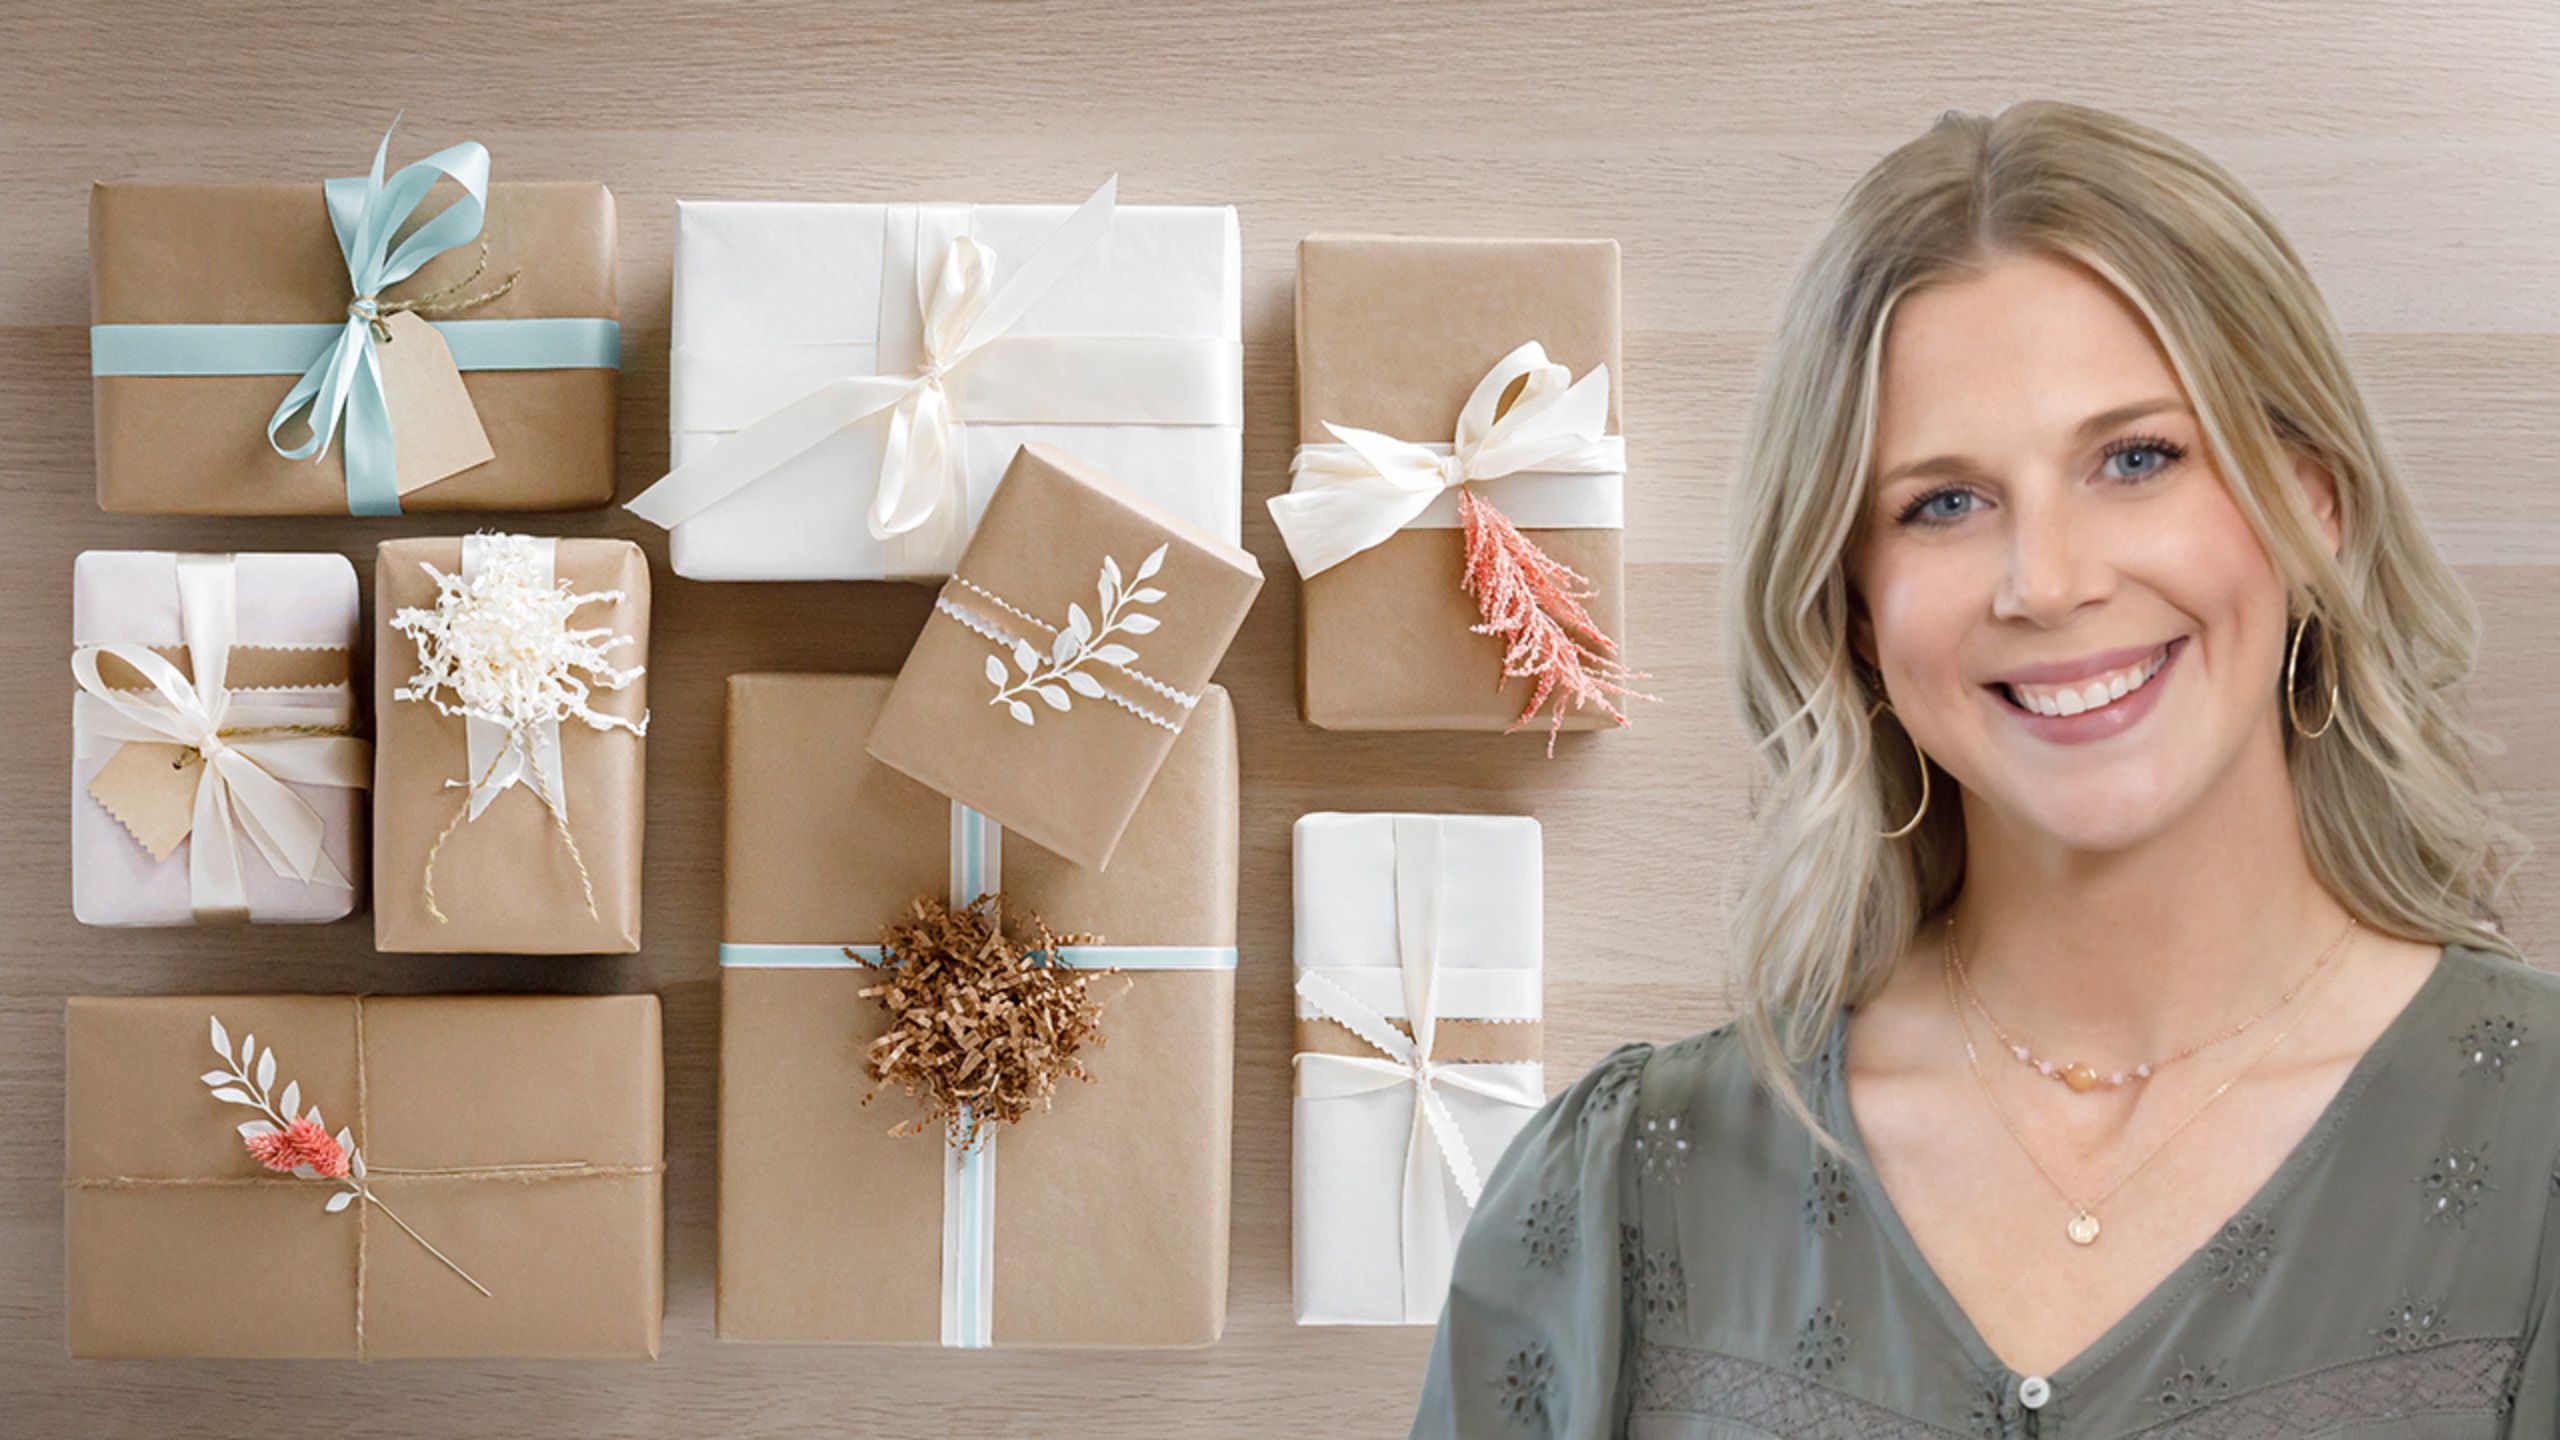
The holiday rush got the best of you, we get it, but Misty is going to get you back on track with today's tutorial! Watch and learn as Misty shows you nine quick and easy projects that are perfect as last-minute holiday gifts.

Instructor

Misty Doan

Misty Doan grew up surrounded by sewing and quilting. She loves spending time sharing tutorials each week each week, and when she’s not stitching up one of her fun sewing projects for home decor, most likely you’ll find her hanging out with her husband and three awesome kids or working on a house project.

Common Questions

What is covered in How to Make 9 Quick and Easy Last Minute Gift Ideas - Free Project Tutorial?

The holiday rush got the best of you, we get it, but Misty is going to get you back on track with today's tutorial! Watch and learn as Misty shows you nine quick and easy projects that are perfect as last-minute holiday gifts.

How long is the tutorial video?

The tutorial video is 00:21:41.

Are supplies listed for this tutorial?

Yes. The tutorial page includes the supplies and materials connected to this project.

Video Transcript

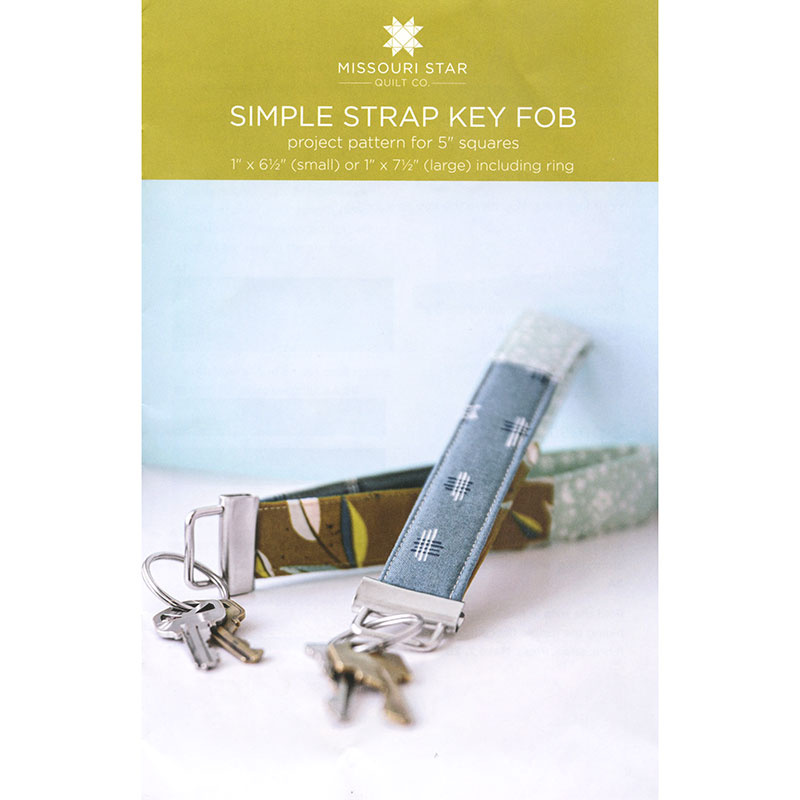
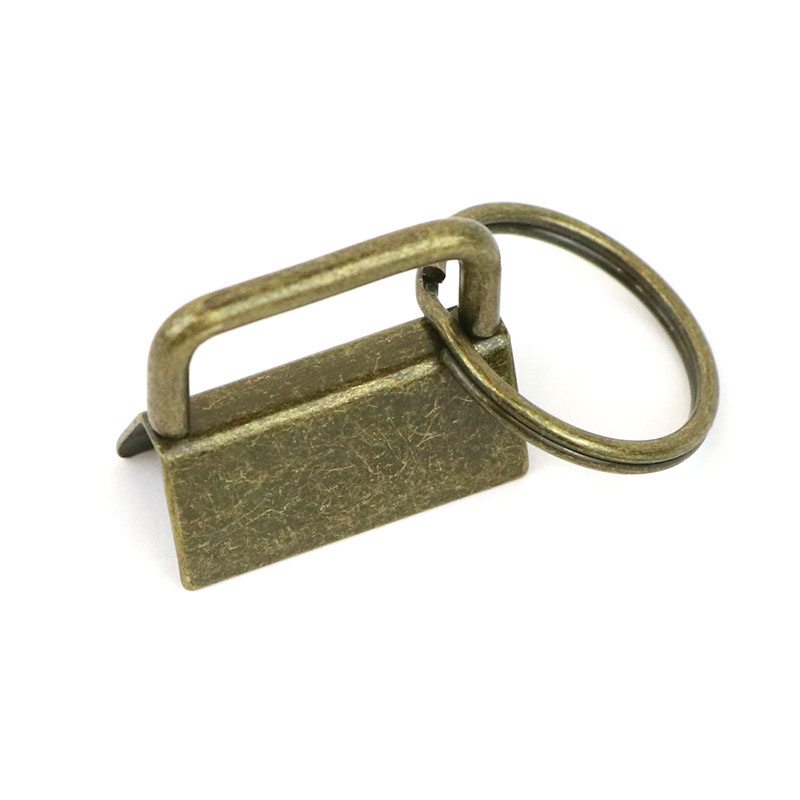
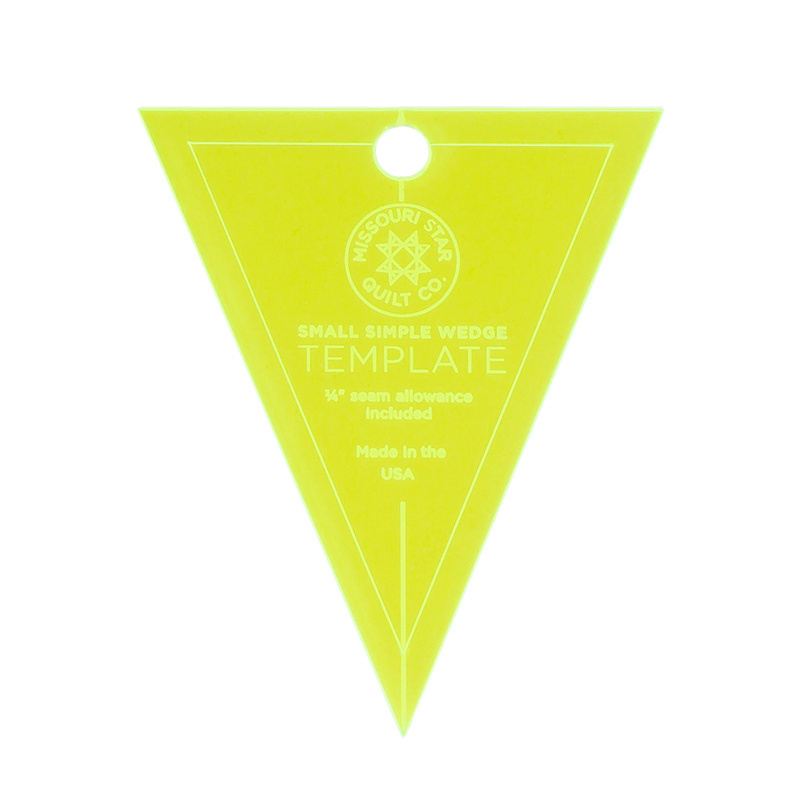
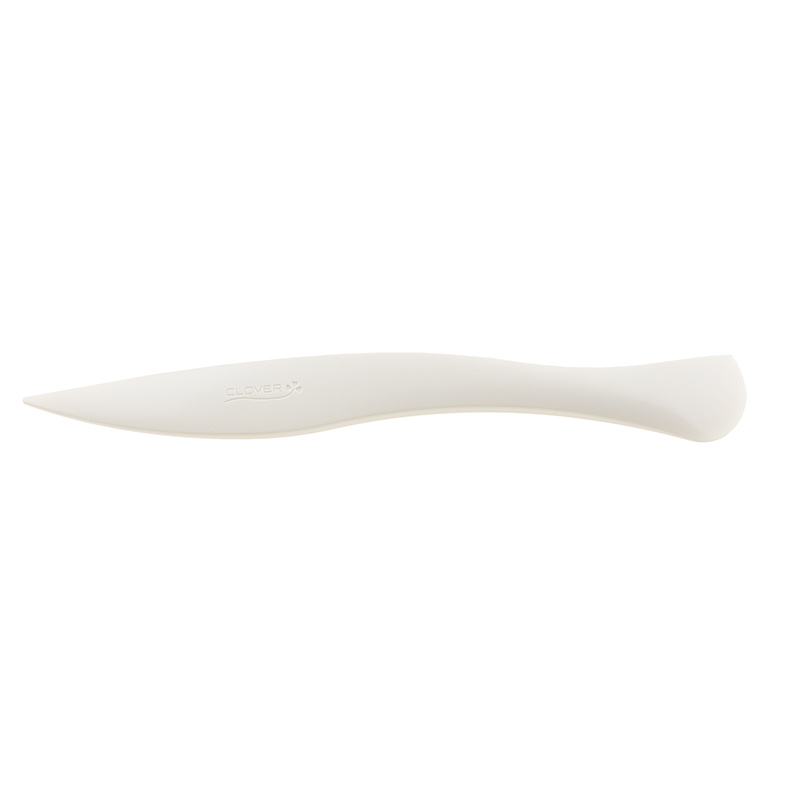
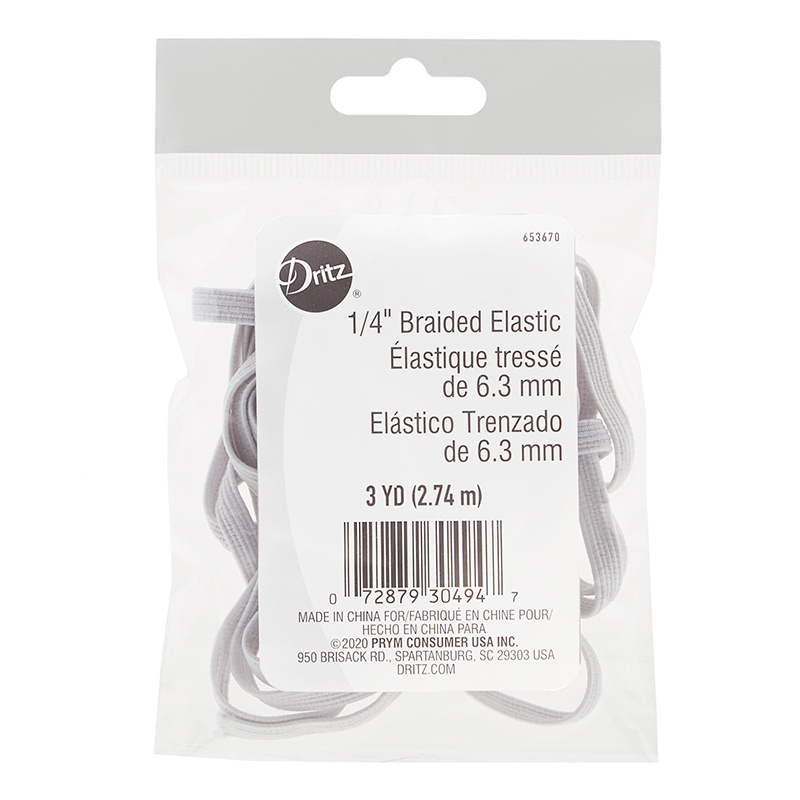
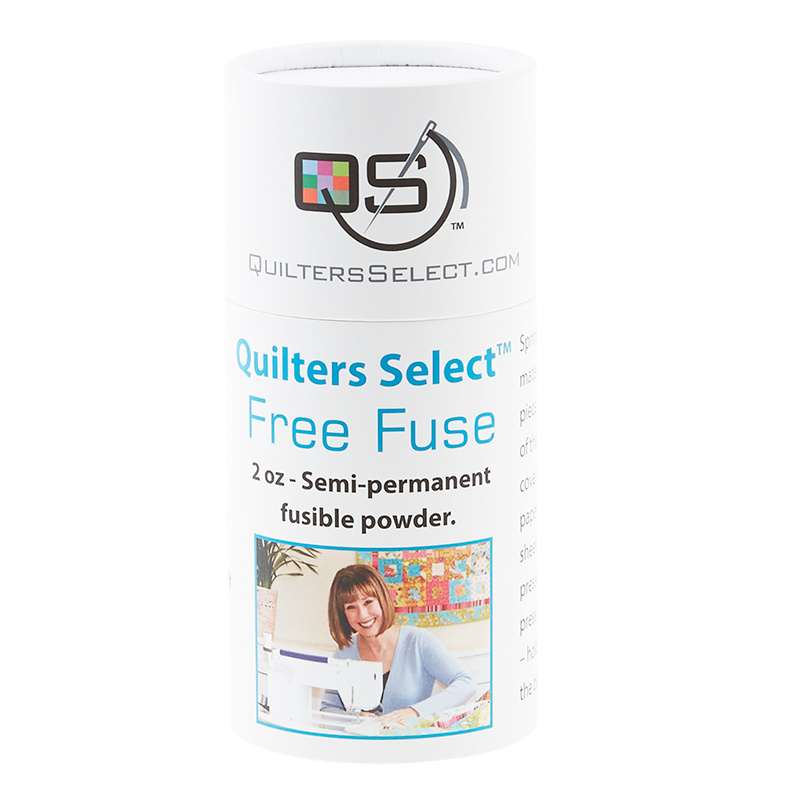
Christmas will be here before you know it and I have a great Roundup of quick and easy gift ideas for [Music] you I hope everyone has had a wonderful Thanksgiving and you're feeling ready for the Christmas holiday I thought today would be a fun chance to grab our stash and make some last minute handmade gifts that you can hand to your friends and family so we just have a quick round up of some fun ideas and so let's Dive Right In up first are these great little fabric key fobs so this is super simple if you have one jelly roll strip you can actually have enough fabric to make three of these so you'll just need that and you can pick up these great Little Hardware kits that come in a variety of finishes I have the gunmetal and the gold here there's also silver rose gold whatever your heart desires um so you can really kind of complement whatever Fabric or what whatever person you're giving them to and let me show you how simple these are to make so first up you're just going to grab a little bit of interfacing so this is fusible on one side and then of course that jelly roll strip and we're going to cut these into 12 in sections so I'm just going to lay this on here and we will come over make sure it's straight we'll come over 12 in make a cut and then we are going to have our interfacing at 2 in wide and we're going to also cut that to 12 in so I have that ready to go here and so with interfacing like this there's a bumpy side that's where the glue is make sure that's down towards the wrong side of your fabric so I'm just going to bring this over to my pressing mat and give that a little press right in the middle I'm just eyeballing it we're just going to make sure we have a nice hot iron and that it will stick to the wrong side of our jelly roll strip so then once I have done that I'm going to fold this in half long ways and we are going to stitch all the way down one side and across one end and stitching across one end helps us to turn it and so then we can use a turning tool whatever you have Chopstick turn this right sides out and when you do that it's going to look like this you're just going to give it a good press then all we do is fold that in half and if you're not familiar with these little Hardware let me show you it opens up just like this has some little teeth in there to grab the fabric and we are just going to slide that in there and then you're going to pinch that closed with some pliers or a rubber mallet whatever you need to just close that and then it looks just like this when you're done so let's move on on to gift idea number two up next are these great little Christmas tree ornaments made using our small simple wedge template and just some scrap charm packs that you have lying around and so if you're not familiar you're just going to take your little 5-in square and one 5in square will make one ornament and so this is just going to lay on the side of this 5in Square just like so and we're going to make one cut and I like to fold this back cut across the bottom and then we can cut this other side as well and so this will fit right in that other side turn it just slightly to make it easier for me there we go and there is our waist so we can set that aside and then I use some of my scrap batting and I actually just Ed this same simple wedge to cut it and then I lopped off like a inch off the bottom that was just the easiest way for me to figure out the angle that I needed and since I was using scraps I wasn't worried about that at all and so once you have that you are also going to need something for your trunk I had a little scrap of some leather left over from this is the faux leather from Sally tomato from making a bag project and I thought this would be such a cute little detail for the trunk but you could also use Fabric or felt whatever you have lying around so I just cut a 2 and 1/2 in rectangle by 3/4 in wide and we are going to fold this in half and we're going to stitch down one side across and up so let's go ahead and take this to the machine and do that there we go I think this little leather detail adds such a fun touch so I'm just going to get close to the edge here keep my needle down and pivot if you've never sewn on this F leather every time I use it I'm pleasantly surprised at how easy it is to work with there we go just a little stitching detail to finish that off and so now we are going to take one of our little wedges that we made we're have it face up and then I have about oh I'd say it's seven or8 in of just some little yarn that I had lying around so we're going to fold that in half and put the two ends up at the top and then if you want you could use free fuse or something to attach this to one of your wrong sides I'm just going to stack it all up and we are going to sew across the bottom up each side and we're going to leave about an inch and a half opening on the bottom and we're going to just tie everything together so let's go ahead and take this to the machine be sure to leave that opening at the bottom cuz that's how we're going to flip this right sides out so we are going to back stitch a little bit I like to just sew off the end and then pivot this [Applause] around there we go come back down the other side you want to make sure you're catching that yarn in the that top [Applause] seam pivot back Stitch again all right now before I flip this I do like to go and trim off a little bit of this bulk just cuz we want it to end up really nicely so we're just going to trim off those Corners just to get rid of some of that extra and you can even shave this down a little if you want just make sure you still have a decent seam allowance there there we go that looks good and now because we have that little yarn in there we can actually reach inside and we can grab that string and that makes it easier to flip so let me get a hold of that I can feel it there it is and then we can just pull this through gently and it's all going to rotate through and we just kind of have to push out all the corners I have my little turning tool that we can get all of these Corners pressed out with so we'll just make sure this all is going to lay nicely and then because I didn't fuse my batting I'm just going to make this lay nice as well inside you can just adjust that with your fingers there we go let's so cute me poke out this little bit here just takes a little bit of time to make it all lay nice and then now in our opening along the bottom we can insert our little trunk and then we're just going to top Stitch all the way around to hold that in so let's go ahead and do that all right there we go there's our little handmade tree ornament you can see how cute it is in green and I also really loved this just in the simple cream it's just super fun so another quick and easy idea let me show you number three all right for gift idea number three is a simple scrunchie it's perfect for a stocking stuffer or to just add to a teacher gift or a friend gift it's always fun to have one lying around and available for you and all you need is one jelly roll strip and 8 in of elastic I'm just using this little 1/ quar inch elastic but honestly if you have even up to a/ inch it's going to be okay I find that the/ quarter inch wraps better around your hair though so we're going to take our jelly roll strip and we are just going to cut off the Salvage and we're going to cut the remaining in half so that we have two equal pieces and we're going to sew on the two long ends so let's go ahead and do that just going to make sure it's all lined up just readjust make sure nothing's [Applause] shifting and we'll flip this around and go down the other [Applause] side okay so now we need to turn this right sides out so whatever method is easiest for you I like to just kind of get a hold of one end pinch this Fabric and start rolling it through if you need to put a pin or something on there that's helpful too I find with this length it's pretty manageable just to do on my own so I'm just going to shift this over my thumb until I get to the other end there we go now I can see that other end is peeking through there and then I can just pull it through and it's easy to flip and turn so now I'm going to go ahead and give this a press just so that my seam seams are on both both the edges want it to lay nicely so I'm just going to bring this over to the pressing mat and I like to roll my seams just a little bit to make sure it's nice and even and we're just going to press all the way down the length of this here we go and while I'm here I'm going to go ahead and Tuck one of my ends under about a qu to a half an inch just so it lays nicely and we're going to give that a press as well just like so all right so now I'm going to grab a safety pin for my elastic and then we'll feed this through and I'll meet you back back here when that's done all right so we have put the elastic through our tube and so you can see I'm pinching both ends here I just used a safety pen to make it easier to guide and so I'm going to go ahead and take that off now and you want to keep this pinched tightly between your fingers because you don't want it to bounce back through into your tube and we are just going to take our two little ends just like so we're going to bring them over to the machine and we're going to stitch back and forth across there a whole bunch to secure it so let's go ahead and do that and this part is super forgiving so if they're not lined up perfectly no one's going to know it's going to be inside the scrunchie so don't fret about it so I'm just going to stitch and back stitch back and four there we go so it's nice and secure if you want you can trim off a little bit of this overhang I wouldn't get too close to your seam but just even it up a little bit and so then now remember one of our ends we turned under and one is just the raw Edge so the raw Edge I like to kind of fan this out to make sure I don't have too many twists although it's a scrunchy it doesn't really matter we're going to tuck that raw Edge inside the one that's turned under and then we are just going to top Stitch across that seam to enclose everything I went ahead and did this one with white thread so you guys could see but you would usually use a thread that will blend with your fabric but that is it it's that easy to make a scrunchie all right for the next gift idea I had this great little charm pack laying around and I thought you know what I'm going to turn these into a set of coasters so you can see one that I've made here it's reversible so you're going to take two of your 5in squares and then from my scrap batting I cut some 4in squares and we are just going to use a little bit of our free fuse if you're not familiar with this this is a basting powder and so we're going to take this over to the pressing mat and I'm going to sprinkle a little bit onto my batting if you have some fusible fleece or something like that available you could totally use that and then you wouldn't need this but I just had some batting so we're making it work with what's in our stash and so now I'm going to Center this up over that batting square and I'm going to press this in place there we go make sure it fuses and that just holds that batting right on there so I don't have to worry about it shifting and then we're going to place these right sides together you can notice this is a little wonky not going to matter in the long run and we are just going to sew on all four sides leaving about a 2 and 1/2 in opening um to enclose this so let's do that so I am going to back stitch a little bit at the start and stop just cuz I don't want those seams to pop out when I turn [Applause] it [Applause] [Applause] all right easy as that so let's go ahead and trim off the bulk of those Corners just snip them down just to eliminate some of that and then I am going to trim off a little bit of the seam leading up to those as well sometimes a little bit goes a long way with projects like this you just want to make sure you still have plenty of your seam allowance to hold everything together and so then now we can just turn this through just like so we're going to press out each of those Corners there we go I like to use this little turning tool to run along those seams just make sure everything's going to lay really nice that looks great so now we're just going to make sure our opening is turned under just slightly so that we can catch that in our seam when we finish up here so I'm looking for at least a/ quar inch turn just to make sure that doesn't end up fraying later then we're just going to give this a good press I actually think I can get this little corner just a bit sharper so I'm going to try to poke that out just a little bit more there we go that looks good all right and so now we're going to top Stitch just about an e/ inch away from that Outer Edge just to give it a really nice finish so let's go ahead and do that I'll put it with this dark side up so you guys can see what I'm doing and I am going to lengthen my Stitch length just a bit for that top Stitch so back stitch and this top Stitch is going to enclose that opening and we're just going to Pivot at all four [Applause] corners all right all done now you have a quick and easy set of coasters to give as a gift so I thought we would finish this up with just a Roundup of some other fun and easy gift ideas that we have available to you so with all this sewing you've been doing you probably have gone through a few bags of candy if you're anything like me so I thought it would be a great time to resurface Jenny's candy zipper bag so go back and watch this we'll link to the tutorial below it also uses just a little bit of your scrap fabric for that lining so be sure to check this one out it's super fun all the kids love these candy zipper pouches so really fun next up we have the cuddle infinity scarf it's the softest coziest thing and if you've used cuddle for the backing on any of your quilt you might have enough left over to whip one of these up there it doesn't take much at all and it's super super fast to make so check out that tutorial also linked below and then I want to finish these up with a few great projects from our friends over at one big happy yarn company first up we have these beautiful granny square paw holders they have a pattern and a tutorial available for this so check that out then we have this cute little mug cozy which I think is so fun and these great ear candy ear muffs which I mean come on how cute are those it's so fun so I hope you enjoyed this Roundup I hope you have a wonderful holiday season and I will see you next time hey everyone it's Misty thanks for watching at home if you aren't already a part of our Missouri Star Family be sure to sub subscribe and hit the Bell if you want a notification every time we release a new video I'll see you next Monday on the newest episode of at [Music] home

More Fabric by Yard tutorials

See all