
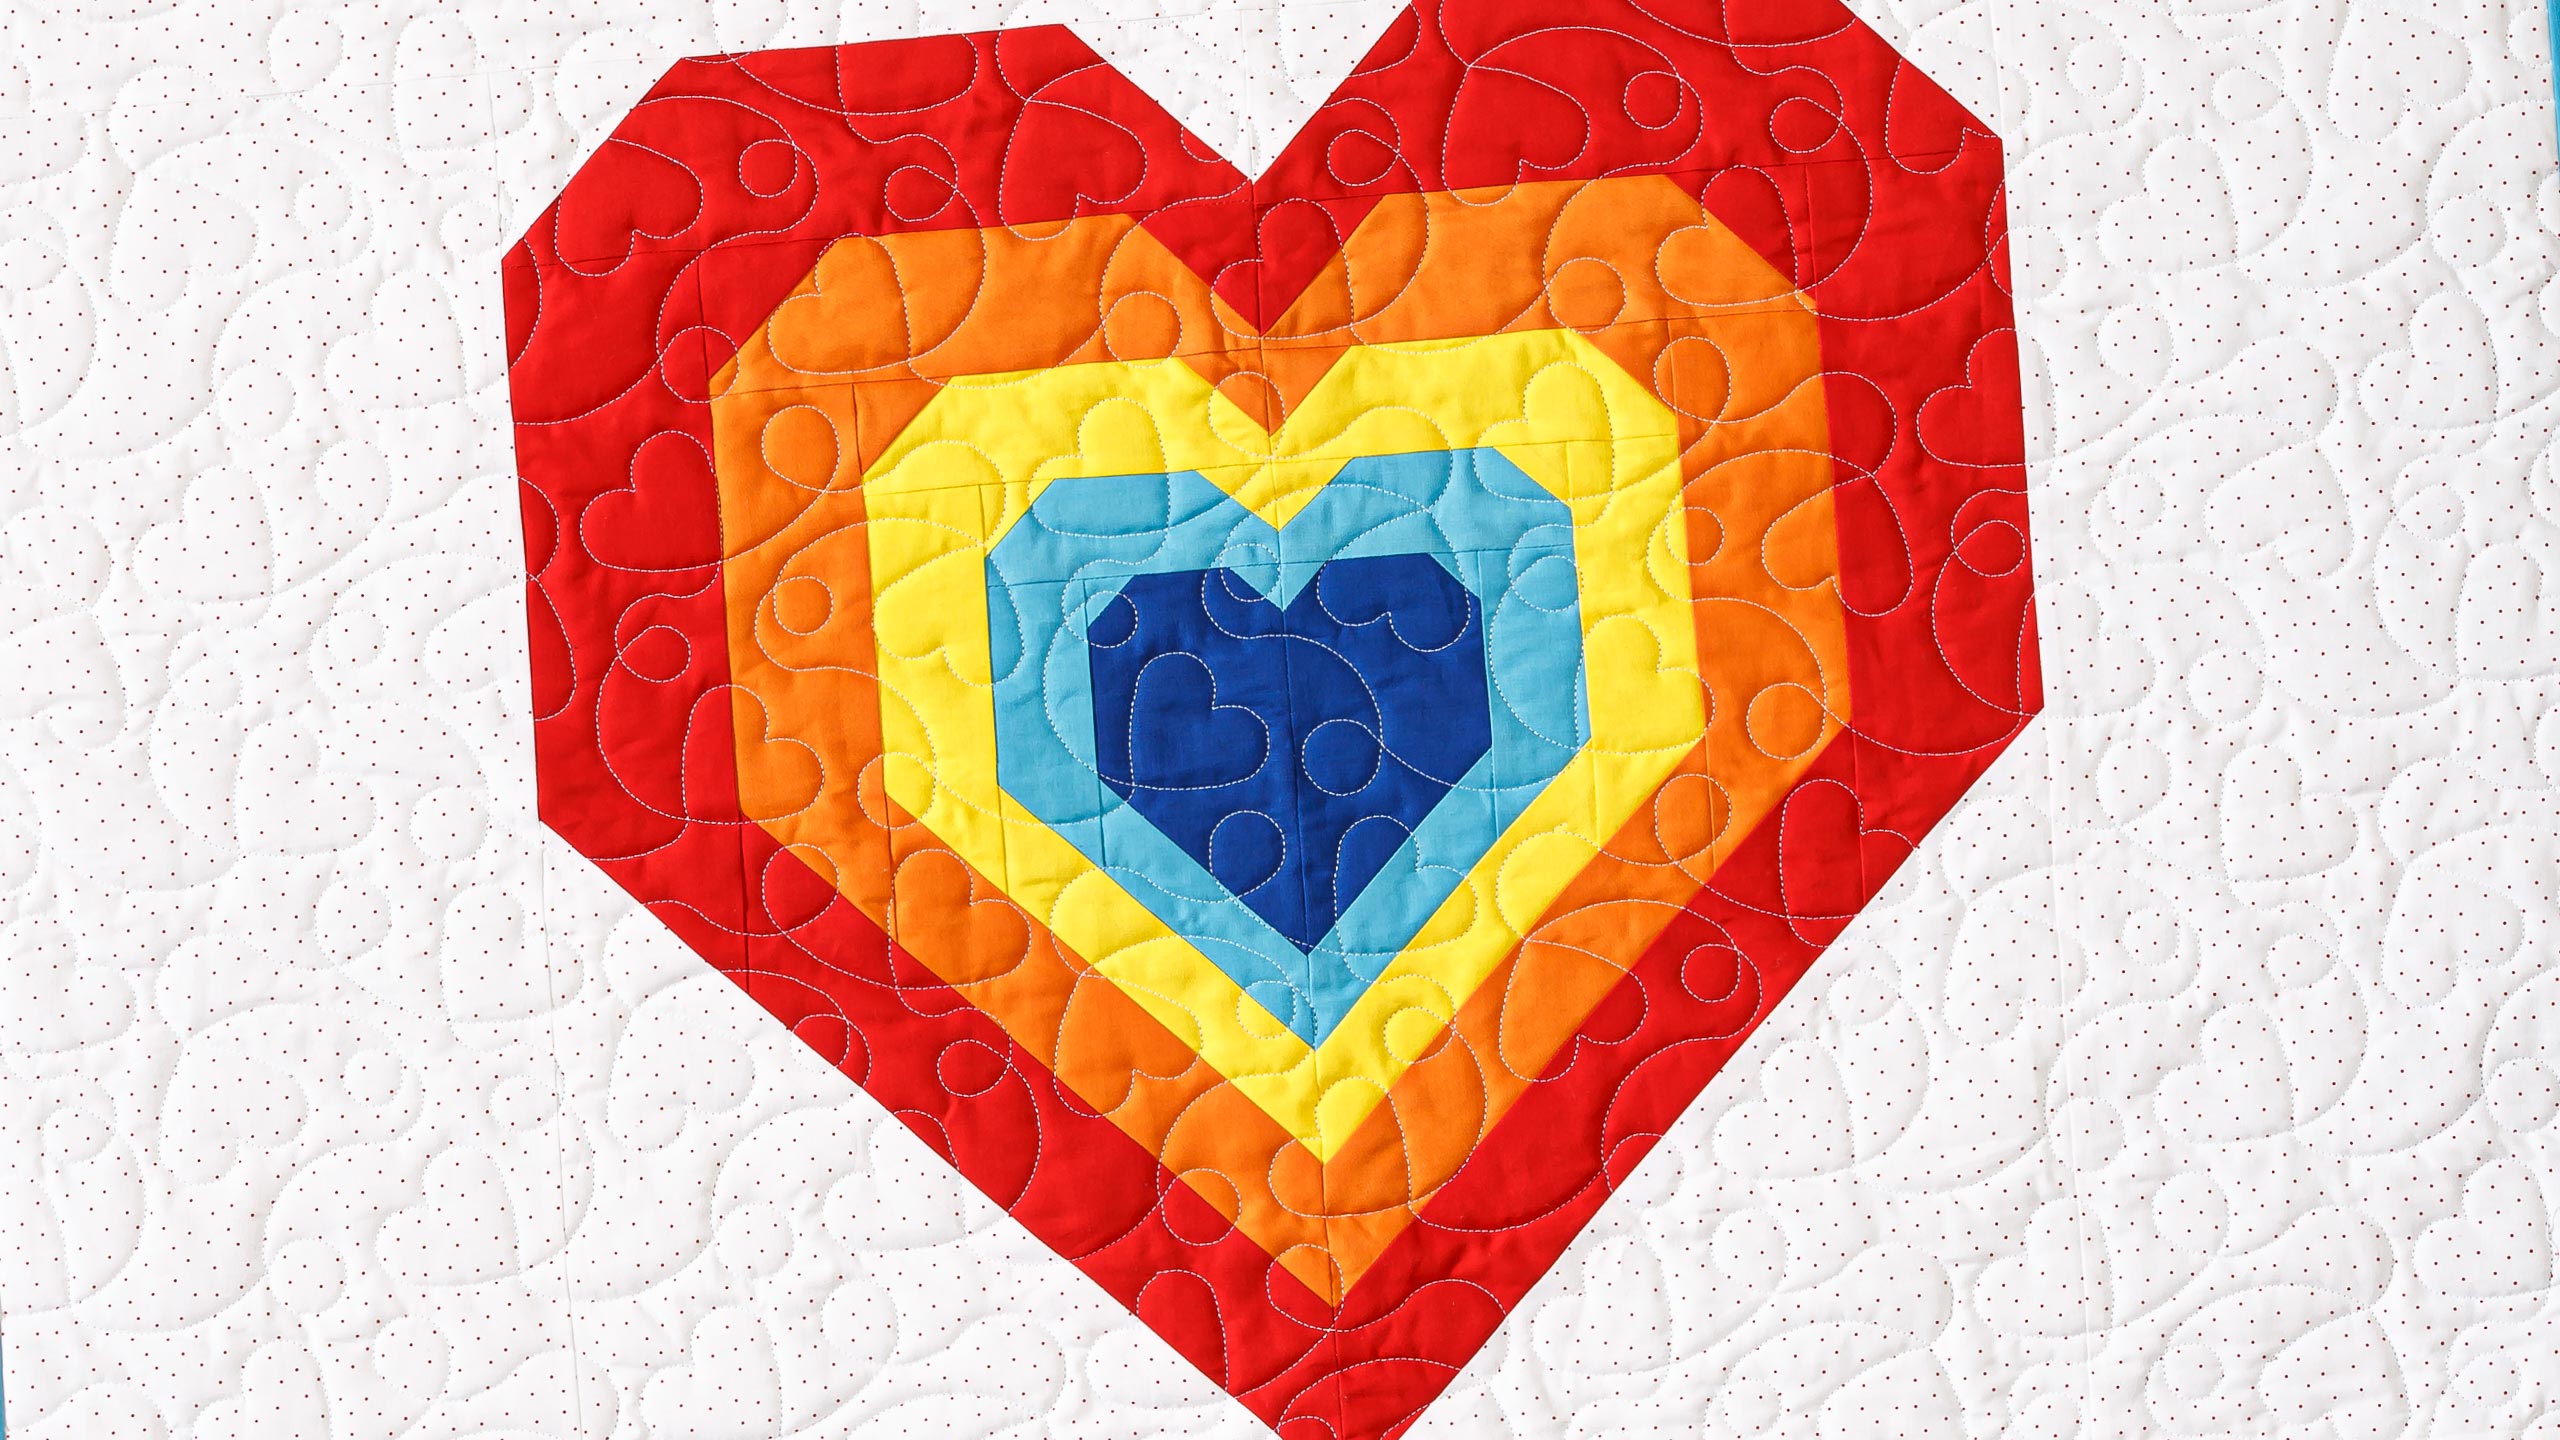
How to Make a Baby Alma Quilt - Free Quilting Tutorial
 Jenny Doan
- Fabric by Yard
- Solids
- Wall Hanging
- Beginner
- Quilt size 40" × 48"
Jenny Doan of Missouri Star Quilt Co demonstrates how to make a beautiful rainbow baby quilt with a big pieced heart in bright, happy colors. It’s a beautiful pattern filled with so much hope and love!
Instructor
Jenny Doan
Jenny Doan is an American quilter, author, and YouTube personality. Jenny started Missouri Star Quilt Company in 2008 and today it is the largest quilting supply vendor in the United States.
Shop this tutorial
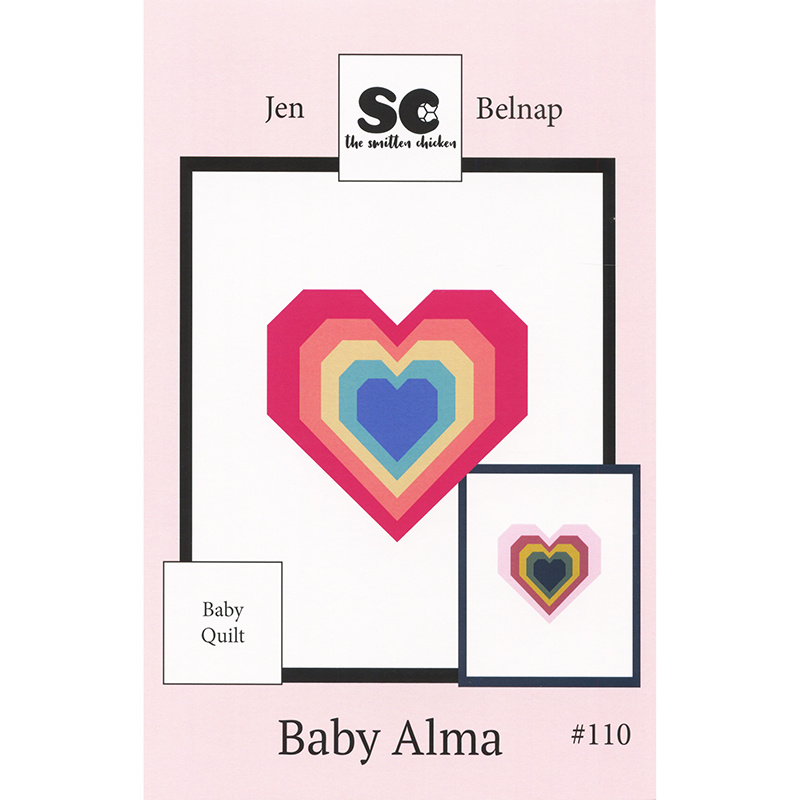 Baby Alma Quilt Pattern$11.75Shop →
 Kona Cotton - Ocean Yardage$7.28Shop →
 Kona Cotton - Peacock Yardage$7.28Shop →
 Kona Cotton - Citrus Yardage$7.28Shop →
 Kona Cotton - Orange Yardage$7.28Shop →
 Kona Cotton - Lipstick Yardage$7.28Shop →
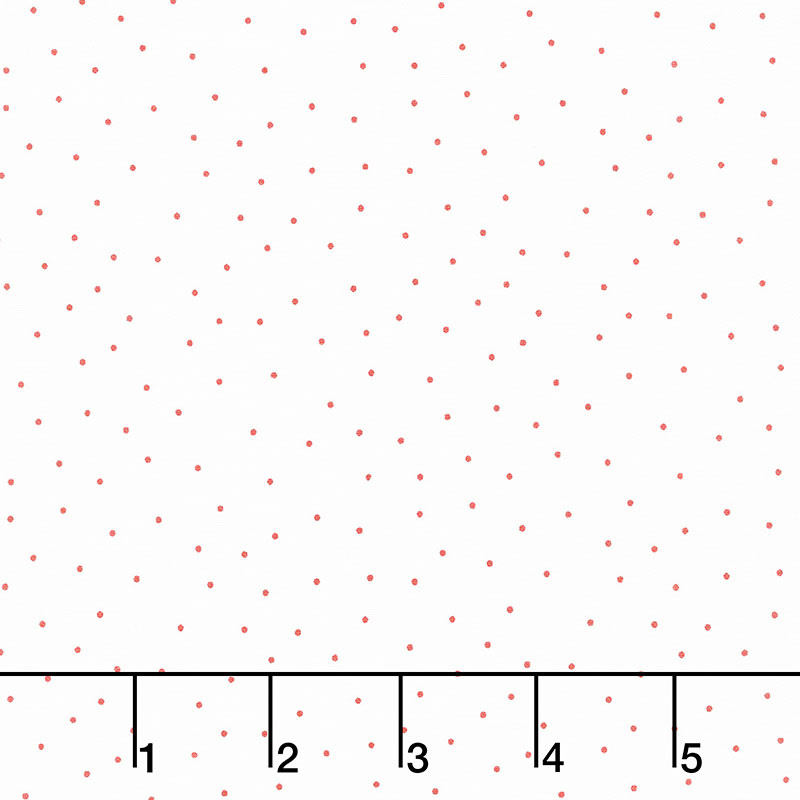 Kimberbell Basics - Tiny Dots White Red Yardage$10.96Shop →
 Cuddle® Solids - Peacock 60" Minky Yardage$13.48Shop →
Common Questions
What is covered in How to Make a Baby Alma Quilt - Free Quilting Tutorial?
Jenny Doan of Missouri Star Quilt Co demonstrates how to make a beautiful rainbow baby quilt with a big pieced heart in bright, happy colors. It’s a beautiful pattern filled with so much hope and love!
How long is the tutorial video?
The tutorial video is 00:38:59.
Are supplies listed for this tutorial?
Yes. The tutorial page includes the supplies and materials connected to this project.
Is a transcript available?
Yes. A written transcript is available on the tutorial page.
Video Transcript
Hi, everybody. It's Jenny from the Missouri Star Quilt Company and I'm here today to show you a wonderful project. Take a look at this quilt behind me. This top quilt right here, you can see we have two, but this top one is a quilt called Baby Alma. It's a pattern written by Jen Belnap for The Smitten Chicken. It's just a darling, fun, easy pattern but it has such a wonderful story behind it. This is her rainbow baby quilt, and a rainbow baby is a baby that is born healthy after you've lost a baby. It's just like the rainbow after the storm, you have that storm and that sad time and then you have the rainbow, and that's what a rainbow baby quilt is.
Having lost several babies of my own, I was really intrigued by this notion because it wasn't a thing when I was a young mom, but I was really intrigued by this notion and I wanted to see what the pattern was like, how she made it and how she did it. It's so fun, such an easy project and really a way, probably, to work your way through some grief if any of you are suffering with that. For me, it was pure joy. I actually enjoyed making this so much that I actually made three of them. It's just so quick and easy to put together and I can hardly wait to show you how.
To make the Baby Alma quilt, you're going to need the Baby Alma pattern. For fabric we just chose five different colors of fabric and a background. Your first piece, your center heart, you're going to need a quarter of a yard. Your color two, you're going to need a quarter of a yard. Color three, you're going to need a third of a yard. Color four is a half a yard. Color five is three quarters of a yard and your background is two yards. Now, there is a bit of waste with this but I actually think that if you moved it right, you could probably get two quilts just about out of some of these colors. Take a look at that when you do it, but it's really fun.
Let's take a look at this quilt and look at the back. On the back I put cuddle. Is that not beautiful or what? And love this peacock color. One of the reasons I really want you to look at this is how the quilting pattern shows up. I used hearts and loops on this and it just looks embossed when the thread is through it. The thread is white so you can't see the thread at all and it just comes through beautifully. For the backing on this quilt, you're going to need three yards of fabric and cuddle comes 60 inches wide and this quilt ends up being 40 x 45 so it's a perfect size to put on the back of a baby quilt.
Let me show you how to make this. All brains think differently when we're quilting or writing a pattern and so it's always interesting to me to work off somebody else's pattern. Jen's pattern is very well-done. She uses measurements that are different than I do, and you know I usually use precut so it was interesting and fun for me to do it, but I'm going to tell you the easiest ways for me to do this. Right here on the first page, she has a color chart and she has her colors listed in one through five. What that means for you is that if you choose to use all different colors then you can easily tape your color one up here, your color two, your color three, so that you don't lose track of where you're going.
I would suggest that you cut all the pieces that you need for color one and color two, color three and so on before you begin. Do all your cutting first because this goes together very quickly but it's only if the pieces are cut, and so I would go ahead and cut those. A lot of times I'll say, "Ah, cut one, do one, cut one, do one, cut one." But this one we actually have us doing... We're cutting them all, and mine are all tagged so I know exactly what piece it is and what it says. This is color one, three and a half by six and a half. What she does with this... It's fascinating to me how other quilters' minds work, but what she does with this is she makes this block and then surrounds it and then surrounds it then surrounds it. Basically, all we're doing is snowballing. We make two halves separately and then we got those two halves done, we put the things together and the quilt is done and you just add your borders onto it.
I'm going to walk you through these things so you can see exactly how to do this. All right, so we've got color one right here. This piece is a 3 1/2 x a 6 1/2. This is going to form the two sides of our first little middle heart right here. All right. For color two, the pieces you're going to cut, you're going to have two pieces that are 2 x 5, two pieces that are 3 1/2 x 5, two pieces that are 2 x 8 and some 4 1/4 inch squares. The first thing I'm going to do here is I'm going to put the squares across the tops of my two pieces. I'm going to do that by laying them on here like this. You'll see once we do a couple of these, you'll be like, "Oh snap, I've got this." You'll be able to just whip through it really quick because it's the same thing over and over.
We're going to do this, I'm going to lay these on here like this. We're going to sew diagonally corner to corner, up here, down there on both sides. I'm just going to follow... For these small ones, I'm just going to follow my diagonal seam tape on here and we're going to go across and down on both of these. Then I'm just going to cut my thread and turn my block, make sure it's still lined up and sew down this side. Then I'm going to grab this one and do the same, and then one more over here. All right, then we're going to trim these off and then we're going to press them back. One of the things that I love about doing this is that we kind of tend to get locked into our own brains when we're sewing and we do things the way we do things, but then when you use somebody else's pattern it really makes your brain work harder and it creates some creativity that makes it really good for us to keep our brains going and keep getting more and more ideas.
All right, so now we have to do the bottom of this to form the heart, and for that we're going to use this color two, block 3 1/2 x 5. Now, this was the only part where I was like, "Wait a minute. What is she doing here?" What she does is she lays her piece on here like this sideways so it creates a letter L. I lifted mine up a little bit so that I could make a little dot right here at the three and a half mark. Of course, she goes into depth into this in the pattern over here on this page here. There's lots of really good instructions on it. I'm just giving you the quick version. Then what I did was from this corner here to this dot here, I'm going to draw a line. Yes, I know you guys aren't used to me drawing the lines, but this is important to draw that line.
I'm going to do the same thing on this side. Again, I'm going to lay this on here how it's going to go. It's going to go from the outside. I almost had that on there wrong. It's going to go from the outside to the inside and that part's going to stick out. We're going to make a mark here at the three and a half. Make sure this is... And you can measure this over with the ruler. I'm just using the bottom of my piece of fabric to measure that. Then I'm going to go from here to the corner. Then I'm going to move this right back down, set it in that bottom corner. What you want to do if you're unsure about this, check it, hold on here and fold it down because this should fold straight down. It shouldn't go like this, it should go straight down like this. This is going to go straight down when we sew that on. I'm going to bring this over here and sew this on right here. I'm going to do the same thing with this one over here. They snug up to the outside corner and we're going to sew corner to corner on that line.
All right. Now we're going to trim this off right here and trim this. Then we're going to press those open like this. I'm just going to... Might as well set that seam and roll it back, and set this seam and roll it back. Now, because I tend to jump ahead and think I know what's happening in my own brain, the very first time I made these I sewed them right together because you're making a little heart. Then I went and read the directions and you don't sew the hearts together yet, and so I had to stop and pick it out and start over but now I'm teaching you the right way. This border out here is going to go along this edge like this. This is a 2 x 8 inch border and these are little 2 x 5 inch pieces. They go across the top right here.
What we're going to do is we're going to take this border and sew on the outside edge of our hearts, both of them, and then we'll sew that little border across the top. Then we'll do this one right along behind it. Let me trim this little thread right there. One more. Then I'm just going to snip these apart and I'm going to finger press these open. I'm going to add this little top piece right here across the top, so we're bordering the side and the top. All right. Quarter of an inch, and then I'm going to do the same thing over here with this one, the side and the top. Then we shall press these open.
All right. I'm going to press this to the outside like this, keep all my seams... I'm just going to let my seams go the direction they want to go. We have finished this first middle row or this middle heart, and now we're onto our next color which is going to be this bright yellow right here. We have some pieces and these measure... These are when the measurements tend to get just a little bit different than ones who are normal, but they're just normal measurements. We've got 2 1/4 x 6 3/4 on this and 2 1/4 x 11 1/4 and those are our borders. This is the big piece of our heart bottom right here and these are our four yellow squares. The yellow squares are 1 5/8, so that's just... The 4/8 is the half mark, 5/8 is the mark right after that. What we're going to do, we're going to do the same thing we did before. We're going to take these four little hearts and we are going to put these across the top like this.
The nice thing when you're working with these solids is that there is no front or back and so you can just put them either way that you want. These we're going to do the same. We're going to go diagonally, diagonally, diagonally, diagonally across the top of these two hearts with our second color. Then come over here to this. Then grab our other side. Honestly, for me, once I did this I was so excited. It went together so quickly. All right, here we go. All right. Then we have to put our bottom pieces on to make the bottom part of the heart. I'm going to trim these off like this. We can press these back, or you can wait and press them when you get your whole... All three of your pieces on, but we'll just do it this way.
All right, so next we have this big piece right here that forms the bottom of our heart, and that is 5 x 6 3/4. You need two of those. We're going to put them right here. Again, we're going to line up with this outside edge right here like this and I'm going to put it up just a little bit so I can see where the end of my material is. I'm going to put a little dot right there. I'm going to draw my line from here to there like this. Then I'm going to scoot it back down to the corner, make sure it's lined up, and I'm going to sew right along that line. We're going to do this on both sides. We'll do this one over here. Lay it across that edge, make sure it's right along that edge. Then we're going to put a little dot right here. We're going to come up to the corner, draw our line. I'm going to scoot this right down to the bottom, square it up right in that corner. Make sure it's right in there.
Alrighty, so now we're just going to sew on this line. We're going to trim this off. I'm going to start using my rotary cutter now because it's a bigger trim. We'll press these back. Do you see what's happening here? Isn't that cool? It's just cool when it clicks in your brain and you're like, "Ah, ah, that's what we're doing." All right, so then this piece right here is going to go right along the edge. Put that pin over here. The worst thing is leaving a pin on your mat and then running over it with your rotary cutter. That is the worst. All right, so I'm going to sew this down this side, and this one I'm going to sew this down this side so they're always sewn to the outside. Then our little small piece will go across the top so we're doing our corners, our bottom piece, border, border on each color.
All right, so I'm going to finger press this back, grab the top piece. That one here... Right across the top, quarter of an inch. That side is done, and then we've just got to do this side right here. Now, if ever one of your pieces... Maybe your seam got a little crazy or something like that and it's a little bit smaller, just put your bigger side to the bottom and it will just measure all up because it's got that... We've got those feed dogs pulling that fabric through at a little bit different rate and it will just make everything snug up. Most of mine are fitting really good. Let me just put this on this edge right here. All right, let's press these and then we'll get on to the next color.
All right, so now we're to our orange. These are going to be our border strips over here. We've got 2 3/4 x 9, 2 3/4 x 15. Our two squares... The four squares that go across the top are two inch squares, and this is 6 3/4 x 9 for our bottom heart piece. Let's go ahead and add these two colors on here. Our two inch squares we're going to put across the top like this and this and this and this right here. Line them up so nice. Then we're going to sew corner to corner on this. Sew corner to corner on this. Then on this one we're going to add this bottom piece just like this. I'm going to lay this right across the side right here. See how they're getting... The pieces are getting bigger and bigger, and this is what makes the quilt grow so fast.
Here's my little dot. I'm going to put my ruler across here. This ruler is now too short so we got to go for a little bit longer ruler. We're going to the corner and the dot. We'll just draw a line right here. We will sew this right up to the top like this. Make sure it's nestled in there really nice. If you're not sure if it's nestled, just flip your piece over and make sure you can't see any of the next color and then you'll know if it's good, if it's really lined up on that corner or not. All right, so then what we're going to do is we are going to trim this off and trim these little ones off up here. Press that back. You're going to do the exact same thing to the other side.
All right, so then we're going to add our border to the side right here and across the top. Again, both sides are identical. You're going to do the same thing. This is where when you have all the pieces cut out, it just sails. It just goes so quickly. Let me see at this one right here. This is 2 3/4 x 9 across this top. I think I told you that already but a reminder never hurts. All right, so now I'm going to press this. We are onto our last color. Let's go ahead and put our last color on there. We've got so much little stuff up here. All right, color five. Here's our side borders, 3 1/2 x 20 1/2, 3 1/2 x 12. 9 x 12 is the big piece that makes the heart. These squares in the corner are going to be 2 5/8 and you'll need four of those.
We're going to take our four hearts right here... I mean our four squares. Let me get this off there. Line them up on the top, so diagonally, corner to corner. Like this. All right, we'll trim those off. Then we've got this big piece out here, 9 x 12, and we're just going to do the same thing. We're going to snug it up to the corner like this. I'm going to leave it here, line it up on my edge, make a little mark where I'm going to draw my line, lay my ruler across here, put it at the corner, put it at the dot, draw a line, scooch this down into the corner, and so from corner to corner on the line. All right, now we're going to trim this off here. Where's my rotary cutter? There it is. We're going to press this back.
All right, so now we're ready to add our borders on this side. Here's our side one all the way down the side. When we get that one on, we'll put the other one right across the top. Just line them up and follow that quarter inch... The quarter inch mark on the machine or your foot. Now we're going to put that top piece on right here. It's straight across the top. If I can get them apart. That's the most challenging thing for me these days. All right, here we go. All right, now let's press that open and our first side will be finished. There we go. There's our first side. It's all finished up. I'm going to go finish the other one and I'll meet you right back here.
Now I've got the other half of the heart finished up and we are ready to finish these up and add our background fabric. This is our background here, all this little white with the red dot. We are going to start exactly the same way as we made the hearts. We're going to start with two corners here and a piece here of background. Our corner squares are going to be 3 3/8 and we're going to put two of them up here like this and put right sides together because now it matters because we have background fabric and it has a wrong and a right side. We are going to sew those diagonally corner to corner. You know what? You can put a pin in there if you want to. I'm going to put a pin right in mine to hold it, and then I'm going to sew corner to corner on these, both hearts. Then this one over here. Make sure it's lined up. Sometimes even with a pin, mine gets just skewed just a little. I'm going to straighten that up.
We're going to do the same thing to the top of our other heart half. Right sides together. We're so used to... With all these solids, we're so used to not worrying about right sides together and so all of a sudden when you put the backing on or the background on, you have to start paying attention to what side goes together. You want right sides together on this. We're going to trim those off. Let's get our little ruler and our rotary cutter. We're trimming about a quarter of an inch away. I am not measuring, just trimming a little bit off, doing the same on both sides. And now one more side. I'm going to iron these back. The same on this heart too.
All right, so now what I'm going to do is now we're going to add the square that makes the heart on the bottom. These are big 12 inch squares. We're just going to do the same thing that we did before. We're going to put it right here, only this time nothing hangs over across the middle. What we're going to do is we're just going to lay this on here and we're going to draw our line corner to corner. Again, this ruler's a little short so I'm going to grab my longer ruler right here. I'm going to go corner to corner and draw a line. Wait, we're going to draw our line this way. Okay. We're going to grab this longer ruler and draw the line. I'm going to start in the middle and go out to the edge and then start back in this middle and go out to the edge. I'm going to do the same thing on the other one.
I'm going to lay this right here and I'm going to draw my line corner to corner. Be careful not to get it on your fabric underneath if you're doing what I'm doing and layering it on top. Not the safest. All right, we're going to snug this into the corner. Make sure it lines up perfectly. I'm going to go ahead and stick a few pins in here so it doesn't slide. I know you're shocked. Then I'm just going to sew right on this line and sew right down. Then I'm going to take my ruler and trim this off right here. This is the piece that feels like, "Whew, that's a lot of waste." But you know what? There are lots of things we can do with that and we get such a cute quilt out of it in the meantime.
All right, so then I'm going to put this over here on the ironing board. I'll just press it back little bit and then we'll sew this one as well. Again, I'm going to make sure it's lined up in the corners. Put a little pin here, a little pin here. Going to sew right on the line. Make sure it's not folded underneath, it's all ready to go. Line it up on that edge. All righty. We're going to trim this off. Take our pins out, trim this off right here. Press it back. Almost sounded like a workout video. Press it back and back. Now we are ready to sew our two hearts together. Now, when you sew these together you want these pieces in the middle here to line up, which I didn't have any trouble with but you do want to pay attention and be aware. You can pin along these edges. What I did was I just kind of went along and sewed and looked as I got there to make sure that my two seams were lining up.
We're going to sew this little heart together and check at every little junction to make sure we're still lined up exactly. Make sure this one's lined up. Here's our yellow and our blue. Here's our dark blue. See here, top and bottom. Then our yellow. And again, if you get to one where it's like, "Oh, this side is too long," take it out from under your needle, flip that over and sew the other direction and let the feed dogs help you move that in. Mine is all working out pretty good. There's my orange together. Now my red. There we go. Now let's look at it and see how we did. Oh, you know what? That looks pretty good to me. We did pretty good.
All right, so now all we have to do is add our borders, which is very much like adding the strips and the top and bottom that we did before. Our side borders are here. They have you cut them nine inches by the width of the fabric so they don't give you an exact measurement, and I think that's to make up for our seam allowances and just in case it's just a little bit different, it doesn't matter. I'm just going to take this and sew this onto this side. We're going to sew the sides first. When you add borders, it's always a good idea to sew your sides first and then your top and bottom. I'm not sure why they say it saves fabric. I haven't noticed a huge difference in that but it does give us a general guideline, which most of us like. All right, so let me make sure I'm right here.
When you put borders on too, the other thing you want to remember is because the feed dogs take in more fabric, always put your quilt on the bottom and put your border on the top. Always do that, otherwise your borders... Because the feed dogs will take in more fabric, if you put the border on the bottom and then lay the quilt down, your border will be wavy. We don't want that. We don't want any wavy borders so lay your border on the top and stitch it down. All right, so now I'm going to trim this edge off right here. I'm going to lay it out nice and smooth, make sure it lines up real nice. Then I'm going to just lay my ruler. I can see my line through the fabric, and I'm going to look here to make sure that I'm the same... I'm on the same line here as here, and that makes it square.
All right, so let's add the other side now. These are the nine inch ones. All right. All right, now we can trim this off. Earlier I said, "Look through my fabric." I don't want to confuse you. This fabric is actually thin enough that I can see the line of my other fabric so I actually am looking through my fabric to give this a cut. Making sure that I am square here, I line up this line, I'm lining up this line, looking through so I can see my fabric. Not all fabric you can see through, but when you have a lighter fabric you generally can. All right, so here's our sides and we're ready to add the top and bottom. The top and bottom is actually... They're actually 13 inches so it's a little bit wider on the top and bottom, but what a fast, fun baby quilt this is. Let me grab my chair here. Again, it's just cut the width of the fabric and then we'll trim it off. Let me just [inaudible 00:35:15] along the side.
All right, now on this side we only need to trim a little bit. Just use our ruler here and trim this little edge right here. Here's our other piece here. We'll put this on the top. All right, line it up quarter of an inch and away we go. All right, so now we'll trim this little edge right here. Make sure we're lined up nice and straight. And just like that. Take a look at this. Our quilt is done. How cool is that? Now, I loved making this so much that I decided to make another one myself but I wanted to make it in more Valentine colors. I have a little wall in my house that I like to put smaller quilts on, and I thought it would be fun to do the Valentine colors that they used for the big Alma quilt on my little quilt.
I'm going to show you my little quilt over here. It's exactly the same as that one except I just used these different more Valentine-esque colors so that I could celebrate that holiday, but you could use any colors to make this. It makes it really, really fun. Then she came out with... Because the little Alma quilt was so... Baby Alma was so successful, she came out with the Alma quilt. And let me show you that one. It's right here behind Baby Alma and it's just beautiful. We've made it the same as the little colors that I used in my baby quilt, but look how darling. This looks huge. Isn't this a gorgeous quilt?
Now the Alma quilt... Obviously bigger. Let me see what size it is. It is 66 x 76. It's a really nice big quilt. I want to show you the backing on this because we did the same thing. We put a very light baby pink on there and it's cuddle, and we did the little heart pattern again and it just makes it look embossed. I love the look of cuddle with quilting on it. Anyway, it's been so fun to work on these two darling quilts by Jen Belnap from The Smitten Chicken. We've got Baby Alma and the Alma quilt, and we hope you enjoyed this tutorial from the Missouri Star Quilt Company.
Hi, everybody. It's Jenny from the Missouri Star Quilt Company. We hope you enjoyed watching this video. If you aren't already part of the Missouri Star Quilt Company family, be sure to subscribe so you won't miss a thing. If you click that bell, it'll notify you every time a new tutorial comes out. See you next Friday.


