
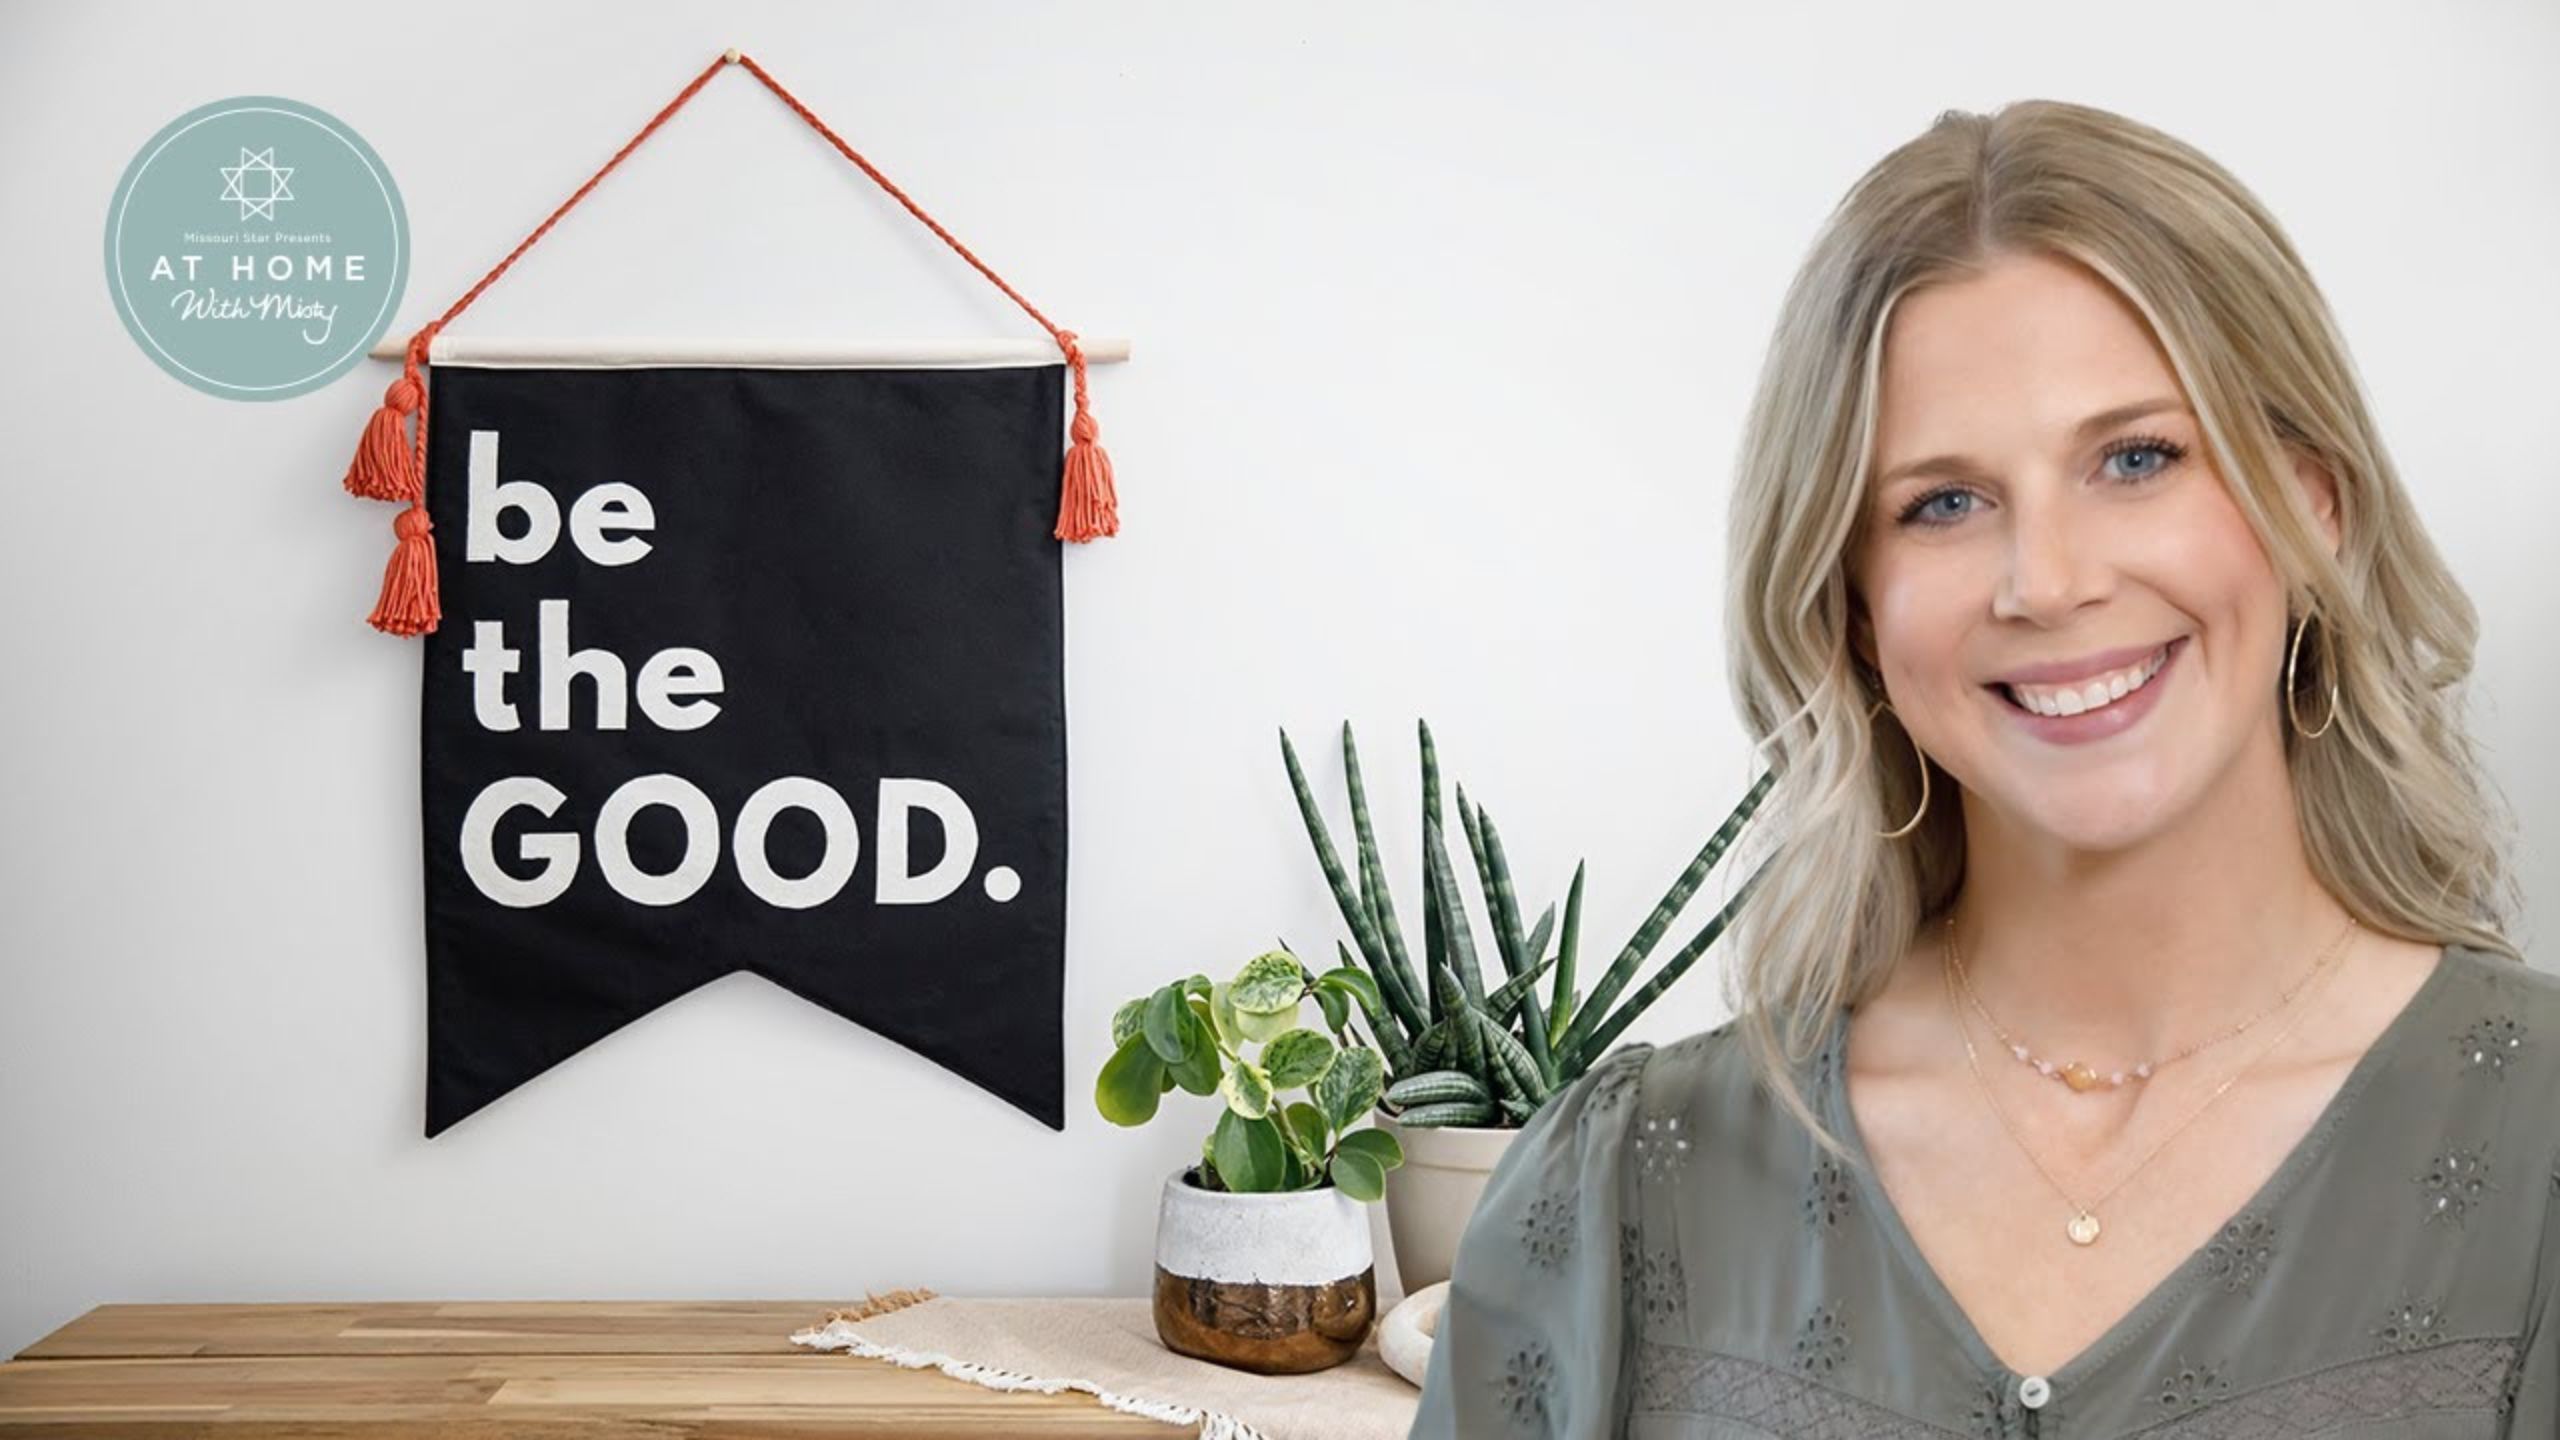
How to Make a Be The Good Pennant - Free Project Tutorial with Misty Doan
 Misty Doan
- Fabric by Yard
- Modern
- Wall Hanging
- Intermediate
- Quilt size 17" × 21"
Surround yourself with positivity! In today's tutorial, Misty makes a pretty wall pennant that will encourage you to be your best self every day. Using easy fusible applique, these lovely letters will help you "Be the Good" you wish to see in the world.
Instructor
Misty Doan
Misty Doan grew up surrounded by sewing and quilting. She loves spending time sharing tutorials each week each week, and when she’s not stitching up one of her fun sewing projects for home decor, most likely you’ll find her hanging out with her husband and three awesome kids or working on a house project.
Shop this tutorial
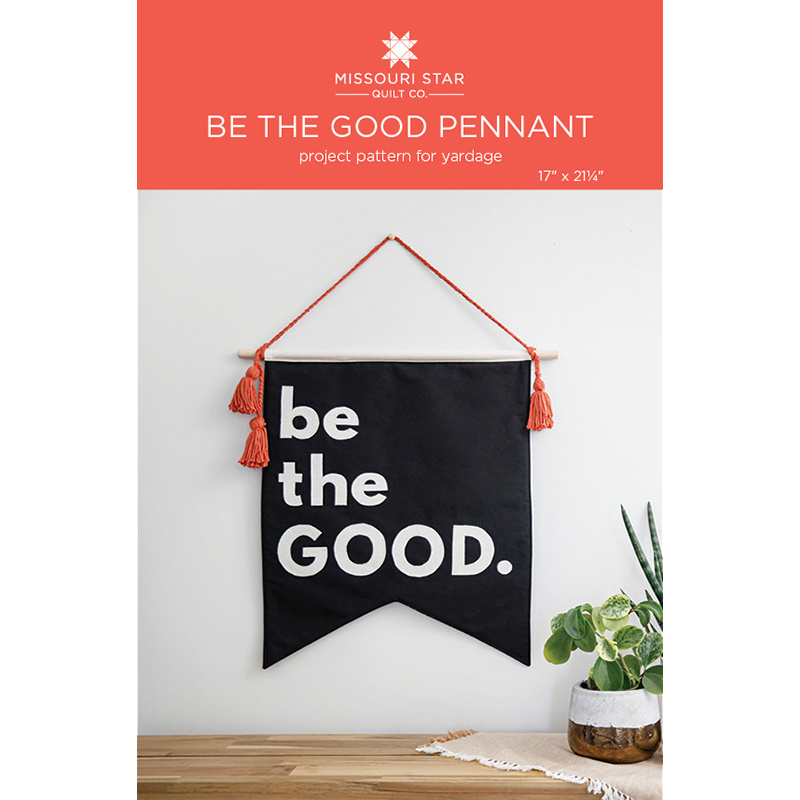 Be The Good Pennant Pattern by Missouri Star$6.95Shop →
 Digital Download - Be The Good Pennant Pattern by Missouri Star$4.95Shop →
 Kona Cotton - Black Yardage$7.28Shop →
 Essex Linen - Ivory Yardage$10.96Shop →
 Missouri Star Sew Light Fusible Adhesive - 17" x 2 yards$4.95Shop →
 Heat N Bond Fusible Interfacing Medium$3.75Shop →
 Pellon Fusible Fleece 45" Interfacing Yardage$9.45Shop →
 Olfa Splash Aqua 45mm Rotary Cutter$18.75Shop →
 Olfa Splash 24" x 36" Cutting Mat Navy$68.95Shop →
 Missouri Star 5" x 15" Ruler$15.95Shop →
 Elan 8" Dressmaker Scissors$20.95Shop →
 Missouri Star 50 WT Cotton Thread White$6.95Shop →
 Exclusive Missouri Star Jenny TG1600 ProPlus Oliso Smart Iron$199.99Shop →
 Missouri Star Wooly Betty Board - 17.5" x 17.5" Aqua Border$88.95Shop →
 Missouri Star Ironing Board Cover$19.95Shop →
 Magnetic Thread Spool Pin Holder - Pink$5.45Shop →
Common Questions
What is covered in How to Make a Be The Good Pennant - Free Project Tutorial with Misty Doan?
Surround yourself with positivity! In today's tutorial, Misty makes a pretty wall pennant that will encourage you to be your best self every day. Using easy fusible applique, these lovely letters will help you "Be the Good" you wish to see in the world.
How long is the tutorial video?
The tutorial video is 00:26:56.
Are supplies listed for this tutorial?
Yes. The tutorial page includes the supplies and materials connected to this project.
Is a transcript available?
Yes. A written transcript is available on the tutorial page.
Video Transcript
I am so excited to make this banner with you guys. It just came together so quick and so simple and I think you're really going to enjoy making it. So let me show you what you need. First up you are going to need whatever background fabric you choose I went with some Kona Black. I also used that same cream linen that I used on another project previously for this series to do the letters and the little top hanging sleeve. You will also need some fusible web so that you can trace your letters onto that as well as some fusible interfacing and some fusible fleece. So you're going to want to have all of those handy and let's get started with making this!
So in the pattern you will have the reversed letters that you need for this banner. Then we will take our fusible web and just lay this over here and a pen or pencil and then we're just going to trace these. One little tip that I do have is if you have any straight sides just use a ruler to make your life easier. So I go through and I find all my straight edges first and I just trace those. Then I go back and freehand all of the curves. So then we can go back like so. I will just keep tracing until I have all of my letters transferred onto the fusible web.
Once I have that done, I will press all of these onto the back side of whatever you decide to use for your letters. Like I mentioned, I use this beautiful cream linen. You can see this is what it looks like when they're all pressed onto that. Now the next step is to cut them out. To save time I went ahead and cut them all out just right on the line. So you can see I have all of my letters ready to go. We will set these aside for now and we will prep our banner background.
From your background fabric you are going to need to cut two pieces
that measure 18 by 22. now I used Kona Black for mine and from there with the fabric I was able to get both of those pieces out of a half yard. Depending on the manufacturer that you go with you might need three quarters of a yard of fabric because you'd have to turn your cut, does that make sense? Either way I was able to get it out of a half yard of Kona and so you can see I have two pieces stacked up here, both cut at 18 by 22. I'm going to fold these in half all stacked up together and along this edge and I'm going to line it up on my mat just like so. Then what I'm looking to do is I'm going to measure up six inches from this fold side and I'm going to lay my ruler from that six inch mark to this outer point. I just want to make sure everything is straight because I'm going to cut this all at once so that my pieces match up. So we have this nice and straight from these outside points to six inches up and we're going to use our rotary cutter and make a cut to create the shape that I used here in this banner. Now we're just
going to set these aside for a moment.
We're going to prep both our fusible interfacing and our fusible fleece. So here I have cut these to 17 by 20. I want them to be a little bit smaller so
that they're not in my seams when we get to that point. And so same
idea here, I'm lining these up on my mat but instead of six inches I'm only going to come up five this time and because this is cut shorter that angle will still work. Cut off that, there we go, the fusible fleece is done.
And same idea with my interfacing. You can see I kind of boogered up this side, but I'm not worried about it because I'm going to cut this bottom chunk off. So I'm just going to line this up again have the fold down towards me make sure it stays as square as possible (sometimes those little glue bumps work against you!). There we go, that looks nice. So I know again from this outside corner up five and trim just like so.
So now all of our pieces are ready to go and we are going to fuse these to the back of one of each of our panels. So let me just lay one of these out here so you can see it really well how this works. So here's my fusible fleece and then when it's just going to kind of hover and we'll have somewhere between a half inch and three quarters of an inch on all sides so that we won't have this caught in our seams. You can see that's exactly how we want it to look. I'm going to take this and I'll press both of these in place and I'll meet you back here.
All right I have fused these down. I have one that has our fusible interfacing and one with the fusible fleece. I like to use the interfacing side to put my letters on. So now I'll just set this one aside for a moment and let's talk about laying out our letters.
I'm just going to line this up on my mat so it's nice and straight and then I actually like to start with my big “good” across the bottom. I measure up
about two inches from my bottom point, so I just lay my ruler here along this edge and I can see where the peak is inside. Then I come in at least an inch and a half from this outside edge because I know I'm going to turn these under when I sew my seams. So then we just line these up, looks nice and neat, and then you can't forget the little period that comes in again. I’m making sure I'm in an inch and a half and that works out just about perfectly. Then we can come up about an inch and a quarter inch and a half from the top of this. I just like to use my ruler to keep everything square and nice and neat. I'm lining everything up along this left hand side. Then I'm going to come from the top of my tee. So now that I have all of that lined up I'm going to go ahead and press this down and I'll meet you back here to finish off the edges.
All right so I moved my pressing mat over here so that you guys could see this really well. I've got everything lined up. I went ahead and peeled off all of our paper backing and now we can just press these down. If you're not familiar with fusible applique you don't want to slide your iron. You want to just press and lift straight up. So press and hold, lift straight up and just move across until everything is fused. You want a nice hot, dry iron. But we don't want to accidentally flip up the edge of our letters or have it stuck to our iron. That would be a bad day. You just kind of check and make sure all of your edges are fused the way that you want. I don't feel any that are lifting. Just the bottom of that B right there needs a little bit more heat. Okay perfect. Let me put all this back together and then we will start
stitching down these letters.
So we have this interfacing behind this, we've fused our letters in place and so now this is when you will do whatever stitch you decide to hold your letters in place long term. I ended up just doing a straight stitch on the one behind me. That's what my daughter said she wanted and I was like okay, easy enough. But I think a satin stitch or a blanket stitch would be beautiful here. I just have my straight stitch machine with me, so let's just do a straight stitch on one of these letters.
I am just going to go around this D, put this really close to the edge and then pivot. I think the important thing to remember when you're stitching letters down like this, is to really just take your time. For me, I find my patience is probably not up to snuff for applique work even though I truly do enjoy it, but sometimes my finish isn't as pretty as it could be if I would just slow down and enjoy the process a little bit more.
Start around the outside, then we'll come back and do the same thing on the inside. Really it's just the curves that you have to really take your time on. Sometimes you have to stop and rotate that fabric. Just keep your needle down.
All right so now we have stitched all the way around the outside and the
inside. We just want to make sure that we secure these letters in place so that it's washable. After all this is going in a kid's room, dirty fingers, you want to be able to wash this project so whatever method you decide go
ahead and stitch all of these. I'm going to skip that so that we can move on to the next step.
So I am going to leave this face up and I'm going to put these right sides together, lining those up. You could totally use pins here or clips just to secure these in place, because we don't want this shifting. I've found it's always worth it to take the time to do this. When I wonder if I should,
I usually should in that case otherwise I'll end up having to use our handy seam ripper at the end. Then we can zoom all the way around.
So now I am just going to sew on these two long sides and across the bottom. We're going to leave the top open for now. Let's go ahead and do this. I do recommend just a little bit wider seam here, you can go up to a 3/8 inch. Just a little bit wider than your standard quarter inch. I do want to point out I'm using white thread so you guys can see, but I did switch my thread and use black thread when I was sewing these together. So I am just going to sew straight off this end, just like so, and then I can pivot this and come back and go down this side. Again I'm using that 3/8 inch seam allowance. If you want to use a quarter that's totally fine, just whatever you're comfortable with. I just don't want it to run the risk of coming out or fraying.
Now you can see I've sewn those two long edges across the bottom and the top is still open. That's exactly how we want it so now let's bring this back over here. We are going to trim off some of the bulk around here and clip our inside so that this will lay nicely. So I'm going to use my scissors here and I'm going to trim off this point and then I'm going to come in and I'm going to shave this down a bit so that I just have less fabric down here at the point, because we want this to turn easily. So I'm just going to take this up a little ways to make sure that that's all going to be out of the way when I go to turn this. Go ahead and do the other side as well - cut
off that tip, just shave that down. No real exact amount just leave it wide
enough that you don't want your stitches to come loose. That looks nice.
Then I'm going to use my scissors and I'm going to clip right here on the inside. Again just be really careful not to go through that stitch line. I've done one right in the middle and I'm going to do a few more along the side, just to make sure that this middle point has plenty of give and that this will lay nicely when I turn it. You can see these little fringy bits that are
in the middle there. That will allow this to flex and lay nicely.
So now we can reach in. I like to kind of push against that on that side
and this side to get me started and then we can pull this through. Go back and push out the tips here. I'm going to use the end of my pencil because I have it handy. You can see how by trimming that down, that lays so nicely. Do the same over here, like so.
So let's take this over to the pressing mat and press this down nice and flat. I just want to make sure that all of my seams are laying flat, that they're not tucked under themselves. Sometimes you just have to kind of roll them between your fingers to make sure that they're behaving the way that you want them to. You can see here, this is a good example of why I switched my thread. Can you see this white that's peeking through? Like I said, I wanted you guys to be able to see what I was stitching but if I had used black that wouldn't show. So when you're making it at home make sure you switch your thread out. There we go and this final side, just take your time and get it to lay nice and flat. Isn't that so fun? We are so close to being done!
So from this point you can top stitch along the edge. I'm going to wait and do that later since I do have white thread on my machine but you can do that at any point. You could add straight line quilting. You could do all
kinds of fun, whatever you want to make this your own. At this point but you could also just leave it exactly as is. This has some great body to it because of the interfacing and the fusible fleece that we added.
So now let's talk about making that little hanging sleeve that goes along the top. In order to do that we are going to take from our linen fabric a piece that is three inches wide. I recommend you measure what your project ends up. Mine is exactly 17 inches wide. So whatever your width ends up, add an inch to that. So I've cut this three inches tall by 18 inches long.
To begin we are going to turn under the two short ends a quarter inch twice, just like that and then press them. Let's go ahead and do that over here. So I usually just eyeball this. If you want you can use the little heat proof rulers that they have out there. I'm just going to turn it under twice and then we'll do the opposite side, exact same thing. So now I am going to stitch down these two sides so that we don't have any raw edges that will poke through on these little ends. Stitch down the other side just like so.
Now I'm also going to press under, just one turn along one of the long
sides a quarter inch just like so. This is what we're looking for. We
have these two finished ends and I've turned under one long side. Mow
this side that I have not turned under, we're going to lay this right along the top of our banner. You can see that matches up exactly. Again if you want to use pins you can and we are going to sew this down with a quarter inch seam, just all the way across this top edge.
So now we're going to flip this up and give it a good press so it lays nicely
all the way across here. Then I'm going to bring this over to my cutting mat, just so you can really get a good look at what I'm talking about here. You can see we've now enclosed the top with that first line of stitches, but we don't want anybody to see this stitch line, so now I'm going to fold this down just about an eighth of an inch past that line of stitches. You can see I'm just flipping that over so I know that it's going to cover. I'm going to grab some pins here because I want this to be enclosed. I wanted to make sure you guys can see what I'm talking about. I'm just going to make my way across ensuring that we cannot see those stitches and I'm going to make sure that I'm pinning up out of the way. I'm actually going to move this up a little bit and a couple more across here just like so, making sure it's all laying nicely. So you can see now this is covering that first line of stitches. So you have two options here. You can either sew from this back side, but you run the risk if you do that of having your stitching be in the black of the front of this banner which is what I wanted to avoid. I put my pins way up out of the way and I'm going to now take this to the machine and I'm going to stitch an eighth of an inch above my last seam line. So just top stitch right along this edge and because I've pinned this in place I know it's going to catch the back side. If this makes you nervous, just stitch from the other side and give yourself a little bit more room so that you're not stitching in the black. But this is how I did mine.
We are going to start here under the needle. You can see my pins are
well out of where I'm going to be stitching. So I am going to back stitch a little bit there and we are just going to cruise across here. Every once in a while I just double check to make sure everything is laying smoothly since we can't see that back side. Flip it over you can see we caught all of that. Our seam line is not showing, which is exactly what we were going for. So then I just slid this onto a dowel rod - you can see I have this behind me.
Then I used some yarn that I picked up from my friends over at One Big Happy. I just used three strands for each section of a braid and I just braided a hanger. Sarah Delaney had this great tutorial, which you should go check out, on how to make the tassels. So then I just tied these tassels onto the braided rope that I made. Super quick and easy and so much fun!
I hope you enjoyed this last project in our redecorator room series and I will see you next time on At Home with Misty!


