Skip to content

Free quilting video tutorials from Missouri Star

Quilting Tutorials
How to Make a Bette Bag - Free Bag Making Tutorial with Sallie Tomato

How to Make a Bette Bag - Free Bag Making Tutorial with Sallie Tomato

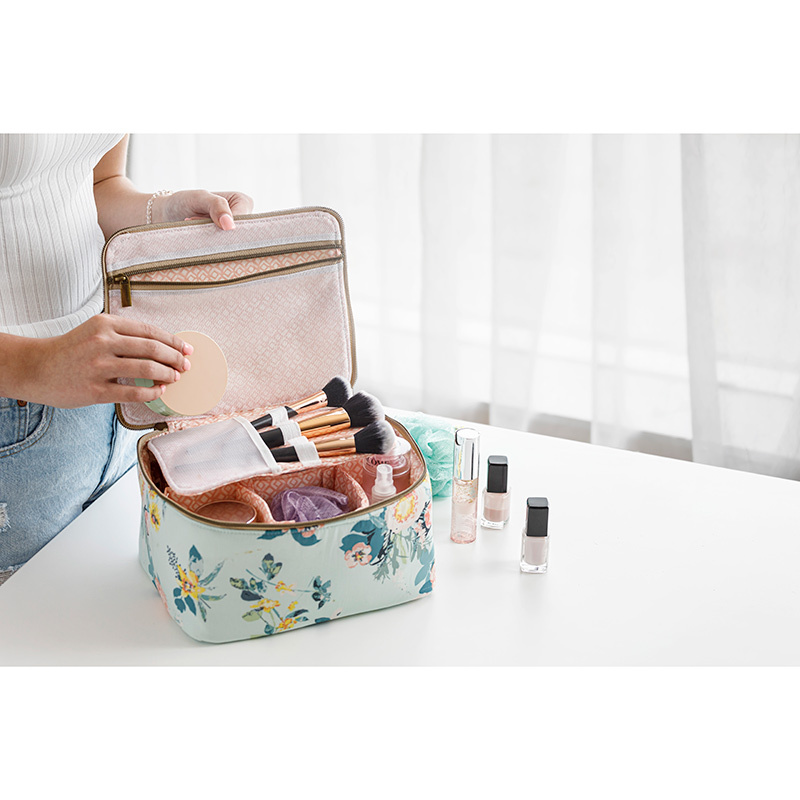
Sallie Tomato is a fresh new brand of sewing patterns to adore! Created by Jessica Barrera, these stylish, modern projects help you make custom accessories out of your favorite fabrics. The Bette case is the perfect project for organizing your cosmetics! Use it on the go or in your bathroom so all your toiletries are tidy. The Bette case features double-sided zipper flap closures, top handle, organizer for brushes or cords, removable dividers, elastic bottle holders, and a mesh zipper pocket.

Instructor

Jessica Barrera

Jessica Barrera is the Founder and Owner of Sallie Tomato, a provider of original sewing patterns, as well as designer patterns from other companies, bag kits, purse hardware, nylon-coil handbag zippers, a wide variety of cotton, canvas, cork & faux leather fabrics - plus sewing machines, notions, interfacings & stabilizers, & more!

Common Questions

What is covered in How to Make a Bette Bag - Free Bag Making Tutorial with Sallie Tomato?

Sallie Tomato is a fresh new brand of sewing patterns to adore! Created by Jessica Barrera, these stylish, modern projects help you make custom accessories out of your favorite fabrics. The Bette case is the perfect project for organizing your cosmetics! Use it on the go or in...

How long is the tutorial video?

The tutorial video is 01:07:27.

Are supplies listed for this tutorial?

Yes. The tutorial page includes the supplies and materials connected to this project.

Video Transcript

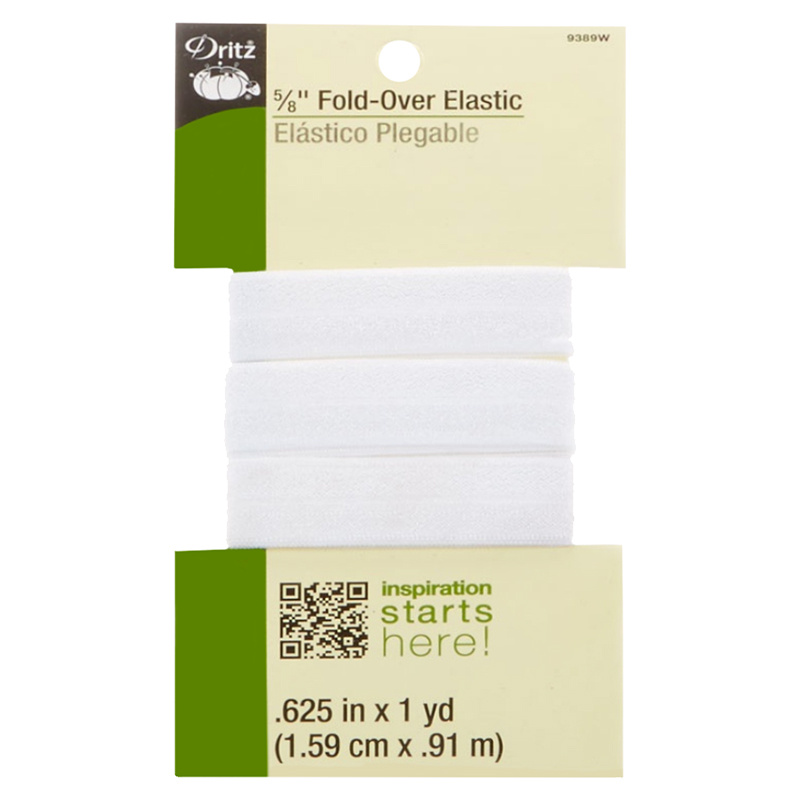
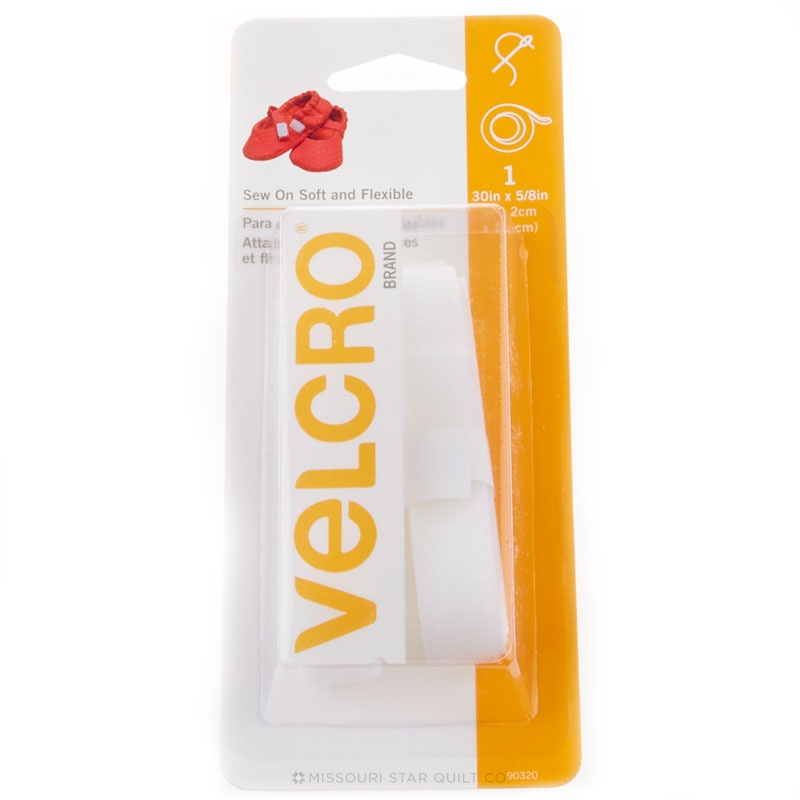
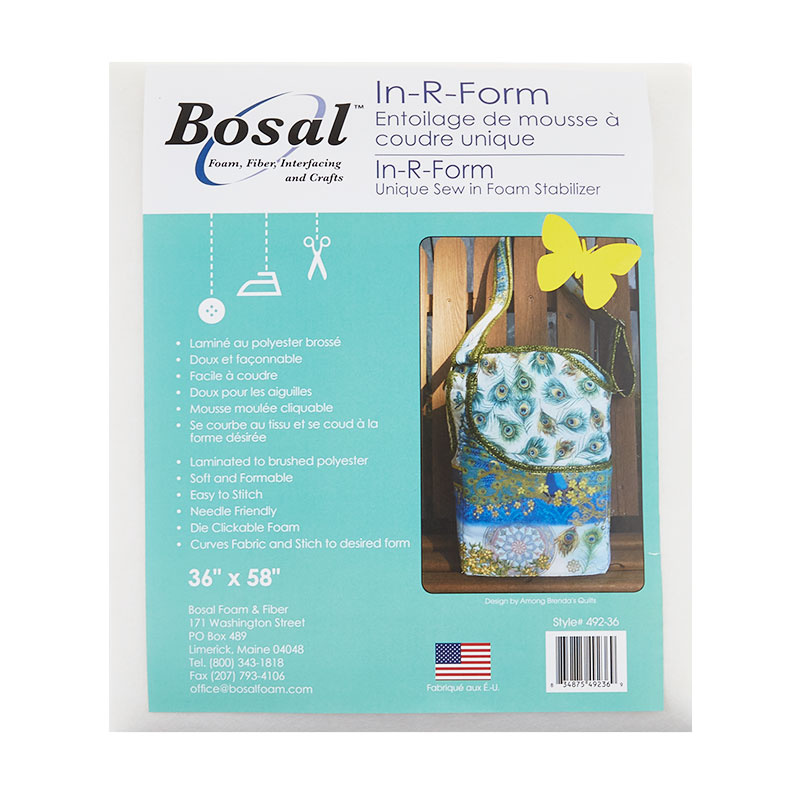
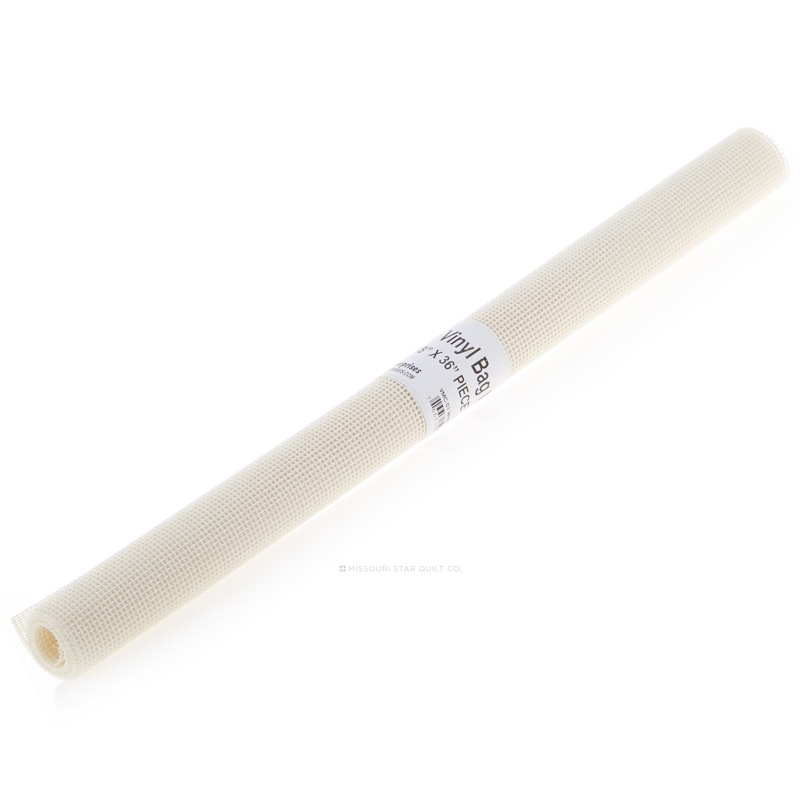
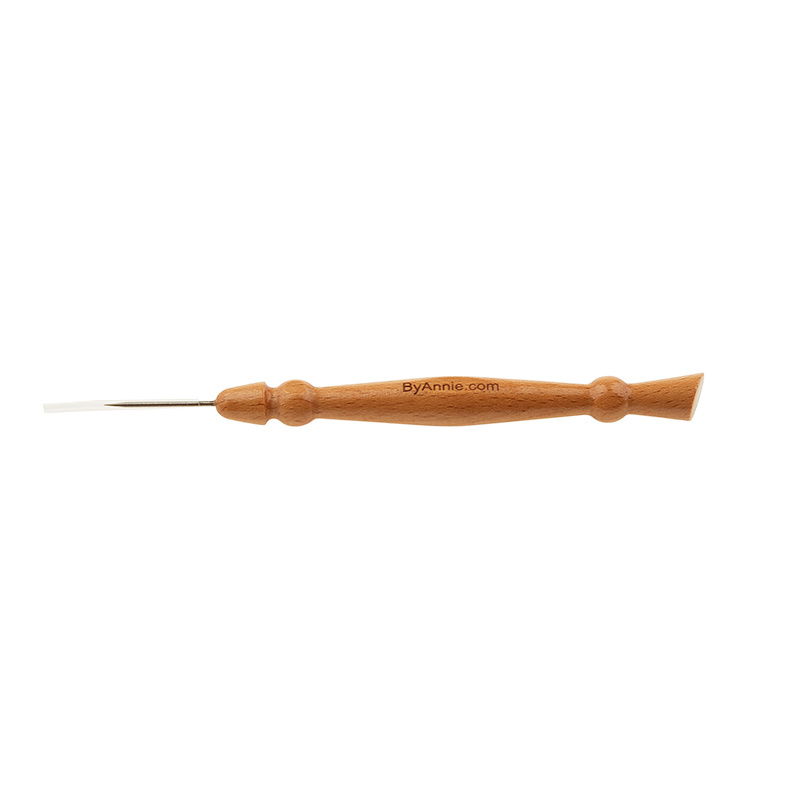
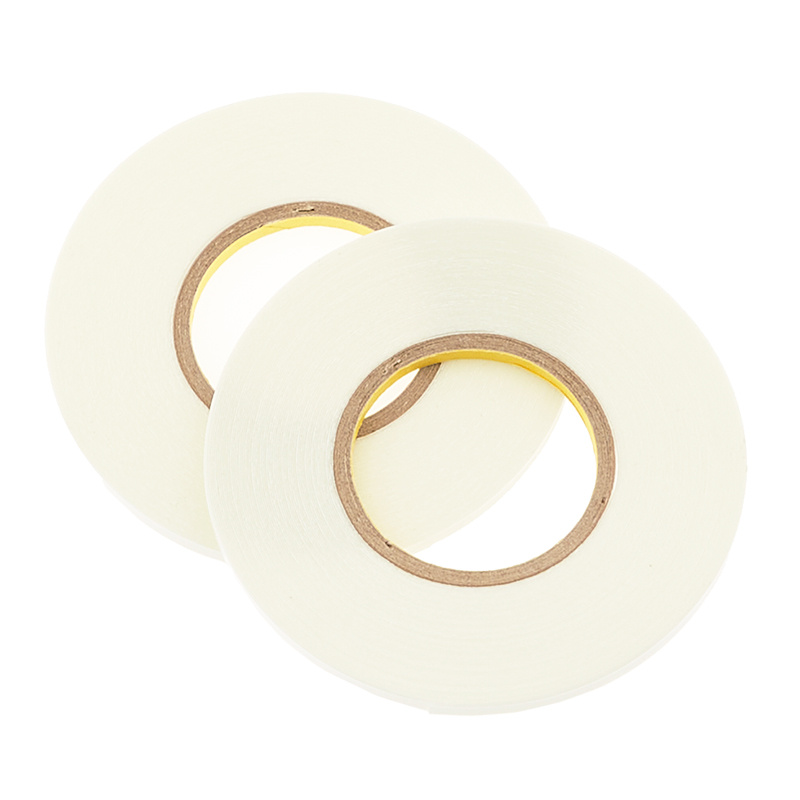
[Music] thank you [Music] hey everybody my name is Jess and I'm the founder of Sally tomato I'm here at Missouri Star Quilt Company to make the last project in our travel Series so I hope you've enjoyed the series so far and by the end of today you'll have a complete travel set to even come and visit Hamilton so for today's project we are going to making a travel bag that has an organizer on the inside compartments a mesh pocket so you can organize toiletries Cosmetics art supplies or even use it as a small lunch box so I think you'll find lots of uses for the Betty bag and I'm going to show you step by step how to make all of these fun features part of this bag so we're going to get started you'll want to refer to your pattern for all of the cutting instructions so cut out all the pieces all the pieces are rotary cut and you'll also want to fuse your interfacing to the wrong side of the fabrics and first we're going to get started with attaching the foam stabilizer to piece a which will be the outer panel of the bag piece B for the top flap and another piece for the base and also one of your lining pieces F and this will be for the organizer so I've already prepped a couple of these and I'll show you how to attach the foam with the outer panel so what I love about using foam stabilizer is it's really lightweight and it just pops right back into shape and it has that great body and stability to give your bag structure so just place your foam on your work table and align all the edges of the outer panel with the foam so the wrong side is against the foam and you can apply some basting spray to your fabric to help hold it to the foam but I'm just going to use some sewing clips and just like the other tutorials the clips are great for holding together these thicker layers thank you so now that it's clipped together I'm going to baste the fabric to the foam with a quarter inch seam allowance and for a basting stitch you can lengthen your Stitch length to five or six millimeters long since we're just tacking the pieces together so we'll repeat for your top and your base and also that remaining lining piece and then we're going to move on to create the handle so starting with the handle piece we're going to take this over to the iron and fold it in half lengthwise and just press it down the center and open up the handle and press each of the long edges to the center so you can use that Center fold as your guide and then fold it in half once more and that will encase the raw edges so then you'll want to top Stitch an eighth inch from each of the long edges so here is what the strap looks like top stitched I already went ahead and top stitched mine so then we're going to Center this handle piece on the flap and you'll want to line up those raw the short raw edges along the short sides and you'll notice that the handle will lift up in the middle and then we're going to sew each end of the handle down and you'll want to sew a box that's about two inches long and then just sew across the handle so I'm going to reduce my Stitch length to about two and a half millimeters because we want to make sure that this handle is nice and secure so one side is done and if you'd like you can also top Stitch a x through the center of the rectangle for extra reinforcement and then you'll repeat for the other side so this turns out super cute you can set the top flap aside for now and we're going to work on assembling the organizer so I've grabbed all the pieces that I need to create this organizer so this organizer will feature a little mesh pocket on the bottom and then also a divided piece of elastic so if you want to put pens or markers in here and or otherwise makeup brushes anything that you'd like there's a lot of variety of things that you can do with this little organizer and you'll also notice that I have all my pieces labeled there are quite a few little pieces to create this but it comes together quite quickly so we're going to start with our piece of elastic and the mesh to create the pocket so I'll remove my little labels here and the elastic is a double fold elastic that I'm using and you'll notice that there's a center line and a shiny side and a matte side you can have either side out I usually do the shiny side out it tends to fold a little bit better with the matte sides together but it's up to you works both ways and then you'll place your mesh along the center of the piece of elastic and you can use some double-sided basting tape to hold these pieces together so I'm just going to cut a little piece of tape and have it run along one half of the elastic and take a PIN to score the paper side and then when you bend it you can just pull off the paper you definitely want to have a lot of tapes and glues on hand when you're making bags so now you'll align the mesh along the center line of the elastic and just press it down to adhere it to the tape and then fold the elastic in half and I'm going to use some clips to hold the elastic in place and then I'm going to top Stitch 3 8 inch from that folded Edge so then you'll place your pocket right side up over the bottom edge of your divider piece and you'll want to attach it to the piece that has the foam attached so I'm just going to clip the side edges in place and then top Stitch an eighth inch from the sides in the bottom make sure to leave that top open so next we'll attach the elastic so I've already went ahead and marked my lining piece F according to the pattern so you'll measure down and Mark a horizontal line and then you'll Mark little tiny marks at each of the indicated measurements in the pattern and then you'll also want to mark your elastic piece so once you have both pieces marked you're going to align the short raw edges of the mesh along the sides of the divider and you'll want the elastic the top edge of the elastic to be just below that marked line I'm just going to clip those raw edges in place and I used an iron away pen to Mark each of these lines so after I'm done sewing I can just touch it with the iron and it'll disappear so you want to use either chalk or water soluble something that will not be permanent to mark all of these lines so I'm just going to leave this elastic loose and align each of the marks as I sew so I'm just going to start with this first one make sure to back stitch for reinforcement and I'm going to sew across that first aligned mark and you also want to sew an eighth inch from the raw Edge so I'll do that real quick and then for the next line you'll just simply take the elastic and align it with the mark on your lining Fabric and sew and you'll just keep aligning the marks all the way across and I'm using contrasting thread so you can see my stitches but you probably want to use something that blends in with your elastic just for a little bit more professional look if you like the contrast you could certainly do that too so I'm going to trim all these threads there's quite a few here so then you'll take the divider extension so this little tab will end up getting attached to the side and we'll attach it to the inside of the bag so we can either move it out of the way or have it down for easy access so we're going to take off the label here and place each of the divider pieces right sides together and then I'm going to sew with 3 8 inch seam allowance along each of the short edges then you just flip it so the right side is out and I'm going to give this a press over at the iron and then top Stitch a quarter inch from each seam so now we'll attach the divider extension so Center it on the left hand side of the organizer piece and align that long raw Edge you want to make sure that your elastic stays out of the way underneath so I'm going to add a clip by the elastic and then I'm going to just base this in place an eighth inch from the raw Edge so next we're going to round each of the corners of both of our divider pieces so I'm going to grab my pattern and cut out the two inch circle templates around the corners so here's my template and I'm just going to position it in each of the corners and Trace the outer edge you'll want the outer edges of the template to be aligned in the corner and I'm just using a permanent pen you can use something that's temporary but this will end up getting sewn in the seam thank you and then take your scissors and just cut along each of the marked lines so after the corners are cut you're going to take your divider pieces and place them right sides together and align all the edges and clip the layers together so you'll want to leave about three inches unsewn along the left hand side that has the extension attached so I'm just going to Mark so I remember where to start and stop and this unsewn area will be for turning the divider right side out so now I'm going to sew the pieces together with a quarter inch seam allowance starting and stopping at those marks that I made and make sure to back stitch and just keep the fabric aligned with that quarter inch line on the needle plate so if you feel like you need to you can always lift up the presser foot do a stitch or two and then keep pivoting around but as long as that fabric Edge is aligned across from the needle with the mark on the needle plate then you will be maintaining that even seam allowance around the curve so after you're done sewing take your scissors and cut Little Snips around the curves and this will help relax the fabric for when we turn it right side out and help distribute some of the bulk so then we can turn it right side out through that turning opening so just use your thumbs to push the fabric through and if you have a stiletto or a turning tool this Sally tomato essential tool has a nice curved edge with a point to help smooth out the corners so I'm just going to run that curved Edge along the seam and that'll help push the corner out and you can use your fingers to help roll the seam edges as well and I'm going to press this entire piece over at the iron and I'm going to press on the side without any of the the mesh or elastic just along the outer edges to have it lay flat and then you'll want to turn the raw edges of the opening to the wrong side about a quarter of an inch because that was our seam allowance ah press that flat and we can add some pins to hold the fold in place and I usually top Stitch from the right side you'll just have to be conscious of your pins on the other side otherwise you'll want to top Stitch from this side to make sure that you catch that folded Edge and we're going to top Stitch an eighth inch all the way around just be careful that you don't sew over the elastic make sure it's folded away from the side edges you sew around with that eighth inch seam allowance so here is the piece all top stitched and if you didn't catch this here you could always go back with a hand sewing needle or a little bit narrower of a stitch just to make sure that you cut that closed so you can set this piece aside and we're going to work on preparing the inner panel so on the inner panel of the bag there is a piece of elastic that I designed to hold small bottles so you could put essential oils or nail polish in there so first we're going to Mark the placement for the elastic piece so you'll want to fold your entire inner panel in half to Mark the center and you can either mark it with your chalk or just press it lightly with your iron then you'll measure up from the bottom draw a horizontal line similar as before and then also Mark those increments for the spacing the elastic dividers I've already marked my elastic so again I just marked those increments just marking all the way across the elastic and this time on each end you're going to fold the raw end about a quarter inch to the wrong side so that way the raw Edge lines up with that first marking and then I top stitched across so that way the raw Edge was concealed on both ends so then you'll position the elastic so that way that folded Edge is in line with the first marking and you'll want the elastic below the horizontal line so it will be closer to the bottom Edge there'll be more space above I'm just going to pin it in place and the same for the other side and I'll repeat the same process as before stitching the raw end of the elastic in place first at the first marking and then I'll keep aligning the marks and stitching across the elastic next we're going to attach the hook and loop tape and this will be to hold the dividers so that way you can insert them if you want to have the multiple compartments or if you rather have an open area inside your betty bag then you can remove them easily with the hook and loop tape so I've already separated my hook and loop tapes to have the hook sides together and the loop sides together so we're going to start with four of the loop pieces and we can set the rest aside for now on each end of the inner panel you'll measure in from the short end and Mark two vertical lines for the placement of the loop tape and then you'll also measure in from the opposite side so you're going to take two pieces for each side and Center it just to the inside of each of the vertical lines and you can add a PIN to hold it in place or use some double-sided tape along the center so I'm going to tape it that way it lays flat the pin would have it pucker a little bit so I like using the tape just make sure that you keep the tape away from the side edges and the ends where we're going to be stitching so you'll want to make sure that it's centered up and from the top and bottom and then you'll repeat to add another piece so then you'll add the other two pieces of loop tape remembering that you'll want them closest to the center of the inner panel once you have them taped in place or pinned then you're going to top Stitch an eighth inch from each Edge and I already have one done so after top stitching you'll fold the entire piece in half and then sew the short raw ends together with three quarters of an inch seam allowance and then trim your seam allowance to a quarter inch wide to reduce some of the bulk so here's what it'll look like all done you have your Loop tape attached and your elastic on the inside what I like to do at this point is to Mark which Edge is the top since you do want to make sure that the bottom Edge is a little bit narrower of a distance from your elastic the top Edge will be a little wider so take your top Edge and Mark on the wrong side I usually just put the word top and that's super easy for me to remember later on so you can set this piece aside and we'll work on assembling the dividers you'll have three pieces for your dividers you'll have a center divider and two side dividers so I positioned them on the table so that way the height of 10 inches is all going the same direction and you'll want to press each of the 10 inch edges a half inch to the wrong side so I've already went ahead and pressed each of those then you're going to fold each piece in half with right sides together so you'll match the top and the bottom Edge and I like to add a pin at the folded edges to make sure that they don't shift while sewing and the same for the side dividers so then we're going to sew the raw edges together with a half inch seam allowance all right so then we're going to turn these right side out and you'll just roll the seams so it's nice and flat and then we can press it at the iron and we'll repeat for the other two dividers so here they are all pressed and then we're going to grab the foam to stabilize the dividers so then we're going to slide each of the foam pieces into the dividers for stability and for the side dividers you'll want the piece to be higher than it is wide so make sure that you have the height positioned correctly so it'll be a tighter fit along the top and the bottom and then you'll have the piece of foam centered so just use your fingers to kind of gauge if it's centered and there will be fabric on the ends without foam and that's intentional for later on and then repeat for the other pieces I'm just going to reach in from the other side and pull that through be a little easier and you can add some clips to make sure that the foam doesn't shift on the inside and then we're going to top Stitch an eighth inch from all four sides of each piece so I already went ahead and top stitched each of the pieces and added on the remaining hook and loop tape so I'm going to walk you through how I added that so on the center divider you'll want to add the remaining two pieces of the loops and you'll measure in from each of the short ends Marco line and place them inside of the line towards the center and top Stitch just like before then you'll flip the center divider over and also you'll have one side of each of the side dividers and you're going to grab each of the hook pieces of the tape and have them centered on each end with the outer edges aligned on each piece and then you'll just top stitch them in place so once that's complete we'll move on to the top mesh pocket to create the top mesh pocket there are three things that you'll need you'll need both of your mesh pieces and then also a 10 inch zipper so I'm using a nylon coil zipper so it's okay to cut and sew over the coil and it does have a metallic finish so it looks like metal these are so fun to use and we're going to start by making sure our zipper is going the correct direction so if you're right-handed you'll want the zipper to open to the right and if you're left-handed you'll want it to open to the left so position however is comfortable for you and then we're going to place the zipper right side up over the top mesh piece the shorter piece and this zipper is cut a little bit longer so you can slide the pole to one end so it stays out of the way while sewing and real quick I'm going to take this over to the machine and just Stitch along the very ends so that way the pole doesn't accidentally slide off while we're working on attaching the mesh so I'm going to slide the zipper pull all the way to the end again and align the top raw edge of the zipper along the top raw edge of the mesh and add a couple Clips to hold the layers together so I have this these raw ends aligned and then the zipper pull is away from where we're going to be sewing on the other end so I'm going to sew the two pieces together with a quarter inch seam allowance and then I'm just going to finger press the mesh away from the zipper but make sure to keep the zipper tape flat so the seam will be towards the mesh and then I'm going to top Stitch an eighth inch from the raw edge of the zipper so now we're going to repeat the same process to attach the opposite end of the zipper to the larger piece of mesh but this time we're going to align the bottom edges because when we sew it and it flips that'll end up being the top Edge so make sure the sides are even and then we'll sew with a quarter inch seam allowance and then fold the mesh away and top Stitch an eighth inch from the zipper after top stitching I'm going to slide the zipper pull back inside the mesh area and with right sides face up take one of your lining pieces for the top flap and align all of the outer raw edges and then just clip the layers together I like to add a clip right on the zipper coil to make sure that that doesn't shift and then sew the pieces together with an eighth inch seam allowance all the way around so as we sew over the other end of the zipper just make sure that the coils are together and just sew across I like to back stitch and then continue on so then you can take your scissors and just trim that zipper tape even with the side edge and you can set this piece aside we are so close to assembling the bag we're going to finish up by installing the top zipper and finishing up the flap and then we will assemble the entire bag so first we're going to round the corners of each of the flat pieces so we have our exterior flap with the handle and then our lining with the mesh pocket so grab the little template again position it in each corner trace the outer edge and then we'll cut along each of the marked lines thank you so then you'll grab a 27 inch double slide zipper and the double slide just means that there are two poles that meet in the middle so that way the travel case can open from the center outwards and then you just close it with the poles in the middle so starting on one end of the zipper take your zipper extension out of your main Fabric and place the right side of the fabric against the right side of the zipper and align those short raw edges and then you'll take your lining zipper extension and place the right side of the lining against the wrong side of the zipper and align those short edges I'm going to grab a clip and just clip the Fabrics together then we're going to sew the seam with a quarter inch seam allowance you can remove the clip and then fold each of the Fabrics away from the zipper and top Stitch a quarter inch from the seam so we'll start with our main Fabric and align the other short end with the right side of the zipper on the raw end and the same with the lining piece so you're gonna flip this around and match up the right side of the lining with the wrong side of the zipper and then sew across with a quarter inch seam allowance so you can remove the clip and then flip the extension so it's right side out make sure that your zipper is all right side out nothing is twisted and then you'll top Stitch a quarter inch from the seam so now we're going to Mark the center points on the zipper and each of the flat pieces so for the zipper just line up the seams and mark the front and the back Center and then also Mark on the opposite end for each of the flat pieces we'll just fold it in half and mark the centers so starting with the exterior piece we're going to match up the back center of the zipper extension and the back of our flap and add a clip so the main Fabrics should be right sides together and then we'll also match up the front Center marks so I always like to line up the straight edges first and add some clips and to help relax your zipper a little bit more and ease around the curves I'm just going to cut small little eighth inch Snips in the edge of the zipper and then when you go to align it you can see that it lays a little bit more flat and I like to add a lot of Clips on the corners to make sure that the raw edges stay even so then we're going to baste the zipper in place all the way around with a quarter inch seam allowance and if you do have a zipper foot for your machine I definitely recommend using it it'll help maintain your seam allowance around the curves and I'm going to stop when I'm close to the zipper pulls and just slide them out of the way thank you I'm going to just slide the poles back to the front center so they're not on a corner so then take your lining mesh pocket and you'll want to make sure that the zipper is positioned furthest away from the extension and you'll place your mesh pocket right sides together with your main fabric so start by lining up those Center points and clip the outer edges together making sure that the zipper stays towards the inside and at the corners you want to make sure the zipper is pushed in so flatten it the best you can thank you and before we stitch these pieces together I'm going to Mark the place for the Turning opening so you'll want the Turning opening to be where the zipper extension is and you'll want to leave about five inches so now we're going to sew these pieces together with 3 8 inch seam allowance and as you go you'll want to feel for those zipper pulls to make sure that they're out of the way and the same goes for the mesh zipper pocket as well foreign so before we turn this I'm just going to trim off some of the bulk from the corners so I'm going to cut off about an eighth of an inch or about a quarter of an inch just be careful that you don't cut too close to your stitches and then we can turn the piece right side out so I'm going to give this a good press over at the iron and similar to before we're going to turn those raw edges of the Turning opening a quarter inch in and that will seal up the raw edge of the opening when we top Stitch so you can add some pins in place there and then top Stitch an eighth inch all the way around from the seam to seal up that turning opening and it'll flatten it and give it a nice professional look so here's how the top flap looks all top stitched and again just double check that your turning opening was sealed closed and we're ready to assemble the bag so here are all the pieces so we have our inner panel we have the outer panel our divider our base pieces out of our main Fabric and our lining and then our assembled flap so starting with the outer panel I've already went ahead and folded this in half aligning the short side edges and I already sewed this with 3 8 inch seam allowance so that can be set aside you'll want to use the two inch circle template to round each of the base pieces and set that aside as well and then we're going to Mark the center of the base pieces and you'll also want to keep in mind for the outer panel the seam the side seam will end up being in the back so that'll be the back Center and if we fold this in half then you can mark the front center after that's marked you'll match the front center with the back Center and match the size centers on both the top and the bottom Edge so then you'll repeat for all of the center marks on the inner panel but this time just keep in mind that the side seam will be the front center so again you'll do your folding and your marking on that piece and then you'll repeat for the base pieces so you'll just fold them in half and Mark all the centers in both directions so we're going to start with the outer panel and then our main fabric base and match the back Center with one of the centers on the base whichever one will be the back and I'm going to clip it so the seam allowance is open to help distribute some of the bulk so then you'll do the same on the front and match up the front centers and the side centers then the straight edges and lastly ease in the corners okay so now we're ready to sew the base in place and we're going to use 3 8 inch seam allowance I find it's easiest to have the base against the sewing machine and you can start wherever you like I recommend on a straight edge and not a corner and at the corners just make sure to squish the foam down out of the way and keep those raw edges even so just double check that you cut all the edges of the seam and then we'll repeat to attach the top flap so align that zipper extension with the back seam and the main Fabrics should be facing each other remember to finger press that seam open so then we'll sew this with 3 8 inch seam allowance just like before and this time it's going to be a little bit easier to access with the outer panel Against the Machine just the way that the zipper lies so whichever is comfortable for you and your machine so here at the zipper I'm just going to back stitch and cut the thread slide it out of the way and that'll be much easier to sew past so I'm going to leave the exterior wrong side out and now we'll repeat the same process for the lining so we'll attach the base piece and this time we're going to use a half inch seam allowance so just remember that we're attaching the base so you'll want the bottom Edge to be lined up with the base piece foreign so now we're going to trim the lining seam allowance to about a quarter inch wide to get rid of some of that extra fabric and the reason why we use the wider seam allowance was so that way the lining is just a little bit smaller than the exterior and it'll fit neatly inside so then take your exterior and unzip the zipper and then just let the flap sit down inside and take your organizer and place the mesh sides together and Center it over the zipper extension and add a couple clips and then top Stitch this in place with a quarter inch seam allowance thank you so then you're going to take your lining and turn it right side out and match up that side seam with the front center place and we'll match up all of our centers and clip around the entire top Edge all right so then along the back Edge I'm going to mark that opening that we want to leave so I'm going to leave about six inches so mark that and then we're going to sew around the top edge with 3 8 inch seam allowance and make sure to backstitch since we will be turning the bag through there you want that beginning and ending to really be reinforced okay so now we're ready to turn the bag right side out so first I'm just going to pull the divider through and then the flap and then the rest of the bag and then you can reach in and smooth out all the corners and put the lining down inside the bag and then the final step is to close up that turning opening and top Stitch around the top Edge so I like to roll the seam and clip it so the zipper is nice and tight against the top Edge so work your way around the entire top Edge and I'm going to add some pins to hold this area in place thank you and you can top Stitch either from the lining side or the exterior side either way be conscious of your zipper pulls and the pins make sure that the flap and the dividers stay out of the way and I'm going to top Stitch from the lining side just to make sure that I catch that opening to seal it closed and we're going to sew with 1 8 inch seam allowance so here is your bag complete and I'm going to grab the dividers so we can add those inside so start with the center divider and you'll fold the ends with the loop tape facing the front and you'll stick the sides together and then you can take the side dividers and add those and then you can see the little organizer just sits right on top our mesh pocket is easy to access and going the correct direction and when we zip it up then it really takes its shape so you can press out any of the creases from turning and your new travel bag is ready to use I hope you enjoyed watching this and using your brand new bag and learning lots of tips for different techniques and working with a variety of materials for more inspiration and big making tips follow me at Sally tomato patterns on Instagram and Facebook and if you decide to make this project we would love to see it share with hashtag Sally tomato and hashtag msqc Show and Tell thanks so much for watching and have a wonderful day hi everybody it's Jenny from the Missouri Star Quilt Company we hope you enjoyed watching this video if you aren't already part of the Missouri Star Quilt Company family be sure to subscribe so you won't miss a thing and if you click that Bell it'll notify you every time a new tutorial comes out see you next Friday [Music] foreign

More Fabric by Yard tutorials

See all