Skip to content

Free quilting video tutorials from Missouri Star

Quilting Tutorials
How to Make a Cafe Windows Quilt - Free Quilting Tutorial

How to Make a Cafe Windows Quilt - Free Quilting Tutorial

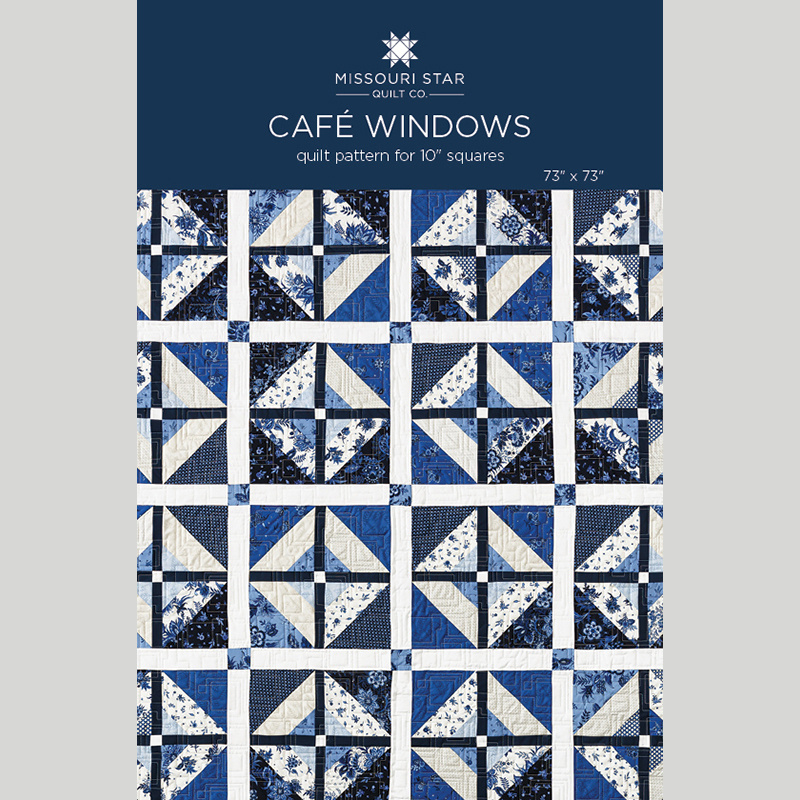
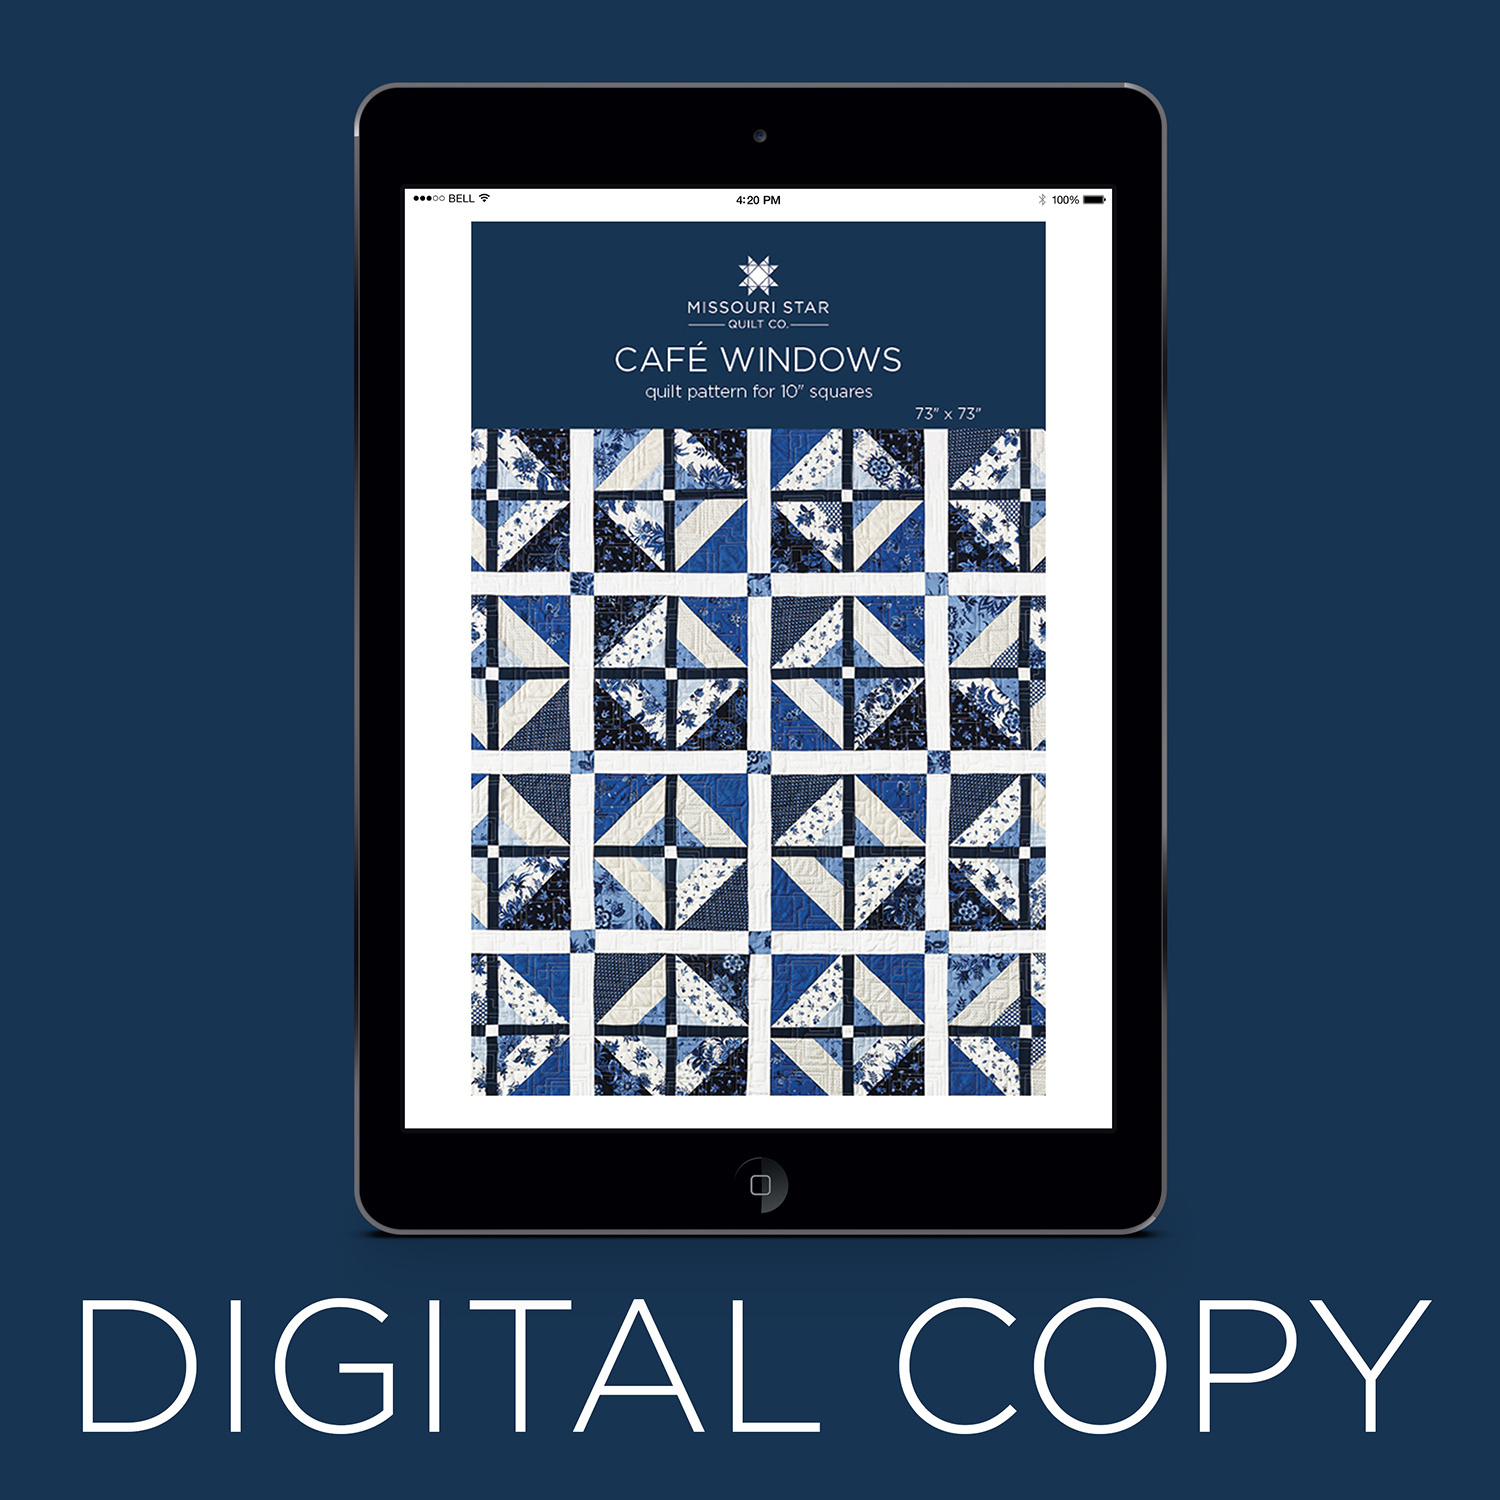
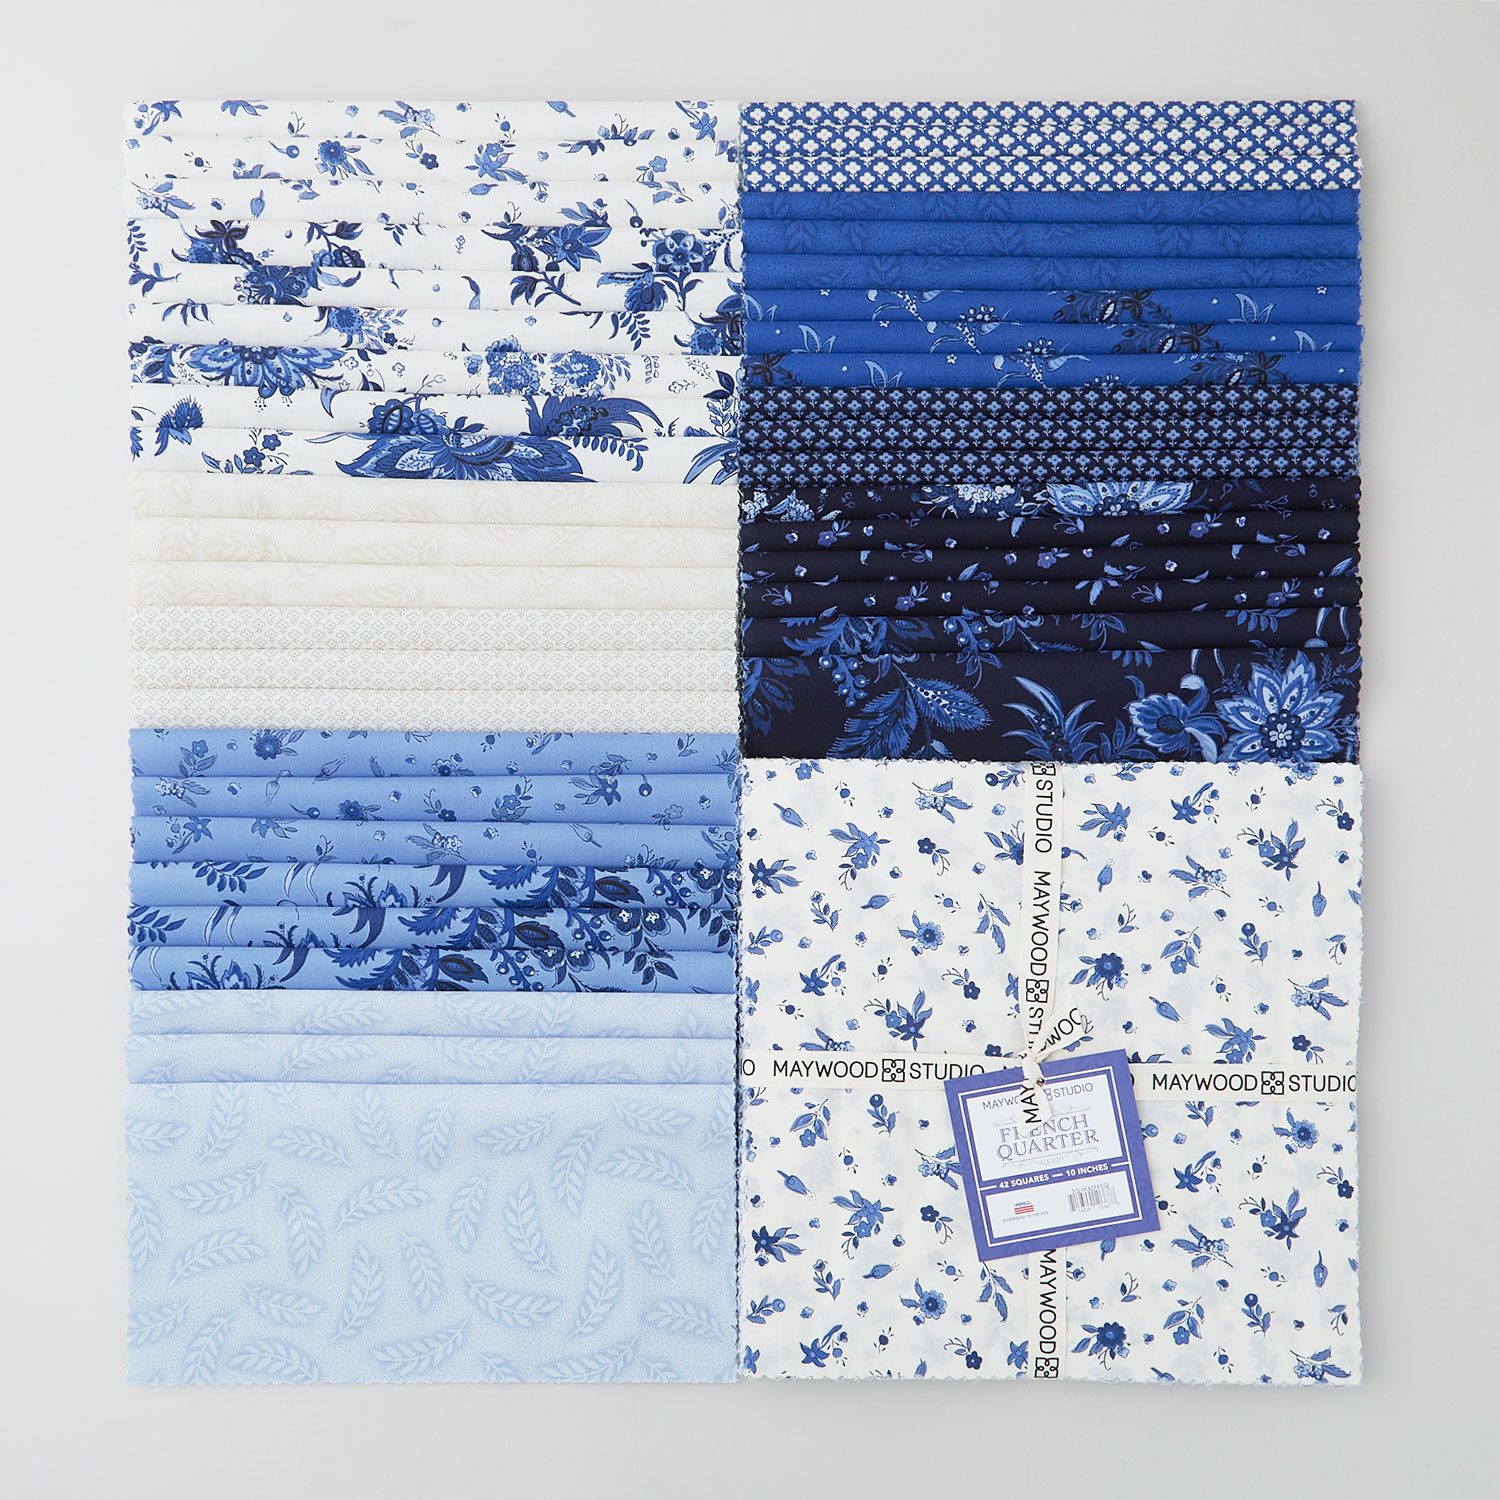
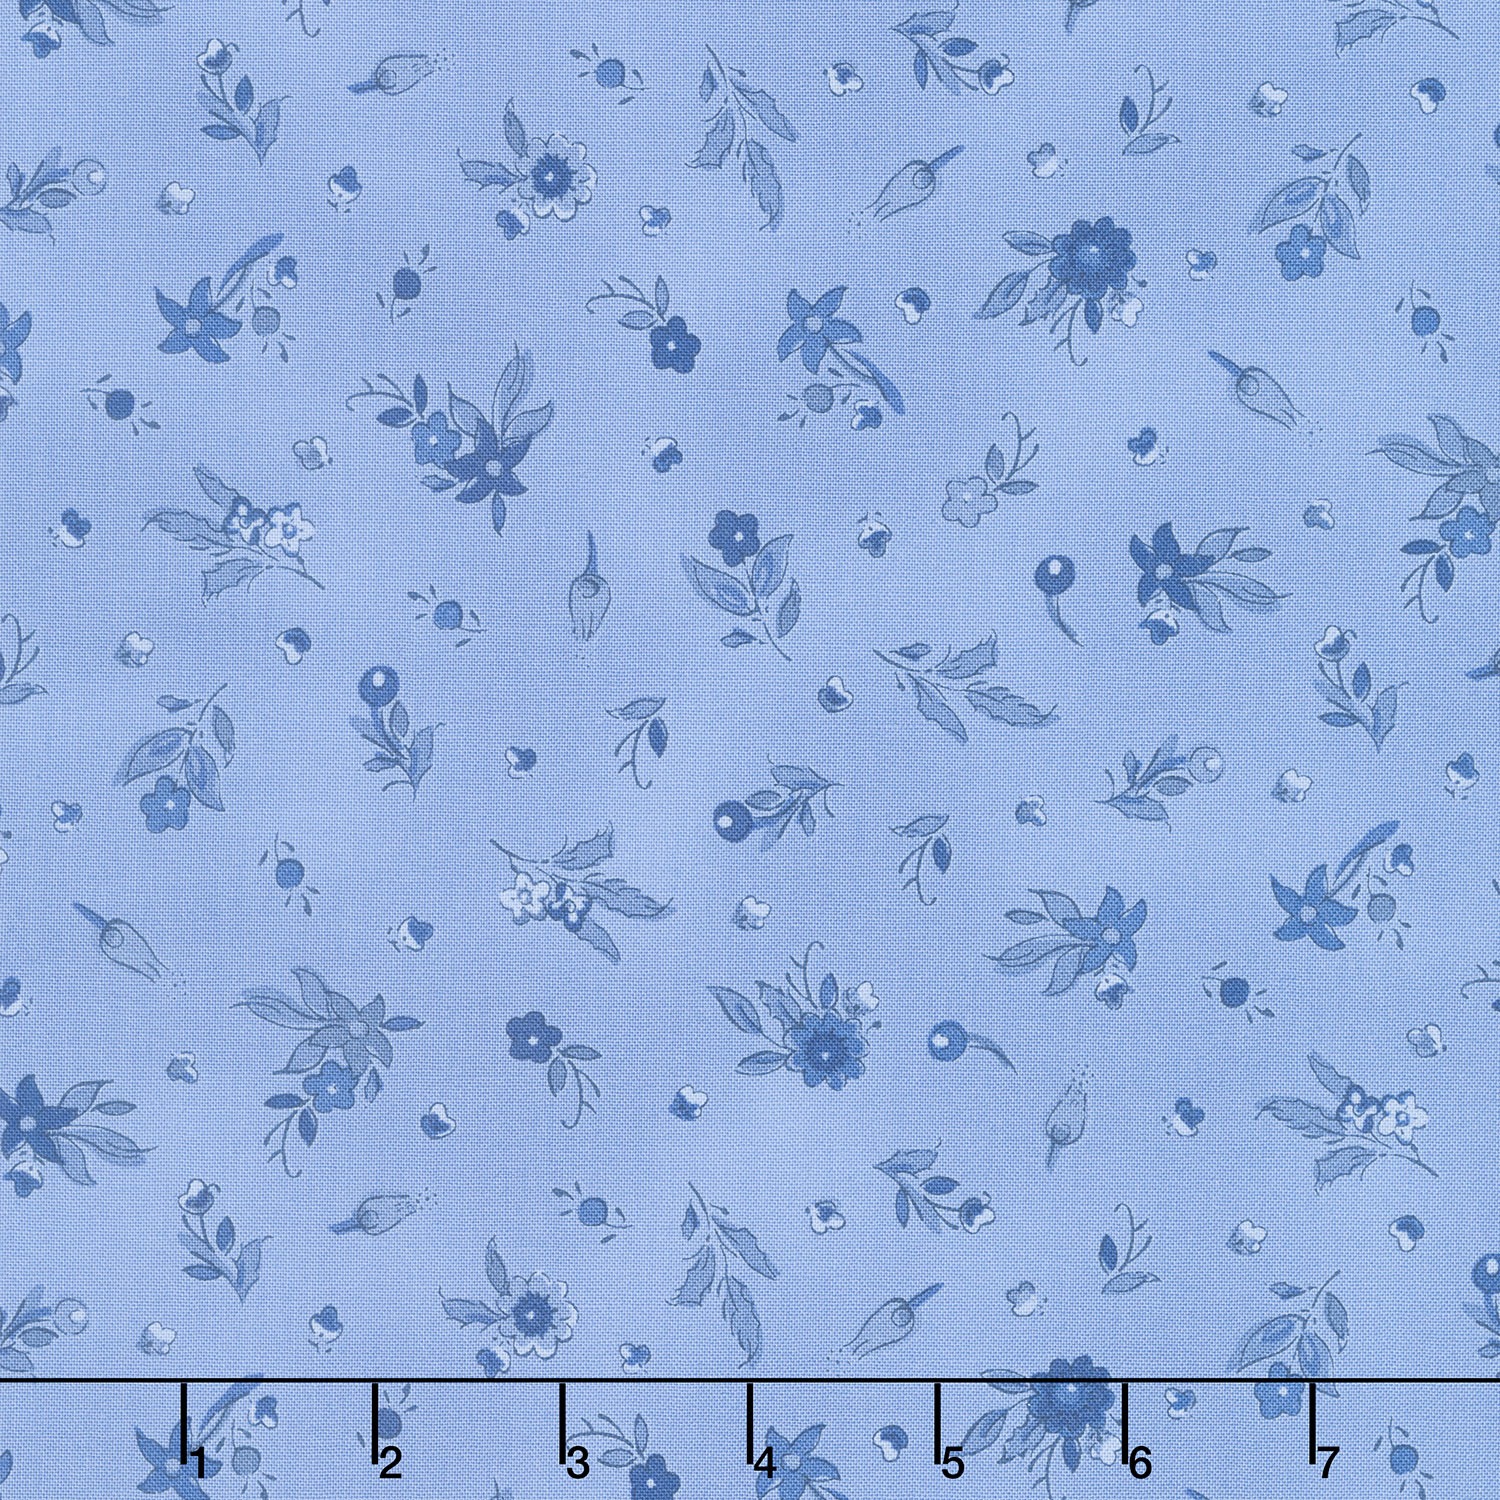
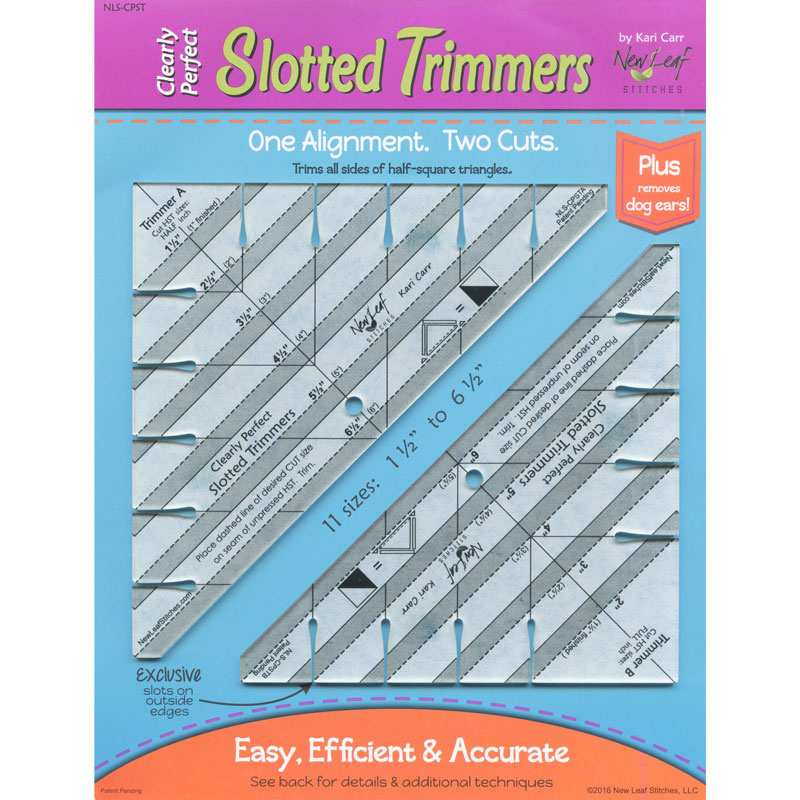
This week, Jenny is stitching up a Cafe Windows quilt with precut layer cake squares from Maywood’s French Quarter collection. Each block is made with half-square triangles, neatly trimmed with the Clearly Perfect Slotted Trimmer A and framed with sashing and cornerstones.

Instructor

Jenny Doan

Jenny Doan is an American quilter, author, and YouTube personality. Jenny started Missouri Star Quilt Company in 2008 and today it is the largest quilting supply vendor in the United States.

Common Questions

What is covered in How to Make a Cafe Windows Quilt - Free Quilting Tutorial?

This week, Jenny is stitching up a Cafe Windows quilt with precut layer cake squares from Maywood’s French Quarter collection. Each block is made with half-square triangles, neatly trimmed with the Clearly Perfect Slotted Trimmer A and framed with sashing and cornerstones.

How long is the tutorial video?

The tutorial video is 00:15:50.

Are supplies listed for this tutorial?

Yes. The tutorial page includes the supplies and materials connected to this project.

Video Transcript

[Music] hi everybody it's Jenny from the Missouri Star Quilt Company and it is tutorial day it's Friday and I've got a great project for you today so let's take a look at this quilt behind me so I think this is just beautiful I love the blue and white fabric and I love the double painting now the the name of this fabric line is called French Quarter so it made me think of Cafe windows and so I think they just look like Cafe windows and I can't wait to show you how to make so to make this quilt you're going to need one packet of 10in squares and we have used French Quarter by Maywood Studios you're going to need some accent Fabric and you're going to need 3/4 of a yard and that's for this little inside painting right here and then you're going to need some background fabric one and A4 yards and that includes um your sashings your inner border and these little squares right here and you're also going to need some border yardage we made a nice 6in border and you're going to need a yard and a half for your backing you're going to need four and 3/4 yards and let me show you that backing it's beautiful love this backing it's beautiful this is a great quilting pattern it's called Square Meander and this makes a nice size quilt it's 73 by 73 it's also going to be helpful for you to have a squaring tool and of course my favorite is the clearly perfect slotted trimmer and it's trimmer a okay so to make this you're going to open up your pack and you're going to take a look at it because you're going to need 16 light squares and I've got a pile of those right there and you're going to need 16 dark squares and you want to have really good contrast in those squares oh this is a light one so let's move him over to the light pile so 16 lights 16 DS Mar s then you're going to choose one square to be your center of your um your sashing squares and you'll get all of those out of just one square so choose one and we'll choose this one and then you should have about 11 squares left over and out of those you're going to cut your 3in squares you really need only 10 of those but we're going to cut them into 3in strips to make 3in squares and you'll see how that all works when I put it together so the first thing we're going to do is we are going to go ahead and take our 16s and we're going to take a light like this and a dark like this and we're going to put them right sides together like this we've done this lots of times with me right sides together and we are going to sew all the way around the outside edge so a qu of an inch all the way around the outside edge now I have one of those already done here so here's my dark and my light I've sewn all the way around the outside edge and now I'm going to cut this twice diagonally so that I can make um four half Square triangles these are going to be squared to 6 and A2 so let's go ahead and cut this diagonally once that way corner to corner and once this way and then we're going to square these to 6 and 1/2 so I'm going to take my clearly perfect and I'm going to lay my seam line on their seam line and if you can if it's if it's cut right uh or you know if it lines up you can scoot it all the way over to one side and just trim one side and that will make your 6 and 1/2 inch square and then we're going to set that over we're going to grab that little tail there trim this corner and we're going to put this over here to iron so I'm going to go ahead and line this one up and this one also so I can just line and cut one side so it makes it really handy when you can do that if not you'll just cut around both sides and I'll do that right here to show you so you can put it right here in the middle like this and you're going to cut off that little Edge right there you're going to come up this side and down the other and cut off that little Edge so you can also use a um any square that has a diagonal line on it uh you can square it with that one as well let me get this this little stuff out from under here and Yep this one I'm going to have to trim on both sides just a little bit there we go all right so then we're going to press these open they're squared to 6 and A2 and you'll have your four half Square triangles now mine when I went to put mine together I just made all my half Square triangles and then I went ahead and stacked them up because I put my blocks together Scrappy I did not keep them um I did not keep them together with their color family now you could do that that would be a whole different look and it would be pretty fun all right so once we get these done we're going to have all those in a pile I have some already made here we'll put them in a pile next thing we're going to do I'm just going to take this little square right here and this is going to be our Cornerstone so we have one square of these and we're going to cut the entire block into 2 and 1/2 inch strips and we're going to make it um we're going to make 2 and 1/2 in squares out of these so you'll do this to the whole block but we're just going to do a few here so that we can show you how we put these together and we're just going to go ahead and cut 2 and 1 half inch squares like this and have a stack of those and I have those right there and you're going to cut the whole thing don't stop just where I stopped all right so then what we're going to do is we are going to take the rest of our squares and they are going to be the little 3in inner square that right here in the middle so right here this one right here that's where this little square is coming in to play right here we have two piles of lights and darks 16 in each pile and and then you're going to need eight 10in squares and you're going to cut your 3in squares out of those eight uh you have a little bit of room at the end cuz you'll cut across three you'll do three cuts of three like this one two three and you have this little bit extra right here case you know maybe you miscut or you need to recut or something and so I like that uh it it just make it just makes me feel a little at ease when I'm cutting out 3in squares cuz I know I have a little bit of wiggle room and so I'm going to come over here and I'm just stacked all these up and I'm going to go ahead and cut oops let me cut that again not enough downward pressure we'll fix that there we go and one more all right so the next thing we're going to do is we are going to take our half Square triangles and we are going to take our 3in square and we're going to draw a line right down the center of this 3in square like this and then we're going to attach it to the light side of our block and so we're going to lay this on here snug it right into that corner and we're going to sew right on that line so let's do that and you are going to want to do this to all of your half Square triangles because it's going to take four of these to make a block so I've trimmed that off and now let's press it open so this becomes your little squares now and what we're doing if you look at the quilt right here you can see the little squares come to the middle and we are going to sash this now and to make the sashing what you're going to do is you're going to cut a 6 and 1 12 inch strip this block is 6 and 1/2 your sashing is going to be the same size so you're going to cut a 6 and 1/2 in strip and you're going to cut 1 and 1/2 in segments all of that so they're all the right size and we're going to trim off the fold in the Salvage right here I'm going to leave it folded in half uh that's how I like to cut them I like to cut a shorter distance and we're going to leave it folded like that and we're just going to cut our inch and a half strips off of this there are actually several ways that you you can do this um this saves fabric so this is a great way to do it if you want to save time you could cut a one and a half inch strip and just sew all your blocks all the way down it and trim them off and so it'll work either way but this is the way we wrote the pattern and it's it's a good way all right so let's get four of these that have the corner sew on let's see I've got some down here there we go and what we're going to do with these is we're going to put this together and sew a sashing right down the center so we've got this one right here right down the middle and we're going to do that to four of these like this and this one is already sewn but I'm going to go ahead and sew this one and then we'll have two more sashings right here that will put across here with a little square in the middle just like this so your block is 6 and 1/2 all your sashings are going to be 6 and 1/2 to make this block your sashing size is 1 and 1/2 by 6 and 1/2 and your little square is going to be 1 and 1/2 as well so let's back up and we're going to sew these two together and I'm just going to lay this on here like this just like this and sew it down quart of an inch and I'm going to finger press this back and then I'm going to lay this other Square make sure that your small squares are both lining up toward the middle that's a you want just want to make sure that that's happening and then we'll press this and I'm going to press it so that my uh my seams go out you can do it either way actually I think I'll go in let's go in and then we'll turn it over on the top and press it and the little one on the middle I'll do out so that they'll line up nicely all right so now we're ready to sew this one together and we're just going to sew qu of an inch and we're just going to sew these two together I love a little Cornerstone because it helps you match up the block as you go along there we go and one more and on these small areas if your Stitch is a little bit bigger you may want to shorten that so that it doesn't come out as easily although we're right away going to sew this into a block so it's going to be fine all right we're going to iron these out cuz the other ones we pressed in and then they'll Nest up really nice and so now we can add these in here and these should just line up perfectly so let's go ahead and put this on the edge sew it down I'm just going to back stitch just a little bit I'm and then what I do is I take a few anchoring stitches and then I go to that next seam that I want to line up and I go ahead and Nest that then I can sew straight to there and then then I have to Nest the seam on the other side and let's go ahead and make sure this is turned out or in because this one's going out and we're going to sew across and then we line it up with the end and and then we can sew straight down the side and then we can press that back finger press or iron press and we're going to add this one making sure that our our little middle squares are toward the middle now I've got an interesting situation here because I've got a little bit more fabric on this side than I have on the other so what I'm going to do is I'm going to flip this over and I'm going to put that on the bottom so that the feed dogs will take in more fabric so let's start from this side and let that bigger side be on the bottom and the feed dogs will just take that in ease it in and you won't even be able to tell there we go now let's see how that looks yeah that came out really nicely so let's go ahead and I'll move this over to the iron and we can press it I got so much stuff all over here I really am a chaotic quilter all righty all right so now that you have this block done we are ready to sash it for the big block so you'll finish all your blocks this way and then we're ready to sash it so this block now measures 13 and 1/2 we're going to sash it exactly the same way but we're going to use 2 and 1/2 in strips by 13 and2 so right here you'll sew it block to block to block and then when you're you can sew a whole row so let's look at this so we've got our block here and we've got sashing block sashing block sashing block then this becomes a row just like the other row and this is where our 2 and 1 half inch cornerstones come into play so the block is 13 and 1 12 this sashing is 13 and 1/2 this sashing is also 13 and 1/2 and then your little 2 and 1/2 in Square goes in there and across and across and you just finish on so we've got one two three four rows here with 1 2 3 four in each row so 16 blocks total and it just comes together easily it's just got a little bit of pizzazz to it it's kind of a um it's just kind of a fun different pattern with the double painting and I like the two colors I think that really offsets and makes the blocks really pop so once you get all your blocks together we're going to border it we did a inner border we went ahead and put the white all the way around it and then we put our outer border on and that's a 6in outer border and uh and then bound it with the same fabric and so it just has this great feeling of continuity I love the offset of the white to the dark border and I just think you're going to have fun making this and maybe it'll remind you of a French cafe and we hope you enjoyed this tutorial on Cafe windows from the Missouri Star Quil company hi everybody it's from the Missouri Star Quilt Company we hope you enjoyed watching this video if you aren't already part of the Missouri Star Quilt Company family be sure to subscribe so you won't miss a thing and if you click that Bell it'll notify you every time a new tutorial comes out see you next [Music] Friday

More Layer Cake tutorials

See all