
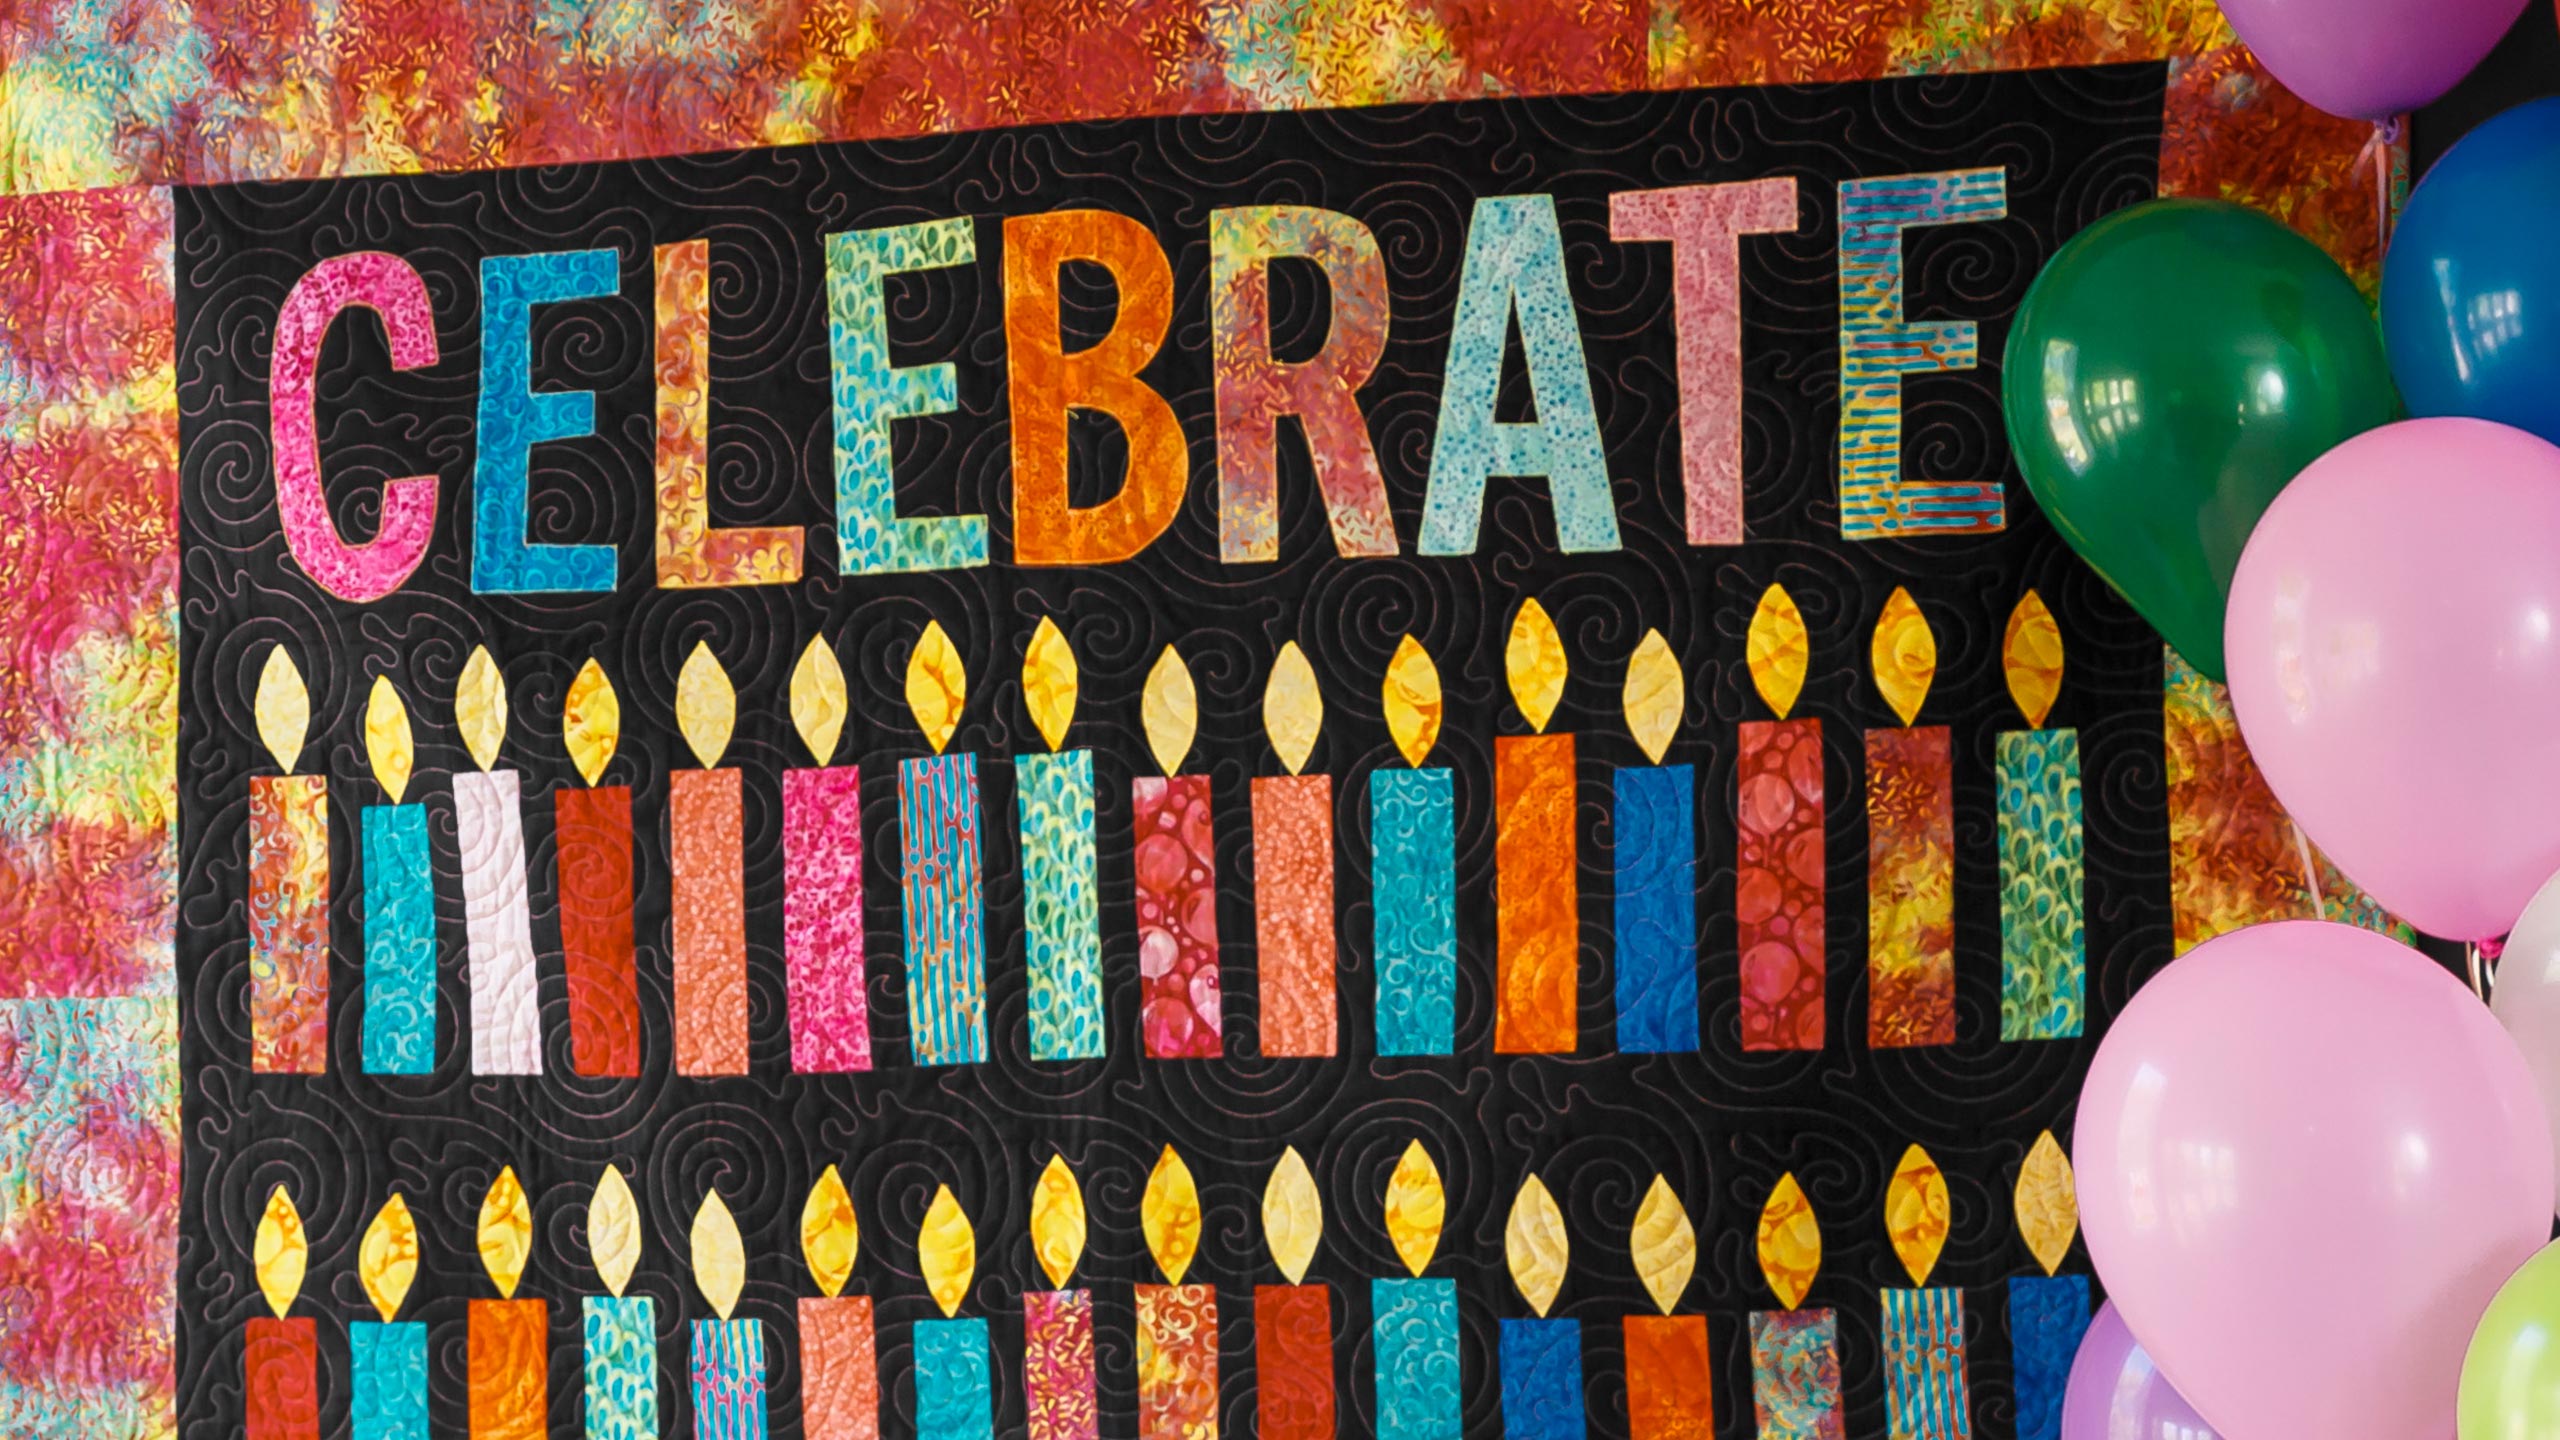
How to Make a Celebration Quilt - Free Quilting Tutorial
 Jenny Doan
- Layer Cake
- Modern
- Double
- Beginner
- Quilt size 62" × 79"
Two shelves of fabric and a long-arm quilting machine. That’s how it all began. 15 years later, the Missouri Star family stretches to every corner of the globe—and yes, that includes you! Jenny’s Celebration Quilt is made with precut layer cake squares and appliqué candles. This tutorial aired LIVE from Birthday Bash, and it's a party from start to finish!
Instructor
Jenny Doan
Jenny Doan is an American quilter, author, and YouTube personality. Jenny started Missouri Star Quilt Company in 2008 and today it is the largest quilting supply vendor in the United States.
Shop this tutorial
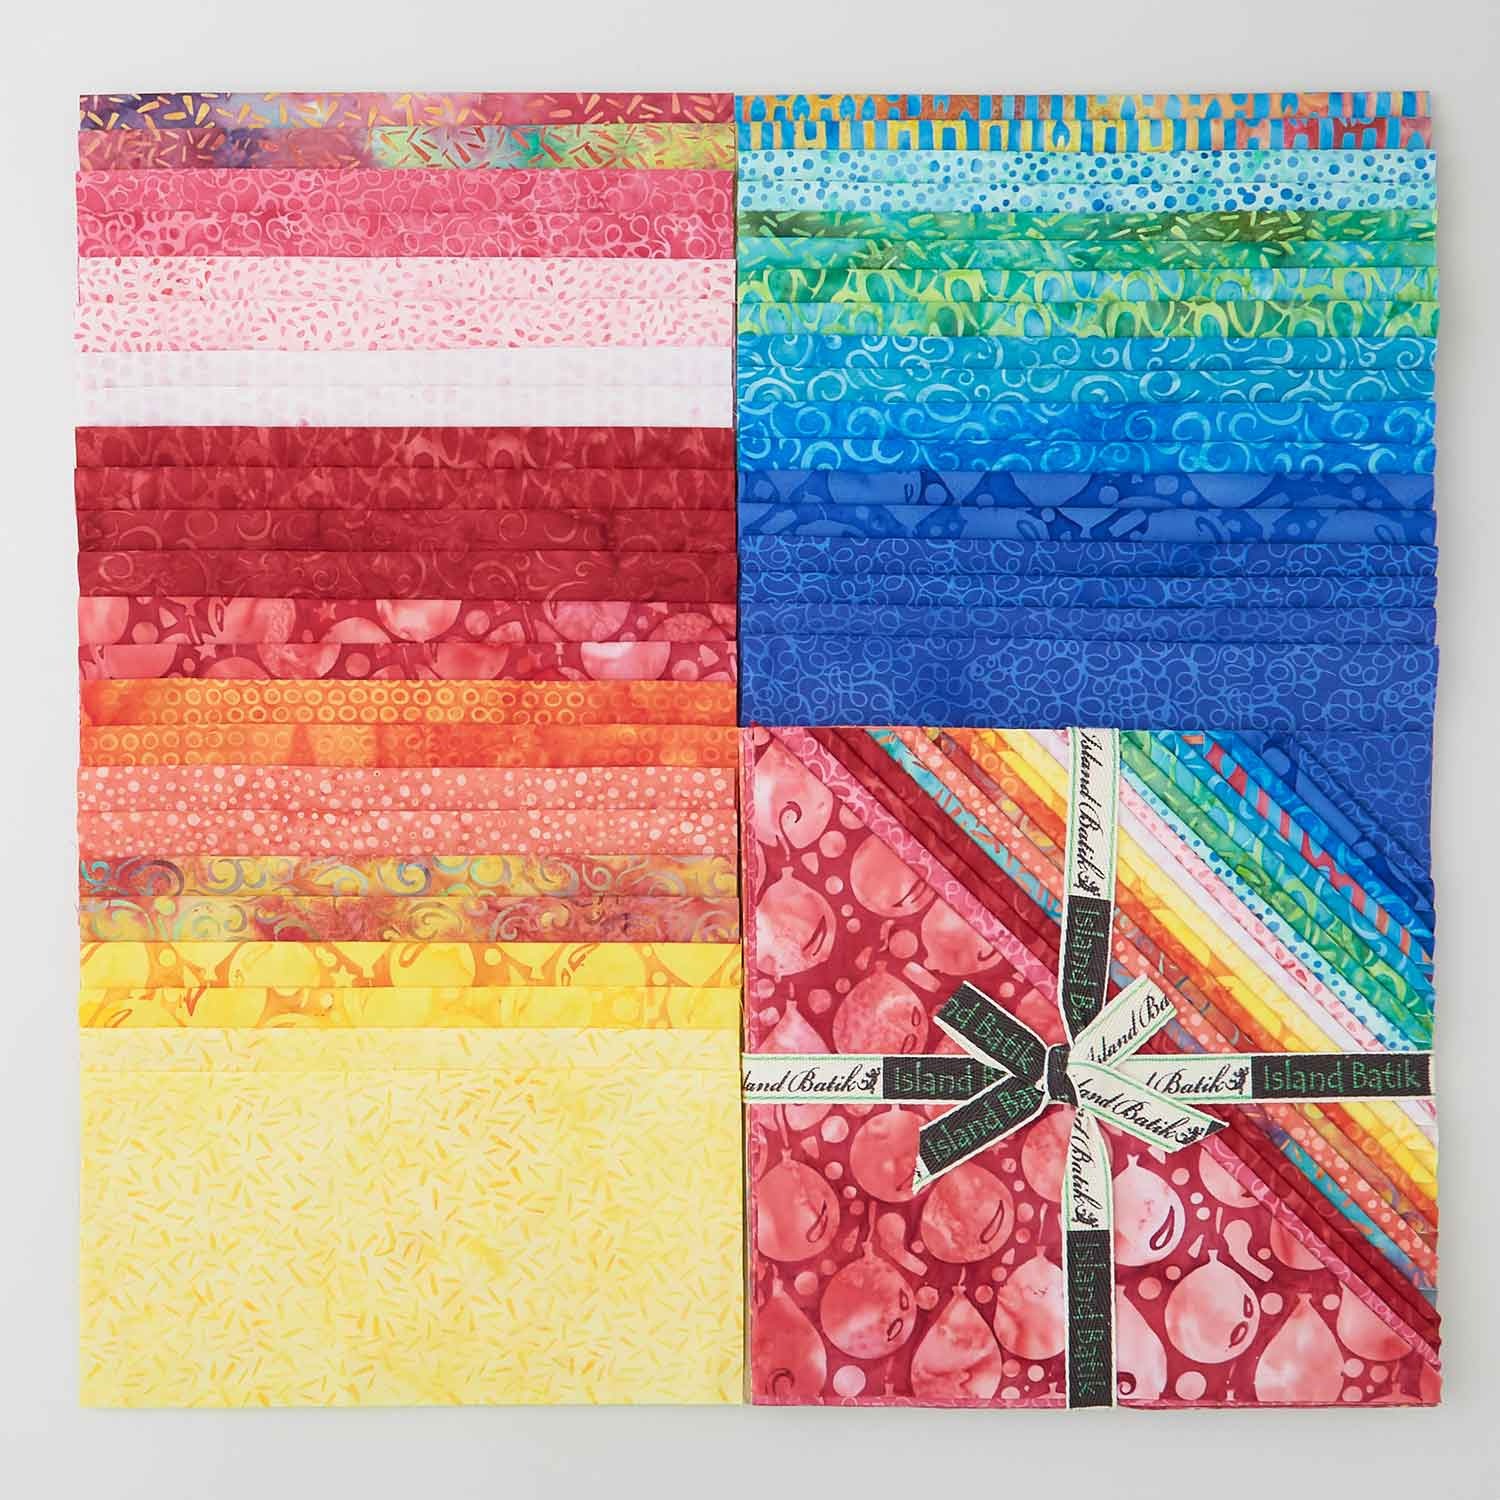 Rainbow Celebration Batiks Stacks$39.95Shop →
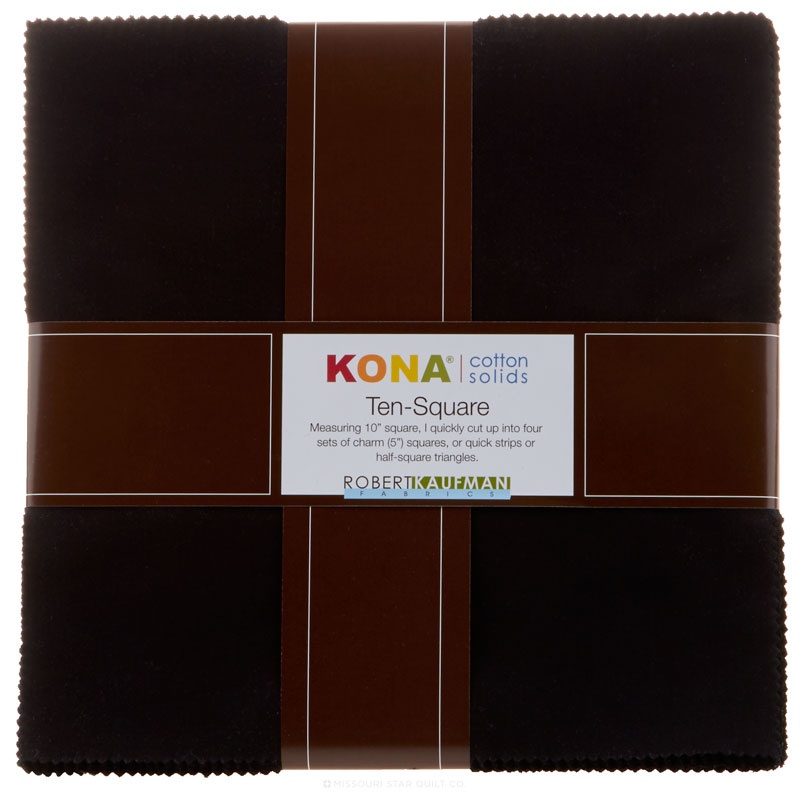 Kona Cotton - Black Ten Squares$30.95Shop →
 Kona Cotton - Black Yardage$7.28Shop →
 Rainbow Celebration Batiks - Streamers Teal Cool Water Yardage$11.96Shop →
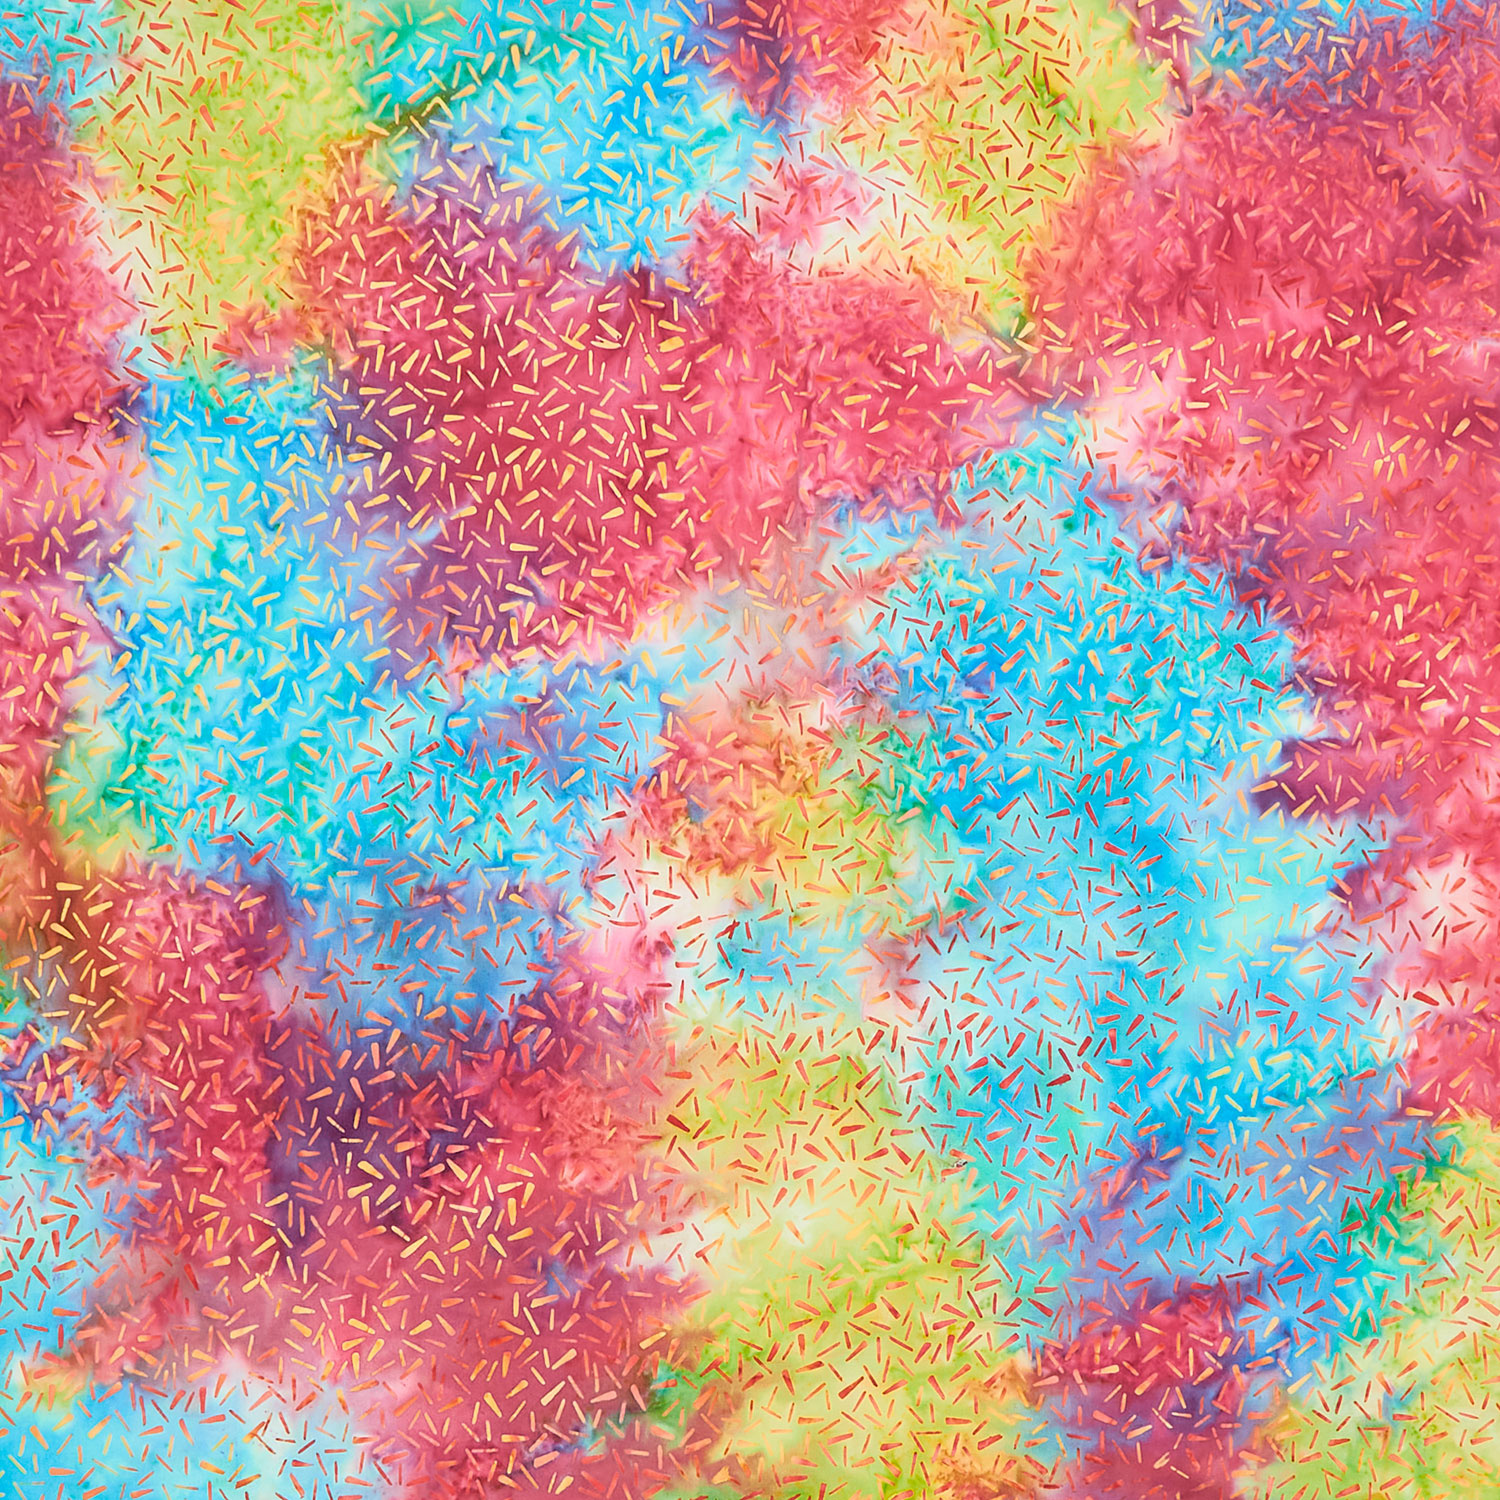 Rainbow Celebration Batiks - Sprinkles Multi Jellybean Yardage$11.96Shop →
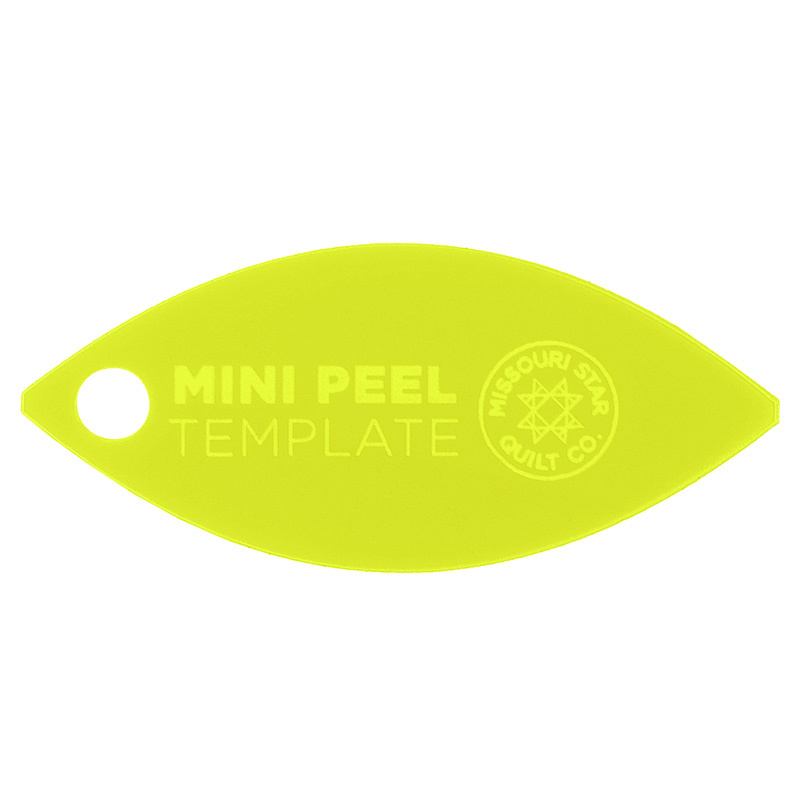 Missouri Star Mini Orange Peel Template for 2.5" Squares$3.95Shop →
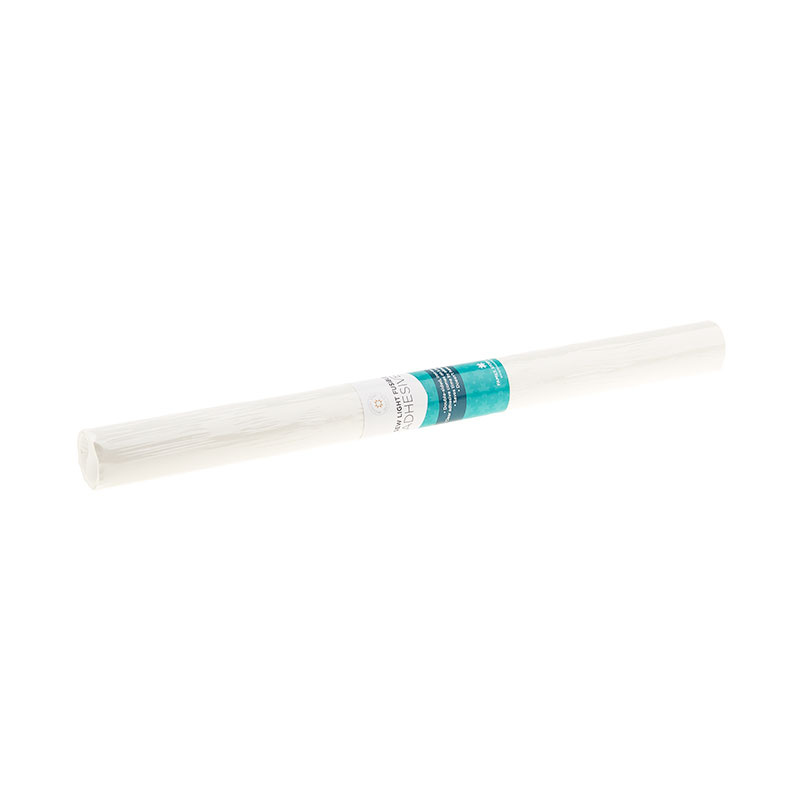 Missouri Star Sew Light Fusible Adhesive - 17" x 2 yards$4.95Shop →
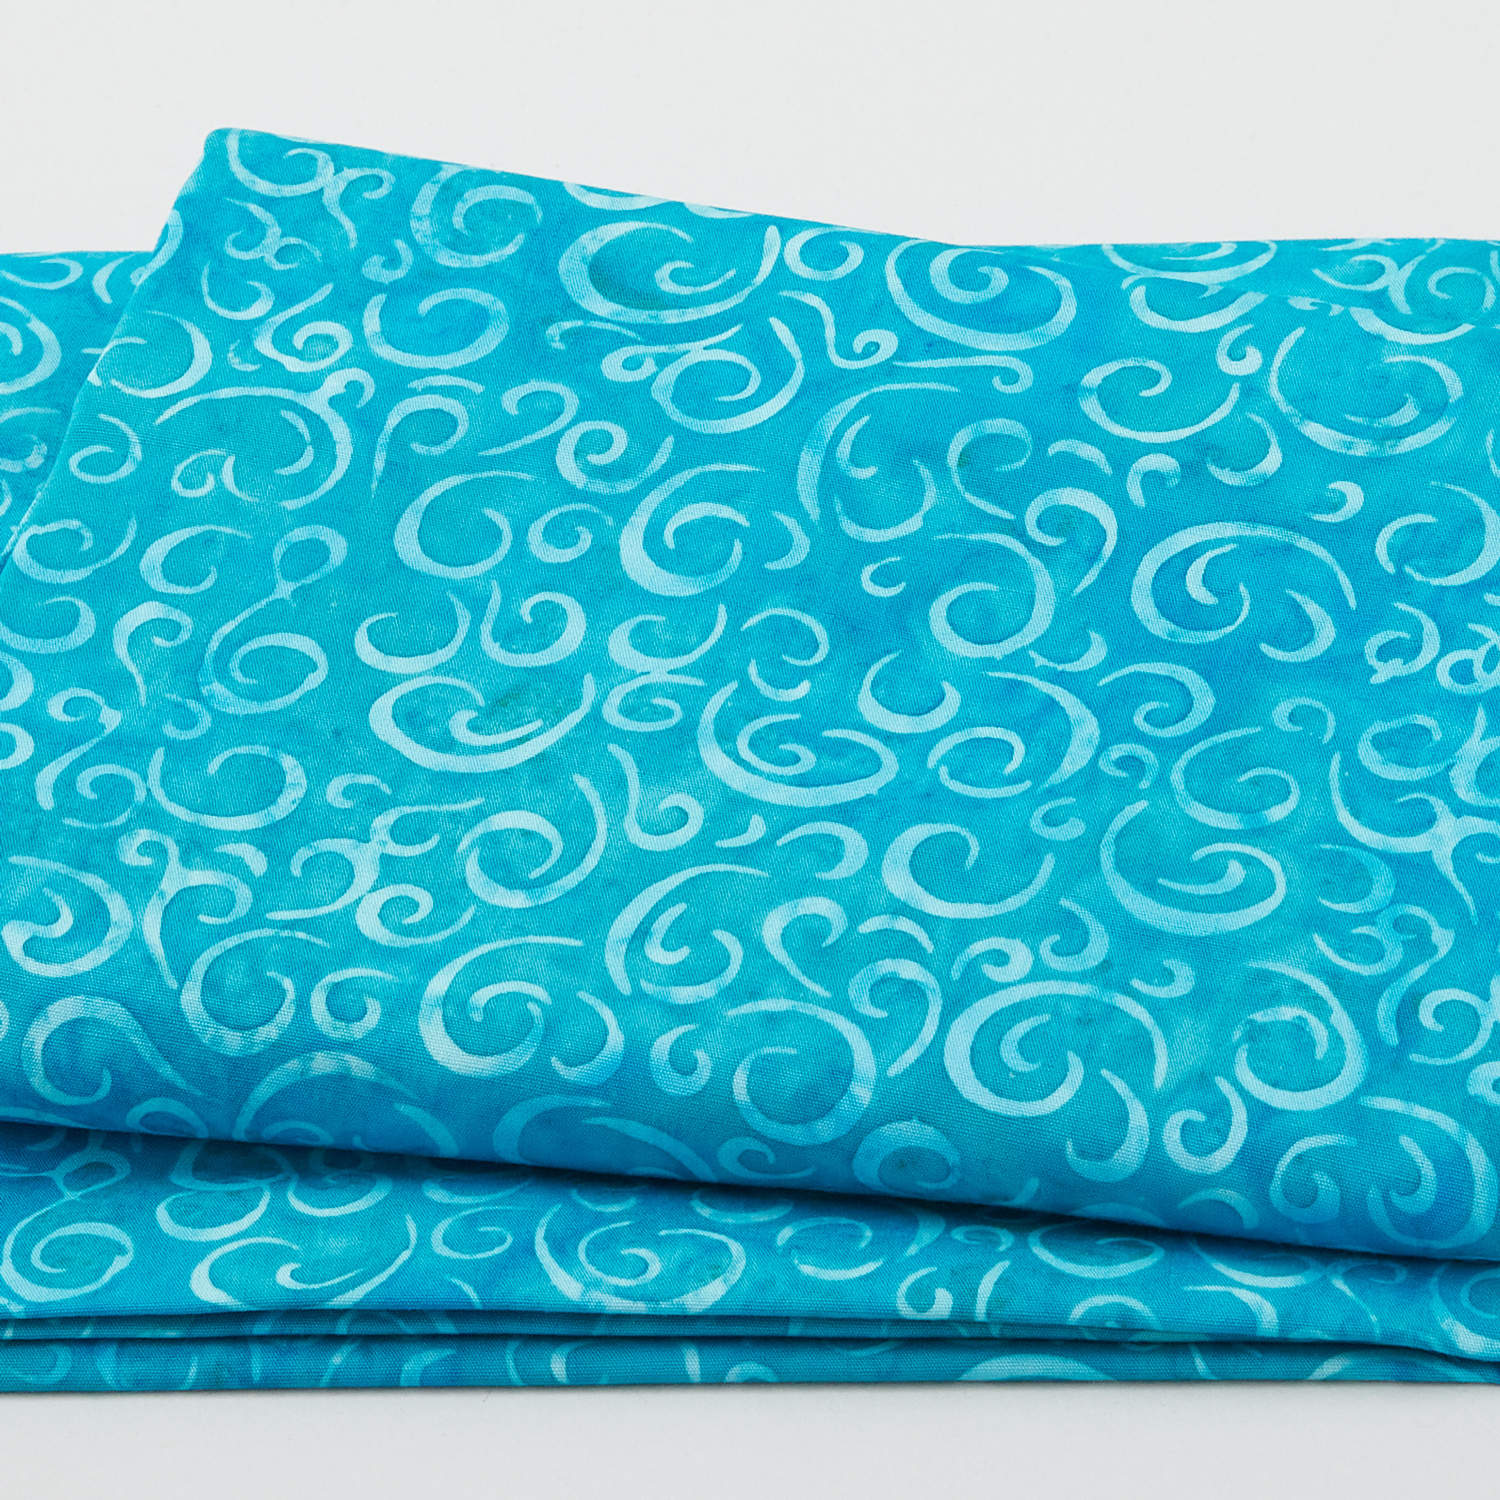 Rainbow Celebration Batiks - Streamers Teal Cool Water 2 Yard Cut$23.92Shop →
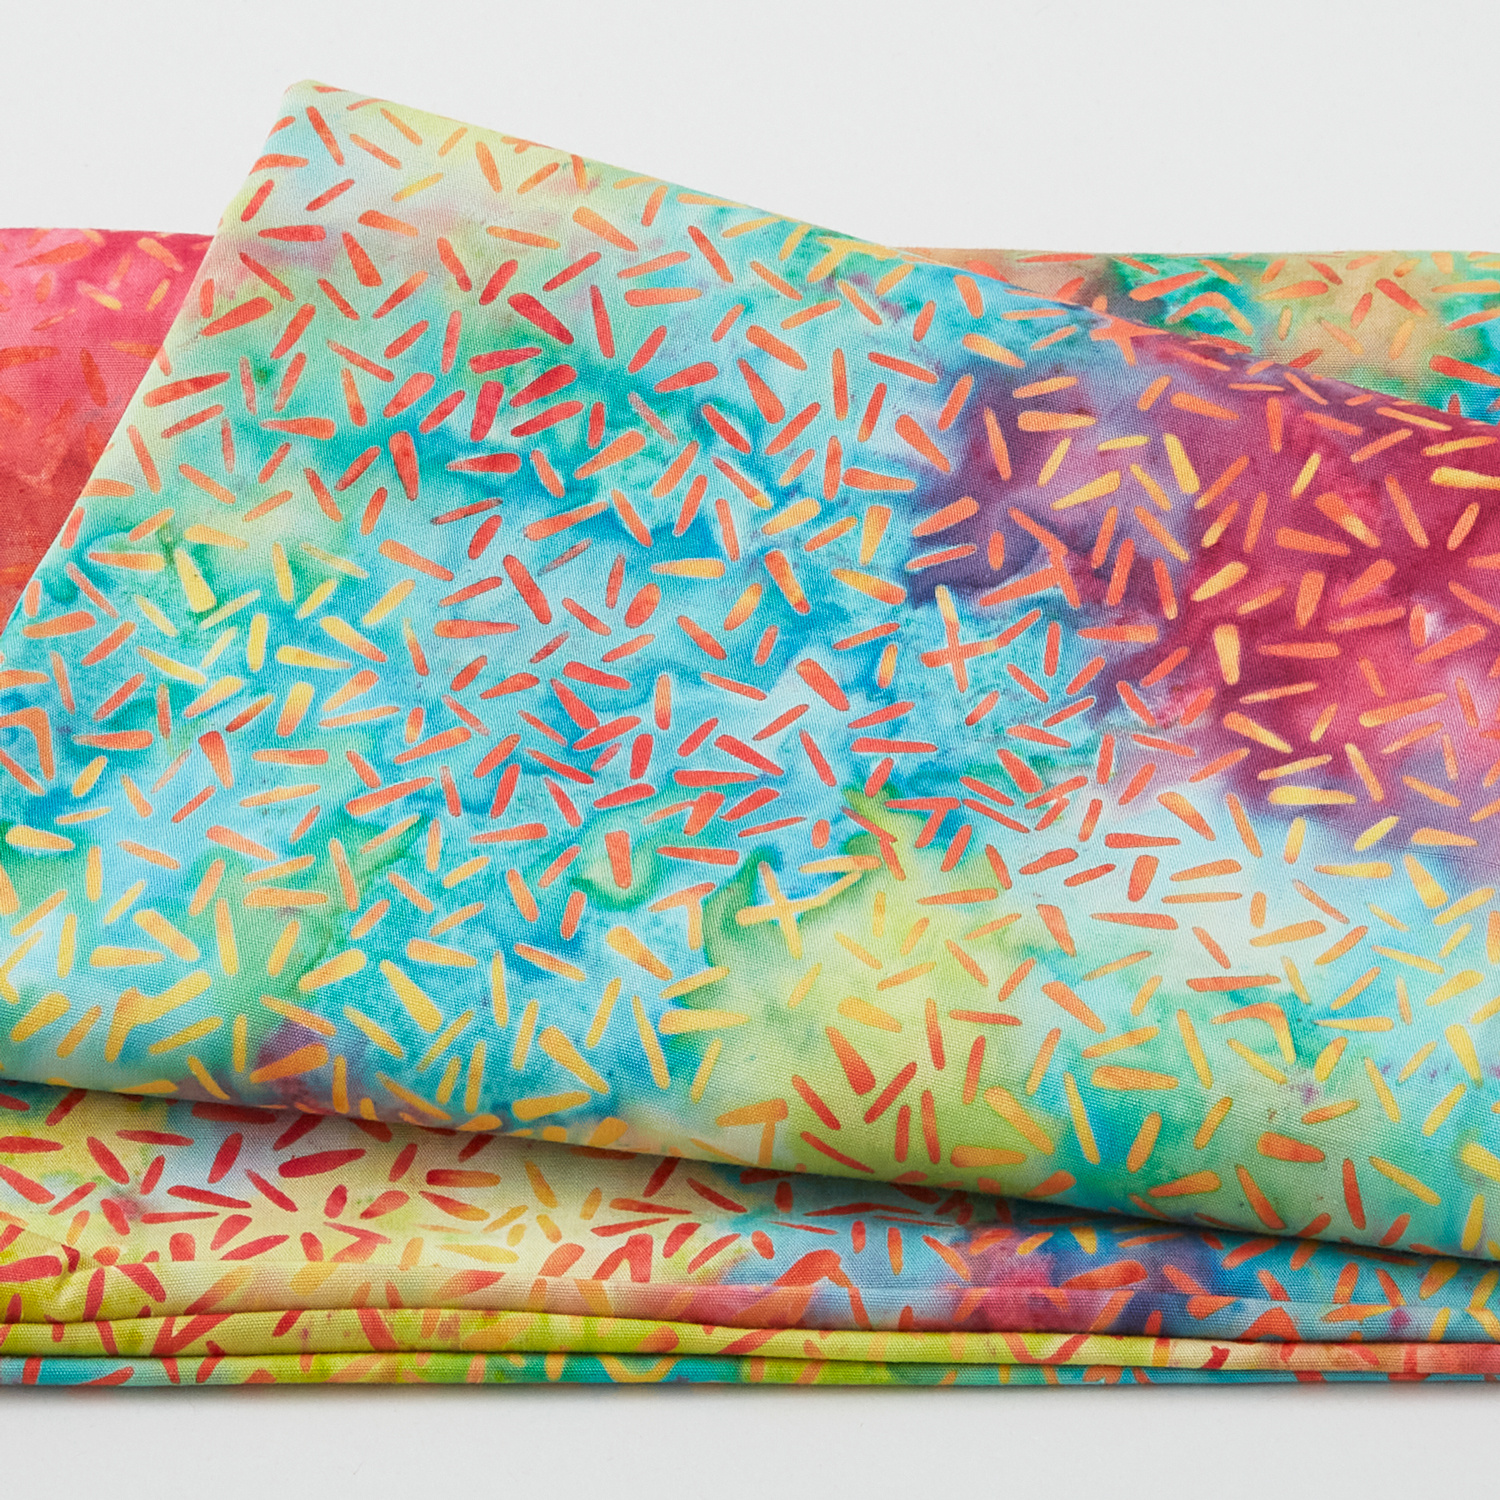 Rainbow Celebration Batiks - Sprinkles Multi Jellybean 2 Yard Cut$23.92Shop →
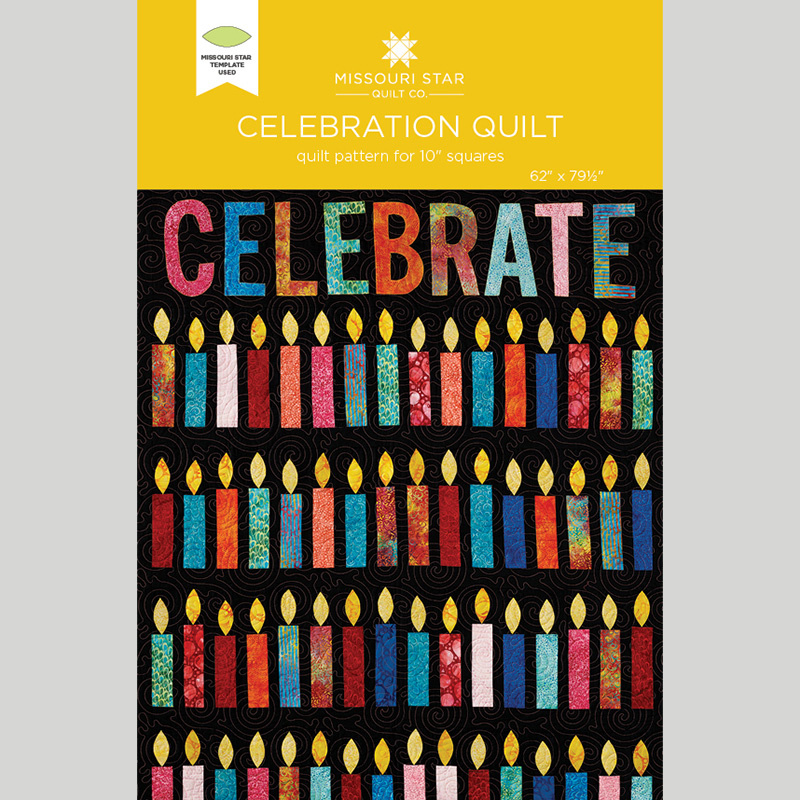 Celebration Quilt Pattern by Missouri Star$6.95Shop →
 Digital Download - Celebration Quilt Pattern by Missouri Star$4.95Shop →
Common Questions
What is covered in How to Make a Celebration Quilt - Free Quilting Tutorial?
Two shelves of fabric and a long-arm quilting machine. That’s how it all began. 15 years later, the Missouri Star family stretches to every corner of the globe—and yes, that includes you! Jenny’s Celebration Quilt is made with precut layer cake squares and appliqué candles. Th...
How long is the tutorial video?
The tutorial video is 00:29:45.
Are supplies listed for this tutorial?
Yes. The tutorial page includes the supplies and materials connected to this project.
Is a transcript available?
Yes. A written transcript is available on the tutorial page.
Video Transcript
Hi everybody, I'm Jenny from the Missouri Star Quilt Company. I'm here with Natalie.
Natalie:
Hi, everybody.
Jenny:
It is Friday of our birthday week, and we have been having a grand time. We've worn beads.
Natalie:
Birthday week.
Jenny:
We've worn hats. It's our birthday. I think I should wear this right now.
Natalie:
I need to do this. I don't even know whose this is.
Jenny:
Happy birthday to Missouri Star.
Natalie:
Yay.
Jenny:
You guys, I have the best quilt for you today. Let's take a look at this quilt behind me. Now, this is fun for so many reasons. First of all, I've staggered the candles up and down, which give it movement, but this is a celebration quilt, so you literally could put "birthday" or anything you want up here with the letters. We, of course, have "celebrate."
But, think about if you wrote the date, like your person's name and a date on whatever candle was their birthday, and you hung that quilt on that day for that birthday. It could be almost like a family-
Natalie:
It could be fun to have everybody's birthdays on a quilt, though.
Jenny:
Right? Yes. I think so, too.
Natalie:
Oops, balloons.
Jenny:
We are surrounded by happy birthday things up here.
Natalie:
So joyful.
Jenny:
All right. So, let's talk about this quilt. It's called the Celebration Quilt, and the fabric line is Rainbow Celebration Batiks by Island Batiks. And while I did use this fabulous layer cake right here-
Natalie:
It's so pretty.
Jenny:
... today's daily deal, which will work as well, is the rainbow... What is this called? Roll strips.
Natalie:
2-1/2" strips.
Jenny:
2-1/2" strips. My mind went blank. So, that is the daily deal today, so you guys need to know that.
So, to make my quilt, you're going to need one layer cake of color, and we use the Rainbow Celebration Batiks by Island Batik. You're going to need a packet of solids, whatever you decide to use for your background. I used black.
Natalie:
It would be pretty with white, too.
Jenny:
It would be very pretty with white. Whatever you want to choose.
Natalie:
Or yellow or pink. Any background color, obviously, would be so cute.
Jenny:
A layer cake is about three yards, so if you want to just buy yardage, you can do that as well. So, I have some additional background yardage, two-and-a-half yards, and that takes care of my inner border here and this big piece that the "celebrate" letters sit on.
Natalie:
And there's some sashing strips in between the rows.
Jenny:
There are sashing strips in between each row and all around. So, that takes care of that. This is our border and our backing and our binding. And so, the border is one-and-a-quarter yards, the backing is five yards, or two-and-a-half yards of a 108. But let me show you this back.
Natalie:
It's so pretty. I love it. It kind of looks like-
Jenny:
It's just happy.
Natalie:
... like rainbow sprinkles.
Jenny:
It does, like little sprinkles from a cake. Now, the quilting pattern that we used on here is called sticky buns, and I love it because it's just swirly and round. But we used kind of a rose gold-ish color thread on here.
Natalie:
It's really pretty.
Jenny:
It's really pretty. I love that it shows up a little bit. You're also... For your flames, we have the little mini peel template.
Natalie:
Yes. And for those little flames, you'll need some-
Jenny:
You will. Some adhesive.
Natalie:
And there's CC Sew Light adhesive, and this dispenser is my favorite thing because you can keep your adhesive tidy and just cut off the little amount you need.
Jenny:
Yes. And this comes with Saran wrap.
Natalie:
So cute.
Jenny:
So, when you use your Saran wrap up, you just put your roll of adhesive light in here, and you're just-
Natalie:
Or you can just put that in a cupboard that you put your adhesive in.
Jenny:
Ta-da. Yeah, you can just put the Saran wrap away and just use the box. Anyway. So, let me show you how to make this. So, Natalie, we're going to clear all this off.
Natalie:
Okay.
Jenny:
And then, oh, our beads.
Natalie:
Leave that.
Jenny:
We had a parade yesterday, you guys. It was so much fun.
Natalie:
Mom's always wanted to be the-
Jenny:
I know.
Natalie:
Wait, what do they call that?
Jenny:
The Grand Marshal.
Natalie:
The Grand Marshal of the parade. [inaudible 00:03:56].
Jenny:
I had my own parade. I was just so excited. So excited.
Natalie:
So, do you need your-
Jenny:
There's our pattern. This pattern is available to you.
Natalie:
There's probably [inaudible 00:04:02] pattern anymore. What supplies do we need?
Jenny:
Is one of our mics having problems? Do we need to switch something out?
Natalie:
Mine? What shall I [inaudible 00:04:07]?
Jenny:
Oh, Natalie's. Let's just do it.
Kenny:
Let's flip this real quick for you.
Jenny:
You guys can see what really happens.
Natalie:
Well here, it'll take two seconds.
Jenny:
All right. And I am going to... While you guys are doing the switch-o change-o, I'm going to come over here and grab some of these things.
Natalie:
Is this better?
Jenny:
We want you to be able to hear us, so we'll make the change if we need to.
Natalie:
Do we need to turn it on?
Jenny:
Just he needs you to talk.
Natalie:
There.
Jenny:
All right, you good?
Natalie:
I don't know yet.
Jenny:
Hello hello hello.
Natalie:
Okay. Yep. Greg says yes. All right, excellent.
Jenny:
So, what I need is... Oh, I put it over here.
Natalie:
Oh, wow. These are on card stock. That's pretty nice.
Jenny:
Isn't that nice?
Natalie:
Yeah.
Jenny:
All right. So, I'm going to pull a couple out of these. Wait for it.
Natalie:
Yep. The first one is stuck to the sticky label.
Jenny:
It is stuck to the label, which is handy, but also not so pretty at this moment.
Natalie:
Yeah. Not great for a live video.
Jenny:
No, it's all right.
Natalie:
It's cool.
Jenny:
We're fine. We're fine. We're all fine. Okay. So, what I'm going to do with this is, I'm going to cut these directly in half. And I want to show you how I did this because this is so fun. Clever, if I do say so myself.
Natalie:
Yeah, I'm excited to see it. I often get to see the quilt finished, and I do see you working on it, but I don't always pay attention to how things are being done. And so, it's always like, "Oh that's cool how that worked out."
Jenny:
That's fun. So, the flames, I actually went through this pack and pulled out the yellows that I thought I could use as flames that would make that... just give it that kind of fire look. And so, there's a couple of different prints on here.
Natalie:
That's really cool.
Jenny:
And to be honest, I probably pulled three or four.
Natalie:
Yes, it's about four pieces, so if you have a different layer cake, you can just-
Jenny:
Just solid or whatever.
Natalie:
... pick the four that are... Or, yeah.
Jenny:
Do red flames or whatever. There's blue flames.
Natalie:
There's blue fire, too.
Jenny:
Blue fire, all kinds of fire.
Natalie:
Red, orange, any of those pretty, fiery colors.
Jenny:
Anyway, so I pulled those aside for my flames. And I took my 10" square and cut it in half, so I have two 5" x 10" pieces.
Natalie:
Okay.
Jenny:
Then I'm going to take a layer cake, and I'm going to sew this square, this half square, to the top of it.
Natalie:
Okay. Do you want me to sew, or do you want to sew and I'll cut and press?
Jenny:
I'm just going to sew.
Natalie:
Okay, cool.
Jenny:
And actually if you want to iron this, this is our-
Natalie:
I will do it.
Jenny:
... heat and bond. Wait, it's not heat and bond, sticky. What's it called?
Natalie:
Sew Light adhesive.
Jenny:
Thank you. Sew Light adhesive.
Natalie:
Sew Light fusible adhesive.
Jenny:
I'm so glad I have her along.
Natalie:
It's so fancy.
Jenny:
So fancy. All right, we're just going to sew the top of this down, quarter of an inch.
Natalie:
The machine sounds a little funky. Is it working?
Jenny:
It sounds very... Yeah, no. It's not threaded right. Here we go. Blessing's alive. All right, hang on. I got you.
Natalie:
It's cool. Everybody has that sometimes where they start sewing, thinking everything's going to be smooth, and they're like, "Oh, some reason my bobbins not in correctly."
Jenny:
So, just so you guys know, if you have tension troubles on your machine, literally it's probably the threading.
Natalie:
Yeah. Take everything out and start over.
Jenny:
Just take out and start over. Your bobbin could be in backwards, or your thread slipped out of the tension loop, or something like that.
Natalie:
Yeah.
Jenny:
So, let's see if this'll go now. All right.
Natalie:
It still sounds kind of knocky.
Jenny:
It sounds a little bit like a machine gun, but that's all right.
Natalie:
I wonder if something's just loose. Maybe tighten it.
Jenny:
If you'll iron that back, I'm going to check my bobbin right now. Oh, it's a real bobbin.
Natalie:
Metal.
Jenny:
Yeah. I usually use the pre-wounds, and this is the real one that goes with the machine. The machine must feel very special. All right. I think we are good to go at this point.
Natalie:
Yeah, the stitch looks good.
Jenny:
All right, that's what we need.
Natalie:
Cool. Sorry.
Jenny:
Okay. So, now what I decided to do with this is I'm going to take my ruler and I'm going to cut them into 2-1/2" strips. They're all the same width wide, which you could totally change, but mine are all 2-1/2, and so I'm going to cut them. You should be able to get, what, four or five 2-1/2's out of a 10" square?
Natalie:
For some reason, I think it's five. It's four. It's four.
Jenny:
Four?
Natalie:
Yeah. I don't know what I was thinking.
Jenny:
It's morning math.
Natalie:
Five times two is 10, but it's got half-inches and seams and all those.
Jenny:
There we go.
Natalie:
Lovely.
Jenny:
We got four here.
Natalie:
Four.
Jenny:
All right.
Natalie:
I can't do math under pressure.
Jenny:
None of us can. Okay, now what we're going to do is we are going to take our little template, and we are going to draw around this little template. And you actually only need to draw it one time.
Natalie:
Want me to do it?
Jenny:
Because I draw it like this, and then I kind of accordion pleat my paper so that I'm folding... I'm cutting a bunch at the same time-
Natalie:
That's smart.
Jenny:
... and so I don't have to sit and cut tons of little tiny ones. So, then I'll just go around here with our super-duper, fabulous new scissors. What's their name again? I know that rotary cutter is Olga. I love that we named them, but I can't remember. Name?
Liz:
Amelia.
Jenny:
Amelia.
Natalie:
Amelia.
Jenny:
She's the big sister. She's a real cut up.
Natalie:
Well, these are great scissors. They're lightweight but they're also heavy duty. They just work so good.
Jenny:
All right. So, now what I'm going to do is I am going to iron these onto the top of my candles, like this.
Natalie:
Shall I pull the backing off for you?
Jenny:
Yeah, or you can iron on.
Natalie:
I could do either, both.
Jenny:
Let's just iron a few of these on. And then you can straight stitch around them, you can do any appliques that you want.
Natalie:
Do you want it to touch the color or do you-
Jenny:
I did kind of touch-
Natalie:
... have it above?
Jenny:
I have it right barely at the color.
Natalie:
Okay.
Jenny:
I wanted it to feel like it was really connected to the candle. There's so much of quilting that's personal.
Natalie:
Yeah, just how you want it to look.
Jenny:
Yeah, how you want it to look. All right. So, on this right here, you're just going to stitch around this. And you want to stitch around these before you get a whole big quilt put together. So, stitch around them. I have some that are zigzagged, I have some that are... Here's some of the lighter ones.
Natalie:
Nice. I like the color variations. That's pretty.
Jenny:
Well, I think it makes the flames come alive. But I think what really makes this quilt dance like a dance party on your birthday is-
Natalie:
Oh, yeah.
Jenny:
Oh, yeah. We've had some dance parties here at Hamilton, haven't we?
Natalie:
Just a few.
Jenny:
Anyway, what really makes them dance is that they're at different heights, and it gives them so much movement. So, here's how I did that. So, we've got our flames on. They're sewn down. And these, you're going to leave these all the same size, but they have to be... We want them to end up 12".
So, what we're going to do is, I'm just going to take a few of these and show you how I did this. So, I'm going to line them all up, and I'm going to know where 12" falls on my board. So, here's four. Wait, let's get a different color. Oh, I've got one with no candle top.
Natalie:
All right, I can-
Jenny:
Put that candle top on that orange one.
Natalie:
I can do it.
Jenny:
Oh, here's an orange, but it's already cut. Oh, here's one. Nope, I got it. Stop where you are. Stop where you are. All right. So, I'm going to start. Because the numbers are random here, I'm going to start with 24.
Natalie:
Here is your ruler. You can leave them where you are.
Jenny:
I know, but wait, we have to watch this happen.
Natalie:
And then you just say 12-1/2 is this many. So, then you can-
Jenny:
It 12-1/2?
Natalie:
Well, whatever you just said. I don't know.
Jenny:
Look the pattern and see.
Natalie:
I was going-
Jenny:
Are these 12-1/2 or 12?
Natalie:
I was going by your-
Jenny:
I thought these were 12, but-
Kenny:
12.
Jenny:
12? Okay. So, what we're going to do with these is, these are going to be 12, so we're going to cut them all differently. They just have to end up 12. So, this one, I'll put my 12 right here at the top of this, and then I'll just cut off this little piece right here, like this. And then I'm going to flip this around. Actually, what I'll do is I'll put on 12 this way, 12, and I'll cut off this little top part right here.
Natalie:
So, as long as you don't cut into the flame, then you have that top part?
Jenny:
So, this one I'm going to start. I'm going to leave the whole top part up, and I'm going to put my 12 here, and cut a little chunk off of here. And so, they all stay 12, but as you put them together, they're different heights. And so, one of the things that you'll notice is that as we're doing these, it's even just a quarter-inch difference, it still makes all the difference.
So, I cut a little chunk off, and then I'm going to turn this around so I can see the 12 right here, and then I'll cut a little chunk off down here. And see, these little pieces that I'm cutting off are all different sizes. But when we line them up, they're all going to be 12, and that's what matters is that they're all the same.
Natalie:
That's pretty cool. I feel like this would work really well for one of those bookshelf quilts, too.
Jenny:
It totally does. It's actually the same kind of way that I did it for the bookshelf. That's what gave me the idea.
Natalie:
Awesome. Very cool.
Jenny:
Right?
Natalie:
I like it.
Jenny:
All right. So, we're going here to the 12, just like that. All right. So, that's how we stagger these. Look how cool that looks. So, we're going to line them all up. They're all 12.
Natalie:
Nice.
Jenny:
And it's like [inaudible 00:13:50]. It's so cute.
Natalie:
That is cool.
Jenny:
Now, in between them, because I wanted to give them their own burning space, I put a little 1-1/2" strip. And so, basically, when you get your candles done, you can literally just lay them on your strip like this, and we'll just sew them down. We're going to add them all to the, let's see, to the right side. So, I'm going to flip these around. And it is 1-1/2" strip, right?
Natalie:
Yes.
Jenny:
Okay. Just making sure.
Natalie:
It's hard to remember all those measurements when you're doing and teaching and-
Jenny:
And you can just add another, and add another, but you want to make sure that you put them on going the same direction so that your sashing stays on the right side, on the, yeah, the right. Actually the right, and the right side of the candle.
Natalie:
She's so right.
Jenny:
I'm so right. All right. Well anyway, we can keep going on this all day because I do love chain piecing, but I will let you... And if you're sewing with a black background, you probably want to use black thread. I'm just saying.
Natalie:
I mean, it's up to you.
Jenny:
It's up to you, but it will hide better. We do it. We keep it light on here so you can see it.
Natalie:
Well, you only have to worry about it if your stitch is kind of bad, really, because you can't see it through. Anyways.
Jenny:
Yeah. All right. So, then what we're going to do, iron that one-
Natalie:
Okay.
Jenny:
... is we're just going to start sewing these together in a row. We're going to make one long row of them. And so, they'll come together like this. Every candle will have a little sashing strip on it, and we're just going to sew the whole row. So, let's look at how many we have in a row. 1, 2, 3, 4, 5, 6, 7, 8, 9, 10, 11, 12, 13, 14, 15, 16. Now, there was never a plan for how many to put in a row. I just put in a row until I used up all my candles, and then I made another row, and another row. Of course, we have it all written out for you in a pattern, which makes it super handy.
Then we have a 2-1/2" strip underneath here. It doesn't have to line up or match with anything, it's just that inner sashing. And then, we have the 2-1/2 around. But, the celebrate up here.
So, this is a... Is it 13 inches? It's a 13" by width of fabric, and we had to cut two of those because it wasn't quite wide enough. And so, then I just saved out the letters for my word that I wanted to write. So, I saved out enough of these colors, whatever colors I decided that I wanted, you have to kind of save those out.
Now, you can get... Like if you put the C on here, you could get one candle out here. So, if you wanted to be really efficient, that would work as well. But I just traced around the letters onto my heat and bond... See, when you put your heat and bond in here... I'm sorry, it's not heat and bond. What is it?
Natalie:
Sew Light adhesive.
Jenny:
Sew Light adhesive. I keep forgetting that. We tend to call things like-
Natalie:
Did your roll just run out?
Jenny:
It just ran out. Yeah. Anyway, we tend to... Like we say Kleenex, and that's not the name of everybody's Kleenex. Or we say jelly roll, and it's not what every company calls it.
Natalie:
But it's great branding by that company.
Jenny:
It is great branding, I think.
Natalie:
So, we all remember it.
Jenny:
So, tell me what this is called again? Sew Light?
Natalie:
Sew Light adhesive.
Jenny:
It's Missouri Star Sew Light adhesive. We came out with our own. Anyway, you can see that you can see the letter through this. Kenny, can they see that? All right. So, you can see the letter through this, so you just trace it.
Natalie:
And they're already backwards, so when you trace it, comes out going the way that it's supposed to go. Or it's, whatever.
Jenny:
Because then you iron it onto your fabric and then when you turn-
Natalie:
Because then it's on the back.
Jenny:
... it, it's already going-
Natalie:
Then you put turn it around, and you want it to be right.
Jenny:
It's already going the right way.
Natalie:
So, it's probably facing the right way. You trace it, then it's backwards, then you... Whatever. I don't know.
Jenny:
It definitely is, because this is the way the C goes, and that's backwards.
Natalie:
But it-
Jenny:
See, that's right.
Natalie:
Yeah, perfect.
Jenny:
It's perfect. Because when you do any kind of applique, you want them to be backwards to begin with, so that when you put them on here... Should we just do one?
Natalie:
Yes.
Jenny:
Let's just do one. We have time.
Natalie:
Absolutely.
Jenny:
All right.
Natalie:
We got this pen here.
Jenny:
All right. So, I'm going to put this underneath, and we'll put it on the edge. You go ahead and draw. I feel like I should help you.
Natalie:
Help me, how?
Jenny:
I don't know, but I'm holding this down.
Natalie:
Maybe if you just whisper nice things about me in my ear, tell me I'm doing a good job.
Jenny:
You're doing a good job, Natalie.
Natalie:
Oh, thank you.
Jenny:
Anyway, this will help you guys who... Any of us who are angle-y challenged, the reverse letter thing is always a bit of a challenge because you're like, "Is it? Are we sure?"
Natalie:
There you go.
Jenny:
And then, turns out it was right.
Natalie:
Okay.
Jenny:
All right.
Natalie:
Don't cut it out at this point. You want to iron it onto your fabric before you do your final cut.
Jenny:
And that's actually really important to know. A lot of times we will go ahead and cut the letter out. Don't do it. Just draw it on, and then iron it to your fabric. Because for some reason, cutting through a paper on fabric is really easy, but when you just have the fabric, you're a little bit more nervous. So, I won't do it.
Natalie:
It just makes a cleaner cut.
Jenny:
Now the cool thing about these is it doesn't matter which side you iron it to. There's no wrong side. So, Natalie-
Natalie:
If your fabric does have a side, though, you iron it to the wrong side.
Jenny:
Yes.
Natalie:
To the back.
Jenny:
Definitely to the back. We're a little messy out here. We're getting a little bit of a mess.
Natalie:
Crafting is messy business. It's what we do.
Jenny:
All right. So, now we're just going to cut this out.
Natalie:
And don't worry if your lines aren't perfectly straight when you draw them. You can always clean that up with your scissors.
Jenny:
Yes, you certainly can. Or vice versa.
Natalie:
Exactly. Well, no. Pretty much just the scissors work.
Jenny:
Just the scissors.
Natalie:
Drawing on the back isn't going to change how the front looks.
Jenny:
That's true. All right. Are we... What time are we at, you guys?
Natalie:
You're doing a good job. You're doing a really good job.
Jenny:
What time are we at? Because I got to go meet people in the theater.
Liz:
We're doing great. We do have a couple of questions coming in online.
Jenny:
Hi, theater people.
Natalie:
I know.
Jenny:
They're over there watching this.
Liz:
So, Amy Dement asks, "In 15 years of business and sharing quilting, what are you most proud of?"
Natalie:
Oh.
Jenny:
I'm most proud of the people and how far they've come, and that so many people have learned to quilt, and not stressed over the perfection part. I'm also super proud of how we've been able to help and care for our employees. That makes me super happy. And I love that we have a town that's devoted this. That actually, those buildings were going away, they were dying, they were falling in, and we actually fixed them so they will live another 100 years. There's so many things.
Natalie:
I love the way that our family has sort of bonded together, and our relationships are super strong. But I love the way that we've been able to sort of give our customers validation in their craft, that they're capable and they're smart, and they're inspiring and giving, and-
Jenny:
100%. Yeah.
Natalie:
It's sort of like a, I don't know, like we all just build each other up, and it really feels like that in the quilting community. We're just this team of women empowering women.
Jenny:
I know, yes.
Natalie:
And I love that. I love that it's just so-
Jenny:
Not that there aren't any men quilters, because there are.
Natalie:
Well there are, but there also empowered by this, by what we do.
Jenny:
They are.
Natalie:
By us being able to teach and say, "You can do this. You are creative. You are smart and strong and capable." And that's what I feel is something that I'm proud of from our company's perspective.
Jenny:
100%.
Natalie:
When people come up and tell me things that we've done that have affected them, or how they've felt based on what we've done, that just feels so great. I just love it.
Jenny:
Oh my gosh. Yesterday we were just surrounded with laughter and hugs-
Natalie:
Joy.
Jenny:
... and love and pure joy. It's just so fun.
Natalie:
Some tears, but it's all good.
Jenny:
They're good tears. Yeah.
Natalie:
It's all so great.
Jenny:
All right, so here's our C for celebrate, and it came out going the right direction.
Natalie:
And that would go on a larger piece of black fabric.
Jenny:
Right? I have this-
Natalie:
Because we have this whole long strip.
Jenny:
You're going to sew it together.
Natalie:
It's pieced, right?
Jenny:
Yeah, there's a-
Natalie:
There's a strip piece somewhere?
Jenny:
Yes, somewhere it's pieced. It wasn't quite long enough side to side.
Natalie:
If it's larger than 44", you're going to have to piece it, which is fine, because that seam-
Jenny:
And I did have some candles left over, so you can actually make this bigger.
Natalie:
It would be really cute table runner, too.
Jenny:
It'd be a darling table runner.
Natalie:
And you could alternate them so the candles go in or out. That would be cute.
Jenny:
That would be really cute. We should do that.
Natalie:
We should do a bonus project.
Jenny:
A bonus project.
Natalie:
I love it.
Jenny:
All right.
Natalie:
Do we have any more questions?
Liz:
Yes, we do.
Natalie:
Any other things we want to address, because we're-
Liz:
We're working with batiks today, but we also have a question about, "What are your favorite kind of fabrics and genre of fabrics to play with?"
Jenny:
We love so many of them. All of them are-
Natalie:
I mean, it's kind of picking a favorite child.
Jenny:
Well, and sometimes for me-
Natalie:
Which might be easy. No, I'm just kidding. Don't tell my kids.
Jenny:
Sometimes for me, I'll get fabric to sew on, and it will be... I will think, "Mm, I'm not sure about this." And then I make it into a quilt. I just finished one this morning. And it was like, "Wait, what? This is beautiful." And so, it always surprises me. I don't really make quilts much for myself anymore. I mean, every once in a while. I just made a little acorn wall hanging-
Natalie:
That's so cute.
Jenny:
... out of Renee Nanneman fabric, and it's just darling because it's just kind of fall-ish. But usually, I'm making something for one of the grands, or a holiday, and so then the fabric is determined already.
Natalie:
Well yeah, but there's nothing better than-
Jenny:
He wants red. He wants green.
Natalie:
... than searching out something for someone who loves a thing. Like if your child loves Pokemon or Barbie or whatever it is.
Jenny:
That's true.
Natalie:
Being able to find that perfect thing-
Jenny:
That perfect fabric, yeah.
Natalie:
... that's going to make their face light up, that's awesome.
Jenny:
It is awesome.
Natalie:
I tend to go for the moodier large florals, like Anna Maria Horner, or Tilda.
Jenny:
That's so beautiful. Oh my gosh, that Tilde birthday cake yesterday.
Natalie:
Something really large. It's more calico-ey, or liberty prints.
Jenny:
All the cakes were gorgeous, but hers was topped with an actual tuffet. A real tuffet.
Natalie:
I know. And I've been wanting to make one of those for 10 years-
Jenny:
They made a tuffet.
Natalie:
... but I'm scared to death because it just seems like so much work.
Jenny:
The Doan girls need a tuffet class. We do.
Natalie:
Apparently, that's coming up now.
Jenny:
All right. So, let's talk about this a little more. We have 1, 2, 3, 4 rows of candles, obviously.
Natalie:
16 did you say?
Jenny:
Yep.
Natalie:
Something like that.
Jenny:
16 candles. Anyway-
Natalie:
Times four, my age.
Jenny:
... our 6" border, which adds 12" to your quilt all told.
Natalie:
It's 62 x 79.
Jenny:
And we told the [inaudible 00:24:42].
Natalie:
Which is a great twin size.
Jenny:
Well, and a wall size, honestly. I love it.
Natalie:
You could hang it on your porch.
Jenny:
And honestly, you could put any word up there you wanted. I mean, to celebrate any event in your life or any time or whatever. This would be kind of a fun retirement quilt. I mean, just-
Natalie:
It'd be cool in Halloween.
Jenny:
Halloween, with all the flickering candles.
Natalie:
Like a Harry Potter with the floating candles. You could actually put something on the bottom. That would be fun, too.
Jenny:
And anytime you do this black background on something that already has black, you're never going to see the seams. And so, these literally would look like they were floating if we moved them up and down. But I just think this is so fun how it came together.
Natalie:
Cool.
Jenny:
I hope you guys get a chance to make it. This is the pattern. And anything else we forgot, Natalie? We good, you guys?
Natalie:
I think we're great.
Jenny:
Wait, do we have a few more questions?
Liz:
I had a couple more questions.
Jenny:
Let's do that.
Liz:
We're seeing the new rotary cutter you're using.
Jenny:
Yes.
Natalie:
Olga.
Liz:
The Olga. "What do you love about Olga? How is she different from-"
Jenny:
Olga has a ball bearing, and so Olga's a smooth roll.
Natalie:
Yeah, it makes the roll so smooth.
Jenny:
It makes cutting-
Natalie:
It almost makes it so that you don't have to push as hard when you're cutting.
Jenny:
100%. And I love the... Because I've got a little bit of shoulder stuff happening, and I got some wrist stuff happening, but this has a ball bearing. So, there's not the pressure when you're cutting the other ones. And I found that I can cut quite a few-
Natalie:
Her layers.
Jenny:
My layers have increased.
Natalie:
She can layer it up a little higher now.
Jenny:
Yeah, I do.
Natalie:
It gives a smooth clean cut.
Jenny:
I do love layering.
Natalie:
That's true.
Jenny:
And Olga's a great Swedish name.
Natalie:
For sure.
Jenny:
I'm kind of convinced that most Swedes named their children when they're in labor, because it sounds like, "Olga."
Natalie:
Oh, no. Here we go.
Jenny:
But that makes me love her even more. We've labored for her.
Natalie:
That's true. That is true. There's a lot of testing.
Jenny:
We've been working on this rotary cutter for a long time. There's been a lot of testing. Yeah, it's very cool. All right, what else?
Liz:
Another question is, "You've used the orange peel template for the flames. Could you freehand those to give them a [inaudible 00:26:43]?"
Jenny:
Oh, 100%.
Natalie:
Absolutely.
Jenny:
100%. Yeah.
Natalie:
When you're doing applique, you can-
Jenny:
You can do it.
Natalie:
... freehand anything you want.
Jenny:
And it would be really cool to do the flame and then do a curly top or something like that.
Natalie:
The other thing is, I am sure if you had a Sizzix or an AccuCutter, you could just-
Jenny:
Sure.
Natalie:
... roll those through-
Jenny:
They might have a flame thing. Absolutely.
Natalie:
... very easily.
Jenny:
100%.
Liz:
And then, I also want to mention, we have the "celebrate" letters as a free PDF that you'll be able to grab.
Natalie:
Download.
Jenny:
Yes. You can just download those.
Natalie:
And download and use. Awesome. Where can we find that?
Jenny:
We're nice.
Natalie:
Is that going to be on-
Jenny:
Will it be linked in the-
Liz:
Yes. It's going to be linked in the description-
Natalie:
Link to the tutorial, on the landing page?
Liz:
Yep, think so.
Jenny:
Very nice.
Natalie:
So, right below this video that you're watching right now.
Jenny:
All righty. It'll be linked right on there.
Natalie:
Very cool. That's so awesome.
Liz:
"Does the Olga need special blades?"
Jenny:
No, she just takes a 45.
Natalie:
45 mm.
Jenny:
And we've got our Missouri Star blades in here. Pretty universal.
Natalie:
Mm-hmm. Yep.
Liz:
Okay. "What thing are you most excited to go to do today at Birthday Bash on Friday?"
Natalie:
Quilting roulette.
Jenny:
Quilting roulette. For sure.
Natalie:
That's going to be so much fun.
Jenny:
It's a whole new-
Natalie:
It feels like, yeah, it's completely different.
Jenny:
It's all new.
Natalie:
And I'm excited to see how it goes, and I hope it's fun.
Jenny:
We actually know how it's going to go, but we think it's going to be really fun.
Natalie:
I know. They've hyped it up to me, so I'm excited.
Jenny:
We're very excited.
Natalie:
We'll see what happens. Either way, we're going to create an amazing quilt, and it will be-
Jenny:
And somebody will win it.
Natalie:
... won, raffle won.
Jenny:
We'll finish it and send it off to you. It won't be finished today, but it will be finished.
Natalie:
Eventually.
Jenny:
Eventually. What else?
Liz:
Great. That's I think all the questions that have come in so far, but we just want to say we're going to see both of you a little bit later today during the day, but I know you have awesome events on the street to go do, so we want to let you go do those.
Jenny:
We have some-
Natalie:
Cake walks.
Jenny:
... cake walks. I have Time with Jenny that's coming up next.
Natalie:
Time... yep.
Jenny:
And we have the roulette today. Dinner with the Doans was so fun last night, wasn't it?
Natalie:
That was fun. That was.
Jenny:
I wish we had a building where you could all come in. It's so hard because they sell out fast, but it was really fun to have everybody out there. It's fun to see all the kids with their kids.
Natalie:
Maybe one year, we could do a live event, kind of like we do for the national auction. That would be kind of fun.
Jenny:
Oh, yeah.
Natalie:
Just an idea, a thought.
Jenny:
Just a thought.
Natalie:
Maybe. Maybe not.
Jenny:
We get an opinion.
Natalie:
Sometimes they work, sometimes they don't.
Jenny:
Sometimes they do.
Natalie:
Could be fun, though.
Jenny:
All right,
Liz:
Thank you guys so much. So, this is Liz behind the camera. I'm going to be on set to host you the rest of the morning. We're going to be live until noon. And, like I said, we're going to welcome both Jenny and Natalie back at different times today, so please stay tuned with us as we continue Birthday Bash, live from Hamilton, Missouri.
Jenny:
We just have one more thing to say.
Natalie:
So fun.
Jenny:
We hope you enjoyed this tutorial on the Celebration Quilt from the Missouri Star Quilt Company.
Natalie:
Happy quilting.
Jenny:
Hi everybody, it's Jenny from the Missouri Star Quilt Company. We hope you enjoyed watching this video. If you aren't already part of the Missouri Star Quilt Company family, be sure to subscribe so you won't miss a thing. And if you click that bell, it'll notify you every time a new tutorial comes out. See you next Friday.



