

How To Make a Cheery-O Quilt - Free Quilting Tutorial
 Natalie Doan
- Layer Cake
- Modern
- Double
- Beginner
- Quilt size 72" × 81"
Natalie demonstrates how to quilt easy circles with precut layer cake squares, raw edge applique, and decorative stitches. She's using Bright World 10" Squares by Sharon Virtue - Virtue Vision for Windham Fabrics, Missouri Star Sew Light Fusible Adhesive, and the Easy Circle Cut Ruler + Rotary Cutter.
Instructor
Natalie Doan
Natalie is the host of Quilting 101, Embroidery 101 and the Creative Strategist and Editor of Block Magazine at Missouri Star Quilt Company. She was taught how to sew by her mom, of course, and began quilting when she grew up.
Shop this tutorial
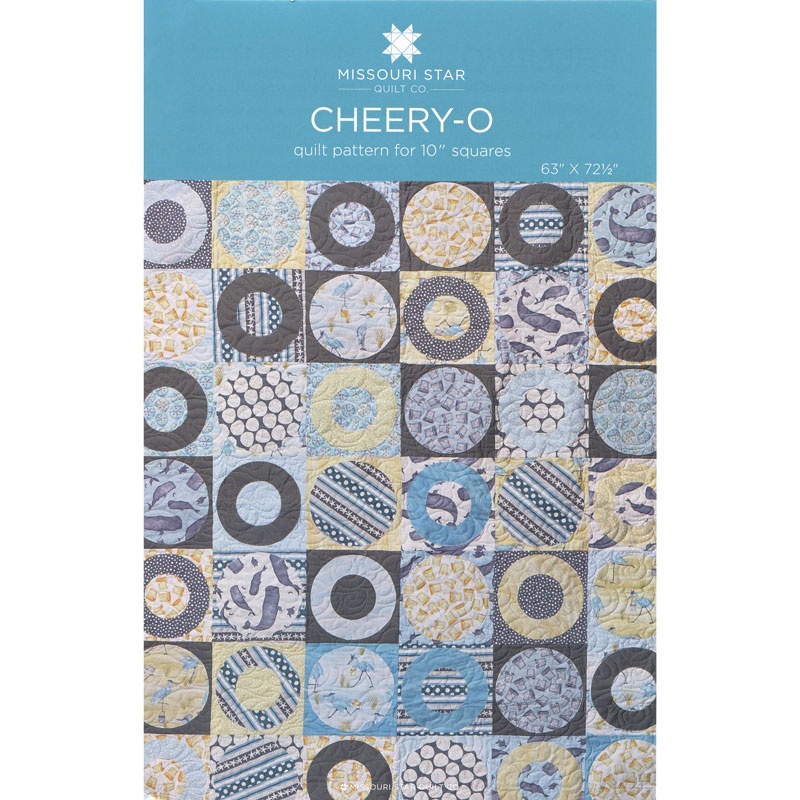 Cheery-O Pattern by Missouri Star$6.95Shop →
 Digital Download - Cheery-O Pattern by Missouri Star$4.95Shop →
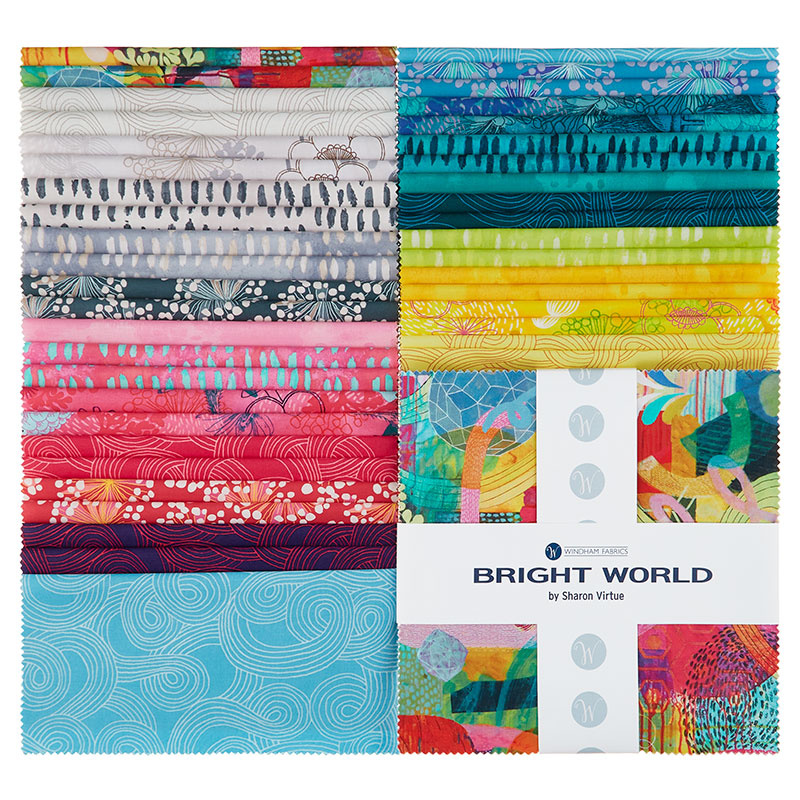 Bright World 10" Squares$37.95Shop →
 Missouri Star Sew Light Fusible Adhesive - 17" x 2 yards$4.95Shop →
 Kona Cotton - White Yardage$7.28Shop →
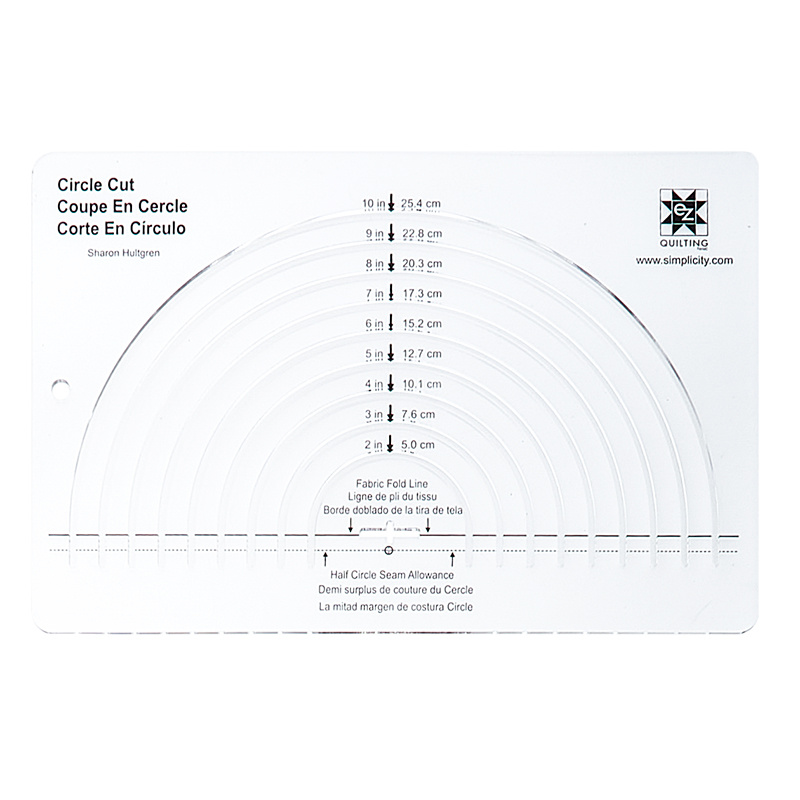 Easy Circle Cut Ruler$22.95Shop →
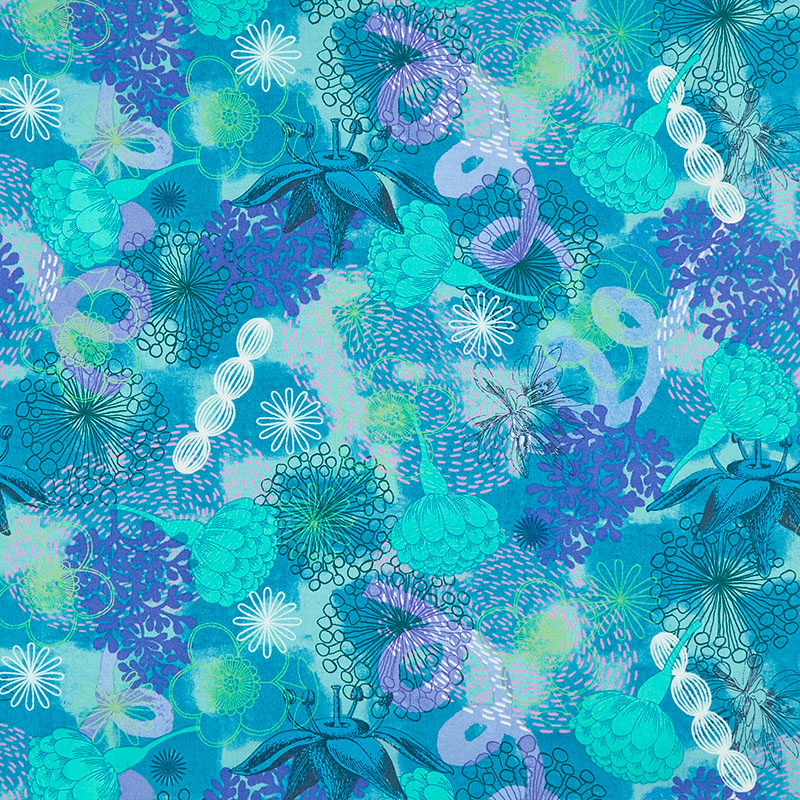 Bright World - Botanical Aqua Yardage$11.96Shop →
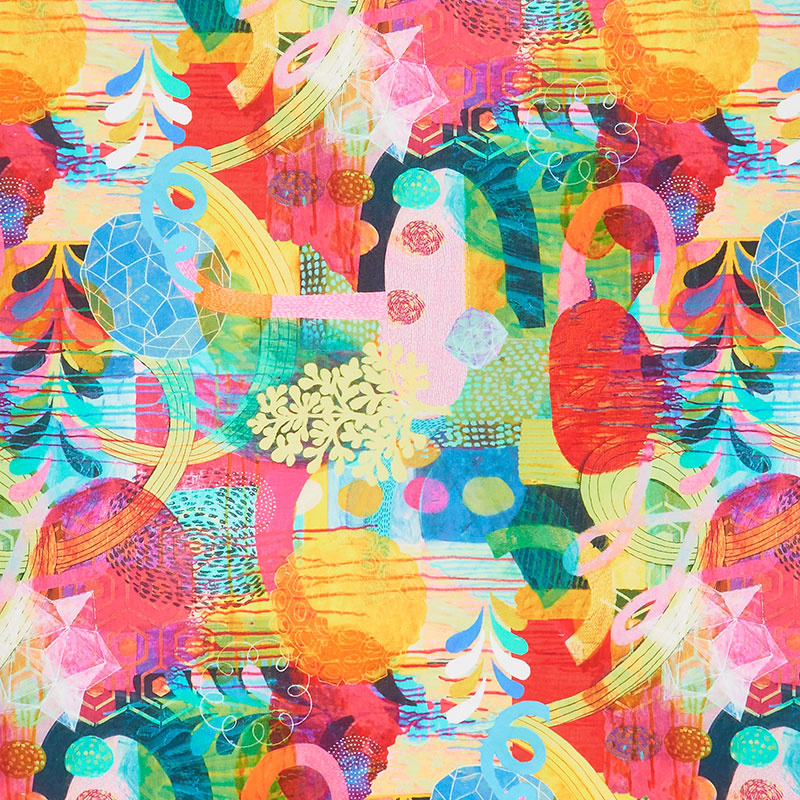 Bright World - Bright World Multi Yardage$12.44Shop →
 Missouri Star Quilter’s Best Blend Full Batting$32.45Shop →
Common Questions
What is covered in How To Make a Cheery-O Quilt - Free Quilting Tutorial?
Natalie demonstrates how to quilt easy circles with precut layer cake squares, raw edge applique, and decorative stitches. She's using Bright World 10" Squares by Sharon Virtue - Virtue Vision for Windham Fabrics, Missouri Star Sew Light Fusible Adhesive, and the Easy Circle C...
How long is the tutorial video?
The tutorial video is 00:11:51.
Are supplies listed for this tutorial?
Yes. The tutorial page includes the supplies and materials connected to this project.
Is a transcript available?
Yes. A written transcript is available on the tutorial page.
Video Transcript
Hi everybody, I'm Natalie with Missouri Star Quilt Company and I am excited to be here today, I'm going to share with you one of our favorite fifteens. This project behind me is Cheerio. It's one that we designed several years ago, back in 2013 I think, when we were working with Fons and Porter. So to make this quilt, you're going to need two packages of 10 inch print squares, and we used Bright World by Sharon Virtue for Windham. You're going to need some fusible webbing, some adhesive. You'll need about four and three-quarter yards for your inner border. You'll need three-fourths of a yard, your outer border, one and a half yards. We also use this same fabric for the backing. You'll need about four yards for your backing. Another helpful tool is this circle cut ruler and rotary cutter. It's pretty easy to make. I think you're going to like it.
So the first thing you're going to do is take your fusible adhesive and you're going to back one entire set of 10 inch squares. Once they're all backed, you'll be dividing these, but for now, we're just going to back them all. So let's pull out some of this, and you can do this by cutting individual pieces or putting several on one piece. Your backing, your adhesive can be overlapped just in case you didn't know. You can use scraps to make it up. It just has to stick down so that you can top stitch it.
All right, so I will line these up. It can overlap quite a bit because we're not going to use the outer edges. Let's just do these two. I'm going to take these over to the pressing mat. All right, so once you've got your fusible pressed onto your print squares, then you can start tracing on your circles. And I typically get these cut apart and we're going to do our tracing on the back.
All right, so now's where you're going to divide half of your pack or 21 of each square. Half get cut into full circles and the other half get cut into what they call a little, like a donut. So you cut the middle circle out. So let's get started. We're going to fold this in half and using our circle cut ruler... All right, so what we're going to do is we're going to line up this solid line on the fold of our fabric. We're going to try and center it up, and we're going to be cutting on the eight-inch finished circle line.
So you can fit your rotary blade in there and it works pretty well. If that is not comfortable, feel free to trace it and use scissors. So I do that on occasion. I'm going to do that for this middle section so you can see. So the middle section gets cut at four. So we're doing eight inch and four inch finished circles. So if you don't feel comfortable running the rotary cutter through, you can just trace it with a pencil and cut it out with scissors. Either way works great, you'll get to the end result.
So I'm going to go ahead and do that, and you do this whole thing with your fabric folded in half and you end up with really beautiful, perfect circles. All right, I just made a little funky edge there, so I'm going to clean that up. Okay, so what you should end up with is 21 little donuts and 21 full size circles.
So now we're going to take our second package of 10 inch squares and we're going to mix and match these and press them down. It's kind of fun because we get to just put all different colors together and I think that looks really cute on that one. So now we're going to center them up and you can do several things if you want to go ahead and fold them into fourths and find your centers. You can fold this in fourths and then line up those little, just do little finger presses on the corners to find where the middle is. Or you can just eyeball it. It really looks fine either way. Because this isn't a project with a lot of points, it's not really going to show up if things aren't perfectly centered, so you can eyeball it.
All right, so now you can take the adhesive off and you can always recenter it if you need to, but if your fold lines are still there, it's pretty easy to put that back down. Sometimes it's hard to peel the edges. If that is a problem, I will always score mine. I use just the little tip of my scissors and make a tiny little mark and then it pulls apart really easily. It just works for me and it keeps my edges cleaner. If rolling the edge works for you, that's great. I know that's my mom's trick, so whichever way makes you feel most comfortable and keeps your edges clean. I can just never get it to work. So scoring is the way to go for me. It made my life so much easier when I figured out how to do that.
All right, once you've got all your backings off and your pieces are centered up how you like them, then we're just going to give it another quick press and that adheres it to the background fabric. Okay, so now it's time to add some decorative stitches. This'll keep your pieces in place as it's washed and used and loved. You can choose any stitch you like. A lot of people like to use button hole or a small zigzag, but your machine has hundreds of decorative stitches. So play around with them, use a different one on every piece if you want. It can be really fun.
All right, so now that we've chosen our stitch, we can go ahead and get started. We're just going to go slowly around this. It's a gentle curve, so it should be pretty easy. As you get more comfortable, you can go a little faster, but that's all it is. It's just letting the machine pull itself, pull the fabric through. You don't want to go faster than the machine and we just keep going until we're done.
So the first time around, you could see that most of the fabric was out here on this side, on the outside of the machine, and now you can see that it's mostly on the inside. It'll stay that way and we'll go the opposite direction. So line up your needle, make sure it's stitching on the edge of the cut fabric and that the stitches are going into the printed part, the blue part. And we're just going to go ahead and stitch this going in the opposite direction. And this smaller curve isn't harder, it's just smaller. So take your time if you need to, and I just gently turn it as I go.
So once you have all of your top stitching done, then it's time to put these squares together and it's super easy. We're just joining six and we're putting them together in seven rows. So we start here with the donut and we've got 1, 2, 3, 4, 5, 6 across by 1, 2, 3, 4, 5, 6, 7 down. We've got a great little two and a half inch framing border and inner border that kind of separates all of this busyness. And then we've got a six-inch outer border. Our backing is this really fun wild fabric that I just love. It's got all these bright colors and some pretty little organic features. It's beautiful. I love it. Our quilting is circle meander and the quilt ends up being about 71 by 79. It's a great size for a picnic quilt or a twin bed. And that size is approximate. I mean, it could vary just based on steam allowance, so don't get too hung up on that. But we do have a great bonus project for you. So hold on.
All right, so coming back to all of these little leftover circles that we have, I thought it would be really fun to just make a little bonus table runner. So you can take fabric that you have lying around some kind of background. It could be a print or it could be solid. For this, I'm just going to use this solid white. What I did is I took about a yard. So yeah, that's what this is, and I just cut it on the fold. So I've got an 18-inch piece.
I'm going to go ahead and cut this with my rotary cutter rather than ripping it. You could rip it if you want. It works either way, just need it cut on the fold. So you can actually make two table runners if you wanted to and these measurements are approximate as well. You don't have to worry too much. It's going to end up being around 36 by 18-ish, maybe 16-ish. It just depends how much you cut off when you cut off your salvage. So we'll do 18 by 36 roughly.
Go ahead and cut that off. And that's plenty wide enough for an inner border on something else. Then all I did is I took this and I laid it out and I did my circles. And you can do them in whatever kind of pattern you want, but it's kind of fun to just line them up and see how they look and do three. Not that one. That guy's not going to show up very well. Isn't this cute though? I just think it's adorable.
And if you want to space them however you want so that you fill up the fabric, or if you wanted to cut the fabric off, if it's looking too long, be creative, have fun. You get them to a place where you love how they look. Then you're going to just take off all your backings and press the whole thing down and then go ahead and do your top stitching. And then it's up to you. If you'd like to add a little border, you can or you can just quilt it and bind it as is. I just think it's a fun little bonus table runner that you get with all your little leftover circles. If you have a whole bunch, you could make a whole quilt. How fun would that be?
So anyways, the creative possibilities are endless. So I hope you enjoy this refresh on the Cheerio Quilt. It's one of our favorite fifteens from the Missouri Star Quilt Company.
Jenny:
Hi everybody, it's Jenny from the Missouri Star Quilt Company. We hope you enjoyed watching this video. If you aren't already part of the Missouri Star Quilt Company family, be sure to subscribe so you won't miss a thing. And if you click that bell, it'll notify you every time a new tutorial comes out. See you next Friday.



