

How to Make a Chevron Quilt - Free Quilting Tutorial
 Liz Gubernatis
- Layer Cake
- Modern
- Wall Hanging
- Beginner
- Quilt size 83" × 95"
Love chevrons? Then you'll positively adore this quilt! Join Liz for a fun and easy project where you'll get to piece beautiful chevrons! It's simple to stitch it in your favorite colors or small prints. Follow along and zigzag your way to a beautiful quilt!
Instructor
Liz Gubernatis
Liz Gubernatis is the Senior Manager of Education at Missouri Star Quilt Co. and loves teaching people how to quilt! She is a creative idea generator and champion. Colleagues, family, and friends know her for my creativity, can-do attitude, and common sense.
Shop this tutorial
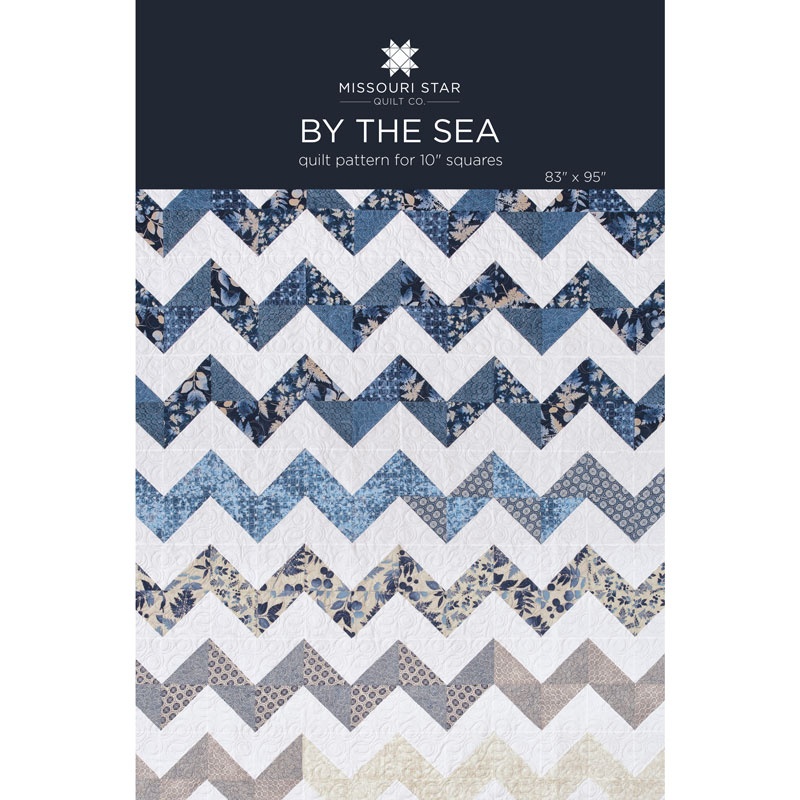 By the Sea Quilt Pattern by Missouri Star$6.95Shop →
 Digital Download - By the Sea Quilt Pattern by Missouri Star$4.95Shop →
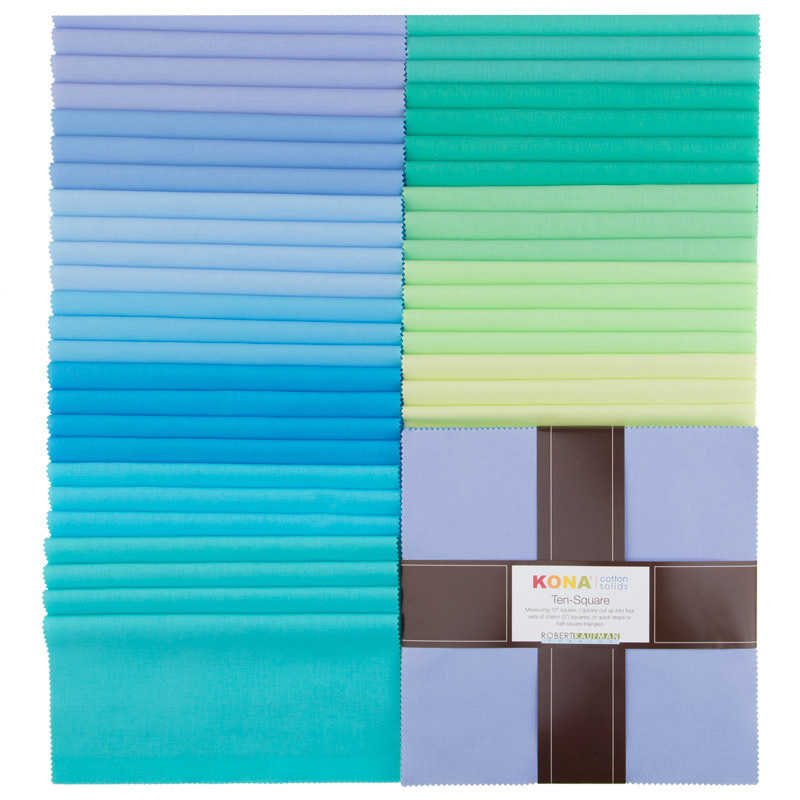 Kona Cotton - Mermaid Shores Palette Ten Squares$30.95Shop →
 Kona Cotton - White Ten Squares$30.95Shop →
 Missouri Star 6" x 6" Square Ruler$10.95Shop →
 Missouri Star 5" x 15" Ruler$15.95Shop →
 Missouri Star 2.5" x 8" Ruler$10.95Shop →
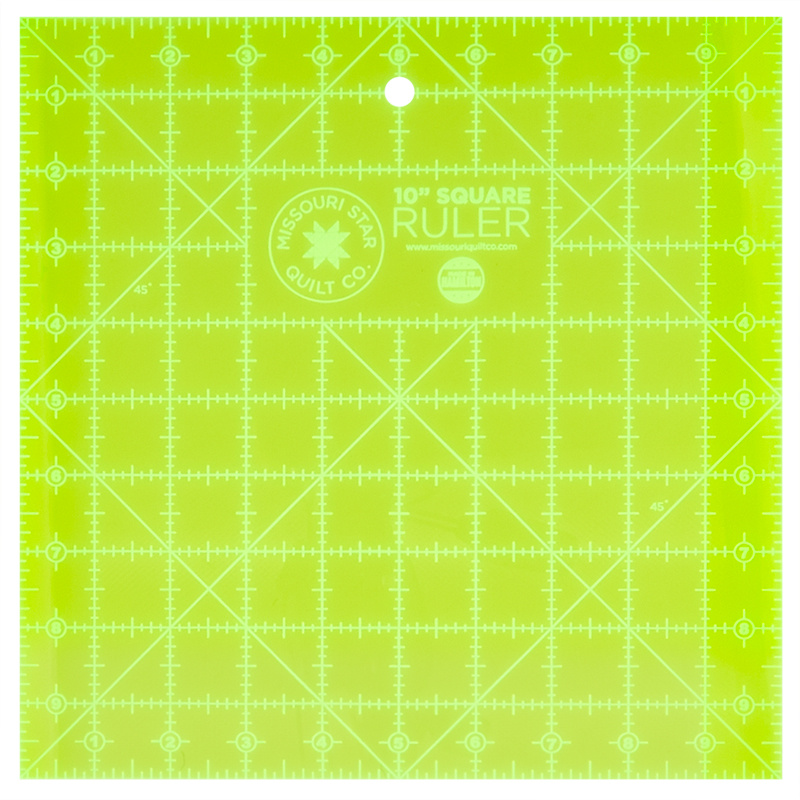 Missouri Star 10" x 10" Square Ruler$19.95Shop →
 Missouri Star 45mm Rotary Cutter$19.95Shop →
 Exclusive Missouri Star Jenny TG1600 ProPlus Oliso Smart Iron$199.99Shop →
 Missouri Star Wooly Betty Board - 17.25" x 25.5" Orange Border$98.95Shop →
 Missouri Star 50 WT Cotton Thread White$6.95Shop →
 Baby Lock Accomplish - 1500 SPM Straight Stitch Machine$999.00Shop →
Chapters
Common Questions
What is covered in How to Make a Chevron Quilt - Free Quilting Tutorial?
Love chevrons? Then you'll positively adore this quilt! Join Liz for a fun and easy project where you'll get to piece beautiful chevrons! It's simple to stitch it in your favorite colors or small prints. Follow along and zigzag your way to a beautiful quilt!
How long is the tutorial video?
The tutorial video is 00:11:31.
Are supplies listed for this tutorial?
Yes. The tutorial page includes the supplies and materials connected to this project.
Is a transcript available?
Yes. A written transcript is available on the tutorial page.
Video Transcript
So once upon a time Jenny made this quilt and we called it By the Sea. This was actually one of the first Jenny tutorials I myself made and I'm very
excited to show you today what happens when we go to solids.
So solids can be one color all the way across or the pack that we're going to use today can create this little ombre effect. I'm going to show you the only thing that's different between these quilts truly is that these were made four at time half square triangles and these were made eight at a
time half square triangles. So they're a little bit smaller and you can see the quilt is a little bit smaller, but you actually get enough triangles to make two quilts this size out of the same layer cake that makes one quilt this size. So let me show you how we do it!
So to make most half square triangle quilts you're going to need a packet of your print. In this case it is the Kona Solid Mermaid Shores palette, and so it goes from this light green through the blues to the lavender. Then a solid pack of your background fabric. In this case we used white. We're going to pull one from each and show you how to make the triangles.
So I'm actually going to pull two of these lime greens from the back and first I'm going to show you how to make the four to time half square
triangles that Jenny used on her By the Sea quilt to make these chevrons. So I'm going to stack these on top of each other to make four at a time
half square triangles. We're going to refer to our cheat sheet so here. We've got two at a time which is when you are going to draw a single line and stitch on either side of it or both sides of that line. We're going to do four a time so you place the two squares together and we are going to sew all around the four edges using a quarter inch seam allowance.
So all I have to do is line them up really nicely and take them over here to the machine. We're going to sew all the way around a 1/4 inch and you can sew right off the edge or you can pivot. We'll turn this around and just keep sewing. And for this machine you can see that I have a kind of a skinnier foot, so what I'm doing is using the 1/4 inch line on the face
plate of my machine and on this seam tape. So I'll go all the way around and I'll meet you back here in just a minute okay?
So now that we've sewed all the way around, we're going do that to all of the squares that we're going to use for this quilt. I like to press this before I cut it. I'm a little messier with my seams and so that just helps everything lay down like so.
Now it's time to cut so I'm going to take my threads off and I love our
longer 15-inch rulers for this because they fit all the way across diagonally
corner to corner. We're just going to line them up here. Again I'm right-handed so I'm going to cut a little differently than Jenny does, but the same idea corner to corner. Then we'll turn this way and Jenny often puts it here cuz she's going to cut left-handed it took me a long long time watching her to realize that I actually cut a little differently and that's okay! You want to always cut away from yourself. And that is how we're going to
get four identical half square triangles. Those are going to go together once we press them and trim them. They're going to go together to
make our chevrons.
So you can see how they'll just line up. There's a couple of different
ways to then lay this out. What Jenny's done with By the Sea is using two colors but not necessarily solids. But it reads as solid with a little bit of interest because you've got all the blues in this print. And so she's got half square triangle here and then here. So we'll show you how this fits into the quilt.
You've got a chevron here and then you'll have the chevrons going up
here and they'll continue across to make a stripe. So you'll have 12 across and then 14 down. The smaller ones we made laid out very much the same way, but they're made just a little bit differently.
So again we've got this really great cheat sheet for you that's going to be in your description box below and for half square triangles eight at a time we can do something very similar. We're going to take our background and we're going to take our print or in this case our nice solid which is extra
friendly and this makes this a great quilt for doing something for someone's favorite color for someone for school as school colors. as like red and gold you can make a whole red and gold chevron quilt.
So what we're going to do is this time we're going to flip to the background we're going to follow along. We need to mark two diagonal lines on
the wrong side of one square. So again I'm going to take my ruler and this time where we're going to mark. So I've just got a regular mechanical pencil here and it's a very light line but I can see it. And one other trick that I use when I'm trying to make sure that my lines are all just right is that I can use the 45 line on my ruler and line that up here with the side of my square and if you find that pulling is dragging your fabric you can start from the center and mark outward and you still get nice marks that don't end up pulling or dragging or stretching your fabric.
Okay so now that we've got this, and we're going to sew on both sides of both lines. So I'm going to do that at the machine and I'll come back here and show you how we trim that.
So now that I've gone and sewn on both sides of both lines I'm going to cut this into the eight half square triangles. So the first thing I'm going to do is actually cut through the center and I can use this 5x15 ruler. You'll see it comes right here to the center and I've got all my straight lines lined up and I'm not too worried about the pinked edges. I'm just inside all the pink edges and it goes right through the center and then I'm going to cut
vertically and then I am going to cut horizontally. So again all of my ruler lines are just inside my pinked edges and now my center Line can line up
right where I just cut so I know everything's going to be nice and square. It'll just save me a little bit of the trimming later. Once I've got those two then I'm going to go back and cut on the lines I drew like so and like
so and I'm going to turn my body if I can't turn the fabric.
Okay so now I have eight half square triangles. They're all the same with these two fabrics and as I lay these these all out you can actually see more of the chevron start to appear at once. I chose to do four at a time half
square triangles for the mermaid version of this quilt that you see behind me for two reasons. One because in this pack of Mermaid Shores palette
Kona, you can see there's several colors. There's actually just enough colors for me to use one all the way across and there's 12 colors in this
pack so I could do one strip of every piece across and it creates this ombre
from the light green all the way to the light purple. I loved that, but it also
meant that my second quilt going to be much scrappier because it has lots and lots of different colors and different quantities, because there's four of some squares and three of other squares. I don't end up with another 12 perfect ombre for the second quilt. That doesn't bother me cuz I know I can mix and match cuz that's what we did here and it looks great!
So again, let's lay this out just a little bit and you can see the chevrons
appear. So we do two with white peaks and we'll do two with the green
peaks. And so they turn into kind of flying geese units but also when you put them together create the full chevron look. Then you can just keep laying these out until you have the color story that you're looking for. And that is how you can turn any project that is done with prints into a project with solids using just the regular half square triangle method.
I know we always see things in beautiful beautiful prints and it's okay
that they go out of print. It's okay that you have something you haven't cut into for a while cuz it's perfect and beautiful and you just didn't want to.
But dig in and make the quilt - there's going to be more prints and more solids available for you anytime. So I hope you enjoyed this tutorial on how to make half square triangles four at a time and eight at a time and how to turn solids into all of your favorite half square triangle quilts from Missouri Star Quilt Company!



