
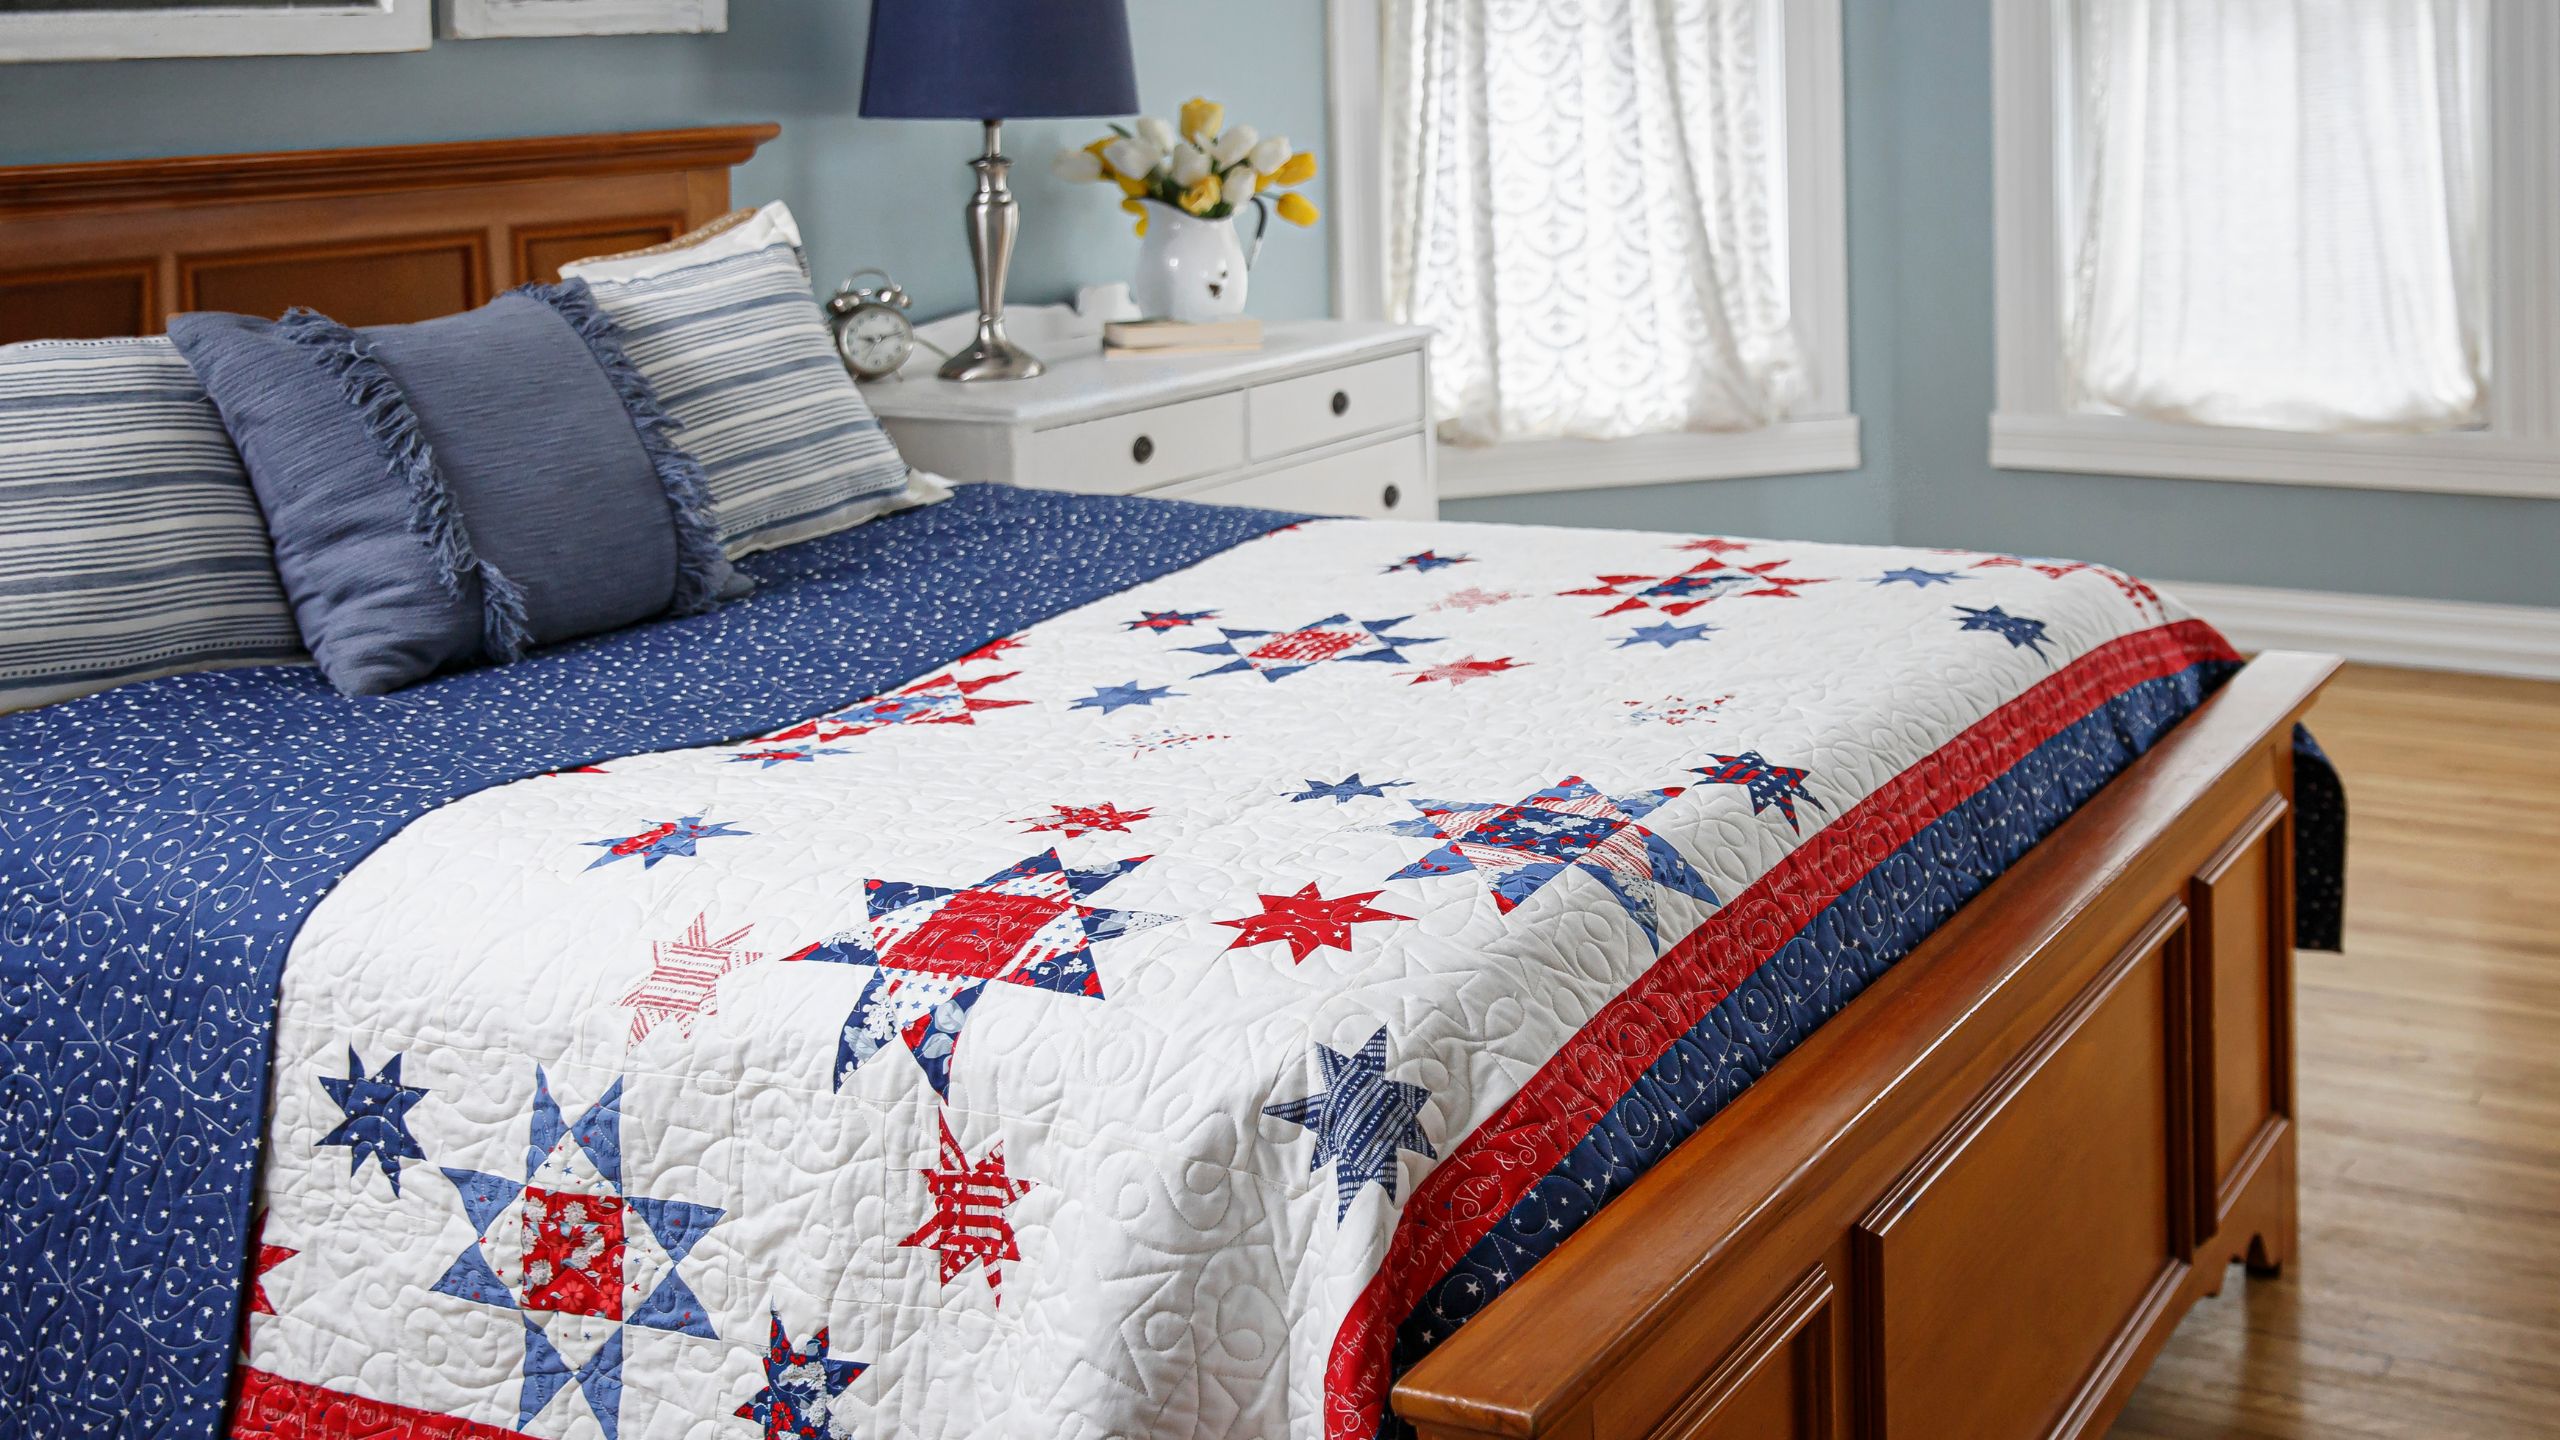
How to Make a Confetti Stars Quilt - a Free Quilt Tutorial with Misty Doan
 Misty Doan
- Layer Cake
- Holiday
- Queen
- Beginner
- Quilt size 88" × 99"
Are you ready to show off your prettiest patriotic fabrics? Today, Misty stitches up the dazzling Confetti Stars Quilt Pattern by Missouri Star! With sweet star blocks in two sizes, this project is perfect to whip up and donate to Quilts of Valor! Featuring Land of the Brave fabrics by My Mind's Eye for Riley Blake Designs, this quilt top will get you ready for Fourth of July picnics and summer nights under the stars. Happy sewing!
Instructor
Misty Doan
Misty Doan grew up surrounded by sewing and quilting. She loves spending time sharing tutorials each week each week, and when she’s not stitching up one of her fun sewing projects for home decor, most likely you’ll find her hanging out with her husband and three awesome kids or working on a house project.
Shop this tutorial
 Confetti Stars Quilt Pattern by Missouri Star$6.95Shop →
 Digital Download - Confetti Stars Quilt Pattern by Missouri Star$4.95Shop →
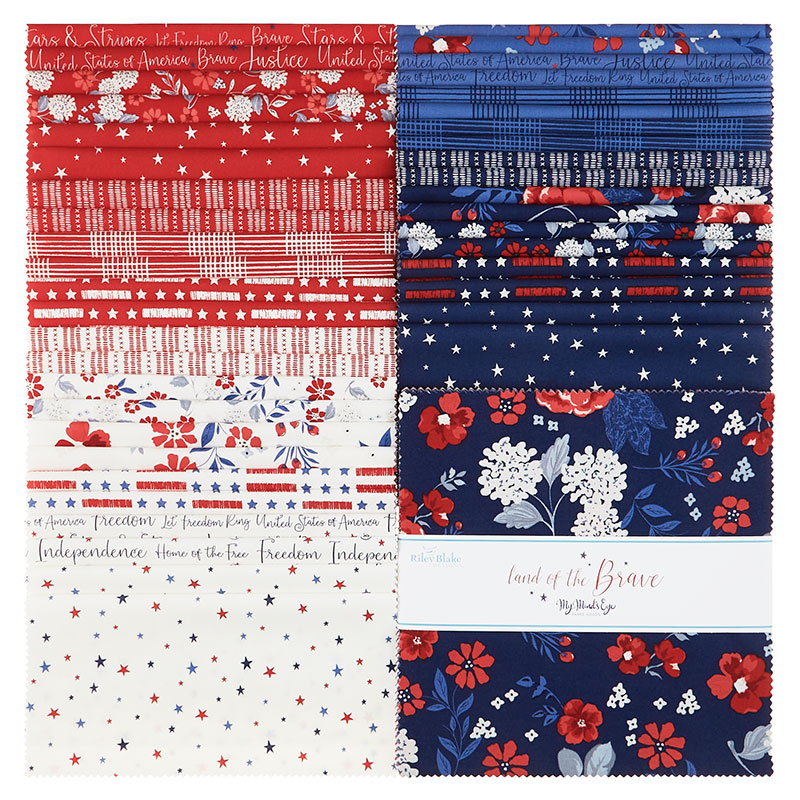 Land of the Brave 10" Stackers$39.95Shop →
 Kona Cotton - Snow Yardage$7.28Shop →
 Land of the Brave - Words Red Yardage$11.96Shop →
 Land of the Brave - Stars Navy Yardage$11.96Shop →
 Clearly Perfect Slotted Trimmers$31.95Shop →
 Missouri Star Quilter’s Best Blend Queen Batting$37.45Shop →
 Olfa Splash Aqua 45mm Rotary Cutter$18.75Shop →
 Olfa Splash 24" x 36" Cutting Mat Navy$68.95Shop →
 Missouri Star 2.5" x 8" Ruler$10.95Shop →
 Missouri Star 5" x 15" Ruler$15.95Shop →
 Missouri Star 50 WT Cotton Thread White$6.95Shop →
 Exclusive Missouri Star Jenny TG1600 ProPlus Oliso Smart Iron$199.99Shop →
 Missouri Star Wooly Betty Board - 17.5" x 17.5" Aqua Border$88.95Shop →
 Elan 8" Dressmaker Scissors$20.95Shop →
 Baby Lock Accomplish - 1500 SPM Straight Stitch Machine$999.00Shop →
Common Questions
What is covered in How to Make a Confetti Stars Quilt - a Free Quilt Tutorial with Misty Doan?
Are you ready to show off your prettiest patriotic fabrics? Today, Misty stitches up the dazzling Confetti Stars Quilt Pattern by Missouri Star! With sweet star blocks in two sizes, this project is perfect to whip up and donate to Quilts of Valor! Featuring Land of the Brave f...
How long is the tutorial video?
The tutorial video is 00:21:47.
Are supplies listed for this tutorial?
Yes. The tutorial page includes the supplies and materials connected to this project.
Is a transcript available?
Yes. A written transcript is available on the tutorial page.
Video Transcript
When I designed the Confetti Hearts quilt a while back, I knew immediately that I wanted to do the same thing with stars. But it took me a little while to figure out the math. You know quilt math can be tricky, but luckily I finally got it so I'm bringing you the Confetti Stars quilt that you can see behind me. I absolutely love this quilt! It's super simple to make.
So to make this quilt you're going to need one package of 10 inch squares and I used Land of the Brave by My Mind's Eye for Riley Blake. It's a beautiful red, white and blue pack. You'll also need six yards of background fabric, three quarters of a yard for your inner border and a yard and a half for your outer border. I also recommend using Trimmer B of the Clearly Perfect Slotted Trimmers to make things a little bit easier. So let me show you how to make this.
First up, we are going to pick our ten inch squares and we are going to cut all of them down so that we get four five inch squares. So I have one here,
but you're going to do this to your whole pack. There we go and I can set two of these aside and I'm going to go ahead and take two and I'm going to cut these down again, because we're going to start by making our wonky star blocks.
So then I'm going to lay my ruler and cut these down into two and a half
inch squares, again cutting both directions. There we go and then I can stack these up. You're also going to want to take some of your background fabric and for each one of your wonky stars you're going to need eight two and a half inch background squares. So we're going to do the same thing. I have a couple of five inch background squares here that I'm going to cut in half both directions, just like so and then I'll just stack these up.
To begin with, we're going to start by making our star legs. When you're doing a wonky star how that works is you're going to take your background square and you're going to put them right sides down like so. So we're just angling it and I want to intersect the middle of one of the sides. You can kind of choose and play with whichever angle you want. That's kind of the fun of the wonky star. So I'm going to set this one like this, and I need to make four of these to make my star legs. So I'm just going to grab this one and then a few more of my print squares and I'm going to bring all of these over to the machine and chain piece them one after the other and show you how simple that is to do.
To begin with, I'm going to follow along with the edge of this print fabric. We're just going to disregard the rest of this triangle that you see on the
background square. I'm just going to sew with a regular quarter inch seam allowance and then I can grab another square. Right here on my sewing machine, I just kind of play and decide how I want my stars to go. And I'll just add one after the other. By chain piecing it like this, it makes this process go really quickly. So then I'll grab another. I have noticed once I do a few of these, even though I'm not measuring, sometimes my stars end up almost identical which is kind of fun to see. There we go, one more
just like so and now I can trim these apart.
Then we can press these back. We'll just press one after the other, just to make our lives easier. Here we go, last one.
Okay. Now let's bring these back over to the cutting mat. So you can see, I kind of flip them over because I'm going to use that original white square as my guide when I go to trim these down. I'm just going to line this up and I'm going to trim this off so that I'll be back to a square. I do try to make sure that I don't cut too far into this, because I'm going to use more of this fabric if I can. So you're going to want to save that and just go as far as the corner of the white and not cut it all the way off. So there we go! There's two, and the last one, just like so.
So now you can see I have all four of my star legs ready to go and I've got my little scraps that we cut off. So now we can go back and add the other star legs. So much in the same way we did the first time, we're just going to lay this on here. The thing that you want to watch for is to overlap this bottom at least a quarter of an inch. It's pretty forgiving if you don't, but
it looks really nice if you do. So the thing that I then kind of test, because you do have this little angle cut out, is I just fold it back and make sure it's going to cover. It will, so that's what I'm looking for. I do the same thing. I would then go back and chain piece all of these. I have some of these done so I'm just going to do a couple of them for you.
So let's take these to the machine and I'm going to lay this just like so, and then sew down with a quarter of an inch. There's one, and two. All right. Now let's press these back and you can see how even though we have
that cut out, it's still covering. So you have very little waste from your print squares which is fun. We're making them go as far as we possibly can. We're just going to trim this off again so we're back to square. There we go and you'll have all four of them that are going to look like this. Now our
little star is starting to take shape. If you want to go back and cut out this
bulk, you absolutely can. I never do. I never find that it gets in my way.
I did want to point out this is one I made earlier where it didn't quite cover. If that ever happens to you, the thing that you want to watch is, is it going to be caught in your quarter inch seam allowance? In this case it totally would. If you're worried about it you can totally pick it out and redo it, which is one of the benefits of not cutting off the background square behind it. So then we will just lay this out. Our four star legs are going to be pointing out like that. We will put one of our print two and a half inch squares in the middle, and four of our background squares, one in each corner. Here we go!
So now we'll just sew this together like a nine patch and our wonky star will be done! I love these little star blocks. Isn't that so cute?
So now, because we actually need to set two wonky stars together to create this block, we're going to need to square this up. Just a little bit and this should finish at six and a half. We are going to trim it down to five and three quarters. So let's take a look here. I know this is kind of special math,
but for it to work together with our Ohio Star block later, that's what we
need these to end up.
Start by centering this up on the outside, and I'm going to trim it down
on two sides. There we go, okay. Now I have cut these two sides, so I have one nice and square corner. I'm going to slide this around and I am going to look for that five and three quarter mark. This is one of those times where if it helps to put some tape on your ruler, you totally can. I have a six inch square here. So I know I just need to come in a quarter inch from the edge, so that's what I'm looking for. Making sure my corner line is still going straight to my corner and each of my sides is on the five and three quarters. Now I'm just going to trim off this a little bit more.
The other thing you want to watch is, make sure you still have at least a
quarter inch seam allowance around all of your star points. Because they're wonky, some of them might be closer to that seam, so just keep an eye on that you have plenty of room to shift it however you need to. So once we have this trimmed down (you'll of course have made another one, which I have ready here), then we're going to set these with five and three quarter inch background squares and sew them together like a four patch.
Now the wonky star portion of our block is done. This is how it needs to look. So we can just make all of these and set them aside for now and then we'll move on to our Ohio Star block.
This is what the Ohio Star block looks like that we're going to make. To do that we're going to take a couple of our 10 inch squares. I have a dark and a light. I always try to make sure that my lights were kind of the center of my block, so keep that in mind as you are selecting fabrics for this. We're going to do the same thing that we did last time and start by cutting this in half both directions so that we have some five inch squares. One that way and one this way, there we go. We're going to keep two of these darks, and one of the lights, and one background five inch square. So you can see I have all of that here. We're going to pair these together, right sides together. So one dark with the light print, and one dark with our background. Then I'm going to grab a pen and I'm going to flip these over to the lighter side and we are going to draw a line, corner to corner, on both of these one and two. Then now we're gonna sew a quarter inch seam on both sides of that line that we drew on both of these.
So let's bring those over here, make sure that they're staying lined up as we go. This is another opportunity where you can easily chain piece. So I'll just put this next one in right behind. Here we go, now we can flip these around and go back the other way. All right. Now we're going to take these over here and we're going to cut right on that line that we drew and now when we open these up we have some half square triangles, two that are our print with our light print and two that are our print with our background. So let's go ahead and press these open and press them to the dark side.
Now that we have that part done, we are going to pair up one of our background half square triangles with our print. I'm going to put these
right sides together so that my darks are on opposite sides and I'm just going to feel with my finger and make sure that these seams are really nested. Everything is lined up. Then I'm going to draw a line perpendicular to that first stitch line, so we're going to be intersecting that corner to corner. I'll do the same thing with this set to make sure they all nest. Everything's lined up, and draw that line corner to corner. Then, just like we did on the first step, we're going to sew a quarter inch on both sides of that line. We can flip around and come back down the other side.
Now we can cut this apart again, cutting right on our drawn line just like so, and now that gives us four identical star leg units. You can see we have our two dark prints with our one light and our background. Alright so let me show you how to trim this. You actually don't even need to press it if
you're going to use the Clearly Perfect Slotted Trimmer. We will trim first
and then press later. I am going to use Trimmer B. I'm looking for the four
inch measurement and so when I have my quarter square triangle unit like I have here, I'm going to line the bottom stitch line up with the four inch mark of the ruler. Then this vertical line here, I'm going to line up with that row of stitching. You can see I have just a little bit that hangs over, so I can trim this off. I do like to use these little notches to get rid of that bulk in my seam and so there we go. You can see how neat that looks!
Let's trim one more so you can see that again. So I have my horizontal stitch line lined up with the four inch mark and my vertical stitch line lined up with that line on the ruler. Hold this in place, trim and cut off those little tabs. If you do not have the Clearly Perfect Slotted Trimmer, that's okay.
Let me show you how to square one of these up with just a regular square ruler. I've gone ahead and pressed it open in that case, and then I'm going to use the 45 line of my ruler. I am looking for that same four inch number. I can see here is my four inch line and what I want to do is, I want to make sure the 45 line stays lined up with my block and then the four should be in each corner. That's how I know that it's staying centered with my seams. So we can trim this way, and this way, and then we can rotate that unit, line it up exactly with that four inch line again making sure our corners where those seams go into the corners runs right into that that our 45 line goes on the diagonal seam as well and trim off. So easy either way and now we can assemble our star!
So the light print is going to go towards the center just like so. Then you're going to pick a contrasting five inch square that you're going to cut down to four. I've done that here. Then we'll put four inch background squares
in each of the corners. Now we can sew this block together.
So now we have our finished Ohio Star Block as well. Now we can start talking about the layout, because that's really the magic of this quilt. So you'll want to follow along with the diagram behind me. Let's step over to the quilt itself, so I can show you how these blocks set in. You can see in this beautiful quilt behind me that the rows are set. This one begins with a
background 11 inch square then we have our wonky stars going this way. Then an Ohio Star, and then a Wonky Star. This top row, the Wonky Stars are set in the exact same direction. When you come to the second row, you're just going to rotate those stars and they're set the same way across that second row. They're going to alternate back and forth in each and every row. Each one of your blocks should be 11 inches and you have one, two, three, four, five, six, seven across by one, two, three, four, five, six, seven, eight down. Then we have this great little three inch inner border and six inch outer border. This quilt measures 88 by 99 so it's a great size. I finished it off with Stars and Loops and used the same stars on the backing.
So it is just a beautiful quilt and I hope you enjoyed this tutorial on the Confetti Stars !



