Skip to content

Free quilting video tutorials from Missouri Star

Quilting Tutorials
How to Make a Cuddle® Gift Sack - Free Project Tutorial

How to Make a Cuddle® Gift Sack - Free Project Tutorial

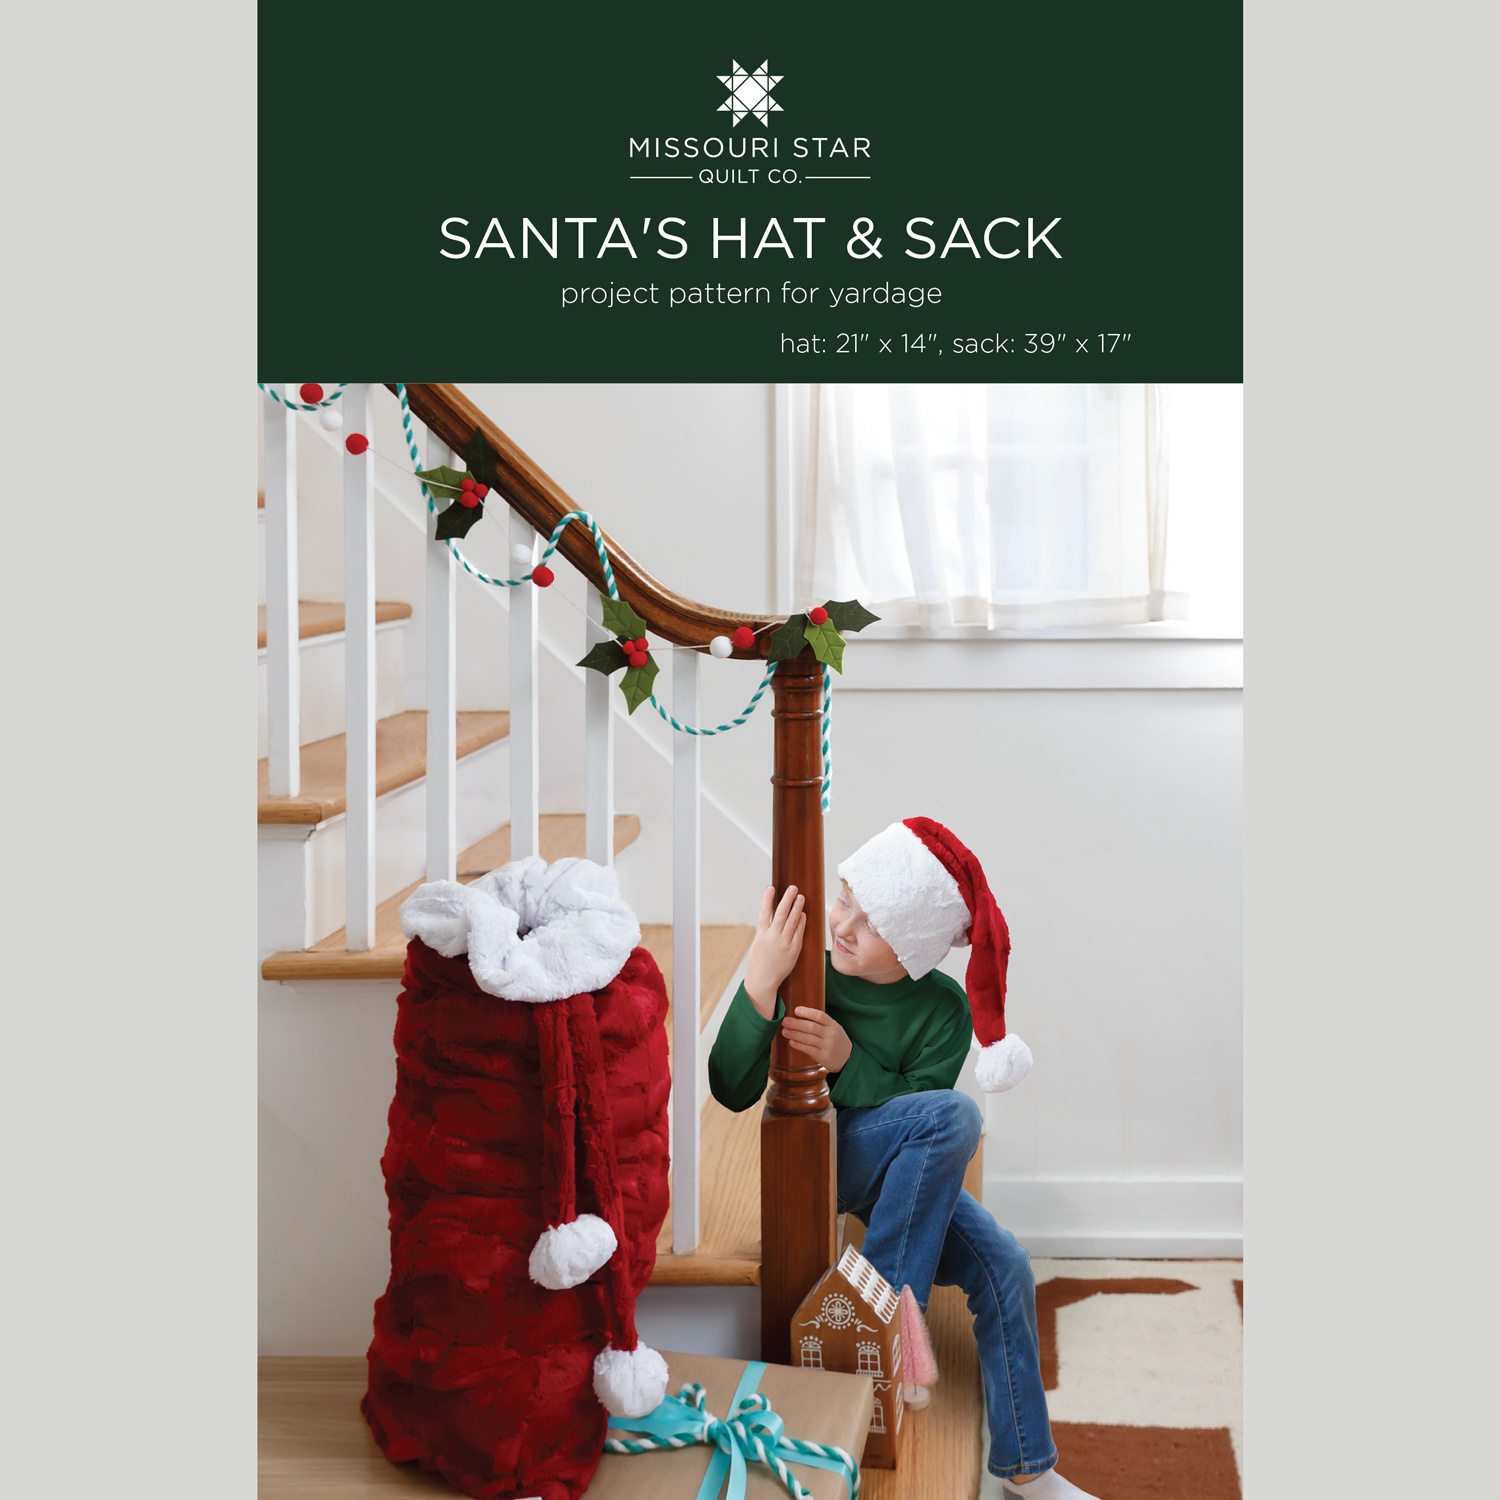
Teresa Coates is back to help you make the season extra holly and jolly! In this video, she will show you how to make a soft and fuzzy Santa hat using Luxe Cuddle® fabric. Just in time for your holiday gatherings and festivities!

Instructor

Shannon Fabrics/Teresa Coates

Shannon Fabrics imports and distributes several different types of fabric, including super-soft Cuddle® minky plush fabrics, Embrace® double gauze fabrics, terry cloth and other novelty fabrics. Teresa Coates is a writer, editor and maker. Currently she is the National Educator for Shannon Fabrics and the host of Sew Together Tuesday.

Common Questions

What is covered in How to Make a Cuddle® Gift Sack - Free Project Tutorial?

Teresa Coates is back to help you make the season extra holly and jolly! In this video, she will show you how to make a soft and fuzzy Santa hat using Luxe Cuddle® fabric. Just in time for your holiday gatherings and festivities!

How long is the tutorial video?

The tutorial video is 00:41:11.

Are supplies listed for this tutorial?

Yes. The tutorial page includes the supplies and materials connected to this project.

Video Transcript

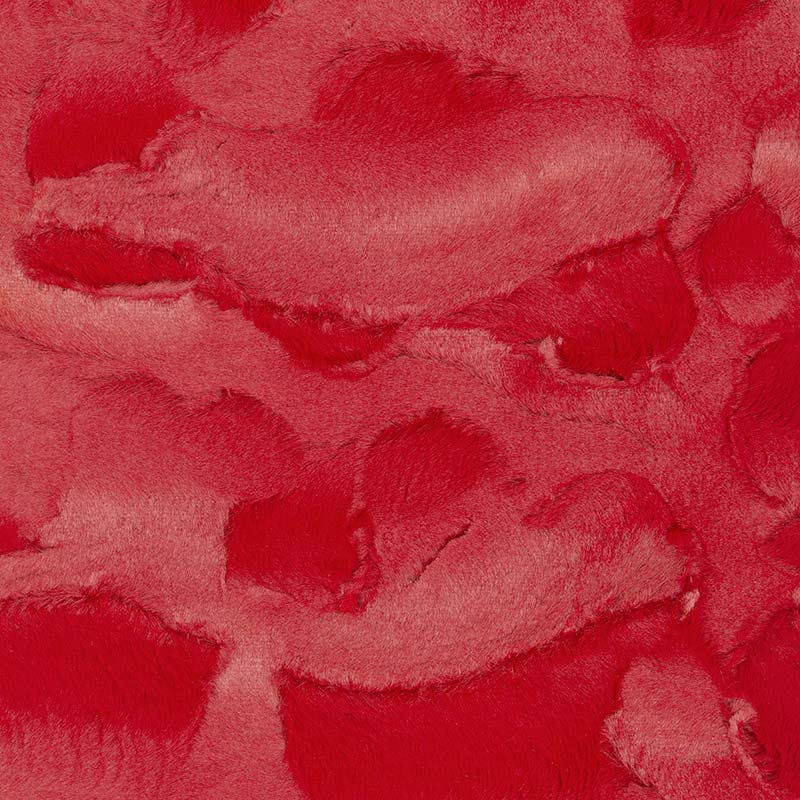
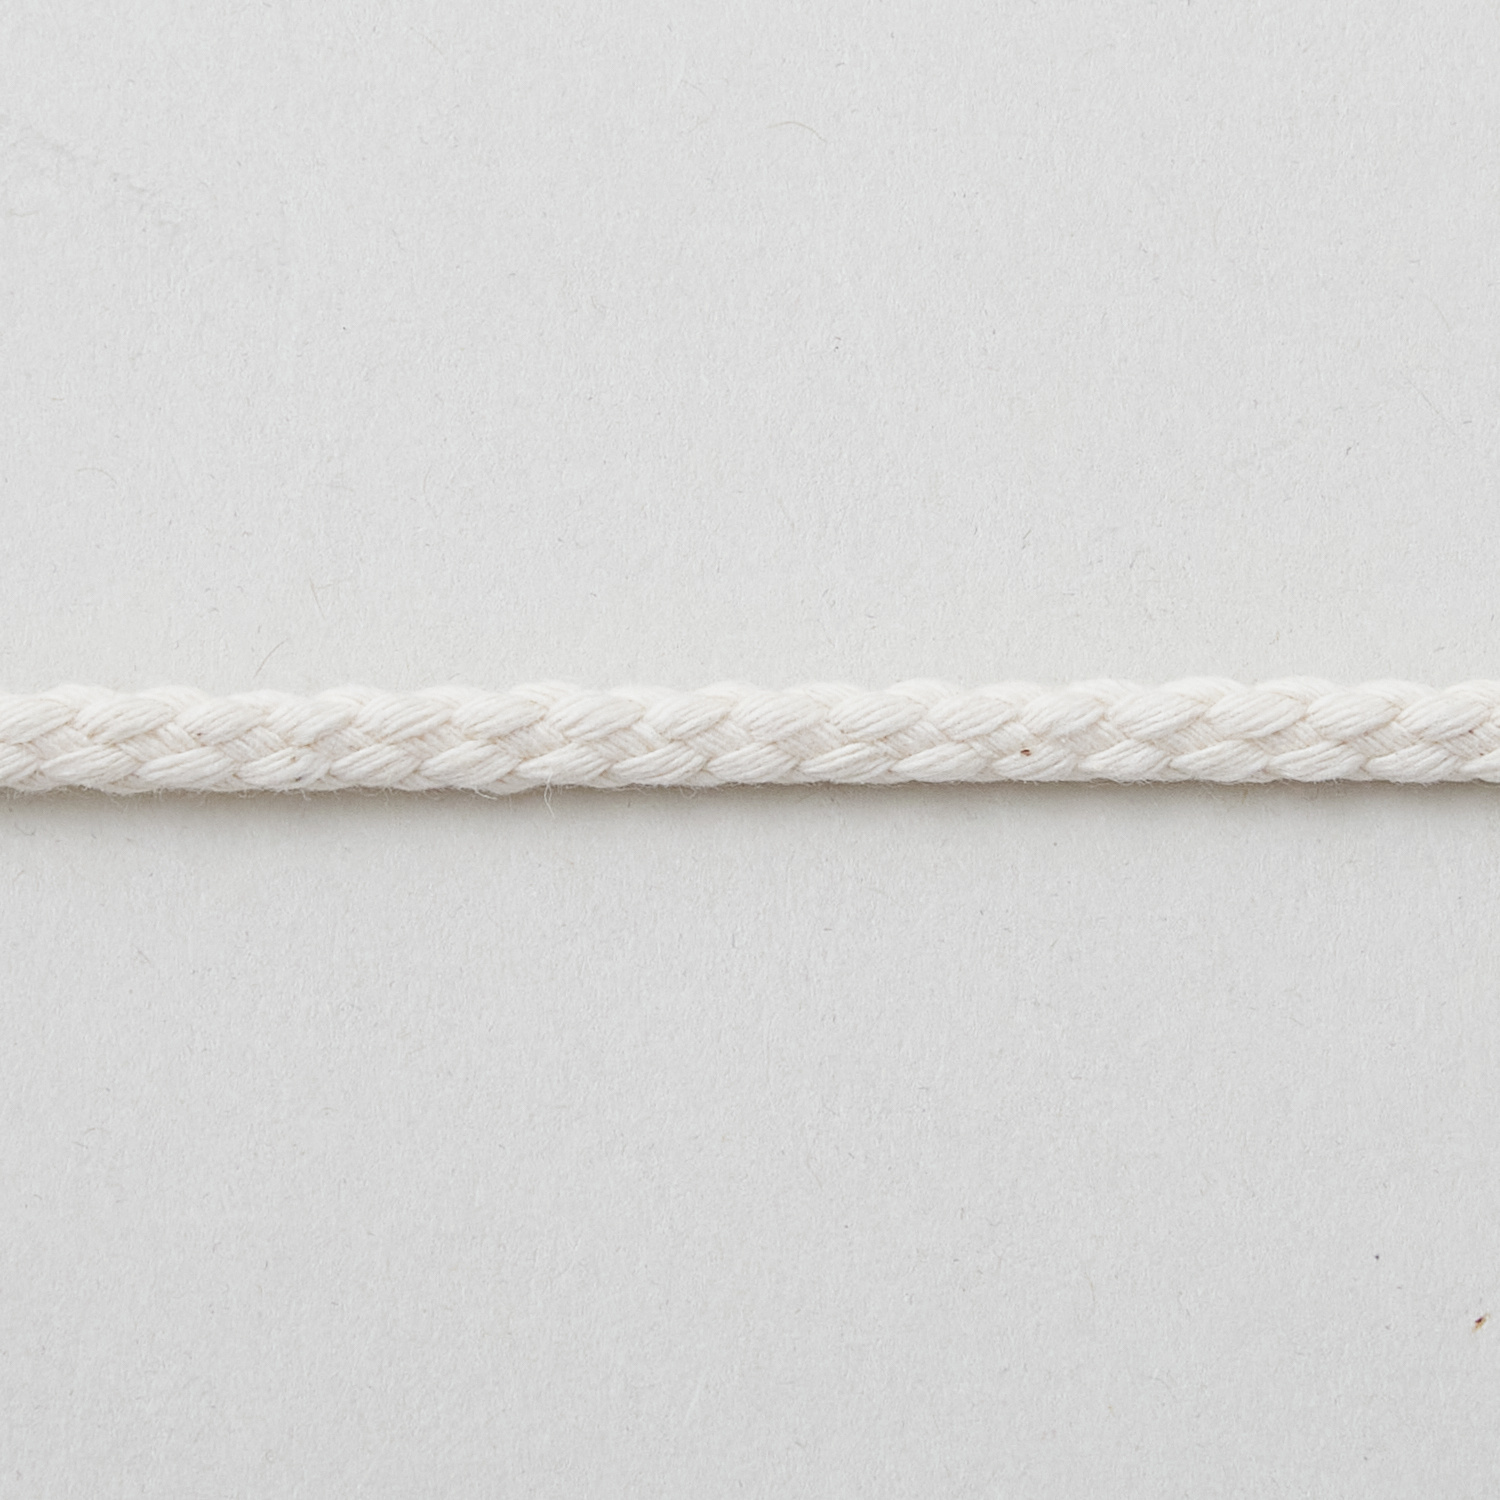
[Music] hi I'm Teresa coats I'm the national educator for Shannon fabrics and I'm happy to be here today at Missouri Star Quilt Company where we are working on the companion project to the Santa hat we will be making the Santa Sac so we're using the same two one yard Cuts one yard of Lux cuddle hide and one yard of Lux cuttle Dazzle to make these two projects we're going to start with the Santa Sac so for this project we're going to use some of my favorite tools but we're going to need a couple of extra things in particular we're going to need some cting to bring that Santa Sac clothes so we've got some clothes line that we're going to use for that today I've also got my scissors I had the rotary cutter the Stiletto that I love so much flower head pins all of my favorite things we're going to use them for this project so these are the tools that we'll be using so let's get started on our Santa sack all right so I've got some Fabrics left over from my Santa hat and I'm going to use those the first thing I'm going to do is cut out my Luxe cuttle hide I need a 36 by 36 in piece so I will measure that there will be a little bit cut out from where we did the Santa hat so we're just going to measure over to that in case this is your first project you want to make sure and wash your red fabric before we get started so you need to wash that in cold water low heat dryer and that will get rid of any of the extra dyes that are in there red in particular in any kind of fabric can often bleed a little bit so we want to pre-wash that before we get started so I'm going to go ahead and measure this I'm going to leave the salvages on here and I'm going to measure from the Salvage over and get a 36 in square so I'll measure my 24 in and add the 12 I'm going to go ahead and do that several times up the length of the fabric and then I will make those all match okay so I'm lay this out one of the things about working with cuddle is you want to try to get it laid out as flat as possible when you're working with it just to make sure that you're getting accurate measurements because it's a knit and it's plush it can easily move on you and you just want to make sure and stay accurate so again I'm going to measure from the Salvage Edge Mark a little dot for the 12 or for the 24 in and then measure over 12 more go and Mark that and to mark this twice more with the 36 in and against that top Edge and if we need to straighten this up we absolutely can we're going to measure it make sure that it's fairly straight so I'm going to do it from the Salvage Edge I'm going to go ahead and draw a straight line here so I can straighten that up Mark where my 24 is measure over another 12 and continue with that straight line across the top all right so then I'll go ahead and twist this so I can Mark and make all of these match where I've measured TW 36 in across and then I will just line these up with my ruler draw another straight line so when I'm working with cuddle I really do like to draw all of my lines and cut them it's easier than trying to measure and cut it's very easy to get your ruler to not stay exactly where you want it to and if you're cutting it with a a rotary cutter you're much more likely to make a mistake in the The Cutting that way so going go ahead and Mark all of these lines and then cut them and I will cut them with the my Caren K Buckley scissors I really like them they're micr serrated so they cut the fabric really well we're just going to go ahead slide it underneath the back of the fabric and cut right along the backing we're going to follow all of these lines and cut out a nice big 36x 36 in square give my fabric a little Shake now I'll put this to the side and we'll cut out the white fabric so the Lux cuddle Dazzle is really fun because it has this little bit of Sparkle to it which is just a a condition and I really love the way that it catches the light I think it's super fun so we're going to cut out a 10x 36 in piece of this I'm going to go ahead and use the area that I cut my other pieces out of let's see if I've got got enough here and I do fabulous so I've got just the tiniest bit extra here so I'm going to measure this and cut that off so it is 36 in length seems straight across the bottom so put a little Mark at 24 add the 12 oh it's just the tiniest little bit fabulous all right then I'm going to go ahead and I'm going to measure 10 in up do that a couple times and again make my lines match okay and then I'm going to double check this to make sure that I've got my 36 in length all right okay so now I've got my band fold up my extras again put those to the side can use these for a later project all right so now I've got my 36 in square and my 10x 36 in band and I'm going to sew these together I'm going to make sure that my nap is going the right direction so I can kind of pet this make sure that that is the smoother side it is indeed I'm going to go ahead and put a little arrow for myself to make sure that I note that that's the way my nap is going do the same thing here okay I'm going to go ahead and feel this just kind of pet it and see which way I feel like it's going a little bit smoother I'm going to say it's that direction and I will tell you to be honest if you can't tell a difference it's absolutely fine it doesn't matter you mostly want to make sure that you're doing it lengthwise and not widthwise because widthwise has stretch and lengthwise does not have stretch so you want to make sure that you are sewing them together stretchy to side to to stretchy side and the nap isn't quite as important as the actual stretch of it that said I will usually mark it okay so we're going to go ahead and I'm going to lay my bag my Sac fabric out here so I'm going to lay the sac fabric out lay that out nice and smooth I'm going to put my band fabric at the top so this is how I want it to be sewn together I can look and I can see because this is a very similar nap between the two I can see that it goes this direction it works out I'm going to fold it right sides together and I'm going to pin it by matching my Corners first I'm going to go ahead and pin that in sort of at a at a 45 degree angle I'll do the other corner and then then I'll find the center and then start double pinning all the way across so I'm going to pin parallel to this raw Edge keeping these edges nice and even so I'm going to pin this first row about a quarter of an inch or so from the raw Edge making sure that I'm catching both layers and I'm going to pin it parallel because it will keep it a little bit flatter as I go and I do want to make sure that I'm carefully pinning this Edge because it's the stretchy Direction so this is the direction that the fabric will stretch so I'm not careful in pinning this to keep it in control this is where I could get a little bit of stretch happening and I don't want that so I'm going to pin a bunch once all the way across like I said about a quarter of an inch or so and then I'm going to come back and I'm going to pin in between that and double pin one level down so I'm kind of going to pin in almost a zigzag fashion so it'll kind of go like this and it'll keep all of those areas nice and flat this second row I want to pin about an inch away and I'm hoping that if I pin it correctly I can leave it as I'm sewing to keep the fabric under control I'll show you that in just a second one more pin in there all right so now I've got the whole thing pinned I'm going to go ahead and take it to the sewing machine sew it with a/2 inch seam allowance with a straight Stitch I've got the machine set up so I've got it on a straight Stitch here with a 3.5 Stitch length just a straight Stitch and with the walking foot those are the those are the most important things it's important that you lengthen your Stitch a little bit it'll make it a lot easier for you to sew so I've got my machine set up here with a straight Stitch a 3.5 Stitch length so I've opened up that Stitch L just a little bit to make it easier to sew and then I've got my walking foot on here with the 914 stretch needle and polyester thread okay so I'm going to go ahead I'm going to put this in here it's a half inch seam allowance that we're going to use and I'm really going to use kind of the edge of my foot as that half inch to bring it underneath the foot completely put my foot down take my first pin out then do a little back stitch to secure that seam then I'll go forward and Stitch these together now as I get to these areas where I've double pinned if the pin isn't going to get stitched over I'm not going to hit it with my needle I'm going to leave it there to secure that fabric and I'm just going to stitch all the way across and as I reach the other end I'm going to slow down make sure I do a little back stitch so secure that well go ahead and clip my thread so I've got the seam sewn all the way across I can take out my second row of pins they held it nice and tight while I was sewing that worked out great you can see how nicely that sews and how that it doesn't allow the cuddle to kind of stretch as you go so if you've struggled with that at all the double pin is a great technique to use so now that I've got the band sewn on here I'm going to go ahead and sew these together the long way so we're going to match the side seam so we're going to match up where these join right here and I'm going to go ahead and kind of fold back I can see where they're matching and I'm going to pin that and then I'll match the corner up here and the other corner at the bottom so I'm not going to care too much if these sides are matching perfectly should be pretty close that if we pin this we'll be able to lay it out and it'll all match fine okay pull this out I'm going to go ahead and pin in the center and then pin in between again so I'm going to pin one section at a time to get that nice and secure and then we'll do each one of these section and sew it all right so as I get up here I need to make sure and Mark it so that I can leave a turning hole for the cording that I will put in here later so the first Mark I'm going to do is at a half an inch and I'm going to go ahead and Mark that with my pen so a half an inch down from where the seam is I Mark that underneath there and then I'm going to go ahead and Mark again 2 in down which should give me a 1 and 1 half inch Gap in between so I'm also while I'm here I'm going to go ahead and I'm going to mark this 2 in down from my seam line in several places cuz I'll be referencing this later okay so I'm going to put two pins in here nope get rid of my threads okay so I'm going to put two pins in right here where I want to start and stop sewing because this is going to be my opening for the channel so I put two pins in and this is just my personal way of being able to note that this is where I need to start and stop so then I'll go ahead and put the double pins in for the rest of it we'll do that for the top as well this little section this up on the table whenever I'm working with cuddle I try to keep it as much on the table as possible because the weight of it will want to pull it and kind of distort it as you're pinning or sewing so make sure you do that okay so I've got it all pinned now before I get any further and forget I'm going to go ahead and I'm going to transfer these marks to the other side as well 2 inches down from my seam allowance so I'm can just kind of fold that back get it nice and even under there and go ahead and put some little lines to measure that 2 in okay and this will just give me a guide for a step that's coming okay all right so I'm going to sew or I'm going to pin across the bottom as well and we'll be able to sew that in one long seam all right now that I've got it all pinned I'm going to take it over to the sewing machine sew it with a straight Stitch we're going to sew down the side and across the bottom leave a little hole for the channel okay so again I'm going to start in just a little bit put my foot down make sure I can get that pin out I'm going to go ahead and put the foot down take that pin out and I can put my needle in back stitch just a little and then go ahead and sew down this side so again I'm just using the edge of my foot for a guide to keep it at about a half an inch seam allowance I'm going to sew right down here to that second or to the first set of two pins and I'm going to go ahead and try to push these seam allowances up up I'm going use my stiletto to keep those in position and that's really just so I can kind of see better where it is that I'm sewing so as I get closer I'm going to take those pins out I'm going to back stitch a couple of stitches so then I'm just going to stop here I will cut my [Applause] thread and then I'll start again at this second set of pins slide that underneath my foot get that into position so I slide that in get it in position put my foot down take my pins out put my needle down and then I'm going to go ahead and go forward and backward a couple of times to secure that start of the seam so I'm going back stitch you and I'll go forward and Stitch the rest of this seam so as I work my way down the side here I keep a hand in the back and a hand in the front and it's really just to kind of guide the fabric through in a straight line and also to make sure that the walking foot is doing its job so I kind of keep a hand right back here I'm not tugging on it not pulling on it hard just sort of guiding it through the machine so as I get up here to the corner I'm going to go ahead and slow down I'm going to do a little back stitch at the corner just to secure it and then we're going to lift the foot and pivot sew along the bottom I'm going to back stitch this side as well just to really secure that corner so right along here again we're going to back stitch and secure that all right so now I've got my pins my leftover double row of pins I'm going to take all of those out all right so now that I've got the pins out I'm going to go ahead I'm going to box the corners so really boxing the corners what it does is instead of having a nice Square bottom at the well instead of having a nice Square here at the bottom of the bag it's actually going to bring it so it's a little more 3D so it's not as as flat it'll give it some shape so what I want to do is fold it so that my seams are matching on either side which I can really feel more than you can see and I'm going to go ahead and I'm going to pin this so that it stays there then I'm going to measure it to make sure that it's the right size so I'm going use my ruler and I'm just going to measure from where I can feel the corner is okay so I've measured 2 in in from the corner from where the seam allowances meet here down the seam allowance I'm going to keep this line on the seam allowance and then I want to make sure that it's pretty even so if I look at this from here to here is 2 in and from here to here is 2 in so I'm going to draw my line right across here make sure that it is a nice Square Corner okay so now I've got that line on there and that's where I'm going to stitch because I really don't want this to move I'm actually going to pin on both sides of this and so in between on that line I'm going to go ahead and do that with both Corners this corner is going to be a little bit different because I don't have the seam line because this one is just done on the fold so I'm going to go ahead and put a pin here to kind of mimic where that is get these to match up my seam here and my my pin and again do the same thing kind of pin in here just to hold it in position so that I can measure it I'll lay that out I can feel where the end of my seam is I'm going to measure that 2 in in make sure that it's about 2 in from either end or from measure 2 inches in from this end and then about 2 in up on either side make sure that it's fairly Square and then I'll mark that line with my Sharpie then I pin on either side of that line to keep that in position as I'm sewing all right so I've still got the machine set on a straight Stitch and I'm just going to take this over here and sew it across on the lines that I drew we're going to back stitch go forward again I'm going to use my stiletto here to kind of guide the fabric keep it down underneath the foot go across and back stitch again I can take my pins out we'll do the other corner all right so now we've got both Corners boxed so they'll create a nice flat corner and more of a 3D shape for our sack so I'm going to go ahead and trim these off leave about a half of an inch for the seam allowance just trim this carefully and throw those away all right so now we're going to go ahead and I'm going to take the band and I'm going to bring it over and we're going to create that channel using those marks that I made earlier so this is kind of going to get folded so that they're wrong sides together and we're going to work on this just a little bit at a time to make sure that it stays where we want it to so first I'm going to open up my seam allowances here and I'm going to get these to match in here and it's going to go just barely past where I left my turning Gap so I'm kind of pin that or hold that open and I'm going to pin in place here now as I work my way around I have the two layers underneath so I need to be careful as I'm pinning so I'll constantly be kind of checking it making sure that I've got it in the right place okay go ahead and pull that up just a tiny bit and what I want to do is get this the the edge of the white fabric here to match up with the black marks that I've made so I'm going to kind of pull them just a little bit and then I'll go ahead and put a pin in here so to avoid pinning through both layers and to make it a little bit flatter for me to pin I'm going to go ahead and use my ruler just kind of slide it between the layers where I need to pin to keep it flat in there now I'll be able to go ahead and stick the pin in and secure it I'm just slide my ruler down make sure I'm getting it in the right position and then while I'm here I'm going to add that second row of pins CU we're going to want to secure that really well before we stitch around it and again I'm just going to move the ruler along in here to give me a FL spot to pin against now I can twist this whole thing I'll do just a section at a time get that pin back in there so I'll do this section and then twist it some more to do the last of it so just kind of work through making sure that the fabric stays as flat as possible all right so again matching up the edge of my White Band fabric with the marks that I made in the previous step when I marked it 2 in down from the seam line that's what we're using now to secure this make sure that it stays in the right position move my ruler down do the same thing okay we'll twist it and get that last little bit secured move my ruler over so I've got a flat surface in between and my seam allowance is up in here and it's kind of just opening up and that's absolutely fine it does not need to go One Direction or another it's just going to kind of be loose in there for right now all right one more down here another up here okay so I need to take this to the machine and I just realized that I've put in all of my pins so they're actually going to be harder to take out I should have pinned it the other direction so let me explain really quickly and then I'm going to fix my pins when I take this to the machine I want to make sure that my pins are going to be able to come out and the way that I've pinned them right now the heads are further away and they need to be closer to me so I'm going to go ahead and repin this and then meet you at the machine so I've gone ahead and I repinned only that first side so let me show you really quick so my first pins are going this direction and my pins on this side are going this direction this was the wrong way but since those are going to be on the inside and I shouldn't have to remove them I'm going to leave them over here now again this is a place that if you have a free arm go ahead and take that off I'm just going to move this over so that I'm going to be sewing right along the very edge of this fabric all right so I'm going to put it in I'm going to switch my Stitch to a zigzag and again I'm going to go up to a big zigzag which is a four on this machine so four wide four long and like I said I like to just do them as kind of a square so just generally how I do it it doesn't have to be the same on both but it's generally how I do it I'm going to start here and I am going to secure it with a zigzag you could do a straight Stitch but the zigzag is better all right so I'm just going to put my needle down make sure that my foot is down and I'm going to zigzag so that I'm catching this whole Edge so I'm going to try to make sure to hit either just past this raw Edge or just the very edge of it and keep that nice and secure and Stitch all the way around there we go okay and I'm going to kind of keep my keep a little bit of tension on this just in the front just to keep it flat as it's sewing to make sure that it goes where I want it to I'm going to be extra careful cuz I've got a lot of pins in this as I get close to this and I've got my pins in here I'm going to go ahead and take them out make sure that I'm not stitching over any of them and then I'm just going to stitch all the way around all right so now once I've got it gotten it sewn all the way around I'm going to take it out of my machine clip my threads and we're going to go back and take out all of those extra pins so one of the things I really love about the Clover pins is how strong they are one of the other things that I don't love so much is that they will sometimes hide in here so I kind of wanted to show you this with the white the white pins I use them and I knew that they were going to be a little bit of trouble for me just because they like to hide in there so if you want to be extra careful make sure to use the colorful ones um they'll be much easier to make sure that you find them because the FLH Fabrics do love to hide everything including any stitches you do wrong but also pins that are white heads okay let's see if we got them all kind of do a a gentle little double check here all right we got them go ahead and trim my threads all right and now from this side we can see that stitching goes all way around so now I'm going to go ahead and I'm going to stitch a little bit further up to try to create that channel I'm going to do it from this side just to show you that we can okay we're going to want to do that an inch and a half above where we were so what I really want to do is just make sure that this is pulled nice and tight so I'm kind of going to do the same thing that I did before I'm going to slide my ruler in here and pin behind it okay because we're doing two layers of or two two channels here so those an inch and a half should be just a little bit below this stitching line so if I Stitch about a half an inch away from the seam where these join it should create the channel That I want this channel guide is an inch and a half is what the guideline is if it ends up being a little bit less it really isn't going to be a big deal because we're not trying to get something to fit exactly in there it's a little bit loose right now so you have some some freedom of movement it's not perfect and I'm going to go ahead and try to stick with my green pins because I can already see those white ones disappearing on me okay do the same thing that I did before and make sure to give this a little tug make sure that they match here all right we're just going to do one row of pins in here and I'm kind of doing it right basically along the seamline because I don't need to secure quite as much as long as I secure it there it's going to work out just fine but I do want to make sure that it's being um it's both layers are being brought out and that they're staying even and I'm not getting any puckers on the back it's partly why I want to sew it on the front this time is just to make sure that the outside looks as nice as I want it to get a couple more [Music] pins this doesn't match up perfectly there and I'm okay with it I bet if I do a little bit of fluffing it'll uh it'll match even better okay all right one more in here now I'm going to go ahead and going take this to the sewing machine and we're going to sew all the way around here all right so again I'm going to do a zigzag stitch on this and really you could do a straight Stitch if you wanted to the reason I chose to do a zigzag is it will give it a little bit more stretch so as I work my way around here this will have a little bit more give because this has this is the stretch of the fabric and the zigzag will give it a little bit more give more than a straight Stitch would so if this is going to be used and it's going to be opened up a bunch and I could see kids playing with this in kind of rough ways we want to give it a stitch that will have a little bit more flexibility so I'm just going to stitch right along here kind of overlapping almost the the seamline just below it work our way around all right so we've worked our way all the way around again creating a little channel in here clip my threads we've got our little opening the side that we'll be able to use to put our cording in there so let me go ahead and trim up some of my seams so before I do that I'm going to fluff some of the stitches here out of the zigzag so we can show how to kind of hide those those seams so you won't even notice it and especially once you get the cording in there and pull it tight you'll never see these stitches so even though it seems a little obvious at this point and the zigzag kind of sits on top it's really easy here to just fluff up the fibers and get it to hide all right so now I've kind of fluffed up all of my edges made sure it looks a little bit neater and now I'm going to go ahead and add the cting so I'm going to need a yard and a half of cting of some type I'm using just clothesline today and I'm going to cut that we're going to we're going to cut it at a yard and a half and then we'll trim it down as we want to right and you are welcome to use whatever you want you can actually use a really cute like cotton to make a little band out of it you could do all sorts of things find some fancy cording I'm going to go ahead and measure it on the mat here so there's a yard and half okay and I'm going going to knot this so that I can try to put my little safety pin in here put a little knot see if we can get that to to stay in there all the way around that inch and a half channel is nice and big so you should be able to get things through it pretty darn easily so sometimes I know when I'm putting um putting cting through things sometimes it can be a little bit hard if that the channel is too small but this one is pretty pretty big let's see if I can get the thing through there we go all right so now once I've got my safety pen onto the cording I'm going to try to find the hole ins the side there it is one of the things that I love about cuddle is it just kind of hides so it's really easy to not be able to see it you can also see I was able to fix my seams where they didn't quite match up they look like they do now I'm just going to go ahead and Tuck this in here and we're going to bring this all the way around I'm going to see how this works okay okay so I'm just going to kind of gather it up a little bit as I go so I push it onto the safety pin that I can feel in there and then I'll grip the safety pin real well and then pull the fabric down so that it feeds through the channel really nicely okay so just kind of build a little bit up on the safety pin give it a tug do that all the way around all right so now I pull those get it nice and even get it turned inside out got my boxed Corners here so we'll sit nice and flat basically fill it up with toy face give it a tug shut and there you go you've got yourself a little Santa sack perfect for keeping those presents away from the kids before Christmas morning and a great little Decor item thank you so much for joining me here at Missouri Star we'll see you next time happy sewing hi everybody it's Jenny from the Missouri Star Quilt Company we hope you enjoyed watching this video if you aren't already part of the Missouri Star Quilt Company family be sure to subscribe so you won't miss a thing and if you click that Bell it'll notify you every time a new tutorial comes out see you next [Music] Friday

More Fabric by Yard tutorials

See all