Skip to content

Free quilting video tutorials from Missouri Star

Quilting Tutorials
How to Make a Cuddle® Magnetic Scarf - Free Project Tutorial

How to Make a Cuddle® Magnetic Scarf - Free Project Tutorial

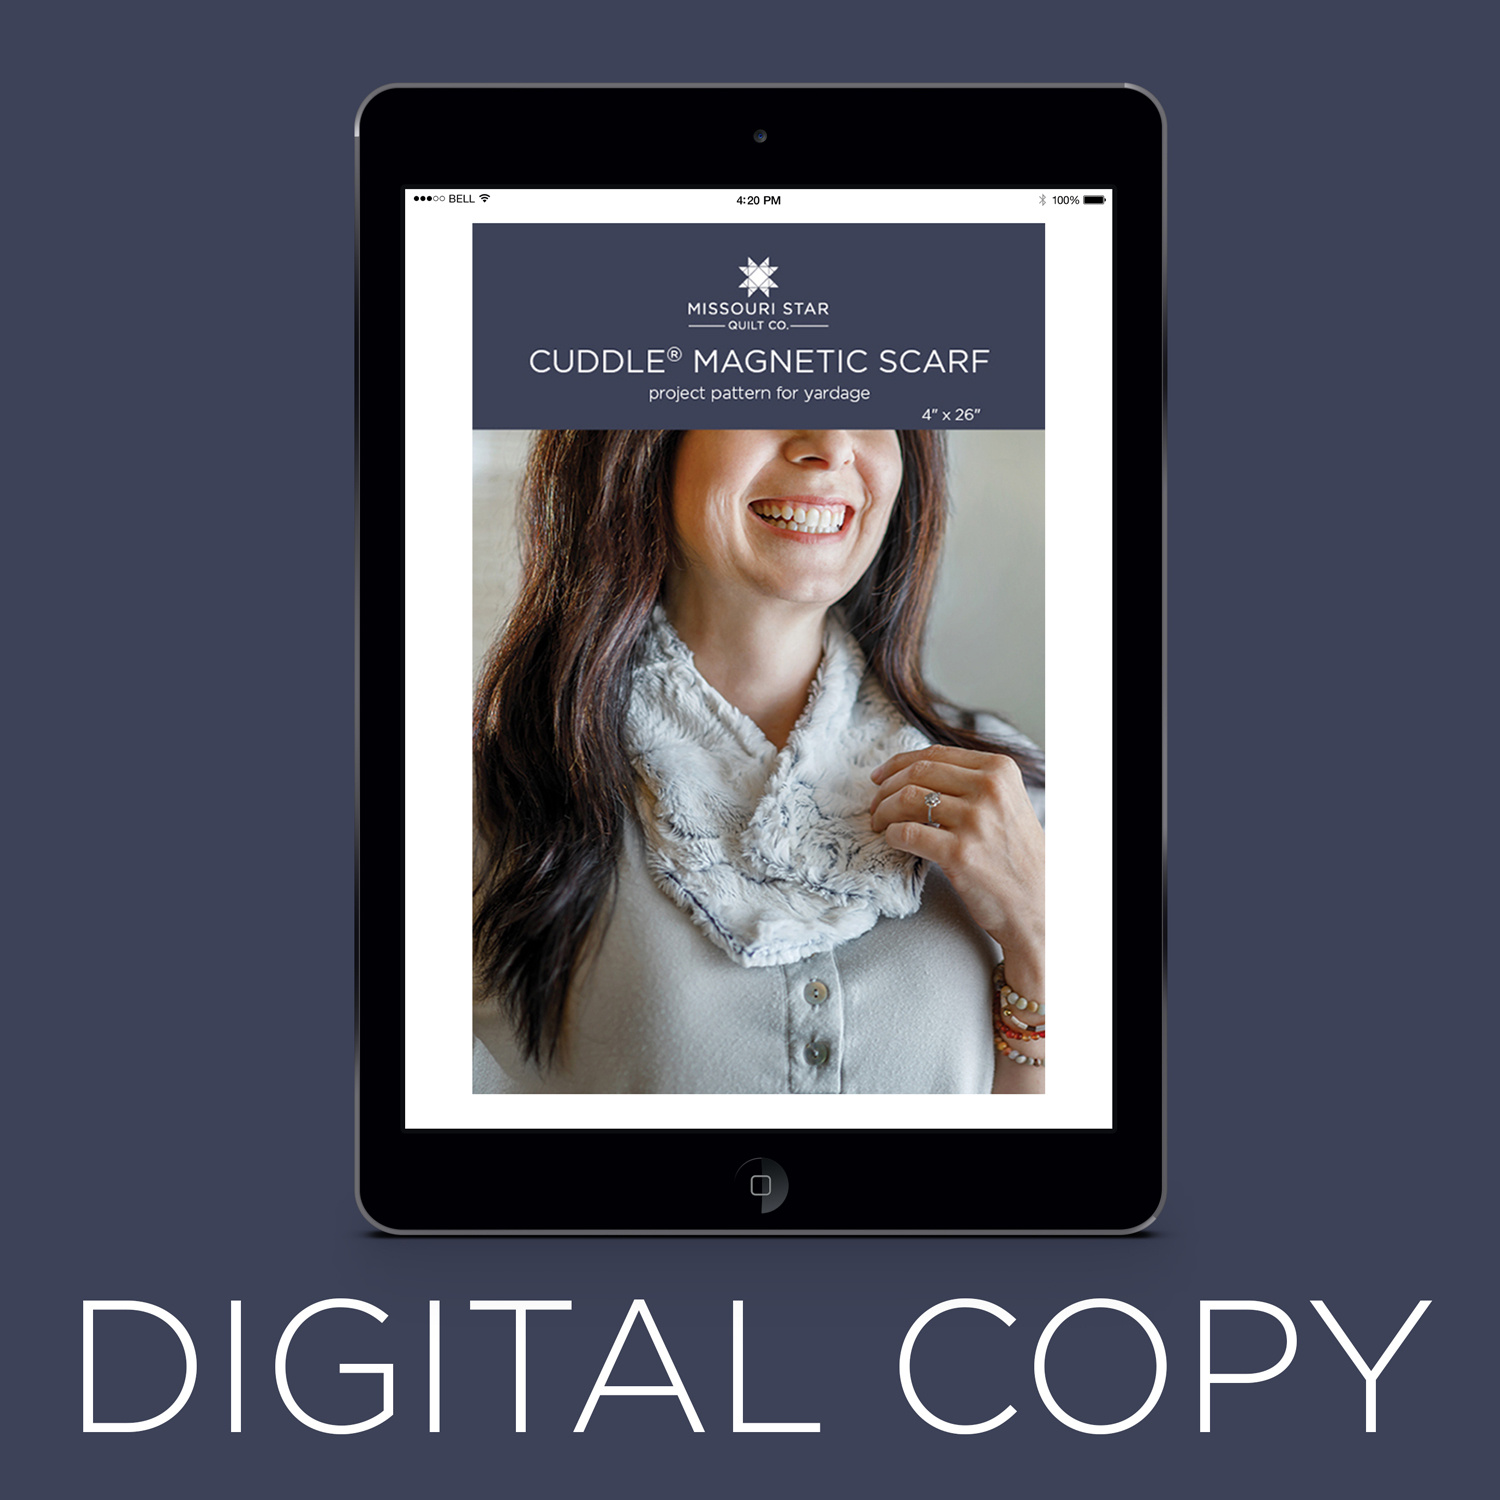
Ready to learn more tricks with Cuddle®? Jenny and sewing specialist Teresa Coates are back to teach you how to make a magnetic scarf using Cuddle® fabric. One yard of Cuddle® can make up to six scarves, which makes this project perfect for batch gifting!

Instructor

Jenny Doan

Jenny Doan is an American quilter, author, and YouTube personality. Jenny started Missouri Star Quilt Company in 2008 and today it is the largest quilting supply vendor in the United States.

Common Questions

What is covered in How to Make a Cuddle® Magnetic Scarf - Free Project Tutorial?

Ready to learn more tricks with Cuddle®? Jenny and sewing specialist Teresa Coates are back to teach you how to make a magnetic scarf using Cuddle® fabric. One yard of Cuddle® can make up to six scarves, which makes this project perfect for batch gifting!

How long is the tutorial video?

The tutorial video is 00:29:39.

Are supplies listed for this tutorial?

Yes. The tutorial page includes the supplies and materials connected to this project.

Video Transcript

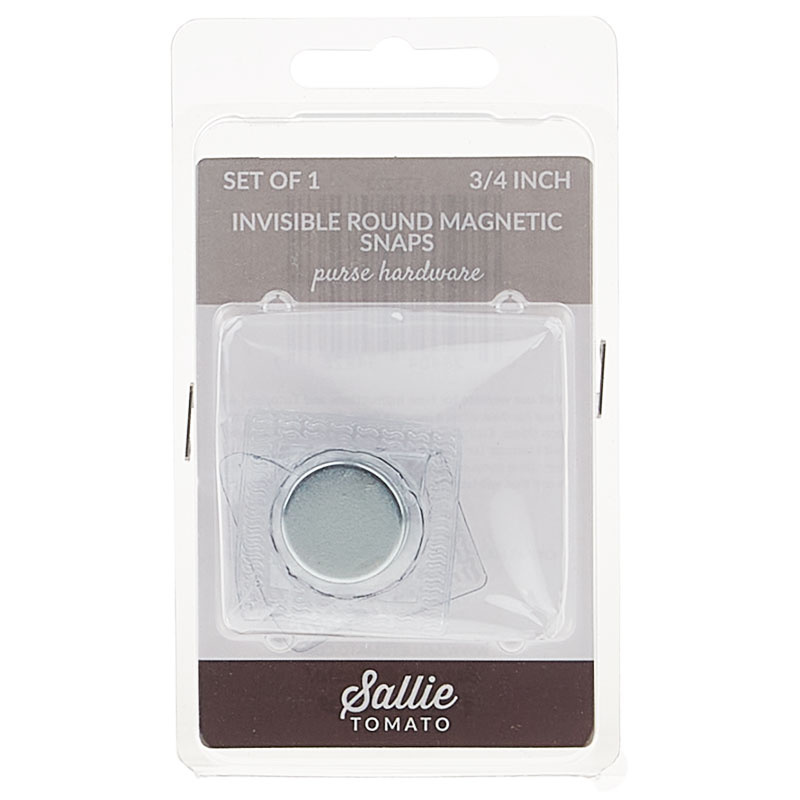
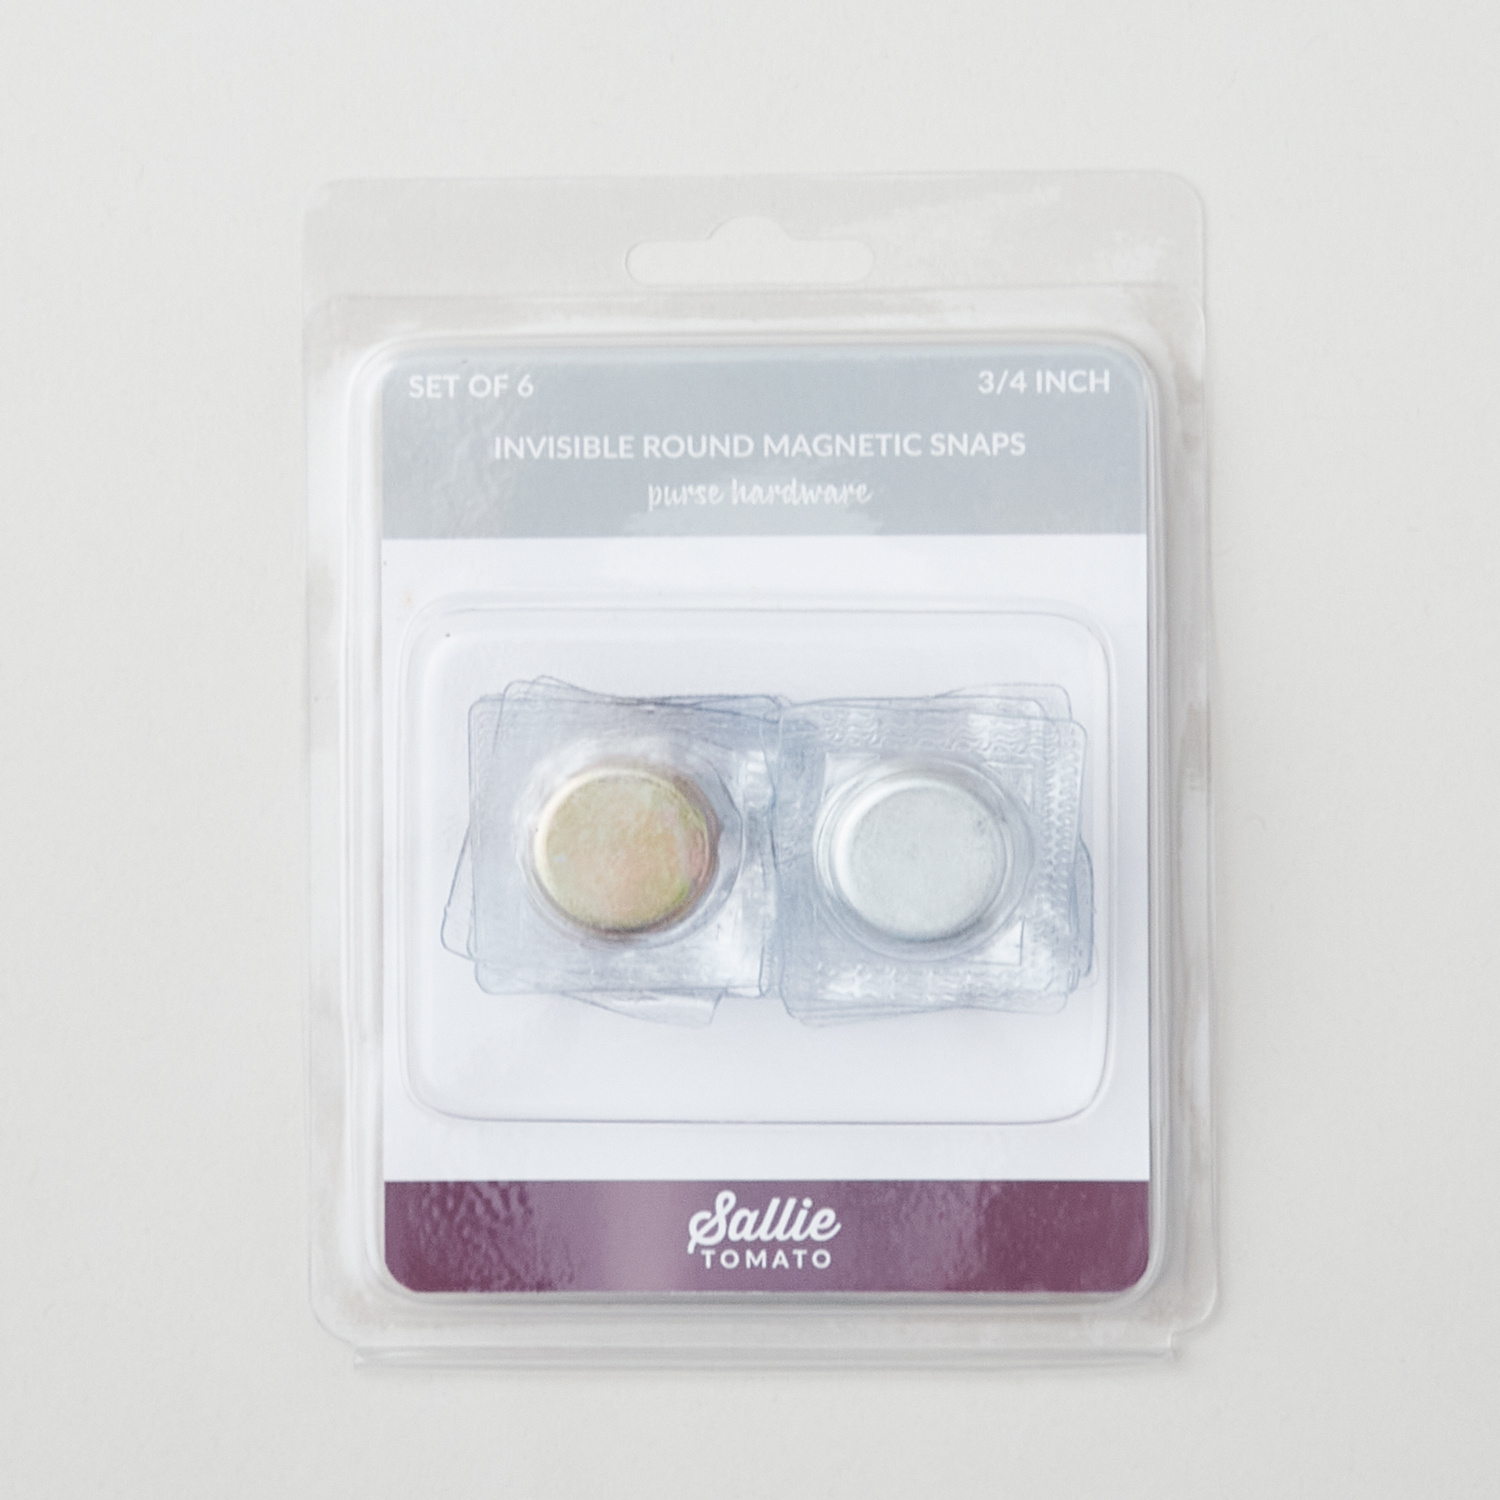
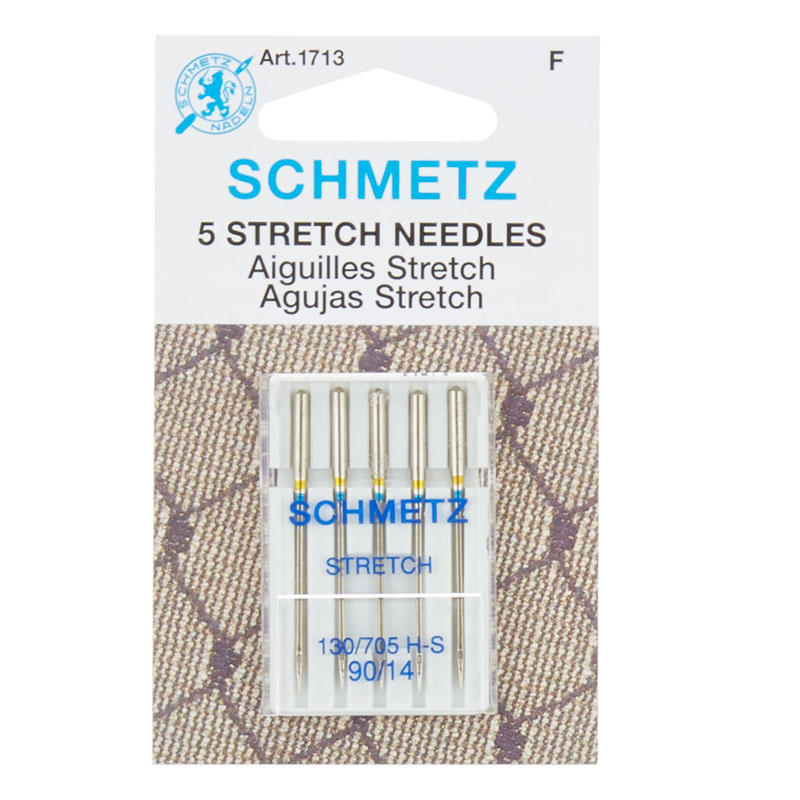
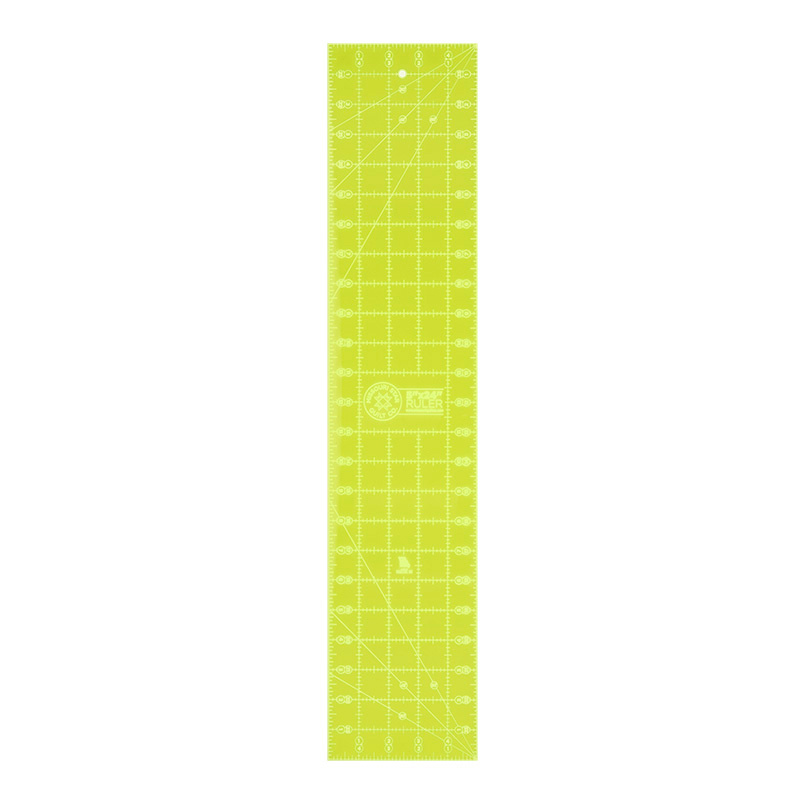
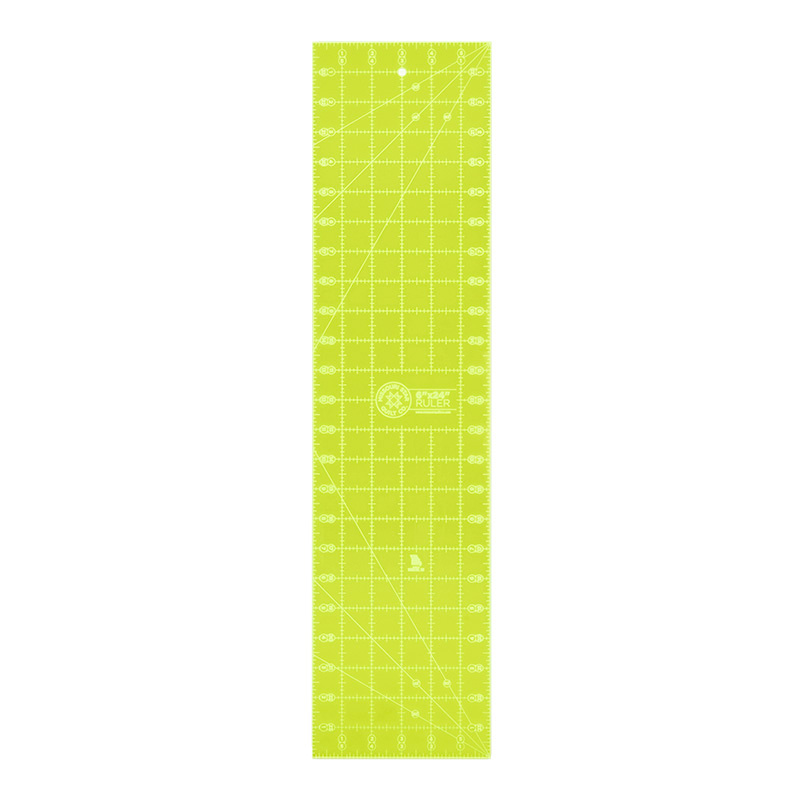
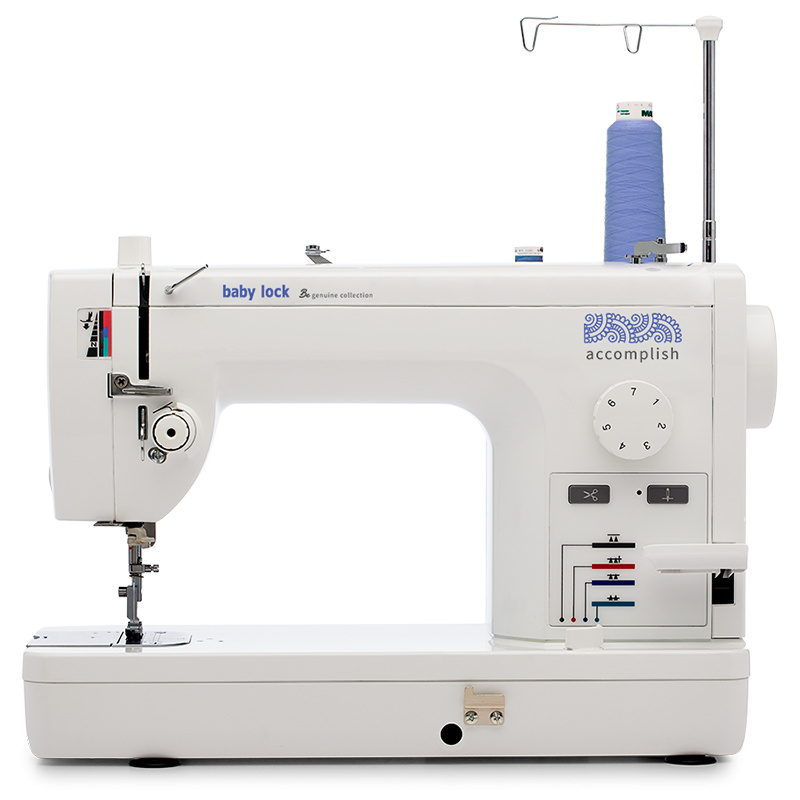
[Music] thank you [Music] hi everybody it's Jenny from the Missouri Star Quilt Company and I am here today with Shannon's cuddle expert that's me Theresa coats and we are so happy she's here and we are going to teach you some things about cuddle maybe you've never heard them before maybe today is your first time sewing with cuddle it's a great time to start if it is it's a great time to start so what do we have today Teresa we are working on a little cuddle scarf it's like a little magnetic hold very sweet you're not as old as me but when you get to be my age if your neck is warm it is everything yeah and so I love this because it's got the little magnet right here and it just like it's not like you have to figure out what to do with all your scarf tests and when you're done you can just tuck it away into your purse or whatever too super good this is super cool I really like it too all right I think it's fun so we're going to work on this which is a we're going to do it out of a yard of fabric which means you can actually make what do we figure out six of them yeah a bunch of them so it's a great project for that right as well exactly we're going to show you how to put in a magnet so uh oh look at they they liked each other they like each other so uh so tell me what we need to sew with cuddle okay so the first thing we need is obviously some cuddle the kind we've got today is a Luxe cuddle which is lovely in the fluffy stuff you also want to make sure that you've got a 90 14 so tell me like do you know any do you have any idea like how many different flavors it's like 1600. it's crazy it's crazy yeah so if like people are like oh I don't know I I want this one I want that one I'm like stores can't necessarily have all I think you might have all of them because there are anybody in the whole world and there's so many different colors of all the different varieties really everything and different different textures and different lengths yep yep exactly so this is one of the Lux ones so the Lux or anything that's more than 10 millimeters long okay so they go from 10 to actually 35 millimeters so there's some that are like really fluffy I mean they have everything from the cheetah to the bright bright solids everything exactly exactly so we're gonna we're gonna want cuddles so you can choose whatever you want I mean this project will actually work with any of them it'll be beautiful I know I have another one that's like a little um one of these that's like a little it looks like well it looks like a fur you know like a regular furry oh yeah yeah you totally yeah make it very luscious yeah so we always want to make sure that we have stretch needles so we've got a 90 14 stretch needle and we want to do you know that because it's a knit fabric okay so we want to use a needle that isn't as pointy basically so it'll kind of slide through the fabric and it won't actually pierce the fabric so it's just different we want to make sure we have that stretch needle and polyester thread can I ask though if I if I only had a regular needle I could probably still do it you could probably still do it the thing that happens is you get skipped stitches oh so that's the problem yeah so if you have something was wrong with my bobbin yeah no no no needle it's the needle no yeah so if you're getting those skip stitches and the problem with that is that it kind of weakens the seam so getting the right needle from the beginning is good and then red polyester thread we use polyester thread because it's polyester Fabric and it's a knit fabric so it stretches and polyester thread stretches just a little bit too okay so you're not closer so we mostly use cotton but again it could snap the the Stitch It snaps yeah that's what happens is the seam will break and then you have to go in there and hand sew that closed again nobody wants to do it no no no all right so you don't want to do it so that's all we really need for this project and we have these little magnets yep and we are going to they're like hidden like yes you would never know there's no look at that secret yeah I love it it's our little secret that's right all right so let's cut this out we're going to do that first so let's move these over here I will be your I'll be your Vanna okay and then we're just gonna cut this so this should be a yard of fabric if I remember right so what we're going to do is we're going to cut it I'm going to have a hard time seeing it the black on the with the camera but we're going to draw the lines first and this is what I always do with cuddle one because it's kind of slick on the back so we put the ruler on there it wants to move so if I draw it out first it's a little bit easier because sometimes like 60 wide it's 60 inches wide and there's also 90 right yes yes for quilt backings yeah yeah which is great I use a lot I like me too it is so many people are um our texture people and they love how soft this is oh it's lovely and yeah and there's so many different textures so you can get like the smooth ones and then the you know a little bit crazier ones all right so 28 inches I believe is what we're doing I'm not sure I don't know let's make it up yeah all right so what I'm going to do is I'm gonna put my rulers together supposed to be nine inches by 28 we should probably verify um I can look so we've got six I can look yep nine inch strip okay the length of the fabric right or as many nine inch strips as you would like scarves exactly keep on going keep on doing it okay so one two three four five six seven eight nine inches right okay so I'm gonna do nine inches and honestly this you could modify by this totally you know if you were making this for a giraffe you'd want it to be much wider than 90 because it would have to cover a really tall neck right yeah totally you could wrap it around and around and then come back okay all right so we got downtown that's right all right so now we're going to add another four inches now wait what are you doing what are you doing oh up to the top okay okay sorry I'm doing my ruler stuff you're doing clever ruler work right there I would have moved them both up I am lazy in some ways I'm just gonna try to move as little as myself a lazy sewer as well and I think people appreciate that actually I think so I've had students who tell me I'm not lazy I'm efficient efficient I like that sounds much better I like that I still call myself a lazy one all right so we're going to go ahead and cut it I marked it on all the sides if you were going to do a bunch of these I would just mark them all out and then just cut it all up so I'm actually wondering you know is this wide enough to do a whole nother one the other direction you could pretty close yeah the thing is that with cuddle if you do it this way the nap and the stretch so this way is the stretchy way this way doesn't stretch okay so it'll be easier to sew these lengthwise because it doesn't stretch at all okay so you could do it the other way but it'll later that is good to know okay because when you put cuddle on the back of a quilt it matters which way you set it it does you know yep exactly I mean that's what I know about is the quilt stuff yep and most of the stuff when we're making with cuddle we really do try to like in our patterns when I'm teaching stuff I try to make a point about which way the stretch goes because it does match again so this one no no stretch lengthwise of your scarf exactly so we're gonna go ahead and cut it out so one of the things about cuddle is that it's kind of messy right so if you cut it with a rotary cutter what happens is you cut all this snap and it gets really fluffy but I can cut it with scissors and it's much better yeah so I've got my Karen K Buckley scissors here which I love and I love this size because I love those scissors they're so good yeah but I love them because the blade is really small but the handles are really comfortable so I'm just going to slide it right underneath the backing fabric so she's actually sliding in between the fur and the the backing and so and what it does is it leaves all that on there not so much of the fur will come off so I'm just gonna and it's interesting you know that um they're so tiny but they're they do the job they're Mighty but they're efficient Mighty and efficient yeah there we go they're Mighty little scissors I really do love these guys okay all right so now I'm just going to cut down this whole thing ready and I've left the um yeah if you get it right you can let it slide for a while there we go I'm just almost speechless [Laughter] it's pretty great you do cut fabric like this all the time but I didn't know it was a thing with cuddle you could only do it so I can I'll say you can only do it lengthwise is it like children don't try this at home right practice it a few times and then you'll get better and like you can see it won't slide the whole time and that's fine okay and we're just gonna come in across the customer it won't work with wise so and I'm sure it has to do with the way that it's knitted but I they don't you know they don't teach me how to do that part there you go it's above my pay grade or something we don't worry about the the uh it's it's fine you can't tell you can't tell exactly so unless it's going to show and it looks kind of ugly then I will take it off but otherwise I just leave it there so now we've got most of our nap on here so that's the thing is when you cut this with a rotary cutter all of this ends up yes yes not as much fun so we're gonna gently take that away gently gently I want to wrap up in it you know that I know so then what I do is I take this and I give it a little flick yeah I get rid of most of the stuff some people will use like a vacuum like yeah I use a little shopbacks yeah we use a shop vac at the studio yep exactly so now we've got our little piece okay we're going to go ahead and we're going to put in our magnets first to get that started okay bring this up see what we got here so there's two and we're going to take them out of the plastic or this is the plastic we're gonna leave the plastic on there and we're gonna sew the plastic onto the actual fabric that's good to know because I would have you know she says we can do it Sally tomato does so we're gonna do it I'm gonna trust her so we're gonna put this in two inches from either okay either side plop it down there okay does it matter which way well we have oh there it did these are very strong okay I love that all right I guess okay so we'll check this one first and then we'll put that one in and make sure that they match yes absolutely I'm thinking okay now I don't know if this is gonna pin I did kind of pin maybe we can just move that move it over to the sewing machine just maybe hold it I'm not a big Pinner I love pins well pins with cuddle I take it back I do love my pins okay so we're gonna sew this on just very careful oh there it is it's stuck there we go this will be fun I think it's the pin it might be no no it's the magnet oh the magnet okay okay so we want to slide this card under there to see if this helps if we can give it a shot I got the needle down so it might just maybe that will help that might help all right all right so we're gonna try to stitch this down here okay I've bumped this Stitch length up so I made it to a 3.5 because I always sew bigger with cuddle okay because it'll move through a little bit easier that way so let's see if we can get this to move there we go come on why is it just doing one little step at a time oh there we go it's because I don't know what I'm doing yet it's not my machine now the really cool thing about cuddle honestly is that um you really won't be able to see this stitching on the other side no exactly yeah we're going to turn this over and you won't see it at all it's also it looks like there's a little bit more plastic room here on the sides and you could even just like corner it too you probably could yeah when you kind of tack it down a little bit we're just going to stitch it around it's going fine it is I think that little card you put under there was a smart idea there we go didn't know what she was doing with that package but it worked really well now if we've found that I've quilted there we go to the scarf yeah could be could be happening we don't know happening but we'll cut it out if we are that's right there's worse things I've sewn other things to my scarves I actually do a lot of hand work and I One Time sewed something to the leg of my pants Oh that was hilarious I was laughing so hard that's hilarious all right so I want to take our needle up is there a little scissors no I don't think so okay oh it's so stuck to the machine that's hilarious all right let's see I did I totally sewed it to it oh okay here's your here we go let's cut that baby out you know what you'll never be able to tell as long as I don't cut the stitches no and knowing now that we what we know we would probably um move this every corner or something probably or you know what you could do is maybe use a Tearaway stabilizer oh that'd be good too your finger's not behind me isn't no I actually love that this worked so we can show everybody how to do this and that it happens even to the pros well this was our first time that's right that is true tried the paper underneath but it's easier than trying to tug a magnet it is because it hangs on real tight I mean it even wants to grab my scissors oh yeah so my sisters are like hey I like it here that's right stop go away all right perfect all right we're going to pull that out later with my little stiletto and it'll be totally fine okay all right not even need to I may not even need to you probably will never notice no at all all right so in order to try it on with the other side it's two corners of the same thing here I well I'm thinking these like two corners no but it's this corner right so they'll kind of wrap around in all right so if we do that if it comes around I'm gonna take this out of the plastic this time and just do the card because I think if we have to cut it away that might be easier so I just want to see if it'll stick this way or does it stick but oh it sticks really good that way okay all right so let's try it again and we're just going to measure in so I'm just going to use my ruler again to measure in two inches and two inches and stick this baby down okay okay so in the same place that it was before do you want to pin it or do you want to me to draw a line around it draw a line around it that'll help that's a good idea there we go all right so we've got our little square drawn here right for where the magnet needs to go yes and we do need to make sure because this doesn't stick together this way it's it overlaps right so we need to make sure when we turn this let's turn it around and let's look at this is our sewn in one so pull this down go that way you know because it's going to stick together exactly yep come around our neck around here we'll make sure that it grabbed it totally worked totally works so do check that out when you're placing your magnet make sure that it works that way exactly and that was a great idea with the drawing the square around it first because then it's easy to come back and right put it exactly where it's supposed to be which is much better mines work great together so good all right let's give it a try see what happens I'm gonna try I'm gonna try it this time without anything underneath just for a second just to see what happens how strong that is so interesting okay I want to see oh it might not work we might have to put that paper under because it really wants to move okay so I just did a little and did a little back stitch and I'm just gonna try to get my way across here are you having to push it very hard I am I'm not really pushing I'm just kind of keeping my hand on this so that I can make sure it keeps moving because it would like to just stay there and I don't want it to do you think it's the walking foot that's moving this through so nicely I think the walking hell the walking foot helps a lot because it has those little grippies on the bottom that's grabbing both the fabric and the plastic now I have one of those machines where you can adjust the presser foot it's my favorite is is do you want it to be lighter oh lighter less pressure oh okay I would have thought the opposite so that's good to know too yes of you who have one of those exactly it really does make a difference because what it does is it allows the fabric to kind of work itself through much easier without getting any fight back and what I do love about doing a project like on a little machine like this is that it just shows anybody can do this yeah exactly and do this you just got to take your time you'll all be good all right so let's do that okay now it's stuck we'll take it out and then we don't have to trim anything off the front either no it's nice it did work yeah that's nice to know that works that's great so I think having a stabilizer under so layer let me hold it down this might be a two-person job just right this part here cutting trimming the thread yeah so if you've got the little scissors thing on your machine that's a great way of dealing with it yes yes use it right now all right all right so here we are now so now we've got we're done no just kidding all right so now we want to create actually like a little tube okay that's going to be how we're going to finish this off so one of the things that I like to do when I'm working with cuddle Fabrics is I like to when I have a turning Gap is I like to do a stay stitching line okay so we're going to do that first and we're going to stick a little line here in the middle I basically do the width of my hand which happens to be four inches oh I never measured my hand I only do because I do it like this a lot and I'm also four inches I believe I think we are yeah these hand Twins and so what I did is I just marked my four inches on either side there and I'm going to go ahead and do a stitching line on either one of these I'll show you when we get to the end why it's actually really really healthy I've never actually thought about this this is really interesting so this works very well with cuddle and we're going to do it with about a 3 8 inch seam allowance one of the things about cuddle two is seam allowance is a little variable a little bit so we're going to do just a stitch right along here one layer all right so now that you're doing this tell me about stay stitching what is actually stay stitching well stay stitching is used a lot in apparel sewing for giving you some stability in seams I use it here to actually give me kind of a guideline on where my seam is going to go so it's not really for stability but just more for seeing it I'll show you when you sew the rest of it this is your guide no when I sew the Turning Gap close oh when you sew it closed okay yeah so when I have to sew it closed now I've got a line in it that'll show me exactly where I need to turn it so the cool thing about this is that I have this little stitching line in here and I could just flip it usually exactly where it goes so it will turn really easily on that stitching line okay all right so that's what we've got there so now we've got the St the stay stitching basically on both sides they should match up for the most part okay so what I like to do is I pin a corner and I pin the other corner I think you should let me pin something because oh sorry my whole audience doesn't know I pin oh you can do you know how to use pins I do know well look at this let's do it let's do it okay so I'll give you a couple pins all right so tell me where what we're going to do here what I like to do is I like to I'm going to put a pin here at the end and then we're going to put pins in actually this way so I pin parallel to the raw Edge because because it holds down more of the fabric and kind of lets me keep it nice and flat something like this because we're sewing the length of the fabric it isn't going to stretch too much but if it's getting too much stretch I do this thing called double pinning where I actually do two rows so you don't like pinning I love pins well you saw with an entirely different type of fabric than I do it's true so uh now I have actually we have this little yellow this matter so the other thing I'm noticing is that because I'm left-handed I'm pinning the opposite direction okay so if so I'm right-handed so I AI pin further away from me this way so I'll show you yeah shall I just go ahead and turn these yeah but what you can do if you're left-handed take your pins out and I'll show you a trick so if you're a lefty you do it this way and pin closer to you oh look at that so I'll let you pin the rest of those bags all right yep so if you're right-handed you pin further away if you're left-handed pin closer okay yep and then you're going to pin it the right direction because basically we want to pin it so that the pins will come out as we're sewing but I don't have to take them out too early because that's super frustrating when you have to take the pins out way before you've got it and all of a sudden I noticed I'm like wait a minute or these are different than mine so one of the things I mentioned is I like to pin the corners and then I'll pin any place that has to match first so I stuck this pin in and then you redid this and it matched okay so I kind of do that with cuddle to kind of do we need a double row um we don't really need a double row with this one because it's not so stretchy because it's lengthwise all right so if I were doing a big width oh yeah width wise seam I would do double pins on this part I am I'm gonna throw one in there throw one in there at the end okay and then we're just going to sew this seam and then I'm going to do a little funky thing here that I call an L pivot in all of our patterns we're going to sew off the edge I'll show you how to do that I do that on my right bindings yes yeah it works very very well I I know everybody's like why I'm like I'm not sure just seems like it is cool but it also gives more stability to it so I really like it and now I have an answer so more stability all right so I'm going to still use a bigger Stitch length so I'm using a three point excuse me I'm just going to use a bigger Stitch length a 3.5 millimeter Stitch length and that's because cuddle doesn't come through my machine as fast okay so if I use a bigger Stitch length it'll be a little bit more normal and I'm going to go ahead and back stitch first because we want that seam to hold and I'm just using the edge of my walking foot there as the guide I think it's probably about 3 8. and it really doesn't matter too much no I think on a project like this consistency is more important than yes protection exactly and cuddle is super forgiving for lots of lots of these as they come off go for it and so you don't end up with the whole pile well you have a job to do yeah I appreciate it it stretched a little bit here at the end so I've got a little flap but I'm going to try to keep it at 90 degree angle right there at the corner so that's why I just let it be big oops sorry here you go and I'm just going to let that ease through here I like this I could use an assisted in my studio all the time it's fabulous the pin person that would be me thank you do you know I do a lot of things with uh Natalie and Misty and it's so helpful when you're like can you iron this yes it is helpful perfect and so as I'm sewing this you might see I have my hand back here too that I'm trying to just keep it nice and flat so we really want to if it starts to build up a little bit we want to kind of conquer that and a lot of times that is changing the presser foot pressure readjusting things kind of you know giving it a little pucker if you need to because it's cuddle it will be now you're gonna now right here is where our stay stitching is yep so I I got to the stay stitching and I'm gonna go ahead and I'm just going to Pivot and I'm going to sew off the edge the L pivot and that's the L pivot okay so go ahead and take that out and then I will there we go cut my thread come back and then I'm going to start in here and go the other direction I'm going to use that little lift thing that is seriously that I think the best invention with modern sewing machines is that extra lift yeah oh my goodness it comes in so handy okay pivot again and then I'm going to sew the rest of the way super easy right so I'm not it's your automatic I I have sauce I have a uh yeah a method to my madness it's usually just a big pile of pins around here because you're you do it by yourself right it's true I don't usually have an assistant taking my pins for me but I could get used to this I really could okay and again it pushed just a little bit but not too much so I'm just going to let it be and come off this side take a bigger seam allowance it's fine we'll even it up well to me the the part that I was most interested worried about is not this it's the magnets yeah and those went pretty smooth those went fine I was kind of wondering if it would cause an issue okay so now we've gotten it to this point we're going to go ahead and I'm gonna I'm gonna leave these Corners in here for just a minute we'll turn it we'll see if it makes a difference one of the things with cuddle is it often doesn't make any difference if you have extra bulk in the corner yeah I have a I turn a lot of cuddle and I've never noticed yeah I generally don't trim them so it's kind of a nice thing because the less cutting less mess okay so we're gonna go ahead and turn that and take a look at it see how it is look how pretty it is it's gorgeous already right see look at that that's perfect I can't tell that there's anything weird about that and I love this because do we want to top Stitch it oh I'm like could we should we I wouldn't I don't think I don't think you need to I think you need to but I feel like it would be just fine this might be where you need a big like a knitting needle or something to shove these Corners a wooden spoon yeah because I don't want it to poke through but it's uh there you go my little stiletto that works out nice so there we can see a little bit of our stitching on here so you can see this so you can go back in here and you can fluff up these edges and nobody will ever know that it was so how will they know they'll never know they'll never know Perfect all right so then we've got our little turning Gap that's here so we can go ahead and you could hand sew that so you see how it just turns in super nicely this is my favorite part of the reason this would actually be a reason to top Stitch it because you could catch the whole thing you could but we can also just zigzag that edge oh really yeah and it won't show yeah it won't show too much so I generally if I'm gonna gift it to someone I'll hand soap What's Happening Here we'll just catch everything that's your tool catcher now so I could go ahead and hand so this if I were going to give it to someone I would want it to be really finished super nicely for myself I'll zigzag it so we'll do that and see how it turns out right okay all right let's do it all right can I have a couple of pins I'm gonna keep this in place yes you can thanks I do like my pins so and I'm just going to pin these this direction so I can kind of keep it where I want it to be so basically I'm matching up those stitching lines so that I can see it's going to work out just fine I think the Stay Stitch idea is really cool I'm intrigued by that because I used to be an apparel sewer and so many things change so like I took apart a quilt that I made um like before I really even realized I was quilting it was just and all the seams are 5 8. yes yes I get a whole bunch more room out of this uh yeah it's amazing now that I'm sewing at a quarter inch all of a sudden it can be so much bigger all right so now we're just going to zigzag this closed I've set the zigzag to a three and a half by three and a half so you can kind of do whatever two and a half two and a half three three I just usually keep it Square it's really my my ammo yeah it's just easier to remember that way for me usually three and a half is kind of my go-to for this sort of thing so I'm just going to stitch right along this Edge and basically you can't I don't know if you can see it Jenny but the needle is coming just off the edge of the fabric kind of we want to have it be so it ends up in the middle of the it'll look like it's not not catching because there's so much fur so we try to like hide it in there a little it works pretty well I'll show you so a lot of times people oh my gosh want to stitched over there perfect yeah you can't even see it I have practice I've done this a few times so let me go ahead I'm gonna trim my trim my threads that's really a good hack so then it makes it just quick and easy and if I come back in here again I can just fluff things on seams like this this is also where I like to take you can take a pin or a stiletto and just fluff this oh my gosh look at that and it just makes it look all finished and beautiful you'd never know there was a seam there no exactly and then it looks so professional and fancy well do we have a name for this little guy what are we calling him I there's got there's got to be a name somewhere it's just a cuddle scarf so I'm just gonna do it because this is my like little neurotic thing that I like to do you know some people like to bind quills they really love that part I kind of really love the fluffing part but I'm like oh look but it's so nice now it's so pretty well I feel like we should each put one of these on I think so all right let's do it here we go oh my neck's so nice and warm it's a lot I like it I love it well thanks for being here today yeah absolutely this is great we learned so many good tips and we hope you enjoyed this tutorial on the magnetic cuddle scarf from the Missouri Star Quilt Company hi everybody it's Jenny from the Missouri Star Quilt Company we hope you enjoyed watching this video if you aren't already part of the Missouri Star Quilt Company family be sure to subscribe so you won't miss a thing and if you click that Bell it'll notify you every time a new tutorial comes out see you next Friday [Music] foreign

More Fabric by Yard tutorials

See all