

How to Make a Cuddle® Robe with Teresa Coates - Free Project Tutorial
Ready to spend your mornings wrapped in a warm and cozy hug? Sewing specialist Teresa Coates has teamed up with Missouri Star to show you how to make a super snuggly Cuddle® robe! Using luxurious Cuddle® minkies in your favorite colors and prints, you can learn how to create your own loungewear for ultimate comfort at home!

Instructor
Shannon Fabrics/Teresa Coates
Shannon Fabrics imports and distributes several different types of fabric, including super-soft Cuddle® minky plush fabrics, Embrace® double gauze fabrics, terry cloth and other novelty fabrics. Teresa Coates is a writer, editor and maker. Currently she is the National Educator for Shannon Fabrics and the host of Sew Together Tuesday.
Shop this tutorial
 Luxe Cuddle® - Snowy Owl Navy Minky Yardage$19.96Shop →
 Cuddle® Prints - Premier Bearfoot Navy Minky Yardage$16.48Shop →
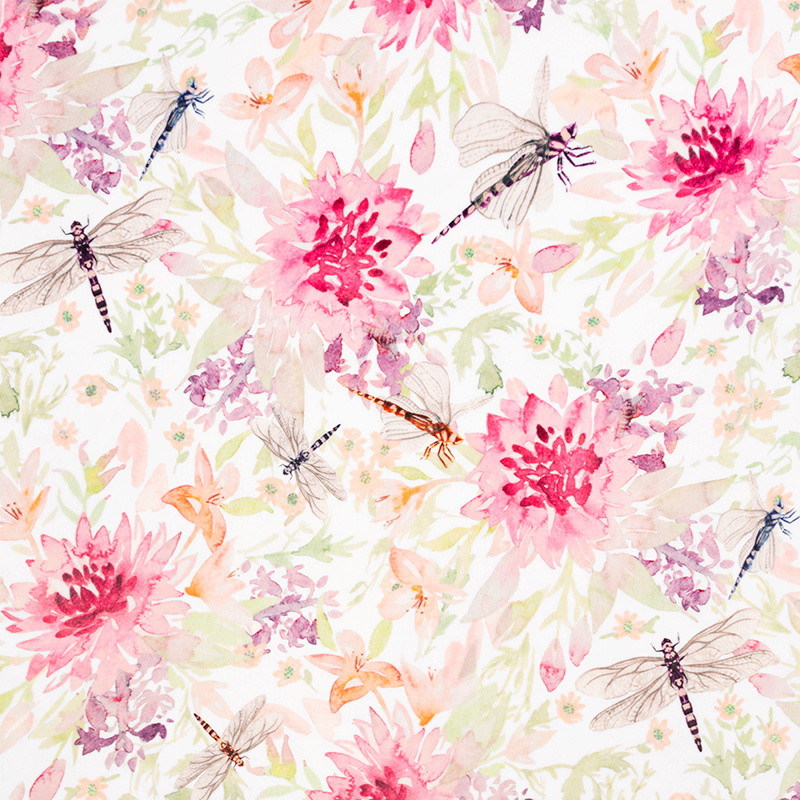 Cuddle® Prints - Wild Dragonfly Elderberry Digitally Printed Minky Yardage$18.48Shop →
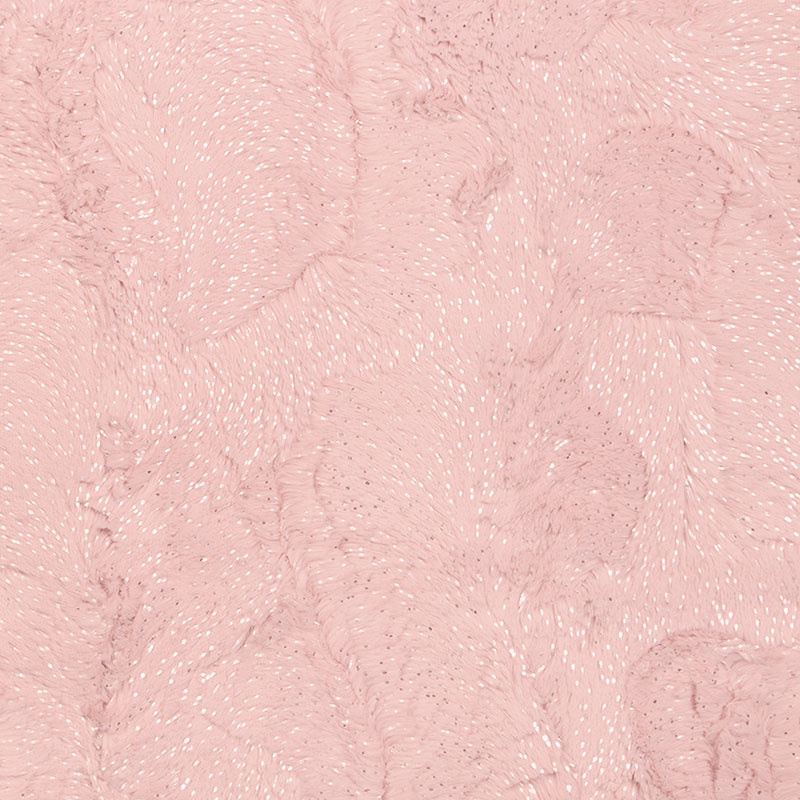 Luxe Cuddle® - Dazzle Rosewater Silver Metallic Minky Yardage$21.96Shop →
 Olfa 45mm Deluxe Ergonomic Rotary Cutter$33.95Shop →
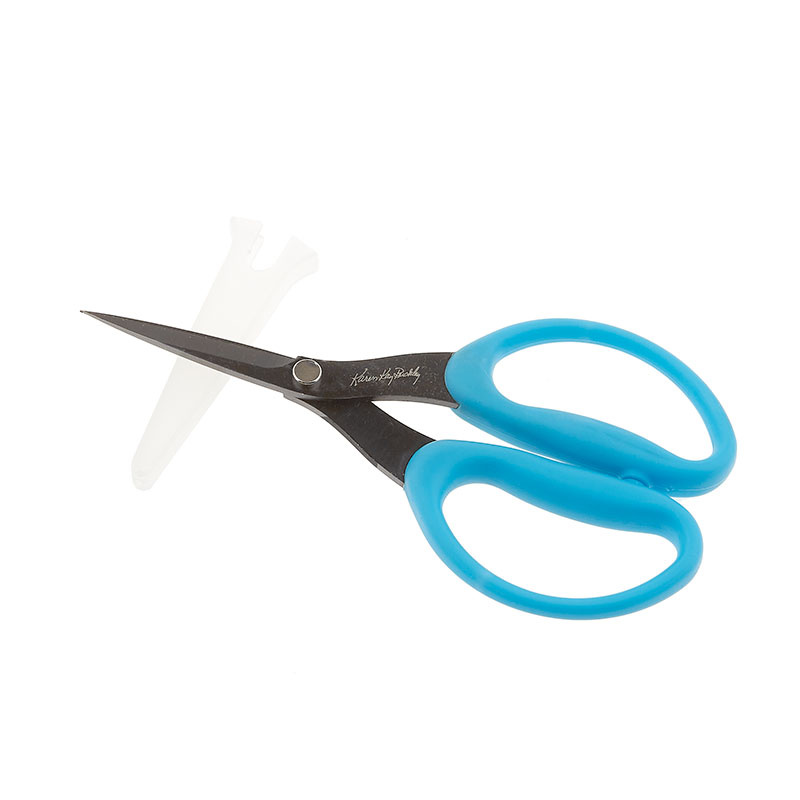 Perfect Scissors 6" Medium$29.25Shop →
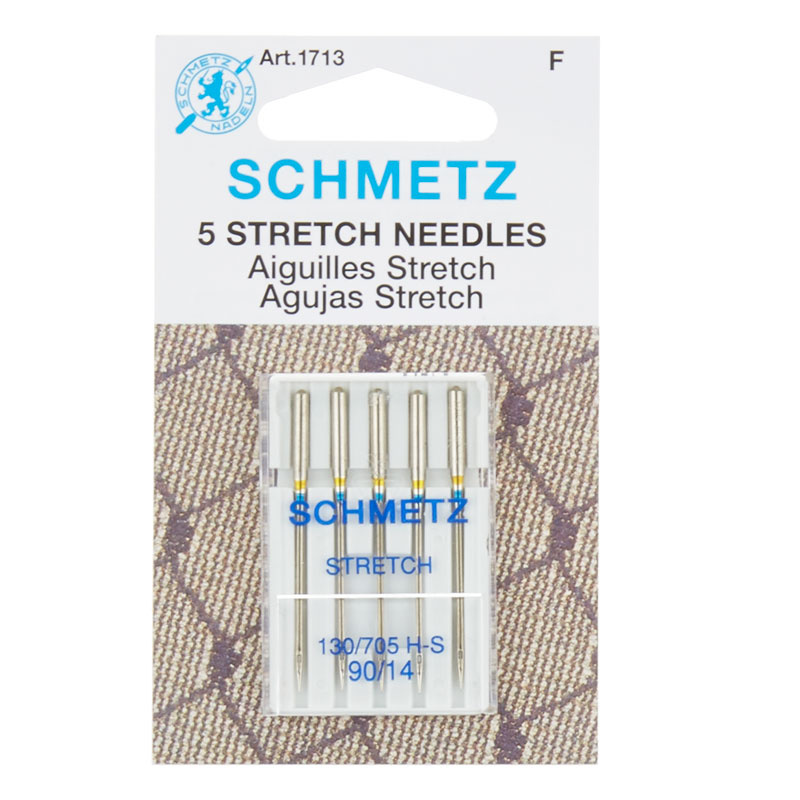 Schmetz Stretch Machine Needles$5.75Shop →
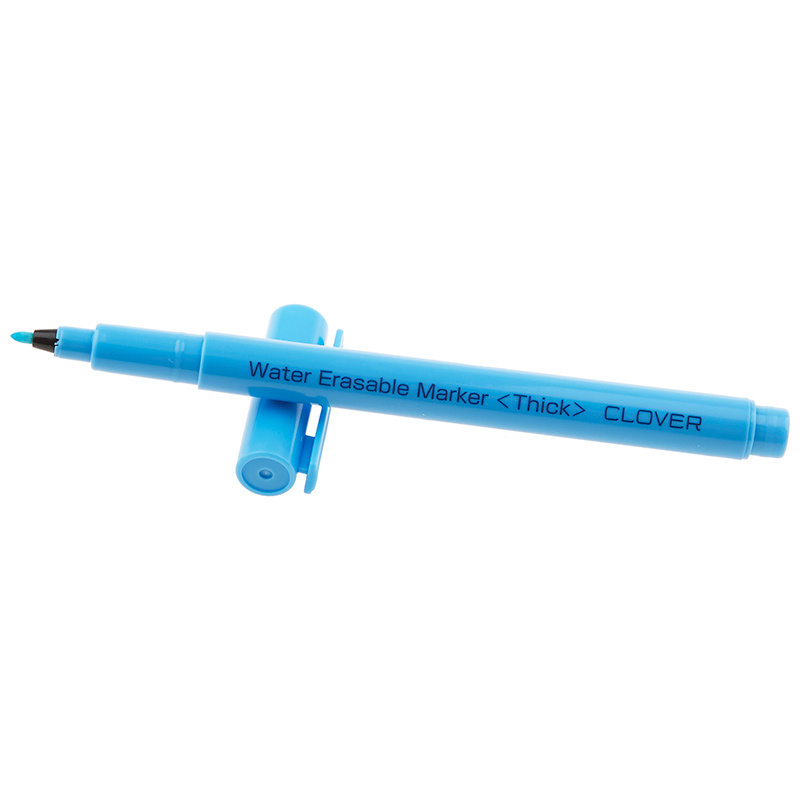 Water Soluble Marker - Blue$4.95Shop →
 Missouri Star 40 WT Polyester Thread Medium Cool Grey$7.45Shop →
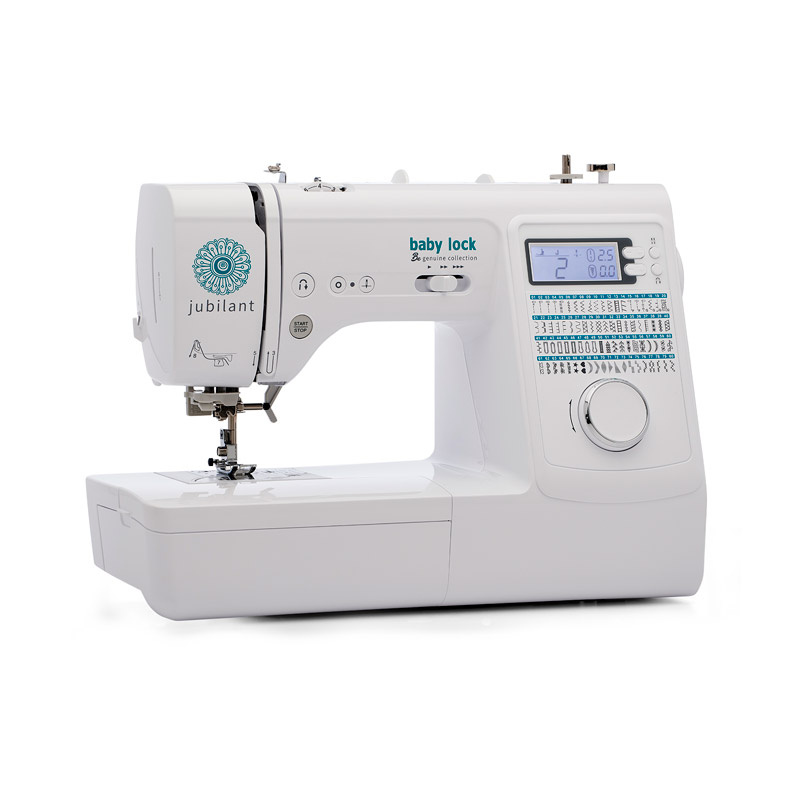 Baby Lock Jubilant - 80 Stitch Computerized Sewing Machine$599.00Shop →
 Olfa Splash 24" x 36" Cutting Mat Navy$68.95Shop →
Common Questions
What is covered in How to Make a Cuddle® Robe with Teresa Coates - Free Project Tutorial?
Ready to spend your mornings wrapped in a warm and cozy hug? Sewing specialist Teresa Coates has teamed up with Missouri Star to show you how to make a super snuggly Cuddle® robe! Using luxurious Cuddle® minkies in your favorite colors and prints, you can learn how to create y...
How long is the tutorial video?
The tutorial video is 01:26:52.
Are supplies listed for this tutorial?
Yes. The tutorial page includes the supplies and materials connected to this project.
Is a transcript available?
Yes. A written transcript is available on the tutorial page.
Video Transcript
1. The pattern is downloadable and it's a one size fits all, though you can customize it to fit you.
2. First thing you'll do is cut out your fabric and you want to do that the right way. Follow the instructions and diagrams within the pattern to make sure you're getting all the pieces you need out of your fabric.
3. Check the nap by running your hand parallel to the selvage edge. On the back draw an arrow in water soluble marker so you know which is the top and which way the nap goes.
4. There are pattern pieces for the hood and neck. Be sure to print at 200% to get the correct size. Then trace around those to cut the fabric correctly! Teresa cuts one layer at a time so the fabric doesn't shift (this fabric is a little slippery!)
5. You can use either a micro-serrated scissors or a rotary cutter to cut out your pieces - it's your preference. Just follow the pattern lines carefully. When you're done be sure to shake out the cuddle dust and clean off your work area.
6. You'll start by assembling the pocket. If you're new to working with Cuddle, this will be a great way to learn how to work with the cloth. Remember one of your fabrics is the body, and one is the cuff/band.
7. Teresa likes to use lots of pins (in two parallel rows) to the hold the fabric together firmly since knit fabrics can stretch. She uses a stretch needle, adjusts her stitch length to 3.5mm and with a 1/2" seam allowance. Once she has the band attached and her raw edges hidden, she uses a zig zag stitch over the edge of the band. You can use a stiletto to puff up any of the Cuddle around the stitches.
8. Continue in this manner to complete your sleeves and fronts, and then attach them to the backs. Keep checking to make sure you're creating mirror images and the neck edges are aligned correctly.
9. Next, you'll construct is the hood, which will attach at the neck. Add the bands the way you have in the previous steps.
10. After the hood is complete you'll create your tie, and your belt loops to hold the tie around the waist.
11. Then you'll place the pockets on the fronts. Take care to lay your fabric out nice and flat so that you're only sewing through one layer (the front) of the robe!
12. Finally you'll hem your robe to the length you would like it.
Tada! Now you'll be comfy and cozy all the time!


