Skip to content

Free quilting video tutorials from Missouri Star

Quilting Tutorials
How to Make a Cuddle® Santa Hat - Free Project Tutorial

How to Make a Cuddle® Santa Hat - Free Project Tutorial

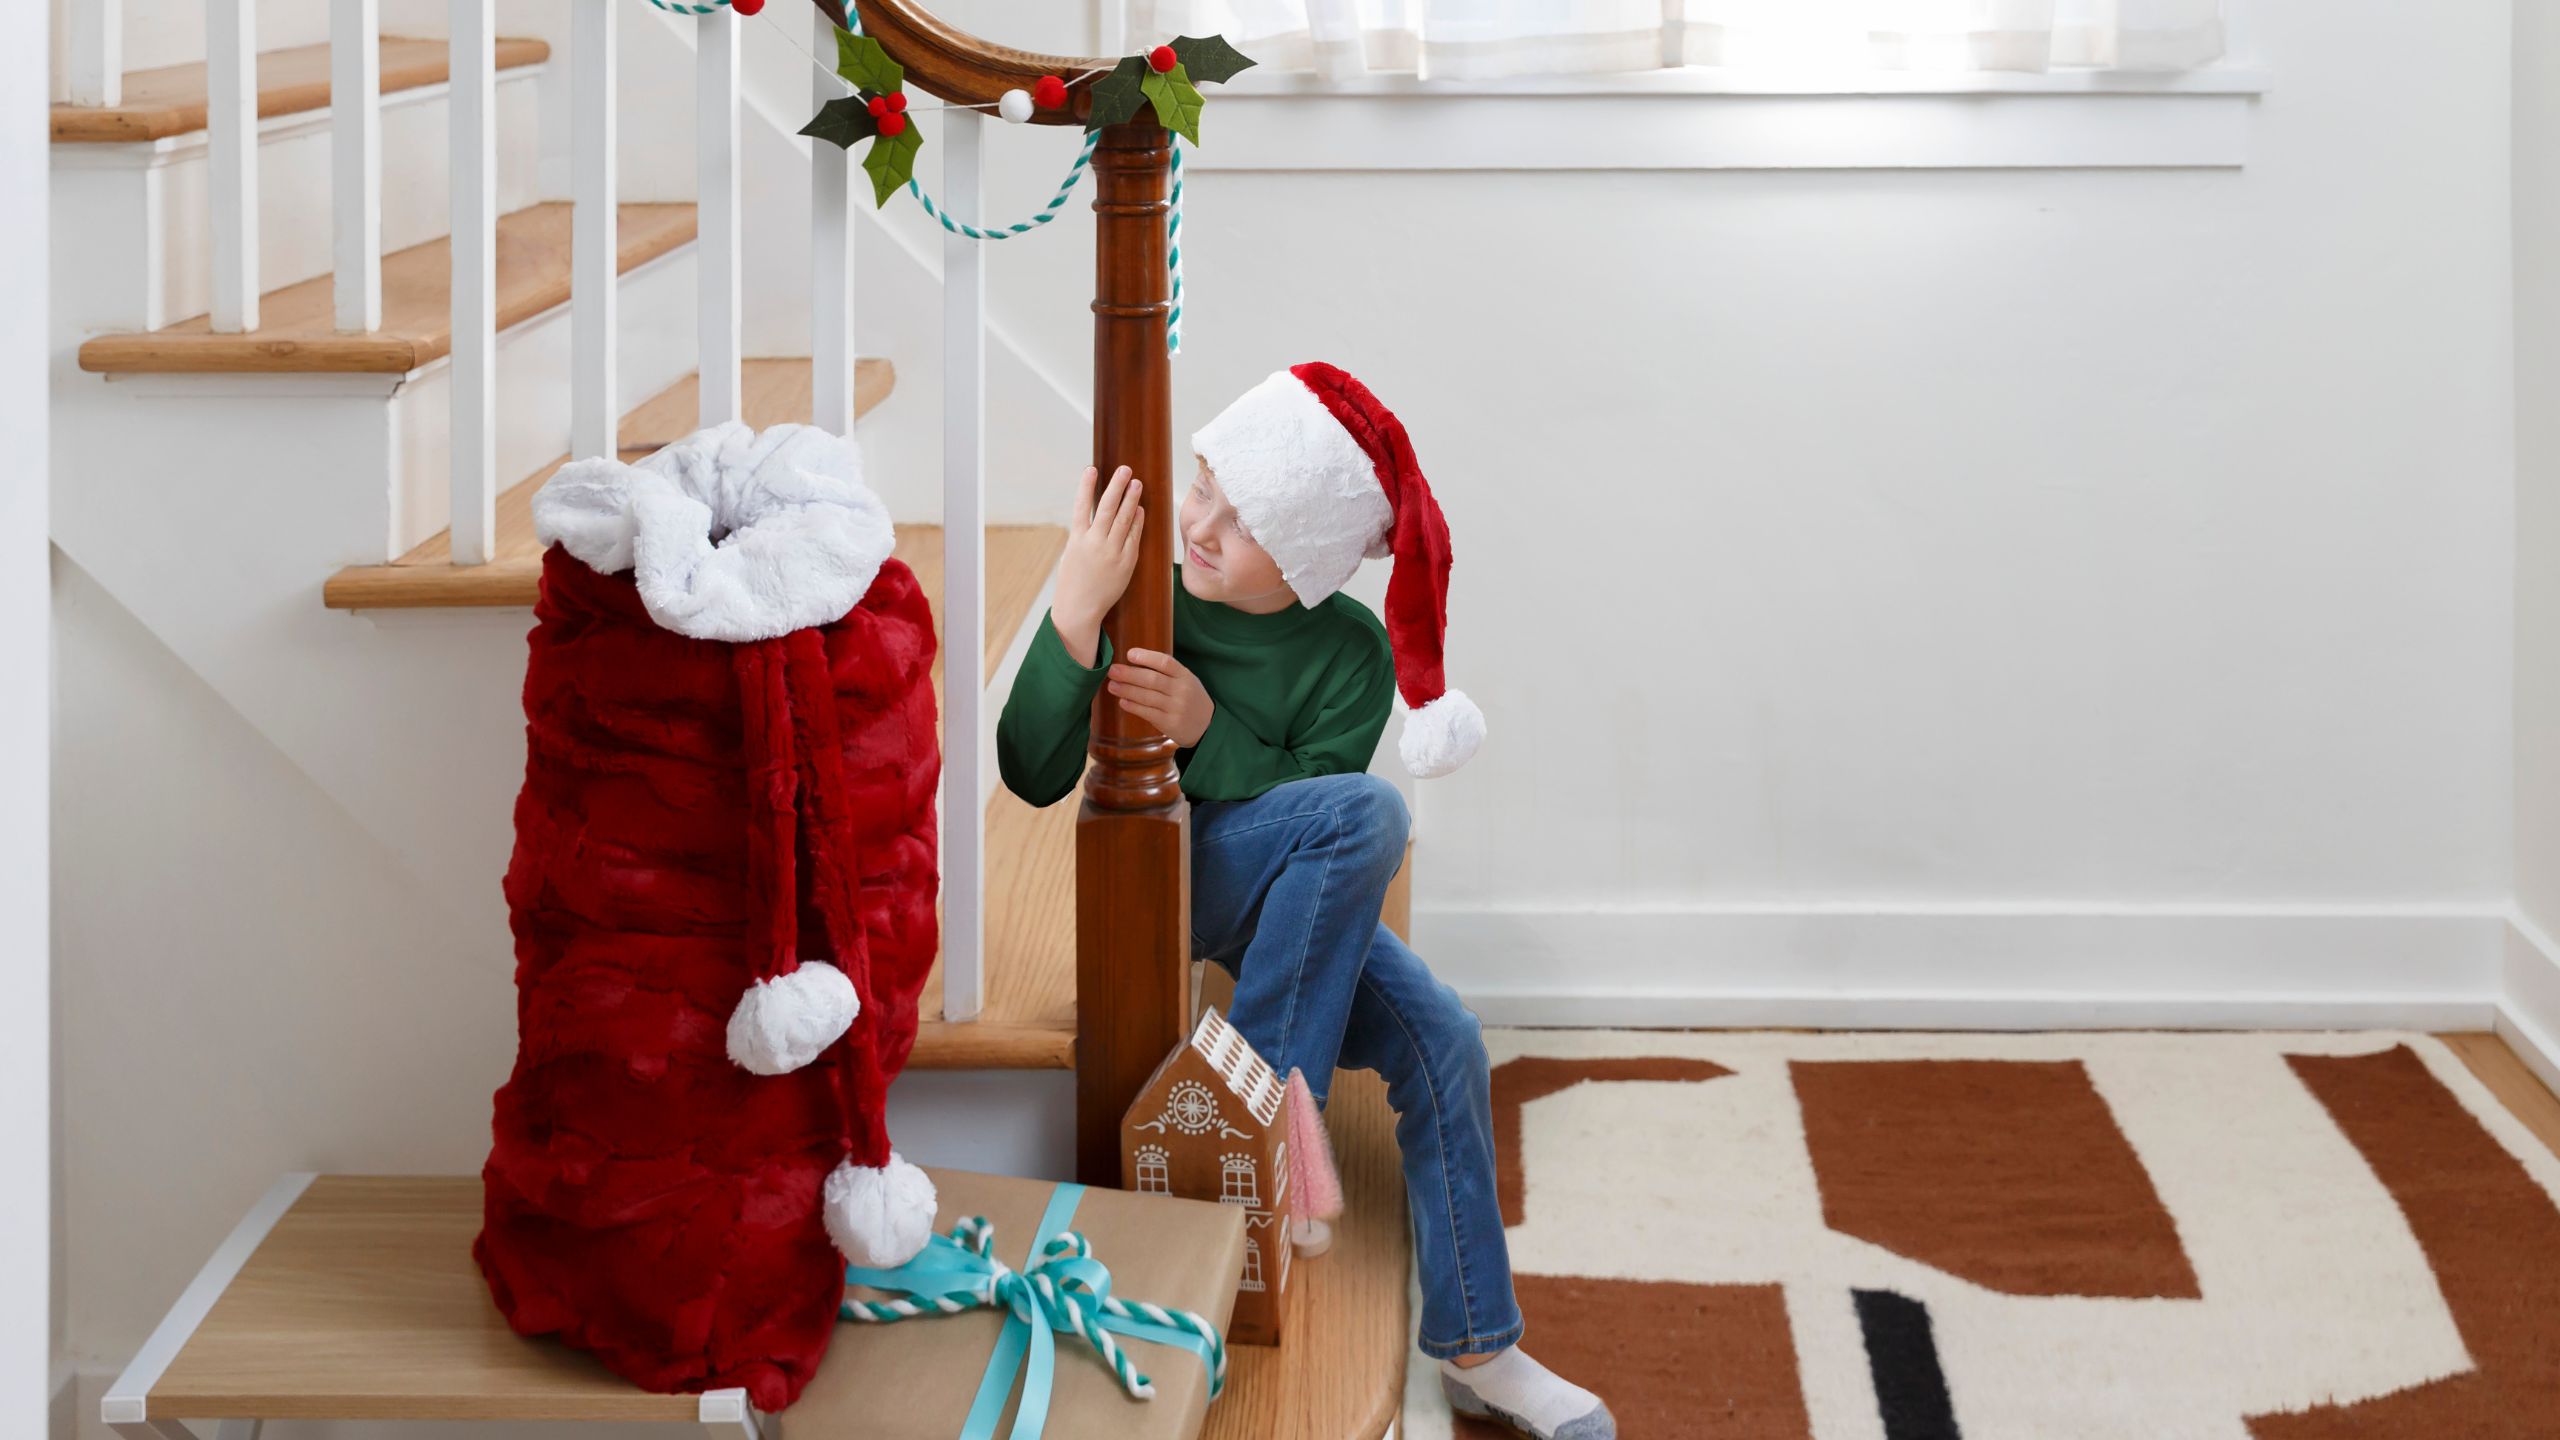
Teresa Coates is back to help you make the season extra holly and jolly! In this video, she will show you how to make a soft and fuzzy Santa hat using Luxe Cuddle® fabric. Just in time for your holiday gatherings and festivities!

Instructor

Shannon Fabrics/Teresa Coates

Shannon Fabrics imports and distributes several different types of fabric, including super-soft Cuddle® minky plush fabrics, Embrace® double gauze fabrics, terry cloth and other novelty fabrics. Teresa Coates is a writer, editor and maker. Currently she is the National Educator for Shannon Fabrics and the host of Sew Together Tuesday.

Common Questions

What is covered in How to Make a Cuddle® Santa Hat - Free Project Tutorial?

Teresa Coates is back to help you make the season extra holly and jolly! In this video, she will show you how to make a soft and fuzzy Santa hat using Luxe Cuddle® fabric. Just in time for your holiday gatherings and festivities!

How long is the tutorial video?

The tutorial video is 00:38:59.

Are supplies listed for this tutorial?

Yes. The tutorial page includes the supplies and materials connected to this project.

Video Transcript

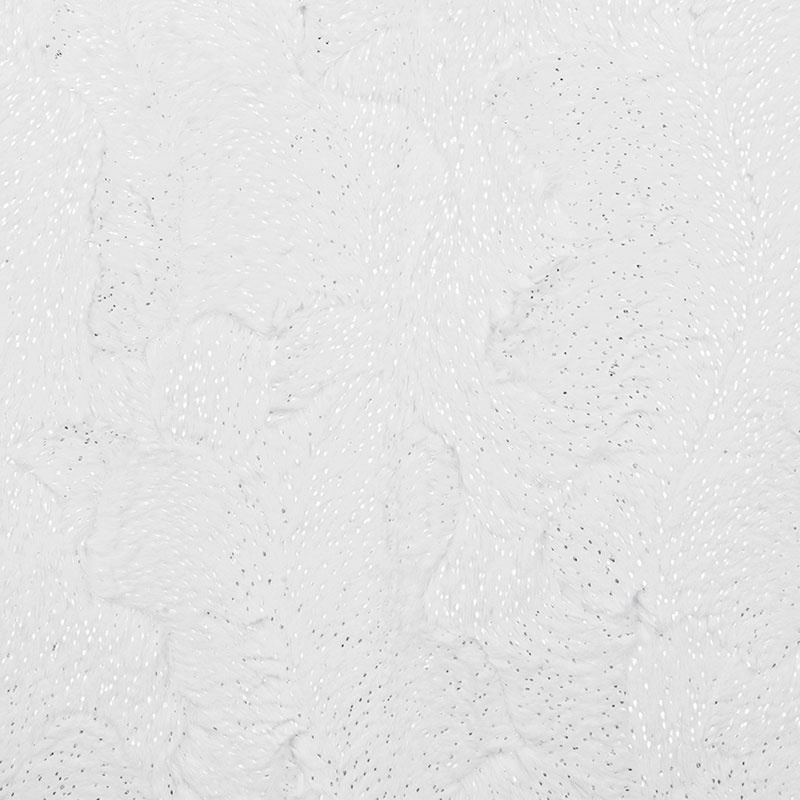
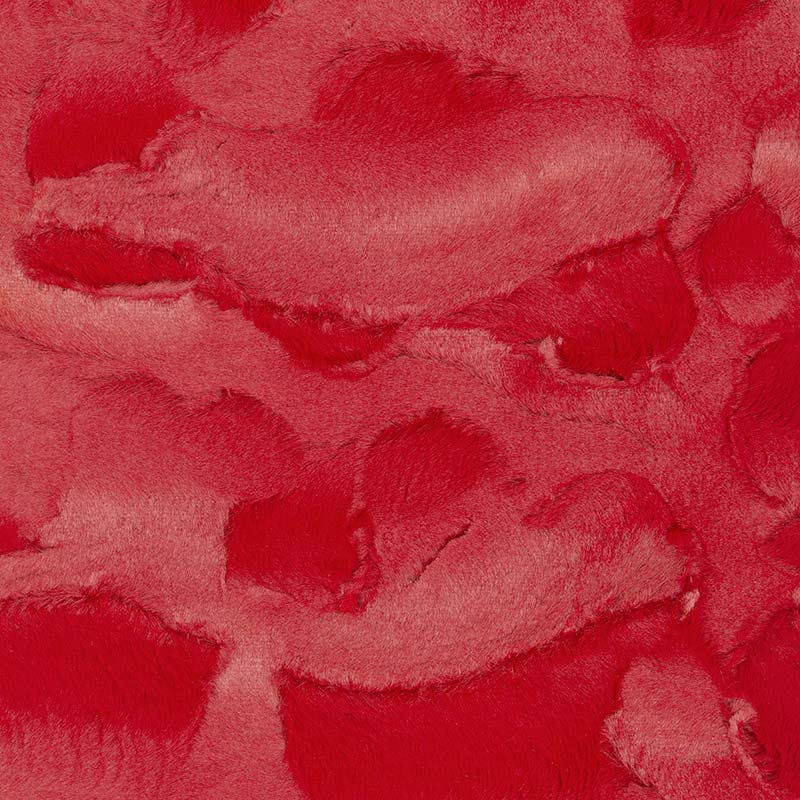
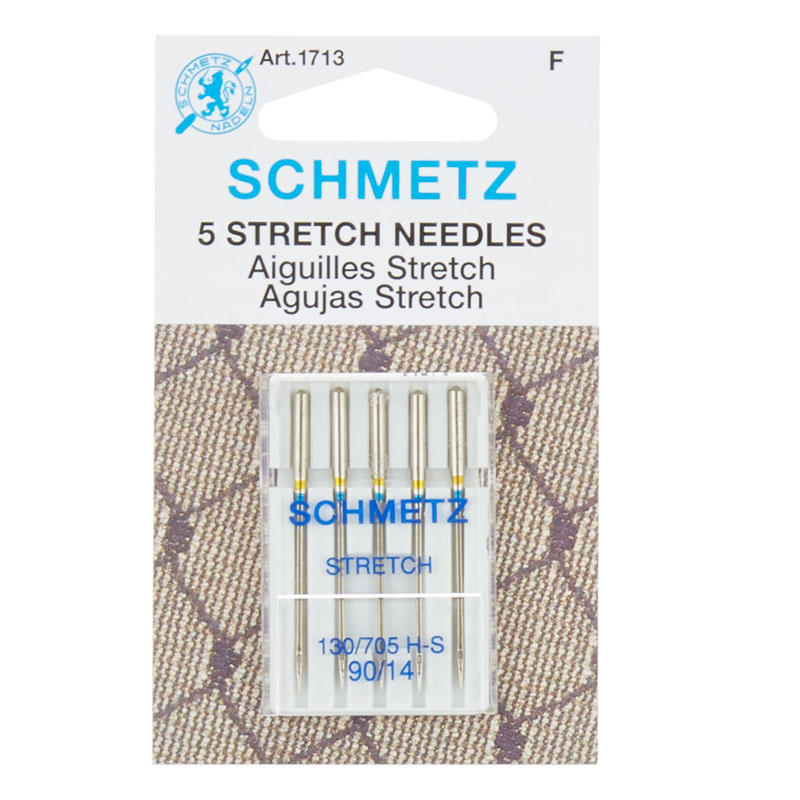
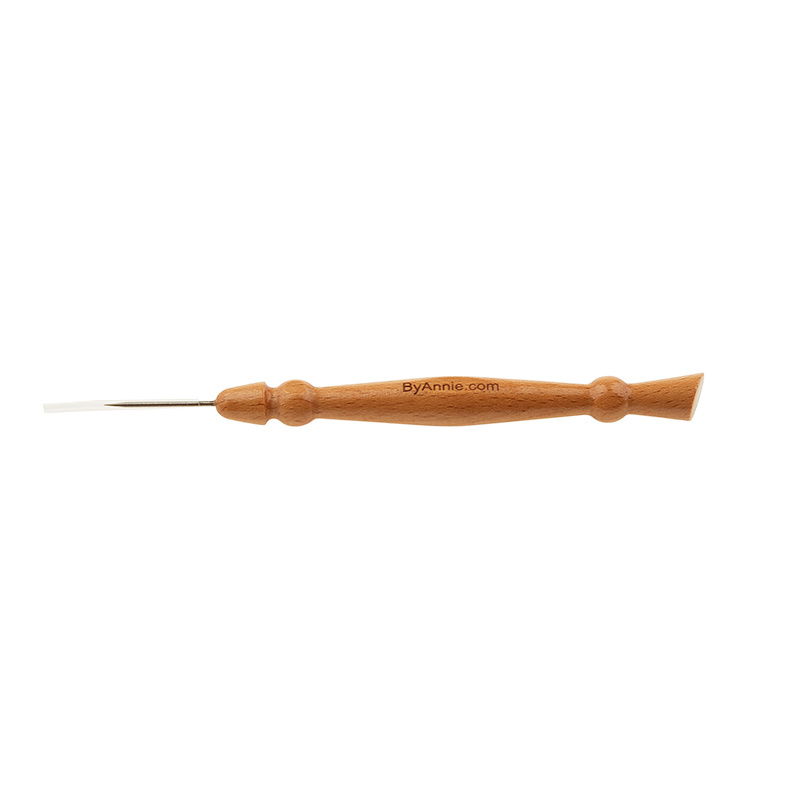
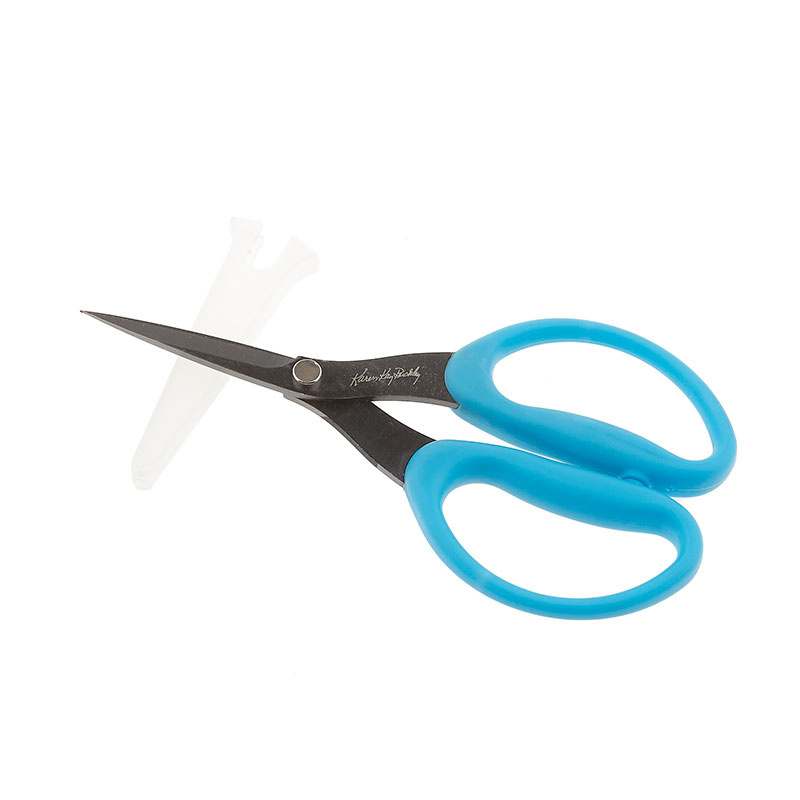
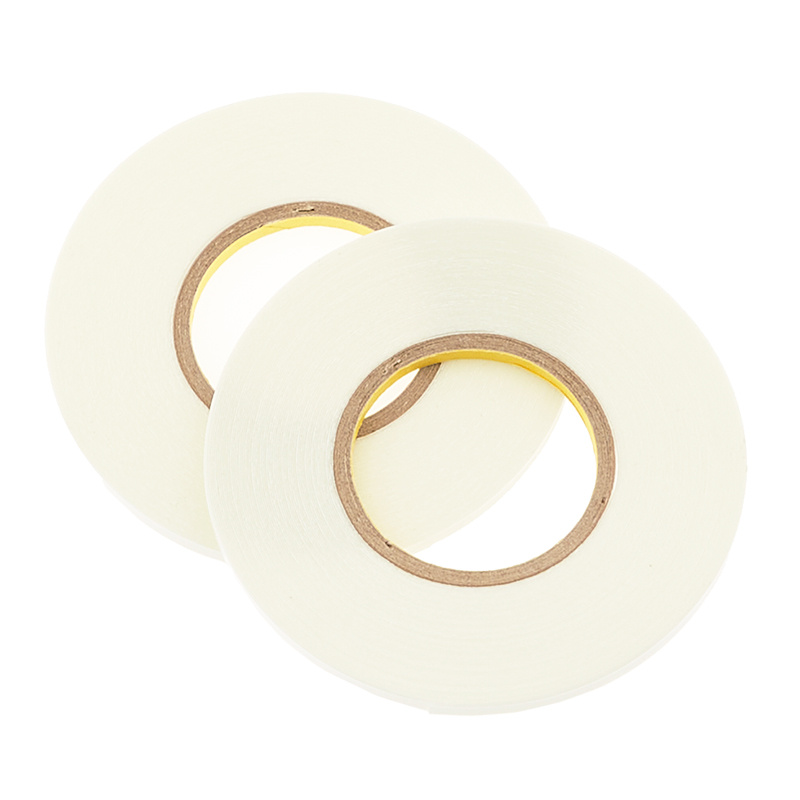
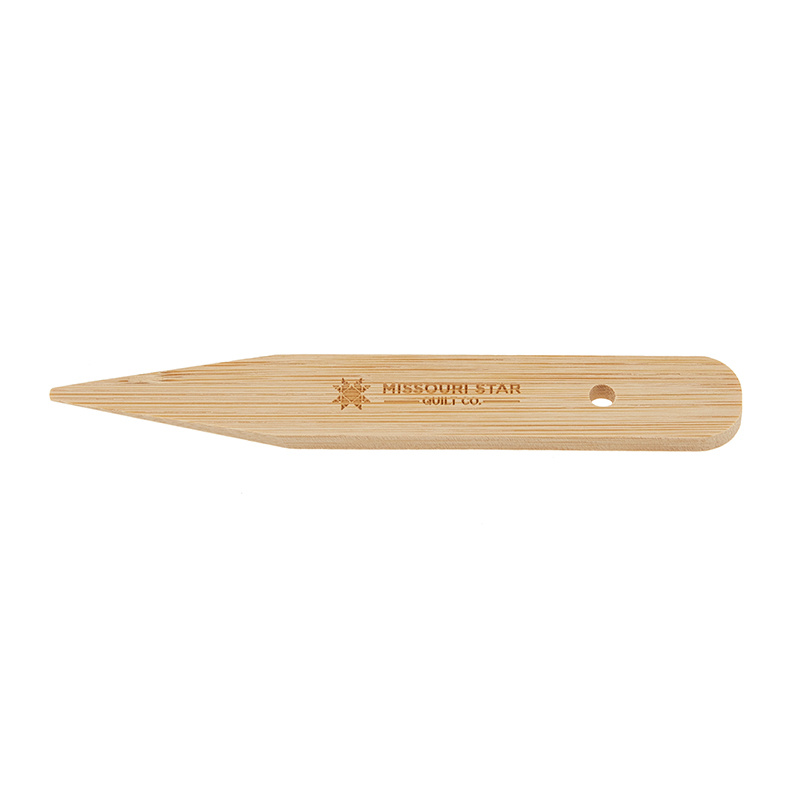
[Music] hi I'm Teresa coats I'm the national educator for Shannon fabrics and today I'm excited to be here at Missouri Star Quilt Company we're going to be making a couple of Santa projects this one is going to be the Santa hat which is perfect for all of your Christmas celebrations make a few totally fun you're going to use one yard of both the Lux cuttle hide and one yard of the Lux cuttle Dazzle to be able to make two different projects so we're going to make a Santa hat and a Santa bag we're going to use both fabrics for both of those projects and now I'm going to start with the Santa hat so some of my favorite tools for working with cuddle are the clover flower head pins I always want to make sure and have a stretch needle 914 stretch needle these are from schmetz which I really like the B Annie basting tape which we're going to use in some different ways than you might expect polyester thread a point Turner one of my favorite tools which is the B Annie stiletto rotary rotary cutter 45mm rotary cutter the perfect scissors from Karen K Buckley and I like the medium size which is the blue handle and a felt tip marker and this time we're just using a Sharpie so I'm first I'm going to start with the pattern so I have the PDF pattern and I've downloaded all of those pattern pieces and I went ahead and cut it out and taped it to together already but you're going to if you get the PDF you're going to have all of the pattern pieces going to cut them out along those lines and then tape them together to create the pattern the printed version will include a full-size pattern so once I have the pattern cut out I have the Hat body template and I also have the Hat pom pom template and I'm going to use both of these today with the different fabric and we're going to start with the red so I want to make sure that you pre-wash your red Luxe cuddle I would recommend that you pre-wash all red fabric because it tends to be overdyed to get it a really nice red vibrant color and if you wash it you'll be able to wash out any of those extra dyes It won't always bleed but it's better to be careful and pre-wash beforehand so go ahead and pre-wash this and then we'll cut it out you're going to wash it in cold water and a low heat dryer you'll be ready to go all right so I'm going to unfold this and I'm going to check first which way my nap is going so because the Lux cuttle hide has variation it's embossed so the nap is kind of going in all sorts of different ways it's a little harder to tell but mostly I want to pet it and see how does that feel does it feel smooth how does that one feel feels a little nicer this direction so I'm going to say that my nap is going this way one of the things that I like to do when I'm working with the cuddle Fabrics is to actually Mark the direction of my nap so I'm just going to use my felt tip marker here and draw a little line that tells me this is the way my nap is so then when I have to reference back to it I have something that'll tell me which way it goes so I'm going to go ahead and I'm going to bring this up and lay it out nice and flat so that I can get my pattern on there this project works so that you're going to get the two projects out of the same yardage so we want to make sure that when we're cutting this first piece that we're giving ourselves enough room to get that Santa bag out there as well so I'm going to go ahead I'm going to put my sand hat clear over at the edge make sure I'm using all the fabric that I can and I'm going to trace this out first so I'm actually going to trace it upside down first because I want to make a line here that will be my fold but I'm not actually going to put it on the fold I like to really Trace out and cut my cuttle fabric one layer at a time so I'm going go ahead and lay this over here and I can use my ruler to make sure that it's basically straight so that my fold is kind of my fold is kind of straight up the fabric here all right so now I'm going to go ahead and I'm going to trace around it and I'm going to tra make a little Mark up here and a little Mark at the bottom that that is my fold line and now I'm just going to go ahead and Trace around this I'm just going to hold it here it's totally fine if you want to put something heavy on it some pattern weights you can I don't recommend pinning to the fabric just because it makes the fabric distort a lot because it's thicker so I just kind of hold it there and then we're going to flip this over line those back up with where they were for the first side so that's my my fold line and I'm going go ahead and finish tracing all the way up here and again I'm just kind of holding it very lightly against the side of the fabric against the side of the pattern tracing down and now I've got my hat template traced so now I'm going to cut it out I'm going to go ahead use my caran Buckley scissors which I like so much they're micros serrated scissors so they cut the fabric really nicely they have a little grip to it as you go so I'm just going to go ahead and use those I'm going to start here so I don't have to cut in very far and I'm just going to try to cut mostly the backing and not all of the fibers on the front so I kind of just put it underneath the edge and do Little Snips all the way across and as I cut here it's just going to cut mostly the backing like I said and not not the fibers on the front so I'm going to make a lot less mess and it's going to leave those fibers on there which you can see along this edge here so when I've cut it cutting the backing has let those fibers stay on there if I were to cut this with a rotary cutter all of these fibers would be loose which you can absolutely do and then just vacuum up the edges but I find the scissors to be less messy and very easy to use all right so now once I've got it cut out I'm going to go ahead and cut off this little tail of fabric and then put it to the side this is just kind of a little extra if I get it out of my way it'll be easier to to fold up here okay I'm going to go ahead and fold this put this to the side and come back to it later for the Santa sac all right so now our pieces cut for the actual hat you can see there's not a lot of mess I'm going to go ahead just wipe that up give my Santa hat a good little shake and set that aside so now I'll cut out the hat band and the pom pom so with that I'm using the Lux cuttle High Dazzle which is really fun because it has a little Sparkle going with it makes it a little extra and I really like that so for the hatband I'm going to cut a piece that is 10 by 25 in and then I'm going to use the pattern to cut out the pom pom so I'll Trace that out with my pen and cut it out again with my scissors okay so I have a little bit of extra right here it's not quite straight on the edge so I'm going to go ahead and I'm going to trim that off with my rotary cutter just because it's easier than trying to Mark and trim a tiny little piece with my scissors but you can see it'll make a lot more mess when I cut it with the rotary so go ahead and get that out of the way now all right so now I'm going to measure it 10 by 25 and I'm going to Mark just a tiny blip there and a tiny blip there measure this out one more inch that I have actually 25 and then I'll lay my ruler above it one more time to get to 10 in I've got a 5 in ruler make sure it's going to be 10 in over here go ahead and draw that line mark it and add the one inch at the end okay so here's my hat band all drawn out I'm going to go ahead and pull this up and trace my palm pal Circle as well and again with the same idea so we're just going to kind of hold it in place Trace around it the joy of working with cuddle is that the seam allowance can be a little not perfect and we're fine so if we didn't cut this out perfectly in a circle it's going to be all right it's going to work out just fine so we don't have to be as precise as we sometimes do with cotton so I'm going to go ahead and cut this the same way that I did before with Little Snips up here and leaving the nap on the back all right so now that I've got both pieces cut out give them a good little Shake get rid of some of that cuddle mess and refold my fabric for the next project all right okay so now I have my my pom pom fabric it's a little circle we're going to put that aside cuz we're going to tackle that later all right so now now I've got my hat my hat band and the pom pom which we're going to end up making this little guy um super cute going put it on because it's adorable right super cute lovely little hat super fun all right let's see if I can keep my hair halfway decent all right so I've got the Hat piece here and I've got the band we're going to sew these two pieces together because they are two different shapes the hat band is straight across and the hat itself is kind of curved it's going to be a little bit a little bit funky to do so the first thing I want to do is find the center of both of those and I'm just going to do that by folding them in half and marking them with a pin I'll fold the Hat in half [Music] here stick a little pin right right in the fold and I'll do the same here let me check my nap and I'm going to go ahead and Mark that it's going to be here and I'm going to mark it way over in the edge on this one in what will be my seam allowance but I want the part where the nap is coming down to continue with the hat so I'm going to fold that in half find where that top is the top Center and I'm going to put a pin [Music] in I'm also going to fold this and I'm going to Mark the center over here with my pen and I'm going to do that not with the straight pen I'm going to do it with my ink pen because I want this to be seen later and I'm afraid that my pin will just fall out because this is going to get flopped around for a while so just going to mark that with it with the ink pen I'm also going to make sure that it stays within the seam allowance so that that doesn't show later should it um should it come through okay so now I've got my centers marked obviously my ends are going to be the same I'm going to pin the center first so match up those pins take one pin it through both then I'm going to go ahead and pin the corner and then I'll do the same thing over here then we'll just divide this up and pin in between and make that ease to match so I'm going to go ahead and pin this with the pins straight out so I'm pinning perpendicular to the cut Edge which often when I'm working with cuddle I will pin it parallel but because this is a curve I find it a lot easier to pin the pins perpendicular so I'll put the the pin here so this was the center and then this was the center of this half and then I pin it in the middle of that so I just kind of keep subdividing it and making it so that the pins are every couple of inches I really want to control the fabric and that's pretty easily done by using the pins and pinning in a um I don't know what the right word is pinning in a and pinning in a organized yeah and pinning it in a way that makes sense for my brain and also keeps it so that I don't have to ease too much it's going to keep it nice and even as I'm working and that's important so again finding it making it match up finding the center pinning it through and then I'll pin in between those as well all right so on this side we've got the curve nice and pinned and on this side you can see it's still nice and even now I'm going to go ahead I pinned from one side but I'm going to I'm going to actually sew from this side take those pins out as I go but as I work I want to be able to sew it and be able to see all of the extra fabric that is on this side so I can make sure that I'm not catching that and getting any little puckers in there so if you have a larger piece or a differently size shape sometimes it's easier to put that on the top I will say that it really depends on how it works for you so I would suggest that you sew it one way and then see if that works and if it doesn't work as well try it the other way all right so let's go over to the machine and I've got the machine set up with my walking foot I have it at a three and 1 half Stitch length on just a straight Stitch I've got the 914 stretch needle in here and polyester thread in both my spool and my bobin okay so I'm going to put this underneath the foot here I'm going to lift my foot up just a little bit extra make sure it gets underneath there nicely maybe there we go make sure it gets underneath there I'm going to use the edge of my walking foot as my/ in seam allowance cuz that's easier for me to see than any sort of marking on the machine you could double check and make sure that your walking foot is about that generally speaking that's a pretty good estimate of what the size will be I also put the fabric in probably about a/ an inch and then I'll back stitch and go forward so we'll take a few stitches backward then we'll start going forward and I'm going to go ahead and I'm going to take out these pins as I go see if I can get this to sew a little FAS there we go so I'll take these out make sure I can stop my machine pull my pins out I don't have to keep sewing but you can you'll also want to use the Stiletto to kind of keep the fabric flat as it feeds underneath the foot I find that it works really well to keep the cuddle where I want it to be to make sure that it's staying nice and smooth along this side and that the edges are matching all right now as I come to the end here I'm going to get up to the edge I'll back stitch a few stitches come to the end and take it out all right I've got it sewn all the way across cross here's my my band now as you can see the the shapes are different so they're going to work a little bit differently and that's totally fine this is what it should look like now we're going to go ahead and I'm going to pin these and pin up this side so I'm going to fold these out make sure that my edges are matching here and I'm actually going to fold them toward the band because when I when I finish this I'm going to bring the band around and we're going to hide those seam allowances so I'm going to push them toward the hatband and pin those in place as always I kind of want to pin the important places first which is going to be centers and ends and then in ease in between so I want to make sure that those are matching here and I'll get that laid out nice and flat so this is a nice long straight stretch of sewing so I'm going to go ahead and double pin this where I pin parallel to the raw Edge and then I'll go ahead and do a second row of pins and what I have found is that this really does help it to ease through the machine much easier and keep all of my layers of cuddle nice and even pin this and I'm going to I'll sew down here we'll transition here and go straight down this Edge so again I'm going to sew or pin the end and then pin in between first along that raw Edge and then a second row just passed so now it's pinned and I will start up here we'll sew all the way down again with a/ an inch seam allowance put my fabric underneath here just a little bit just so I can back stitch put my foot down back stitch just a few up to that edge and then this is because this corner is a little uh it's a small corner and it's with the cuttle Fabrics which is knit so it wants to kind of move a little bit I'm going to make sure and use my stiletto to keep it moving straight through it that corner and then just work with my way forward as I sew this if I've pinned the double pins correctly this second row of pins will kind of slide underneath the foot and control the fabric in a way that I can't otherwise so that second row of pins will stay in unless you're going to run over the heads and then you should definitely take them out we don't want to R sew over our pins at all but I can just leave that in to hold the fabric and control it as I'm sewing as I get down here this is going to be an extra thick seam join so we've got one two three six layers of cuddle right here so I'm going to make sure and keep my stiletto to uh in the fabric there to hold it I'm going to kind of stop where the seams join and I'm going to Pivot just a little bit so I can come straight down this side now again using my stiletto to make sure that it feeds underneath there nicely then just straight down the side again I leave those second rows of pin in just to control the fabric get to the end back stitch and pull it out so now I've still got these pins I've still got the pins along here that were the double row of pins I'll take those out but you can see how evenly it kept the fabric um as we went all right so now I need to flip this up so that I can top Stitch this in place there are a couple ways of doing this I found a couple of ways that work really well one of them is using that basting tape that I really like so we're going to go ahead and we're going to put some of that along the seam edge here to kind of hold the band as it comes up and will require less pinning as I'm sewing around it which I really do like so let me pull that out I'll show you how that works so I'm just going to go ahead and I'm going to take my by Annie basting tape and what I really like about this is it's extra sticky which is really nice but it's also only an e of an inch wide so it's really narrow and it's easy to control so I'm going to take a little strip of it here and I'm going to put it right underneath the seam that I sewed the hat to the hat band and I'm just going to put it on here just a little bit at a time so what I like to do is not try to go too far because I can only control a little bit of the fabric at a time so I definitely give myself some ease by making different strip lengths as I go along here I'm going get this just press it in place one of the things that I also want to note is is that I want to find the center of the Hat here so I'm going to go ahead and I'm going to mark it if you remember we would we did that with the band and we want those to match up later so here's my Center Mark and my Center Mark and we'll match those up as well all right so I'm going to work my way around here do another little section with the basting tape and really all this does is makes it a little bit easier and I have less pinning I have to do make sure I can still see my Center Mark there turn it and this does not have to be obviously very neat or in a perfect position it's really it is basting tape it will just sit there and hold the fabric for you for a little while until we sew it so the pattern gives us directions that you can also hand sew this and you can absolutely just pull this up and do a little whip Stitch all the way around if you enjoy hand sewing that's a great way of doing that and not having to do any top stitching all right so now we can come back to the beginning where we were to get that to stick down we it very well come on little guy hold on okay so then I'll just pull the tape off here and I'm just going to work with it a little at a time so I'm going to go ahead and bring the edge of the hat band up to here make my seamline match and then go ahead and press that in place using the basting tape to keep it where I want it to be and I'm going to work my way around one bit at a time so I just want to make sure press that real well you can use the end of your pressing tool here the Stiletto and then the other end is the pressing tool I use the little stiletto to kind of pull that paper up get it started and then keep putting that handband in place what you want to make sure that you're not doing is not stretching it at all so be careful just to kind of lift it up and over lining it up with your seam I'm getting that to get here and here I've got the center seam oops come on little guy there we go all right so here I've got the mark for my center of the hat and I've got my mark for the center of the band to make sure that those match together and then i' heere it along the way so know I know that now it's it's centered should work out just fine again I'll stick it on just matching that raw Edge basically with the seam line if it doesn't match up perfectly it really is just fine okay go ahead and get my last strip on all right so now it's based in position I could go ahead and I could pin a few times and I'm going to do that just to make sure that it stays kind of where I want it to but you can say it'll you can see it'll stay really nicely with that basting tape I really do like it's extra sticky and what that does is allows me to pin a whole lot less as I go around here so now I'm going to take it over to the machine and we're going to top Stitch that in place we're going to do this kind of like we do with cuddle bindings just bringing it over those seam allowances and Zig zig agging it in place like I said you can absolutely hando this but it's really fast and easy with the machine so we'll do that I'm going to set up the zigzag so that it is a larger zigzag so we're going to make it as wide as we can and the same length so I like to do it so if it's a four wide going to make it four long you could do four and a half or five that works as well I don't suggest going any smaller than three and 1/2 for this kind of um for this Tech technique just because it will hold it just fine when it's a bigger Stitch and it will be easier to sew so I will start with I will start with the seam that's where I'm going to start just because that's going to be the part that will be not quite as neat and that's totally fine so we'll kind of put that all together at the end if you wanted to if you have a free arm this is absolutely where you can take the free arm off your machine this one doesn't so I'm just going to kind of feed it in here we can absolutely wrap it around the the free arm and sew it really easily all right so I'm just going to go ahead and zigzag as I zigzag I'm going to come down on the left just off the fabric so I want to kind of Hit the very edge of it and catch that really nicely so you can kind of come right to the raw Edge and we're just going to zigzag we're just going to zigzag all the way around so again I'm just kind of going right along that edge securing the Hat bound to the inside of the Hat okay so now we'll turn it inside out and that band has been top stitched on and secured it in place so you can kind of see this stitching if you look here you can see the zigzag showing up just a little bit I'll tell you one of my favorite things about this bani stiletto is how easy it is to then kind of come in here and fluff up these stitches and it will hide it hide all of those zigzags so all you see is a nice fluffy band okay so go ahead and I'll kind of scretch up all of those fibers all the way around hide all of that top stitching all right so now that the hatband is kind of fluffed up we're going to go ahead I'm going to push this all the way out I'm not going to trim this seam up here and what it's going to do is kind of cause a little bit of a thick spot right here which is actually helpful for us when we sew that pom pom on so the Hat part is done we're going to go ahead and make the pom pom so we're going to do that with the circle template that we have we cut that out the first thing I want to do is a nice long running Stitch around it so I have my a big sewing needle and I'm going to go ahead and I'm going to not my threads here at the bottom go ahead and just make a knot and I make another big one because I want it to hold really nicely in the fabric so I can kind of tug it and I'm just going to stitch a big quarter inch running Stitch all the way around all right so as I work my way around I'm going to kind of pull it up just a little bit get myself a little bit more length with my thread I just don't want to pull it too tight I'm going do those last few running stitches here get it back to the beginning I'm going to go ahead and start to pull this let it kind of work itself up into a circle just not going to pull it too tight I'm going to put some polyfill in there so with this one I'm just using the regular old polyfill and it is nice and dense and works really well for this I'm going to pull it apart just a little to give it um a little less lumpiness feed it in there a bit at a time until it is as full as I want it to be as you're going you can kind of pull your threads to see how full it is see how much more you might need to St just kind of work your way through until it's as full as you want it to be there is no prescribed amount but you might be surprised at how much stuffing you can actually fit into these little these little shapes so I'm going go ahead and stuff that in there and then as it gets Fuller I kind of have to pull this a little or hold it as I'm pulling my threads here and I'm going to try to pull them gently again I'm using two layers of or two threads that are polyester so I can actually tug it a little bit harder make sure that you're using a polyester thread because the cotton thread will definitely pop when you do this so now I've got my little pom pom it's about as full as I want it to be so I'm going to tug this really nice and tight I'm going to come over and just grab a stitch and kind of lock that in so pull it hold that and then bring my thread I'm going to do this a couple of times kind of pulling it across to keep that bottom nice and tight here all right because we want to make sure that it doesn't start to unfurl on us okay so now as I've gotten that secured I can I can let go of my I can let go of it and it's not going to go anywhere I've got a long enough tail that I can use this to sew it on if you need to rethread and lock your stitch on you absolutely can but now I'm at this point I'm going to go ahead and I'm going to kind of tuck my hat the little point right into the end there and then I'm going to take some nice big whip stitches here and secure the Hat onto the pom pom you'll notice that you can't really see the stitches and that works to our advantage because it does not have to be neat and tidy no one will ever see it again we're just going to take some big stitches around here I'm going to make sure that I'm catching the actual pom pom and down into the Hat a little bit okay to make that make sure that that's nice and secure I've got a little loose thread there we go okay so I'm stitching into the pom pom and then into the hat and then just going to bring those together to make sure that they are secure I'm going to go around this twice make sure really secure on there because I know if I give this to a little one to wear on Christmas morning that pom pom is going to get some some tugging go ahead and really secure that all right so as I come around you're going to stitch around it twice make sure that it's nice and secure can get a little bit of tugging it'll be all right we massage that pom pom into a shape we like I'm going to go ahead and knot this twice so I just take a big Stitch and feed my needle back through there okay so get it nice and secure and instead of just cutting it off there I'm actually going to go ahead head and I'm going to stab it through the pom pom out the top and then cut my Stitch I'm cut my thread there and it'll pull those threads back in there hide it and make sure that I don't actually cut off my knot all right so there we go super simple easy project I hope that you'll join us next time for the Santa sack the companion piece for this remember that it uses one yard of each of these Fabrics so it's a great companion uh they're great companion projects to go together thanks for joining me here today at Missouri Star Quilt Company I'm really glad you were here and I can't wait to make the next project with you until then Happy sewing hi everybody it's Jenny from the Missouri Star Quilt Company we hope you enjoyed watching this video if you aren't already part of the Missouri Star Quilt Company family be sure to subscribe so you won't miss a thing and if you click that Bell it'll notify you every time a new tutorial comes out see you next [Music] Friday

More Fabric by Yard tutorials

See all