
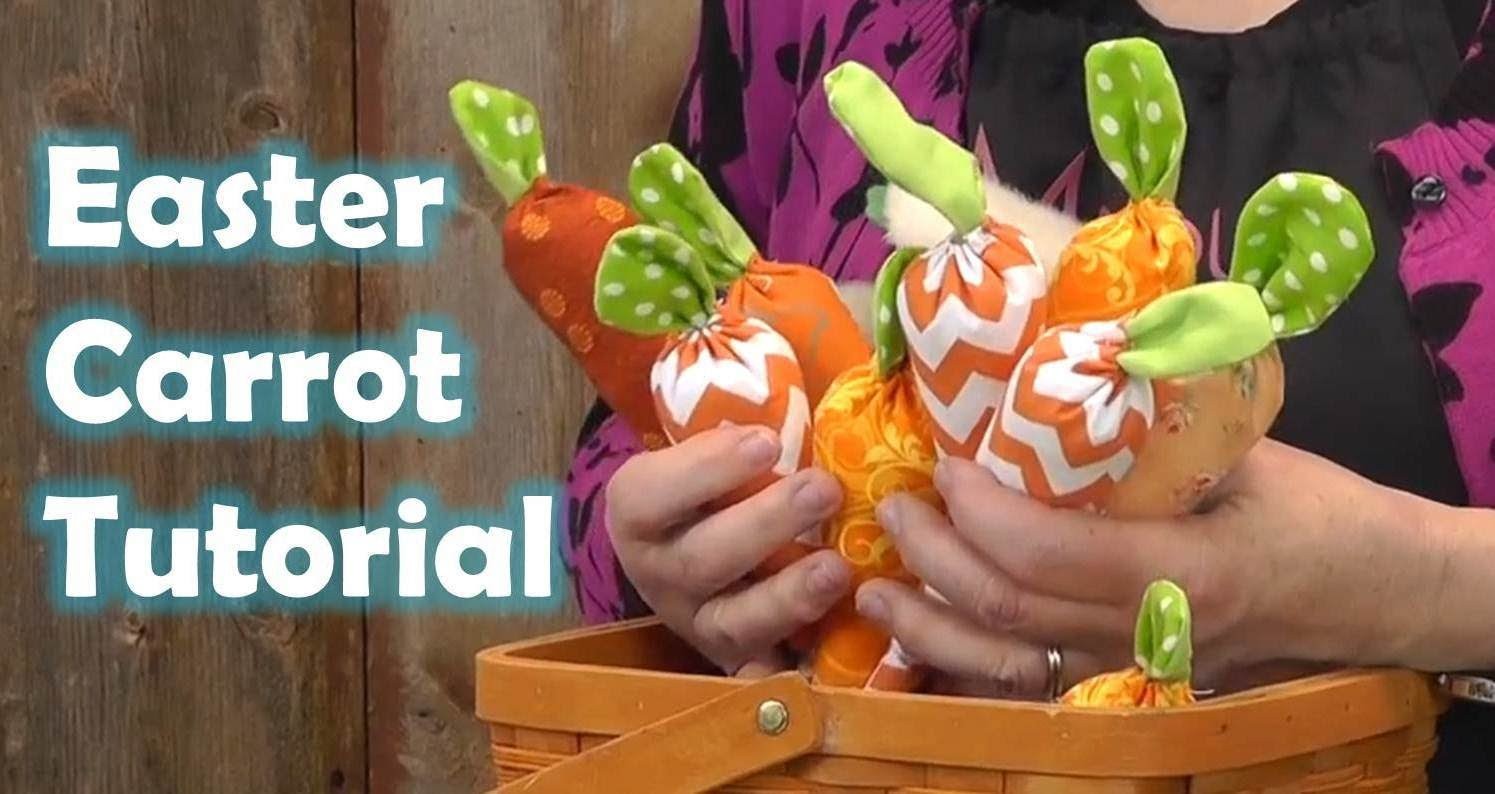
Easter Carrot with Fabric Scraps
Jenny Doan shows an simple little Easter project - an adorable little Easter Carrot, which you can make out of orange and green scraps, or layer cake (10") squares.

Instructor
Jenny Doan
Jenny Doan is an American quilter, author, and YouTube personality. Jenny started Missouri Star Quilt Company in 2008 and today it is the largest quilting supply vendor in the United States.
Shop this tutorial



Common Questions
What is covered in Easter Carrot with Fabric Scraps?
Jenny Doan shows an simple little Easter project - an adorable little Easter Carrot, which you can make out of orange and green scraps, or layer cake (10") squares.
How long is the tutorial video?
The tutorial video is 00:05:48.
Are supplies listed for this tutorial?
Yes. The tutorial page includes the supplies and materials connected to this project.
Video Transcript
Hi, I’m Jenny from the MSQC. And Easter is coming. So I have a really fun idea for you this Easter. We all have these bunnies and these baskets, but do we have carrots? Look how cute these carrots are. I made all kinds of them. All it takes is some orange scraps and some green scraps. And I’ll show you how to do them. Holy smoke, there’s loads of them. Let me put that right over here. So what we’re going to use to make this of course is orange scraps and some green scraps and this wedge ruler. The wedge makes the perfect carrot shape. I love the wedge because out of one ten inch square you can get two of these cuts. By laying the wedge on the edge you’re going to get two cuts. So I have one cut out here. It’s a little wedge just like this. And we’re going to fold it right sides together and sew a quarter of an inch all the way down the side. And that’s going to give us the carrot shape. So let me show you. Here we’re just going to slide this down here and do that. I thought these were so darling. Just fun for your little Easter table or, or wherever you want to use them. I’m cutting off this little end right here because we’re going to turn this. So I’m just going to push it in there and I like to use a pen or a pencil to get my point. There’s all kinds of contraptions out there to give you that pointed end look. And if you can’t get it out remember you can always use a pin and pull out that last little bit. It looks like I’m going to need a sharper point than that. There we go. So there’s my carrot shape. And now I’m just going to stuff this with some stuffing. And again you’re going to want to start with just a little bit to put in the bottom because that little part down at the bottom is, you know, you just need a little bit to stuff in there. And then the rest of it you can pack in a little faster. But that first little bit, you want to use your pen and scoot it way down to the tips so you’re stuffed the whole way down. So there we go. Now I’m just going to put in some stuffing like this. And this part goes very fast. A little bit more. And then I’m going to set this aside for a minute while I make my leaf. Now for my leaf, what I’m doing is I’m just taking a piece of fabric like this, doubling it both sides. And just sewing a, you know, a U shape. So you can draw those out or not. I have a little piece of scrap here. I just folded it over so I have two pieces. But it doesn’t have to be on the fold, it can be two scraps. And I just drew out, oop my pen failed me right now. I just drew out a U like this. So just a really simple little mountain shape. Sew around it and I’m going to flip it like this. And I, I just am going to use my finger and push that out so that it’s out nice and firm. Then I’m going to take this little leaf segment and I’m going to set it on the back seam back here but I’m going to fold this under first. So I’m folding this down. And setting my leaf down inside the carrot. Can you see that good? And then I have a needle and thread here. This is so, these are so darling. I had so much fun making these the other day with my grandkids. I have them stuffing. I had them sewing. So what we’re doing now is we’re folding the top edge of our carrot down. And I’m just doing a running stitch along here, like this. And my thread, I’m just sewing on the outside, turning my edge down and doing that little running stitch back and forth. And I start at the back by the leaf so that it anchors it so I don’t have to hold it the whole time and I don’t have to put a pin in there. Alright. Make sure we get this all good. A few more stitches. And we are almost there. There we go, right up the end there. And it looks like about two more. And your running stitch doesn’t have to be very tight. And so then, there we have it. And so I’m just going to pull this tight like that. And I left my knot on the outside because what I’m going to do now is I’m going to pull that knot out a little bit, squeeze it tight and tie a knot in both of them. Just like this. And that gives me this perfect little, darling Easter carrot. How cute is that? And you can have a big basket of them on your table. You can string them together as a garland, whatever you want to do with your carrots. We hope you have a wonderful Easter from the MSQC.



