

How To Make A Dashing Star Quilt - Free Quilting Tutorial
 Jenny Doan
- Layer Cake
- Holiday
- King
- Beginner
- Quilt size 90" × 90"
Jenny and Natalie are dashing through a BIG, easy star block made with precut layer cake squares. The Dashing Star - or LeMoyne Star - has been a Missouri Star favorite since its debut in 2012. This quilt is fun n' festive with pretty holiday prints from Yuletide Forest by Katherine Lenius for Riley Blake, a candy stripe border, and Christmas Paisley machine quilting.
Instructor
Jenny Doan
Jenny Doan is an American quilter, author, and YouTube personality. Jenny started Missouri Star Quilt Company in 2008 and today it is the largest quilting supply vendor in the United States.
Shop this tutorial
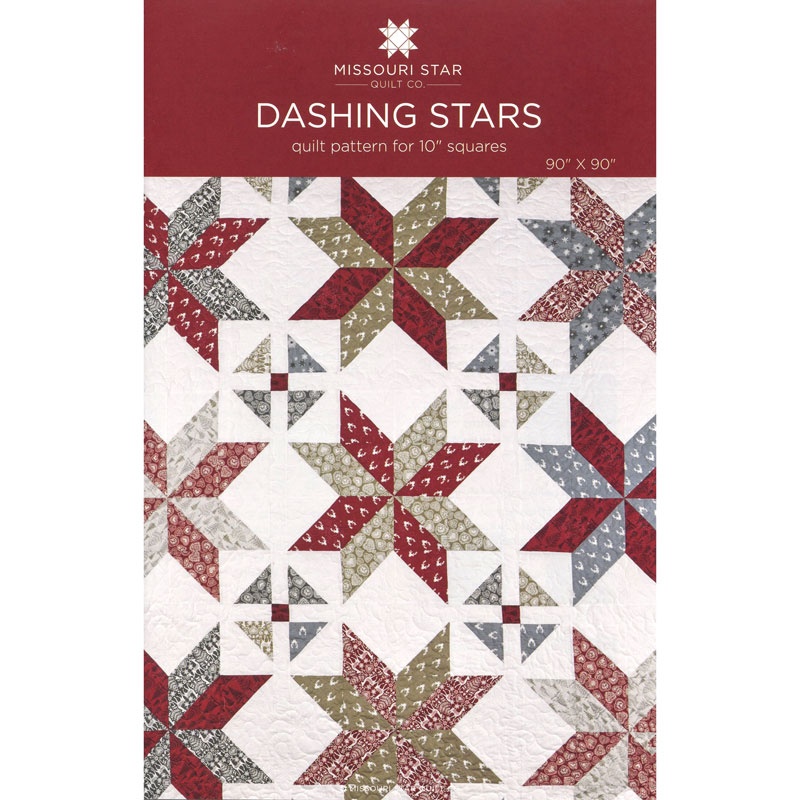 Dashing Stars Quilt Pattern by Missouri Star$6.95Shop →
 Digital Download - Dashing Stars Quilt Pattern by Missouri Star$4.95Shop →
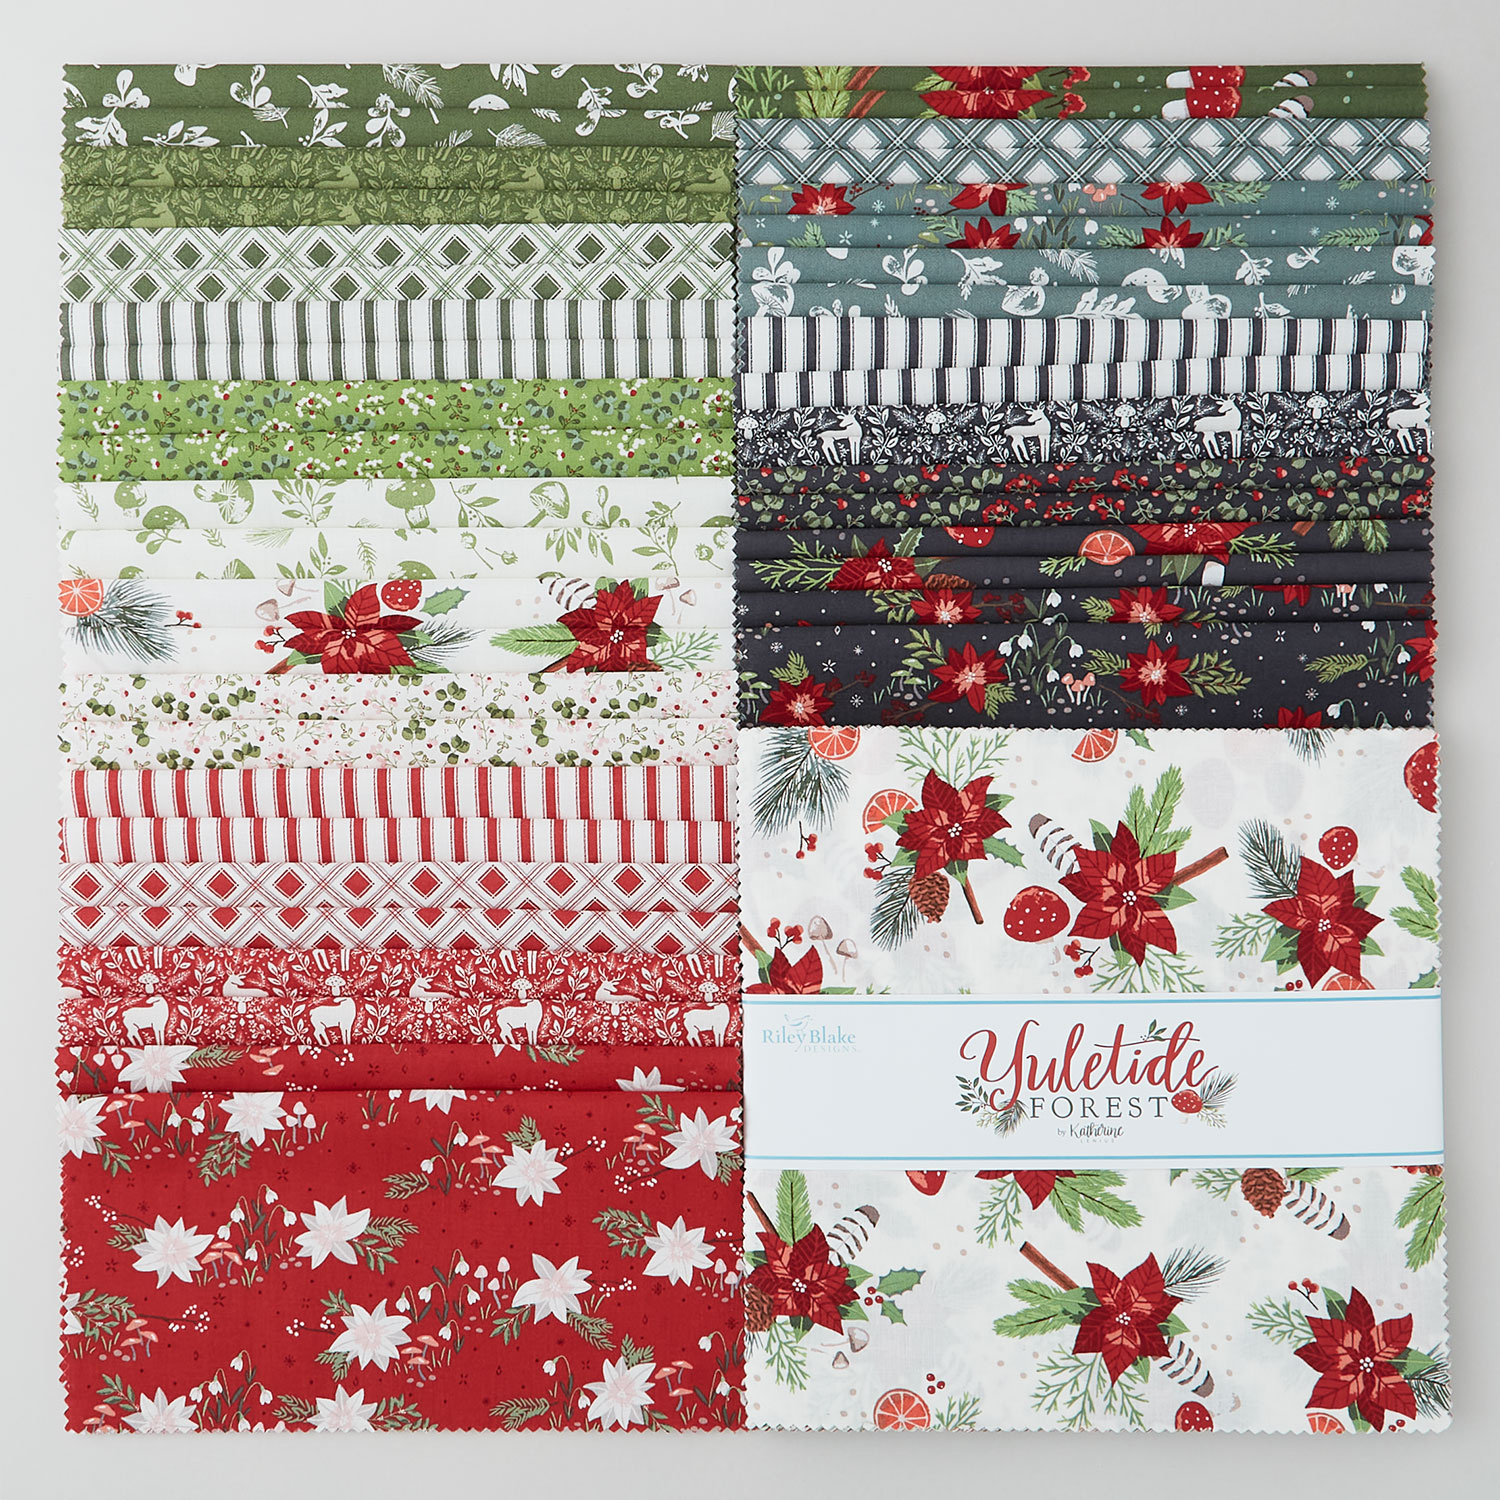 Yuletide Forest 10" Stackers$39.95Shop →
 Kona Cotton - White Yardage$7.28Shop →
 Yuletide Forest - Floral Sage Yardage$11.96Shop →
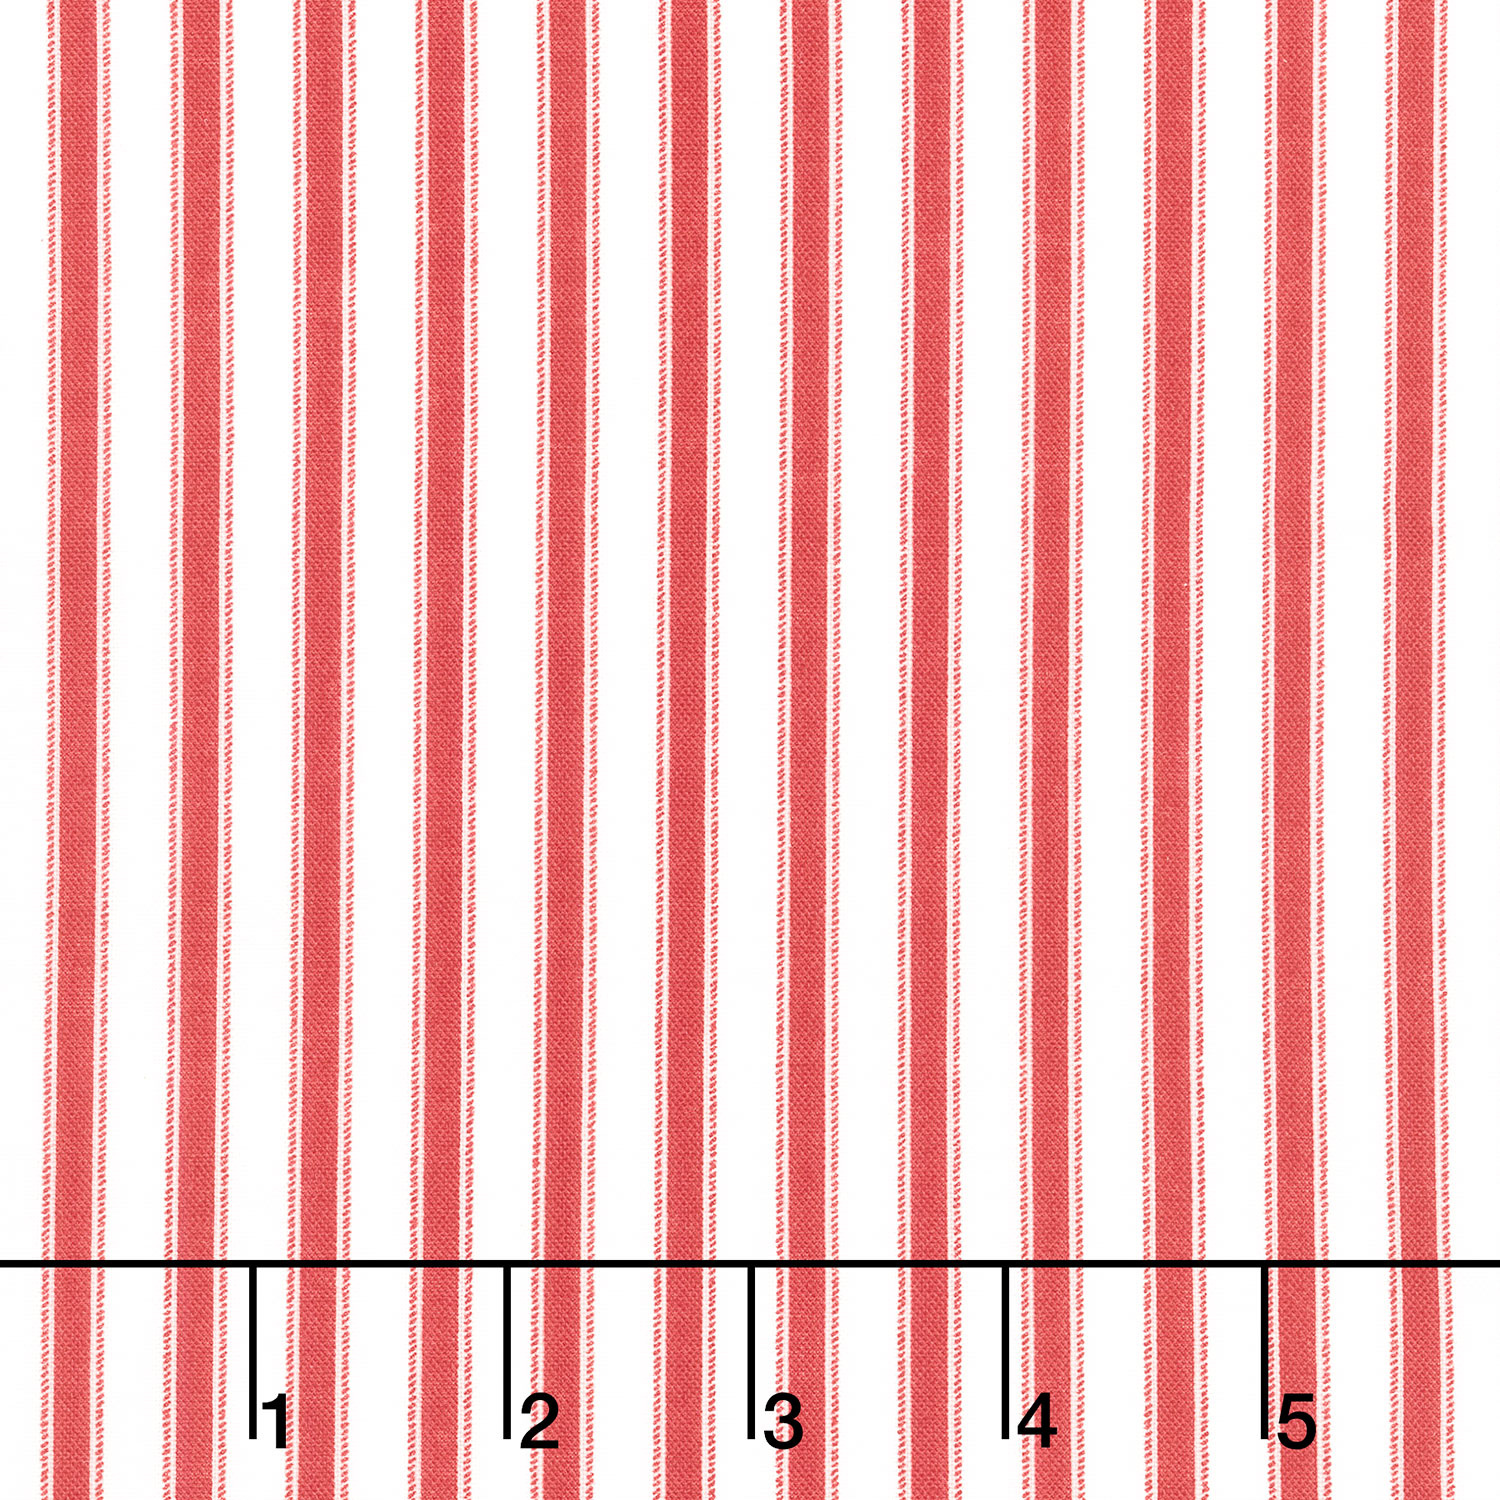 Yuletide Forest - Ticking Red Yardage$11.96Shop →
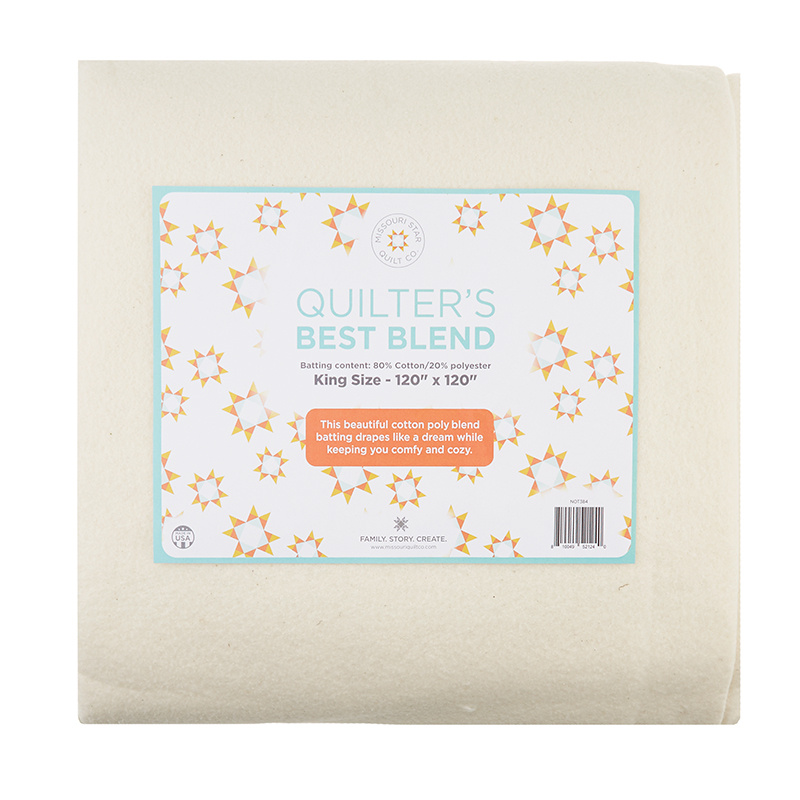 Missouri Star Quilter’s Best Blend King Batting$43.95Shop →
 Clearly Perfect Slotted Trimmers$31.95Shop →
Common Questions
What is covered in How To Make A Dashing Star Quilt - Free Quilting Tutorial?
Jenny and Natalie are dashing through a BIG, easy star block made with precut layer cake squares. The Dashing Star - or LeMoyne Star - has been a Missouri Star favorite since its debut in 2012. This quilt is fun n' festive with pretty holiday prints from Yuletide Forest by Kat...
How long is the tutorial video?
The tutorial video is 00:21:11.
Are supplies listed for this tutorial?
Yes. The tutorial page includes the supplies and materials connected to this project.
Is a transcript available?
Yes. A written transcript is available on the tutorial page.
Video Transcript
Hi everybody, it's Jenny from the Missouri Star Quilt Company and I'm here with Natalie today-
Natalie:
Hi.
Jenny:
Because we are doing one of our favorite fifteens for you.
Natalie:
That's right.
Jenny:
And it is the dashing star quilt. So let's take a look at this quilt. So this was actually, we did this so early on. So early on, it was one of my favorites because literally-
Natalie:
It's been at least 10 years.
Jenny:
You make nine blocks and your quilt is huge.
Natalie:
It's massive.
Jenny:
It's a huge big quilt. It's massive and it's quick. So we're going to redo this today.
Natalie:
And it makes good use of a layer cake.
Jenny:
It really does. It really does. So to make this quilt, you're going to need one packet of 10 inch squares, and we have used Yuletide Forest by Katherine Lenius for Riley Blake. You're going to need some background fabric, three and a half yards of that. And that includes your sashings and that first inner border.
Natalie:
Perfect.
Jenny:
You're going to need some border fabric. We've got an outer border one in three quarter yards. This is a five and a half inch border. And of course you guys know I love a striped binding out there. And so you're going to need three quarters of a yard for that binding.
Natalie:
Very cool.
Jenny:
Also, our backing is eight and a quarter yards because it's a big quilt or two and three quarter yards of a 108. And we just use this grunge here to back it with.
Natalie:
Yeah, this is beautiful.
Jenny:
It's always good when you want to put something just plainish on the back. It's just a great-
Natalie:
Or neutral. We could call it neutral.
Jenny:
Neutral. Neutral is better than plainish. Yes, I like neutral and I love grunge.
Natalie:
Either way.
Jenny:
Love the grunge [inaudible 00:01:40].
Natalie:
Yeah, it's beautiful fabric.
Jenny:
It really is. And it's also going to be helpful to you if you have a squaring tool because we are going to be squaring our blocks to six and a half.
So this is the block we're going for right here. Isn't that a great block?
Natalie:
It's so great.
Jenny:
It's basically a giant LeMoyne star.
Natalie:
Yep, that's right.
Jenny:
24 inches. Is it 24 or 26?
Natalie:
It is 24 I believe.
Jenny:
I think it is 24. Look at that. Isn't that going to be fun?
Natalie:
It would look really cute too just bordered and put on a table as a table topper.
Jenny:
Absolutely.
Natalie:
You could add two or three borders and make a baby quilt out of it.
Jenny:
You absolutely could.
Natalie:
It's just fun.
Jenny:
And it's so quick and easy. And we're going to show you the easy way to figure this out.
Natalie:
That's right.
Jenny:
So you're going to go through your layer cake and you're going to put some contrasting fabrics together. And we have this green here and this red, and those are the squares we're going to use. So we're going to bring out a square of red.
Natalie:
Well, you need two of each.
Jenny:
We do need two of each.
Natalie:
Two of each color. So two reds and two greens.
Jenny:
Two reds and two greens right here.
Natalie:
Yep. And then you need two background pieces to go with that.
Jenny:
And two backgrounds.
So we are going to put two right here. And here's how we're going to do this.
Natalie:
Yeah, this is the fun part.
Jenny:
Yeah. So we're going to put one green with a background, one red with a background, and one red and green together. That's how you make your block right there.
Natalie:
That's right.
Jenny:
And so what we're going to do is we're going to put these right sides together and we're going to sew all the way around them. I have the green one done, so I'm going to go ahead and do the red one.
Natalie:
Okay.
Jenny:
So I'm going to just line them up. So I have a red with a background. I'm going to line them up and I'm going to sew a quarter of an inch from the edge all the way around this square.
Natalie:
All right. Do you want to go ahead and do this one too?
Jenny:
I sure will. Stack it up for me.
Natalie:
It's ready to go.
Jenny:
And then while I'm sewing this, Natalie, why don't you explain the next part.
Natalie:
All right, so then the next part, you're going to take your rotary cutter and your ruler.
Jenny:
Because you do do this same thing for all three square sets. You're going to sew all the way around them.
Natalie:
Yep. But then what you're going to do is, you're going to cut from corner to corner, both directions. Just as this- this will give you four half square triangles.
Jenny:
There we go.
Natalie:
And we will then square these down to six and a half.
Jenny:
So you're going to need a 10 inch square or two 10 inch squares for every star that you do. And then you'll need a six and a half inch strip that we're going to subcut into six and a half inch squares for the corner.
Natalie:
Now I remember when we did this 10 years ago, the pack that we had, I think maybe we... I don't remember exactly why, but we added in enough fabric in the border yardage so that we could cut three additional squares that we needed at the time. So that fabric is still there in case the pack that you have doesn't have the exact right matching number of squares that you need.
Jenny:
The other thing I also remember from that old pattern is that I didn't square anything then.
Natalie:
No.
Jenny:
I was not squaring my blocks yet. And so we are now squaring them to six and a half, which makes it super helpful for the pattern writers and for fitting them together.
Natalie:
That's right.
Jenny:
All right, so we are going to use this. Do you want to square with-
Natalie:
I could square with block lock or I can square with this. Either one is fine.
Jenny:
Okay. You know what, I'll press.
Natalie:
I'm happy to do it either way.
Jenny:
So I have the ones here that are the two colors together. So we just need to-
Natalie:
Oh. So I don't have to square these ones-
Jenny:
No, we just have to square-
Natalie:
Because you've already done them.
Jenny:
The red and whites and the green and whites.
Natalie:
Awesome.
Jenny:
And we just need four of each.
Natalie:
Okay.
Jenny:
One, two, three, four.
Natalie:
Well, that's good because we only have four of each.
Jenny:
One, two, three, four. So glad to find that out. It's good when a plan comes together.
Natalie:
Oh, it's perfect.
Jenny:
All right, now with the clearly perfect slotted trimmer, you put your seam line on their seam line and you just square it to whatever size you want. And six and a half is the largest size on this little ruler. So you're able to just cut your corners and then trim around it. It makes it super easy for people like me that's brains don't love squaring blocks. And if you do, obviously you can use any squaring tool that is out there. You just need a block with a diagonal line.
Natalie:
My brain does like squaring. I can't say it, but I can do it. Likes to square blocks.
Jenny:
Maybe we ought to do a few with-
Natalie:
It's very satisfying to see how.
Jenny:
Let me see if I can find a ruler down here.
Natalie:
What do you need?
Jenny:
I was just looking for a big ruler with a line-
Natalie:
A block lock?
Jenny:
So that we could show them.
Natalie:
Oh, a square?
Jenny:
Yeah.
Natalie:
That'll work. The 10 inch.
Jenny:
Yeah, so any ruler with a diagonal line will work to square.
Natalie:
I can do that if you want to press one open?
Jenny:
Oh, I am.
Natalie:
I mean one of these. I can show how to use this ruler to square it to six and a half.
Jenny:
Absolutely.
Natalie:
If you'd like.
Jenny:
Absolutely.
Natalie:
Because the clearly perfect leaves them folded and pressed afterwards, but the-
Jenny:
There we go.
Natalie:
Okay.
Jenny:
We'll just show them both ways to square.
Natalie:
So all I'm going to do is use this diagonal line along this seam line and oops, I'm going to make sure that I have my one up here in the corner because that makes more sense to me.
And the first thing I'm going to do is square one edge. I want to make sure I have a little bit of extra out here so that when I flip it around, I can make this edge nice and straight too.
Jenny:
I do the same thing.
Natalie:
So that's my first cut. I'll flip this piece.
Jenny:
And then you can line it right.
Natalie:
Line it right up in this-
Jenny:
Six and a half.
Natalie:
This corner becomes my square and goes right into the six and a half and the diagonal line stays on my seam so that I keep those points.
Jenny:
Perfect.
Natalie:
And then we just trim around that-
Jenny:
Perfect points.
Natalie:
Top corner.
Jenny:
Here's the next one.
Natalie:
Sometimes I think that is the easiest because it's just so simple and it's what I'm used to.
Jenny:
Yeah. It's just different brains-
Natalie:
Rather than having-
Jenny:
Different brains do different things.
Natalie:
Yeah.
Jenny:
Once I actually figured out how to square with the Clearly Perfect, I could use other tools in square.
Natalie:
That's so interesting.
Jenny:
But I couldn't figure out what was going on up until that point. And all of a sudden I'm like, oh, I get what's happening here. It's just a different way of thinking.
Natalie:
Sometimes it's just repetition and practice that makes it sink in.
Jenny:
It's probably true. Because now I can literally square with anything, where before it was a real challenge for me.
Natalie:
I feel that way about binding. I used to always get my strips twisted and I never knew how to cross them over and finish them. And I had to look it up every time. And now it's just like I could do that in my sleep. And I think it's just repetition.
Jenny:
It is just practice. If you sew an hour today, tomorrow you're an hour better. And we got one more here for you.
Natalie:
Always makes me think of that quote that I like that's like, in order to be really good at something, you first have to be willing to be really bad at it.
Jenny:
Oh, I love that quote. I love that.
Natalie:
You have to be okay with being bad at something before you can get great at it.
Jenny:
Right. That should be on a T-shirt for sure.
Natalie:
So we all start out somewhere just not being the best.
Jenny:
We're all on a different journey.
Natalie:
Yep. There you go. Squared blocks.
Jenny:
So now we have four of the green and white-
Natalie:
Sweep these away.
Jenny:
Four of the red and white. Looks like I forgot to press this one. What was I thinking?
Natalie:
Was it trimmed or-
Jenny:
Yeah.
Natalie:
Did it just get set there?
Jenny:
It looks beautiful.
Natalie:
Okay.
Jenny:
Four of these and then four of the ones that are together. We're also going to need four corner squares. And so those, because these are six and a half, your corner squares will also be six and a half.
Natalie:
So that's from your background, you're just going to cut six and a half inch strips and subcut them into squares. And I believe you only need nine times four, which is 20 something.
Jenny:
Right. And then-
Natalie:
Is it 30 something?
Jenny:
Thirty six. Thirty six. And then for these corner squares-
Natalie:
Thirty six. Twenty something. It's the same thing.
Jenny:
It's the same thing. So then these corner squares out here that are this square right here.
Natalie:
Yes.
Jenny:
Those corner squares. It's just a five inch square that we've cut this way.
Natalie:
Okay.
Jenny:
And so you'll get four of those. One for your whole block. And then on this right here, what we're going to do is we're just going to set this in the corner.
Natalie:
You don't want to cut this one though because it's the same as these, right?
Jenny:
No, no, no.
Natalie:
Should we get a different one?
Jenny:
I have this one here already done, but I don't have a whole square of it because I cut it into fourths.
Natalie:
Oh, okay.
Jenny:
So if you want to sew down here, we'll trim that off and then our corner blocks will be ready as well.
Natalie:
Okay, I will do that.
Jenny:
Now this is one where I would sew off to the side and make sure that I kept all those half square triangles, because they're good sized.
Natalie:
Do you want me to sew off the side?
Jenny:
Do it. Just do it.
Natalie:
All right. Okay.
Jenny:
I have a jar of half square triangles and sometime I'm going to make something really amazing.
Natalie:
Awesome.
Jenny:
You wait and see.
Natalie:
Sounds great.
Jenny:
All right, so let me go ahead and trim this off right here and then we'll press it back, like this.
Natalie:
I seem to remember that we made the whole block with the corners and then snowballed them with charm squares.
Jenny:
I think we did.
Natalie:
That's how I remember making this block.
Jenny:
I think that's probably right.
Natalie:
And I think it works either way.
Jenny:
It does work either way.
All right, so we're going to start putting this together and we're going to start with the middle. And so what we're going to do is we're basically going to make a giant pinwheel.
And so I'm looking to see which way our fabrics are going so I can match the block that we showed you. So my mantra for making a pinwheel is light, dark, light, dark, light, dark, all seams to the center. And so I know if I have one here and my seam isn't going to the center, I know it isn't in the right place.
Natalie:
It doesn't look right.
Jenny:
Nope. So then, do you want to match up the greens and I'll match up the reds?
Natalie:
Sure. Awesome.
Jenny:
So our reds are going to turn out with the whites together so that they make the legs, the star legs. So here's this one.
Natalie:
I love putting this together. It's very satisfying.
Jenny:
It really is.
Natalie:
All right, now you've just got your corners.
Jenny:
And these are our corners right here. I'll let you do the ones on your side.
Natalie:
And maybe it is just easier to snowball a small square than the whole big thing.
Jenny:
It definitely is easier to do it. I don't know that we did it that way, but you know what, you can do it-
Natalie:
That's okay.
Jenny:
Anyway that you want to.
Natalie:
There's lots of different roads to get to the same destination.
Jenny:
So then how would you sew this together?
Natalie:
So I would probably do these two, all the way down, and then sew those together. And the same this way because I know about chain piecing now.
Jenny:
So I would sew these four together and then I'd stack up all my legs and do all my pairs.
Natalie:
Oh, how fun.
Jenny:
And then I'd attach them to the corner in rows.
Natalie:
Okay.
Jenny:
Shall we do that?
Natalie:
Yep. We can sew one together or we can...
Jenny:
Let's just sew one together.
Natalie:
Okay.
Jenny:
It's quick and easy.
Natalie:
All right.
Jenny:
I'm going to sew this middle together like a pinwheel. Again, how you put things together.
Natalie:
Wait, you can leave that attached.
Jenny:
Oh you can. How you put things together is a brain thing. And then what I'm going to do is I'm just going to pile all these legs up so they're going right.
Natalie:
Oh, okay.
Jenny:
Like that.
Natalie:
Yep. I'll give you those.
Jenny:
Not that my way is the right way. It's just a way.
Natalie:
It's a great way. I like your way.
Jenny:
All right, so then I'm going to match up these whites and all right, I've got my two piles here of my legs. And you can see it when they go together, they go together like star legs. And so if I keep them here, I literally can just lay them on top of each other like this and go ahead and sew them down. So we're just going to go ahead and run through these.
Natalie:
Very cool.
Jenny:
Quarter of an inch.
Natalie:
I'll line that up. I will grab that one from you.
Jenny:
All right. There you go. Number three. And the last guy. We got those right.
All right, then I'm going to sew my two middle pieces together here.
Natalie:
Okay.
Jenny:
Make a giant pinwheel, and I'm just going to line up the edge because they're nice and squared and I'm going to sew to the middle and make sure that one seam goes one way and one goes the other way so it nests really nicely. It doesn't matter to me which way it is pressed. I'm going to make it behave the way I want it to. And so we're just going to come down here like this.
And now I'm ready to put my legs on either end of this. So I'm going to grab these and remember these we sewed all the same way. And then see when you put it on here, you can see the legs right there. And so I'm going to go ahead and sew a leg to both sides of the middle, my middle pinwheel.
Natalie:
And do you want this one for the other end?
Jenny:
And we'll do this one on the other side and we'll start there. Again, nesting that middle seam. That is an important seam. All right.
Now while Natalie's pressing those, I'm going to take my bottom legs and I'm going to sew a corner to both sides and that will make the bottom row. And I'll do the same thing with the top row, making sure that my little corner is all the way to the outside. Which if you flip it like that, it can mess with your head a little bit. So just when you put it on here, make sure that it matches this side over here.
There is our bottom row. And then we'll do this with the top row as well. All right, so this one goes here and then put this guy over here. Turn it so the square is facing to the out, down and out. The last square is down and out.
Now we're going to sew this last side on right here, line it up and sew it down. And then I'm going to open it up and make sure, yep, they're both to the bottom going out. So then I'm going to take this part of it, I'm going to fold it up here and we're going to sew this long bottom row on. And these blocks come together so quickly and literally when you make nine of them, you have a queen size quilt for sure and a king size quilt if you border it. That is for sure.
Natalie:
It's so large.
Jenny:
It's a very large quilt.
Natalie:
Well it's 90 inches square.
Jenny:
What size?
Natalie:
Ninety inches square. 90 by 90.
Jenny:
That's right. All right, now the top.
Natalie:
And I noticed that the inside was pressed out, so the bottom and top legs I pressed in so that they would nest neatly.
Jenny:
Perfect.
Natalie:
I don't know if the middle one worked out as well. I forgot to check.
Jenny:
Well, I'm just going to sew along here.
Natalie:
Make them work how they work.
Jenny:
It worked perfect. Great. But nobody ever should look inside your quilt to see which way you pressed.
Natalie:
Nope.
Jenny:
Nope.
There you go. So here's our big star.
Natalie:
It's so cute.
Jenny:
Isn't it beautiful?
Natalie:
It's really cute.
Jenny:
Show us how it fits in the quilt.
Natalie:
All right.
Jenny:
So this should be 24 and a half, which means that you're sashing strips, you're going to cut them 24 and a half and they should fit in between. So you'll have a big star, a sashing strip, a big star, a sashing strip, and a big star.
Natalie:
Yes.
Jenny:
Then you're going to make this sashing row right here. And you're going to have, again, a 24 and a half inch sashing strip with a little two and a half inch cornerstone.
Natalie:
And these cornerstones come from the outer border yardage.
Jenny:
Yes. So this actually comes from this yardage here and it makes this little Shoo Fly right here in the middle of the quilt. The secondary pattern I think is just adorable.
Natalie:
I love that so much.
Jenny:
It's really, really cute. So the quilting pattern on this is called Christmas paisley and it's just darling.
Natalie:
It's really cute.
Jenny:
It's just like kind of a floral with some holly and holly berries and things like that and it just suits this type of fabric perfectly.
Natalie:
It's a very elegant Christmas pattern.
Jenny:
So you're going to make nine of these big stars, which in turn will make four of these complete Shoo Fly's and your outside edge, just half ones. I just think it's as cute as it can be. It's an easy quilt. It goes together very quickly because the blocks are really big. And we hope you enjoyed this remake of the Dashing Stars Quilt, one of our favorite 15 from the Missouri Star Quilt Company.
Hi everybody, it's Jenny from the Missouri Star Quilt Company. We hope you enjoyed watching this video. If you aren't already part of the Missouri Star Quilt Company family, be sure to subscribe so you won't miss a thing. And if you click that bell, it'll notify you every time a new tutorial comes out. See you next Friday.



