
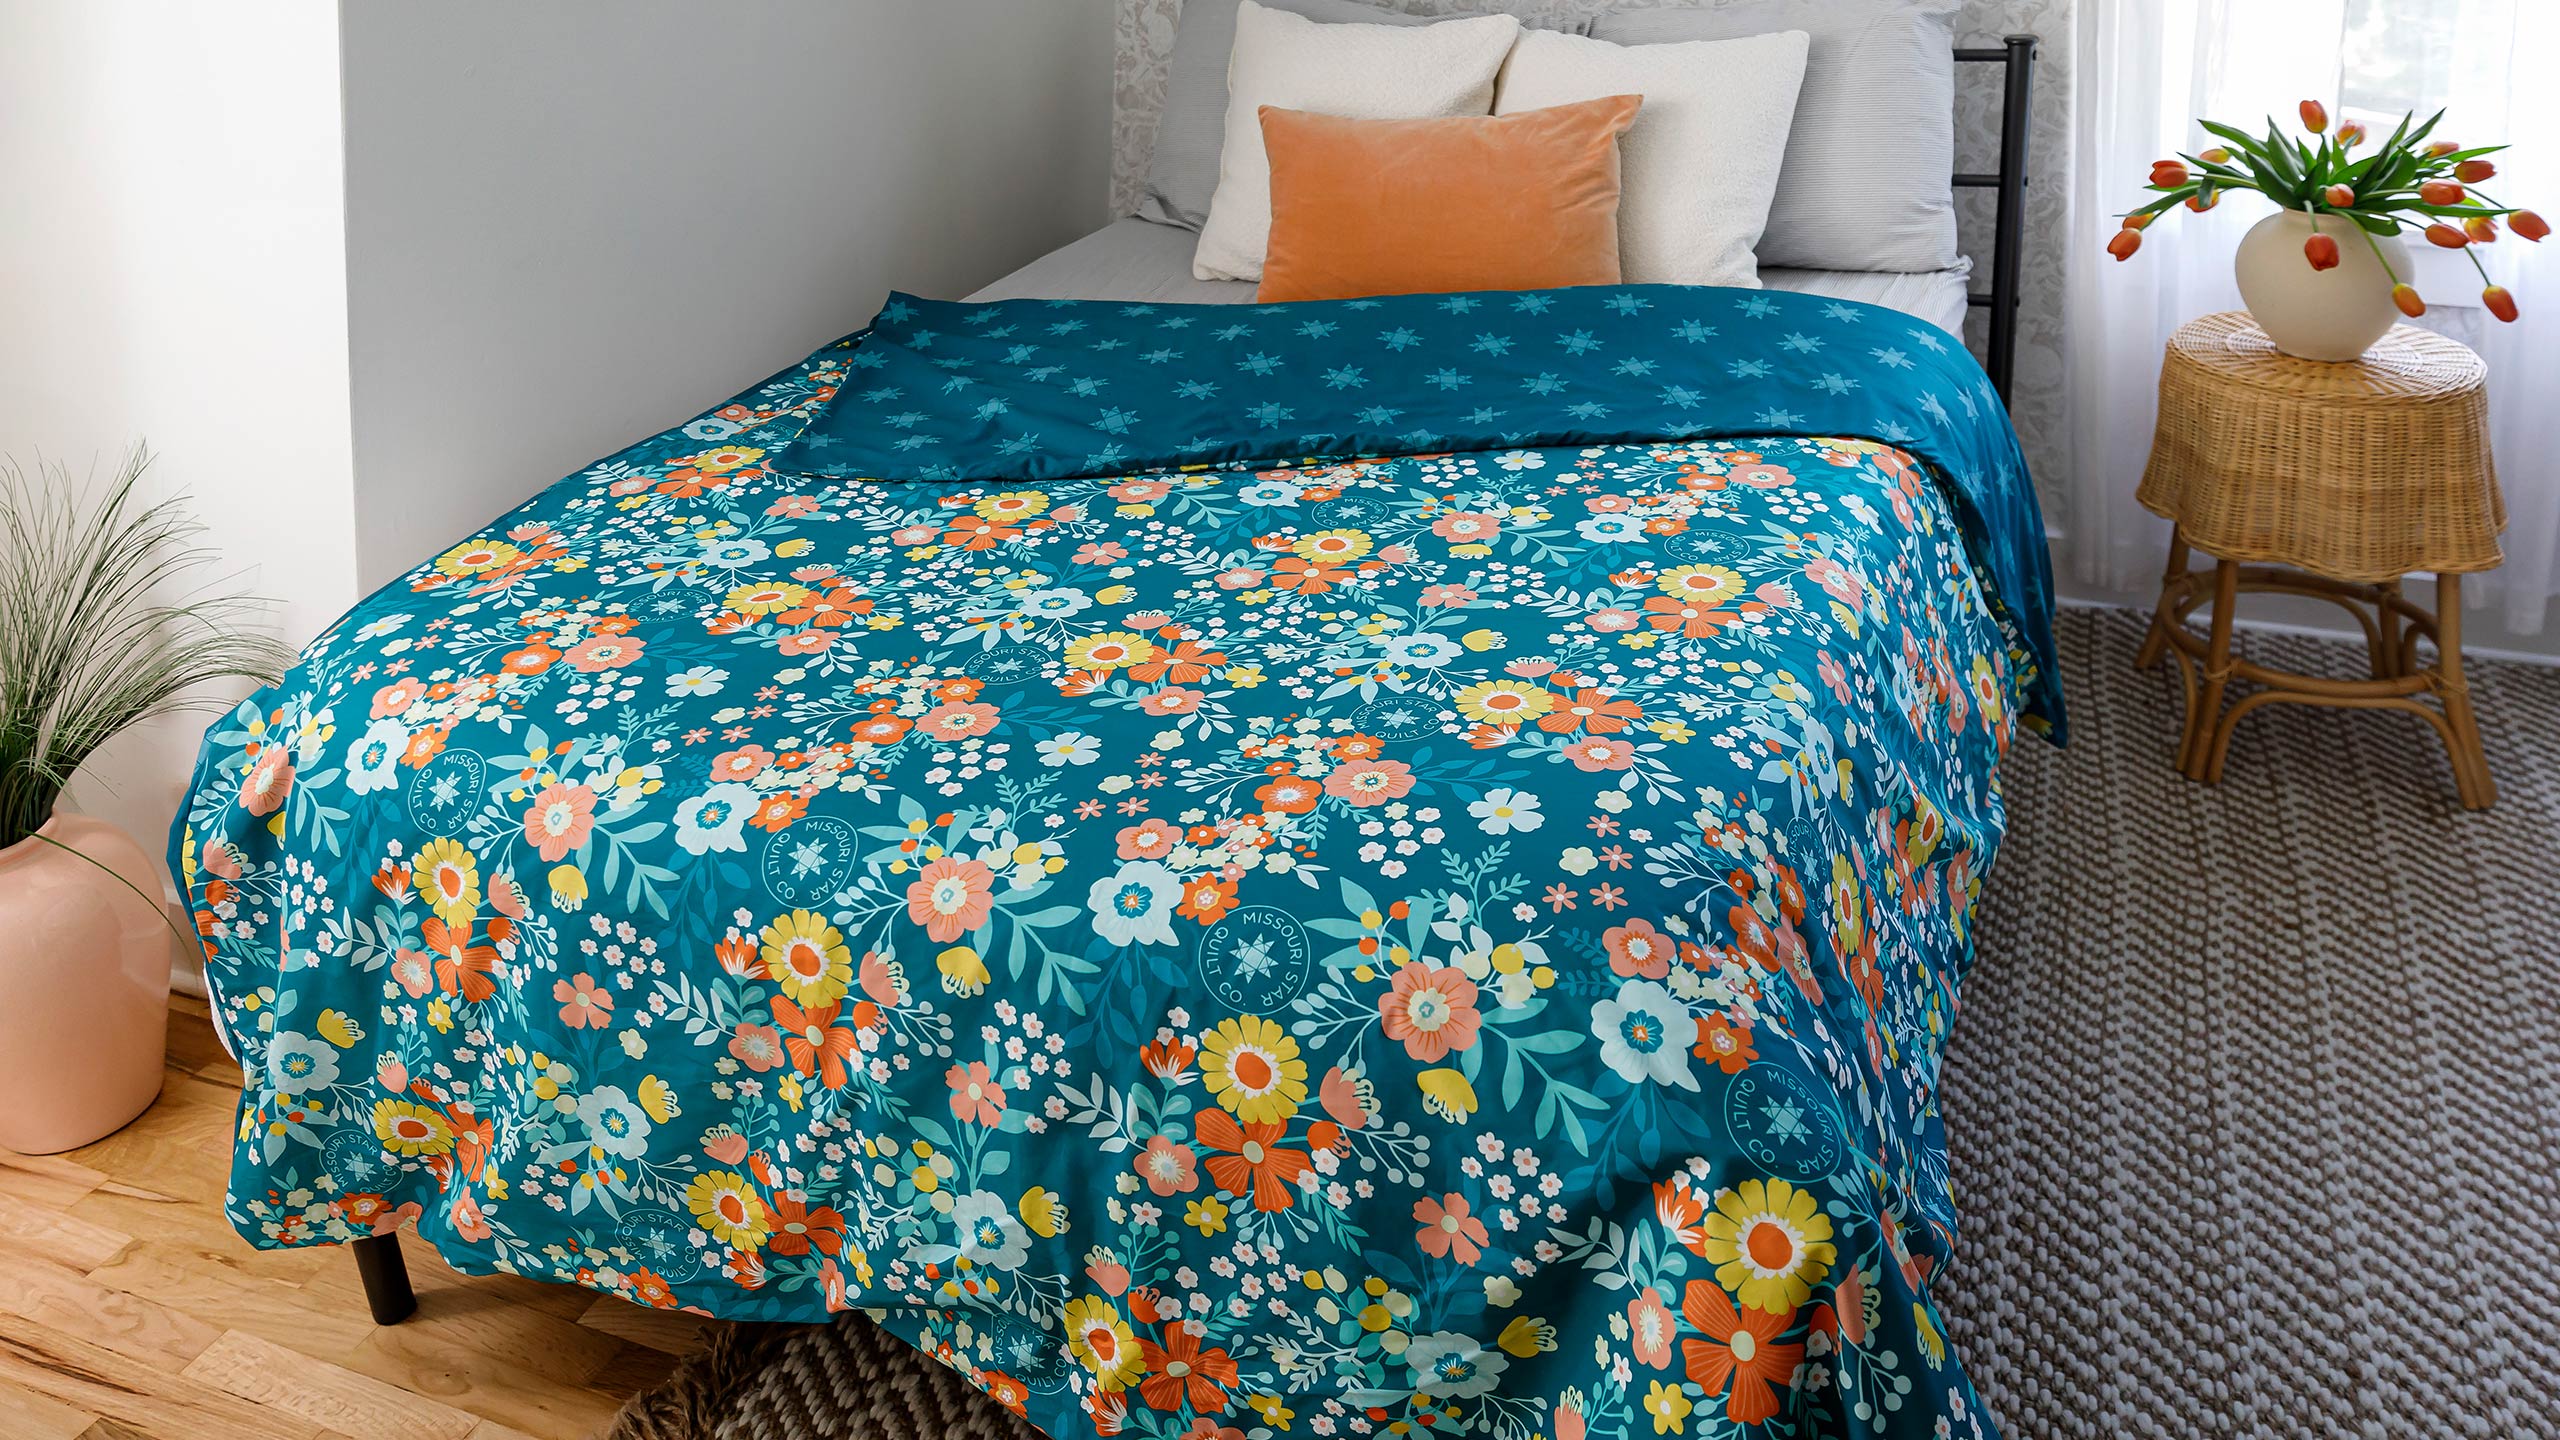
How to Make a Duvet
 Misty Doan
- Fabric by Yard
- Modern
- Beginner
- Quilt size 72" × 90"
Fashionable home décor that makes life easier? You bed-der believe it! With the duvet Misty shows you how to make, you can change the look of your bedroom in a snap. It keeps your quilt or comforter clean, too, so freshening up your bedding is as easy as tossing the duvet into the wash.
Instructor
Misty Doan
Misty Doan grew up surrounded by sewing and quilting. She loves spending time sharing tutorials each week each week, and when she’s not stitching up one of her fun sewing projects for home decor, most likely you’ll find her hanging out with her husband and three awesome kids or working on a house project.
Shop this tutorial
 Missouri Star Basics: Decorative Pillows and Bedding Pattern$8.50Shop →
 Digital Download - Missouri Star Basics: Decorative Pillows and Bedding Pattern$6.95Shop →
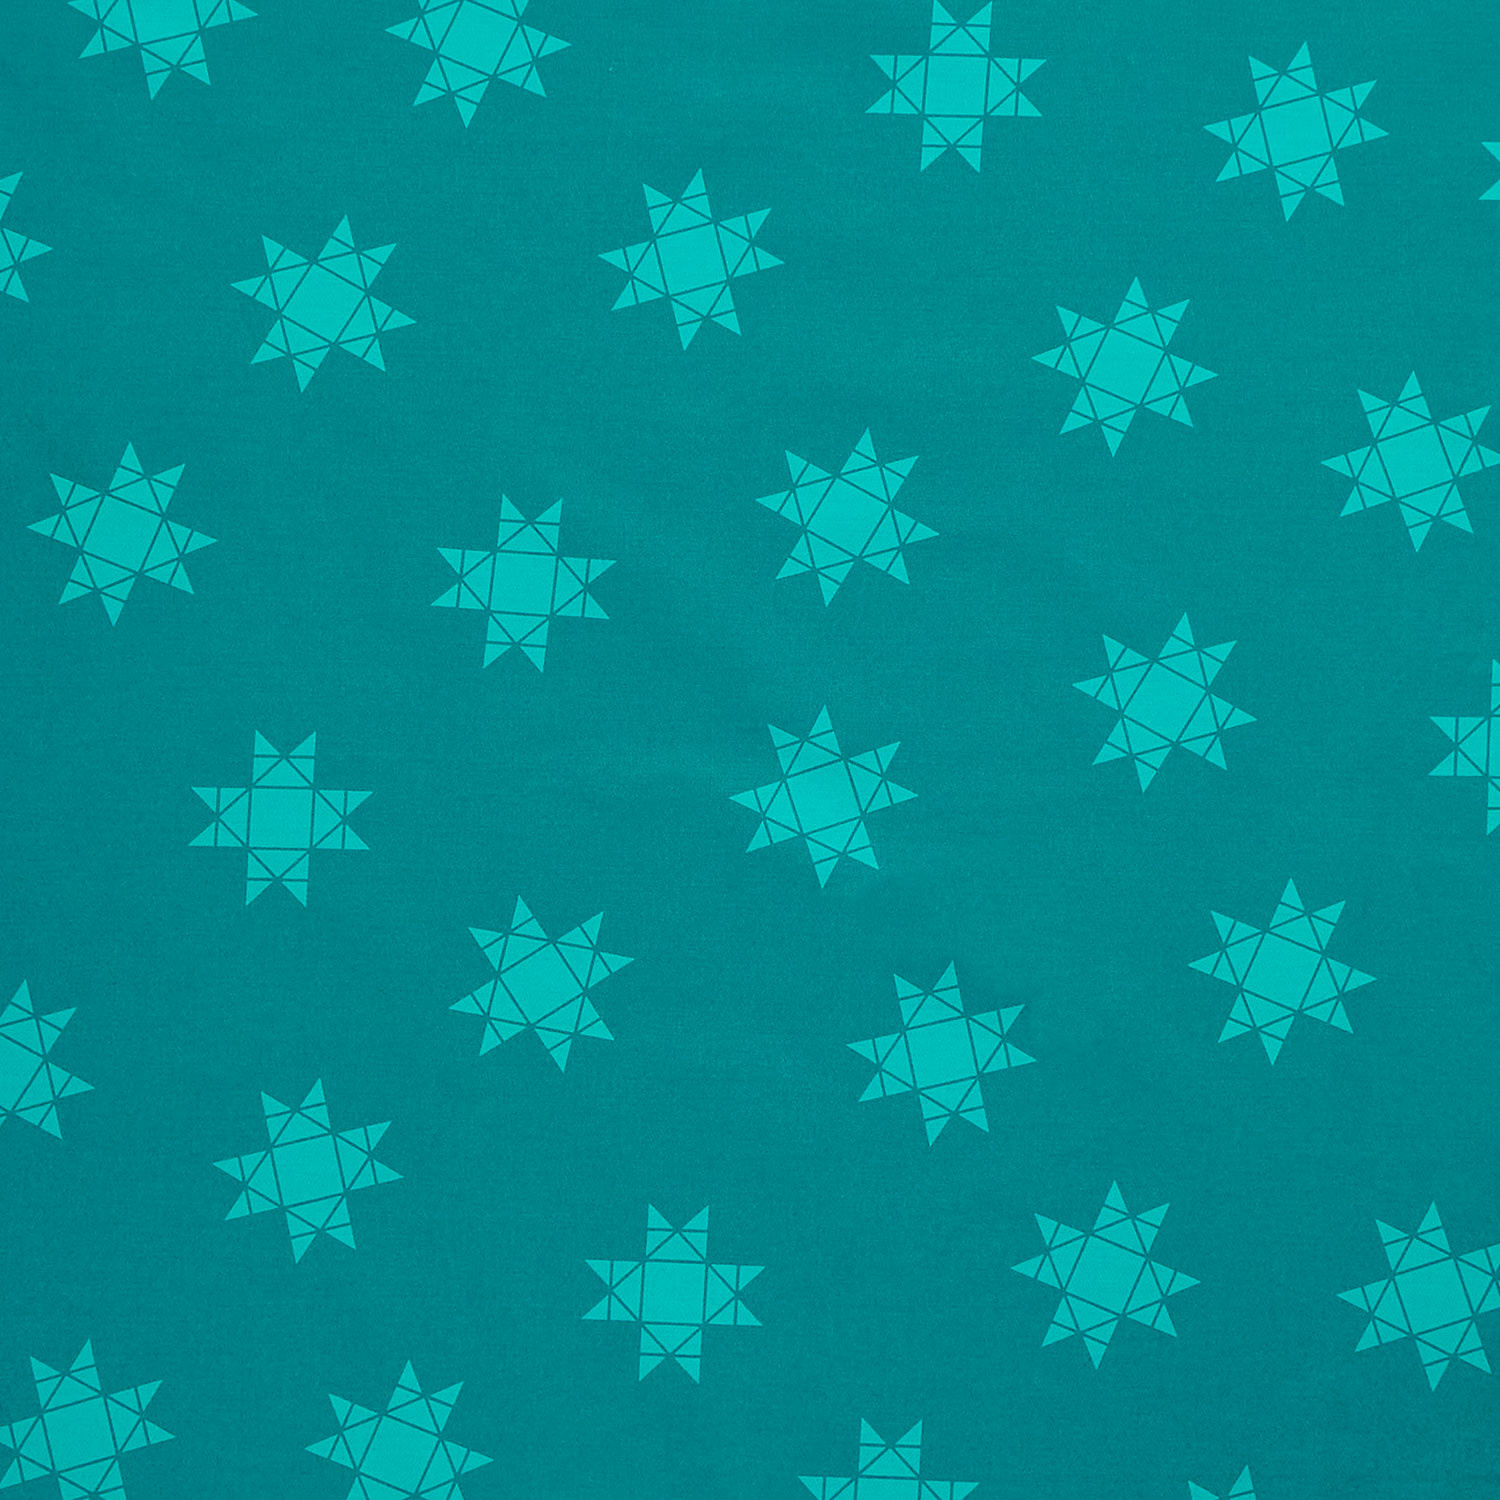 Missouri Star Quilt Backs - Quilt Town Tossed Missouri Star Dark Teal 110" Wide Backing$18.76Shop →
 Missouri Star Quilt Backs - Quilt Town Large Teal Floral 110" Wide Backing$18.76Shop →
 Missouri Star 5" x 15" Ruler$19.95Shop →
 Missouri Star 45mm Rotary Cutter$19.95Shop →
 Baby Lock Accomplish - 1500 SPM Straight Stitch Machine$1199.00Shop →
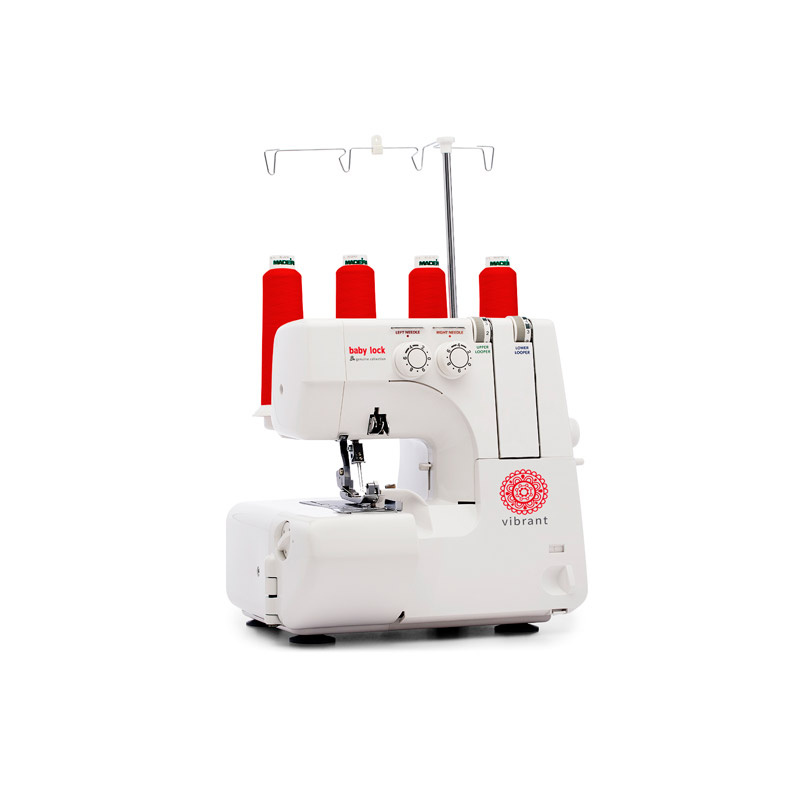 Baby Lock Vibrant 4/3/2 Thread Serger$399.00Shop →
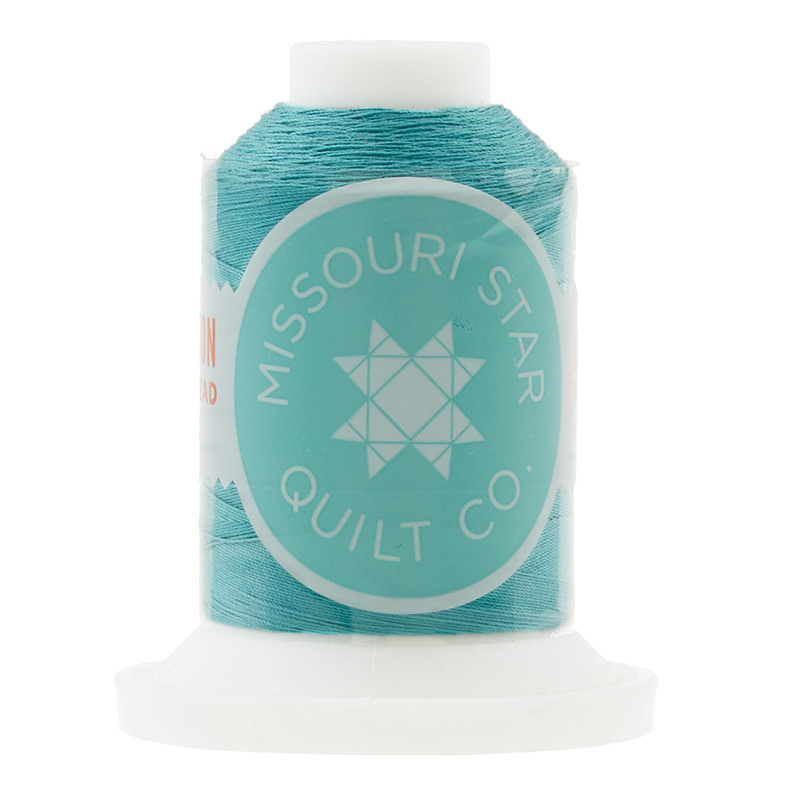 Missouri Star 50 WT Cotton Thread Medium Turquoise$7.95Shop →
 Exclusive Missouri Star Jenny TG1600 ProPlus Oliso Smart Iron$199.99Shop →
 Missouri Star Wooly Betty Board - 17.25" x 25.5" Orange Border$99.95Shop →
Common Questions
What is covered in How to Make a Duvet?
Fashionable home décor that makes life easier? You bed-der believe it! With the duvet Misty shows you how to make, you can change the look of your bedroom in a snap. It keeps your quilt or comforter clean, too, so freshening up your bedding is as easy as tossing the duvet into...
How long is the tutorial video?
The tutorial video is 00:15:57.
Is a transcript available?
Yes. A written transcript is available on the tutorial page.
Video Transcript
awesome duvet cover and it's super easy to make.
All right, so first things first, you want to grab your duvet that you'll be covering from your house and measure it. I recommend that even though the pattern has some standard sizes on there. If you want it to fit really snug go ahead and measure the duvet and then we're going to add
1 inch to the width and an inch and a half to the length of whatever your measurements are. If you want to just make the standard sizes, you can follow along in the pattern that we have listed here that tells you the requirements. I bought 2 and a 1/4 yards of 108” to make the twin size that I need for both the front and the back, so I have those here. You're also going to need some zipper by the yard. So that is all you need to get started!
So let's go ahead and I'll show you how to make this. So because this concept is the same no matter what size you're making, I have cut some smaller pieces that will just be easier for you to see on camera. So I have cut my measurement for my front and my back. To begin with we are going to choose whatever side is going to be the bottom. It's one of the shorter sides typically. And I have turned that under a half an inch once and then again. We're going to go ahead and top stitch the full length of this on both of these pieces, so let's take this to the machine.
I have switched out my thread for a matching thread so that it will look really nice. All right, so you can see I have that done here and I've gone ahead and done the exact same thing to my other piece. So I have both of my rectangles that I've cut and turned under one end to match. Now we're going to put these right sides together just like so, and they should be the same width. So if for some reason they end up wrong, you probably hemmed the wrong side by mistake. So just make sure that they're matching up.
Then we're going to grab our ruler and we are going to measure over 12 inches from each side. So keep in mind we're marking this because this is going to be our corner. So no matter what size you make, twin all the way up to king, you're going to measure in 12 inches. Obviously it's going to look very large on this small version that I'm making for you, but that is the size that you want. So I've made this mark and now I'm going to slide this over and do the same thing on the other side, coming in 12 inches and making a mark. This is just a guide for later.
So once we have both of those marked, those are just guide lines, we can
set our ruler aside for now. The goal is our zipper should go in between those two marks. Now keep in mind obviously this is going to be much longer on your actual measurement, which is why we need the zipper by the yard. I found even on the twin size I needed like a yard and a quarter roughly of zipper tape. So this is the the best choice for that.
So if you haven't used this before it comes in a package with this long zipper tape and then a bunch of extra zipper pulls. You're just going to feed those on and then we have one here ready to go. Now I'm just going to slide this over and I want to cut my zipper just a little bit longer than my marks. So you'll lay this across and grab your scissors just like so. I'm going to go ahead and I'm going to take this to the machine and we're going to tack across here to hold the zipper closed because we don't want to run any risk of the zipper head falling off. So let's go ahead and do that.
Now these nylon zippers are really easy to sew over, so you don't have to worry about it. So I'm just going to squeeze those right together and stitch forward and backwards a few times. There we go, and now I know my
zipper is secure. You know what? I probably better do this other end as
well, now that I think of it. That does not have a stop on it either. Now it's good to go.
All right, so we can put our excess zipper tape out of the way. Now I'm gonna start by taking and lining up my zipper on the right side of my fabric and we can pin this in place if you want or use some clips. We are just going to sew with a zipper foot or a narrow foot as close to the edge of that as possible. Then we will attach it to the other side. So let's go ahead and take it to the machine.
If you want to mark from the right sides of your fabric as well, so you know exactly where that needs to go. I like to have it on the wrong side and then I just kind of flip it over and my zipper is hanging over by about 3/4 of an inch from that mark. Now we're just going to line this up and I'm going to back stitch at the start. Stop if you need to move the zipper head out of the way, you can all right? And so now we can flip this up. We'll line up our ends of this other fabric as well cuz we want this all to be in line with one another. So matching those ends again and then I can flip up my zipper and attach it as well. So we're just going to top stitch that now. I'm going to reach underneath and I am going to move this zipper head to the other side just because we don't want to run any risk of running over that. Just keep everything lined up and back stitch again.
So now we have the zipper in there. You're going to want to make sure that it is open at this point or at least mostly open because we're going to turn this right sides out through the zipper later. So we can go ahead and again make sure that this is all lined up, we're going to make sure this is folded in half and everything is lined up on those edges, and then we're going to come back and look for those guidelines that we marked. We're going to sew straight on that line on both sides of the zipper and we're going to go back and forth a few times because this is where a lot of tension is going to be placed on that zipper. We want it to be really secure. So I'm going to go ahead and do that first right in line with our mark. We're going to stitch forward and backwards, I'd say at least four times and then we'll slide over and do the same thing on the other mark. Just make sure that that top edge of your fabric is lined up.
Okay, so now the trickiest part of this whole project is complete and now
we get to just enclose the rest of the sides. So we are going to come down just on the other side of our fold and we're going to sew straight across here. Then we're going to sew a half inch seam on the three other sides. So I'm just going to zoom all the way around and I'll meet you back here when it's done.
All right, so here is my serger. It's just a very basic simple one. If you've never used a serger before, it has two needles four spools of thread and it
finishes off the edge with this over lock stitch that secures it and makes it
a little bit stronger for lots of wear and tear. It also has a blade so you
want to be mindful of that that trims off all the extra thread and fabric that might be hanging over. So you want to keep your hands back and out of the way. Let's go ahead and use this.
It's going to give a great finish to the edge. I'm just going to do the three sides, obviously since this top edge is finished already with our hem. So I'm just going to line this up right under the foot and we're just going to cruise down. All right, down the final side here. All right we have the that all done now, and look at that beautiful finish! It just gives us that nice overlock stitch to secure all of those edges. If you don't have a serger you could come back and zigzag or whatever you'd like, just to make sure that you don't have any fraying. I'm going to go ahead and trim off some of these threads that are hanging over out of the corners just to clean those
up. There we go!
All right and so now all that's left to do, a lot of duvet have little loops or
holes that you can tie the duvet to the cover and so we're just going to make some ties to finish off. So to do that I just cut a 2 and 1/2 inch strip and this is 16 inches long. I just folded it into the middle and we're going to fold that in half again and press. Then we top stitched by tucking the ends under, we top stitch across the end and down each length until we got these little ties like this. So I do recommend that you put at least four ties so that you can secure each of your corners. So we'll do that just by
folding this in half, finding the middle and laying that right in line with the side seam and coming back with your straight stitch and tacking that in place on all four corners. Some bigger duvets will have them in the middle as well. So just pay attention to how yours is designed and you'll want to put that many loops in there to tie it off. We're just going to stitch it right across the center there.
So let me go ahead and grab my other sewing machine. Well look at that, that's pretty nice. All right so now we can just tack this in place. We'll bring this over to the machine. I'm going to make sure that I have this folded exactly in half again and just finger press that crease. Then I'm going to line that up right with my side seam back and forth all right so we're just going to stitch across there, back and forth. All right, there we go. So then we'll just repeat that in all four corners, so that you have those ties to secure it.
So let's go ahead and look at this finished duvet that I made. This is the zipper side you can see it's the exact same way the zipper runs all the way down this side. So let's turn out this little one so you can see how it works. So remember we left our zipper open and we can just pull this through and tuck all those corners in just like so. This technique gives you this great kind of hidden zipper that just tucks into the seam just like that. And it works really great and gives you a beautiful professional finish.
Now you can make a duvet in whatever fabric you choose! So I hope you enjoyed this tutorial and I'll see you next time on At Home.


