
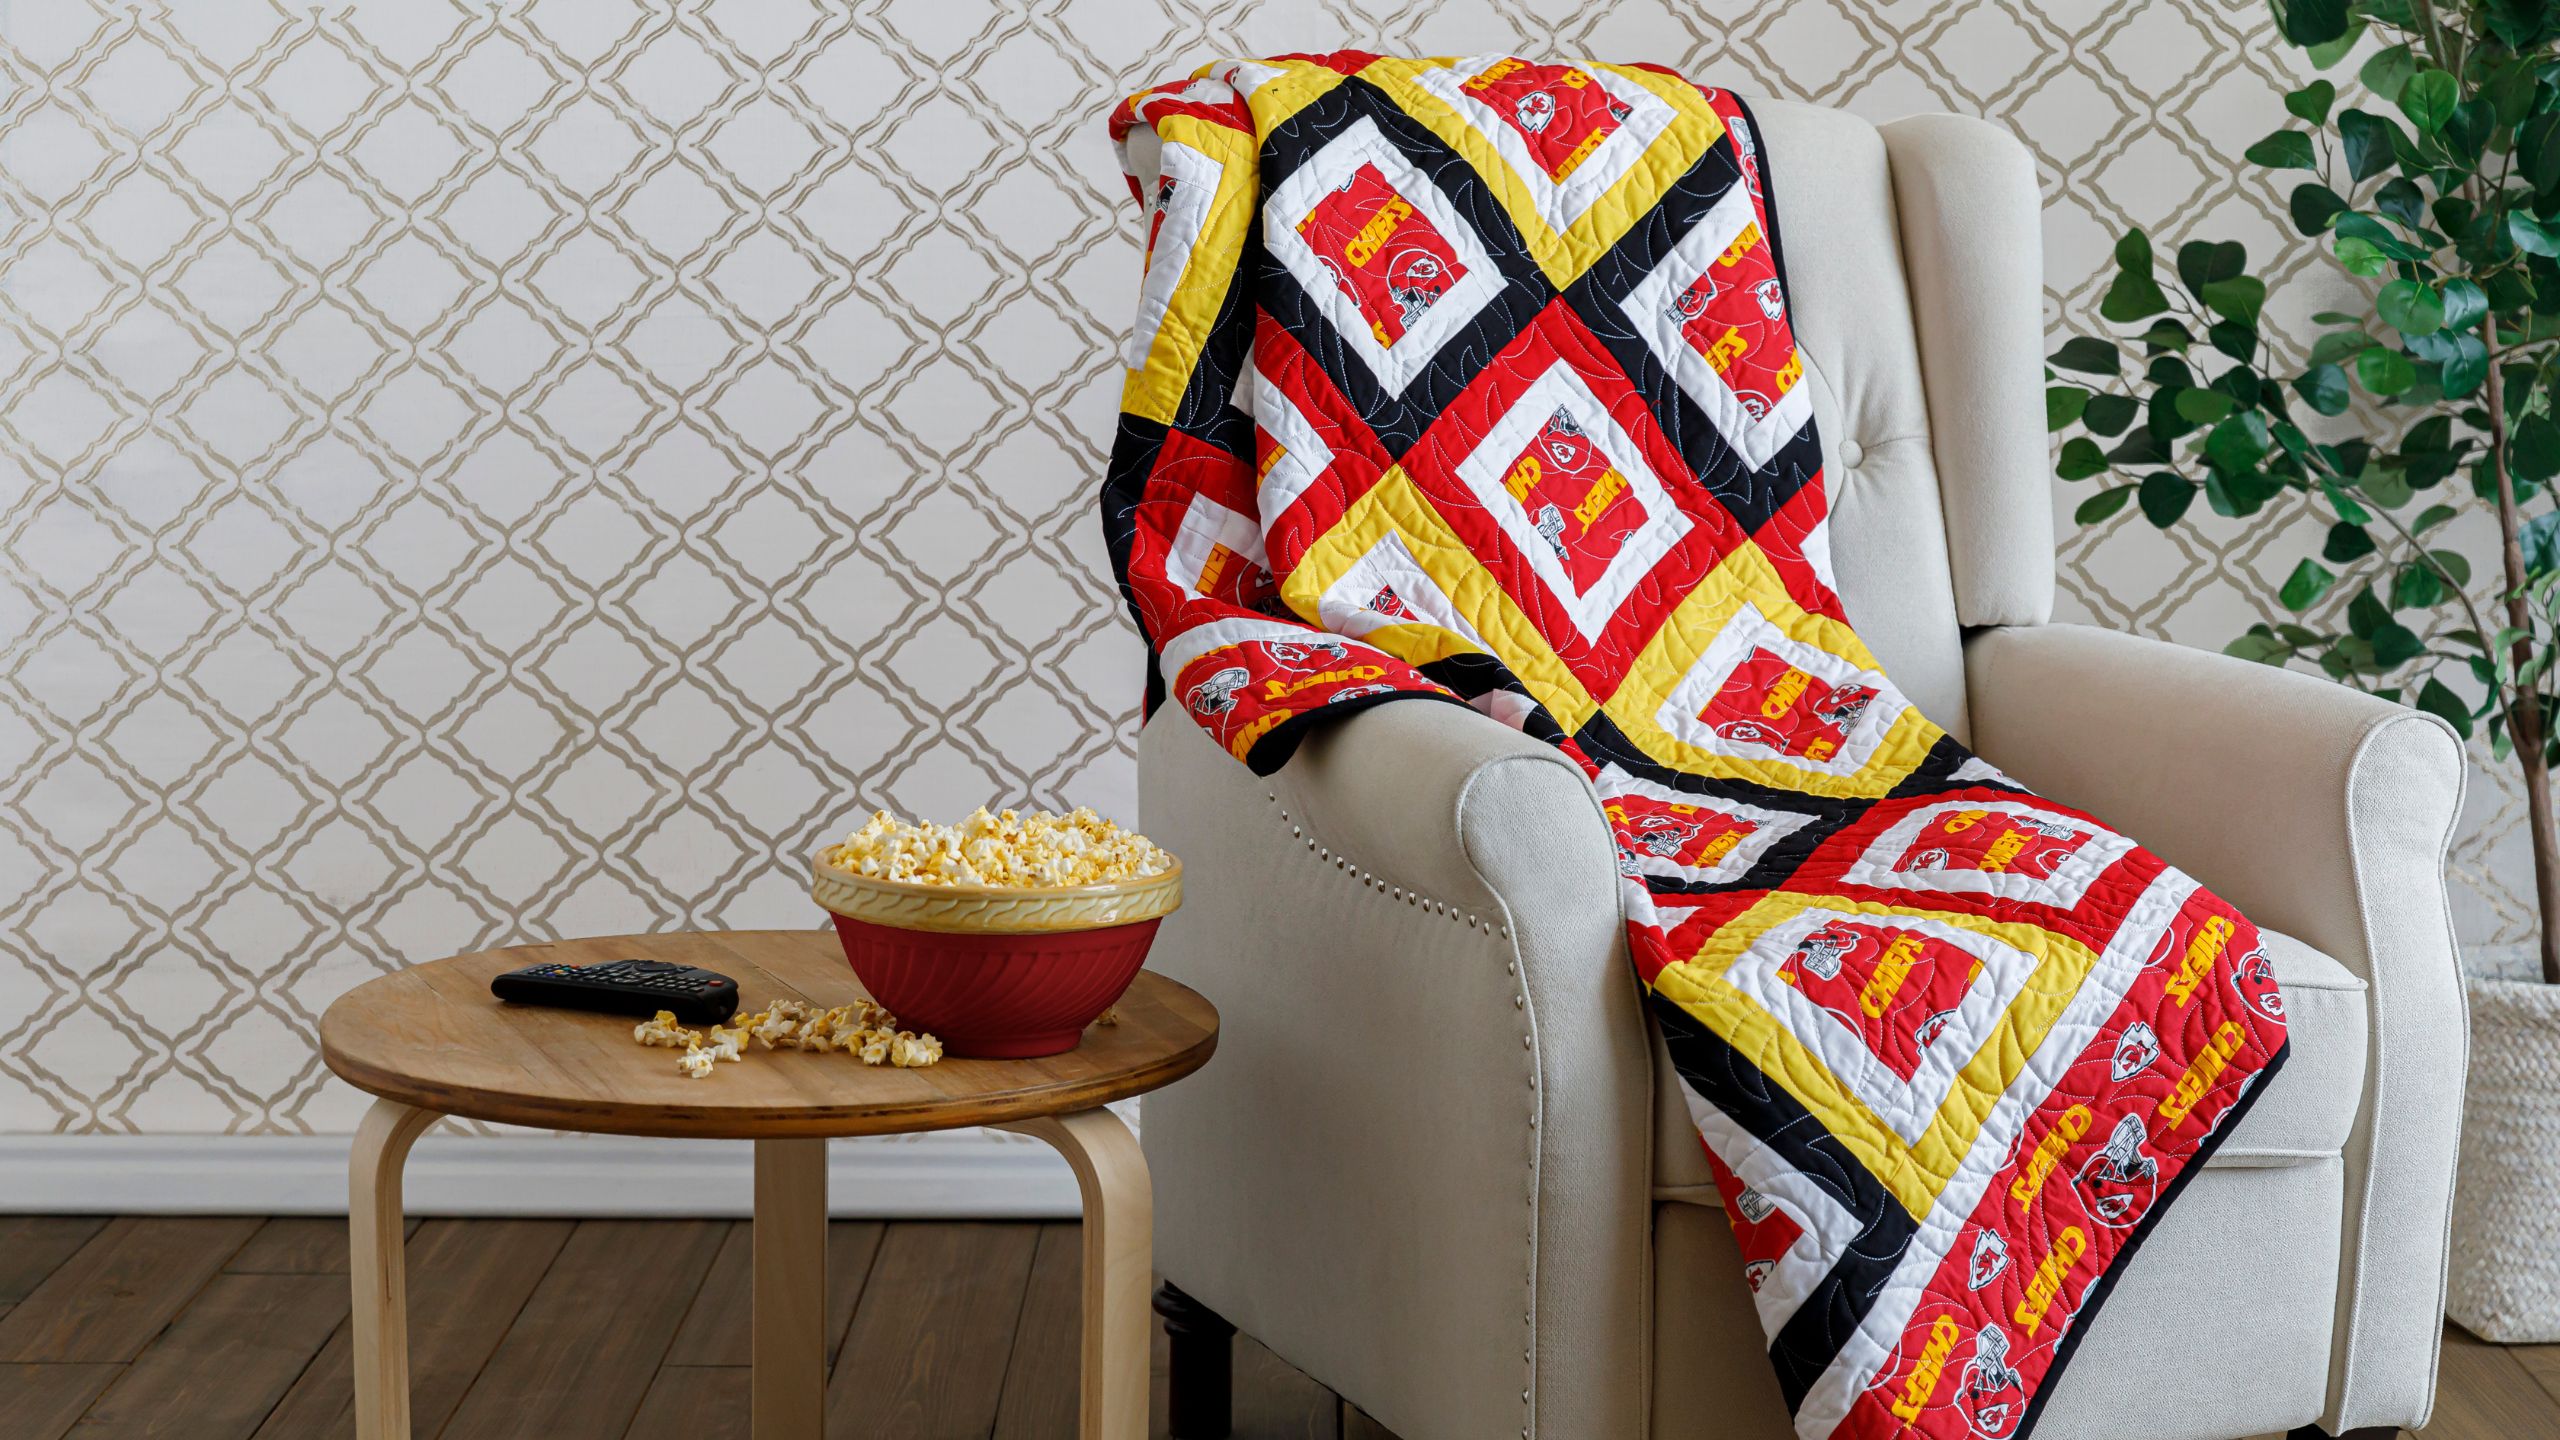
How To Make A Favorite Things Quilt - Free Quilting Tutorial
 Jenny Doan
- Fabric by Yard
- Traditional
- Lap / Throw
- Beginner
- Quilt size 68" × 77"
Jenny's making dreams come true with two yards of novelty fabric and a bit of coordinating yardage. The Favorite Things quilt is meant to showcase anything and everything that makes your heart sing. Sports teams. Superheroes. Princesses. You name it! Jenny used Kansas City Chiefs fabric for her football-loving sweetheart, and she backed Ron's quilt with snuggly-soft Cuddle®.
Instructor
Jenny Doan
Jenny Doan is an American quilter, author, and YouTube personality. Jenny started Missouri Star Quilt Company in 2008 and today it is the largest quilting supply vendor in the United States.
Shop this tutorial
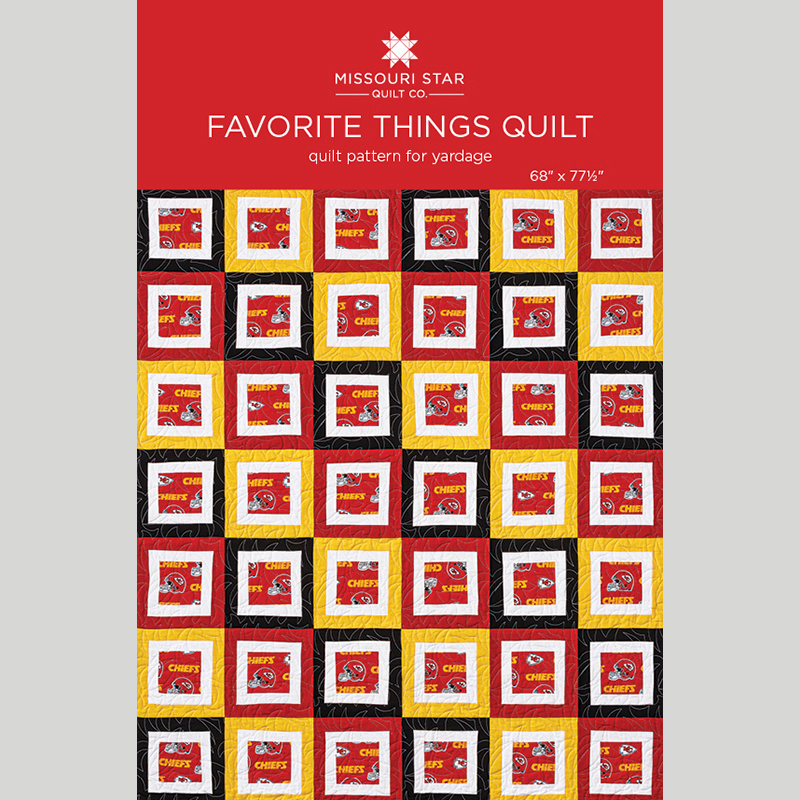 Favorite Things Quilt by Missouri Star$6.95Shop →
 Digital Download - Favorite Things Quilt by Missouri Star$4.95Shop →
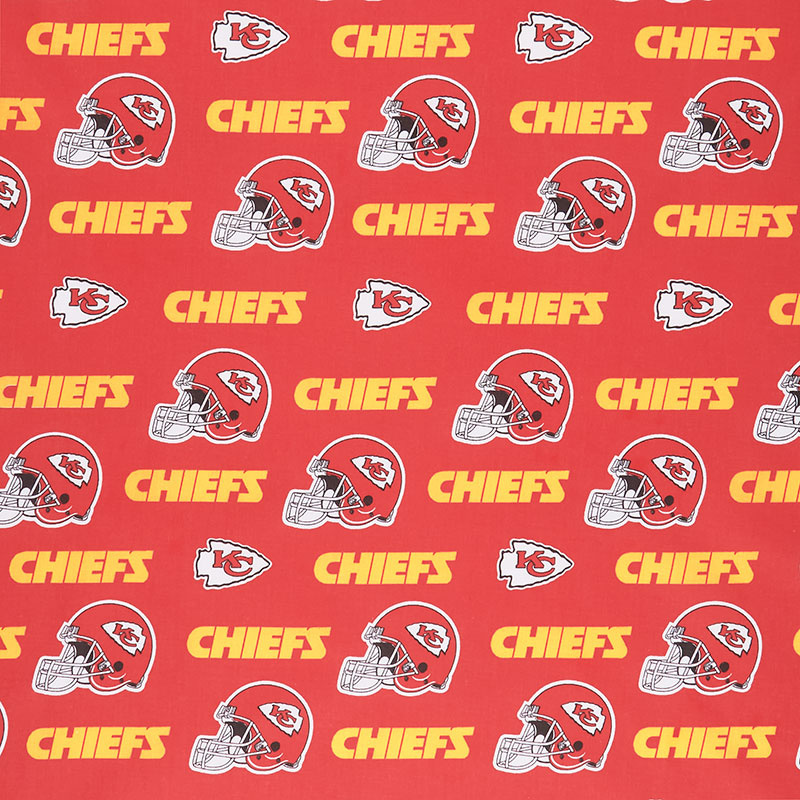 NFL - Kansas City Chiefs Cotton Yardage$10.96Shop →
 Kona Cotton - White Yardage$7.28Shop →
 Kona Cotton - Duckling Yardage$7.28Shop →
 Kona Cotton - Black Yardage$7.28Shop →
 Kona Cotton - Cardinal Yardage$7.28Shop →
 Cuddle® Solids - Black 60" Minky Yardage$13.48Shop →
 Missouri Star Quilter’s Best Blend Twin Batting$26.45Shop →
 Missouri Star 2.5" x 8" Ruler$10.95Shop →
 Missouri Star 5" x 15" Ruler$15.95Shop →
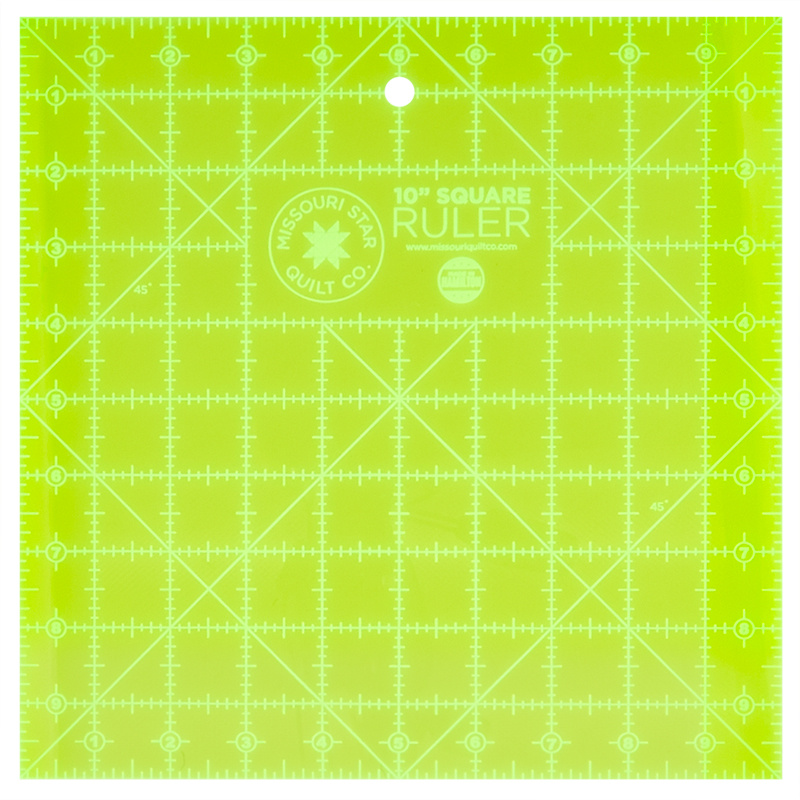 Missouri Star 10" x 10" Square Ruler$19.95Shop →
 Missouri Star 50 WT Cotton Thread White$6.95Shop →
 Olfa Splash Aqua 45mm Rotary Cutter$18.75Shop →
 Elan 8" Dressmaker Scissors$20.95Shop →
 Exclusive Missouri Star Jenny TG1600 ProPlus Oliso Smart Iron$199.99Shop →
 Missouri Star Wooly Betty Board - 17.25" x 25.5" Orange Border$98.95Shop →
 Baby Lock Accomplish - 1500 SPM Straight Stitch Machine$999.00Shop →
Common Questions
What is covered in How To Make A Favorite Things Quilt - Free Quilting Tutorial?
Jenny's making dreams come true with two yards of novelty fabric and a bit of coordinating yardage. The Favorite Things quilt is meant to showcase anything and everything that makes your heart sing. Sports teams. Superheroes. Princesses. You name it! Jenny used Kansas City Chi...
How long is the tutorial video?
The tutorial video is 00:11:22.
Are supplies listed for this tutorial?
Yes. The tutorial page includes the supplies and materials connected to this project.
Is a transcript available?
Yes. A written transcript is available on the tutorial page.
Video Transcript
Hi everybody, it's Jenny from the Missouri Star Quilt Company and I've got a fun project for you today. Take a look at this quilt behind me. This is a quilt I made for Ron. And of course he loves the Chiefs and so I made it in Chiefs fabric, but it's a super easy pattern and it's super easy to make whatever you want out of it. Now, I know you're not all going to love the Chiefs, but there are loads of things you can put in that center square. So let me show you how to do this.
So to make this quilt, you're going to need two yards of a novelty fabric, and we've used the Chiefs fabric, which goes in the center of all these and includes our outer border. You're going to need a yard and a half of white fabric, and I have actually bordered every square with the white first and put this first inner border right here, and it's all inch and a half strips. Then you're going to need three of your colors that just bring out whatever it is you're making it with. And for me, that was yellow, red, and black, and it's three quarters of a yard of each. So let me show you how to make these fun blocks.
So what you want to do is you want to grab your novelty fabric, and I literally just cut them into 5 inch strips. And so I had them like this. I didn't try to center anything up. I didn't worry about fussy cutting it. I just cut them into 5 inch strips and I folded it and then I cut them again so that I got lots of little 5 inch squares out of this. I'm going to cut my salvage off here in the fold like this. And then I just used my ruler as my guide and cut 5 inches like this. And sometimes I got the words, sometimes I got the helmet. I really didn't worry about it at all. Some of them are perfectly aligned. You can see on the quilt behind me. This one will be perfectly aligned. But not all of them are, and I just didn't really worry about it.
And so you're just going to make a stack of those for however many blocks you want to make. So once you get your 5 inch squares cut, then I took my three background colors and I cut those into two inch strips. And then on my white, I cut it into one and a half inch strips. You can actually use a honey bun for this one, which I did, and leave these strips long, the white strips long. Because what we're going to do is we're going to sew down the sides of both sides and then we're going to come across and sew across the top.
And so when I started sewing mine on, what I did was I just had my long strip like this and I laid it under here and I put my Chiefs block under here like this and just sew down the edge like this and added another and added another because all of these have the white strip around them, so everyone. So you're going to do 42 of these with the white strip around them just like this. Once you get all of those done, we're going to go back and do the other side. Let me show you how I did that. And so then I just flipped them over, laid my strip again, put it back on here like this and sew the other side. And again, I did all 42 of these, I'm a rot sower and so that's how I do. So I did them all like this.
And then what I did was I pressed these two open. So I'm going to trim this off right here. I didn't worry too much about being exact on these because I'm going to come with a strip across the top and bottom as well. So let me get this one right here in between. All right, so let's press these back.
All right, so then I did the same thing. I took my fabric just like this, laid my strip down and then put my square right over the top. And so I just went ahead and matched that up on that corner and sew down this one side and then did it again and did it with all 42. And I made my square, that was my guiding line. And so if my edge sticks over a little bit, I didn't worry about it.
All right. So I'm going to show you how I flip these around and do the other side, just like this and sewed it down. Now, I know you can't see this right now, but I'll show you. But what I did was I sewed all my white strips together. So there are occasionally little seams where they're sewn together on my block, but I felt like that saved me a little bit of fabric and I don't think anybody's going to ever notice. And soon as I get this on here, I'll show you. You know I'm all about saving that fabric.
All right. So these are all going to be outlined with the white and I'm going to press them back just like this and press this one back. You can see right here there's a little tiny seam. I don't think anybody's going to see that. And it saves me those little bits of fabric on the ends because it doesn't work out mathematically perfect. So then 42 squares divided by three colors is 14 blocks each. So I did 14 that were surrounded in yellow, 14 surrounded in red, and 14 surrounded in black. So let me go ahead and make one of these. And again, I chain piece as many of these as I could. I'm just going to do one for you right now because this is such a quick, easy pattern. And then we'll go press these open and add the other two sides just like that. And so now we'll add these other two sides right here.
Now, if you don't want to chain piece these like this, you can always cut them out to the exact width you need and that will help your square stay square a little bit, but I'm going to square up at the end anyway. So whichever way works. I believe the pattern is written where it tells you you need this many strips of this size and that's going to work for some of you. And for some of you, this way it's going to work as well. So we're all about all different methods of teaching.
All right. So I'm going to flip this around and do the other side, stitch it on here like this. And then I'm going to trim this off. All right, let's press this open. This is your block right here. So once you finish your square like this, I like to square them up. My squares are never perfect. And so when you lay this 10 inch square on here, you're just shaving off little tiny bits. But what that will do is that when you set your blocks together, they will just nest together so perfectly. And so what we're going to do is I'm just going to trim a little bit around here like this. And you can see it's just little bits. I mean it's barely anything at all. I'm going to turn it and then just go ahead and trim this bottom edge right here, which is just threads, just nothing. So then you get this block that looks absolutely perfect.
So the thing to remember on this is if you're using three colors, you're going to need 14 of these, 14 of the reds, and 14 of the yellows. Now of course, this is completely customizable. So if you decide that you want to use some other fabric, and I've got some fun things here for you to think about, this is our what if portion of this project because everybody you know is going to have something that they love. And if it's baseball like this, maybe the St. Louis Cardinals are their favorite team or the Royals, maybe the Dallas Cowboys are their favorite. Maybe they happen to love hot air balloons or Dr. Seuss, maybe they love Where's Waldo? How about Thread? This is so cute. Little sewing machines. [inaudible 00:09:11] if you make this a really cute quilt for your sewing buddy. I mean the sky is the limit on this. The whole novelty store is full of fabrics that you can cut into 5 inch squares. Choose two or three colors of your outer border and you've got this darling quick little quilt.
All right, so let me cover a few more things. First of all, when I put this together, I put my squares, I started with the black, yellow, red. Black, yellow, red. So then after red comes black. So I started with a red here and did black, yellow. Red, black, yellow like that. Yellow there. Start with a yellow here. What it does is it sets them together so they run in these cool diagonal rows and it just makes it really fun. You can do it however you want obviously. I want to talk a little bit about this border because this is a directional border. So I had to choose how I wanted it to go. And I decided that I wanted the Chiefs always, the words, to go to the middle so that this one is set this way and this one is set this way.
Now some of these fabrics, they don't have that directional look. So because I made this for Ron, I put cuddle on the back and it looks so cool. Look how beautiful that is. The pattern we used on this one, of course, footballs. And so the quilting pattern really shows up beautifully with cuddle, and I love how that happens. And you can see the footballs on it so clearly. This made a quilt that is 69x78. It's perfect for him. He's a tall guy. He can sit and snuggle in his recliner and watch the game and he just loves it so much. So be creative and have fun with this. Put whatever you want in that center square. You know how to make people's dreams come true. And we hope you enjoyed this tutorial on the Favorite Things Quilt from the Missouri Star Quilt Company.
Hi everybody, it's Jenny from the Missouri Star Quilt Company. We hope you enjoyed watching this video. If you aren't already part of the Missouri Star Quilt Company family, be sure to subscribe so you won't miss a thing. And if you click that bell, it'll notify you every time a new tutorial comes out. See you next Friday.


