
How to Make a Firework Table Topper - Free Project Tutorial
 Misty Doan
- Fabric by Yard
- Holiday
- Table Runner
- Beginner
- Quilt size 36" × 36"
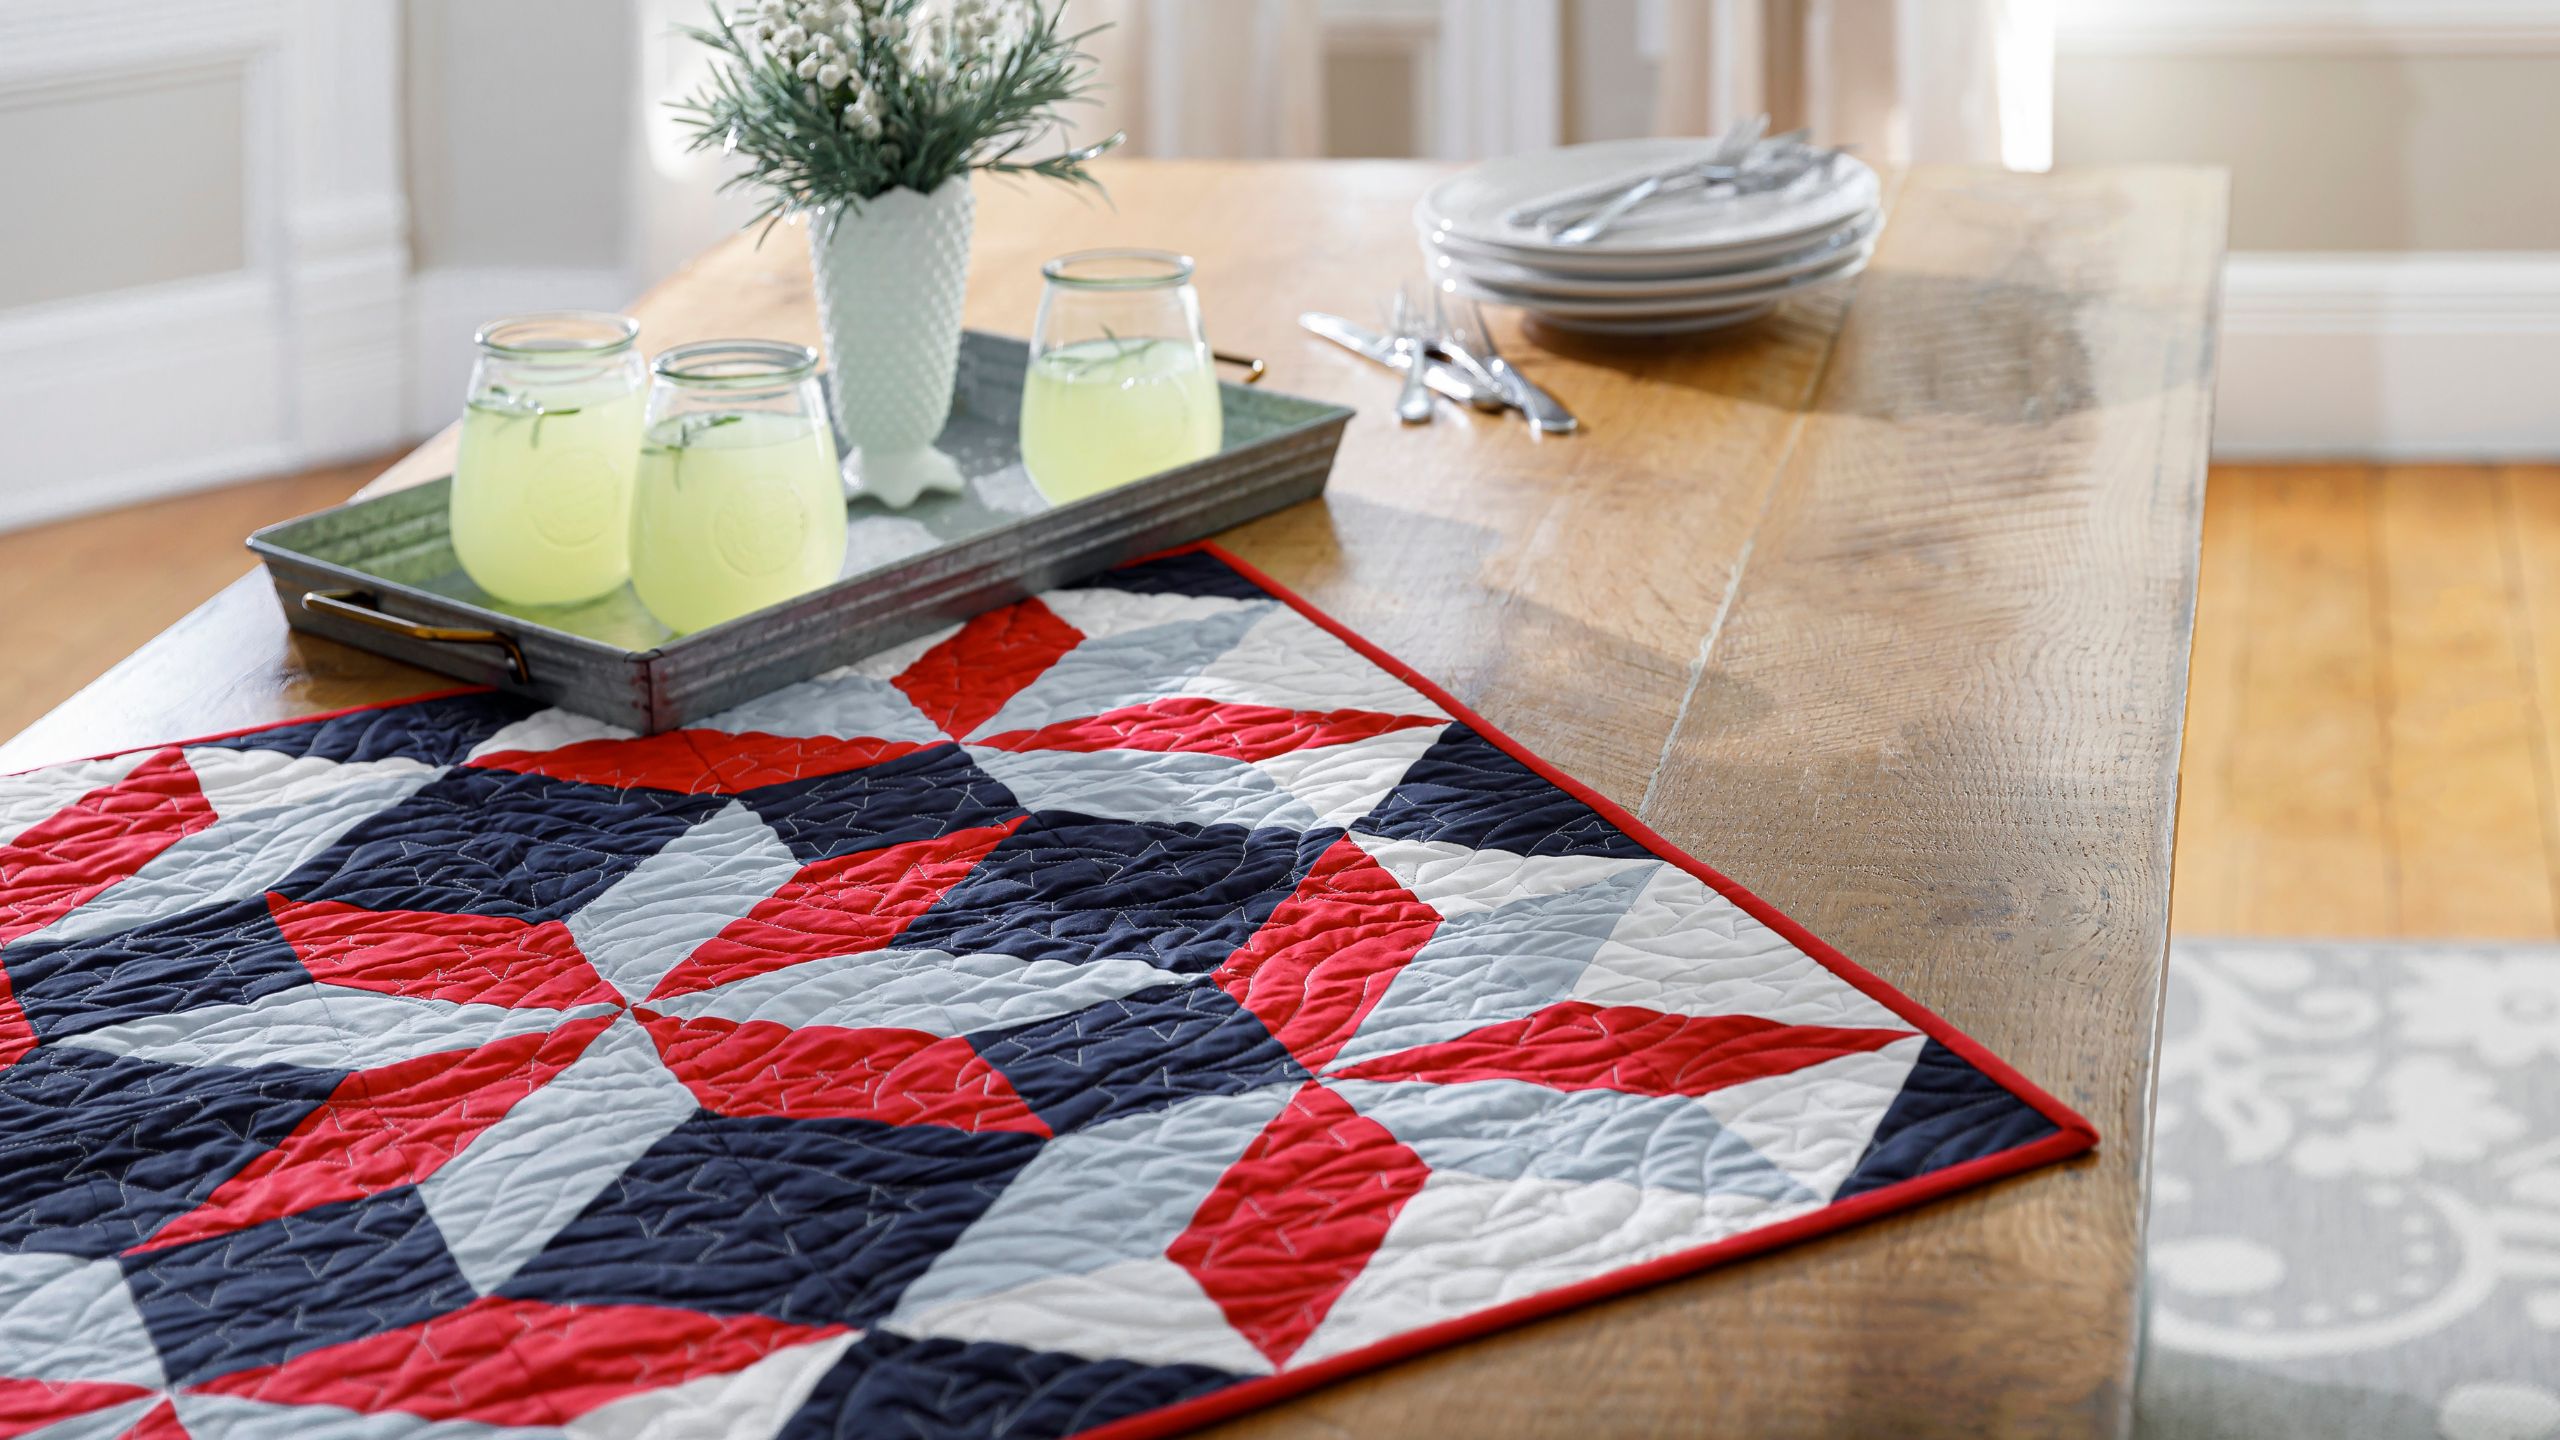
Make your table the "best dressed" this 4th of July! Join Misty as she walks you through the stunning Firework Table Topper, sewn with American Made Brand Cotton solids in red, white, and two shades of blue! Sewing this mini quilt will make your heart swell with patriotic pride, and you can pull it out year after year to celebrate Independence Day. God Bless the USA!
Instructor
Misty Doan
Misty Doan grew up surrounded by sewing and quilting. She loves spending time sharing tutorials each week each week, and when she’s not stitching up one of her fun sewing projects for home decor, most likely you’ll find her hanging out with her husband and three awesome kids or working on a house project.
Shop this tutorial
 Firework Table Topper Pattern by Missouri Star$6.95Shop →
 Digital Download - Firework Table Topper Pattern by Missouri Star$4.95Shop →
 American Made Brand Cotton Solids - Dark Tomato Yardage$7.96Shop →
 American Made Brand Cotton Solids - Navy Blue Yardage$7.96Shop →
 American Made Brand Cotton Solids - PFP - Prepared for Printing Yardage$7.96Shop →
 American Made Brand Cotton Solids - Light Denim Yardage$7.96Shop →
 Missouri Star Quilter’s Best Blend Crib Batting$14.45Shop →
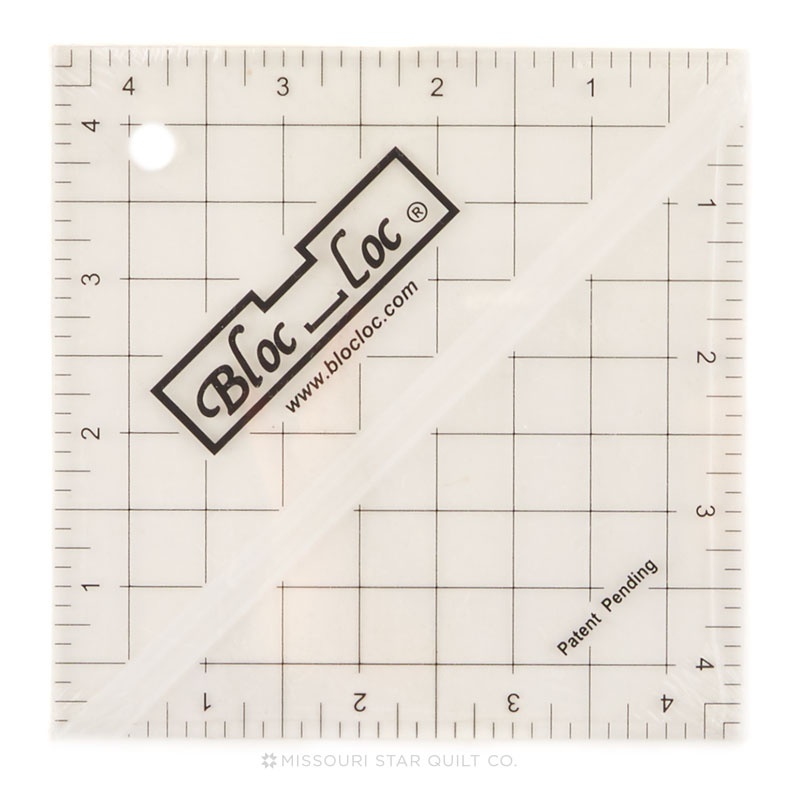 Bloc Loc 4 1/2" Square Up Ruler$25.00Shop →
 Missouri Star 5" x 15" Ruler$15.95Shop →
 Olfa Splash Aqua 45mm Rotary Cutter$18.75Shop →
 Olfa Splash 24" x 36" Cutting Mat Navy$68.95Shop →
 Exclusive Missouri Star Jenny TG1600 ProPlus Oliso Smart Iron$199.99Shop →
 Missouri Star Wooly Betty Board - 17.25" x 25.5" Orange Border$98.95Shop →
 Missouri Star 50 WT Cotton Thread White$6.95Shop →
 Baby Lock Accomplish - 1500 SPM Straight Stitch Machine$999.00Shop →
Common Questions
What is covered in How to Make a Firework Table Topper - Free Project Tutorial?
Make your table the "best dressed" this 4th of July! Join Misty as she walks you through the stunning Firework Table Topper, sewn with American Made Brand Cotton solids in red, white, and two shades of blue! Sewing this mini quilt will make your heart swell with patriotic prid...
How long is the tutorial video?
The tutorial video is 00:10:47.
Are supplies listed for this tutorial?
Yes. The tutorial page includes the supplies and materials connected to this project.
Is a transcript available?
Yes. A written transcript is available on the tutorial page.
Video Transcript
So if you've been watching my videos for a while you know that I love half square triangles. You can do so much with them and I was just playing with half square triangles and came up with this project and I absolutely love it! As you may know, we host the Fourth of July at my house every year. It's a giant party for the whole family and so I'm always looking for red, white and blue projects.
So this one I had to make in red, white and blue fabrics, so I used American-made Solids on this one. You will just need a half yard of each of these colors. I have dark tomato, navy blue, light denim and white. So grab those or some fabrics from your stash and let me show you how we're going to make this!
So first up you are going to cut all of your fabrics into 10 inch squares except for your navy. You're also going to need a four and a half inch strip that is cut into four and a half inch squares. From there you're going to pair each of those together, and so you'll end up with six sets that look like this. So you see I have my light blue and white, my navy and white, my red and white, a navy and light blue, a navy and red, and a red with light blue.
So each of these sets you're going to do the exact same thing with. I'm just
going to show you once, but just remember you're going to repeat all of these steps. So we are going to be using the easy eight half square triangle method. I'm going to make sure my squares are lined up and I like to
always put my lightest block up towards me. Then we are going to draw a line corner to corner in both directions. You can use whatever marking tool you want - this is not going to show anywhere on your quilt. So one line this way, and then again in the opposite way, corner to corner.
Now we can take this to the machine and we can sew a quarter inch seam on both sides of both of our lines. Just flip this around and come back down the other side. Then we'll do the same thing on the other line that we drew, sewing both sides a quarter inch away from that line.
All right, so we have sewn that in both directions and so now we can bring this back over to our mat and we can do our cutting. To begin with I'm going to cut this in half both horizontally and vertically. So we're just making sure we're going right through those stitch lines which we should be. Since I have this five inch ruler I can just lay it right on the edge of my
10 inch block and know that it's going to work exactly right. I always like to cut this direction first because now that I pull these apart I still have my drawn lines. Now I can just cut right on those lines that we drew. There we go and now we have eight half square triangles that are all ready to
go.
So I'm going to go ahead and press a few of these open so I can show you how to square them. I always like to press to the dark side. I'll be using my favorite little Bloc Loc, four and a half inch ruler today. So now I've just pressed a few of these open. You would do this to all of your half square triangles for this project. When you are using the Bloc Loc (I have the four and a half inch which is perfect because that's the size that we're going to square these to) you're going to put the logo on whatever is your background or whatever you have pressed away from. So in this case it's
going to be my white and then this nests into that seam and literally just locks itself in onto the block which is why it's called the Bloc Loc. So then I don't have to worry about this slipping or sliding and I can just trim these two sides. Then I like to spin my block, again making sure that that is on the background fabric or the light fabric, and then trim the other two sides, just like so. So we're just taking a tiny bit off but it's just going to make things much easier later when we go to match everything up.
So let me show you that one more time. Lining this up on my half square
triangle, there's one side. We can spin this around. If you have a rotating mat it might be handy with as many of these as you're going to need to square up. Just like so, and then I will stack all of these neatly with their same half square triangles. So I don't know if you can see but I have all of these neat little stacks.
So let me show you how to do this if you do not have a Bloc Loc, because it's not required. I've got just a six inch square ruler here and I know that I want this to end up four and a half so I'm going to use my 45 line and line that up right on that diagonal seam of my half square triangle and I'm just going to slide this up. I can count over one two three four and a half. I just want to make sure I have at least that much so that I can trim this later on all four sides.
So then we'll cut, and cut and then I'm going to rotate my block and now that side that I cut can line up exactly with the four and a half line of my
ruler. I have just a little bit more that I'll need to trim away, just like so.
So you can see I have all of these little stacks made of the different sets
of my fabric colors. So you can see how all of my half square triangles are made, and square it up and paired together and so now we're just going to lay out this block because it is such a fun one! So let me move all of this out of the way and we'll get started with that.
So remember this is the block that we're going for. It's a nice big block
it's made entirely out of half square triangles except for one little spot right here where we just have a solid four and a half inch square of that navy. So I like to really follow the layout on this, because it's easy to turn your half square triangles the wrong way. So I make a block and I keep it here beside me because they're all made exactly the same. So then I just have my stacks of half square triangles that I can pull from and start my layout.
So I'm just going to start in this left corner and work my way across and down. So to begin with we have our navy and white, our light blue and white, a red and white and another Navy and white. So then moving on to row two, we have a red and white, a red and light blue, another red and light blue, and a light blue with navy. Then we'll move on to a light blue
with white, a light blue with red, and then this is where our solid navy
four and a half inch square goes and then we have red with navy, navy with white, red with navy, navy with light blue and we'll finish it off with
our red and light blue.
So you can see how you have this kind of three quarters of a star and a quarter of a star down here that's what you're looking for. It's kind of creating this beautiful burst. So then when we sew it all together, it looks like this. Then when you set them in the quilt you're just going to spin it around and it creates this beautiful kind of bursting firework effect that we want in this beautiful patriotic table topper.
So I hope you enjoyed this project - it's a quick and easy one to make! I will see you next time on At Home!


