
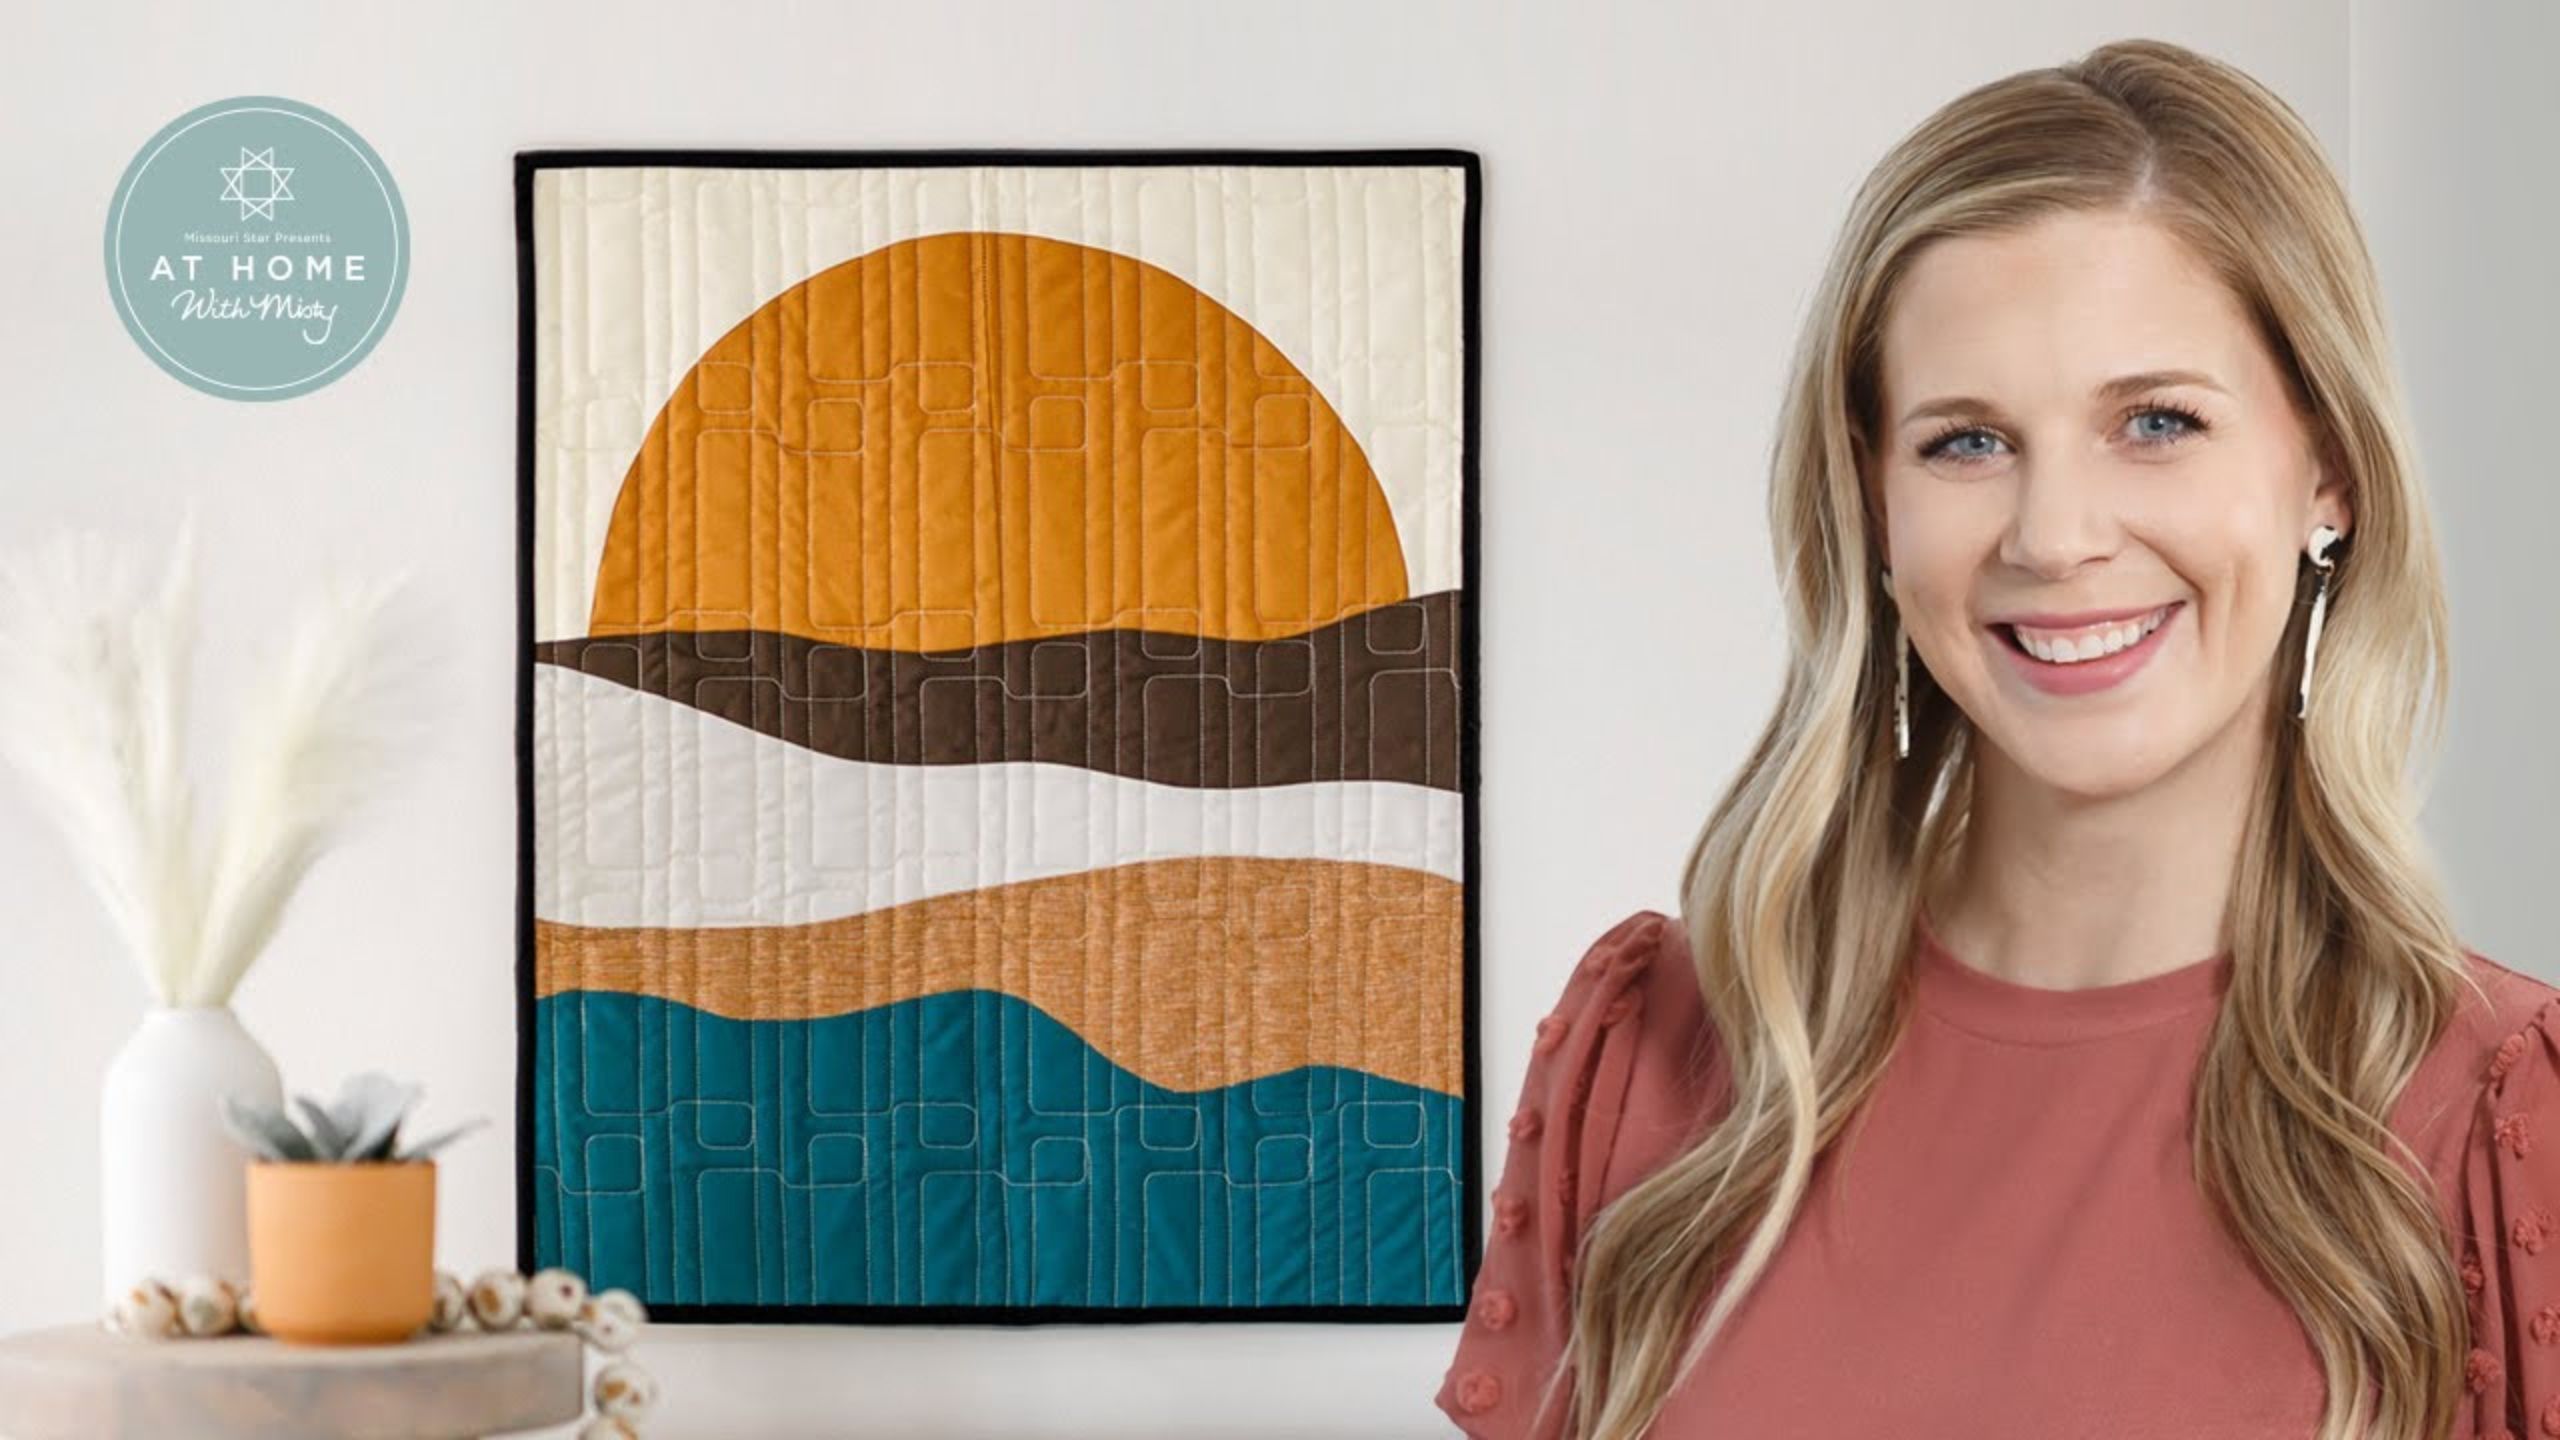
How to Make a Freestyle Sunset Wall Hanging - Free Project Tutorial with Misty Doan
 Misty Doan
- Fabric by Yard
- Modern
- Wall Hanging
- Intermediate
- Quilt size 17" × 21"
This project is perfect for all those sunset chasers out there. In this tutorial, follow along with Misty as she creates a wall hanging that shows off the most beautiful sunset. This stunning wall hanging features gorgeous scenery leading up to an awe-inspiring sunset so you can enjoy the views without leaving your room! Be sure to come back next week for more room redecorating inspiration!
Instructor
Misty Doan
Misty Doan grew up surrounded by sewing and quilting. She loves spending time sharing tutorials each week each week, and when she’s not stitching up one of her fun sewing projects for home decor, most likely you’ll find her hanging out with her husband and three awesome kids or working on a house project.
Shop this tutorial
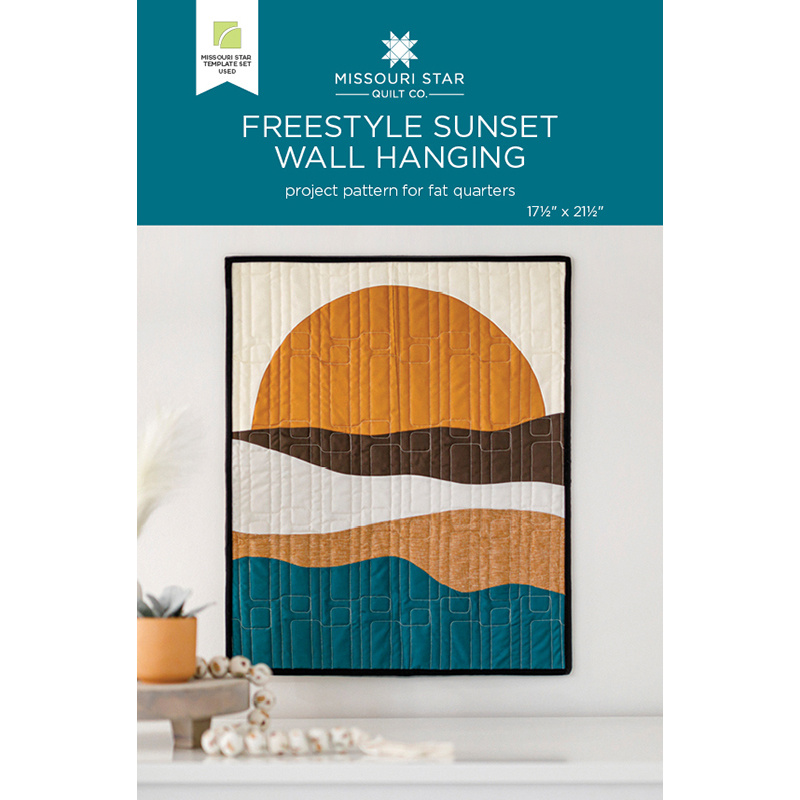 Freestyle Sunset Wall Hanging Pattern by Missouri Star$6.95Shop →
 Digital Download - Freestyle Sunset Wall Hanging Pattern by Missouri Star$4.95Shop →
 Kona Cotton - Ivory Yardage$7.28Shop →
 Kona Cotton - Gold Yardage$7.28Shop →
 Essex Yarn Dyed Homespun - Roasted Pecan Yardage$11.96Shop →
 Kona Cotton - Otter Yardage$7.28Shop →
 Kona Cotton - Everglade Yardage$7.28Shop →
 Essex Linen - Ivory Yardage$10.96Shop →
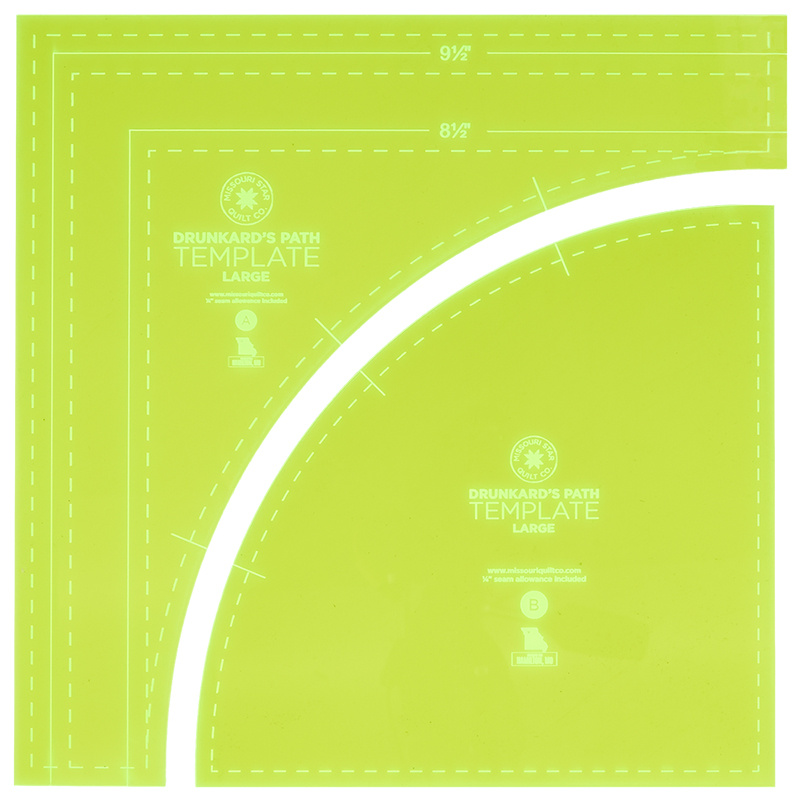 Missouri Star Drunkard's Path Circle Template Set - Large$19.95Shop →
 Kona Cotton - Black Yardage$7.28Shop →
 Water Soluble Glue Pen$7.75Shop →
 Missouri Star 50 WT Cotton Thread White$6.95Shop →
 Elan 8" Dressmaker Scissors$20.95Shop →
 Olfa Splash Aqua 45mm Rotary Cutter$18.75Shop →
 Exclusive Missouri Star Jenny TG1600 ProPlus Oliso Smart Iron$199.99Shop →
 Missouri Star Wooly Betty Board - 17.5" x 17.5" Aqua Border$88.95Shop →
 Missouri Star Ironing Board Cover$19.95Shop →
 Magnetic Thread Spool Pin Holder - Pink$5.45Shop →
Common Questions
What is covered in How to Make a Freestyle Sunset Wall Hanging - Free Project Tutorial with Misty Doan?
This project is perfect for all those sunset chasers out there. In this tutorial, follow along with Misty as she creates a wall hanging that shows off the most beautiful sunset. This stunning wall hanging features gorgeous scenery leading up to an awe-inspiring sunset so you c...
How long is the tutorial video?
The tutorial video is 00:21:57.
Are supplies listed for this tutorial?
Yes. The tutorial page includes the supplies and materials connected to this project.
Is a transcript available?
Yes. A written transcript is available on the tutorial page.
Video Transcript
Like I mentioned, we're going to make this Freestyle Sunset wall hanging. My daughter loves anything beachy, earthy, and she helped pick these colors. So let me show you how simple this is to make. This is Fat Quarter friendly and so I have just picked a few different colors that I had at least a fat quarters worth of fabric of. So I've got these four that are just regular solids and then I also brought in a few linens, just to give it some extra texture. That's what I have here as well.
So to begin with, we are going to need our large Drunkard’s path template. Whatever color you decide to make your sun, you're going to need some eight and a half inch squares and I have those here. We are going to set
our Drunkard's path template in one of the corners just like so and you'll see we're just going to cut off this little bit of excess. I'll use my rotary cutter and just trim like so now I will have two of my little quarter circles that I'll need for my sun.
Then let's go ahead and cut out the backing pieces for that as well…or background pieces I should say. You'll need two of those but these are going to be 10 inch squares and I used my linen for this. So let's just go ahead make sure these are all square and lined up. I decided to use the biggest possible size I can get using this template, which is that 10 inches which means we just lay the outside edge of the template on our square and cut that gentle curve. Then we can just set these aside. We're not going to use that for this project.
Now we have both the inside and the outside of our curves ready to go so let's go ahead and get these ready to stitch. I'm going to give you some
tips on working with these Drunkard’s path blocks if you haven't done that
before. We're going to begin by folding them in half, lining up this inside curve and just finger pressing a line there in the middle like you see here. Then I'm going to do the same thing on the curve, folding that in half and
finger pressing. If you were making a ton of these you could sit at the iron, fold them in half and press one after the other to save you some time, but since I just have a couple to make it's easy to just press with my fingers and get that little guideline.
Once I've done that, I like to line it up like so, so you can see that little finger press line and it kind of makes this almost look like horns on our quarter circle. Then I'm going to grab a pin…had to stretch there a little bit but that's okay. I like to pin just the middle now. Some people like to put a lot more pins and I recommend you do whatever you’re most comfortable with. Then I'm going to take this side here and a little bit of glue and I'm just going to put a tiny dot in this outside corner and then when I set this and match up my corner it will help hold this in place. I'll do the exact same thing on the opposite side. This just makes the ends line up so nicely. You can still pin through these if you wanted, but I don't find it necessary. It just helps hold it in place when it's under the needle and you don't get any slippage.
Now that I have this all pinned and ready to go like I like it, let's take this to the machine and sew this down. I like to begin with my quarter circle down against the machine and my curved piece on top. I'm going to start by putting this right under my needle and taking a few stitches with a quarter inch seam just to sort of anchor that place where I had the glue. Now this is why I don't like to have too many pins - I find it easier to just use my hand and guide the fabric as I go. You just need to take your time. This is such a gentle curve, especially on this large Drunkard’s path that it just naturally because of the bias and the curve that we cut starts to lay down. Just take your time and adjust as you go. Make sure you move that center pin, you never want to sew over that. Then do the same thing on the second half.
So when this is all sewn it's going to look a little wonky like this and roughly. Don't be alarmed - you've done it correctly! We're going to take it over to the iron now and this is where the magic really happens. I just like to roll this back and it just lays so nice once it's pressed. Look at that, nice and flat, no issues. I already have the other one of these done so you'll just repeat this same thing that we did here.
Now we can sew these two together so I'm just going to place these right sides together and sew them together with a quarter inch seam. You do want to make sure that your quarter circles line up so you can place a pin or a clip there if you need. I just kind of feel it with my fingers and sew all the way down. There we go. Now let's press that. Ta-da! The top half of our wall hanging is ready to go!
Now let's move on to those freestyle curves. So like I said, we have the top
all done and now I want to teach you how to do freestyle curves. This is something that Natalie actually taught me as just a bonus demo that we did at our Doan Girls Retreat last year and I have just been enjoying this little play time so much that I had to incorporate it into a project. So let me show you how this is done.
I have this, this measures 19 and a half inches across and I do use my mat
quite a bit with this process. So I have it all lined up square on my mat and then from my fat quarters I've cut some strips of the colors that I decided to go with. So I have this brown and this kind of taupey color, this orange
linen (the same color as my sun) and this beautiful teal. Most of these strips I cut anywhere from five to six inches except for whatever is going to be the bottom. I cut at eight inches just because you need some more fabric there, so it's 8 by 19 and a half. We want the width to be exactly the same because it will make it easier for us.
I'm just going to start with this brown piece and I'm going to layer this over my Drunkard's path shape. I do kind of have to pay attention to how much it's overlapping. I keep this straight on my mat as well. All that I do now, and sometimes it's easier if you have like it might be easier to see this one
on top, you just kind of have to play. I always test it a bit because basically you just can only cut in the amount that it's overlapped. Does that make sense? You want everything to be face up. These are solid, so it doesn't necessarily matter but if you have a print it would be print face up. So now I have these lined up straight. My edges match, this is straight on the mat and I just have about oh an inch and a half of overlap.
So this first one we're just going to do a really gentle curve and you just ave to cut it just like so. I know it's so nerve-wracking, but now we can remove this top piece, and I can lift up and remove this piece and you can see how these match up just perfectly. So now all I'm going to do is I'm going to lay these right sides together and I'm going to gently sew these curves together. Let's take this to the machine and sew them down.
So this is the same idea as when you're sewing the curves with the Drunkard's path, but these are much gentler even than our template curves because we've cut them ourselves. So just take a few stitches, and I like to use my right hand because I'm right-handed, underneath to kind of guide my main fabric. Then with my left hand I just maneuver this top piece along the curves as I need to so that they stay lined up. Sometimes you need to pause and reposition your hands so that you're not working against yourself. You don't want to be tugging on the fabric too much, you just kind of want to let it guide itself and just tell it where to go as you're stitching. We're getting close to the end here so I'm going to pinch these two little ends together. This is another place where you could use a little dab of glue to just keep them lined up, because I find that a pin is just a little bit too cumbersome. I am just pinching the two ends where they're meant to meet. Then I don't have to fight with it and I can just let this finish through the machine.
There we go! Just like before it looks a little rumpled and we're not sure
we've done it right. Then we take it over and we roll this back and it just lays down so nicely.
So there is our curve. Everything is matching exactly like we wanted. Look at how great that looks. Isn't that fun? I just think this is so freeing once you realize how to do this because you can just do so many shapes. If you've been interested in landscape quilting, this is just like the perfect intro.
Let's move on and add a few more colors and we'll get a little braver with our curves this time. So same idea- I'm lining it back up on my mat so everything is as straight as possible we're going to move on to a new color now. I'm going to overlap that quite a bit. Now I've got about two and a half inches of overlap, just making sure this is nice and straight and matching up on the edges. Really matching up your edges is the most important step. It makes it much easier.
Now we can get really creative with our curves. I think I'll start down here and kind of make my way up so it's skinnier on this side. Ooops - cut this little bit, there we go. Then we can move these out of the way and then these will fit together just like so. I'm going to go ahead and stitch this one down and I'll meet you back here.
All right so I've added our second color of our landscape. I do want to point out that it starts to get a little bit wonky as you add these and that is totally okay, it's part of the process. I've given room for us to come back and square this up at the end so don't be worried.
Let's go ahead and add one more of our you know middle pieces. I'm going to do this one so I'll go ahead and sew this one really quick and then I'll meet you back here for our bottom piece that finishes this off because it's a little bit wider and I just want to talk about that in process. Let me add this orange one and I'll meet you back here one more time.
All right, this is really starting to take shape. You can see how every single
time it's going to be unique and completely your own, which I love about
this project. So I have this last teal color that I'm going to finish it off with. We are just going to overlap this again.tTis is one of those times where I
feel like it might be easier for me to have this lighter shade on top. It's just easier for me to visualize that way, which is sometimes the case. So I have just under three inches of overlap again. So this is one of those times where if you wanted to you could pull this up a little bit more and I could even cut off part of this curve, so let's try that. I think it might be fun for you guys to see that so I'm just going to flip this up and slide it up here a little bit more so that it goes into my cream section there. Then, again, make sure everything is lined up. You can see I've got just about an inch into this cream so we're just barely going to catch this little outside edge, but I think this is going to be really fun. I'm going to start down here with my rotary cutter again. Just nice gentle curves - make sure your fingers are out of the way! We are going to come up here at the end and cut into that little bit so that it overlaps just like so. I think that'll be really fun. We'll pull this piece out of the way and then now we will flip this up, line up this first edge and take this to the machine.
So let's walk through all of this last bit together and make sure. I always take just a few stitches to get me started and then I like to get my hands where I want them and just do a little bit at a time, guiding the bottom piece of fabric with my right hand and the top piece I'm just holding. I'm not tugging, just moving it where I want it to go so that these line up on my quarter inch line. So that's what I'm watching and I'm just sewing a
little bit at a time, making sure that they line up how I want them.
So now we have that last one added we can press this back for the final time. Perfect! Look at that! Isn't that so fun? I just love this project. It's so fun to play with. On this version, I just added four strips to make what you
see behind me. But I also made another one where I added one more. So this one has five and you can see that once you figure out this concept you can completely make this your own.
Then all that you need to do at the end is we are going to trim this up to 18 by 22. You can see you have plenty of room here since this is 19 and a half. I just lined this up on my mat. I kind of started with the center of my sun and then I used my big ruler to make my first cut. This top edge we know is pretty straight from our Drunkard's path, so I kind of used that as a guide and then I came over nine inches from the center in both directions. So if I move over that would be this 27 inch line and you can see you're cutting quite a bit off on either side. If it gets a little wonky you don't need to worry. So let's go ahead and trim this one just like so, and we can rotate this around. Same idea. Making sure it's nice and straight, and then this will come over and trim off this side. So this side's a little tighter. You just always want to watch that. But there's still plenty of room to trim
and square it up.
Now we would just trim the bottom edge, quilt it however you desire and bind it. I opted to bind it with black because my daughter wanted it to look like a picture frame, so she really wanted the contrast of that binding which I really like how it turned. You can see both of the versions and how fun they turned out. I hope you enjoyed this project and I will see you next time on At Home with Misty.


