

How to Make a Gnome Applique Table Runner - Free Project Tutorial
 Misty Doan
- Fabric by Yard
- Holiday
- Table Runner
- Beginner
- Quilt size 18" × 82"
Make your holiday home SEW happy! In this episide, Misty sews up the Gnome Applique Table Runner with fun pom-pom fringe and easy iron-on applique. With fun precut fabric shapes from Missouri Star, this project practically creates itself! Set your Christmas table with an extra dose of merry, and you'll be ready for all the holiday happenings.
Instructor
Misty Doan
Misty Doan grew up surrounded by sewing and quilting. She loves spending time sharing tutorials each week each week, and when she’s not stitching up one of her fun sewing projects for home decor, most likely you’ll find her hanging out with her husband and three awesome kids or working on a house project.
Shop this tutorial
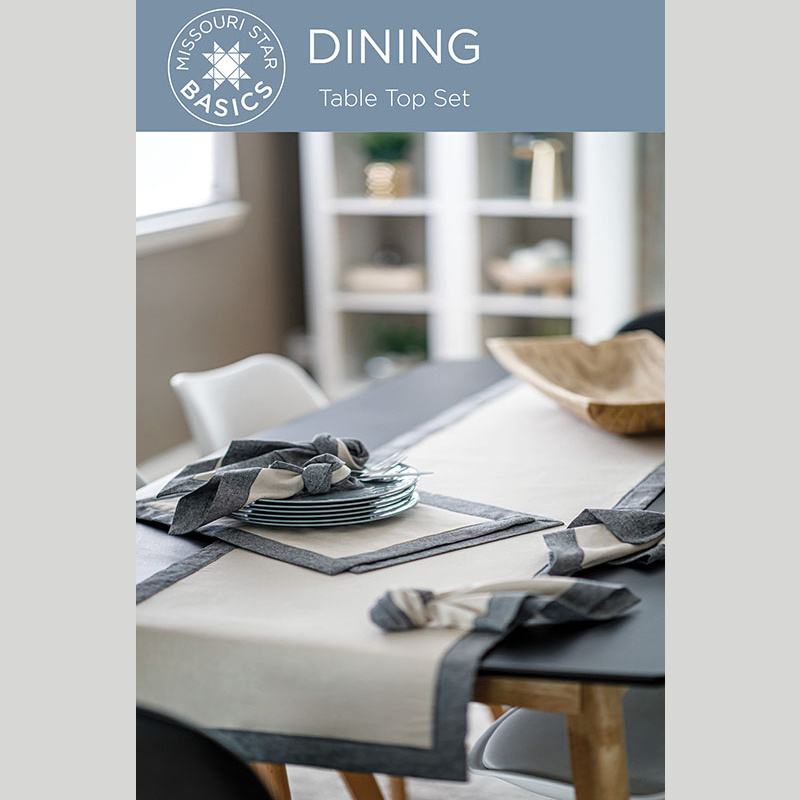 Table Top Set Pattern by Missouri Star$6.95Shop →
 Digital Download - Table Top Set Pattern by Missouri Star$4.95Shop →
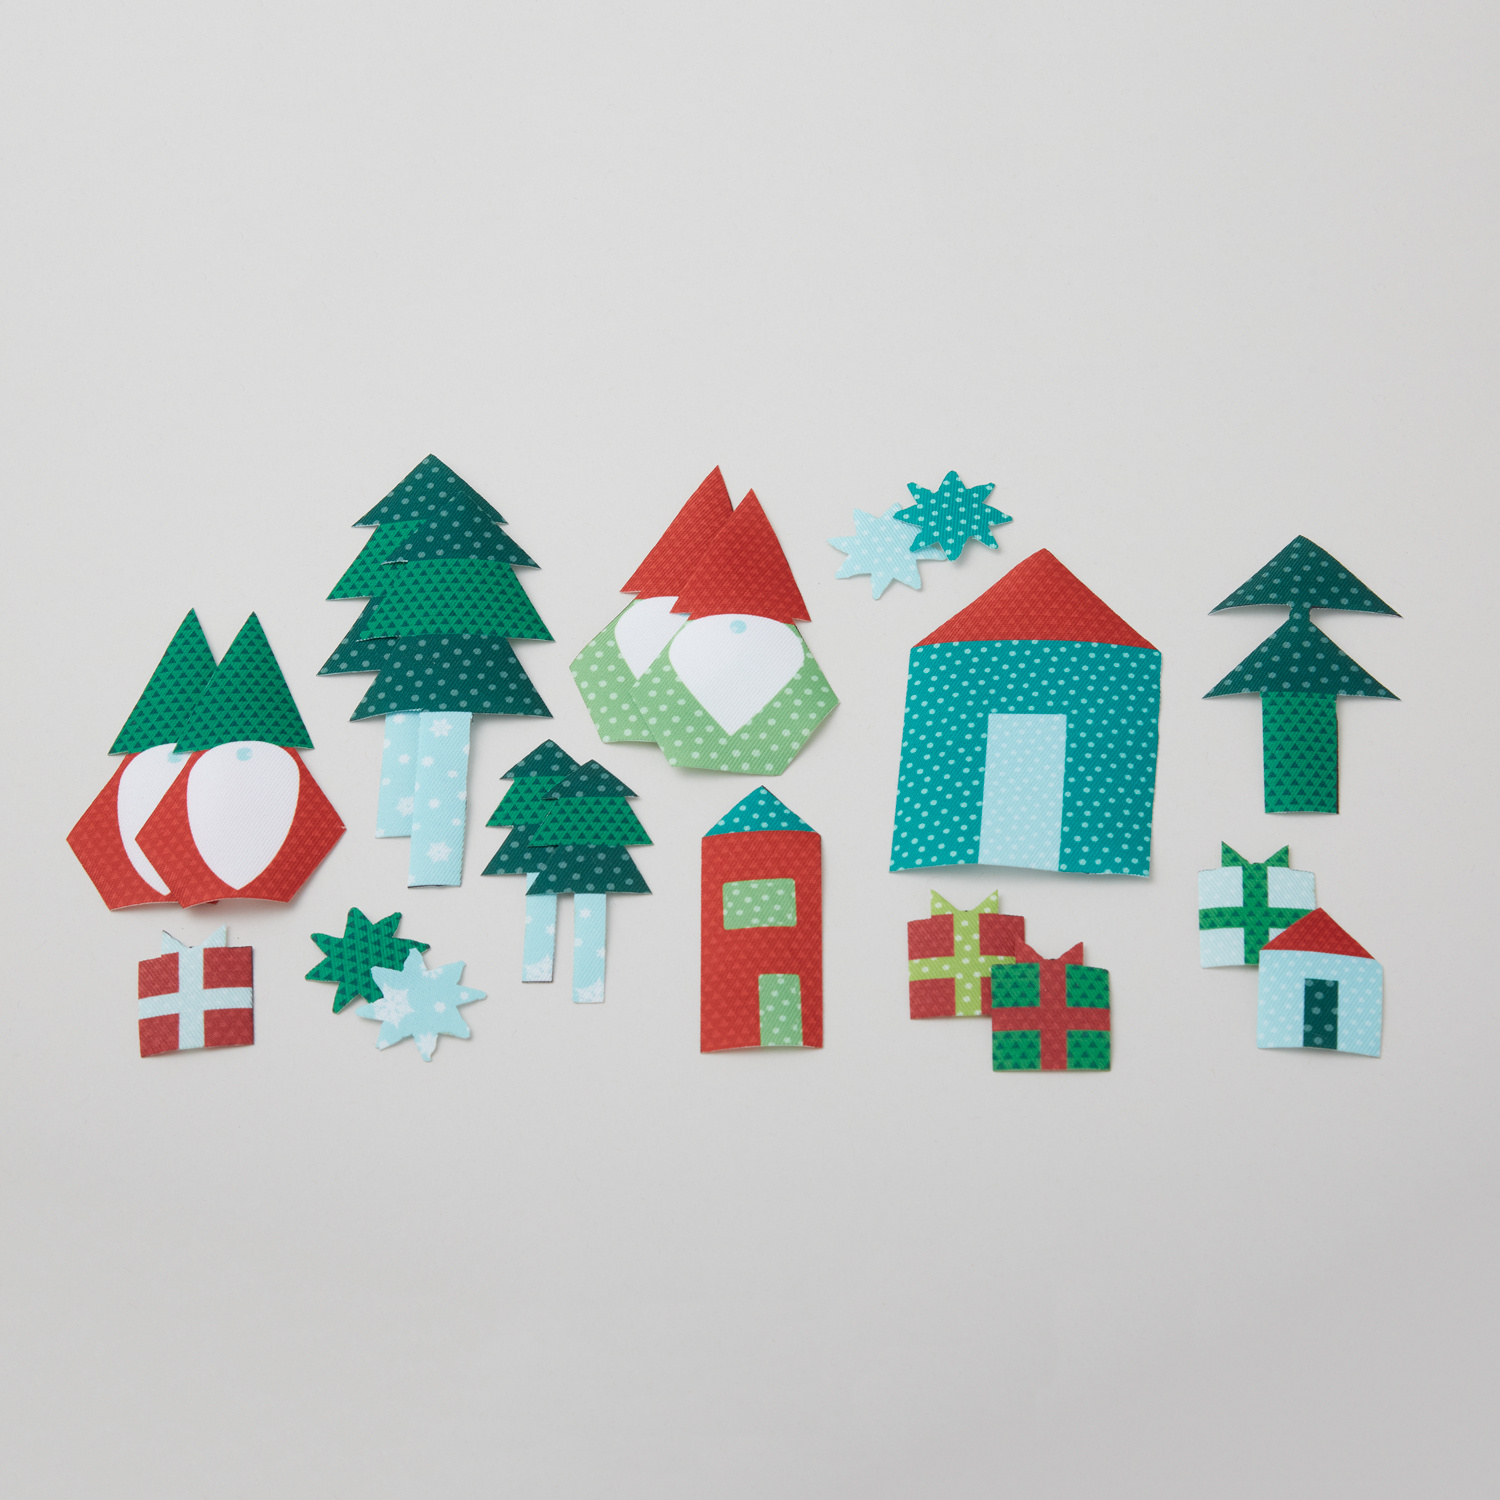 Missouri Star Iron-on Fabric - Christmas Gnome Village$14.95Shop →
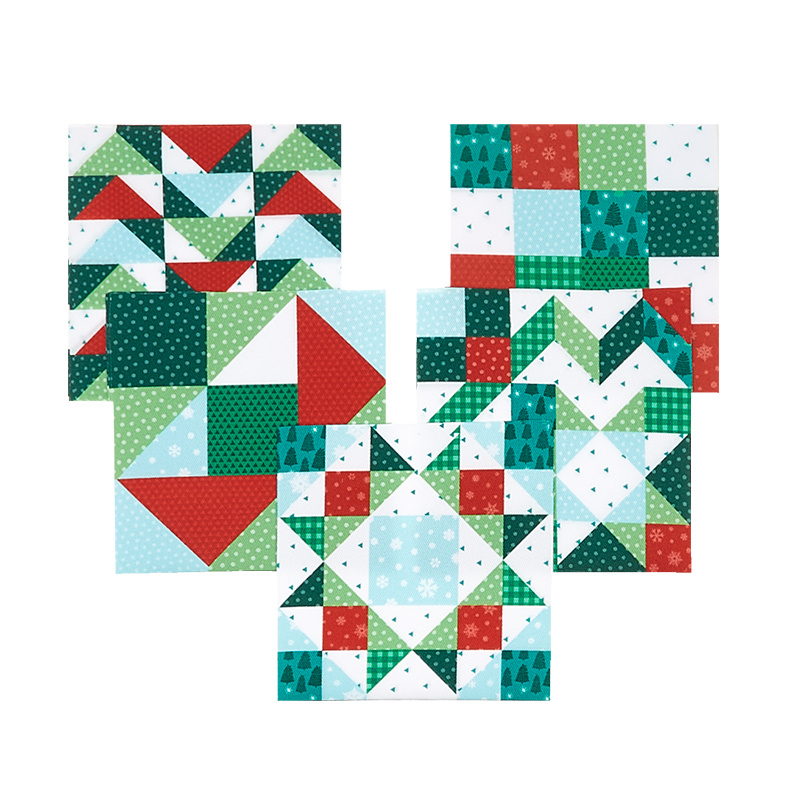 Missouri Star Iron-on Fabric - Christmas Patchwork Quilt Blocks$14.95Shop →
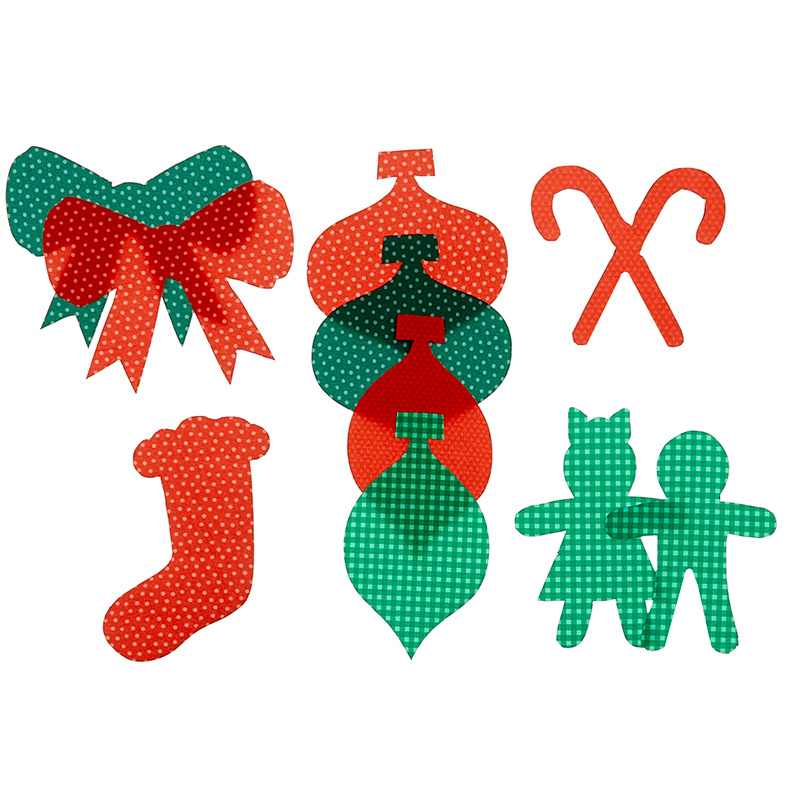 Missouri Star Iron-on Fabric - Christmas Shapes$9.95Shop →
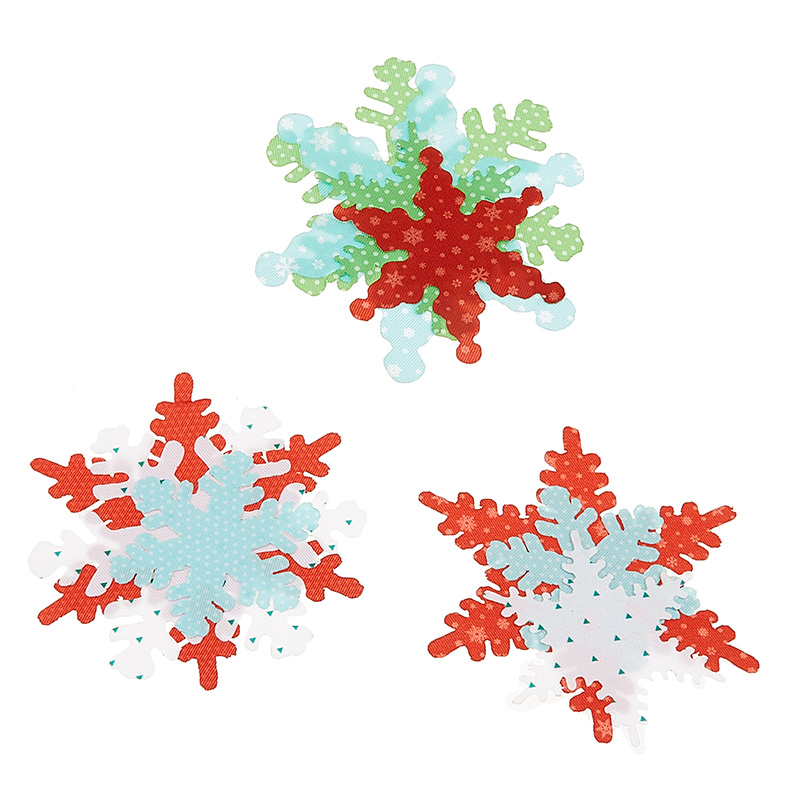 Missouri Star Iron-on Fabric - Christmas Snowflakes$9.95Shop →
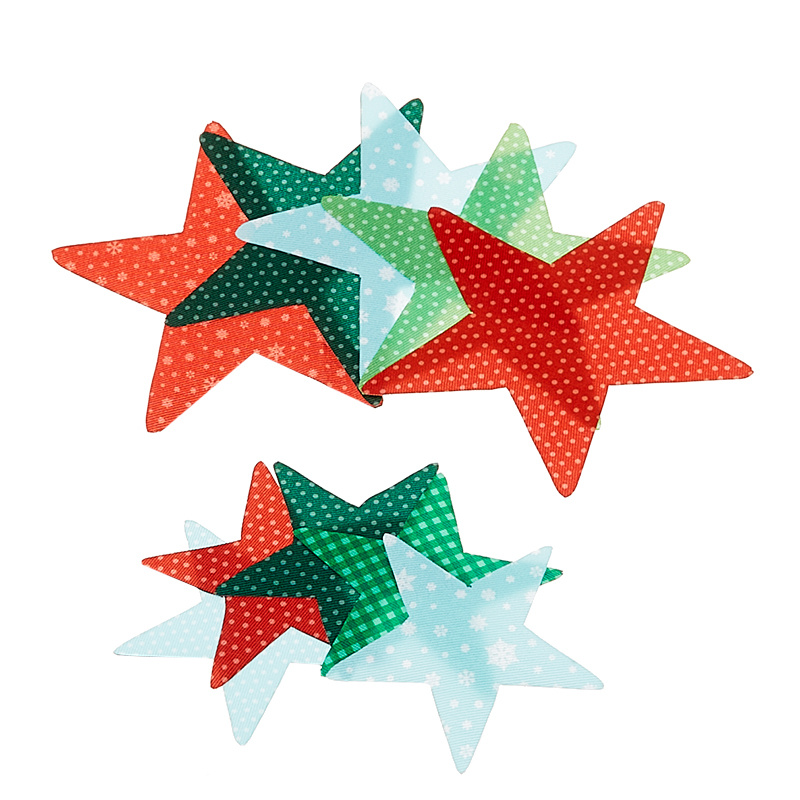 Missouri Star Iron-on Fabric - Christmas Stars$9.95Shop →
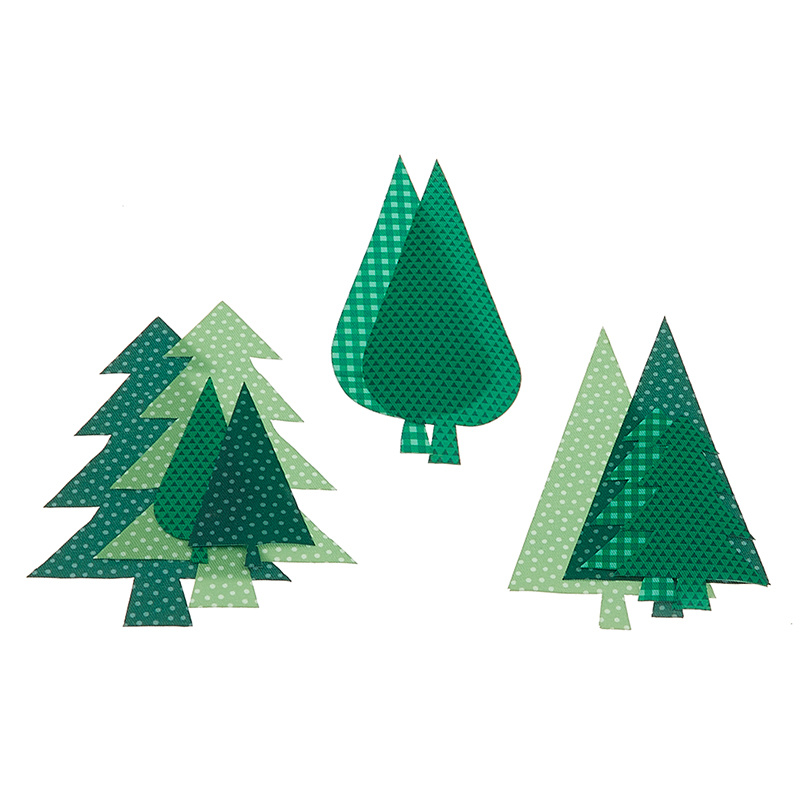 Missouri Star Iron-on Fabric - Christmas Trees$9.95Shop →
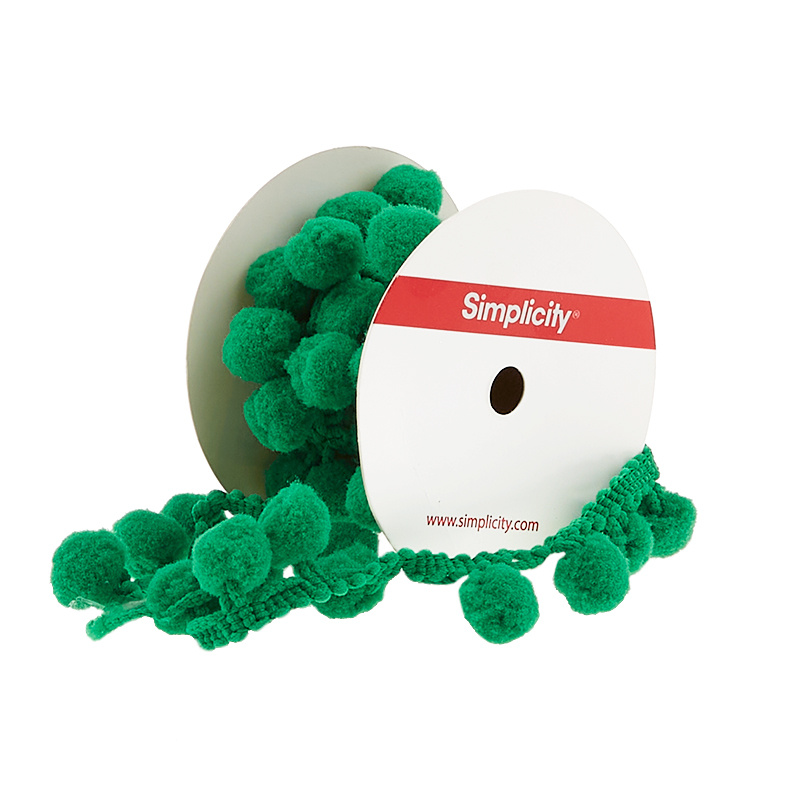 PomPom Fringe 4 Feet - 3/4" Emerald$3.45Shop →
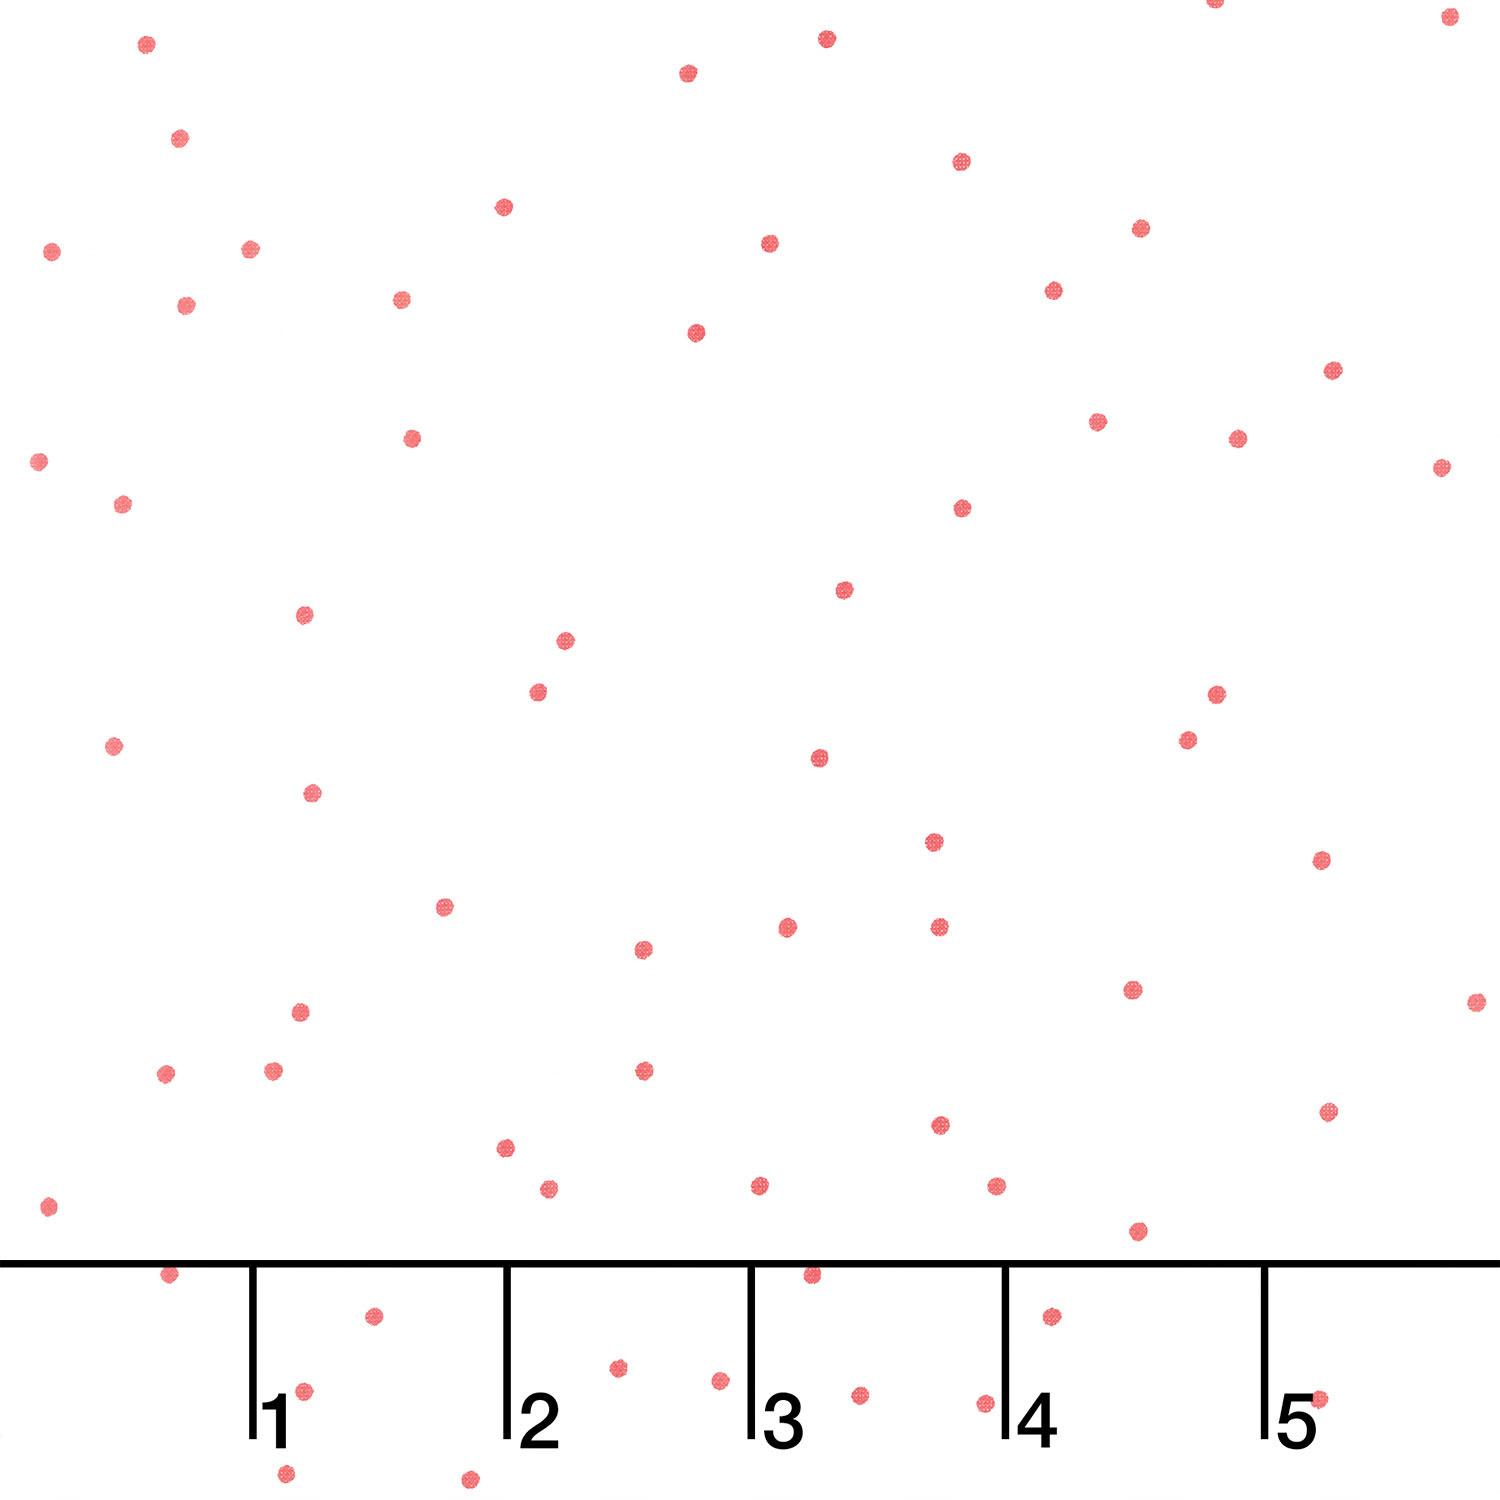 Pin Dot - Red on White Yardage$10.76Shop →
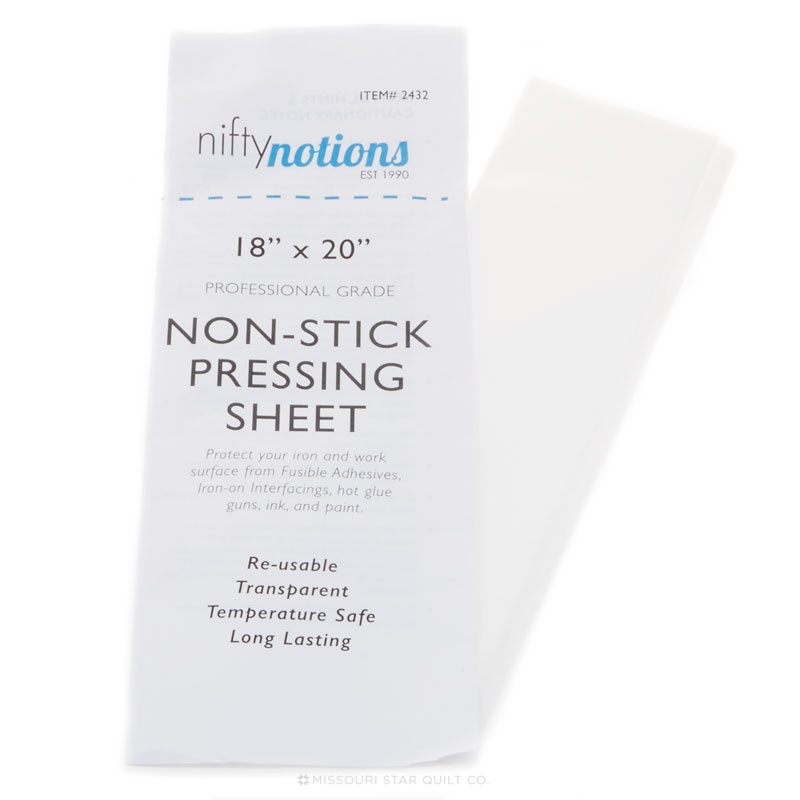 Teflon Pressing Sheet - Professional Grade$12.75Shop →
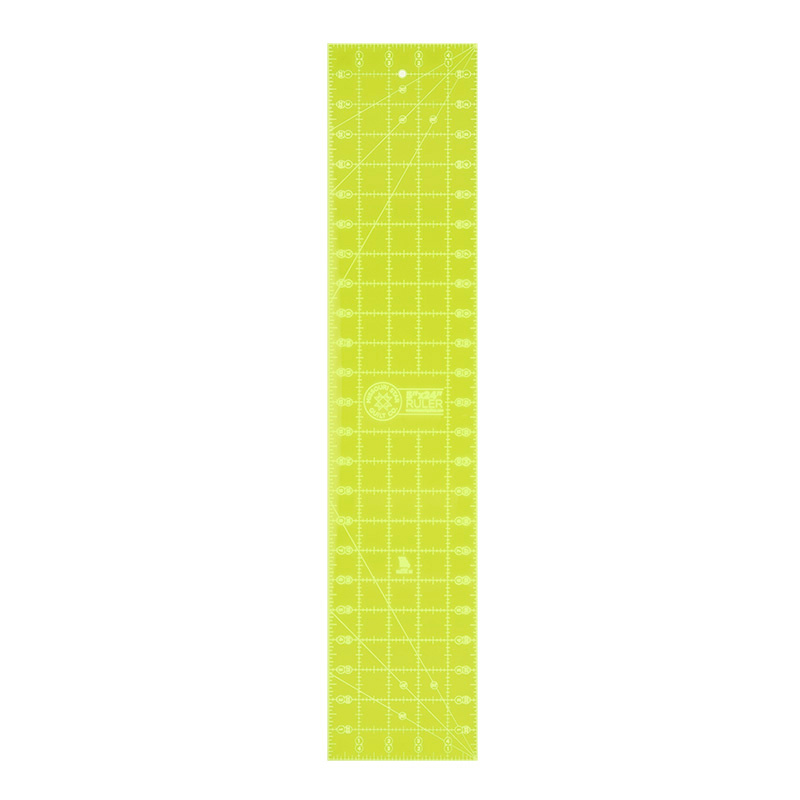 Missouri Star 5" X 24" Ruler$22.95Shop →
 Missouri Star 2.5" x 8" Ruler$10.95Shop →
 Missouri Star 45mm Rotary Cutter$19.95Shop →
 Missouri Star 50 WT Cotton Thread White$6.95Shop →
 Missouri Star 40 WT Polyester Thread Radiant Red$7.45Shop →
 Missouri Star 40 WT Polyester Thread Emerald Green$7.45Shop →
 Missouri Star 40 WT Polyester Thread Mint$7.45Shop →
 Missouri Star 40 WT Polyester Thread Lime Green$7.45Shop →
 Exclusive Missouri Star Jenny TG1600 ProPlus Oliso Smart Iron$199.99Shop →
 Missouri Star Wooly Betty Board - 17.25" x 25.5" Orange Border$98.95Shop →
 Baby Lock Accomplish - 1500 SPM Straight Stitch Machine$999.00Shop →
Common Questions
What is covered in How to Make a Gnome Applique Table Runner - Free Project Tutorial?
Make your holiday home SEW happy! In this episide, Misty sews up the Gnome Applique Table Runner with fun pom-pom fringe and easy iron-on applique. With fun precut fabric shapes from Missouri Star, this project practically creates itself! Set your Christmas table with an extra...
How long is the tutorial video?
The tutorial video is 00:21:06.
Are supplies listed for this tutorial?
Yes. The tutorial page includes the supplies and materials connected to this project.
Is a transcript available?
Yes. A written transcript is available on the tutorial page.
Video Transcript
table runner. Let me show you how to do it!
A few weeks back I shared with you guys this dining tabletop set that teaches you how to make a runner, place mats, and napkins in all different sizes as well as this mitered style and a simple turn and flip style. So with that in mind, pick up the Tabletop Set Pattern because it's going to give you all kinds of great projects to get your table holiday ready. But I took the simple turn and flip method of the runner, and then I just use these great craft iron-on appliques that we carry here at Missouri Star. So we're
just going to use these fun craft fabric shapes. We've got trees, snowflakes, stars, and even these little gnome and gifts.
So you can see I used this set on this runner here, but for the one I'm
going to make today I want it for a little bit smaller table. This is matching the size that's in the pattern. I just got a yard of this cute red dot and then I cut two rectangles that are 16 inches wide by the width of fabric.
So I have these ready to go and we are just going to use this cute Red Dot as our background. Let's choose one of these to do our applique. I think I'm just going to do the trees on this one - I think they're super cute!
So let's go ahead and open this up. In the package, these are all precut and prefused and it also includes this pressing sheet that will help protect your iron from any glue transferring, which is really nice to have. So hold on to that and we can just take our little shapes and kind of see what we've got here. We've got a bunch of different styles so I like to just lay them out and see the variety. Let's pick a few to place on the edge of our runner.
So I've got this one here and this one. We're just going to add a few little
trees, we mix this guy in here. You want to make sure that you're not getting too close to the edge because we are going to turn this. Maybe this
guy? I think that looks pretty good.
So if you want to bring the ironing board over or take this to your ironing board, whichever is easier for you. I probably should have done this first. So we'll set this down. Then I'm going to lay the edge of my runner here on my ironing mat. Then I want to just get my ruler to make sure these are all straight along this bottom edge. I'm probably going to measure up about an inch and a quarter, inch and a half, and then I'll put my little trees right along that line so that they're all in a neat row. There we go, I'm happy with that.
Now I can move my ruler away and can just oh almost forgot pressing cloth. We'll put this under here and then we can press straight down and we don't have to worry about any damage to our iron. These shapes are polyester so keep that in mind, but they're so cute and make for a really fun project or gift idea.
I just want to make sure they've all adhered. That feels really good. So now let's flip this around and do the same thing on the other side. So I'm just going to set my iron out of the way. We will measure up an inch and a
half and we'll lay out some of the rest of these trees. Let's see here, make sure we get some variety. I just think this is such a quick and easy project and great for a gift. Make sure we can fit them all and then this little guy that looks pretty cute, doesn't take long at all and a little forest appears. All right, we'll press these in place. There we go just like that.
Now I didn't do this on the other one but I think it would be really fun
to do some snowflakes in the middle. So there's also a snowflake pack. I'm
going to go ahead and open this one up. I love that these are all made to
kind of coordinate with each other, so you can mix and match some of
these different iron-on kits and use them however you see fit.
So let's just put the center here. I'll move my ruler out of the way. Let's just decide where we want these. I like these little green ones and teal, so fun!
I like that you can kind of test this out and figure out which colors you like.
I'll just do those few like that. That looks pretty good. Just to add some snow to the middle and then again use that pressing sheet or scrap piece of fabric if you have it, and a nice hot iron to make sure that that adheres on there. We'll just move from shape to shape to make sure that they fuse in
Place.
Okay I think these are all fused down. So let me clean this up a little bit and we'll start working on the applique.
All right, so now we are ready to start our applique. So I have switched out the thread on my machine and my bobbin to some green polyester, just so it has a little bit of shine. I also went ahead and grabbed some of the other colors that would match this project, so that I can switch it out as needed. I'm just going to start by doing some of the applique on the trees.
So I can show you guys how I finish this off. I probably will not finish the whole thing, can bounce over and show it to you on this project, but I wanted to show you just a little bit. We're going to do just a basic blanket stitch and so let's go ahead and get this started.
I am sewing on the Baby Lock Jubilant. I am on Stitch 24 which is a basic blanket stitch. The length is 2.5 and the width is 2.0. So hopefully that is helpful to you. I am going to line up my needle so that it is just right on the edge of my applique shape. I don't like to start right on a point. I'm going to start just a little ways down on this tree. So let's go ahead and get started.
So it's going to take a stitch and a little bite in and a stitch. So you might want to test this out before you start sewing and make sure you're happy with the size that I chose. I like it to be really small, so that's what I'm going
with. So we're just going to continue all the way around our shape. As we get right to that bottom corner, I'm going to leave my needle down and we can pivot. Hopefully you can see how nice these first few stitches are looking.
Once we get this all done I'll bring it out for you to see. All right, just pivoting at each corner. So we are almost done. We're just going to finish this last little straight edge. Back stitch just a little bit to lock that in and now we are all done with our first applique tree. Let me grab some scissors and trim these threads and show you how that turned out. So we can trim this up make sure we don't have any stray threads here. I've got one little one that's wanting to stick out, get rid of that. Hopefully you can get in here really nice and see how great that looks with that little blanket stitch. It just finishes off that edge beautifully, which I think is so great.
So I'll just continue doing that around any of these kind of darker green
trees, switch out to the lighter green when I do the light green trees and
these snowflakes and just continue that all the way through.
So then now to finish off this runner, we are just going to take our applique rectangle and we're going to match that up with our other rectangle that we cut. We're going to put those right sides together. Then we’re going to sew all the way around leaving about an 8 inch opening so that we can turn it. Let's go ahead and do that. Let's make sure this is all lined up corner to corner. If it's helpful to you, we can put a pin at our start and stop points, just so we remember and give ourselves plenty of room to turn this.
So I'll just leave an opening about like that and we're going to sew all the way around. Oops, I almost forgot we do want to switch out our thread. This green thread would show through, so I'm going to take a minute and swap this out back to white.
So we've swapped out our thread back to white in both the top spool and the bobbin. Now we're ready to sew all the way around that runner, leaving our opening. So let's go ahead and do that. I'm just sewing a ¼ inch seam. I'm going to back stitch at the beginning by this opening and then we're going to continue all the way around. Just make sure my corner is lined up. As I'm approaching it, I like to just sew off and pivot on that corner. Again, just making sure everything stays lined up. All right we are coming down this final side here. So I'm just going to make sure I stop at this last pin and back stitch again. We are good to go. All right let's go ahead and pull these pins out where I left my opening. I like to go ahead and clip the corners on projects like this, just to get rid of some of the bulk. So I'm just going to clip across and then down a little bit, just to get rid of some of this. I'll do that on all four corners. So straight across and then kind of skinny up that side, just a little bit. You don't want to get too close to your seam, but just to get rid of some of that bulk will help give you a nice clean corner, which is what we want.
Here we go. We are good to go. So now I'm going to go ahead and bring my pressing mat back over here for you guys and we are going to turn this
right sides out. Let me find my opening again. Now that I took those pins off it's harder to see. We are just going to pull this through, just like so.
So to begin with, I'm just going to use my nails. If you need like a chopstick or a pen or a Purple Thang to just really get those corners really sharp, just take your time, work them out. There, we'll do all four corners, go one
more…okay all right. Once we have that, let's go ahead and give this a
good press.
I like to roll my seams just to make sure that they're not tucking under. I kind of give them a little finger press first and then we'll hit this with the
iron. We will press all the way around, so I'm just going to keep doing
that rolling these seams just like so. Then when I get over here to this
opening, it's going to want to kind of naturally roll under that quarter of an
inch. So I'm just going to go ahead and make it do that. I'm going to roll
this bottom about a quarter of an inch until it meets up with this side. And then I'll roll the top piece to match that because we're going to catch
all of this when we do the top stitching in just a little bit.
All right, so I'm going to keep making my way all the way around and I'll meet you back here when it's done.
So we have turned this, it's all pressed and ready to go. So now I'm just going to do a line of top stitching all the way around this to seal up that open edge and to just give it a nice finished look. So I'm actually going to start by securing this open section. So I'm just going to make sure I'm at this end and I like to do a little bit narrower than a 1/4 inch for my top stitch and then I'm going to lengthen my stitch length just a bit. We are going to sew all the way around.
All right, we are getting close to being back to where we started. Just finish this up make sure we meet up with that first line of stitching and then back stitch again to secure that. We are all done! Let me just trim my threads really quick. Perfect! So there you go, that could be it. You could just stop right there and call your runner done. It turned out really fun and it's so quick and easy.
But we have these great little green pom poms here at Missouri Star. I
actually think you can get them in red as well and so I thought it would be
really fun to add as a detail to the end. So that's what I did here on this larger runner. You can see we just laid those pom poms along the edge of the two short ends and just using the green thread we top stitched all along there. Then I even went in and glued a couple on these little gnome hats just to add some fun details. So don't be afraid to play with your different embellishments.
I hope you enjoyed seeing a little bit more about these great craft shapes that we have available for you to decorate for the holidays. I will see you next time on At Home.


