

How to Make a Half-Square Triangle Surprise Quilt - Free Quilting Tutorial
 Natalie Doan
- Layer Cake
- Modern
- Double
- Beginner
- Quilt size 80" × 80"
It's true, Natalie's new quilt is a beauty. But if you take a closer look, you will find nothing but easy half-square triangles! Half-Square Triangle Surprise combines three great blocks: the envelope or Love Note block, the chevron block and the Emerald Isle or diamond block—all made with HSTs. Together they form dazzling stars, dynamic diamonds, and a candy-stripe border. This quilt is made with the Easy 8 method and precut layer cake squares from Heirloom Red by My Mind's Eye for Riley Blake.
Instructor
Natalie Doan
Natalie is the host of Quilting 101, Embroidery 101 and the Creative Strategist and Editor of Block Magazine at Missouri Star Quilt Company. She was taught how to sew by her mom, of course, and began quilting when she grew up.
Shop this tutorial
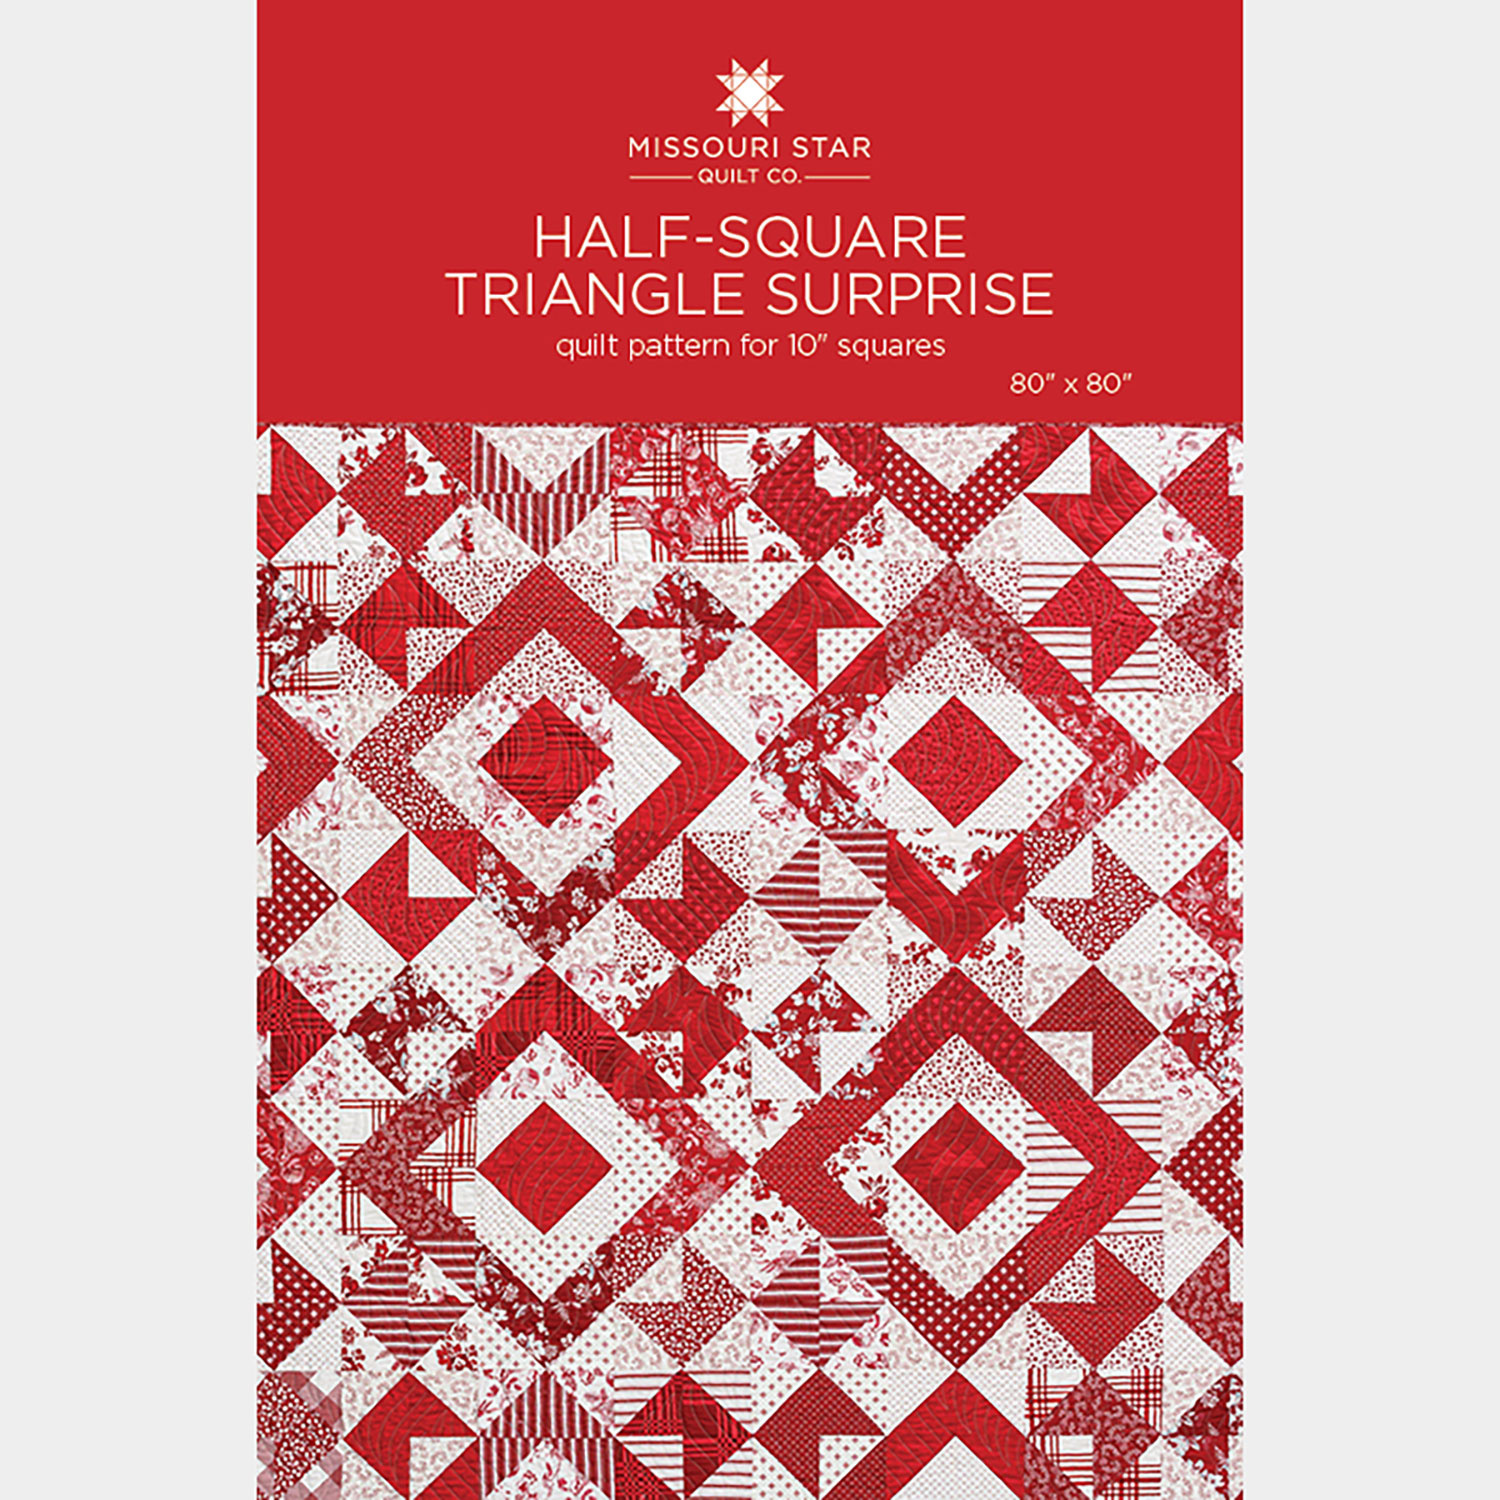 Half-Square Triangle Surprise Quilt Pattern by Missouri Star$8.50Shop →
 Digital Download - Half-Square Triangle Surprise Quilt Pattern by Missouri Star$6.95Shop →
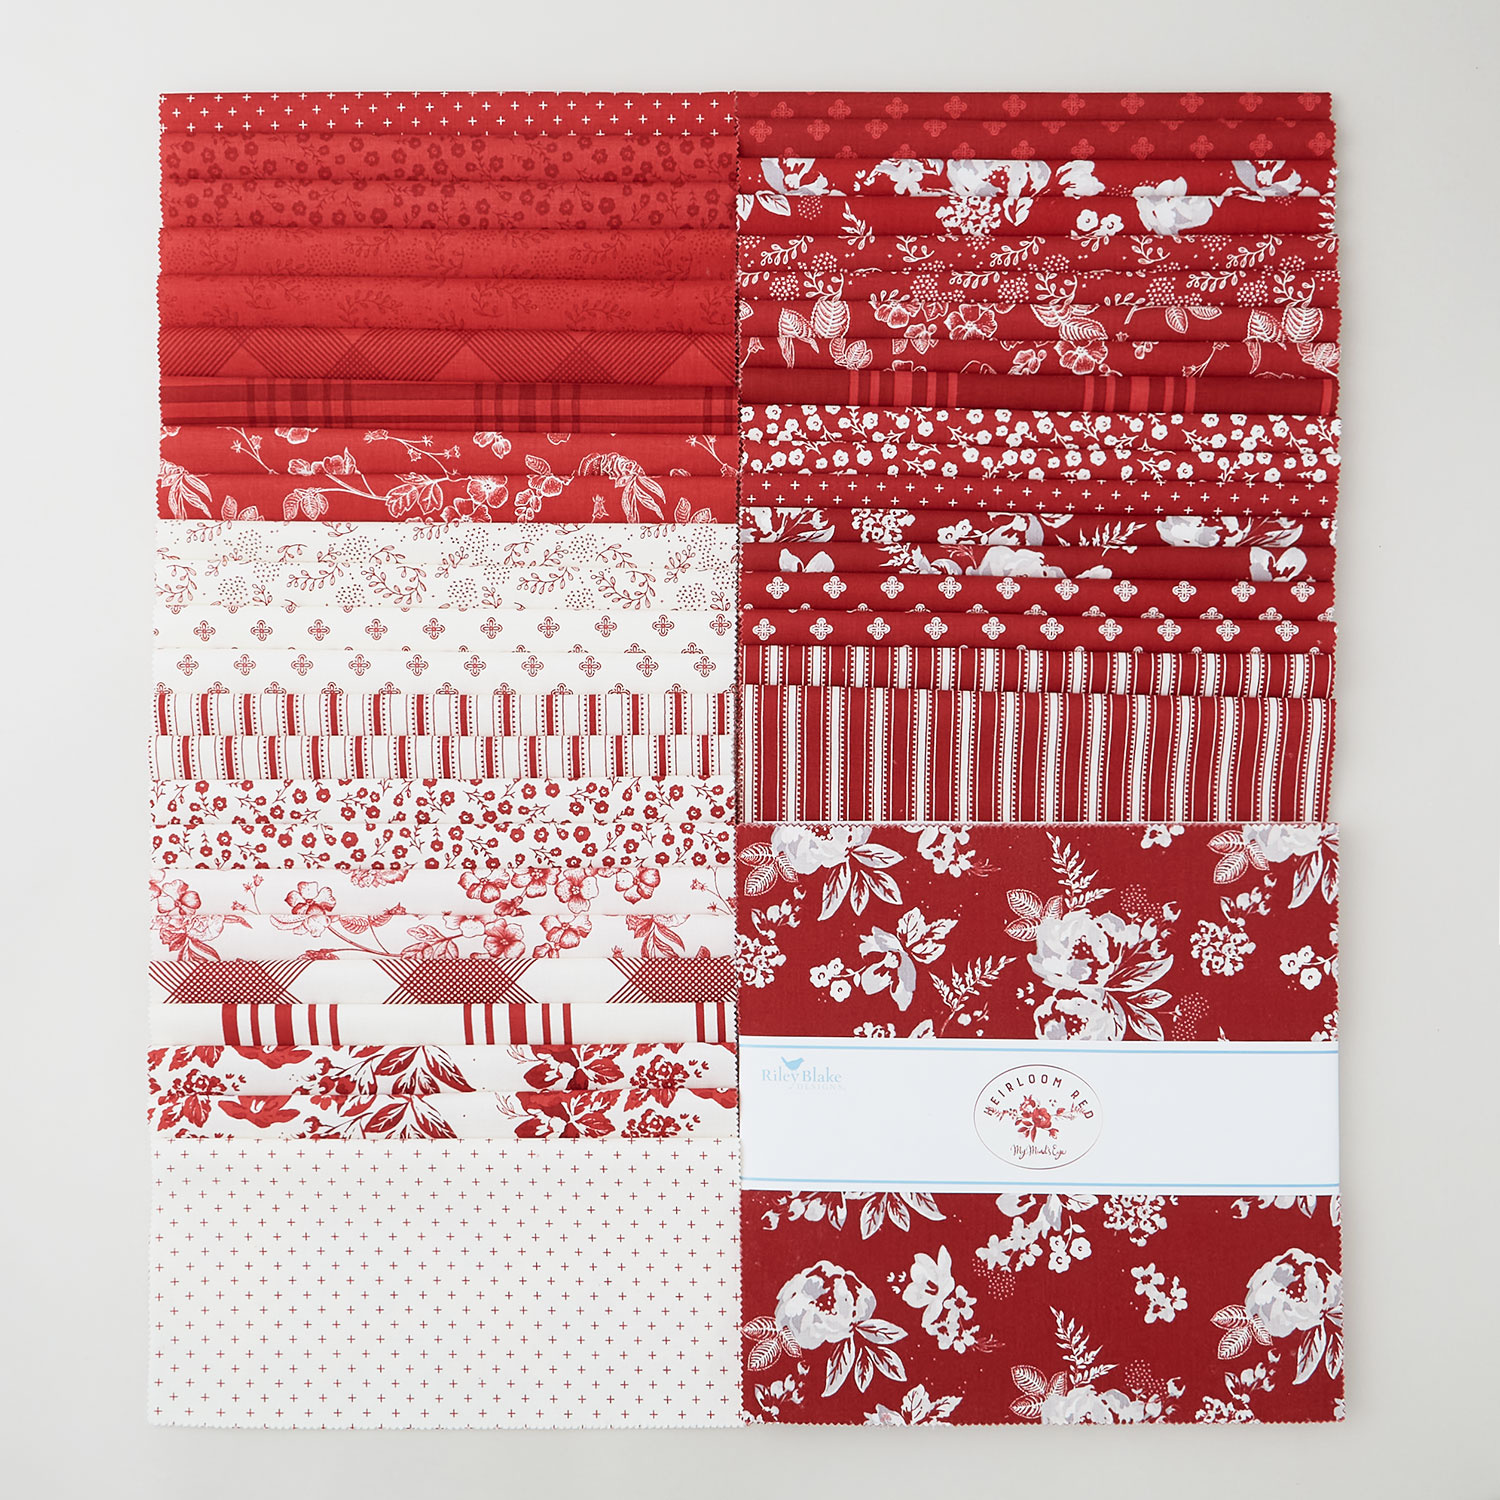 Heirloom Red 10" Stackers$39.95Shop →
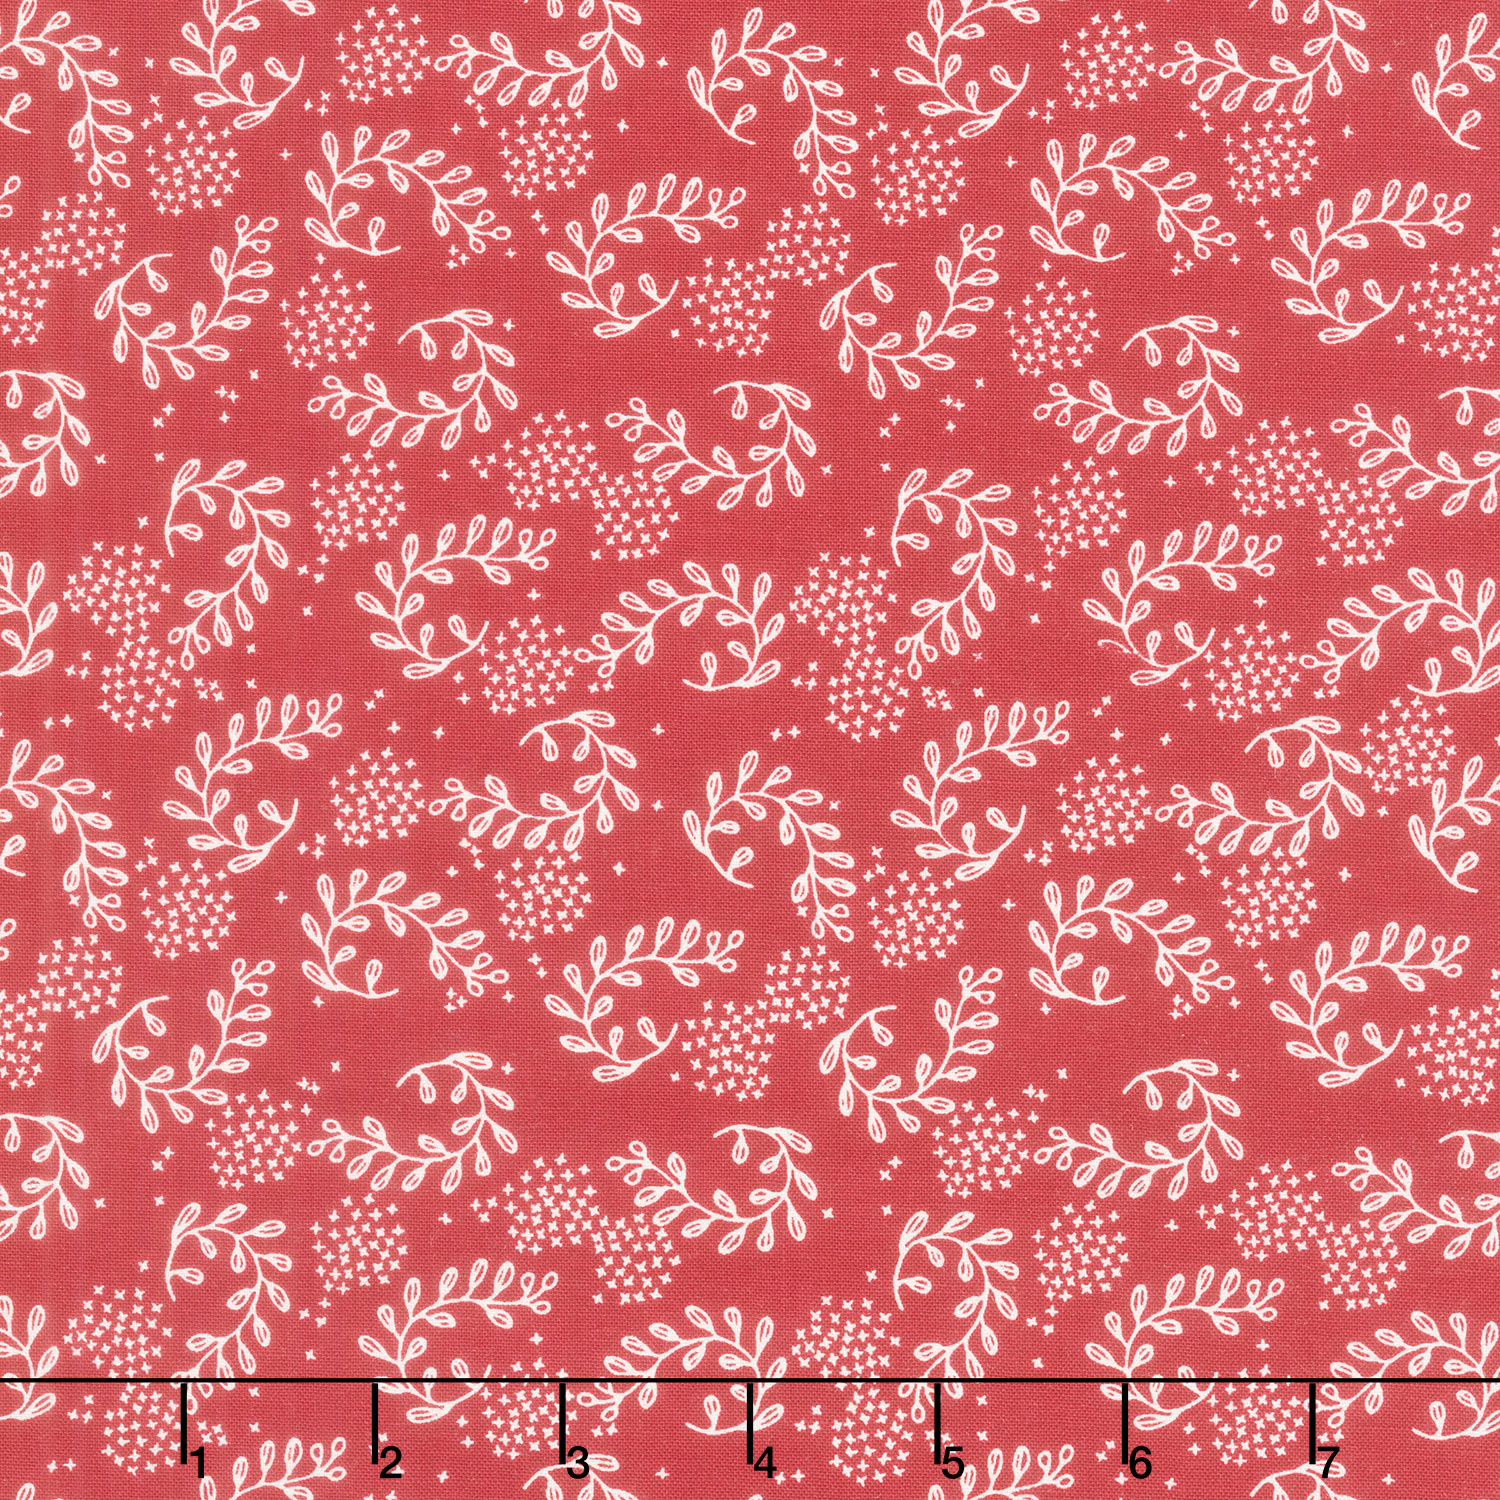 Heirloom Red - Sprigs Berry Yardage$11.96Shop →
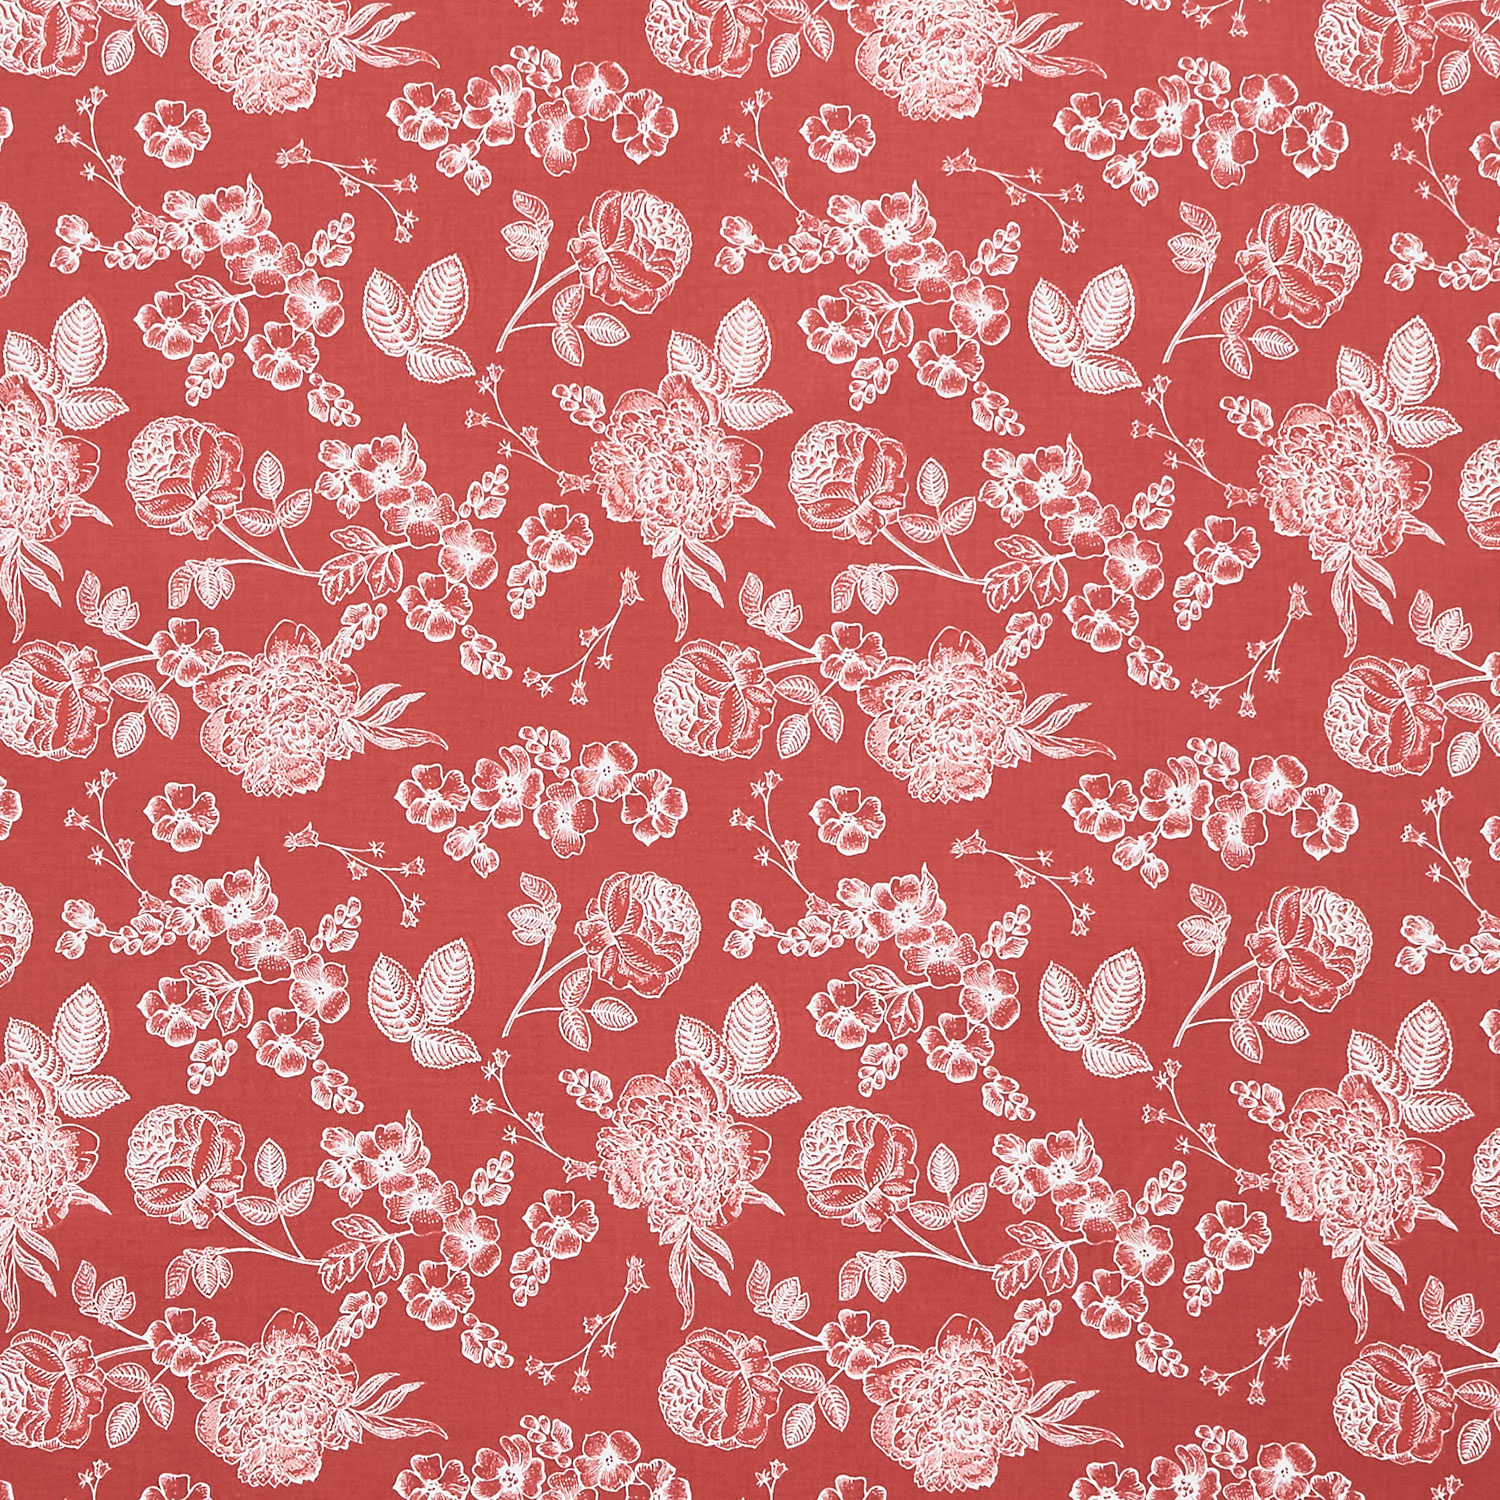 Heirloom Red - Line Floral Berry Yardage$11.96Shop →
 Missouri Star Quilter’s Best Blend Full Batting$32.95Shop →
 Bloc Loc 6 1/2" Square Up Ruler$30.10Shop →
Common Questions
What is covered in How to Make a Half-Square Triangle Surprise Quilt - Free Quilting Tutorial?
It's true, Natalie's new quilt is a beauty. But if you take a closer look, you will find nothing but easy half-square triangles! Half-Square Triangle Surprise combines three great blocks: the envelope or Love Note block, the chevron block and the Emerald Isle or diamond block—...
How long is the tutorial video?
The tutorial video is 00:14:10.
Are supplies listed for this tutorial?
Yes. The tutorial page includes the supplies and materials connected to this project.
Is a transcript available?
Yes. A written transcript is available on the tutorial page.
Video Transcript
Hi, everybody. I'm Natalie with Missouri Star Quilt Company. Today, I am here with-
Jenny:
Jenny.
Natalie:
... Jenny from Missouri Star Quilt Company also. It's like we know each other or something.
Jenny:
It's like we know each other or something.
Natalie:
Anyway, we have a really fun project for you today. This quilt is based on our Birthday Bash quilt from 2023. We had a great birthday bash. And every year, we do-
Jenny:
Quilting roulette.
Natalie:
Yes, we do a quilting sort of contest, sew-off thing, right?
Jenny:
Yeah, and somebody wins it.
Natalie:
That's right. This year, our sew-off, we played roulette. So there were three teams. Mom had a team, Misty had a team, and I had a team. And we each blindly chose different options. We had funny things to wear like-
Jenny:
It was very fun.
Natalie:
... tutus and feather boas and-
Jenny:
Mm-hmm. I had gorilla feet on. Yeah.
Natalie:
... and big slippers. Yeah. So we did all of that, and then we chose different fabrics and different patterns. So each pattern that we chose was based on a half-square triangle.
Jenny:
Because we knew at the end of the day, they all had to work together to make something.
Natalie:
That's right. So we were going to put them all together into one big quilt. So we have the quilt, the original quilt from Birthday Bash.
Actually, before that, let me show the blocks.
Jenny:
Okay.
Natalie:
So in our blind roulette choosing, mom's team chose the envelope block, or love notes.
Jenny:
Love notes. All made with half-square triangles.
Natalie:
That's right. And Misty's team got chevron. And I got the Emerald Isle, or the diamond block.
Jenny:
Mm-hmm.
Natalie:
So these are the three blocks that we used to make this quilt.
Jenny:
So then Natalie put it all together and designed a quilt. And you guys have to see this.
Natalie:
The Birthday Bash quilt fabric was this tulip pink basics, and it turned out so fun.
Jenny:
It was so cute, and it's just darling. And at the end of the day, we were like, "We need a tutorial on this."
Natalie:
Yes. So we love it. We hope you love it too.
Jenny:
This is the exact same quilt. How amazing is that?
Natalie:
Right.
Jenny:
They look so different with the colors.
Natalie:
Yeah. And this just shows what you can do with fabric.
Jenny:
Yeah. All right, I'll fold this for you.
Natalie:
So we've made it for you in this beautiful Heirloom Reds fabric, and I think it's just lovely. I think it turned out really nice.
Jenny:
Well, fabric color choices are so fun and different. It's just fun to see two different things from one pattern.
Natalie:
Yeah. Now, this quilt, this Birthday Bash quilt is going to get shipped off to its new owner. She came to Birthday Bash and won it, and I'm sure she's going to be really excited to receive that.
Jenny:
She's going to be really excited. We did tell her that we wanted to use it as a tutorial. We're going to keep it a little longer, but I'm sure she'll be so thrilled to get it.
Natalie:
All right. To make this quilt, you're going to need two packages of 10-inch print squares, and we've used Heirloom Reds by My Mind's Eye for Riley Blake Designs.
Now, this particular line is unique because it has a really even split of lights and darks.
Jenny:
Yeah. It's got lights in there.
Natalie:
But if you were making it with a different type of fabric, you might want to grab a print and a background for your two-layer cakes, because-
Jenny:
Mm-hmm. That works perfect.
Natalie:
... you're combining and using your lights and darks as background and print fabrics.
Jenny:
Yeah.
Natalie:
You'll also need an additional yard for your border, and that's this inner... Sort of a middle border. And you will need five yards of backing.
Jenny:
Here, I'll do the backing. I'll be Vanna.
Natalie:
It's very pretty. This fabric is just so beautiful. All these reds are so pretty.
Jenny:
It's gorgeous.
Natalie:
We quilted it with Time Warp, and it makes a quilt that is 80 by 80. So it's a great size for picnics or probably even a double bed, I would say.
Jenny:
Yeah.
Natalie:
It's great. Because we're doing so many half-square triangles, you will want your favorite squaring tool. I prefer Bloc Loc for this method of half-squaring.
Jenny:
And I prefer the Clearly Perfect slotted trimmer.
Natalie:
And Clearly Perfect is a tight runner-up.
Jenny:
Yeah.
Natalie:
Yeah.
Jenny:
All right.
Natalie:
And that is pretty much all you'll need, and we can-
Jenny:
So shall we show them how to make it?
Natalie:
That's right. We'll get started.
Jenny:
All righty. All right, little miss. I'm in my chair.
Natalie:
Okay, you're ready to sew.
Jenny:
Ready to sew.
Natalie:
So what we're going to do is we're going to take a light and a dark square. Maybe we could... Let's see.
Jenny:
I like those.
Natalie:
You like that one?
Jenny:
Yeah.
Natalie:
How about-
Jenny:
Those are cute too.
Natalie:
How about this one?
Jenny:
They're all pretty.
Natalie:
I actually really like this one.
Jenny:
Yeah, that's pretty too.
Natalie:
I like them all. They're beautiful. You're just going to pair a background, or a light, with a print-
Jenny:
You want some contrast.
Natalie:
... or a dark. And actually, your contrast can be warm or cool as well. It's really up to whatever your design mind decides. But what we're going to do first is mark a line going both directions diagonally.
Jenny:
This is the easy eight method, and so it takes the big cross X-
Natalie:
That's right.
Jenny:
... on the back of the block.
Natalie:
You draw the X-
Jenny:
Crisscross.
Natalie:
... and you stitch on both sides of both lines. You can make this mark with a pen or a pencil. It doesn't matter because you're going to cut right through it. So it doesn't have to be a-
Jenny:
Yeah, it won't show at all.
Natalie:
... disappearing ink or anything like that. No secrets.
Jenny:
And every single block in the quilt is made with this method.
Natalie:
This exact same method.
Jenny:
This is-
Natalie:
You'll make all of your half-square triangles, and then we're going to mix and match and we'll show you.
Jenny:
All right. Your normal quarter-inch seam is good for this. We're going to come around this side. Okay, that's one side, and then we're going to do the other over here.
Natalie:
Yeah.
Jenny:
And ta-da.
Natalie:
Now we get to cut.
Jenny:
There we go.
Natalie:
All right. So we're going to cut these apart. And I always cut the horizontal and vertical cuts first because there are no lines. So you're going to cut that at-
Jenny:
It looks like our tension is a little-
Natalie:
... five inches.
Jenny:
... tight on this.
Natalie:
Yeah. That's okay though because-
Jenny:
Right? It'll all go back because we're cutting it apart.
Natalie:
Yeah, we're going to press it and then we're going to square them. So we're going to cut horizontal and vertical. Then we'll cut diagonally both directions on the line, and that gives us eight half-square triangles. All right. I'm going to go ahead and press-
Jenny:
Let me help.
Natalie:
... open, and then we will start squaring these. Do you want to press and I'll square?
Jenny:
Sure.
Natalie:
Okay. We could trade places.
Jenny:
I was just sitting in my chair, resting.
Natalie:
All right. So these get squared to four-and-a-half inches.
Jenny:
So you're not going to cut off too much, actually.
Natalie:
No. It is a very close measurement-
Jenny:
[inaudible 00:07:50].
Natalie:
... because they come out just about exact. All right. And you can flip that around and then line it back up with your four-and-a-half. That's just a little dog-ear.
Jenny:
Yeah, these are going to be real close.
Natalie:
Yeah.
Jenny:
I mean, now we're just going to have to wait for you.
Natalie:
We're just doing little slivers. You can flip that around and pull it down.
Jenny:
I do love how Natalie does drag that ruler down. Because of the little lift that's right in the middle, she can just slide that down. And I am always turning and making a little mantra. That's why the other ruler works a little bit better for me. But this one, when I saw her do that, I was like, "Oh."
Natalie:
Yeah, it's a little-
Jenny:
Makes it a little bit easier.
Natalie:
It's really easy on this particular mat. My mat that I have in the studio is a little bit more grippy and doesn't turn as easily, I noticed the other day.
Jenny:
I'm just going to feed these to you.
Natalie:
Okay. Well, I'm only going to do this last one. So we-
Jenny:
What?
Natalie:
Well, we only need four blocks to complete every block in the quilt. Four half-square triangle units to complete every block.
Jenny:
It's true. It is true.
Natalie:
It is true.
Jenny:
So out of this one block, you get two blocks.
Natalie:
Yes. And you will make your entire set of layer cakes into half-square triangles.
All right. So the first one we'll make-
Jenny:
We showed them the-
Natalie:
The love notes squares.
Jenny:
... love... Nope.
Natalie:
That is a diamond.
Jenny:
Wait. Wait for it.
Natalie:
And by the way, that is kind of a bonus block that I threw in just to make the pattern. There's only four.
Jenny:
So this is your love notes.
Natalie:
Super easy. Okay. Love notes is the first block. The layout for that is to put the envelope out and then all the rest of the envelope pieces in.
Jenny:
So it looks like a little open envelope.
Natalie:
By envelope, I'm saying this dark fabric is going to make the outside of our envelope, right? And then this is the background.
Jenny:
Mm-hmm.
Natalie:
That's it.
Jenny:
Well, and then to make the star...
Natalie:
Yeah. So to make the star, you'll need four of these.
Jenny:
So here, let me show you this. This is the love note star is what we call it. It has four of the envelope blocks in it. And we have some over here. Yeah, that's exactly how it fits in. We have some over here where we can show you.
Natalie:
That's right.
Jenny:
We have some done.
Natalie:
Mm-hmm.
Jenny:
And so it ends up-
Natalie:
There you go.
Jenny:
... making this little white center and then you see the star legs.
Natalie:
That is the love notes star block, and there are nine of them in this quilt. So you can go ahead and put together those nine if you want. Or you can-
Jenny:
All right.
Natalie:
I mean, you can just lay it out and do rows if you want to also. That's always an option.
Jenny:
Look.
Natalie:
It's made. The magic of television.
Jenny:
Wait, I should take it out of the oven.
Natalie:
There you go.
Jenny:
Ta-da. It's all ready to go.
Natalie:
All done.
Jenny:
All right.
Natalie:
So the next block is the chevron block. We are going to make that by turning these in so that our lights meet and our darks meet, and we create this beautiful little chevron. And what we did is we put two of these together. Oops.
Jenny:
I've got two right here.
Natalie:
Magical.
Jenny:
But do you want to show how this one sits?
Natalie:
So these two, they go together point to point to create this block. So then this block is in between our stars, going first, vertically.
Jenny:
This is sashing, if you will.
Natalie:
Yeah. And then we have the sashing row. So we'll have three of them across this way. And then we put these diamonds in the middle, and that just helps create that pattern. So we'll do-
Jenny:
Next.
Natalie:
... a little diamond in just a minute.
Jenny:
Next, we can show them the diamond.
Natalie:
That is done simply by putting these together like this. Another fun little half-square triangle layout. You'll only need four of these.
Jenny:
For the whole quilt.
Natalie:
Yeah. They go right here in between this... Just in these two sashing rows.
Okay. The next block that you're going to assemble is the little diamond, or the Emerald Isle block. That is done by placing these that way.
Jenny:
Yeah.
Natalie:
Just going to turn these two blocks. You'll make them in sets of two. And-
Jenny:
You want to make sure they're the same. Going the same direction.
Natalie:
That's right. That's right.
Jenny:
It doesn't really matter which direction. It just matters that they're all the same.
Natalie:
As long as they're all going the same way, your border is going to look great and it'll go together.
In between here, this is a little four-and-a-half-inch middle border, and I thought it would be nice to separate this pieced border from the rest of the quilt. It looks a little messy for me if they're touching.
Jenny:
Make it a little busy.
Natalie:
And that's really it.
Jenny:
So the cool thing-
Natalie:
It's just assembling these fun little blocks.
Jenny:
And one of the cool things to note is that when all your blocks are four-and-a-half, and you want to add a border, if that border is also four-and-a-half, then everything matches up.
Natalie:
That's right.
Jenny:
Because I think this is a great border to use on a lot of quilts. It's just fun and happy, and it frames it out there. But you have to remember, when you want to separate something, if these blocks are four-and-a-half, this is four-and-a-half. So that's the same with any size block you use.
Natalie:
Right.
Jenny:
To get it to match up, you want it to be the same size. So out of making your easy eight, these are the blocks you're going to make. It's just-
Natalie:
It's so fun.
Jenny:
It's just so quick and easy.
Natalie:
It's so creative.
Jenny:
Yeah.
Natalie:
It looks great in all kinds of fabrics, as we've seen.
Jenny:
Absolutely.
Natalie:
And we hope you enjoyed this tutorial on the Half-Square Triangle Surprise-
Jenny:
Surprise.
Natalie:
... Quilt from Missouri Star Quilt Company.
Jenny:
See you later.
Hi everybody, it's Jenny from the Missouri Star Quilt Company. We hope you enjoyed watching this video. If you aren't already part of the Missouri Star Quilt Company family, be sure to subscribe so you won't miss a thing. And if you click that bell, it'll notify you every time a new tutorial comes out. See you next Friday.



