

How to Make a Hello Pumpkin Quilt - Free Quilt Tutorial
 Misty Doan
- Layer Cake
- Holiday
- Lap / Throw
- Beginner
- Quilt size 70" × 80"
Create the most gourdgeous quilt! Celebrate the coziest time of the year with the Hello Pumpkin quilt. Misty will show you how to stitch up this fun autumnal quilt using the Holiday Essentials Halloween fabric collection from Moda Fabrics. Stay warm this autumn by cuddling up with this charming quilt!
Instructor
Misty Doan
Misty Doan grew up surrounded by sewing and quilting. She loves spending time sharing tutorials each week each week, and when she’s not stitching up one of her fun sewing projects for home decor, most likely you’ll find her hanging out with her husband and three awesome kids or working on a house project.
Shop this tutorial
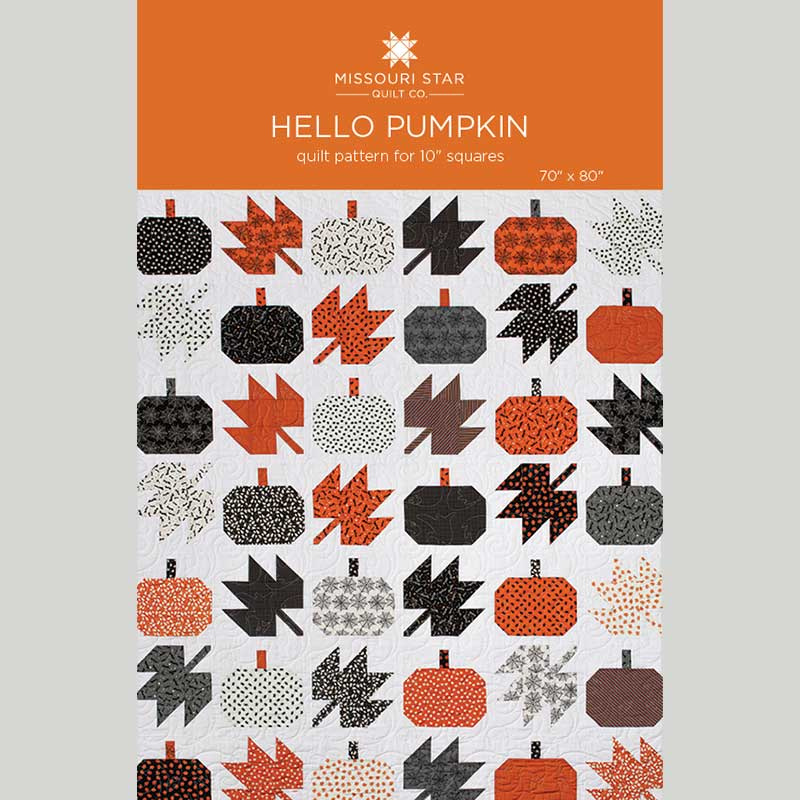 Hello Pumpkin Quilt Pattern by Missouri Star$6.95Shop →
 Digital Download - Hello Pumpkin Quilt Pattern by Missouri Star$4.95Shop →
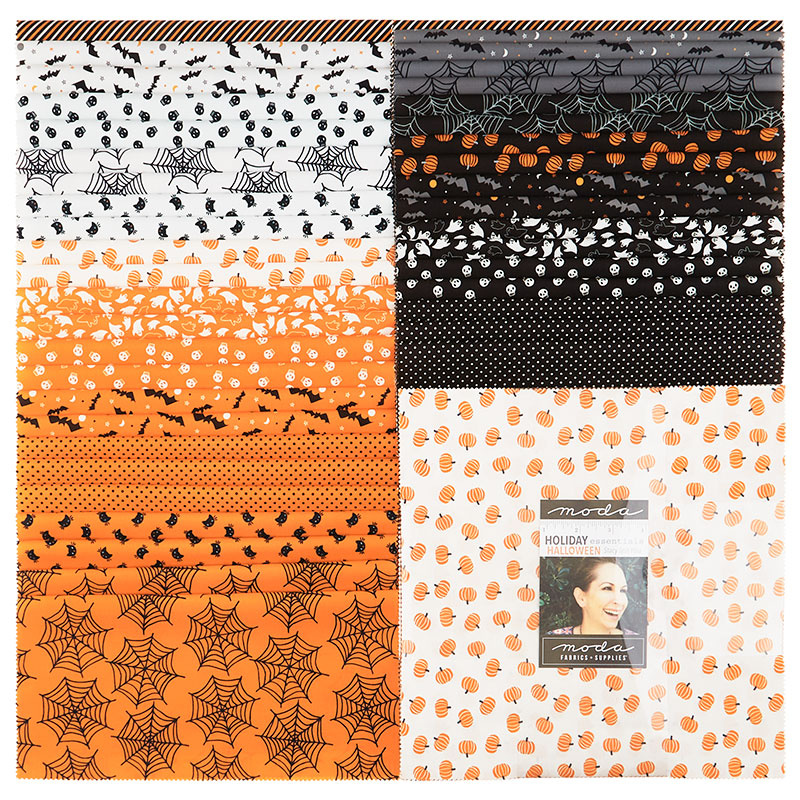 Holiday Essentials Halloween Layer Cake$42.95Shop →
 Bella Solids - White Bleached Yardage$8.24Shop →
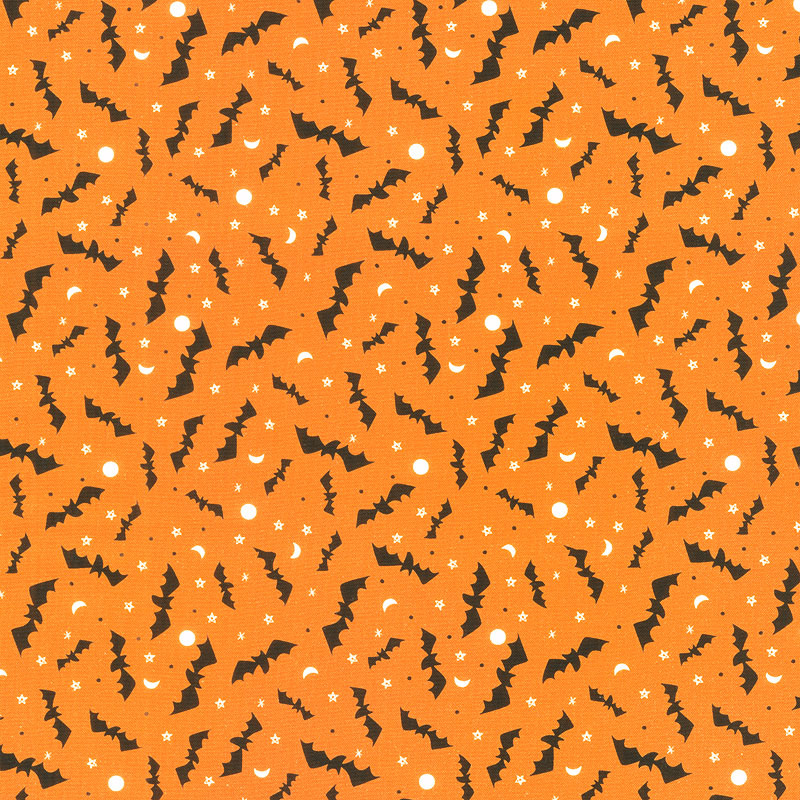 Holiday Essentials - Halloween Bats Pumpkin Yardage$11.24Shop →
 Holiday Essentials - Halloween Pumpkin Ghost Yardage$11.24Shop →
 Missouri Star Quilter’s Best Blend Full Batting$32.45Shop →
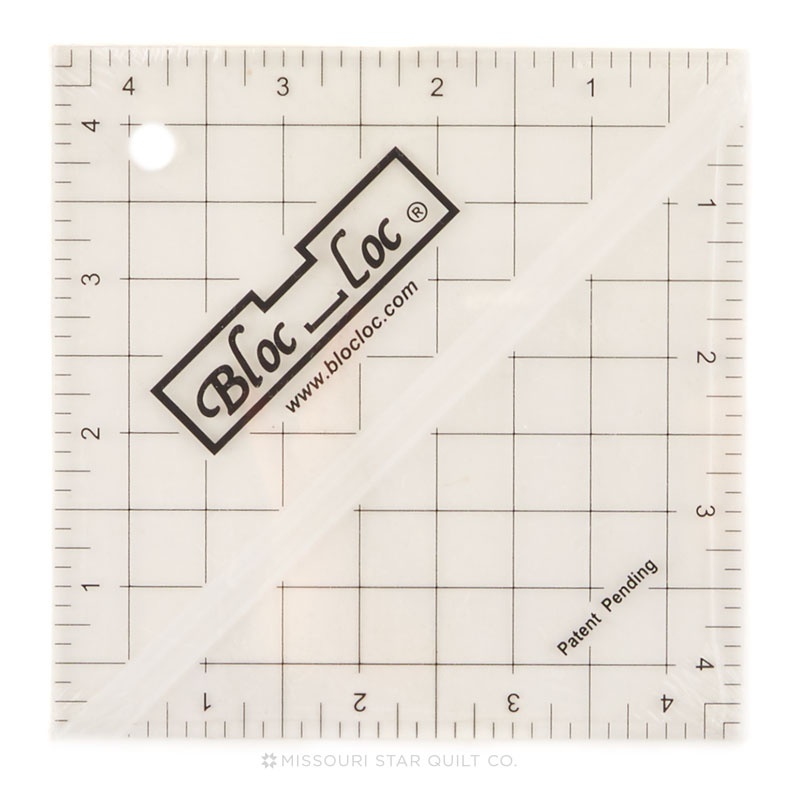 Bloc Loc 4 1/2" Square Up Ruler$25.00Shop →
 Olfa Splash Aqua 45mm Rotary Cutter$18.75Shop →
 Missouri Star 5" x 15" Ruler$15.95Shop →
 Exclusive Missouri Star Jenny TG1600 ProPlus Oliso Smart Iron$199.99Shop →
 Missouri Star Wooly Betty Board - 17.25" x 25.5" Orange Border$98.95Shop →
 Missouri Star 50 WT Cotton Thread White$6.95Shop →
 Baby Lock Accomplish - 1500 SPM Straight Stitch Machine$999.00Shop →
 Clearly Perfect Slotted Trimmers$31.95Shop →
Common Questions
What is covered in How to Make a Hello Pumpkin Quilt - Free Quilt Tutorial?
Create the most gourdgeous quilt! Celebrate the coziest time of the year with the Hello Pumpkin quilt. Misty will show you how to stitch up this fun autumnal quilt using the Holiday Essentials Halloween fabric collection from Moda Fabrics. Stay warm this autumn by cuddling up...
How long is the tutorial video?
The tutorial video is 00:17:49.
Are supplies listed for this tutorial?
Yes. The tutorial page includes the supplies and materials connected to this project.
Is a transcript available?
Yes. A written transcript is available on the tutorial page.
Video Transcript
So let's dive right into today's project! Like I said, it's called Hello Pumpkin
and I just love it. It's so simple and let me tell you all the things you're
going to need to make it. So first up you're going to need one package of 10 inch squares and I used Holiday Essentials Halloween by Stacy Iest Hsu for Moda. This is such a fun collection and you might remember I used this for my Spooky Season Sew Along last year. I wanted them to coordinate and it's great because you can get it all the time. You're also going to need two and three quarter yards of background fabric - I'm just using this white this also includes your sashing and your inner border so that is all in there for you. Then you'll need one and a quarter yard for your outer border and five yards for your backing using a vertical seam. And last
but not least you're going to need your favorite squaring tool. Mine is the Bloc Loc. Clearly Perfect would work as well. So let's dive in!
So first up we're going to make our pumpkin block. Justtto tell you, I divided my layer cake in half exactly and even if there were duplicates I made a pile of each. I made one pumpkin with that print and one leaf with that print and that's just how it worked out for this particular pack. It is going to be great even if it's all scrappy. I just thought I'd give you a heads up on how I approached it. So for the pumpkin I've got this 10 inch square
and we are going to measure over seven inches and make a cut. So I just have this kind of lined up on my mat. And so this is going to be your waste
from this and what I did is I saved these pieces and any of the darks I used
to make the stems of my pumpkin. You're not going to need all of them obviously from your pack, but I just wanted it to have some contrast. So I just set this aside for later and now we're going to turn this and we're just going to trim a half inch off of one side. So this measures seven by nine and a half oops straighten that up again, there we go. That is the rectangle
which is going to make all of our pumpkins. They're all the same size in
this quilt.
So we are going to take some two inch background pieces and we're going to place those on all four corners of our rectangle and we are going to snowball these, which means we're just going to sew from point to point
all the way around just like so. And it's just going to kind of add some curve to this to make it look like a pumpkin. So let's take these over here I'm just going to stack these squares back up so that I don't lose them and we'll do one after the other. When you are snowballing you can draw
that line corner to corner or press. I just like to use my diagonal seam tape so I'm lining that up under the needle on one corner and the corner closest to me is in line with that red line. Then we can just sew and keep that point in line without doing any marking and it's good to go. So then now we'll just rotate and do all four of these all right? Our last one here, just lining it up with the corner of our rectangle and sewing point to point.
Okay we have all four of those complete, and so now we can trim off
our excess and just leave our seam allowance. So I'm just going to lay my
ruler here and leave a quarter inch on each one of these, and one more
all right.
So now let's bring the pressing mat over here and we're just going to press all four of the corners back and when you use this method your rectangle should stay the exact same size, which is what we're looking for. So now we can set this aside. So remember I said you have this extra strip? What we're going to do is we're going to trim this down to two and a half inches and then we're going to sew a one inch strip onto one side, and so you can see I've already done this with one of the contrasting pieces that was left over. Now I'm just going to press this back just like so and then we can trim this into inch and a half segments and use this on a bunch of our pumpkins. So let's just line this up, there's one and you get quite a few which is why I said you won't need all of these strips to make your stems. But you absolutely can use however many you want to get some variety.
It's just a fun little detail all right?
So there's a few of those ready to go and then we are going to pair those up with some background rectangles that measure, let me just double check, three by four and a half. And so our little strip is going to fit right between two of these rectangles. So let's sew one on either side. We'll take this to the machine and you want the little white piece to be going up. It doesn't really matter at this point but just keep that in mind for later.
All right once we have that first rectangle on I'm just going to kind of finger press this back and add the other one to the opposite side and we can sew this down. All right now we'll give this a good press. Okay and now it's as simple as sewing our stem to our pumpkin. So we are just going to make sure that little white piece is at the top and lay these right sides together and then we're going to sew straight across here. So I always like to take a few stitches just to make sure it's all good to go and then I line up my ends, sew straight down, stop and adjust if you need to. There we go and our pumpkin block is done. Let's just give this one final press. All right isn't that so cute? I just love it - super quick and easy!
So now we can set this aside and work on our leaf block. So this is the leaf block we'll be making today. It's super quick and easy and it's one that we've made in the past, but the thing that I love about this is how we
do it using the layer cake. So I've made this little cutting guide to show you how you're going to get all the pieces that you need, because we need a
six inch square, three three and a half inch squares, and a two inch by six inch rectangle.
So let's go ahead and get our 10 inch square here ready to go. I line it up on my mat and then I measure over six inches and up six. I've got to make sure I'm looking at my numbers correctly for this first cut. Just make sure everything is nice and straight and I use the lines on my mat to just make sure that my ruler is straight. So I'm going to make one cut just right to this little edge. Then I'm going to fold that back out of the way and I can turn this to finish cutting my six inch square. There we go. So we have our first cut ready to go.
Then from over here we're going to get our three and a half. So again just take time and make sure it stays lined up. I'm going to measure over three and a half and I'm looking both directions here one two three and a half and one two three and a half. So there's the first one and then while
I'm on this side I can go ahead and cut my two by six inch rectangle and I just cut the full length of this to start at two inches. Set this aside.
Now I can turn it and trim it at six just like so. And then from this little chunk here I'm going to get those last two three and a half inch rectangles. So let's see, just gonna cut a three and a half inch strip. And so just this little bit is our waste from our 10 inch square, so not much at all.
And then we can turn this and cut two more one and two. Let that little piece aside. All right so now we have all of our pieces. Let me move this out of the way to make sure you guys can see what we're doing.
To begin with we're going to pair our six inch print square that we cut
with a six inch background square. You're going to place those right sides
together and we're going to sew on all four sides. So let's take this to the
machine and we are just going to use our regular quarter inch seam and sew on all four sides, the last side here.
All right, all done. So now we can take our ruler again and we can cut this corner to corner, once that way and once the other way. if you have a rotating mat it's handy, especially if you have prepped a bunch of these and you're going to be cutting one after the other. They'll save you a bunch of time. So now if you're using the Clearly Perfect Slotted Trimmer, you could square these to three and a half. Because I prefer the Bloc Loc, I'm going to go ahead and press these open, pressing my seams to the dark side.
So I'll put the dark side up and roll these back, one after the other. Let me bring these over here and let's go ahead and square them. So if you're not familiar with the Bloc Loc, the logo side is usually going to go to your light side or your background side, whichever side the seam is not pressing
towards. There's this little notch in here that is going to kind of lock against that seam that you sewed. So I'm just going to slide this down
until this side matches up with our three and a half inch measurement and then we can just trim this side here, just like so. And I do like to go ahead and slide this down the other way and just trim off this little notch so I get rid of that bulk. And so I'm going to do that to these other three and I'll meet you back here.
All right so we have our half square triangles all squared up to three and a half and ready to go. So now for each block you're going to have two three and a half inch background squares and on one of those we'll be adding the stem. So we have our two by six inch rectangle that we cut out of our 10 inch square and we are going to fold this in half long ways and press
this. So let's take this over here to the iron, and we're just going to give it a good press in half just like so.
Now what we want to do is we want to lay this corner to corner and we are going to sew a quarter inch in from that edge. So if you want to draw a line here to help you keep things lined up you totally can. So I'm just
going to lay my ruler point to point, just like so. And we're not sewing on
that line, we're lining the raw edge of this up with that line and then sewing a quarter inch in. So let's go ahead and take this over here to the machine.
You can put a pin in here if you need to. This started to shift on me so I'm just going to realign everything, all right perfect. Okay so I'm going to go ahead and bring the iron over here just to make sure you can see what I do next because this is a really fun technique. So you can see there's our seam that we have drawn and now we are going to press this over just like so, and you can see how this works and it's now covering the center of our block. And when I roll it over you'll notice it's like right in the middle of my square.
So now that I've pressed this down I'm going to top stitch. You could stitch just on the side that's loose. I like to stitch on both sides just because I think it looks nice. So I'm going to give this one more good press and then we'll take this over to the machine and stitch it down. Since we are top stitching, this is just a nice narrow seam right along the edge.
You can lengthen your stitch length if you want. That looks really nice when you're top stitching. So there's that open side first and then I'm going to flip this around and do the same thing on the other side. Okay there we go we have made our stem.
Let's move this iron out of the way and now we can trim up our block. We'll do that just by flipping this over we haven't changed the size of the square, we've just added the stem to it and so we can just trim this off on each corner, just like so. Oops I missed a little bit. There. And we'll flip this around and do the same thing on the other side. There we go: our stem segment is done.
So now we can lay out our block. So this is really fun. I always start with the stem and then our three solid print squares are going to come next, and they all touch the stem block. And then our half square triangles come
in like so. And we finish it off with our last background square. Then we're just going to sew these three across and three down and your block looks like this when it's all finished.
And that is it that is what this quilt is made up of: this simple pumpkin and easy leaves. So now let's talk about how I put it all together into the quilt. All right, so here is our finished quilt. It measures 70 across by 80 down and we have equal number of our pumpkin and our leaf blocks. So you'll notice it's set together six across by seven down and I did sash in between each block and each row as well as that first little inner border. And that's a one and a half inch sashing. Then I finished it off with a five inch outer border and quilted it with the ghostly pattern. I also want to point out I have a dark pumpkin next to a dark leaf and I just didn't worry about it. I think it's really fun how it all comes together and you'll notice that the leaves are just kind of tossed every which way to to give it a lot of movement.
So I hope you enjoyed this Hello Pumpkin quilt and I'll see you next time!



