Skip to content

Free quilting video tutorials from Missouri Star

Quilting Tutorials
How to Make a Jenny Bag - Free Bag Making Tutorial

How to Make a Jenny Bag - Free Bag Making Tutorial

Sallie Tomato is a fresh new brand of sewing patterns to adore! Created by Jessica Barrera, these stylish, modern projects help you make custom accessories out of your favorite fabrics. Jessica and Jenny have teamed up to bring you a must-have creation: the Jenny crossbody bag! This functional and modern mini sling inspired by Jenny features a front zipper pocket for your phone or essentials, an interior mesh pocket, and an optional key clip.

Instructor

Jenny Doan

Jenny Doan is an American quilter, author, and YouTube personality. Jenny started Missouri Star Quilt Company in 2008 and today it is the largest quilting supply vendor in the United States.

Common Questions

What is covered in How to Make a Jenny Bag - Free Bag Making Tutorial?

Sallie Tomato is a fresh new brand of sewing patterns to adore! Created by Jessica Barrera, these stylish, modern projects help you make custom accessories out of your favorite fabrics. Jessica and Jenny have teamed up to bring you a must-have creation: the Jenny crossbody bag...

How long is the tutorial video?

The tutorial video is 01:29:11.

Are supplies listed for this tutorial?

Yes. The tutorial page includes the supplies and materials connected to this project.

Video Transcript

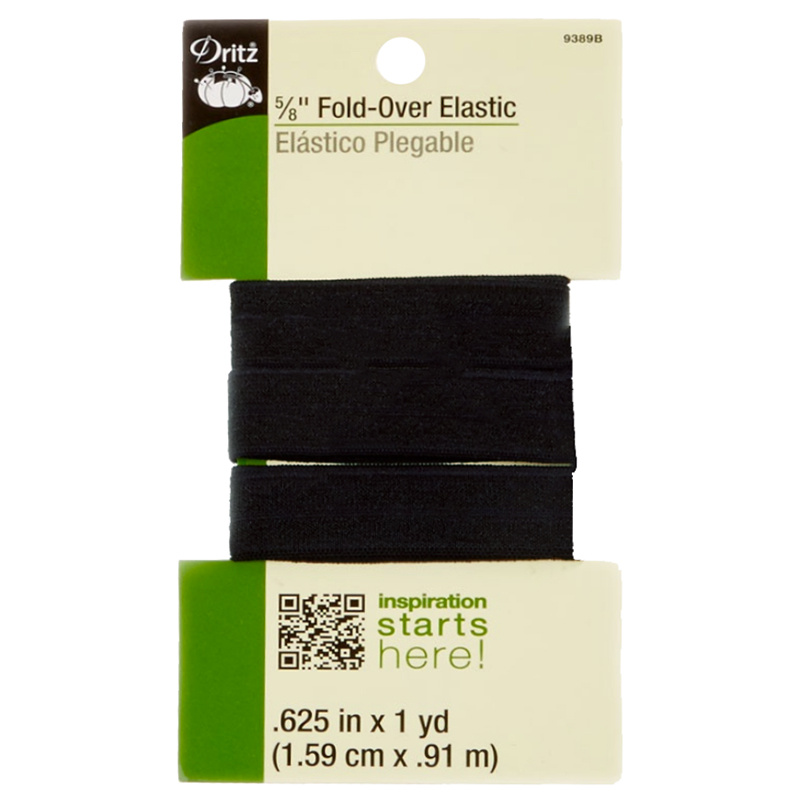
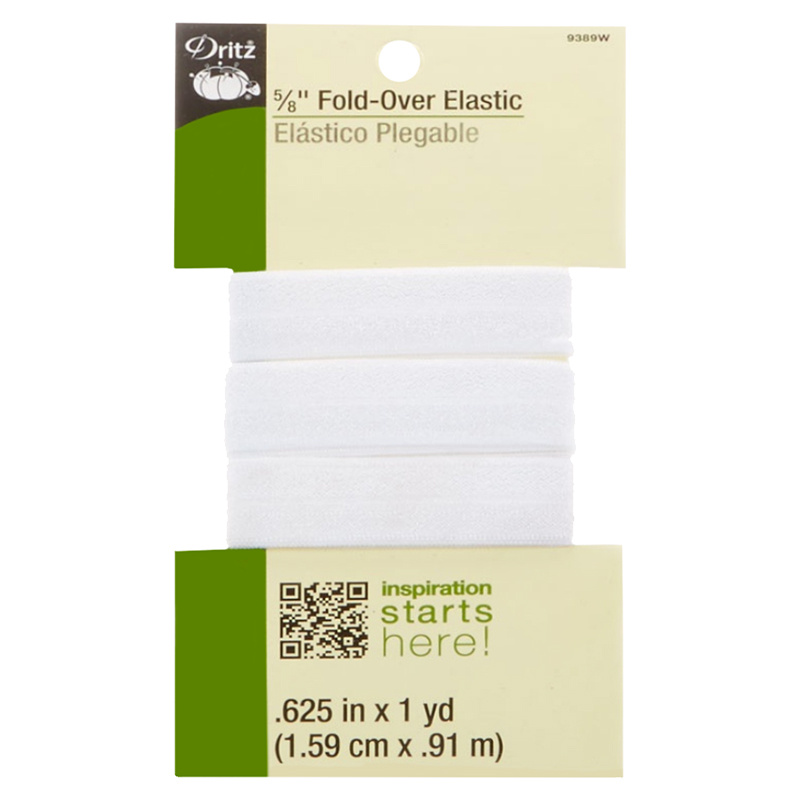
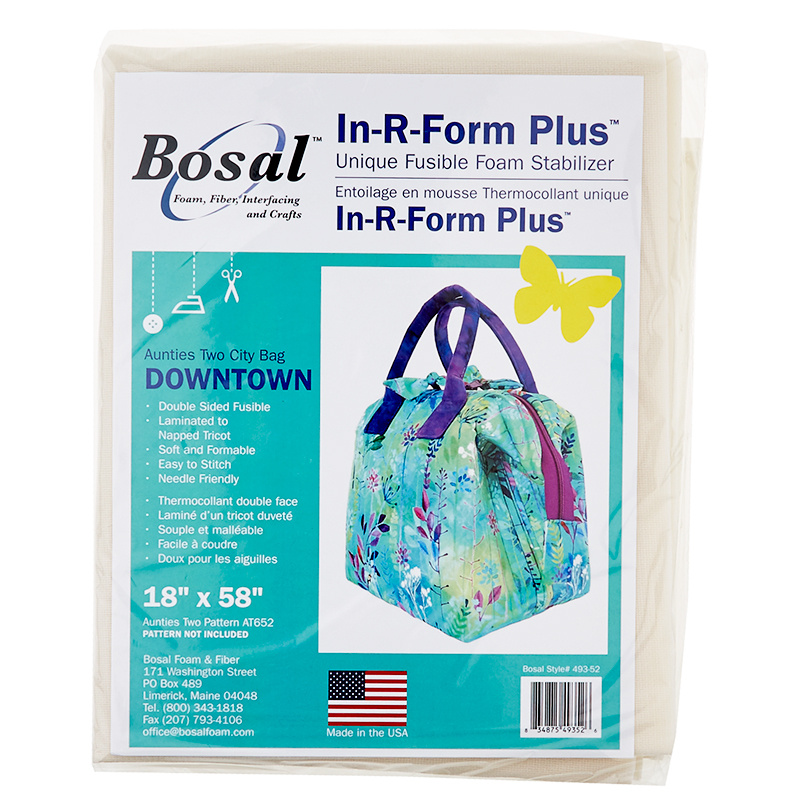
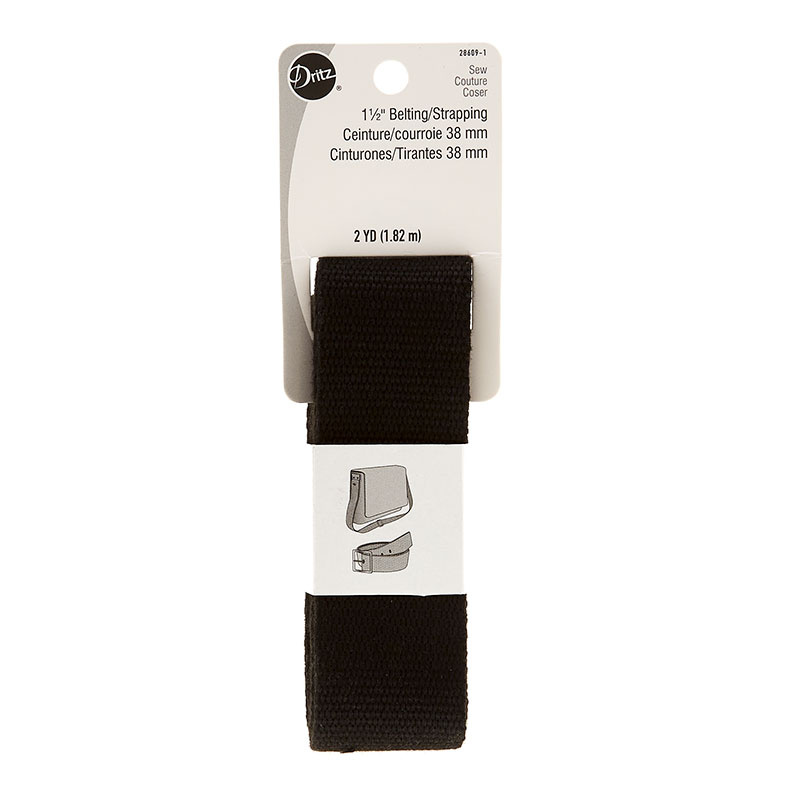
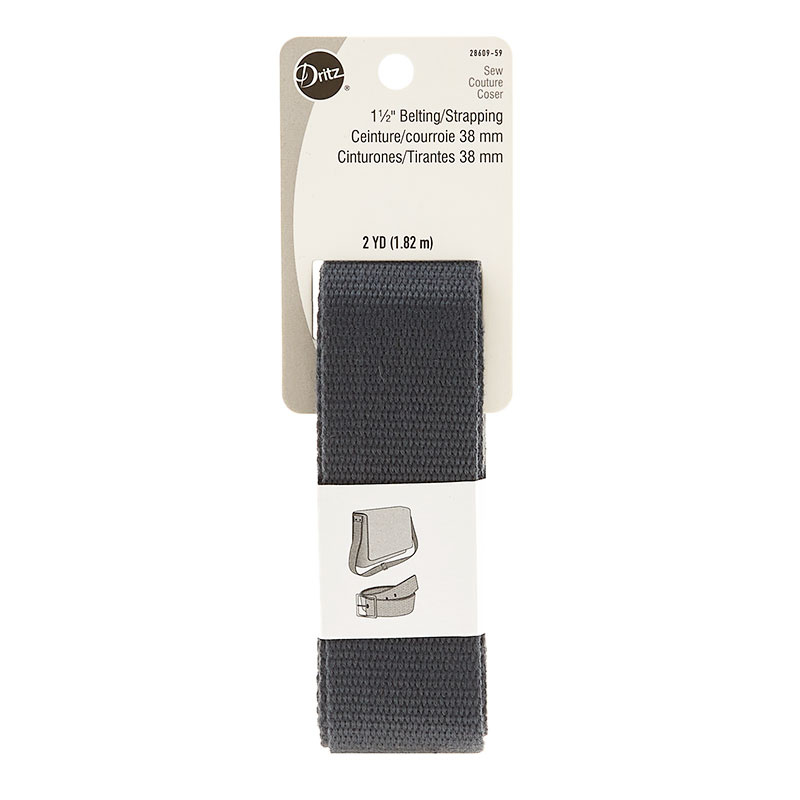
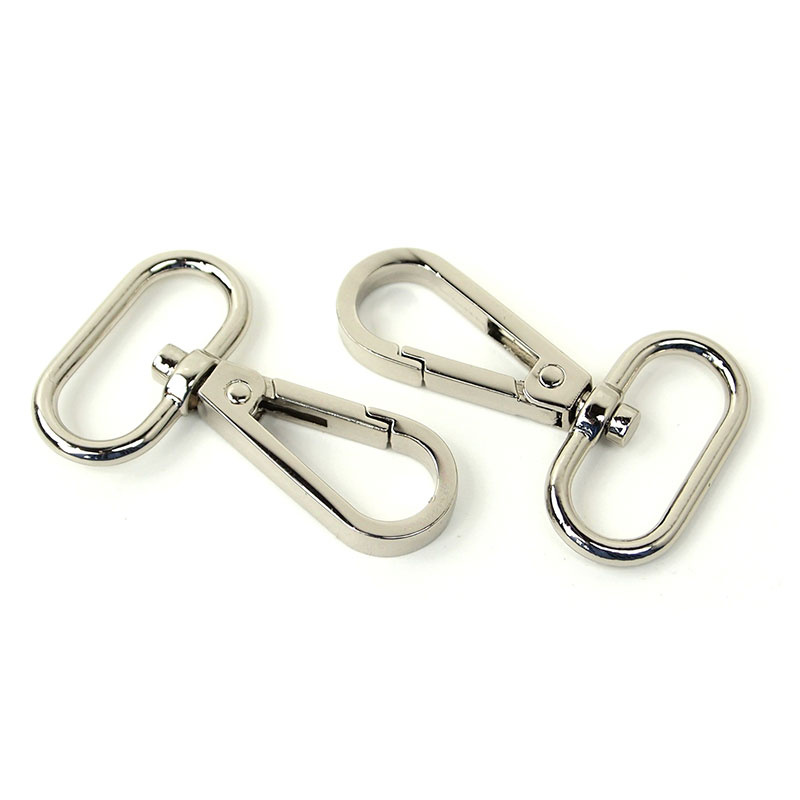
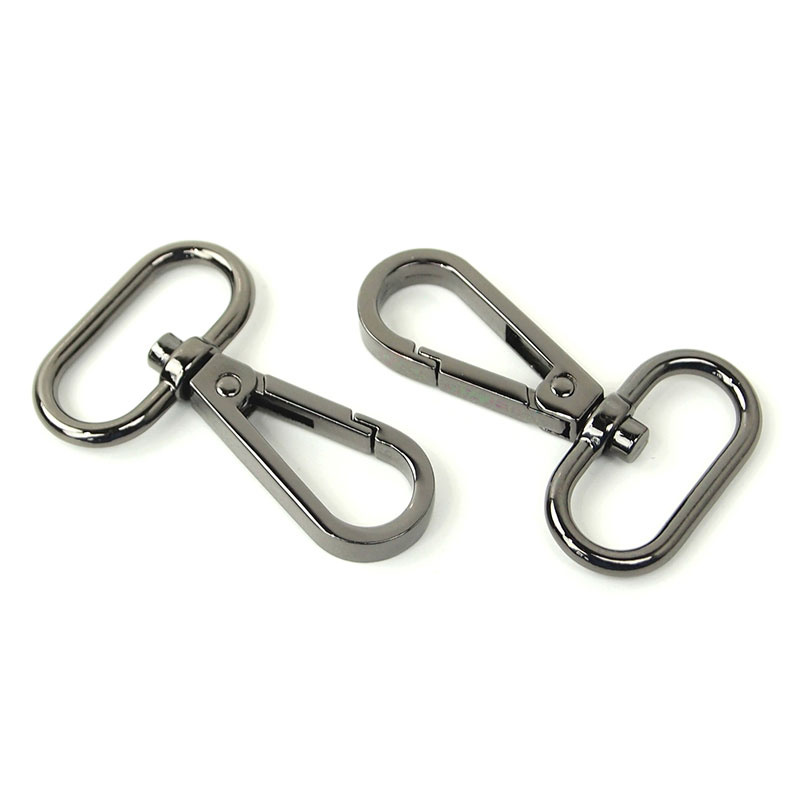
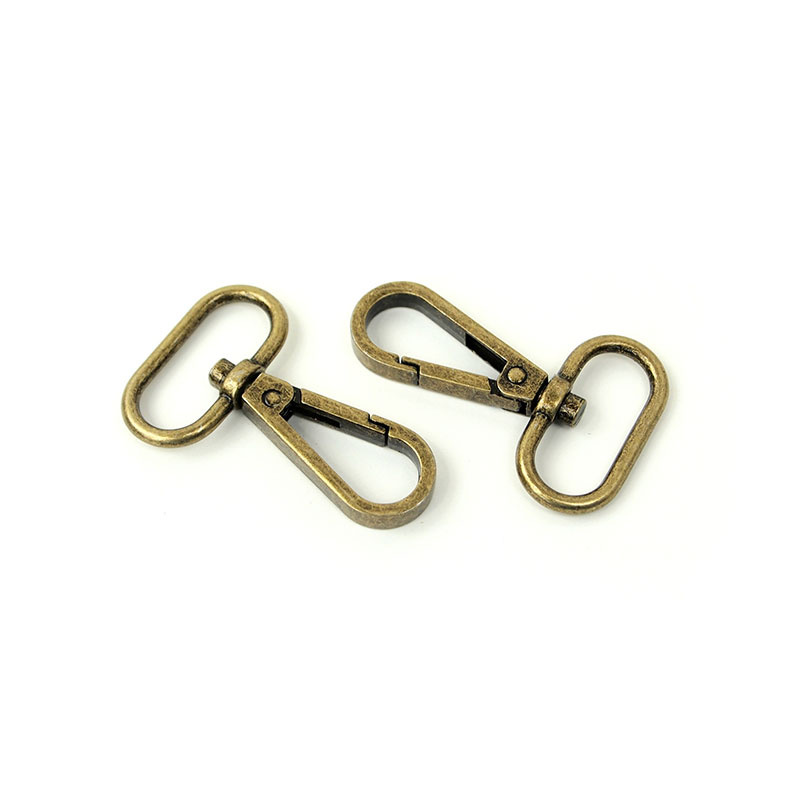
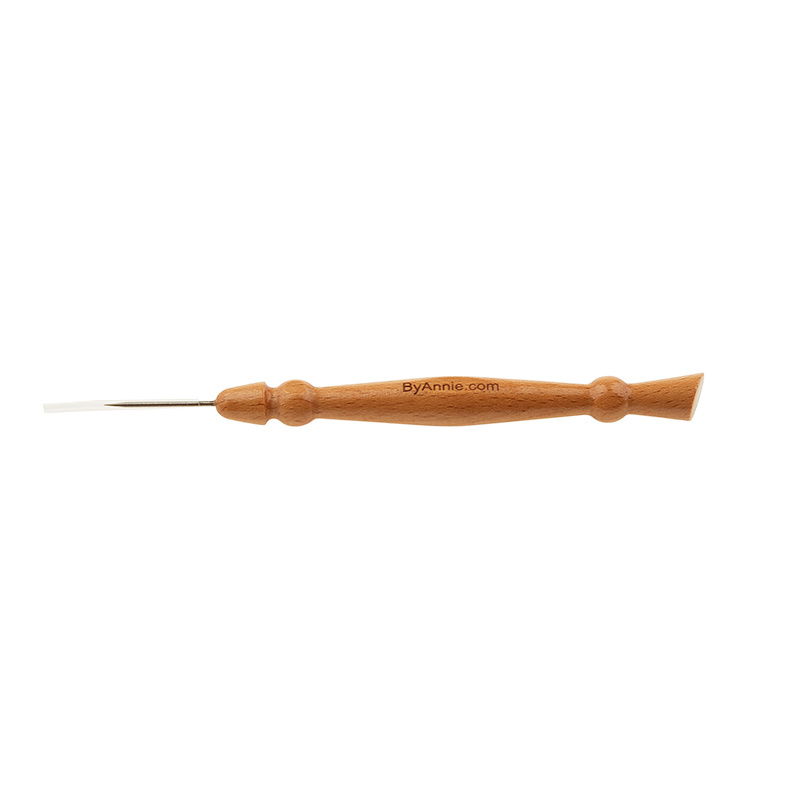
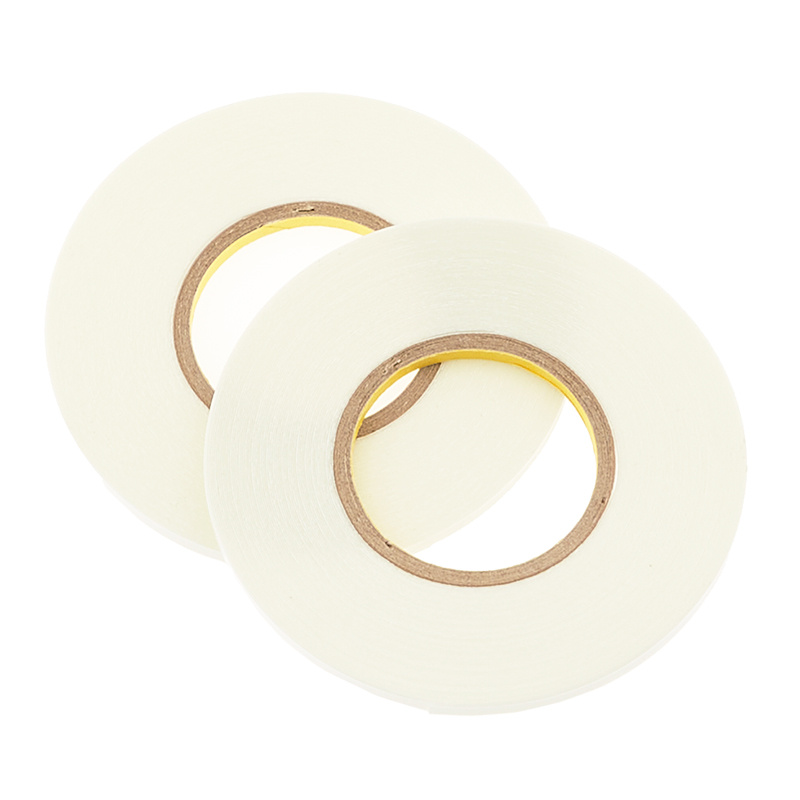
hi everybody it's Jenny from the Missouri Star Quilt Company and I am here today with Jess Barrera from Sally tomato and we are going to make a bag the Jenny bag look at these bags aren't these cool so these are things that I have told you I loved about a bag and she created a bag for me and we're going to walk you through it and show you how to make this bag [Music] thank you all right so let's get started this is the bag we're working on and we are this will be available in a kit if I'm correct yep so we like to make it easy for you guys that is perfect pieces of Hardware the zippers interfacing so some of that is here so I do love this strap this was created for my bag so it so it says you know you're a quilter without screaming you're a quilter I love that we're going to have some Hardware in there some zippers two different kinds of fabric complete kit with all the idea I love that idea and will they get like the interfacing and things like that that they need will that yeah all the hard to find everything everything you guys need to make this so that is awesome all right so just let's just get started we're gonna have we'll have a pattern right yes and the pattern will walk us through everything and it will tell us uh what to do yep so in the pattern I outline all the pieces to cut so most the pieces are rotary cut there are some pattern pieces included so you'll need to trace the pattern and then cut out your fabric so there's cutting layouts included in there so make sure that you get the best use of your Fabric and after you have all your pieces cut out then we're ready to get started we are ready to get started and we're going to do that with you right now so I'm just going to set these things over here and we are going to get started perfect okay so the first step in the instructions is to fuse the interfacing to the wrong side of the coordinating pieces so I've already gone ahead and done that all right so just to show an example of another piece with the interfacing already fused you can tell that it has a little bit more body and stability to it than just the cotton yep so I recommend using a lightweight woven fusible interfacing and then it behaves the same as the the woven cotton fabric so the non-woven interfacings I tend to stay away from for bag making that's really a good tip I think because you know what you know as as just regular sewers what would we know so the woven with the woven is is that's important that's awesome so it has that nice soft appearance yeah so these are pieces we've cut out yes and then we iron this on is that what we do so now we're ready to attach the foam stabilizer so usually in the patterns I add a foam stabilizer it's really lightweight and it has good shape to it so these are our lining panels and we're just going to position them on the foam and we don't need to iron it at all okay perfect and what's nice about the foam is the fabric kind of clings to it you could certainly it does use a basting spray to help hold it in place or some pins and clips and then just like this one we're just going to sew an eighth inch around the outer edges and crack it to the foam perfect you want to do that sure now will your thread be showing are you showing on the inside of the seam and this someone is or do you have to worry about the color of the thread on this piece this piece will end up getting tall seams we don't have to worry about the thread so you're just sewing right along the edge basically yep because you're just tacky sit down paste it down it's so interesting the sewing terms um from you know one genre to another so basting is something we talk a lot about in garment sewing but not necessarily in quilting and so it's fun to hear those words my brain does a little a little bit of a turn it's like oh basting I remember basting yes there are some quilting techniques that were lap and familiar yeah 100 percent I can do that and we're cutting out both of them yes yes all right and do you always use scissors for this or do you sometimes use um do you sometimes use a rotary cutter yeah we use the other rotary cutter on the straight edges and then yeah on the curves you're like living on the edge all right here we go I'm just going to cut these little curvy guys right here and then around this little Edge right here all right there's one and one more so actually this these scissors cut fairly easily through this foam stabilizer which I was wondering how that would work so that's pretty cool now do I have to worry about like this little tiny Edge right here or is that am I close enough sure just trim off a little oh just turn off okay so not quite close enough all right that looks good now let me just clean up this now you got me looking at all my edges there we go all right okay so then we can set these pieces aside we've done a whole part you guys we did the whole inner lining I'm feeling very confident now yeah it's super easy broken down so there's a few other pieces that I've already went ahead and stitched the foam to so again just with that eighth inch seam allowance these pieces of foam you'll notice are a little bit shorter so these are our gusset pieces this piece will end up going along the top okay and so a gusset is this piece right here and this piece through here that's what gives our bags some width to it and that's these two pieces right here perfect [Music] to it and then the wider one will be for the the bottom of the bag okay very cool I designed it so the foam so that way as we as we build there won't be the bulk in those side seams sounds great so just Center your foam over the wrong side of the fabric sew them down okay next we're gonna work on the mesh pockets so okay let me look at let me find a mesh pocket in here is it in this front one oh yeah look it look cute guys that's so cool all right so a nice little packet for a cell phone yep pen whatever you want to access there so you want to make sure that the mesh has the stretch go along the width as you're cutting out your pieces and then what's nice about using the elastic we're going to bind that raw Edge along the top and it's just super simple to align the top raw Edge along the fold line yeah and we can add in some sewing clips to hold it together okay if you want to do that I can I I'm not a big Pinner with what I do but I can see that it would be necessary for this and we'll want the elastic to go all the way to each Edge so I have to stretch it just a little bit oh okay so I feel like I'm probably not the best one to do this oh okay let me try though let me try I mean I want to be able to make it so so how about if I pin it down here or or clip it and then just pull it across does that work yep and should the should the most of the Gathering part be toward the center do you worry about that all right so it looks like I've got my Clips done here and I've kind of evened out my uh my Gathers so then we're just going to sew this down so whatever is easiest for you either from the fold line over it's about 3 8 of an inch seam allowance or if it's easier on your eyes to look from the raw Edge you could just do an eighth inch from there but I'm going to sew this and you want to catch both sides yes okay and I'm going to change my Stitch length to two and a half millimeters because you want to make sure to keep this nice and secure and it's always a good idea to back stitch now I just put four Clips on there is that enough is that how many you usually use or yeah yeah are you a heavy Clipper well you're a few more Clips the better but it's holding just fine so I think that was perfect and you certainly could use pins I think the clips would be easier on this I feel like look at that that looks pretty good stretchy pocket pocket there is another mesh pocket on the inside okay I've already went ahead and attached attach the elastic to this one there it is you guys right here perfect so now to attach it to one of the lining panels this will be the back it's align that lower raw Edge and make sure that the side edges are even and we can add some clips some layers together and do you like uh what do I do with this extra right here do I you can just let that overhang okay I was worried do I fold it nope just keep it flat so we'll just clip as close as we can up here up here oh okay so we won't worry about that too much alrighty okay then I'm just gonna sew following the raw edge of the lining panel to tack the mesh in place okay perfect you can see right through there so it's perfect yes you know when you break it down into steps like this it feels really doable so all you have to do is just follow step by step and you don't have to look too far ahead how long have you been making bags about first I've been sewing all my life though yeah well you can get pretty good in six years for sure and I'm completely self-taught on making the bags so a lot of research and trial and error and well you know what that says for me I'm going to grab these and put them back in the bag oops because we might need them again but you know what that says to me is that you know that anybody can do it right I mean if you if you you know you self-taught and that's what we're doing here we're giving that information to you so I love that I do all right all right so now all we have to do is just trim the mashed [Music] there we go on that side and I see that you have a little letter label on this do you keep those on es is that you need because when they're all different shapes it can be hard to recognize what they are so well those are the those are the little the little tips that are so great you know they're just so important all right all right so that's all done one by one we're just checking them off here I already went ahead perfect so we can exactly the same just yep same sew it around and all right so next we're going to make an Egg and I want but the option is in there it's just a small little piece of fabric and then you need one one inch swivel hook I think it's very handy you know I have a my car my key has to be close but I don't have to put it in and so for me it's like right there all the time I love it so now I'm going to remove the label so that's out of the way and this little piece you're just going to press each of the long raw edges to the center okay and I usually just eyeball it you could certainly measure and Mark A Center Line yeah I'll just I'll just iron a center line and then I will I will fold it to that Center Line on both sides and then I will never lose my keys again and then I just going to fold this in half and just hold it there for a minute actually you don't need twice in case this single okay now I'm going to top Stitch I was making bindings yeah I know getting ahead of your salad that's right okay top Stitch okay okay okay so then this piece slides through the swivel hook and you'll want the flat side of the hardware against the wrong side of this little connector piece and then you just fold it in half and you'll align it according to the pattern instructions and add a clip perfect and then I'm going to sew an eighth inch from the side and stop before the hardware so across and up the other side oh okay so then it seals those raw edges on the inside yeah I was wondering how you were going to do that I'm pretty that's pretty cool all right so and not too many steps then you have this little that is awesome accessory unit clip in there I love that all right so next we're going to add the zipper and work on the front zipper pocket and how do the zippers come separate so you can put a pull on and then cut the length that you need oh that's very cool super hand ful that is super cool and they're so soft you know they're not it looks like a metal zipper but they're very you know bendable and they're nylons so you can then it all coordinates with rest of your hardware and looks very professional it's very beautiful Okay so okay so for the first zipper we'll need a 15 and three quarter inch zipper zipper are we good we actually want to trim off about a quarter of an inch so you can just either use the rotary cutter or the scissors a quarter of an inch it is interesting that that little bit matters huh I guess it does if you want it to fit right yes the two out of the lining okay and basically we're just going to sandwich each end of the raw end of the zipper between the fabrics for these tabs so with right sides together for the main fabric now do these all have that interfacing on them no these do not okay so we're using the canvas so it has enough stability and then the lining will go the right side against okay and then I'm just going to sew these together with 3 8 inch seam along the raw ends I'm going to add a clip I am anxious to see how how you do this so back stitch at the beginning and then just sew right over the zipper coil and then you can just fold the Pieces away and then I'm going to top Stitch a quarter inch from the seam these are the things that make it look so professional so one side is done and we just repeat for the other end yep so clip that's pretty clever right sides together all right and do you think like any machine can sober the nylon yes I do design the products and the patterns so that way we can sew on the domestic machines I do not have an industrial so and then also I'm noticing you're using a polyester thread is that a thing yes I love using polyester thread for bags I think it's super strong and durable for all the layers it is stronger than cotton probably so now I'm going to grab our front of the zipper pocket here okay fold it in half the top and bottom center so we can use like a marking pen right here I have I have all of this little stuff right here perfect show up okay really nicely so what is this little guy so this is the Sally tomato essential turning we designed this so that way one side would be a stiletto and the other side is perfect for smoothing out corners and oh nice increasing Fabrics all kinds of things and then I'm going to fold the zipper in half and also Mark the center of the zipper you might need the white pencil for that and I'm going to slide the pole so that way I can fold this a little bit more even have you ever like forgotten to add the pull from time to time sometimes that happens I'd be like have my whole piece out there be like oh can't get in there okay so now I kind of want to explain with the sample so that way you can decide which direction you want your zipper to open oh okay okay so we have this one and I guess it matters how you wear it right so if I wear this on this shoulder so you have to decide if if for your left or your right shoulder and then which hand you're going to be opening the zippers with switch feels yeah natural and I like I like that it opens on this side because if it was the other way I would be dropping things out you know so I would I would be I would tend to do it this way this one would be the other way for me as well [Music] and towards the left so we'll flip this around yeah yeah the left would be better for me if I wear it on his shoulder you can certainly hold up your and then just double check that it's going the correct direction do most people wear them a certain way I mean is it a is it is that a a normal thing like I'm trying to think when I bought a bag if it's been a you know a different sure okay so I'm right-handed so I would want it to actually open the opposite way and I'm left-handed so does that make sense that it's this way okay yep perfect all right then so first I like to match up the center points at the top and then I'll match up the bottom edges make sure that those are even and then we can clip in the rest so usually I do the straighter edges first using the corners and if you want your zipper to lay a little bit flatter you can excuse my reach Jenny no you're fine that is also a clothing tip some apparel but cute it is interesting because everybody has a different thing that they love okay so now you can see that since I snipped it yeah just relaxes it sure it's perfect I can hand you Clips how about that sure I'm so I'm such a good helper okay so now I'm gonna baste the zipper in place okay so do you want to oh make your seam longer or you just don't it doesn't matter it doesn't matter I you can still use the piecing Stitch if you want or Stitch length okay and as I get to the zipper pull here you could certainly use a zipper foot if your machine has one but I'm just going to lift up the foot and just slide the zipper out of the way I love that and as we're sewing along this curve just make sure that the edge of the fabric is along that quarter inch line and then your zipper will look nice and smooth perfect now do you use a certain needle so generally I eat different types of fabric just a size 80 12. so I think the key on the whole zipper thing is actually just go slow you know pay attention to that quarter inch Mark and just you know just just take your time you know it's it's coming together perfectly so that's a sign that it's well designed so it's well designed and the pattern pieces are are right that's awesome yeah it's not too scary right no no so here's the next piece that we need and we're gonna just place it right sides together over the zipper okay and it's actually going to fold it in here but to mark that top Center just to make sure everything stays aligned you want to just use the folder you want to draw the line up thank you thank you let me match those up first all right so I'm noticing you're you're you're hooking this to the back of this zipper the part you've already sewn and that looks a little a little funky or it's not the other side of the zipper not yet so we want to encase this raw edge here and when we open up the pocket this will end up being oh you'll flip it inside of the lining so we're not going to sew this Edge okay this will end up being nice the zipper along so trust the process all right well I can help you clip this down I was like wait a minute oh that's good to question it as you just to double check yeah I'm not as fast at this as you are yet yet good point probably need one more down here I have a little bit of a little bit of a give right there so now I'm gonna sew with 3 8 inch seam allowance definitely leave this bottom straight edge open and we'll use that to turn this whole thing right out okay now it makes sense to me I'm like wait wait wait okay and now I'm feeling that zipper pull in there so I'm actually just going to unclip and slide it up for the time being until I can sew pass that and this seam allowance is 3 8 right yes get that zipper head there you go and now I can feel that zipper in there so just make sure that it's flat as you sew along awesome all right so I usually like to add a couple Little Snips along the curve just to make sure that it stays nice and flat let me turn it right side out better perfect all right so then we'll turn it right side out and it's all finished look at that all right I love it give it a good price all right now do I have to worry about the nylon zipper melting or nope if you touch the iron to it it's okay I wouldn't hold the iron on the zipper okay good all right so I grabbed a few other pieces that we'll need next but before we attach these I'm just going to top Stitch a quarter inch from the seam net okay so do you want me to attach this while you're sewing well are your way to wait you can hold on just okay she can tell I like have all this patience right top stitching it's a little nicer it looks a little yeah that looks awesome so now fold this in half and mark the center as well perfect okay I think it was already marked there we go and now this is gonna look a little strange here this piece but the easiest way to attach it is you can align it the way it's gonna result it kind of looks like Darth Vader's helmet I know it does it does it matches with my press to the dark side I love that and then you just flip it so it's right sides together with the zipper so of course you just match up those Center points and then if you just align the raw Edge along the zipper all the way down I'm going to line up the bottom Edge first just like before feel free to use as many Clips as you want the more the better all right that's pretty good so there we go I'll base this with a quarter inch seam allowance all right so then here again I'm gonna clip the seam along the curve okay good to have scissors with a nice sharp tip is foreign is going to be placed with the lining fabric spacing right sides together over top and just line up the outer edges of the zipper now what part is this that we're doing this is this the out the front yeah I'm a little lost so oh so this is the front this will be the front Okay when you open it up you'll be your pocket and your lining it's like a little mystery well probably not for you but definitely tell you to figure out how the pieces went together all right so I feel like this one doesn't line up exactly do we just pull it in yep just pull it in okay I just don't want to mess it up always a seam ripper that is such a good point I can't even tell you I'm very good friends with that seam ripper just add one more and now I'll sew it with 3 8 inches open the back this is what it looks like okay so just on the inside of that found it's a little instead of having all those layers wiggling around oh okay I see what you're saying yeah that makes sense so can you tell me where the name Sally tomato came from yeah yeah okay cool and I I also love classic movies and so all of the patterns are that I designed are named after Classic Movies or actor oh I love that so do you have one named Sabrina or the Audrey I do have an Audrey I'm trying to think of all the classic that is fun that's a really fun idea and a fun thing to know um I'm one of those people who rarely watches a movie twice but you know I'm to the age now that I don't remember that I've even watched it so I'm good [Music] all right so now we're just going to lay this press it out and up here around the top make these nice and flat do you ever use like a spray or anything when you're pressing or generally no okay in case the Fabrics would shrink so usually I just use water or Steam yeah I'm a steamer all right that looks my I mean that was a little rumply and now look at it it's perfect perfect and smooth so then this piece will end up getting flattened out the tabs here will just be towards the outside and I'm going to add a couple Clips so there's a little bit of depth to the pocket just like perfect and this one too so just like that yep so it kind of lines up on the seam underneath so right here it just lines up on that the middle and I'm going to sew across this bottom Edge just with a quarter inch tips together oh I'm falling down on my job you got a whole bunch of Clips over here thank you I need I need to feel important here I'll be the clip girl all right so that's it for the front panel and you want to test it out see if we well sure have any raw edges it looks awesome perfect there we go all right so now we're going to move on to prepare the back of the bag okay all right so now we're going to tackle another style of zipper so we're going to do the back zipper packet and so we'll need to grab that piece I've already measured in and marked a vertical line in from the left side edge so you just take your ruler and follow the measurement in the pattern and then you mark a second vertical line and then you also want to measure in the two horizontal lines so it'll end up making this placement okay for the zipper and then I'm going to position this according to the pattern let's add a couple clips to hold it in place so it comes up a little bit from the bottom yep so um I I have to say go knowing this was coming up I went and watched one of your videos and this zipper thing was this pretty cool way to do this I think this was pretty amazing I hadn't seen a zipper down this way before okay lit okay and for this step I generally don't start on a corner I start on one of the straight edges and I'm going to reduce the Stitch length to two millimeters and that'll just have a nice smooth finish for this style of pocket so I'm going to sew just along with the placement box lines all right so if you want to cut a slit down the center but stop about a half inch from the ends okay this is this is trust right here so about a half an inch there we go maybe a little further huh there we go it doesn't have to be exact and then good to know the end of the end of two or out to the corner I'll do that for each corner all right so this way but not through the stitching this way and that also does the easing thing like the curves yep yep there we go all right so finger press it to start by folding each side edge along that Stitch line it'll make it a little bit easier for turning okay there we go and then go ahead and put the zipper pocket lining through the opening oh she's going to make me do the hard stuff I guess none of it is hard once you know yeah it's true most of us do all right so this yeah just kind of wants to stay in there all right so just work it through the best you can and then and then look at it from the wrong side okay lace up here with the lining up and then if you just take your fingers and kind of roll the seam okay and then give it a good press on all the edges and you can just do one side at a time and it'll slowly lay flat all right slowly lay flat all right so then we're just going to take this edge here and kind of just like finger press that down there we go all right I feel like I can take this to the iron now and a nice little box in there all right anything I need to work on a little better sure we can just do a little adjustments and yeah certainly just kind of run your nail along there to flatten it out and it looks really good you can check from the front too and it looks great okay so now we're ready to add the zipperary okay let me grab some double-sided basting tape for this right here yep thank you and if you want to just put two pieces one on each Edge and are we um I'm not sure how basting tape works but just all the way down yep just run it right a little bit of a stick to it already just on the Edge Edge or does it matter yep yep and then I always like to take a pin and just score through the tape and then you can just bend the paper and it comes off a lot easier oh okay I like that little tip for sure perfect so for this one we'll want to make sure that the pole is towards the top or opens towards the bottom so we've got it positioned correctly and then we just Center our fabric right over the zipper so that way the coil is through the center of that placement box and I'm just going to flip it over as well it could be easier to get it started here you'll want the raw ends even on the sides okay do we want to clip that or are we going to iron it what are we going to do so the tape actually holds really well oh just on its own perfect all right looks good so now I'm going to top Stitch an eighth inch from the outside of the box okay zipper in place that is a clever way to put in a zipper I have to say it's easy when there's no turning involved oh yeah and just make sure that your pocket is still flat so you don't sew over any of that oops and I'll increase to three millimeters I'm usually constantly adjusting the Stitch length it is interesting how when you lengthen a stitch it does somehow look more professional I'm not sure why that is or maybe it's what we're used to oops I went a little too far I'm just going to backstitch one slide this out of the way very nice hold on I'll just turn that little thread there and that that is oh this back piece right here that's what we're working on look at that love that so then to finish off I'm going to fold away the main part of the bag okay and then add some clips those are lined up right yeah so you just want to make sure that those raw edges are even in the side edges okay and then I'm going to sew along here with 3 8 inch seam allowance okey-doke that's about the easiest pocket I've ever made fold it over and sew it down well hopefully you'll be adding more Pockets to your projects somehow all right so then we have to seal up the sides so basically you just fold away each of the side edges and do the same thing do the same thing yep do because this is already stitched down do you feel like you need to clip those sides or do you just do it because you do it usually I just hold it in place and all okay since it is kind of there's a short little seam so yeah I want [Music] it and we don't need to clip so much and let me just help you right there I was really getting into the clipping game you might say I'm a clipper I have it for sure all right so then we can press that out there's a couple little creases in there you can do that pocket I could just feel it laying down all nice and flat all right so now we're going to add on that top tab okay let me grab those pieces which is which is this one right here my lobana my lovanahan top tab and that's what your strap attaches to which is right here okay so there's one piece of foam it's cut smaller than the fabric to just help reduce some bulk and then we'll need to cut a piece of webbing all right so now we're going to work on that top tab so there's two main fabric pieces and we just need to press the quarter inch from to the wrong side along the top and the bottom edges of both pieces it doesn't have to be exact or uh you can just eyeball eyeball yeah yeah all right oops have a little fold over right there there we go there's that one you can check my work make sure I did it right I am I do a quarter of an inch fairly regularly so I'm pretty good at eyeballing that two just common measurement s yeah muscle memory that's what it is we do it enough times okay so now I'm gonna Place one right side up place the foam on top and then add some clips so the foam is just about centered between all the pieces okay it makes it easy just a couple more since there are a couple layers here I do like to add the clips no that's a great idea and then I'm going to sew with a quarter inch seam allowance on each of the angled edges okay and sometimes those little folds like to flip out so just make sure that they stay folded perfect look at that looks great all right so then just turn this piece right side out now we're using this wax canvas and I imagine it would be go a little easier if it was a thinner fabric correct if it's cot ton has like all the same properties but then it doesn't have that wax that tends to build up oh okay nice all right then we're going to open up our hardware and use a little bit of Hardware all right is it this one right here yep oh the whole world is dying that I'm doing this just cutting it open with my scissors there we go all right so then I'm gonna thread one of these rectangle Rings through our beautiful wedding and Slide the weather I love that you called it our beautiful webbing I love this webbing I really like it I think it can go with so many different Fabrics gosh yes I'm going to reach in here and just kind of pull it through it's a snug fit yeah it should be yep I'm looking at this one over here just like that yeah and if you want a little bit more to show um the pattern calls for about a half inch of the webbing to show so feel free to adjust that I'm just going to add a couple Clips to keep this nice and flat and all the raw edges tucked in okay there we go hide those raw edges that's good [Music] inch all the way around and then I'm also going to sew about a one inch size box to help repress that webbing so you're going to sew around first yeah you start at the bottom just to seal up that open Edge and I'm going to come grab the clips and moves right across foreign [Music] so I'm going to sew down about one inch and then back up that looks great look how cute that is almost like a little purse itself cute all right so now this will get attached on the back so I'm going to position it according to the pattern and it's just centered and I am going to just clip the top Corner looks like it's a little off center here okay you and I are both eyeballers so you know we just gotta what is look like it's not better all right there we go all right then I'm going to sew two lines I'm going to go along that previous stitching and then 3 8 inch just for something oh nice for prettiness yeah yeah like right here that does look really cool you've set a real finished look I love it so definitely make sure to back stitch up once you add things to your bag this will have a lot of extra reinforcement and I'm actually just going to sew along the side and create this little box I actually always intend not to add anything to my bag I want it to be very light and then I'd walk around like a pack mule they do all right you start out at the beginning of the day with not a whole lot and then and you just keep putting it in yeah and cut that little thread and there's our little box on there so cute beautiful back of the bag all right looking good so then we need to add on the little tab for the strap to connect to okay so we're going to take our remaining rectangle ring and just add the strap through and if you are using a nylon webbing you could and you're comfortable with it you could take a lighter and just lightly melt the ends okay if you're not comfortable with that you could certainly do a zigzag Stitch or you can turn it under twice oh okay I do about a half inch fold first and just sew across yep just sew across okay and that is over here for this part right here this is what she's doing making that little tag that holds our bag on okay so before we attach this to the side of the bag we have to decide which shoulder that feels the best to carry it on okay so if you want it over your left shoulder you'll attach the little tab to the right side so the strap feeds around that way and if you want it over your right shoulder then you want to yeah I think I like mine over the right okay so you want the side of your Fabs so without the folds okay and according to the pattern here and we'll see that it'll hang over but it's nice if you have this on the cutting mat that you can make sure that your strap is going oh yeah straight across there we go is that right yep and then I'm just going to sew with a quarter inch to tack it down okay so you all those clips you can't even get it under there how many Clips can you fit in a two inch space yeah generally I just end up holding things sometimes it's just easier to get it where you want it and right along that edge okay so then we can just trim that okay A little corner off even with the edge all right let me just tool of choice so then our front's done our back's done now we're going to work on the gusset oh okay all right so I'm just gonna grab it our friend's done her backs and that's like is it time not quite gussets are one of those things I think that people get a little nervous about but it's really just a scene you're just sewing another scene and as a clothing store we put gussets in lots of things so it's not ideal you guys it's not a deal breaker all right so yeah we'll walk you through it it'll be just fine so we've got our zipper gusset pieces and our our bottom gusset pieces one out of the main one out of the lining for each so I'm going to remove all these little labels real quick all right I got this one okay so here we have a 24 inch long zipper and if you feel a little bit more comfortable we're going to sew over the edges here to make sure that the pole doesn't side off so I'm just going to do that real quick foreign that's the nice part about the nylon zipper you can literally just cut at any length you know if I have a whole bunch I bought a bunch at a warehouse sale and I just cut them any length I want them even though they're all this long yeah just cut them off that was years ago I got that so then I'm going to dip this all the way to one end the zipper is longer than the piece on purpose so that way the pole can hang off the end and we don't have to worry about moving it as we place this with the right side against the right side of the main fabric and this is another Point too that we're going to want to double check the direction of the zipper so the zipper will be towards the outside of the bag so the gusset will be against you so again if we wanted to open let's see what we got here to the left I think yeah if my bag is going this way I want it to open this way so my my zipper pull will be here all right so position it so it opens to the left and we'll do right sides together and then are we going to clip all of all of this yeah yeah all right clips and then I'm going to sew this with 3 8 inch seam okay that was hard for me when we started um quilting because everything and clothing is 5 8 inch yes and I recently took apart an old quilt that I had made years ago and all of the seams are like this big and it just cracked me up I'm like ah the 5 8 inch I didn't know I didn't know I was quilting when I was sewing those squares together it always seems too wide yeah so we are sewing through quite a bit of thickness here sometimes what I like to do is adjust the presser foot pressure if your machine has the ability to do that so I just um lessen the pressure oh you lessen it okay so then it's not pushing the layers oh okay okay okay the big reveal right now so then I'm just okay and I'm just gonna align this as I sew and keep those raw edges even in first I'm actually going to sew these raw edges together before I do the top stitching on the zipper okay I will let you let me grab these grab these clips yeah with that little bit of foam in there it makes it wanna stay over to the other side a little bit so that's probably a really good idea these I just might not light up [Music] so then I'm just going to sew up the side edge and you're ready to go right down that top stitching wow good do on that [Music] looks great it's like a little miracle no not too bad at all [Music] and then we can trim that zipper tape even with the side edge okay there we go okay now we're gonna attach the bottom because set piece so I can just align the main Fabrics together right sides together and then the lining Fabrics oh that's that's a this is a good part to see because these two pieces go right sides but this piece goes way back here it's right sides to this one okay short Edge together wait I can't let me squeeze that there we go just one yep okay she's Brave she's Brave shifted a little bit let's see you can always feel with your fingers when something doesn't feel right when you've done it enough times you're like wait a minute and honestly that's a gut thing you guys if you if you're like worried about it always check it because chances are if you're worried there's you could there's something you need to fix I mean I've spent more time ripping because I ignored that feeling yeah that's true all right so then I'm going to sew this with 3 8 inch seam so now we're going to fold away these two bottom gusset pieces so the wrong sides together and I'm going to top Stitch with a half inch seam allowance there okay and since we did a 3 8 inch before and now we're doing a half we don't have to worry about sewing through that bulk again oh that's perfect alrighty here's what the entire piece should look like lovely and maybe the other side so just think of it as you're matching up the main Fabrics right sides together okay and then the lining Fabrics right ah look at that all right do you need Clips here sure and again the foam is cut shorter so we don't have to go through that foreign to do the top stitching we're just going to flip it right side out oh my land it worked and since these pieces are loose from each other is going to Pivot and keep those edges aligned and just base the layers together it'll be much easier later on okay I believe you we have a relationship of bad trust between us now we've made it this far all right then I'll just do the other side okay there we go here we go that's all done and lastly we're gonna make the bindings okay all right so one of the last steps of the pattern is to prepare the bias binding okay so we're gonna bind the inner edges together to attach the front and back to the gusset I think it adds some really nice structure and body I don't often do binding but I have a simple method and I'd love to hear your tips along the way too well and it finishes it gives it that finished look nice so we're going to start by cutting cutting I'm gonna grab a longer ruler all right so one diagonal cut okay okay [Music] let's take one of the straight edges and right sides together with the opposite triangle straight edge and then you want to make sure that there's the quarter inch on either side triangle you can certainly pin that but I'm just going to just hold it and sew with a quarter inch seam allowance perfect I'm usually dealing with so much binding that I don't do it this way but this is a very clever way to do it okay good way I mean there's lots of ways to do things right you know people get hung up on this is the way and it's it's not there's lots of ways to do it well I always love to learn new ways too me too a new method out there that's I'll just press that seam open okay do you press it open or to one side or the other you press it open all right just distribute the bulk okay I don't usually but I will do it for you for you I will do it all right I think the whole world didn't know Jenny Doan could press his seam open but now they know all right so then we'll cut two and a quarter quarter cut a couple like just straight like this one two and one quarter this is a whole new world for me and then you need another one do we cut the whole thing or do we just do so you'll want to cut the whole thing but we can just cut two to show the process okay and then I have some binding that I already made that we can use okay I'm gonna keep going that's all right so now we're going to piece these together so what I like to do because these angles sometimes mess with me for a Direction so I like to lay it out how it's intended to be finally and then with the angles matched up and then you just place it right sides together there you go perfect and I want those quarter inches hanging off the end sew it with a quarter inch seam okay and you will cut all of yours yes yeah and then you'll make one continuous binding and do you want me to press that open I bet yes if you could press that open it's gonna make me do this again yeah people always ask me about pressing and I my answer is always if anybody looks inside your quilt to see which way you press they are not your friend pressing is a you know that's a personal thing and if it was for that yeah so then the so the link one end you're going to start with you'll just want to press it in about a half of an inch okay half an inch got it and then just fold the entire length in half all right and we'll pass along the entire length I'm going to grab the binding that's okay perfect okay so now we get to grab all of our pieces that we prepped so we have our two lining pieces and our front and back and I'm going to start by taking the piece for the front so this doesn't have any of the Little features attached to it and place it wrong sides together with our own piece add some clips of course yeah line up all the raw edges and the same for this piece do you want to sew around this one just anyway clip I can sure okay all right do I start at the bottom fur and it how big of a seam is it so you can do a eighth inch seam all the way around oh just a tiny okay we're just basing all right I got that I feel like that was living dangerously looks good do you want to see this one or you want me to ah you could sew it all right I don't wanna I don't want to do it all you know all right so then for this one we just have to watch out for the swivel hook that it doesn't accidentally flip into the seam and the same for the tab we'll just keep that it could have been could be dangerous if that happened yes all right sorry all kinds of clips so I am gonna turn this back okay you like it better than that that's interesting it's whatever we get used to I guess it does help it to lay better should have left that on left that like that shouldn't I right so much so much pushing on the fabric when it gets to be this thick here's my little hook trying to pop out so I'm going to tuck that in here we go all right so now we need to fold each of these pieces in half to Mark the top and the bottom center and do we mark them on the inside or the outside um I would mark them on the inside so and do we want to just pen them yeah this way and so to find the top and bottom center here I'm just going to match up those seams oh okay perfect oops it's helpful to have two different colors of pens yes and then the same for the bottom okay so I'm going to start with the front and you'll want the zipper against the front here and we're going to place the main Fabrics together and line up those top Center marks okay and then the bottom center marks and then I like to add the clips along the straight edges first straightest edges put a little pile for you right there perfect all right so now I'm going to sew this with a quarter inch seam allowance okay alrighty sit by you okay and here is where that stiletto comes in handy oh do you need it sure because I have a Sally tomato stiletto right handy I never used to sew the Stiletto and it's actually really helpful to get close in to the presser foot we only have to sew through your finger a few times to actually appreciate the Stiletto hopefully you're not speaking from experience I am speaking from experience oh no I was making a big furry lamb for a musical production and I was trying to get all that flop under there oh my gosh yeah I did it once on the um on the long arm too what do you do without me when you're home and nobody picks up your clips I do usually keep a little do you keep a bowl over there well that makes sense that looks great it's coming together it sure is and then oh all right and here you'll want to make sure that the zipper is unzipped a little bit for turning the bag right side out later okay is it just a little bit or do you need I guess you can reach in and open it more when you're yep these slide pretty easily oh okay perfect I mean you would you want to make sure there's enough room yes well you can [Music] so I actually I have actually done a pouch or a bag and it's been closed yes yep we've all done it um so if you do unzip it all the way then I usually sew with the largest or the flat piece against the bed of the sewing machine okay so then you can kind of Squish the gusset and guide that so you can have does that make it easier or is it better to do it the other way I find it's easier with okay I said face up perfect oh yes thank you just fold that gusset around [Music] and then there's less layers to work with remember that swivel hook again so watch out for that it's looking like a bag yeah it's really coming together and it is now we just [Music] want to start on one of the straight edges okay start on the bottom bias binding here and add a few Clips just to get started here I usually just align it as I go but you can certainly clip all the way around I'm going to start sewing about an inch from that lower folded Edge okay just with a quarter inch seam allowance all the way around and then when I get back to the beginning I'm going to stop sewing and show how I typically join the ends oh okay perfect now is this how you usually finish your bag seams do you usually bind them I don't find but with all with orchids on this style it was I decided to do it this way it looks good [Music] so now we're ready to join the bias binding and you'll want to cut the strip so it ends right where your stitching began so I'm going to cut straight across so then you can tuck this tail end into the beginning end and just keep those raw edges aligned you can kind of sneak in and make sure that that beginning end is laying down nice and flat and just continue on okay so you can just double check if you caught that beginning end there looks good a little bit deeper actually a little bit deeper okay yep you caught that end and everything there we go so then now we can turn the binding over that raw Edge and I do like to clip this just to make sure that it stays even and it doesn't curl okay just start clipping there we go so then we can just top Stitch an eighth inch from that single folded Edge okay and if it is easier you can stitch in the ditch from the other side I want to make sure that I catch it so it looks a little bit bulky but I'm going to sew it from this side all right [Music] I do really love the Stiletto for this yeah it's almost essential just to hold that folded Edge there just where you need it [Music] oh so close uh it's always so satisfying at the end I feel like I see it in there's the light foreign those two little threads right here because might as well right all right so then we still had some more binding lifts so you would repeat the same process to attach The Binding to the opposite side of the bag okay I'm ready to turn it right side out put our strap on there I think you did very well with your help well I'm a good clip picker ever all right so it looks good and now for the strap so here's our final length of the strap and first we're going to attach the slider buckle and what length is this this is 54 inches long you could certainly oh okay well then you can slide it up and down [Music] attach the slider buckle you want to feed the strap from the underside over that Center Bar and back down and then you can repeat the same process that we did earlier so I'm just going to fold this twice onto itself and this time it's about an inch and a half okay with that folded Edge just to make sure that there's room to sew it together and now I can put my presser foot pressure back down okay so you'll want the wrong side of the strap face up and then we're gonna feed with the wrong side up through that connector on the side of the bag and then back over the buckle making sure nothing is Twisted so that's what it should look like okay the top side up just I eat with them on the side that I want so here's the top side I'm going to feed it through from the front to the back and then do the top stitching again well look at that so look how cool this is you guys look how fun this is so we're going to put it on it's got this cool little front pocket for all your special things and this great inner pocket I generally carry a journal with me so this is perfect for that my key holder and then it also has this little back pocket right here which is like perfect for a phone anything that you want nice and close yeah passport to be good everything it'd be great well it came out awesome I love it it's so cute now pay attention to how you know to which side you put your your strap on because remember I'm left-handed and so you you may want yours differently and then also which way you want yours to zip you want to make sure you pay attention to that but other than that this is a home run you guys we love this this is awesome well I'm gonna be sporting this for a while for sure thank you so much well thank you so much Jenny it was such a delight to design this pattern and oh I'm so glad such a pleasure to sew it was a it is awesome and it's just perfect for me so you guys look forward to lots more tutorials with Sally tomato and Missouri Star Quilt Company and we hope you enjoyed this tutorial on the Jenny bag from the Missouri Star Quilt Company we'll see you later bye

More Fabric by Yard tutorials

See all