Skip to content

Free quilting video tutorials from Missouri Star

Quilting Tutorials
How to Make a Just Keep Swimming Big Circle Playmat - Free Project Tutorial

How to Make a Just Keep Swimming Big Circle Playmat - Free Project Tutorial

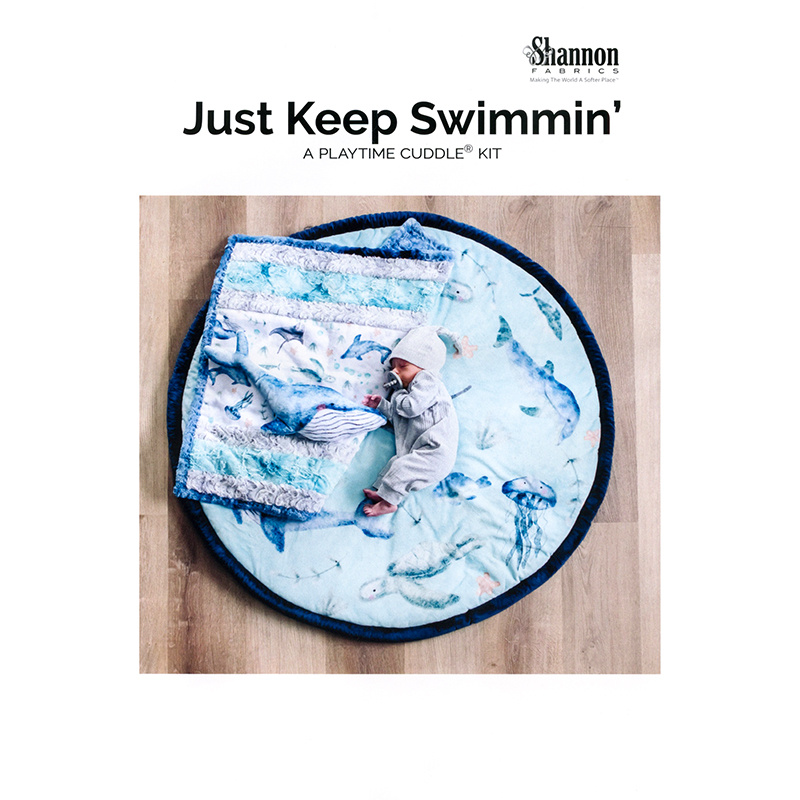
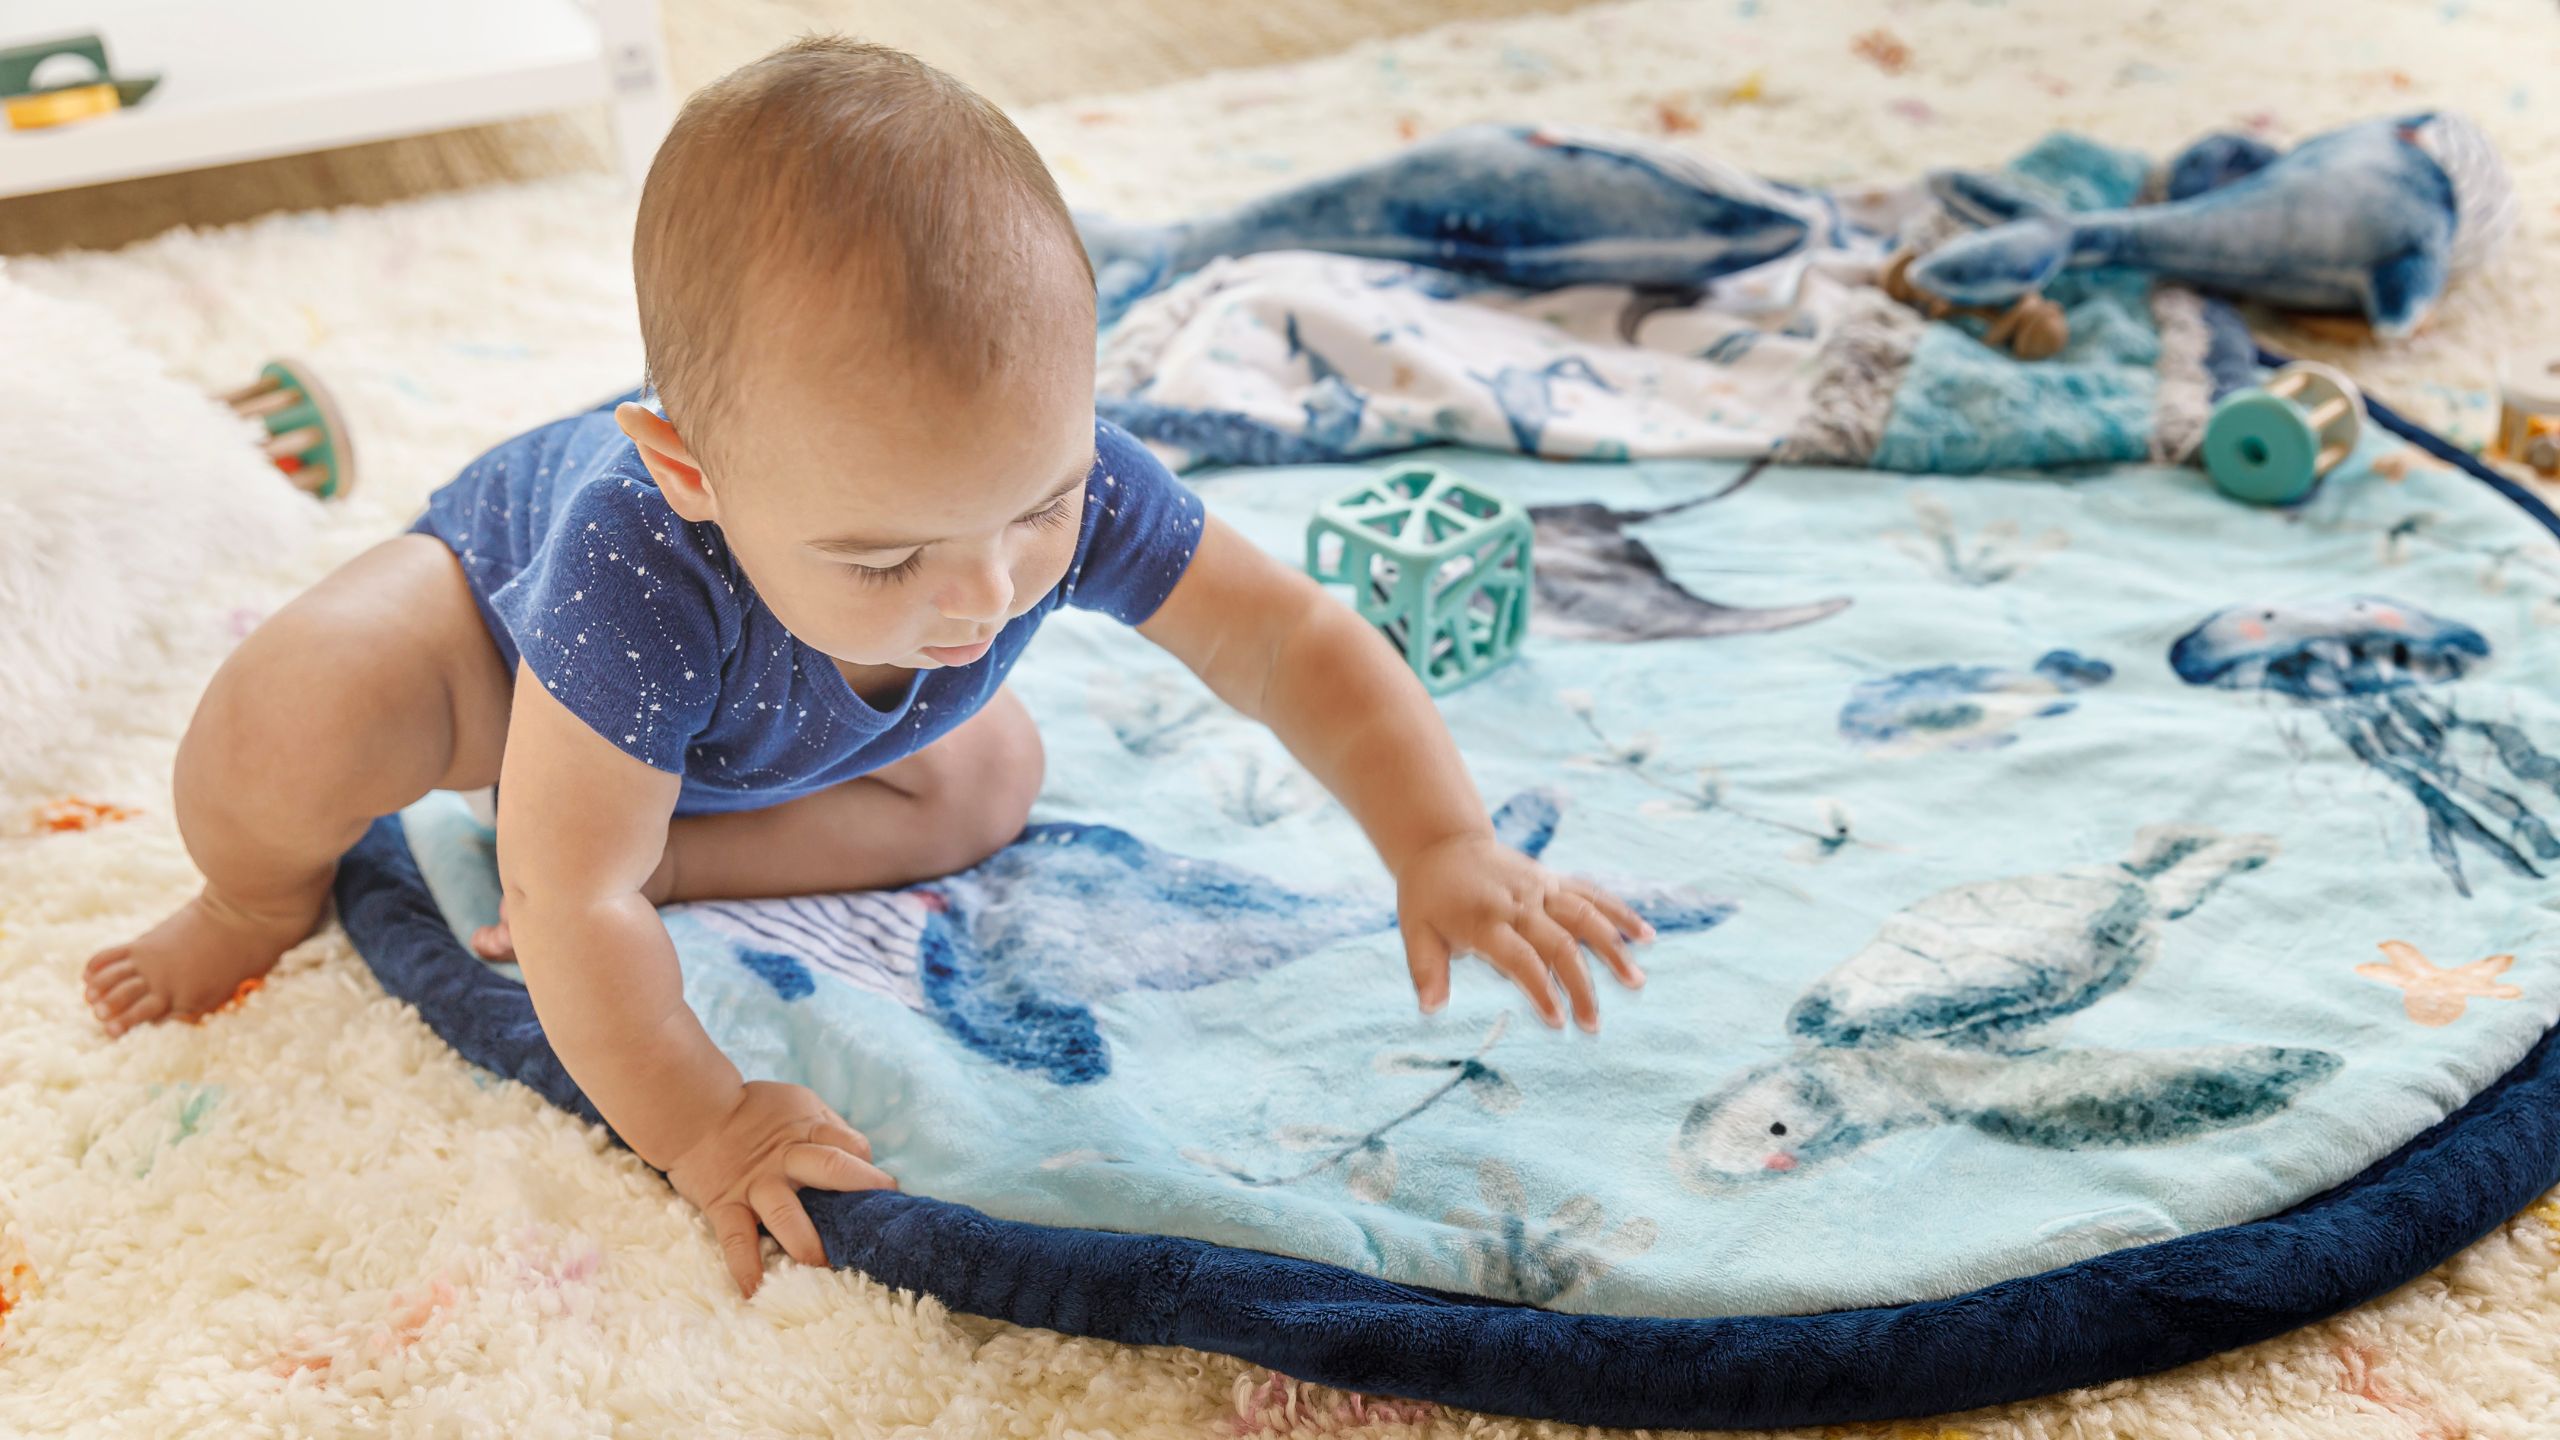
Whale, whale, whale, what do we have here...another set of fun projects using Cuddle?! Join Teresa Coates as she shows you how to make a round play mat using the Just Keep Swimming playtime Cuddle kit! This kit comes with all the basics to create three s'whale baby projects. The adorable play mat is shore to be great for tummy time and cozy play!

Instructor

Shannon Fabrics/Teresa Coates

Shannon Fabrics imports and distributes several different types of fabric, including super-soft Cuddle® minky plush fabrics, Embrace® double gauze fabrics, terry cloth and other novelty fabrics. Teresa Coates is a writer, editor and maker. Currently she is the National Educator for Shannon Fabrics and the host of Sew Together Tuesday.

Common Questions

What is covered in How to Make a Just Keep Swimming Big Circle Playmat - Free Project Tutorial?

Whale, whale, whale, what do we have here...another set of fun projects using Cuddle?! Join Teresa Coates as she shows you how to make a round play mat using the Just Keep Swimming playtime Cuddle kit! This kit comes with all the basics to create three s'whale baby projects. T...

How long is the tutorial video?

The tutorial video is 00:56:59.

Video Transcript

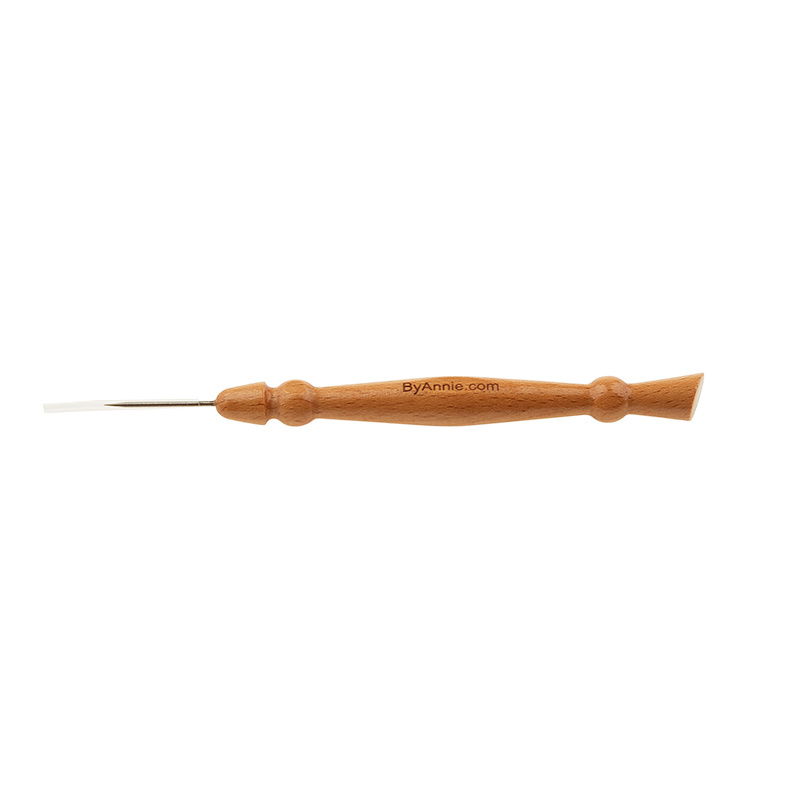
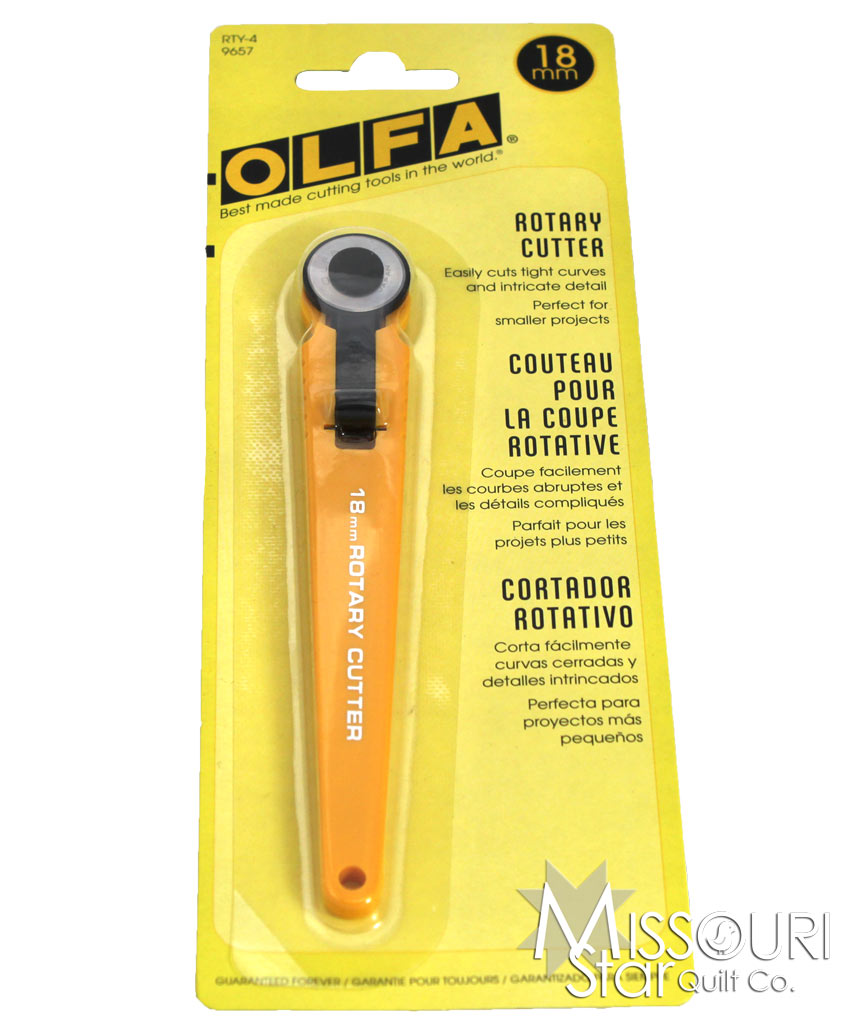
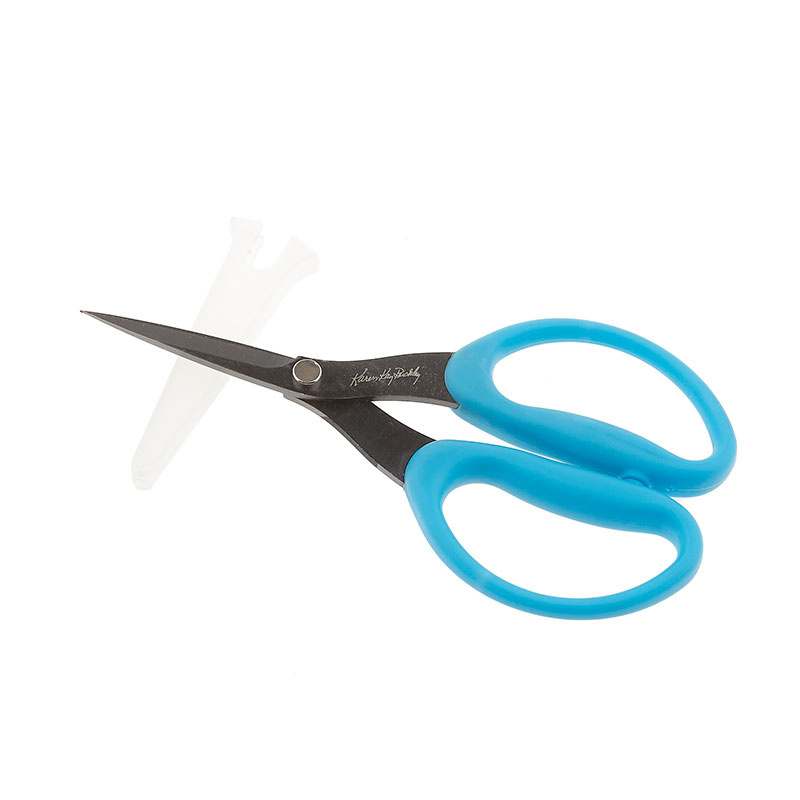
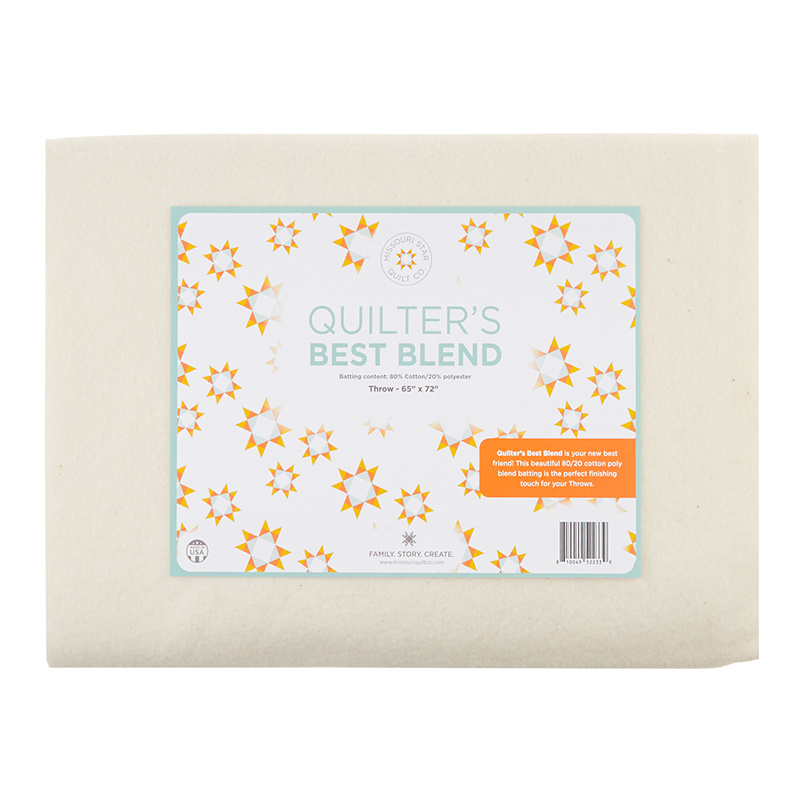
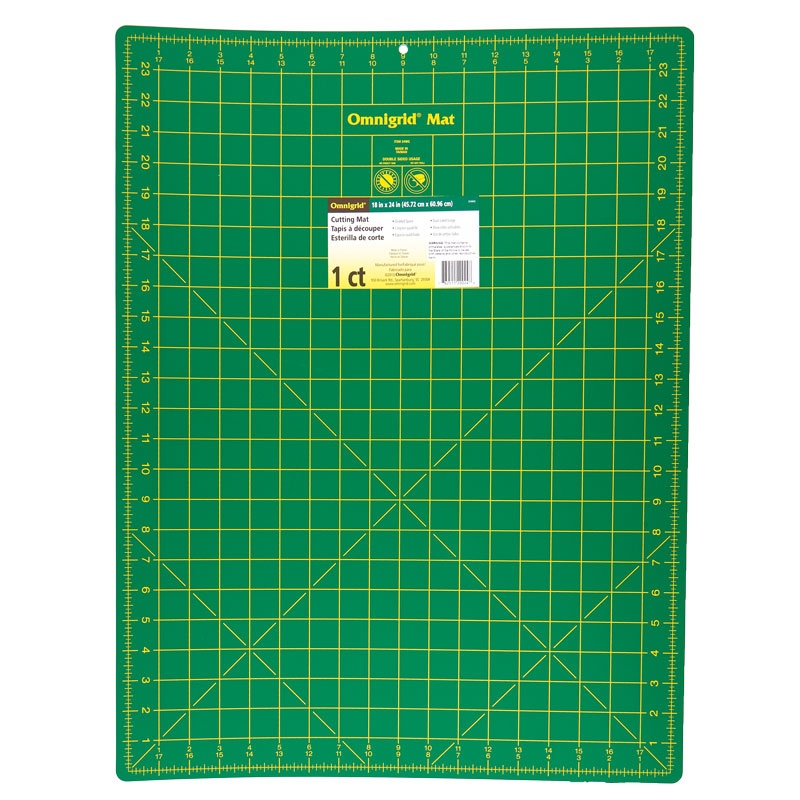
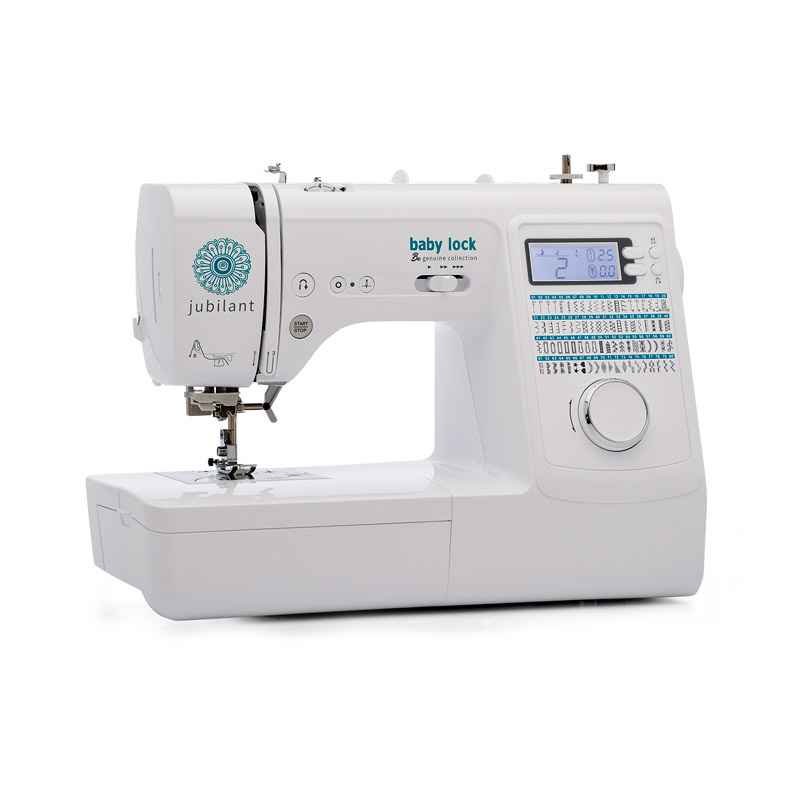
[Music] thank you I am excited to be here today at Missouri Star Quilt Company where we are working on the just keep swimming kit so this is a kit from Shannon fabrics and this is a fun one because it actually has three projects in it so it has a small blanket a play mat and a whale and today we're going to make the play mat so inside the just keep swimming kit we've got all of the materials that we need for these three projects so I'm going to go ahead and I'm going to open this up and pull out the products that we need so we need two different fabrics for this we need the panel that's in here and the backing fabric go ahead and pull this out grab my pattern so I need this fabric here which is the Luxe cuddle Galaxy it's fun because it's kind of mottled fabrics here and then I pull all of this stuff to the side and keep my panel so the panel actually has two parts to it it has the play mat as well as the whales that you can make a little stuffed animal which we also have a tutorial for so I'm going to go ahead and I'm going to cut this off where it has the whales so that I can do that separately and then I'll keep the other piece for this project and now I've got my big play matte panel now when you pull this out of the kit it's going to be a little bit wrinkly and I'll tell you you can take an iron to an iron the back of it with a medium heat iron and with a damp cloth and it will help get rid of those wrinkles you can also throw it in the wash and it will pull out the wrinkles or you can just let it be so either way but it will come up with a little bit of wrinkles just because it's been packaged you could totally get rid of those all right so I'm going to go ahead and I'm going to spray base this first onto my batting so I'm going to spray base this onto the batting and then I'll cut it out and I'll do the same thing with the backing so I'm using the Missouri Star Quilters best blend today is what I'm using for the batting and I'm going to lay this out lay my panel on top of it and spray baste it down and I'm going to go ahead and put my batting out first so this is a 45 by 60 inch batting which is great because my Square needs to be 45 by 45. so I'll have a little bit of extra at one end that I could use for a different project so I'm going to go ahead and I'm going to base this down and base the batting and the fabric together and then we'll cut it out and that makes it a little bit easier than cutting out the circles and trying to match them sort of just make it match and then we'll cut it out so I've got the cuddle laid out nice and flat I'm going to go ahead and I'm going to pull it back and I'm going to spray the back of it with the basting spray I like to use the odif 505 basting spray mostly because it doesn't stink and it comes out really nicely so once you spray this on here if you washed it will come out so if you're going to wash your fabric to get rid of the wrinkles make sure that you do that before you have basted it I'm gonna go ahead give it a little Spritz and then kind of do this thing called swimming I push it up and across and get it to go flat you can move my fabric toward me give it a good Pat sure it sticks down really nicely the basting spray does work really well with cuddle so when I'm doing this I always do the further away part first but then I need to actually rearrange things so that I can also do the rest of it further away so I'm going to go ahead and I'm just going to turn my whole piece around this front part is already basted put this up I'm going to pull my fabric back to the point that it starts to stick a little bit okay and then I'm going to spray base this section I'm just going to work my way across push it up a little bit at a time if there's a spot that gets a little wrinkle I just pull it apart again push it back together and just keep working my way across so again I'm just going to keep moving it so that I can reach it I don't want to make this any more difficult for myself than I have to and again just a little bit of spray will go a long way if you do get this outside of the area that you're supposed to if you ever spray your mat or something just go ahead and use warm water warm soapy water will take the basting spray right off get rid of that wrinkle pull it back a little more if it starts to get a little too heavy you can always kind of accordion fold it on your table as well and keep it in position a little bit more sticky area I'm going to push down and spray some more being careful to avoid spraying on the front of the quilt or the fabric and get that to smooth out get down but check this see if I got all the way out to the edge just about I think that'll be totally fine okay so I'm gonna go ahead now I can choose to either cut it out right now or I can stitch it together and I'm actually going to stitch it together and then cut it out because I find that a little bit easier so if I'm working with the two pieces large so I'm going to stitch a straight Stitch all the way around and then go ahead and cut it all right so I've got my machine set up with polyester thread and 90 14 stretch needle my walking foot and I have it on a straight Stitch at a 3.0 millimeter Stitch length so it's a little bit longer than you would normally use if you were working with cotton but we found that a bigger Stitch length will work better for cuddle so one of the things I want to do is make sure that all of my fabric is up here on the table to keep the weight off of it so when it's coming through my machine it's a little bit easier I'm going to lift that foot up a little bit more and go ahead and put this on so I'm going to stitch just inside of the printed Circle we're going to use the outside of the printed Circle as a cutting line and we have a half inch seam allowance so I have a little wiggle room and I'm just going to stitch all the way around here [Music] [Music] I made it all the way back around I'm going to go ahead and cut my thread out of the machine so now once it's basted onto the batting solid is one piece I want to make sure that everything is on there nice and flat that I don't have any puckers then I'll go ahead and trim it so you can use scissors for this or a rotary cutter and just trim all the way around so I'm using a 45 millimeter rotary cutter to cut this one out it's a nice big circle the big thing you want to make sure is that you're just cutting on your mat and that you've only got the one layer now that you have of batting and fabric that nothing gets kind of folded up underneath so just make sure that you're cutting carefully and if you feel something funny stop sometimes we can feel it cutting a couple layers and we just keep going but I want to do that stop reposition and we'll just cut our way around this big circle my stitching isn't going to be even and that is a-okay let me go ahead and get rid of my scraps I'm going to save that batting for another project and I'll give my big cuddle Circle here a shake get rid of the extra cuddle dust and I'm going to go ahead and I'm going to put the backing onto the batting just like I did with this except for not stitching it okay so with this piece I need a 45 inch square so the easiest way for me to do this is to kind of fold a big triangle here it's 45 inches long that's been cut and it's 60 inches wide because Lux cuddle cuddle in general is 60 inches so I know that it's 60 inches across and I should have to cut off about 15 inches but I'm going to go ahead and measure just roughly because I'm going to cut my circle out of it later I'm going to go ahead and snip it there and then I can cut right up that line with my scissors here all right so now I'll put my scraps again to the side for a later project and then I've got my 45 inch square of Luxe cuddle that I'm now going to baste onto another piece of batting all right so I've got those two together so I'm going to do the same thing as I did before I'm going to pull back a little bit spray base that down twist the whole thing and spray spray based it all go ahead and make sure that I am not spraying the front of the fabric the right side of the fabric I'm going to spray the wrong side here let me go ahead and I'm going to swim that up Pat it down and again I'll turn the whole thing around spray base from the other direction the biggest thing is having enough space that you can kind of lay it out like this so kitchen tables are generally pretty good if you have a nice big cutting table in your sewing space it's very helpful sometimes it ends up being the floor but being able to get it out flat is the most important part okay so pull it back to where it starts to stick go ahead and spray the back of it and then roll it up just a little bit at a time oh we have to spray down this last little bit so I'm going to kind of spray between the fabric and the batting just to make sure I don't get it on my right side of my fabric get that padded down now it's moved a little bit so it's not quite centered on here and that's totally fine because we're cutting out a circle and there'll be plenty of space for it to be on there so it does not have to be perfect I'm gonna go ahead I'm going to cut off the extra of my batting just so that doesn't get in the way foreign so now I've got a big square of the Luxe cuddle and the batting together spray basted together now I want to cut out a circle that is the same size as my other Circle go ahead I'm going to lay these out make sure that I have plenty of space okay I'm going to pin it in a few places then I'm just going to cut around it so I have two circles that are the same all right so we could cut this out with our scissors or I'm going to cut it with my rotary cutter and just make sure that my mat is underneath the area that I'm cutting I'll make it a little bit faster and just cut the whole circle so that the two match all right so now if you have a vacuum you can go ahead and vacuum up all those edges and get rid of the cuddle dust I don't so I'm just going to give it a little Shake all right so now I've got two circles one with the panel and one with the Luxe cuddle that are the same size at this point we get to decide how we want to put it together because there's really two different ways of doing it you can put it together with a piping or you can put it together with a binding and I'm going to show you a little bit of both so if we're using the piping we're going to need one inch piping so you can find that at some upholstery stores and some craft stores you'll want to have the one inch some sort of a cording to go inside of it and you'll need the cuddle three Navy that is included in your kit we're going to go ahead and cut some five inch strips you need three five inch strips to get all the way around this I'm going to go ahead and cut one and I'll show you how to make the piping if you want to do The Binding hang on and I'll show you how to do that after I show how to do the piping all right so I'm going to take the cuddle 3 Navy and I'm going to use that to create my binding or my piping for the piping I'm going to cut a five inch strip so I'd cut three five inch strips for the piping I'm going to go ahead and I'm going to fold it right sides together so it's across the width of the fabric so the selvages will go together to create a 30 inch wide strip and I'll go ahead and cut that nice and neat if you lay it right sides together the cuddle will kind of hold itself you only want to do two layers at the very maximum one layer is easier so if you're new to working with cuddle you can do this one layer at a time measure your five inches and cut it there just one layer I'm going to do two and I'm just going to do part of it and then I'll move everything and do the rest of it so I've got my my fabric laid out nice and flat let me use my ruler measured against the edge of my fabric so it stays nice and even hold down tightly and run the rotary cutter right along that edge now I'm going to kind of fold this and carefully move it over because I don't want things to move too much I just want to cut the edge of that the rest of that strip there so again I'm going to match it so it's five inches and it's going to connect with that line that I already cut all the way over to the Selvage Edge now to do the the piping you're going to cut two more of these so that you'll have three five inch strips go ahead and give this a shake all right so now I've got my five inch strip of cuddle and I'm going to put my piping into it so the cording is going to come in here and have to get wrapped around so we're just going to pull this over this part will take a little bit of time you're going to want to carefully pin it so that it stays fairly tight in there so I found that if I pin it kind of at an angle that seems to work best and pinning it often you want to make sure that you're not stretching it as you go you're just kind of folding it straight over that piping okay so I'm just making sure that the raw edges match fold it over pin it so once we've got those strips cut where we need to sew them together into one long strip to create the piping for that so we're going to go ahead and sew them together you want to put your strips so that they are the nap is going in the same direction so I'll lay them end to end and make sure that my nap is going the same way just by giving a little little pet okay that nap is going to run parallel to the selvages so then I want to put them together just like I would for a quilt binding I'm going to put them so they're at a 90 degree angle and I'm going to sew from corner to corner to create a new one so one of the things about sewing with cuddle is I want to sew from here to here and if I try to sew this it's going to move and do all sorts of fun things so I'm going to pin it basically parallel to where I want to sew it and I'm going to put a few pins in here so that I don't have to take any pins out as I'm sewing so pin on either side of it so I can sew from here to here and these pins will all stay in and keep the fabric exactly where I want it to be if you want to go ahead and Mark this you can from corner to corner I'm going to go ahead and Eyeball it and see if it works so I'm going to put my needle down right at the corner of that I'm going to aim for the other corner over here I've got my Stitch at a 3.0 and I'm just going to do a straight Stitch all the way across [Music] go ahead and do a little back stitch there take my fabric out so I've done it the whole way across I'm gonna go ahead and take those pins out I will trim off this Edge so my big seam allowance is here I'm just going to cut it I'm going to cut it at about a half an inch doesn't really matter too much you just don't want to cut it too small so cut it there make sure all my pins are out and now I'll have a long enough binding to go all the way around so once you've got your binding all together so you have one long piece so then we're just going to lay it so that it's wrong side up and I'm going to put my cording in here I'm going to lay it out so it's kind of in the middle so this is a one inch cording and a five inch strip I'm going to let it hang out the end just a little bit so I can keep track of it fold it over right sides together in it so that my edges match and I'm going to go ahead and pin it at a like a 45 degree angle here to kind of use the pins to keep the cording where I want it to be and to hold those edges together I'm going to pin every few inches to keep it where I need it and keep those edges together all right I'm just kind of going to push that cording down so that it stays closer to the edge put the pin in and I'll just keep working my way down the piping so once you have pinned the entire thing you're going to go ahead and sew it I'm just going to sew this one part to show you we're going to take it over to the machine you're going to sew it with your walking foot and just the edge of that as your seam allowance so basically a half inch seam allowance we're going to work it under there put the foot down and make sure that as I come along here that my that my foot is running right along the edge of the fabric so I want it so that the foot is going to be here so it's going to be a little a little under maybe a half an inch but that's what I'm kind of shooting for is a half an inch so don't let it get smaller than that all right I'm just going to run it right along the edge of that and as I go I'm just going to kind of keep checking my raw edges make their make sure they're still matching reposition as I needed using my stiletto to keep things where I want them to be the Stiletto is really good for things like this because it will hold through both layers better than my finger as well just holding it across the top so I really like using this tool for more precise kind of piecing all right so you'd sew it the whole way around just like this to create your piping we're going to go ahead and take it out to show you just a little demonstration of this foreign so once your piping is completed it'll look like this so that your your cording is inside and you've got a little seam allowance here it's going to be a little loose in here and that's part of how it how it just has to work with the walking foot but we're going to go ahead and we're going to take our top piece here you're going to lay your piping out pin it here and then you're going to go ahead and measure about eight inches down so we can kind of you can actually measure on our ruler right here do so here's eight inches and this is where I want to start sewing all right and I'm just going to pin this all the way around you could use Clips if you'd like fabric Clips would work just as well and you'll just pin this all the way around the border of your play mat Stitch this in position you'll sew the this onto the top you'll see you're piping all the way around and join the ends then you'll finish by putting the backing over it sandwiching it and pinning these together and sewing then you turn it inside out similar to how you would do a throw or that sort of thing it ends up being that the piping is on the outside for a lot of machines this is a little too much fabric and thickness to do so we have a different way that you can do it and you can actually just bind the edges I'll show you how to do that okay so let me unpin this because we're going to start with our strips of cuddle three Navy we're going to use that for The Binding so that we're going to cut into one and three quarter inch strips okay so I'm going to go ahead and I'm going to cut that again we're going to fold this right sides together because the cuddle can be folded two layers but no more than that if you're new to sewing with cuddle I would suggest that you measure out your one and three quarter inch strips draw them on the back and then cut along those lines if you are comfortable using it you double it up make sure that is folded width wise so the selvages are together so it's going to meet Selvage to Selvage and then we're going to go ahead and get that nice and flat and then we can cut our strips all right so if we want to go ahead and Mark this so if you're new to working with it and you haven't worked with cuddle very much before it's really helpful to mark it first then we can get some really nice straight lines on there I like to use a silver Sharpie is the easiest thing for me you can also use Taylor's chalk and there's a variety of other things that people use for marking on it if it's a lighter fabric like a medium fabric sometimes I'll just use a black Sharpie as long as you are cutting it off it's all right but make sure that you're actually cutting off any of the ink that shows up all right so I'm going to go ahead and I'm going to mark this first I want to get a straight line so I'm going to get this to come off my selvages be nice and straight and I'm just going to draw right along this line across and get that line to continue the entire way and again I'm going to make sure that the fabric fold is lining up with the edge of my ruler and go ahead and Mark it so the next row I'm going to move this down to one and three quarter inches I like to mark it a little bit of a heavy one and three quarter inches so I kind of put that one and three quarter mark on the inside I'm going to go ahead and Mark that and again I'll move this over and continue that line this really helps when the fabric wants to shift on you that you can see that it has shifted sometimes it's a little harder to see underneath the ruler if it has moved so drawing these lines first actually is very helpful in keeping some consistency and some accurate accurate lines across here I'm just going to draw these out so you can see what I'm going to cut and then I'll cut along those with the rotary cutter so for this again I'm going to need three strips to go all the way around this one like I said is one and three quarter inches for The Binding so now I go ahead and cut these and generally what I'm cutting my binding strips I'll cut all three rows or I'll however many rows I've got I'll cut them all at the same time and then scoot the fabric and that tends to be more helpful to get the lines to be accurate than moving it each row so if it moves just a little I can kind of tap things back into place line it up on my line that I drew and this one I'm actually going to cut the other direction because one it's wanted to move but two it's such a tiny strip that I can't really Lay My Ruler on there and get it to stay so if I lay it the other direction all right then I can go ahead and Scoot all of this over and cut the last bits of those strips they do have some rulers that are 36 inches long and they work very well for this because it's 30 30 inches across but the 24 inch ruler you'll just need to move it a little bit as you go okay so again we're going to put these ends together just like we did the other make it all these clipped the way go ahead and give my strips a good Shake all right so now I'm going to put the strips together into one long strip one long binding strip so again I'm going to find the ends figure out which way the nap goes by petting it parallel to the nap the nap on this one is heading down so I'm gonna make sure this one does these do as well so I'm going to go ahead and combine those ends I'm going to pin it so that they are at a 90 degree angle which you can do on your board you can check it make sure that it's right eyeball it again we're going to sew from one inner corner to the outer corner so this one I will want to back stitch just a little stitches work my way across back stitch again make sure that worked and trim that off and we'll do it again so we've got the three strips all together so here's my next the nap goes down make sure that the damp goes down on this one I'm going to be the other end again I'll lay them out that same way so they're at 90 degrees from each other put a little pin on either side of where I want to sew so that I can leave that pin in there and so that corner as well all right now I will trim that and we'll have the binding strip tool which will be the three binding strips together so it'll be a little bit longer than we need to go all the way around but it'll get all the way around without any issues and that's really what we want is to have plenty so at this point we're going to sew the two pieces together so when we were doing the piping we sewed them one and then we kind of sandwiched it this one we're going to do the opposite we're gonna actually put them batting to batting and put right sides on the outside so I'm going to go ahead and Malay the Luxe cuddle out first and get it as flat as I can and I'm going to lay my panel on top of it now because we have batting on there it doesn't matter which way the nap is going you can check it to see if you can tell which way the nap is going but it really doesn't matter on this project okay so I'm going to go ahead I'm going to pin a few places to make sure that it matches and stays matched so basically I'm going to do kind of the quarters and then I'll go in between there get them to match all the way around this is another place that if you wanted to you could use kind of mix up pins and Clips in this I kind of prefer my pins and again we're going to pin perpendicular to the edge because we're sewing on a curve so straight lines we generally parallel curved we'll do perpendicular I'm just going to put pins in every few inches making sure that I'm catching the backing both battings and the top panel all right so again we're pinned probably every three to five inches all the way around and now I'm going to go ahead and I'm going to put it through the sewing machine and zigzag the whole thing together so instead of just binding it now I want to actually adhere all four layers so that when I put the binding on I work with it as one layer so I'm going to make sure I've got plenty of room here because I want to keep this all up on the table as I sew it around I want to keep the weight off of my lap and on the table so I'm going to go ahead and switch this to a zigzag we're going to do four and four so four wide four long and I'm just going to zigzag right along that edge to secure the layers all four layers of the batting and the Lux cuddle backing and the panel together zigzag all the way around okay as I get back around to the front I see that I have a little part that I missed so I've re-pinned it I'm going to make sure and go over that give it another glance over make sure I've caught everything I'm just going to go in just a little make sure I get that that edge caught so now I kind of just go over it make sure cut all of my edges here and that they've stayed fairly even because I have a half inch seam allowance I do have a little bit more wiggle room than I would with traditional quilt binding go ahead and get rid of my my extra threads and now I've got I've got my piece all put together so at this point if you wanted to you could go ahead and quilt it you kind of quilt around each of these pieces you could quilt it differently if it's going to be washed very much you'll want to quilt it so that the batting doesn't fall apart in the wash and that's an easy enough way to do it you could also do some large cross hatch whatever way you wanted to quilt it but you could absolutely do that at this point then we're going to bind it and I'm just going to go ahead and I'm going to do basically traditional cuddle binding we're going to sew it to the back bring it around to the front and raw Edge top Stitch it down so it's a very easy way of doing binding and this is the way that you can bind all sorts of things including a circular play mat or a quilt so I'm just going to find a place to start doesn't really matter I usually don't choose the top I usually choose a side or the bottom so it'll be kind of hidden and I'm going to go ahead and start pinning it on I'm going to pin every once in a while and then I'm going to get my clips and bring my Clips in looks like my binding could use another good Shake so make sure and shake it again before I get over to the machine so I'm just going to kind of work my way around here and then I'll clip in between so I don't have quite so many pins to deal with so I've got my jumbo Clips is what I've got these they are from Clover jumbo Wonder clips and I really like them because they hold down a large section of fabric so they'll hold down the whole area that I need so basically the way that I pin this is that I will do like a pen and a clip and a pin and a clip so that I have to take out half as many pins but I'm holding down as much area for me I've had less luck using them for the whole way around I feel like they tend to move on me a little bit so I like to use the pins to give it some extra stability but I do like those clips for their ease of being able to take them off as I'm sewing okay so I'm going to try to keep all of this on the table so with the weight of the fabric it's important that you're not trying to fight it with gravity because it will want to take it places that you don't want it to go so again I'm going to clip and then I'll pin in ER I'll pin and then clip in between and I'm going to do that the whole way around so as I come to a seam here I'm going to go ahead and I'm going to trim my threads done that earlier we're going to trim those and then we're going to get this to stay open so it's not super important that it stays open but it will be a little easier to sew over if we get that to stay open pinning and clipping so if we were doing this with a cotton binding we would need to cut it on the bias so it would have a little bit of stretch but because we've done this with cuddle and it has stretch along the width wise of the fabric it'll just go right around these curves very nicely you do want to make sure that you don't actually stretch it as you go it has a tendency to curl if you stretch so we want to make sure that we're not doing that but instead using its natural tendency to kind of Bend its way around so again I've got another another spot where my seams are joining I'm going to go ahead and pin so that I can run out oh no pack two here we come oh no wait I've got more wait all right I've got a few more fabulous all right so I'm going to go ahead I'm going to clip in between clip right on top of this seam just to get it to stay open for me and then as these come around I need to have a tail just like I would for a regular binding and I want to have enough that I can overlap so I'm actually going to stop sewing here and I'm going to start sewing over here so I've got a nice overlap all right I'm going to put a couple of pins because that's my Mo for where I want to start and stop so I'm going to do that here and then I'm going to do that here just a little bit and I'm going to pin over here to give myself a starting and ending point and that will be enough that I can combine these ends when I get around there but I'm going to start and stop here go all the way around sew this on all right before I start sewing I'm going to go ahead and clip this long tail off because I know I won't need that so I'm going to take this over and I will pick I will sew it with a half inch seam allowance using my walking foot kind of as a guide slide this under there lift my foot up just a little bit extra so I can get it underneath since it is a little thick right now with all these layers can use that so as I'm sewing I want to make sure that my fabric is sticking out to the right just a little bit so I can see it make sure that it's catching right I'm going to go ahead and switch this back to a there it is three so a straight Stitch and I'm going to put it at a 3.5 Stitch length because I'm going through a lot more so I want it to move a little bit faster and I think it's going to need to have a larger Stitch length to actually move through very well so I'm going to give that a try it's one of those techniques that you can use to get your fabric to move a little faster is to up your Stitch length a back stitch just a little to get it secure I'm going to work my way around and again I'm just going to make sure that the fabric is coming on the right side of my walking foot and I can see it and I'm going to use my stiletto to try to keep it from building up at all if you have the ability to lighten your presser foot pressure this is when you can do that if it's starting to build up at all as you sew around here you can use the Stiletto to keep it nice and flat reducing the presser foot pressure or just slowing down will all make it a lot easier to get it to go on nice and flat let me go ahead and get that seam nice and flat hold it in position with my stiletto and we'll come back around to where the pins are back stitch and we'll pull it out all right so now we've gotten it stitched all the way around see it's nice nice big stitches all the way I've sewn it with the gray thread even on the blue you won't ever ever be able to tell and it's going to come back around to the front that's how we're going to stitch it down but first I've got to finish up these Tails so I have to make this go all the way around in a circle okay so we're going to go ahead and we're going to make these Tails match we're going to do this kind of the same way we do the way that I do at least for my cotton quilt bindings I'm going to pin this in position and I'm going to pin this over the top so that I can make sure that they are actually going to fit the area that we have to cover so I'm kind of pinning down closer to the end here and then I'm going to use my scrap bits that I had before so I'm basically measuring one and three quarter inch overlap in the middle is what I'm aiming for so my top one here comes further so I'm going to mark on this side of it that out of the way and then what I want to do is Mark on this side on this side of that strip okay so as they overlap they will overlap the size of the strip that I just made you can measure it with your ruler if that's easier for you I like to use the little strip it's a little bit easier for me and now we're going to go ahead and cut on those lines and I like to cut them just a little bit shy mostly so it'll kind of stretch a little it's better than having it too long I'd rather stretch it just a little bit to get it to fit okay so now we're going to go ahead and we're going to lay them just like we did before at right angles to each other one of the things that I found with this if I do it this way is that I can't really see the point that I'm getting to so where I need to sew across from one corner to the other corner I can't really see where that corner is so I'm going to go ahead I'm going to stick a little pin in here and then I know where to aim you could also Mark that with your marker and just Stitch across that line okay so I've got the three pins in this is where I'm aiming for it's right here I'm going to start here and sew all the way across underneath here so this is kind of the hardest part of sewing The Binding on really is trying to get it with all of this other stuff here so make sure you just kind of pile it up close to you get it to be super flat when you are putting it underneath the foot and go ahead and carefully put the foot down and then I'm going to stitch forward just a little and then backward a couple stitches too just to secure it and then we'll Stitch all the way across kind of aiming for this with the tape I could actually see where my quarter inch is so I'm just going to go ahead and I'm going to kind of hold it in place with my pin because that's what I've got right here I'm going to aim for that corner do a little back stitch and take my piece out so now before I trim anything I'm going to check it and make sure that it actually worked but I didn't twist anything looks like it fits just fine so I'm going to go ahead clip my threads and clip my seam allowances and pin it in position again pin that down the rest of the way and for this part I like to use pins more than the clips because the pins will hold it very tightly to where I need it to be and the clips will tend to move just a little bit so I'm going to go ahead and sew that again I'm going to slide it underneath the foot using that extra little lift to get it under there I'm going to start just before where I ended before so that'll kind of overlap a little bit make sure my needle is going to go down on my previous stitches back stitch go forward and get the rest of this binding in position [Music] my need my stiletto again hold that in place so as I come up here I'll hold it down so it'll go underneath the foot and take my last pin out and then use my stiletto to hold it make sure that it's going to fit right where I need it to and again I'm going to aim for the stitches that I started with make it go on a continuous line back stitch just a little equip my thread okay so now I've got the whole thing sewn all the way around and now we're just going to top Stitch it in position so when doing this with the cuddle binding the great thing about the cuddle binding is this just comes right around and it's just going to be a raw Edge cuddle is a knit fabric so it won't Fray so all this has to it just has to be stitched down it doesn't have to be secured by Rolling under or anything else it will actually just stay like this forever and be beautiful okay so I need to switch out my thread okay so I'm going to go ahead and I'm going to clip this down if I were doing this as a gift for someone I would probably change it to blue thread the Navy thread to be able to hide those stitches even more I'm going to keep it with the gray today so that you can kind of see what those stitches are and actually how well they will hide oftentimes in cuddle fabric we're going to go ahead clip it I'm going to work my way around this so when I do the binding around to the front I generally just use the clips this seems to work well enough because I'm just going to use the Stiletto and make it go where I want it to go and it's in place really securely with the stitching so that seems to work okay if you're more comfortable with the pins you're welcome to Some people prefer the smaller jumbo or the smaller window Wonder Clips but I prefer the jumbo so you can see this kind of naturally just curves right around and wants to be right in place okay now that I've got it clipped all the way around I'm just going to take it back to the machine I'm going to reset it to a zigzag Stitch and go all the way around this we have a serpentine Stitch I might try that I really love a serpentine Stitch this machine has it so we're actually going to try it a little bit see if we can get a serpentine Stitch otherwise you can do a zigzag Stitch and I'll do a wide zigzag at four millimeters wide four millimeters long but I like to try to play around let's see so our Serpentine is going to be Stitch 36. there we go all right I'm going to give it a try just on some of my scrap binding here to see how it stitches out and if I like that stitch on it so I'm going to make it a little bit longer so generally I do a 1.8 and a 4.6 is what I use on my machine this one is at a five so we're going to see what that turns out like if I Stitch it this way foreign see how that goes that looks pretty good so I'm going to change these settings a bunch so you can see what it looks like so if we go back down to one and we oh it's going to change to both okay so I'm going to do it at one that's interesting I'm so excited I love learning new things okay we'll do it one and a three we'll see what the difference is so this is with the one millimeter and three makes it just a tighter this was the 1.8 and five so it makes a big longer S curve this is really what we want to go for is this big long S curve so that's what I'm going to do is I'm going to reset that to 1.8 and 5. all right and then we're going to use that to stitch all the way around this and what that does is it gives it a really nice it's just a really nice finish to it the thing I like too about the serpentine you'll see is that you can actually kind of hide your mistakes in that which is really one of my favorite things about cuddle so you don't have to be perfect with it we'll be able to hide some of the mistakes of the imperfection of our stitching so we're going to go ahead I'm going to take this out get my needle to come down just left of my stitching line from before so my goal is to get my S curve to land mostly on my blue fabric so we want it mostly on The Binding let's see if we can get it to start Landing where I want it to sometimes it takes a little bit of moving things around to be where you want so take your time getting it started then you can come back around tidy it up at the end okay so as it gets to the left Edge that's where I want to stop so that's where I'll keep my eye and make sure that it's getting to the left edge of that we're just going to stitch a little s all the way around again if you want to hide your stitches make sure that you pick a thread that will hide in the fabric so it would coordinate with the fabric with this one you'll be surprised at how much it will actually hide in there anyway and just kind of give an embossing look but matching the thread will be even better again I'm going to make sure that all of my weight is over on the table and then I'll use my stiletto to hold my fabric right along that stitching line from before so that it will match top and bottom or as close to it as I can so I've got a seam that I'm going to go over so I'm just going to make sure that I'm holding that seam down nice and tight sometimes this is where it'll want to give you a little bit of extra a little extra fabric where it'll push a little so you just got to control it just a little bit more by using the Stiletto keeping the fabric where you want it to be [Music] foreign really happy with how it's coming all right we're on the home stretch it's round to the very end we're just gonna make these match up as well as we can [Music] this one I'll always kind of do a little double check to see if I need to fix anything sometimes the beginning will get a little bit wonky this one worked out all right just gonna make sure I hold that over [Music] do the last of the stitches and then I always want to go over just a little bit of what I stitched at the very beginning and do a little lock stitch so I'm going to go over just kind of a half a serpentine here so that they've crossed paths and I'll do a little back stitch will do a lock and then I will check this out go ahead and I'll clip all my threads and I'll give it another good Shake and there we go look at that all right so the serpentine goes all the way around one of the things that I really love about the serpentine Stitch is that it does not have to be perfect for it to look really nice so there can be some wobbliness in the serpentine that you can see upon close inspection I can notice it but it's a little a little harder to see than if it's a zigzag so then you can see on the back it kind of completely hides in there right along the edge so any of this that you want to go ahead and then if it gets stuck in here in the seam you can use your stiletto to pull it up which will hide any of your stitches even more and gives you a really nice soft backing so there you go so all you're going to do you bind it now you're ready to go if you decide if you changed your mind if you change your mind and you would like to do some quilting now didn't do it earlier you could totally do it at this point and it is ready to go yay I really love this I really do it's really cute I love The Binding on it all right so that's it that's the play mat from the just keep swimming kit there's one variation on it I love this play mat it's so cute I hope you'll join us for the other tutorials we're doing for this kit with the whale and with the little wee one blanket thanks so much for joining me hi everybody it's Jenny from the Missouri Star Quilt Company we hope you enjoyed watching this video if you aren't already part of the Missouri Star Quilt Company family be sure to subscribe so you won't miss a thing and if you click that Bell it'll notify you every time a new tutorial comes out see you next Friday [Music] foreign

More Fabric by Yard tutorials

See all