Whale, whale, whale, what do we have here...another set of fun projects using Cuddle?! Join Teresa Coates as she shows you how to make an adorable whale stuffy using the Just Keep Swimming playtime Cuddle kit! This kit comes with all the basics to create three s'whale baby projects. The whale stuffy is shore to be a real pleaser for baby showers and ocean-themed nurseries!
Shannon Fabrics imports and distributes several different types of fabric, including super-soft Cuddle® minky plush fabrics, Embrace® double gauze fabrics, terry cloth and other novelty fabrics. Teresa Coates is a writer, editor and maker. Currently she is the National Educator for Shannon Fabrics and the host of Sew Together Tuesday.
What is covered in How to Make a Just Keep Swimming Whale Stuffie - Free Project Tutorial?
Whale, whale, whale, what do we have here...another set of fun projects using Cuddle?! Join Teresa Coates as she shows you how to make an adorable whale stuffy using the Just Keep Swimming playtime Cuddle kit! This kit comes with all the basics to create three s'whale baby pro...
How long is the tutorial video?
The tutorial video is 00:22:46.
Video Transcript
Hi, I'm Teresa Coats. I'm the national educator for Shannon Fabrics and I am excited to be here at Missouri Star Quilt Company. I hope you'll join me to learn how to make this cute little whale. [music] [music] In today's project, I made the whale and I stuffed him with regular polyfill. You're probably familiar with it. It's been around for a long time and a lot of people really like it. I recently found a different product that Polyfill makes called silky polyfill that is actually really lovely and it's a much softer version. Depending on which kind of finish you want, you can choose either one. So regular polyfill is more dense and ends up with a more firm kind of stuffy here. So it doesn't squish quite as much. whereas the silky polyfill is softer and has a lot more flexibility and is a lot squishier. So depending on which one you want, whether you want to have a kind of a dense filling or a softer filling, you can choose your polyfill, whether it's regular polyfill or silky polyfill. So we're going to pull out the panel. On the panel, we've got both the playmat and the whale. So we're going to cut out just the whale right now. I'm just going to unfold it until I can get to that part. All right. The instructions for the stuffer are on the panel as well as in the little pattern book that was there. So, I'm just going to go ahead and I'm going to cut this off big. Just kind of a rough cut so that I'm only dealing with this part. I just want to make sure that I'm not actually cutting anything extra. So, I'm going to be real careful that I've got just one layer here. I'm just using my big 45mimeter rotary cutter here so that this will be kind of fast. And I'll put this aside for the playmat project. So now I've got my whale pieces and there are two of them and they are opposite of each other. We're going to just cut them out and then you sew them together. It's super duper easy. We've got the dotted lines that are on here that show you your cutting line. And I'm going to cut just inside of those black dotted lines. I like to use a small rotary cutter for this. So for this one, I've got an 18 mm rotary cutter rather than the 45 mm just because it's a lot easier to cut the curves with this. So I'm going to open it up. I'm just going to follow right along with the edge there just inside of that black line. Okay. So, you could cut this with your scissors if you would prefer. That's totally fine. I do recommend the scissors or a smaller rotary cutter. I've just had a little bit harder time with the big rotary cutter. It's hard to get around those tight little curves. So, using a smaller one is good for that. So, where it comes together here in the tail, I'm going to be real careful. Try not to cut extra. If you need to cut it with the scissors to get that nice point, go right ahead. All right. So, we've got that all cut out. I come back over here with my scissors. I can see I didn't quite get that corner right. And I'm going to be a lot more accurate with my scissors here. So, there we go. All right. I'll put that to the side. And then I'll cut out the other one to match. Try to lay it out flat. And then just like the other one, we're going to try to cut it just inside that black line because these need to match up perfectly or at least as close as perfect as we can. All right. Make sure everything is snipped. We've got two whales cut just inside the black lines there. I'm going go ahead and give them a shake. Get rid of that extra cuddle dust. And now this is super easy. All I'm going to do is I'm going to put these together. So I'm going to mark it and I'm going to leave about a 4 inch turning gap down here. So I'm just going to kind of find a place that I can stick a pin. I'll stick another pin just to mark this for me. Then I'm going to lay these together. Get this one nice and flat. put these right sides together and then I'm going to pin it together at the important places first. So I want his nose to match if possible. I want the tail to match and any sort of corner I want those to match. So those are going to be the first places I pin and then I'll make everything kind of ease in in between. So, I'm going to grab the end of his finer. His nose So sometimes because you're cutting them separately, the seam allowances won't be exactly the same. So kind of looking to see if they'll mirror each other will help you get those to match up a little bit better. Okay. So now before I forget what these pins are for, I'm going to put two pins right next to each other so that I can remember this is what I want to leave open. And then I'm just going to pin in between. get lots of pins in here to hold it where I want it to. So when I sew this, it's not going to shift too much. And a lot of times when I'm sewing with cuddle, I want to use I will pin parallel to the raw edge, but because this is so curved all the way around, I will pin perpendicular. And it helps to be able to sew it fairly evenly. But you want to take your time as you're sewing it. So now I've got them all pinned together. I'm going to take them to the sewing machine and sew them. All right. So I've got my machine set up. I've got polyester thread in there and a 9014 stretch needle cuz that's what I want to use whenever I'm working with Cuddle fabrics. And I have upped my straight stitch to a 3.0 mm stitch length. So it's a little bit longer than you would normally use. We're going to stitch all the way around that. Now, when we're working with Cuddle, a little longer stitch length seems to help it come through the machine a lot better. So, I'm going to start at my turning gap where I have the two pins and pull those out and I'm going to put my needle down. And then I'm actually going to pivot my fabric and I'm going to sew right off the edge. This is going to create a nice little turn. We call it a L pivot in all of our cuddle sewing patterns. And it really helps to turn the fabric in on that turning gap. So again, I'm going to lift my foot, pivot back around, and I'm going to pivot also at each one of these corners. So as I come forward, going to sew right along here. Use the walking foot. I'm just going to use the edge of the walking foot as my guide for my half inch. Turn. Come around here. So, anytime I have kind of a corner, I'm going to go ahead and put my foot down and pivot. So, I'm just going to take my time as I come around here. Try to make sure I'm catching it right. If I don't grab get a very good hold on it, I can use my stiletto, which is the by Annie stiletto that I like so much. And I'm going to kind of do a little pivot. The stiletto lets me kind of hold the fabric where I want it to be. Okay. So, as I come around here to the point, I've got a pin that comes straight in where the corner is. And I'm going to aim for that pin, and that's where I'll pivot. Sometimes it's hard to know where I'm supposed to turn. This seems to be the easiest way for me to do it. So, I'm going to do one more stitch and then pivot. Toss my pins down. And now we're just going to head up the other direction. Okay. And again, take my time around this corner. Do a little pivoting as I need to. We'll keep on going. Make sure that my fabric stays flat under there. Doesn't curl up on me. Because it's a knit fabric, sometimes it'll want to do that. So again, we're at a corner. We're going to get in here and pivot. Always with the needle down so we don't lose our place. I'm just going to shift just a little bit so I can try to catch my seam allowance a little better. pivot again and come back to the starting well sort of the starting place. It's the other end of the turning gap. Going to go ahead and back stitch here. Just a couple little stitches. Come forward. And then I'm going to pivot again and come off the edge. All right. I'll go ahead and take it out. Okay, so now we've got it sewn all the way around. We've got our little L pivots right here at the turning gap. I can kind of turn it inside out just a little. See how my seams are matching at the bottom. They seem to be okay. My seam allowance was all right. So, I'm going to go ahead and turn it all the way inside out after I do some clipping. So, we're actually going to want to clip it in a few places to make sure that it turns okay. So, I've got Karen K. Buckley's here. These are u the perfect scissors is what they're called. They're micro serrated, and they really are pretty perfect for working with cuddle fabrics. The micro serration really grabs the fabric nicely, and you'll get a really clean cut. So, I'm going to go in at any place that there's a corner. I'm going to clip right near, but not to the corner. Okay. And then I'm also going to go ahead and I'm going to trim the seam allowance a little shorter. And this will help it to turn inside out better. So there's two different ways that you can do this. I like to trim my seam allowance shorter with the rotary cutter, which I'll do. Or you can go ahead and clip all of these. I find it easier just to run the rotary cutter around it and cut the seam allowance a little shorter. So, we want it wide when we're sewing it, so it'll be easier to sew. But when we're turning it, we want it to be a little shorter. So, I'm just going to trim it off to about a quart of an inch. And it doesn't really matter because it's a knit. It's not going to fray into the seam, so it'll be fine. And I just find it easier than clipping all the curves. But if you are a clip clipper, you can absolutely just go ahead and clip all your curves there, too. You won't have to do it quite as much as you would with cotton because it's not going to have such a hard time turning, but you will need to clip at least a little bit. And you could also use your scissors for any of this as well. So sometimes it's a little easier to get into certain places with the scissors, especially on these tips. So if you feel like you need to cut those in a little shorter, you can absolutely do that with the scissors. No problem. Lots of control there. Okay. So there's my scraps. Now I'm going to go ahead. I'm going to turn this inside out and come down here to its nose and turn that. So, I'm just going to kind of poke his nose in. I'm going to do the same thing with his tail bits here. Use my little point turner. Get that to push in just a little. Do the same here. And here. there. I find it easier if I bit if I turn in the bits that are a little pointier before I turn it. It's easier to get them turned now than it is later. Okay. All right. So, then I can go in here, get his nose to come through. Again, it's the easiest place to grab. And then just turn. Flip these out. Grab a little tail piece. There's another one. And then we've got a cute little whale coming together here. All right. So, now that he's turned, I can go ahead with my point turner and come back in here and really push out those the points on his tail and on his fins. kind of run that along the edges. You can see if you've caught it. So, there's a few places that I've caught a little bit less. I could go back and fix those, but I'm just going to leave them. I think they're totally fine. It kind of fades into the edge really nicely. So, that works out. If you needed to do it, you could absolutely turn it back inside out, stitch a little heavier seam allowance, but this will work just fine. So, now I'm going to go ahead and stuff him, and then we'll sew it shut. All right. So, I'm going to use Polyfill to stuff this today. It's from Fairfield, and it works nicely for little stuffed animals. It'll make it nice and firm. So, I'm going to go ahead and kind of pull it apart. And I'm going to stuff the tail first, just cuz it's the small part, and I can kind of see how much I'm going to need to stuff in there to get it to fill. So, you can use your point turner for that as well. Sometimes I use my little stiletto to get it shoved in. So with the polyfill, you'll need to kind of break it up a little bit and push it down in there. Make sure that it's in nice small pieces as you're stuffing in to get a nicer finish. So, that's going to work. And then we'll just keep on stuffing it one little bit at a time. So, starting with the tail, then I'll head back to the other fin and work my way through his body. Okay. So now I'm just about stuffed with him full. His tail is going to need a little bit more. And I'm kind of going to sew some shut. And then I'll stuff more in there so that it's the same thickness. Okay. So I'm going stuff a little bit this direction. Then I'll start sewing it and stuff some more. Okay. So push this in here. Then I've got a hand sewing needle that I'm just going to go ahead and I'm going to ladder stitch this closed using the printed line as my edge so I know exactly where my seam allowance is supposed to be. All right. So I've got it double threaded through the needle here. So I've got two threads knotted at the end. And I'm going go ahead and I'm just going to do a little ladder stitch here. I'm going to start up at the top I guess near the front. I'm going to stick it through up here. And I'm going to try to grab the seam allowance so it'll go through a couple of layers. And that will make sure that the knot stays in a little better. Sometimes the knot can pop through if that knot's not too big. Okay. And I'm just going to come over and take a little stitch down the side right along that printed line. Oops. Oh, I got it again. There we go. Then I'll come back over here. Taking a stitch on this side. just kind of go back and forth creating this little ladder sort of look where the stitch gets its name. Then I go ahead and pull it nice and tight. So at this point I can shove this in. Make sure it's nice and tight in there. I add a little bit more stuffing in here. I kind of do that last fill as I'm going just to make sure that it stays nice and full. Okay. Okay. So, now I've got just a little bit of space. I'm just going to try to stick a little bit more stuffing in there. Just a tiny bit at a time. Keep my string out of the way. At least I'll try to. And now I'm just going to go ahead and I'm going to sew this the rest of the way. Make sure that's nice and tight. And take the last few stitches that I need to do. Okay. So, as I get to the end here, all of these stitches that I've taken have been nice big stitches to get me across that turning gap quickly. So, I'm actually going to go back through here. And I'm going to do the same thing one more time just to give it a little bit of strength so that if I were to give this to a little one who's playing with it, it wouldn't pop those stitches quite so quickly. So again, they're sort of big stitches, eighth inch to quarter inch stitches, but just going back over it one more time, just to secure it very well. Okay, so as I get to this end, I'm going to pull it real nice and tight. I'm just going to do a little knot in here. pull it. Then I'm going to go ahead and I'm going to take another stitch and I'm going to do the same kind of knot again. Do it one more time right there. And I'm going to go ahead. I'm going to stick my needle into him and come out the side somewhere and [snorts] bury that thread inside the body. There we go. Clip it off. Got a cute little whale. And there we go. There's the little whale stuffed animal. So, this is just one part of the Just Keep swimming kit. So, make sure you check out the other tutorials for the quilt and the playmat that go along with it. Thanks so much for joining me. Hi everybody, it's Jenny from the Missouri Star [music] Quilt Company. We hope you enjoyed watching this video. If you aren't already part of the Missouri Star Quilt Company family, be sure to subscribe so you won't miss a thing. And if you click that bell, it'll notify you every time a new tutorial comes out. See you next Friday.

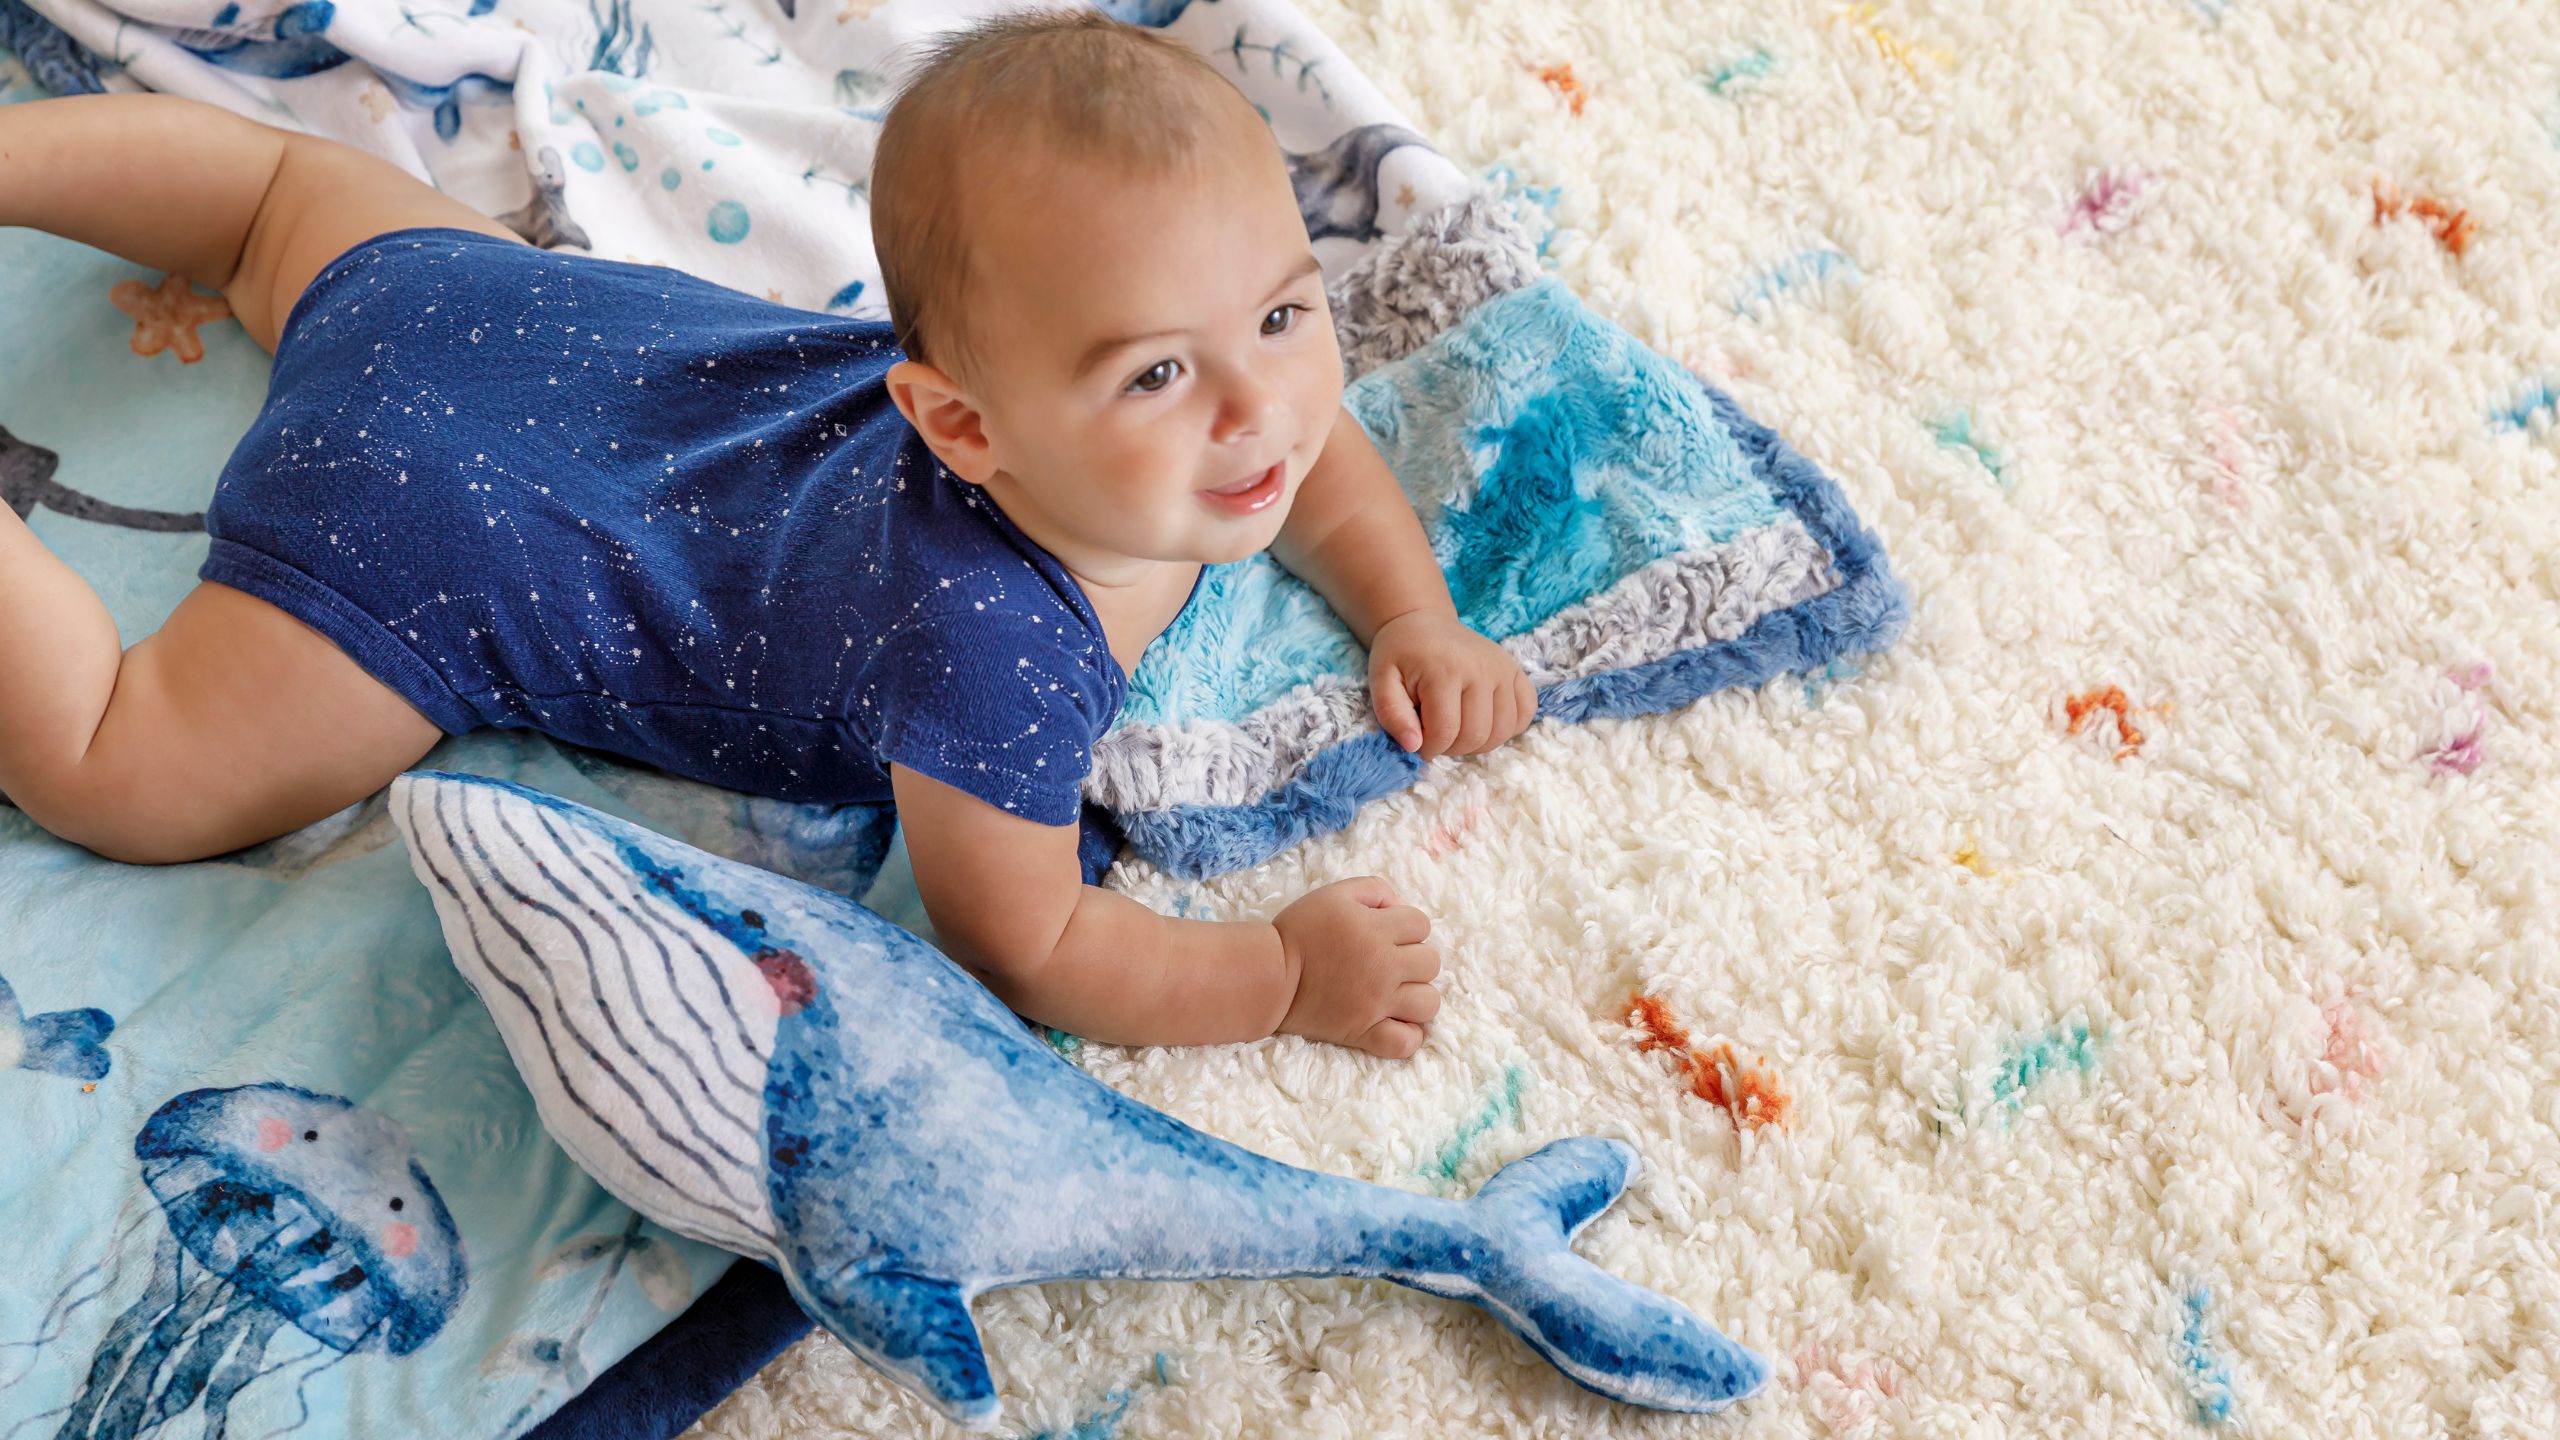

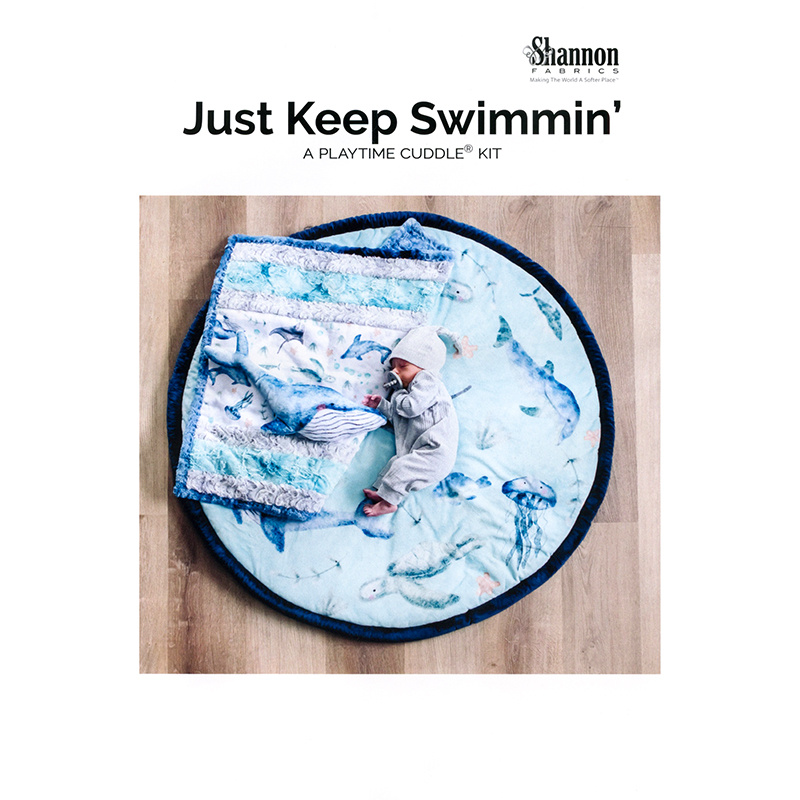 Cuddle® Kit - Play Time Just Keep Swimmin'$86.95Shop →
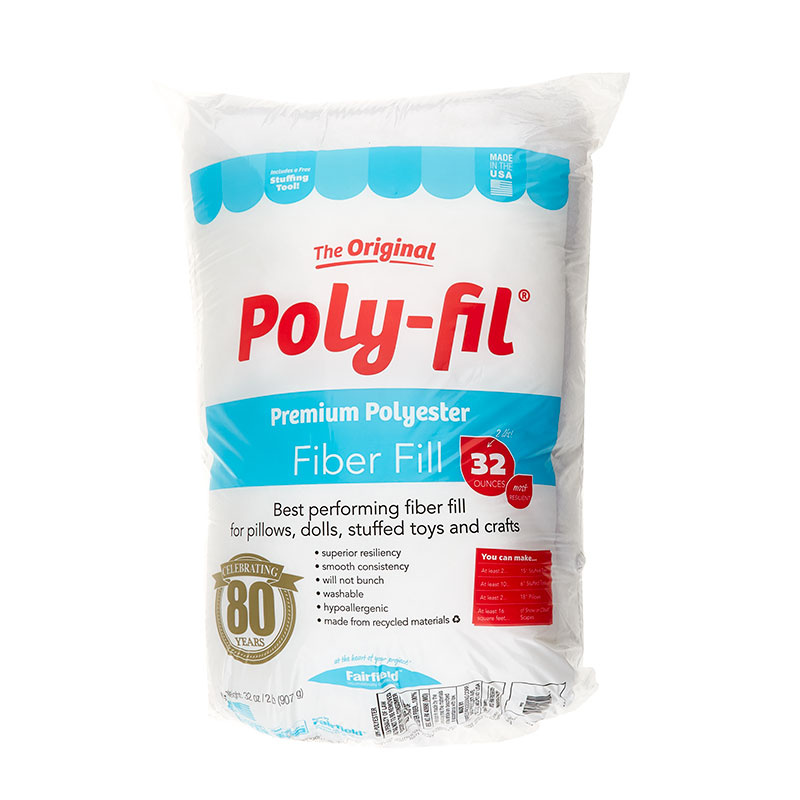 Poly-fil Fiber - 32oz$18.45Shop →
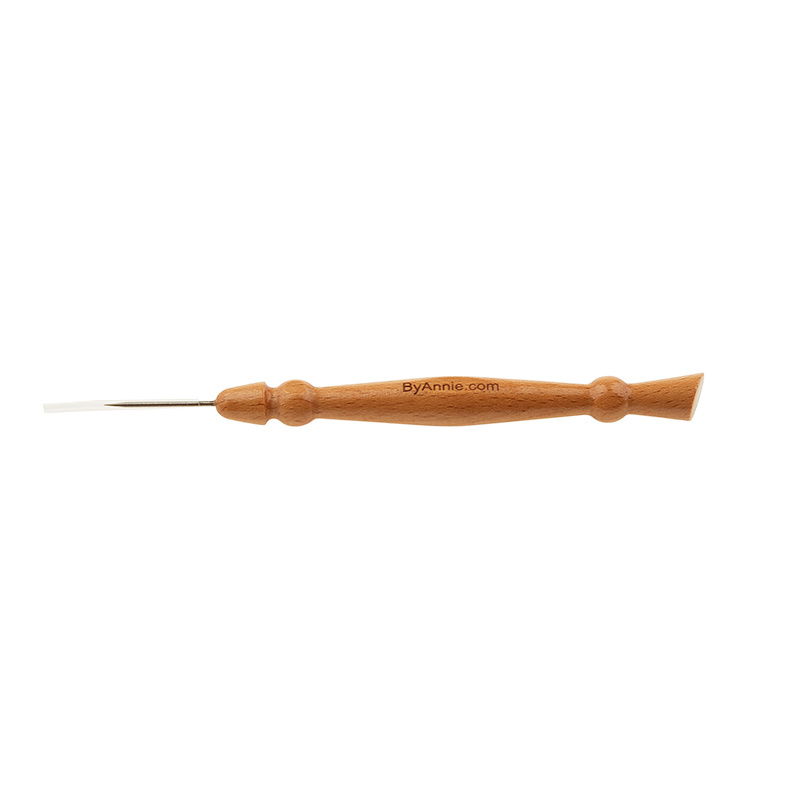 ByAnnie Stiletto & Pressing Tool$19.45Shop →
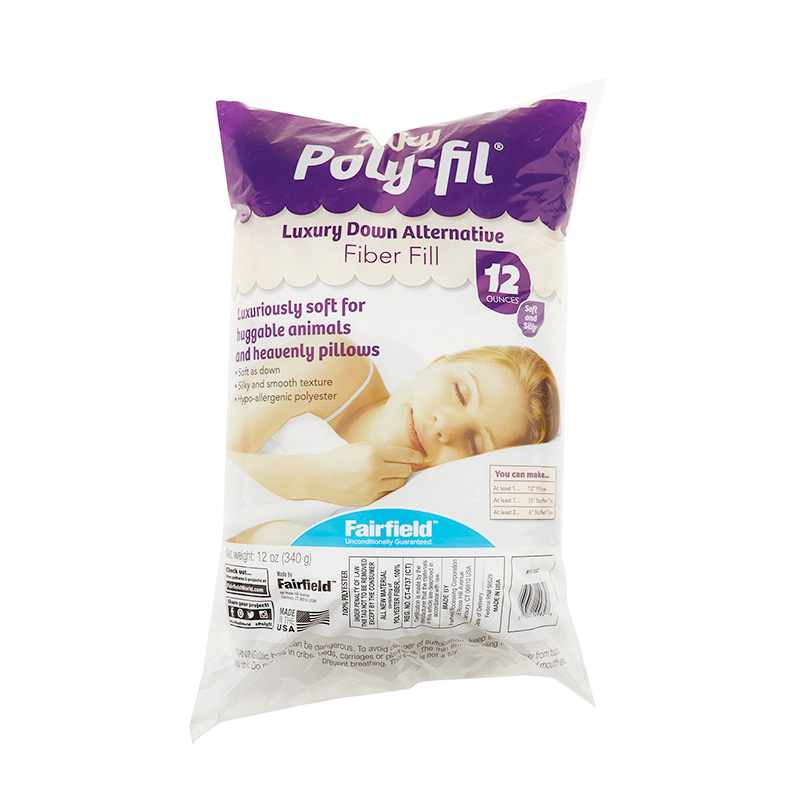 Silky Poly-Fil - 12oz$13.95Shop →
 Missouri Star 6" X 24" Ruler$25.95Shop →
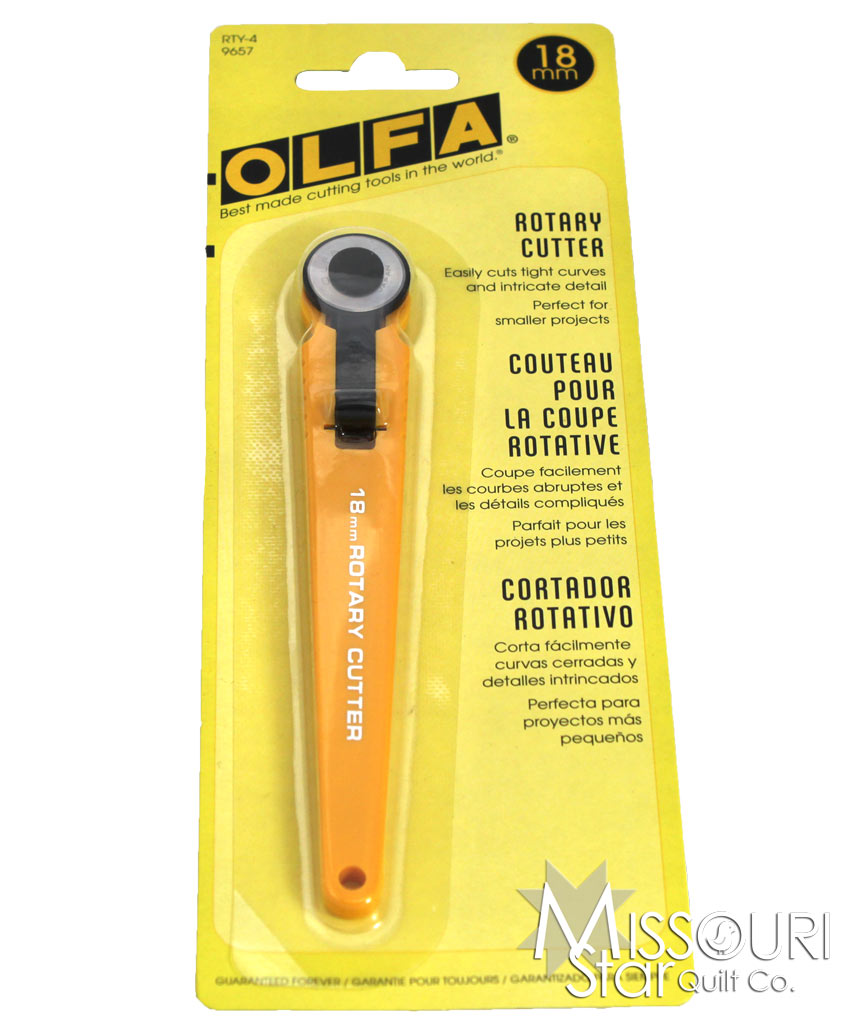 Olfa 18mm Stick Rotary Cutter$14.75Shop →
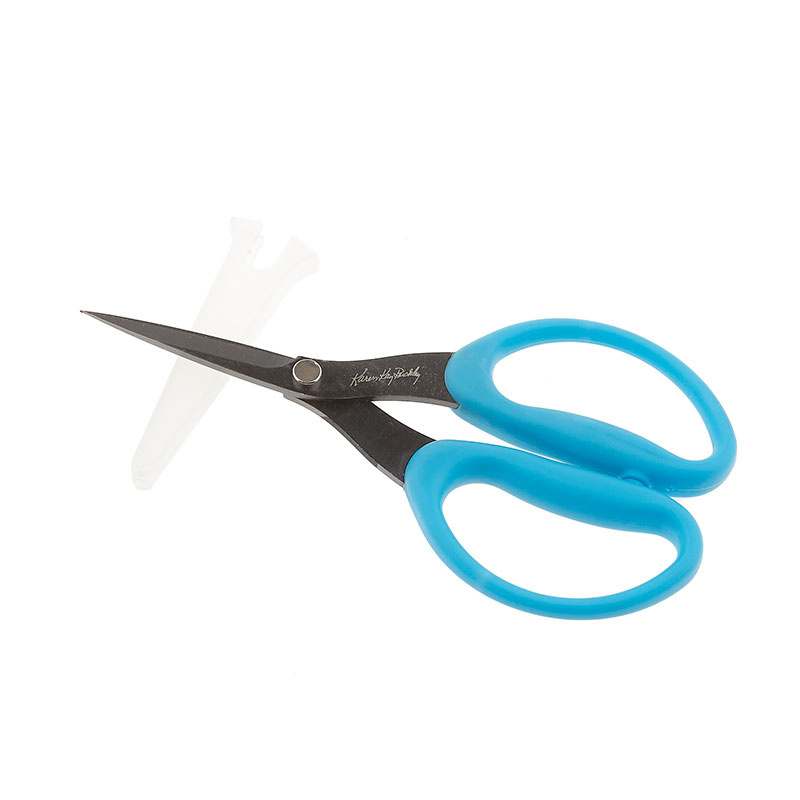 Perfect Scissors 6" Medium$29.25Shop →
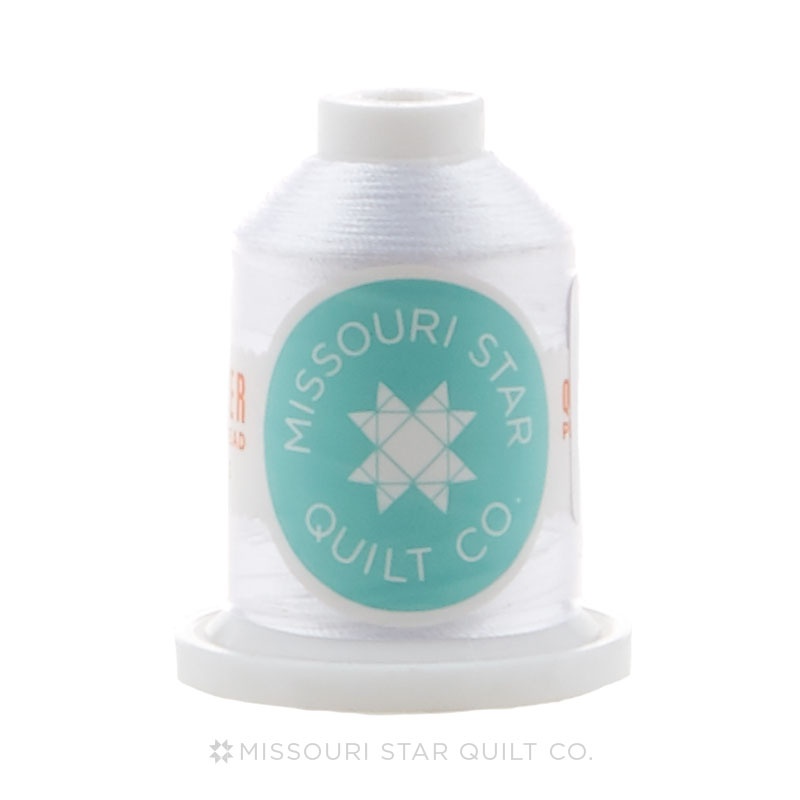 Missouri Star 40 WT Polyester Thread White$7.45Shop →
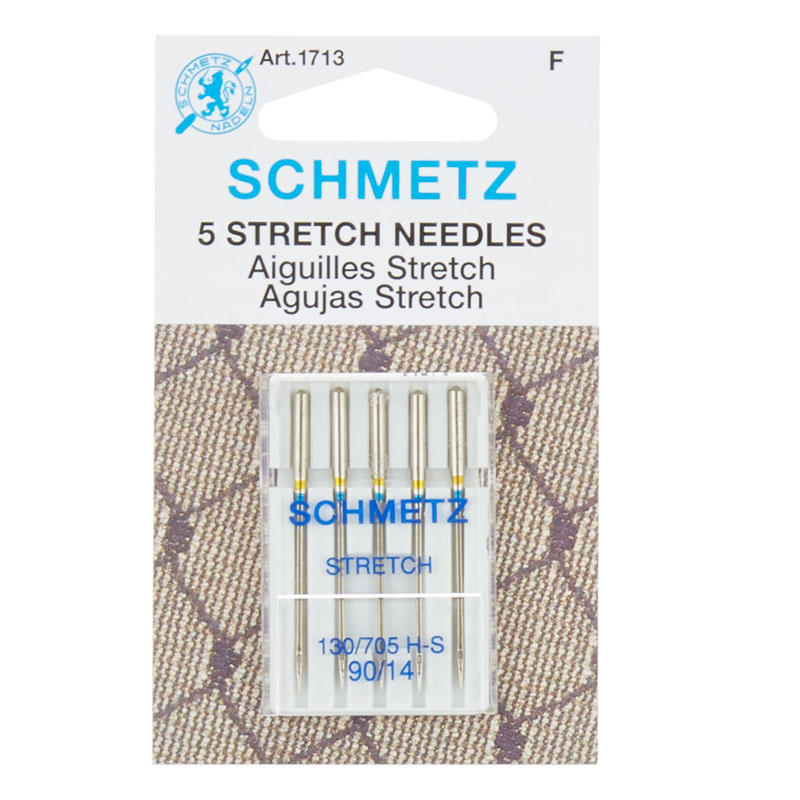 Schmetz Stretch Machine Needles$5.75Shop →
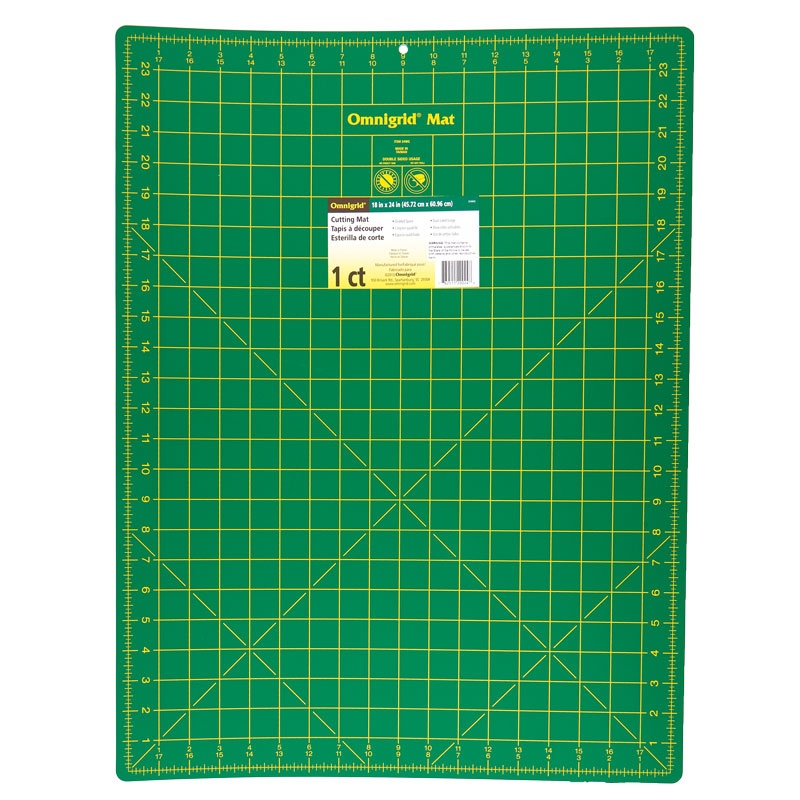 Omnigrid® 18" x 24" Cutting Mat$35.45Shop →
 Flower Head Pin$13.75Shop →
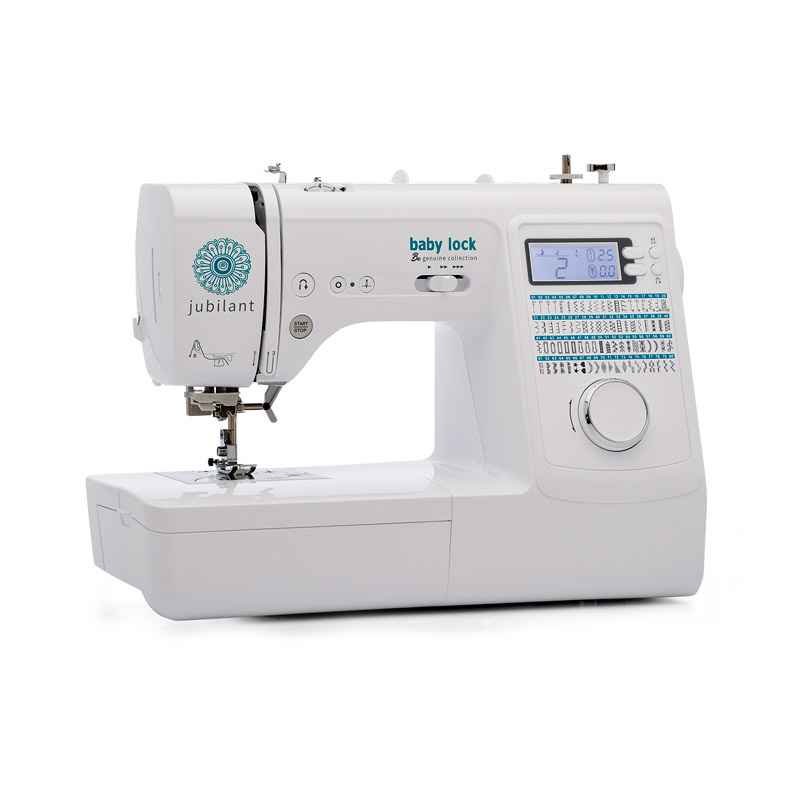 Baby Lock Jubilant - 80 Stitch Computerized Sewing Machine$599.00Shop →
 Olfa 45mm Deluxe Ergonomic Rotary Cutter$33.95Shop →


