
How To Make A Little Friends Quilt - Free Quilting Tutorial
 Jenny Doan
- Layer Cake
- Modern
- Lap / Throw
- Beginner
- Quilt size 47" × 56"
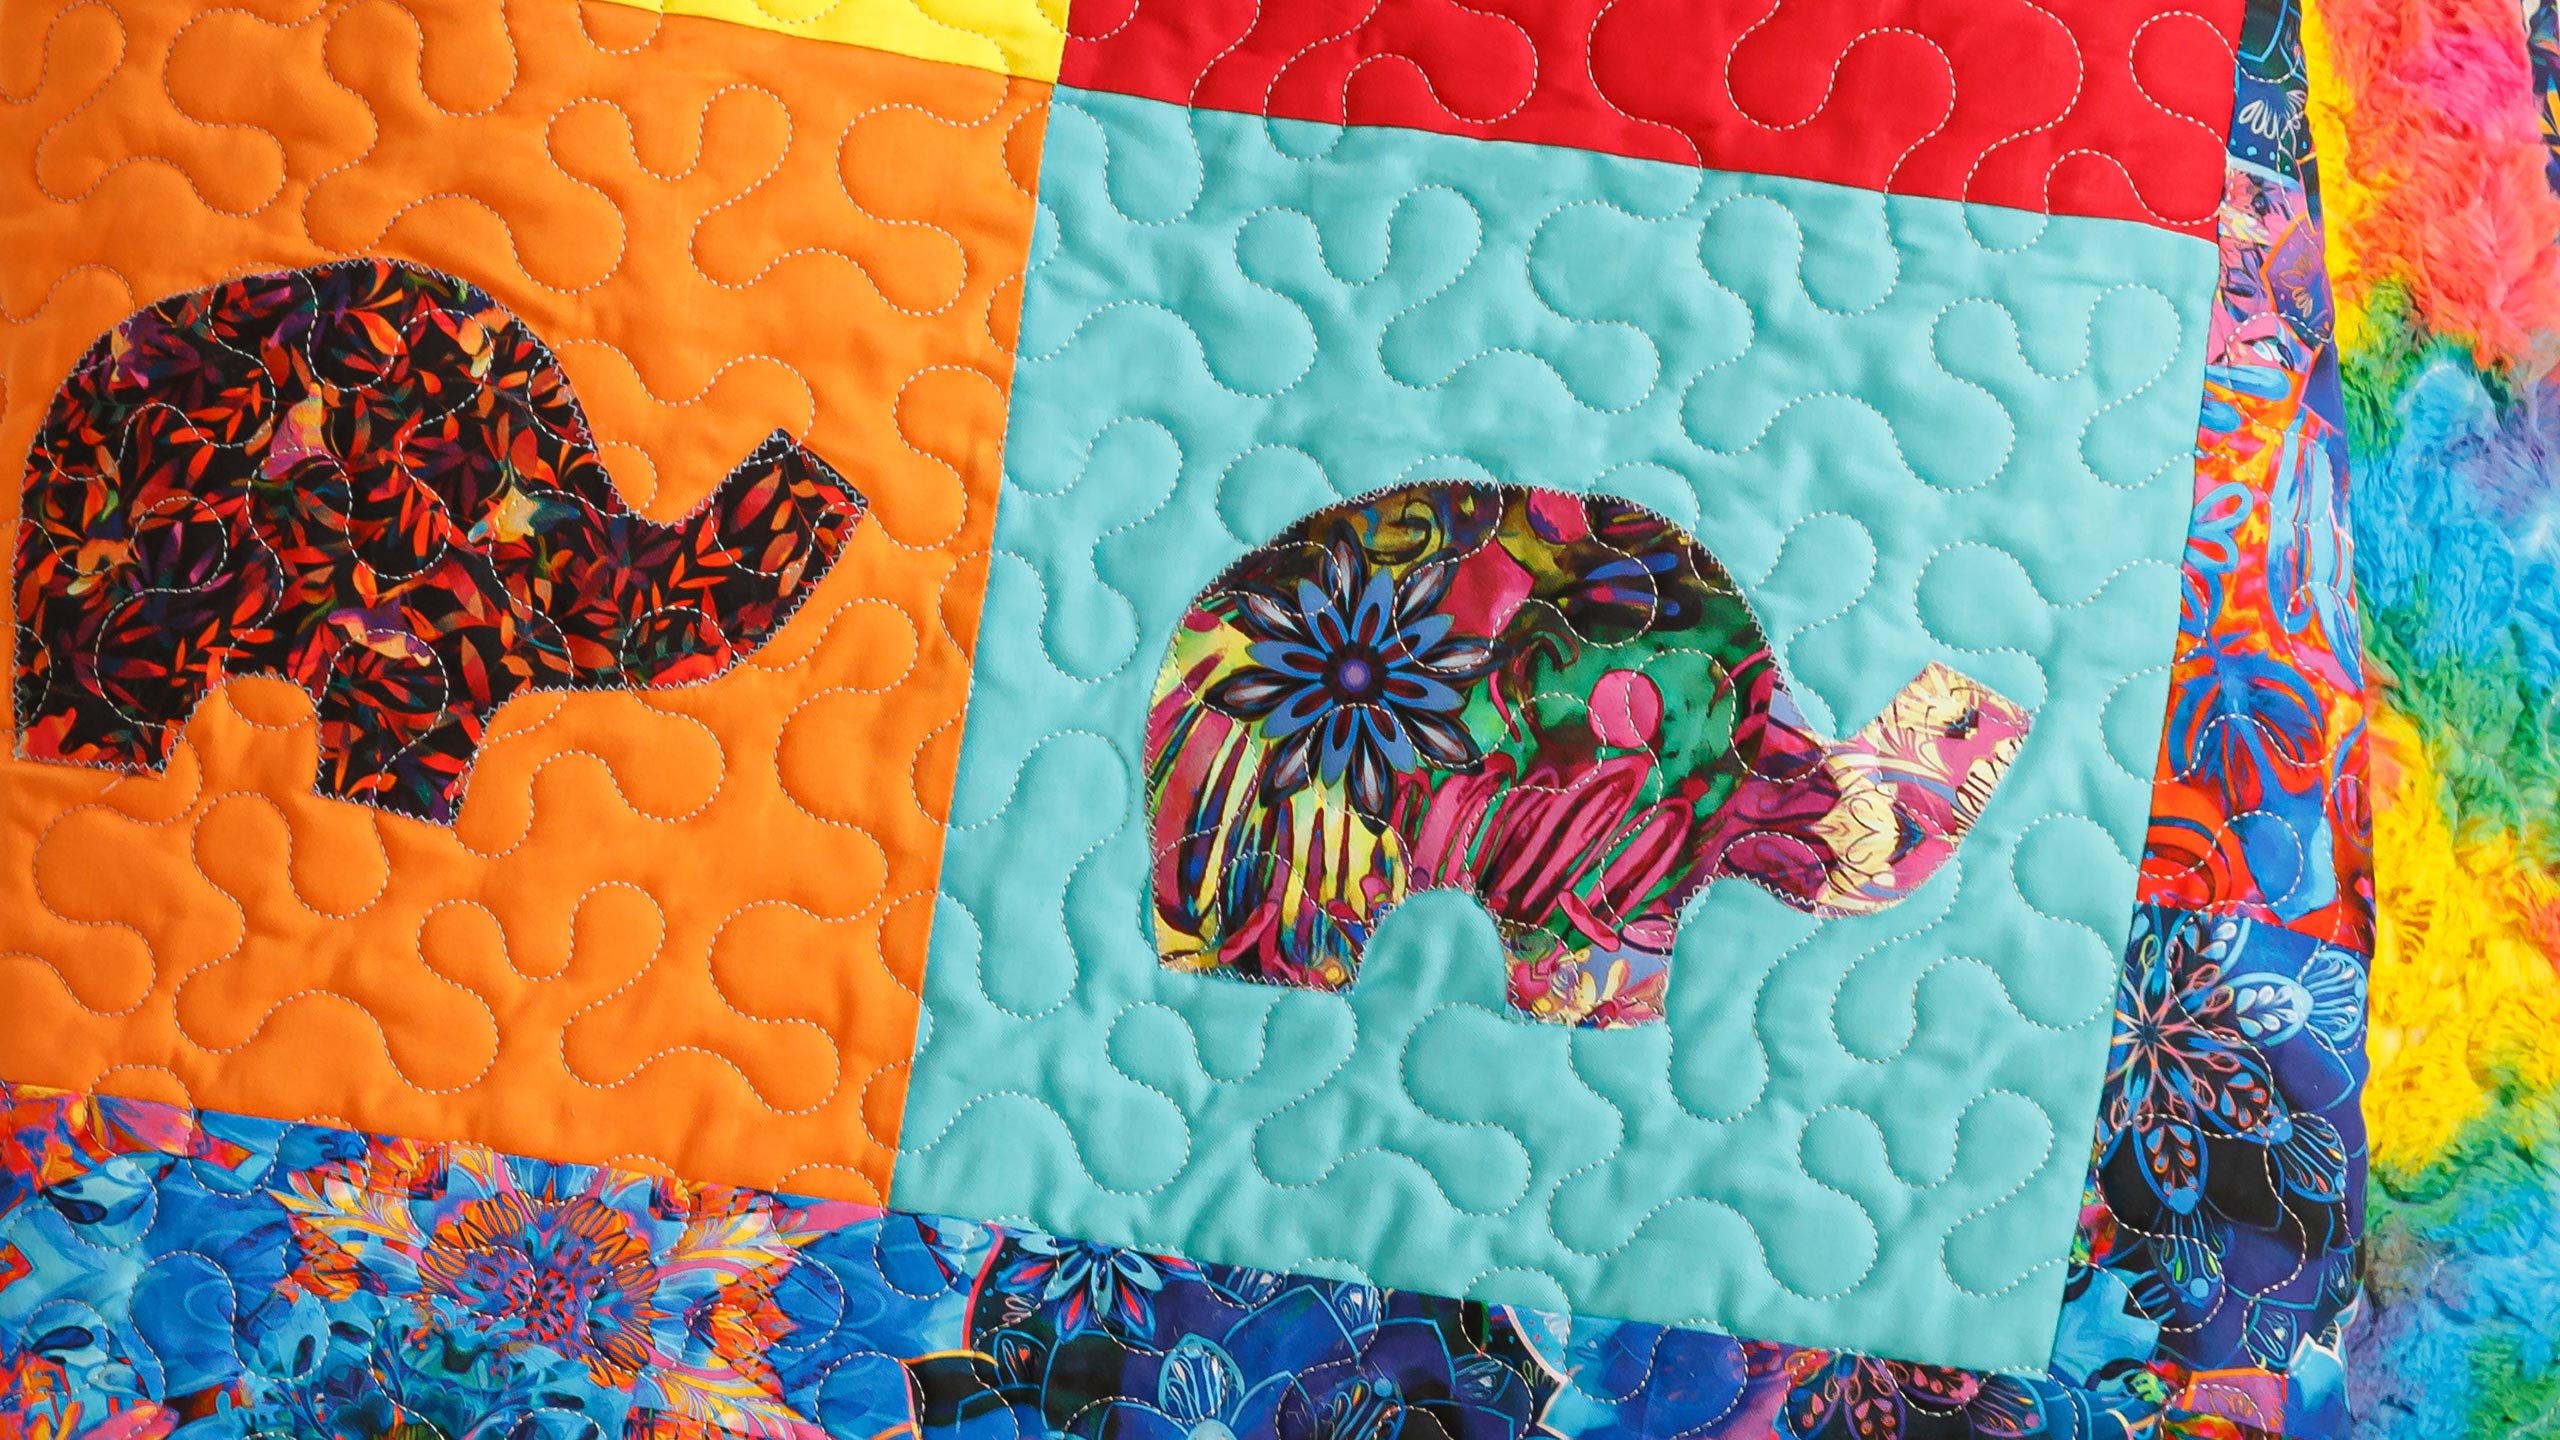
Quilting with children is like springtime gardening. We cultivate creativity, nourish confidence, and watch those skills sprout and bloom. This week’s Little Friends quilt is made with kid-friendly applique: Cut a simple shape - a dino, a butterfly, a heart - and adhere it to a precut layer cake square. Finish with a zig zag stitch, and your block is done. (Pro tip: Hand the creative reins to your child; you’ll be amazed at what they dream up!)
Instructor
Jenny Doan
Jenny Doan is an American quilter, author, and YouTube personality. Jenny started Missouri Star Quilt Company in 2008 and today it is the largest quilting supply vendor in the United States.
Shop this tutorial
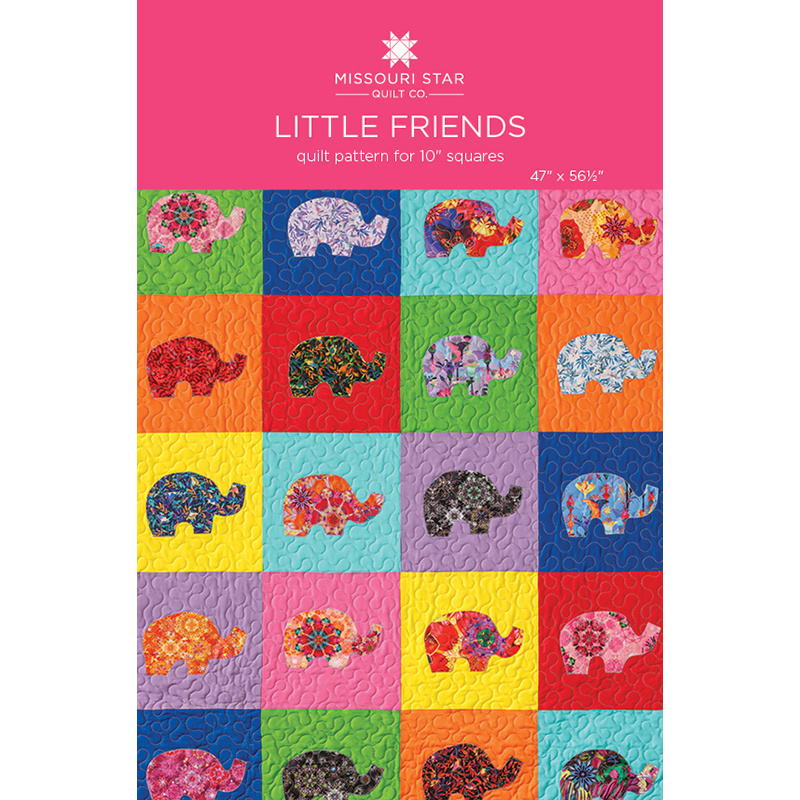 Little Friends Quilt Pattern by Missouri Star$6.96Shop →
 Digital Download - Little Friends Quilt Pattern by Missouri Star$4.95Shop →
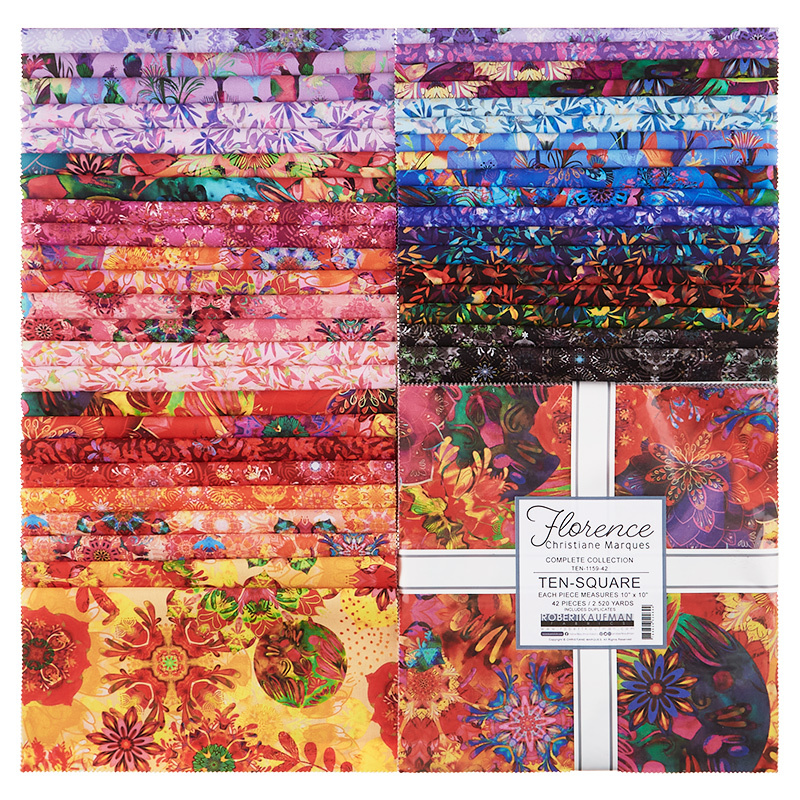 Florence Ten Squares$41.95Shop →
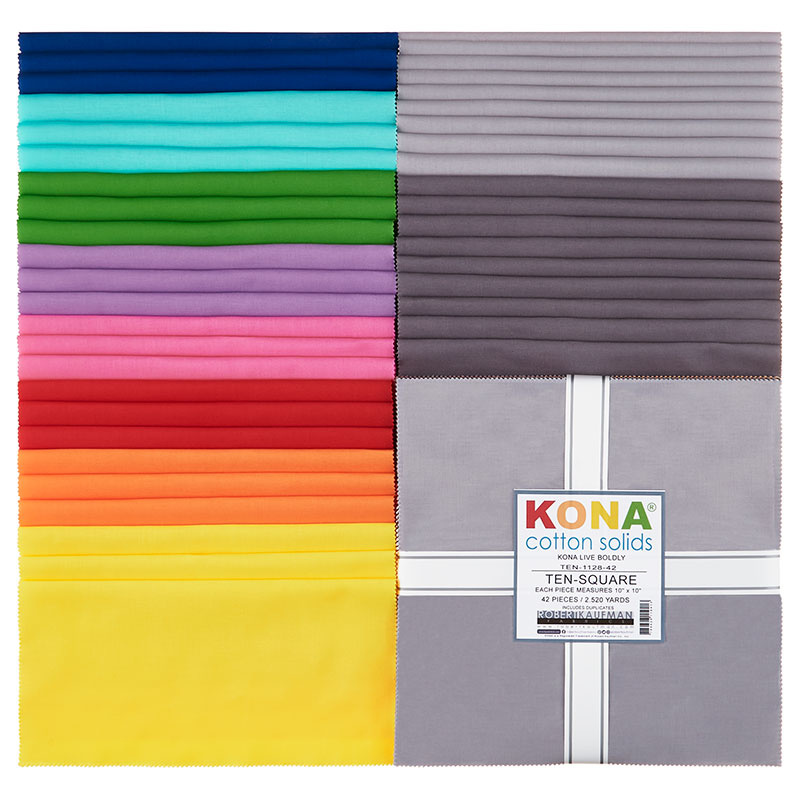 Kona Cotton - Live Boldly Ten Squares$30.95Shop →
 Missouri Star Sew Light Fusible Adhesive - 17" x 2 yards$4.95Shop →
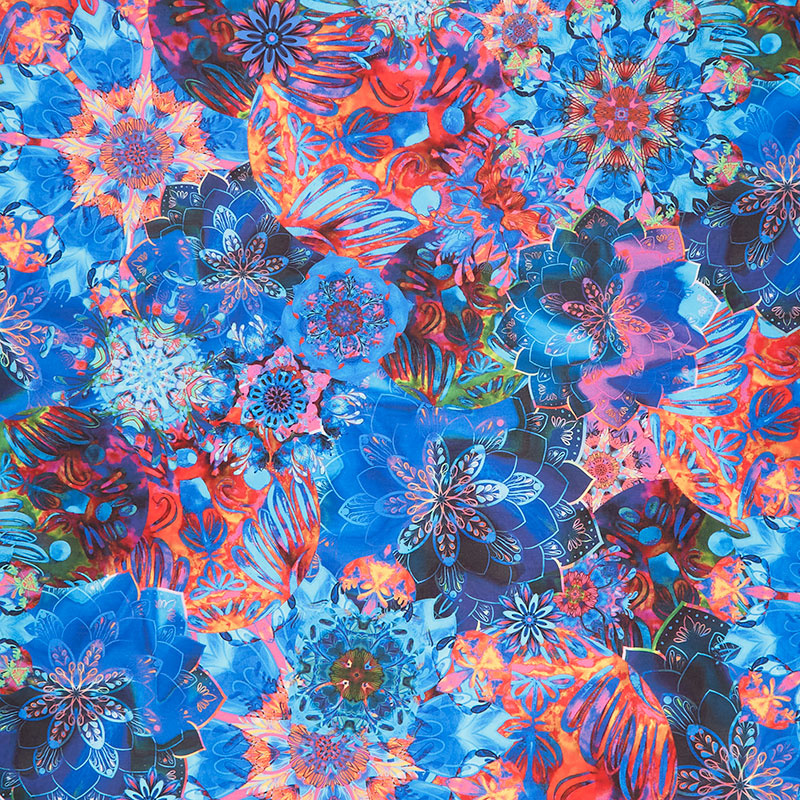 Florence - Large Medallion Blue Yardage$11.96Shop →
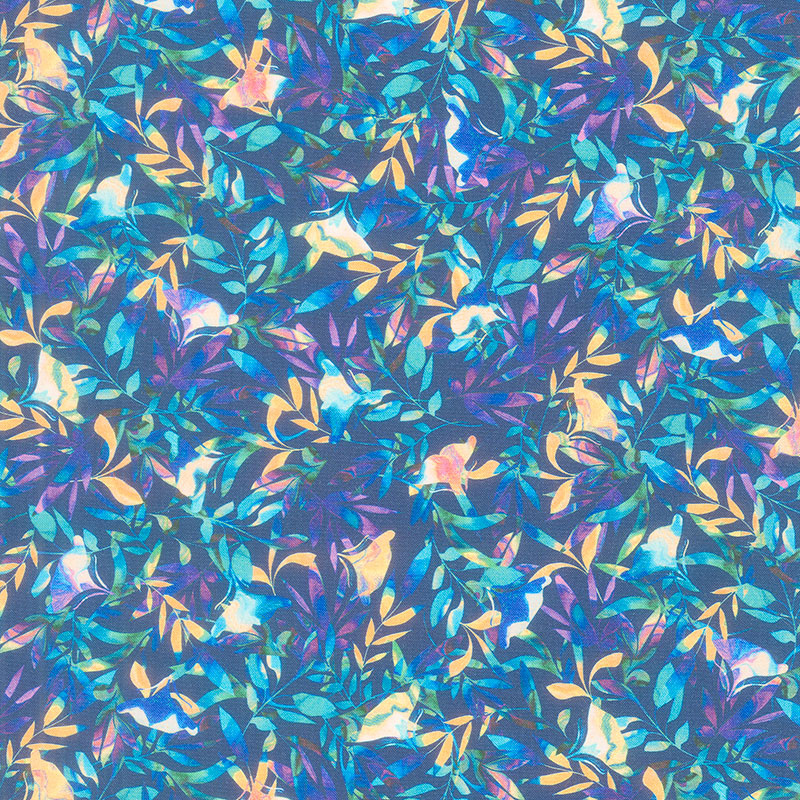 Florence - Leaves Navy Yardage$11.96Shop →
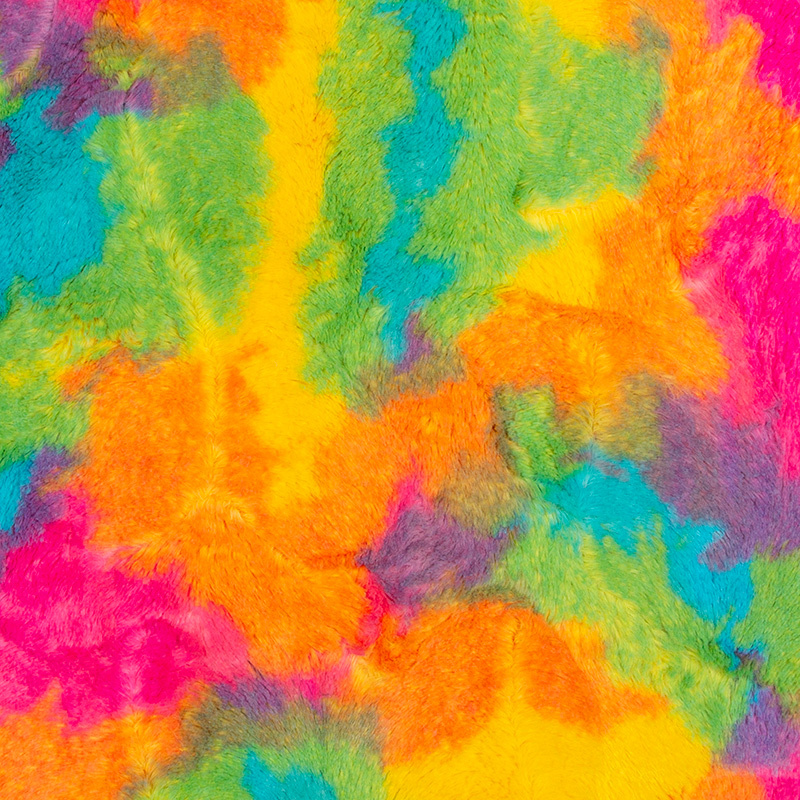 Luxe Cuddle® - Sherbet Vibrant Minky Yardage$19.95Shop →
Common Questions
What is covered in How To Make A Little Friends Quilt - Free Quilting Tutorial?
Quilting with children is like springtime gardening. We cultivate creativity, nourish confidence, and watch those skills sprout and bloom. This week’s Little Friends quilt is made with kid-friendly applique: Cut a simple shape - a dino, a butterfly, a heart - and adhere it to...
How long is the tutorial video?
The tutorial video is 00:11:17.
Are supplies listed for this tutorial?
Yes. The tutorial page includes the supplies and materials connected to this project.
Is a transcript available?
Yes. A written transcript is available on the tutorial page.
Video Transcript
Hi everybody, it's Jenny from the Missouri Star Quilt Company and I've got a fun project for you today. Today, we are talking about teaching children how to sew and how to get them excited about the process. And so I hope you'll enjoy this tutorial I have planned for you. Let's take a look at the quilt back here. This is a super easy quick quilt that any child can make and I'm going to show you how to do that.
To make this quilt, you're going to need one packet of 10 inch squares and we have used Florence by Christiane Marques for Robert Kaufman. You're also going to need a packet of background squares. You're going to need some border, about three quarters of a yard. You'll also need some Missouri Star Sew Light fusible adhesive. Our backing is three and a quarter yard, and you're going to love this backing, look at this. This is the cuddle backing, but it is just all the colors. It's just so fun. This quilt is going to end up being 47 by 56. We used a little stipple on it just to keep everything down and I'm going to show you how to make this.
When you're teaching children how to sew, you want them to not work very hard for a big wow at the end. And I have a little granddaughter, Ella, and one of the sweetest things that happens to me is when my little grandchildren decide they want to learn how to sew and they come and find me. And I want to show you Ella's little quilt. I think 10 is a great age to start. And Ella made this quilt when she was 10. And you can see it's been loved and worn and was with this little elephant right here. And Ella has always loved elephants because her name is Ella, I guess. And it's just cute and worn.
And we did several things when we made this quilt. One was we picked a layer cake and I had her separate the lights and the darks so that she would learn to color value. The other thing you're going to want to get is a coloring book. That's what I use. I just go to the dollar store and find the youngest one I can find, because in the younger books are the bigger pictures, and that's what we want. We want them to put something on their block that they love. It can be anything. It doesn't have to be an elephant. It could be a ball, a dinosaur or something. But the younger the book, the bigger the picture. And the bigger the picture, the easier it is for those little hands to manipulate it. We actually found a little elephant in a coloring book and we've included that elephant in your pattern, a little printable right here, but you can obviously put anything in there that they like. Because if the quilt is something they like, they're going to love it.
When you're teaching children how to sew, you want to make sure that they can control the fabric going under the sewing machine. And so what I do is I get some paper and I draw some lines on it and then they have to follow the line. I take out all my thread. There's no thread involved and they just have to follow that line. And you teach them where to put their hands so it's not too close to the sewing machine. And you just let them follow the line and practice until they can stay on the line. Put some of those lines on the edge of the paper so that they can practice that quarter of an inch and get really good.
When I was teaching Ella, I had to actually slow the machine way down. She couldn't sew on my fast machine, so we had to get a machine that had the speed control on it. And we were able to slow it way down and she was able to just carefully sew through and get it done. Because basically with this type of a quilt project, you're just sewing straight down a 10-inch seam. And if you can sew it straight for this far, you can make a row. And so that's just a little tip on teaching children.
My background pack had both colors and grays in it. And so I decided that this colored pack was so colorful that I wanted to use the color ones on my quilt. And so I got some that were just a little contrast so we could see the elephants. And then I pulled out one of my colored packs here and I'm just going to grab this one right here. It's a blue.
And so now you have your two colors. And you can see that you'll be able to see the elephant on there. Talk to them about contrast. Talk to them about how those levels work when you're putting a quilt together, that you want to be able to see what you're putting on there and do that.
I have one here that's just white, but this is our little elephant that we're going to get. And you're going to need this fusible. And I have traced this on here like this. And what I did was I had Ella get her pencil, because you can see right through the paper, and she sat and traced all around this elephant.
Once you've decided on your pattern, you're ready to start tracing it and you're going to need some heat and bond and you're going to lay that underneath here. Now, this was a job I had Ella do. I just let her go ahead and trace around these elephants. And you're going to want to trace every one. Now, I believe there are 20 squares on here, four by five. Yes, 20 elephants. This is going to keep your little ones busy for a while. And they're just going to trace 20 elephants just like this. And they don't have to be perfect. Every one can be a little different, and that's totally fine.
And then what I do is I go ahead and I cut this out and I leave some area around it. We don't want to cut it out really good right now. Again, this is another thing they can do. They just cut it out, leaving the big paper around it. And then what we're going to do is we're going to put this on the back of our paper. Now, we've already reversed your elephant. If you decide that you want some elephants to go this way and some to go that way, you will have to flip your paper over and draw on the other side. But what we're going to do now is we're going to iron this on here, and you can see it does not take the full 10-inch square. It just takes a little bit of it.
Now that it's fused on here, you can go ahead and cut it out. Now, it's way easier to cut this out when you're cutting on the paper versus just the fabric. I'm not sure why that is, but it is. Now, you'll see as I cut this that I have quite a bit of fabric left, and I'm just going to put that in a pile over here for something else I'm going to show you later. You can see I didn't do a great job tracing these, but as we're cutting these, we're just cleaning up those lines and we're going to put this on.
Then what I do is I'm going to look at how it looks on my square, and I'm going to find the center of my square by finger pressing this way, and finger pressing this way. And then opening it up, finding my middle, and then I will peel the back of my paper off. And I just roll a piece of it back and it just comes right off so easily. And then I'm going to put it back in the middle here and just eyeball it. Obviously, there's a little more trunk on this end than the other, so I'm going to center it up a little better. And I'm just going to press that on.
And then I found a nice little zigzag on my sewing machine, or a nice little applique stitch. A zigzag is going to be easier for the kids. And I just had them slowly start sewing around it. All they're doing is following the line. They can straight stitch if they want to. The zigzag seems to catch it all. But there were several where Ella completely missed the back end of the elephant. She goes, "What do I do?" And I said, "You just do it again." And so she would sew over it, and some of those elephants have three or four rows of stitching around it. And to me, that just makes it more charming. I don't ever tell them they're doing a wrong thing. We just show them how to do it better and how to get better in practice. And so she would get better and better. And she still looks at that quilt and says, "I can't believe I made that." It's just so much fun to do that.
Once you get your elephant all sewn on and do your top stitching around them, your applique stitching, do that before you put the squares together. Because then we're just ready to sew squares together. And you're going to start them two at a time like this, and they're going to turn them over. And it probably is a good idea to go ahead and put some pins in here. And when you pin, you want to show them. When you pin, you want to pin back away so that you can have the pins still in there and not be in any danger at all of your needle running over it. And so then they're just going to sew these two together.
They'll also sets of two, and that will take care of all of your rows. And so you'll sew this set and this set and then those two together. And then you have row done. And make sure you lay them out so you can see that you don't want too many blues in a place and you don't want too many this in a place. Well, we got the whole top put together for Ella, and then I said to her, "Now you need to go pick a border." And it was when we just had the one main shop downstairs, and she went out into the store looking for that piece of border, and she found a piece of fabric she loved that didn't even go with the rest of the fabric. And her mom started to say something. I said, "Uh-uh, uh-uh, this is hers." And so we cut out this fabric and we put it on, and it's still the same border and she just thinks it's amazing.
Then you're going to sew your rose together. And if I can just beg you to do one thing on the kids' quilt, the one thing, when they get this top together, what really makes it come alive and really makes it be a quilt is when you get it quilted. And so for me, and for Ella, that's what makes it this unbelievable thing that she couldn't believe she did. But you can see that this, on the other side of my fabric, I have a whole other piece on here. And because I only used the colored squares in my packet here, I had some gray ones left over. And so I went and got a few more grays and I made another quilt.
I wanted to show you just how different this looks. Same fabric, but a different background. This is the light and dark gray with the same fabric. And we had this fabric left over from our elephants. And so we just put this on. And I actually...
Speaker 2:
We do have some going the other way.
Jenny:
Yeah, I actually turned this row this way, and these are all going the other way. I just wanted to show you some options for things that you can do, but think in your head. This could be a soccer ball or a dinosaur or anything that the person you're teaching loves. And so it's just a fun, quick, easy way to make something that's really going to wow them. It's going to get their creative juices flowing, and it's going to help them want to carry on this legacy that you're going to teach them.
I hope you enjoy this tutorial on teaching little friends how to quilt from the Missouri Star Quilt Company.
Hi everybody, it's Jenny from the Missouri Star Quilt Company. We hope you enjoyed watching this video. If you aren't already part of the Missouri Star Quilt Company family, be sure to subscribe so you won't miss a thing. And if you click that bell, it'll notify you every time a new tutorial comes out. See you next Friday.



