

How to Make a Measure Once Cuss Twice Wall Hanging - Free Project Tutorial
 Misty Doan
- Fabric by Yard
- Wall Hanging
- Intermediate
- Quilt size 15" × 15"
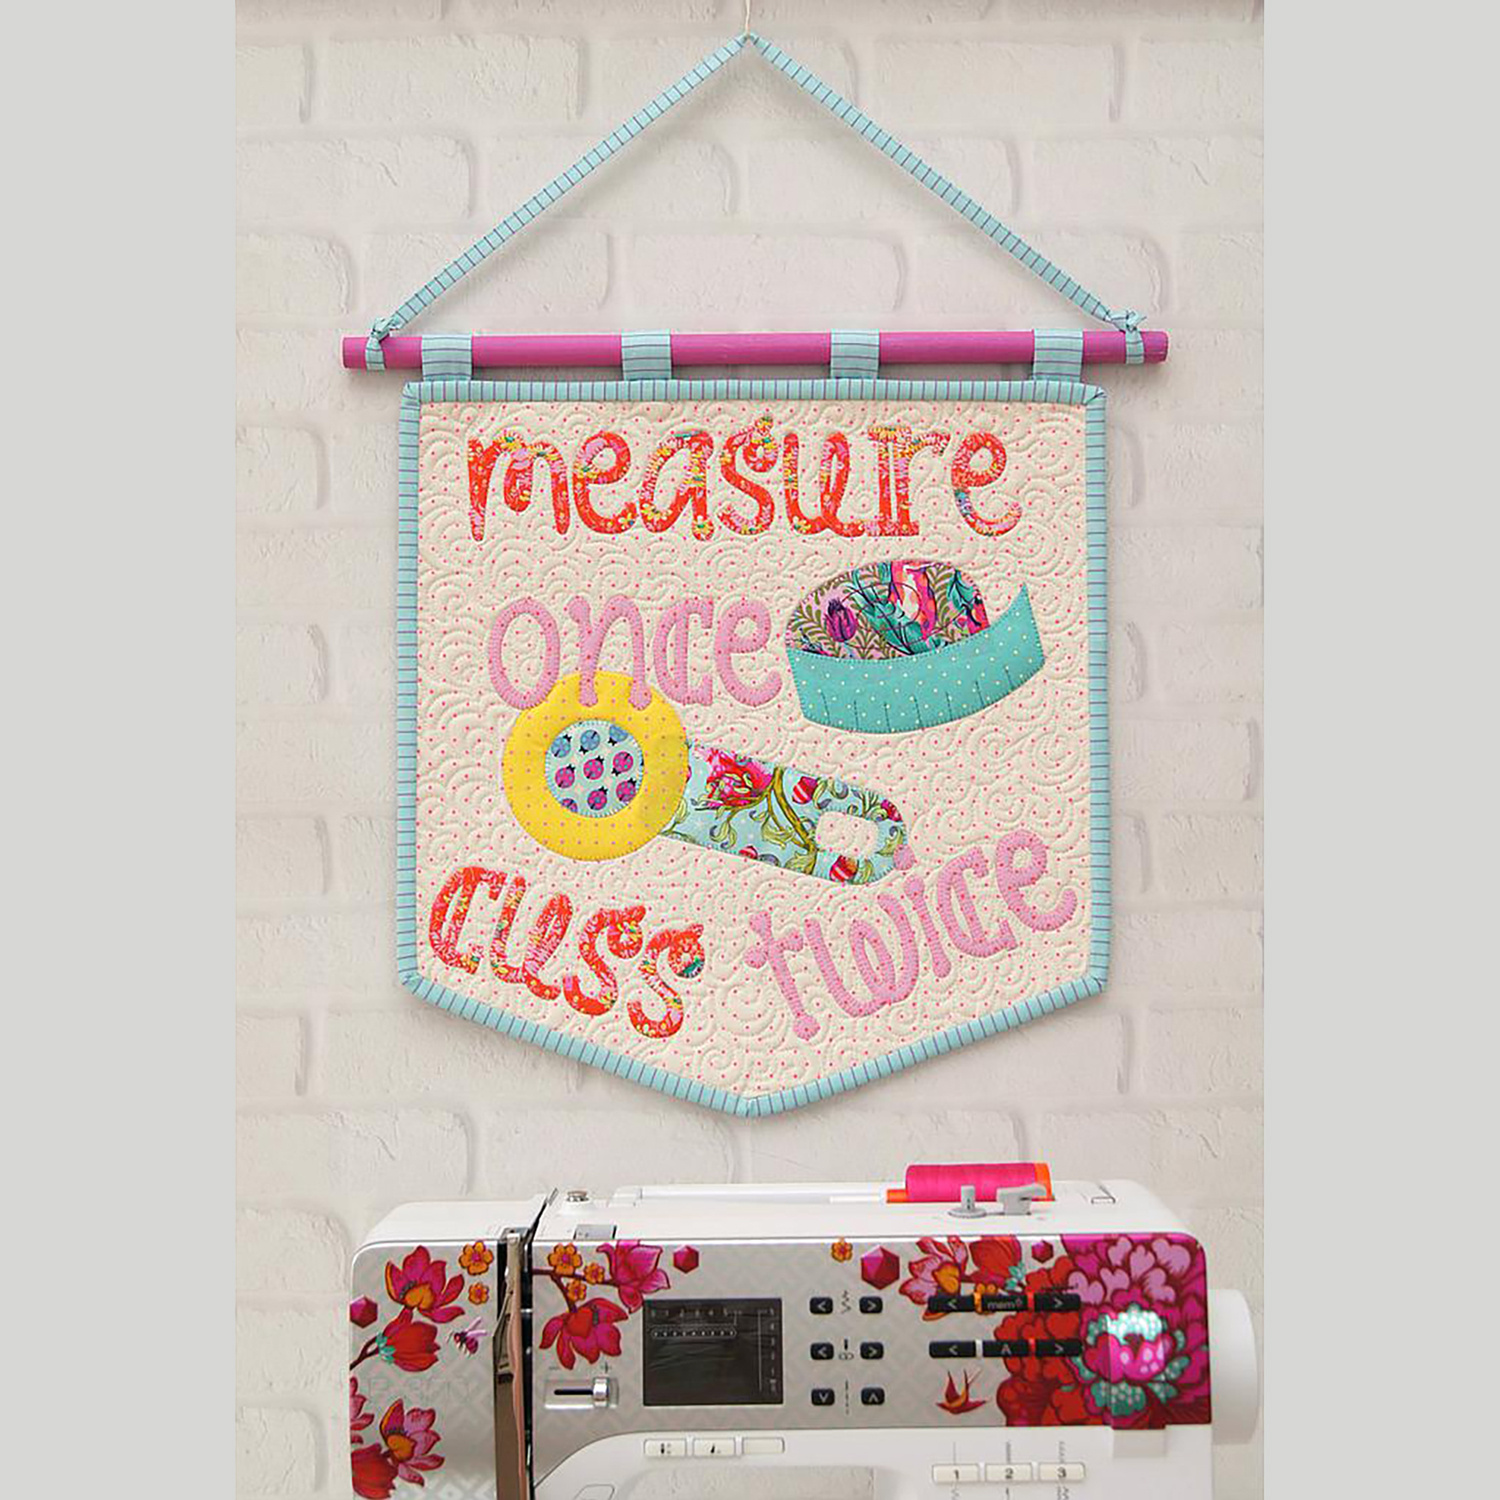
Have the bad habit of not checking your measurements? Remind yourself with this cute project. Follow Misty Doan as she creates the Measure Once, Cuss Twice banner. The project features an adorable rotary cutter and measuring tape duo with the titular phrase. This banner is a bright addition to any sewing room!
Instructor
Misty Doan
Misty Doan grew up surrounded by sewing and quilting. She loves spending time sharing tutorials each week each week, and when she’s not stitching up one of her fun sewing projects for home decor, most likely you’ll find her hanging out with her husband and three awesome kids or working on a house project.
Shop this tutorial
 Measure Once, Cuss Twice Quilt Kit$36.95Shop →
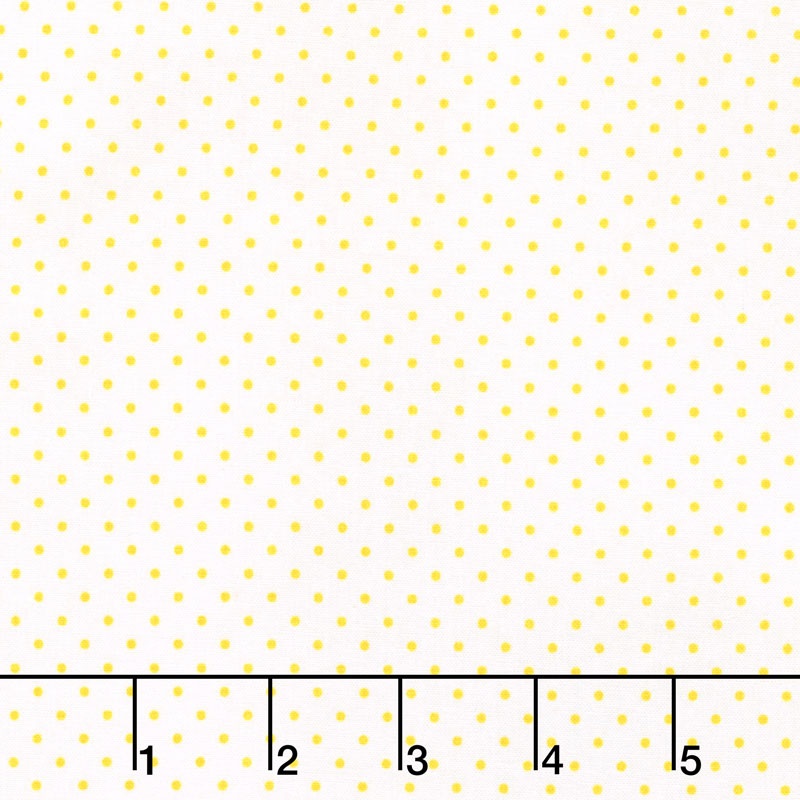 Swiss Dot - Swiss Dot Yellow on White Yardage$10.76Shop →
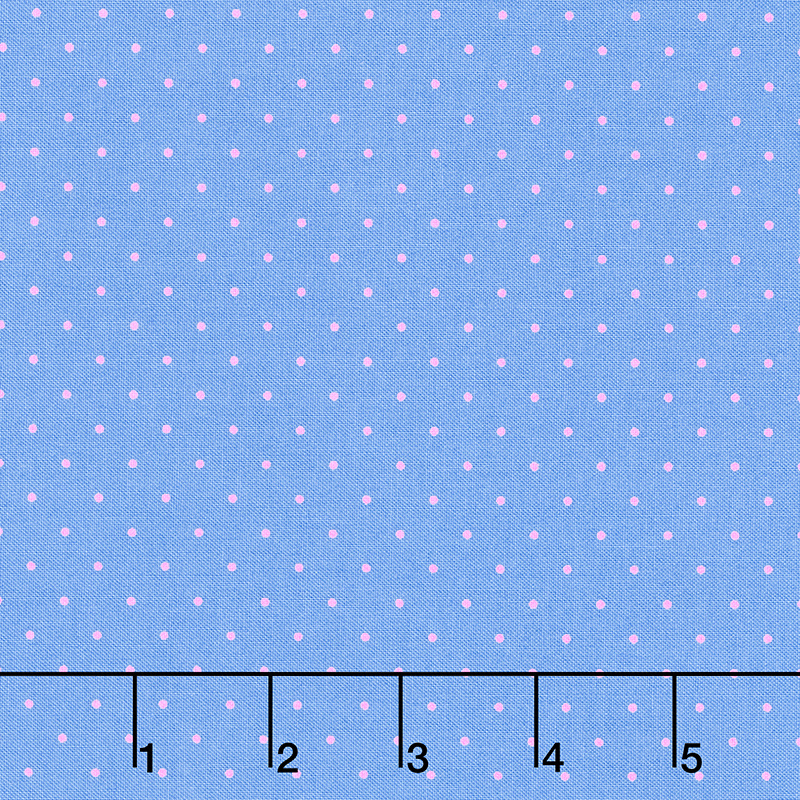 Tula Pink's True Colors - Tiny Dots Sky Yardage$11.96Shop →
 Missouri Star Quilter’s Best Blend Crib Batting$14.45Shop →
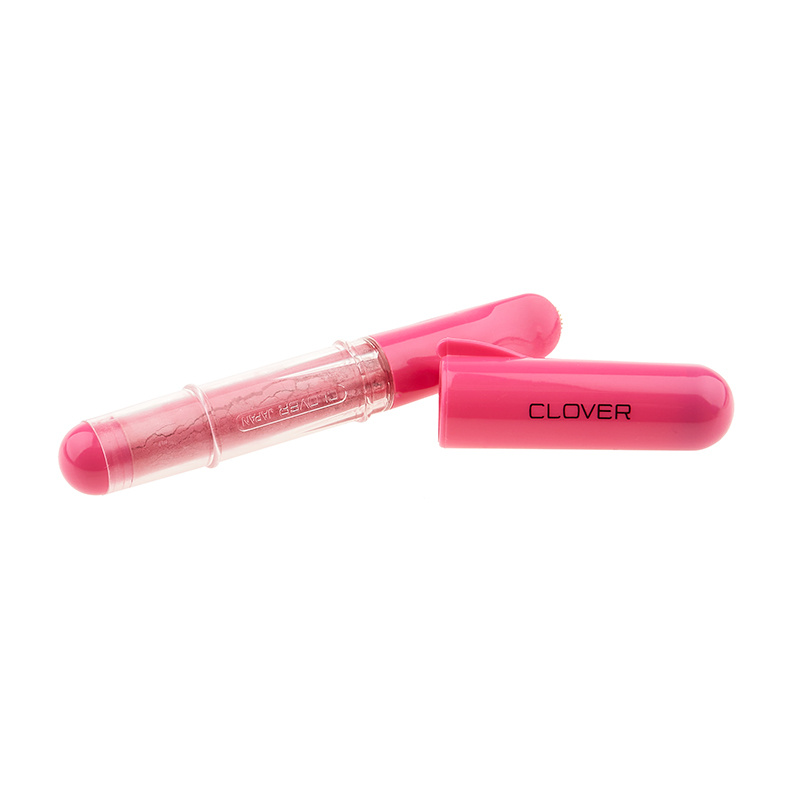 Clover Pen Style Chaco Liner Pink$9.45Shop →
 Olfa Splash Aqua 45mm Rotary Cutter$18.75Shop →
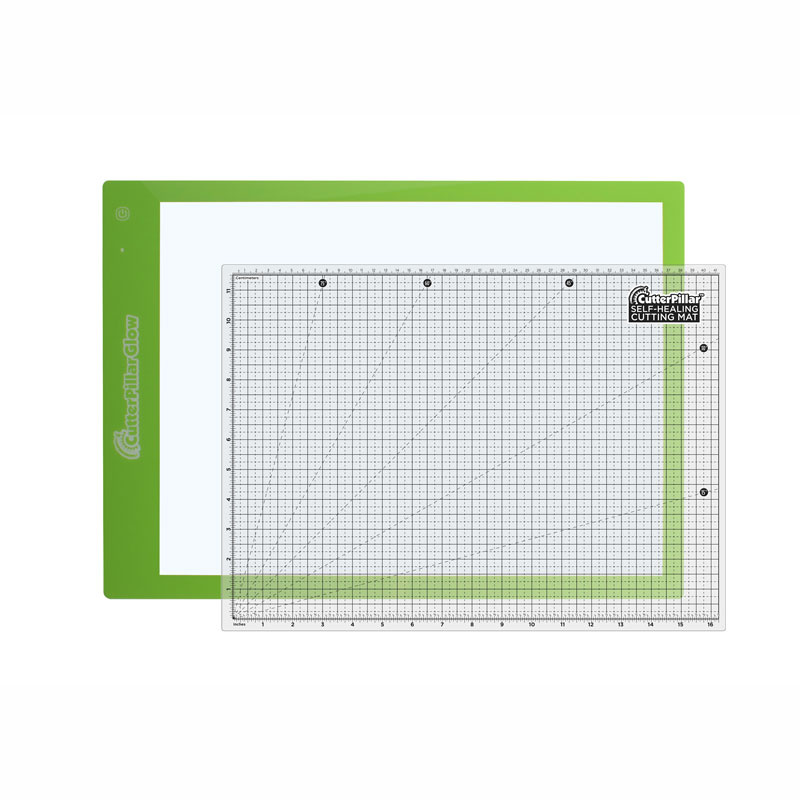 CutterPillar Glow Basic Light Board and Cutting Mat$119.95Shop →
 Exclusive Missouri Star Jenny TG1600 ProPlus Oliso Smart Iron$199.99Shop →
 Missouri Star Wooly Betty Board - 17.5" x 17.5" Aqua Border$88.95Shop →
 Missouri Star 5" x 15" Ruler$15.95Shop →
 Perfect Scissors$21.75Shop →
 Missouri Star 50 WT Cotton Thread Black$6.95Shop →
 Baby Lock Accomplish - 1500 SPM Straight Stitch Machine$999.00Shop →
Common Questions
What is covered in How to Make a Measure Once Cuss Twice Wall Hanging - Free Project Tutorial?
Have the bad habit of not checking your measurements? Remind yourself with this cute project. Follow Misty Doan as she creates the Measure Once, Cuss Twice banner. The project features an adorable rotary cutter and measuring tape duo with the titular phrase. This banner is a b...
How long is the tutorial video?
The tutorial video is 00:12:14.
Are supplies listed for this tutorial?
Yes. The tutorial page includes the supplies and materials connected to this project.
Is a transcript available?
Yes. A written transcript is available on the tutorial page.
Video Transcript
Misty: I'm super excited to make this with you guys! I want to introduce you to Jemima who was kind enough to let me teach this pattern so I'm going to turn the time over to her and you can learn a little bit more about her and her design.
Jemima: Hi friends! It's Jemima Flendt here from Tied With a Ribbon and I am so excited to have Misty and the team at Missouri Star showing you through how to make my Measure Ones Cuss Twice mini. This is such a fun mini quilt to make because you can very much customize it to whatever craft or whatever type of notions you most love. So I really hope
you enjoy watching and sharing and making your own Measure Once Cuss Twice Mini.
Misty: Thank you so much Jemima! I'm super excited to be teaching this. I will actually be using this laser cut kit from Laser Cut Quilts which takes out a lot of the steps. The pattern is included in here and like Jemima said if you want to customize that, you can just follow along with the pattern and it has all of the different varieties. This one just has Measure Once Cuss Twice.
So inside your kit, you're going to find your pre-cut pre-fused shapes and those look just like this. They'll come in a package and you'll also have the templates for your layout and your applique pieces, if you decide to make this again. So let's talk about the supplies you need. You're going to need a half yard of your background fabric - I use this yellow dot. You're also
going to need about a quarter yard of your binding, and I use this blue. And then you'll need about oh a little over a half a yard for your backing fabric just because we are going to quilt it, so you need a little bit of extra to hang over.
So now let me show you how to make this. So even a fat quarter of your background fabric would be plenty because it's just not a very big wall hanging. So I have a little bit larger than that here. So if you have a light board, this is a great time to use one. So let's go ahead and pull this in here and I'm just going to set my pieces on top of this. Hopefully you guys can see how easy this makes this. Now I can see my lines and I'm just
going to use my ruler. Because to start with, I am going to trace the outside shape of my template the little pennant. So I'm just going to use a whatever marking tool you prefer to draw those lines. We'll just work our way around. I'm going to make sure my fabric isn't shifting from my template as we go. But I like this combination of using the light board and the ruler to just keep everything lined up. And we will just mark this out.
You do just want to check and make sure everything is staying. It's great and it looks good to me. And right now we are only marking the outside edge - we're not worried about the letters and things that are in the middle because you can see that through here as well. But we just need to make sure that we know where everything is going will fit inside of where we'll eventually cut and so that's what this chalk line is for. This could be a pen or a pencil whatever you have. You're not going to see this later.
So there we go. Now I have that all marked out and we can turn this off. Let me walk you through using the pre-cut shapes. Alright so like I mentioned we are using the pre-cut pre-fused laser cut shapes. So what this does is it takes away all of the fusing the back of your fabric, tracing the shapes onto that fusible, pressing and cutting. It skips all of those steps!
So this is how those pieces come in the kit. So you can see some of the larger ones are on their own and that you don't have to do anything else to those. Some of these smaller ones like our letters come in a sheet and they have little sections that you're going to have to snip apart. You
do not want to try and pull them out of here because it will snag your fabric. And so you just kind of go through with your scissors and just trim these apart. I like to do this when I'm sitting down watching a movie or something because it's just kind of mindless and easy and then you're prepping it for whenever you're ready to applique.
And so we'll just go through and we'll cut these out and get them ready to go. So the next step is to go ahead and peel off that backing. If you're not familiar with fusible applique, this is really simple. I just kind of like to fold it and it kind of creates this lift in that backing and it'll peel right off. So let me just go ahead and do the rest of these and then we'll start on the
layout.
All right so now I have all of the backs pulled off of these as well
and I have my light board ready to go, lined up with that same template that we were using earlier. So I'm going to turn this on and remember if you do not have a light board you can absolutely still make this project. Do not let this hold you back. It helps if you want it to be exactly the way Jemima designed it, but you can totally eyeball within this pennant shape and still have it turn out adorable, so don't fret.
So now literally it's just like puzzle pieces. We're just going to start building out our project. So I'm going to start with this little rotary cutter and this piece is going to slide behind. And my circle goes in the middle there
and this is so handy because I can see exactly where everything fits according to the pattern. And so I'm just going to keep working my
way through, make sure that these are all as straight as can be. And then when we get all of these in place, we will carefully move this to the ironing mat and give this a good press. All right we have everything in place
according to that template which really just makes it such a breeze.
So now I have a hot dry iron and I've moved this so my mat my pressing mat is underneath me. Make sure if you do not have a heat resistant surface that you're not on top of your cutting mat. I know that this is
safe, but I don't want you to have a boo-boo and be sad. So now we're just
going to go straight down. When you're working with iron-on applique you do not want to slide your iron, you just want to lift and press and so that's what we're doing. We're going to hold it to allow that fusible to start working and we're just going to make our way across this fun design and hold everything into place. Take your time. There we go. Now I like to just kind of check with my fingers and make sure there's no parts that are lifting up and I think we've got everything nice and secure. So let's go ahead and move this out of the way and we can start appliqueing those edges.
So you have a couple of options for how you want to finish the applique on the letters. I really like to just use a straight line and not worry about any sort of you know fraying. With it being a wall hanging I'm not going to wash it a lot, so I just want to hold those pieces in place and these are really narrow so trying to do a zigzag or a blanket stitch can be really tricky. I do prefer, this is just my preference, a blanket stitch on these larger pieces and Jemima actually even recommends a tiny zigzag. That looks great too! So you might want to test this out off of your project and
figure out which stitch works best for you. I'm going to walk you through just a few little runs of the blanket stitch so you can see what that looks like.
I am going to use black thread so that you can see it, but on the actual project I matched all my thread to the pieces so keep that in mind when you're working on yours. So let's go ahead and bring this over here, and get this lined up under the machine. And so I'm just going to do a little bit,
because I'll go back and take out this black thread but I wanted to be sure you guys could see. So I'm going to start by putting my needle down and making sure it's right in line with the edge of that fabric. And I'm just going to start going and when you're doing these applique stitches you do want to take your time. Gives you an opportunity to just slow down a little bit
and then we're just slowly starting to curve as we come to that hand the end of the handle of our rotary cutter. All right I think that's enough for you guys to get the idea and then I'll show you a bit more of how it looks on this finished project.
There you go - this gives you some contrast so you can see what that
blanket stitch looks like and remember if you haven't done machine applique like this before Courtney has a whole class available on our Missouri Star website that you can go and check out that will give you a great deep dive into some of these different stitches and how to get them the way that you want them.
So let's just look at this one more time. You can see the matching blanket stitch that we did on these larger shapes. We even added some embroidery to give you that spin on your jelly roll here and then just the
straight stitches around our letters. So this turns out so cute! Once you have all of the applique done, what you're going to do is you're going to leave it just like this. You're going to quilt it because we're not going to cut our shape until after it's all quilted and ready to go. And so once your quilting is complete then you'll cut on those guidelines that we marked and then you'll just bind it like normal. She even has some options for
tabs if you want to add those as a different way to hang it. So just be sure
to check out all of the options in the pattern - remember she even gives you some variety if you want to do your own applique of the phrases that you can put on here as well. So thanks again Jemima and I hope you all enjoyed this tutorial on Measure Once Cuss Twice.


