
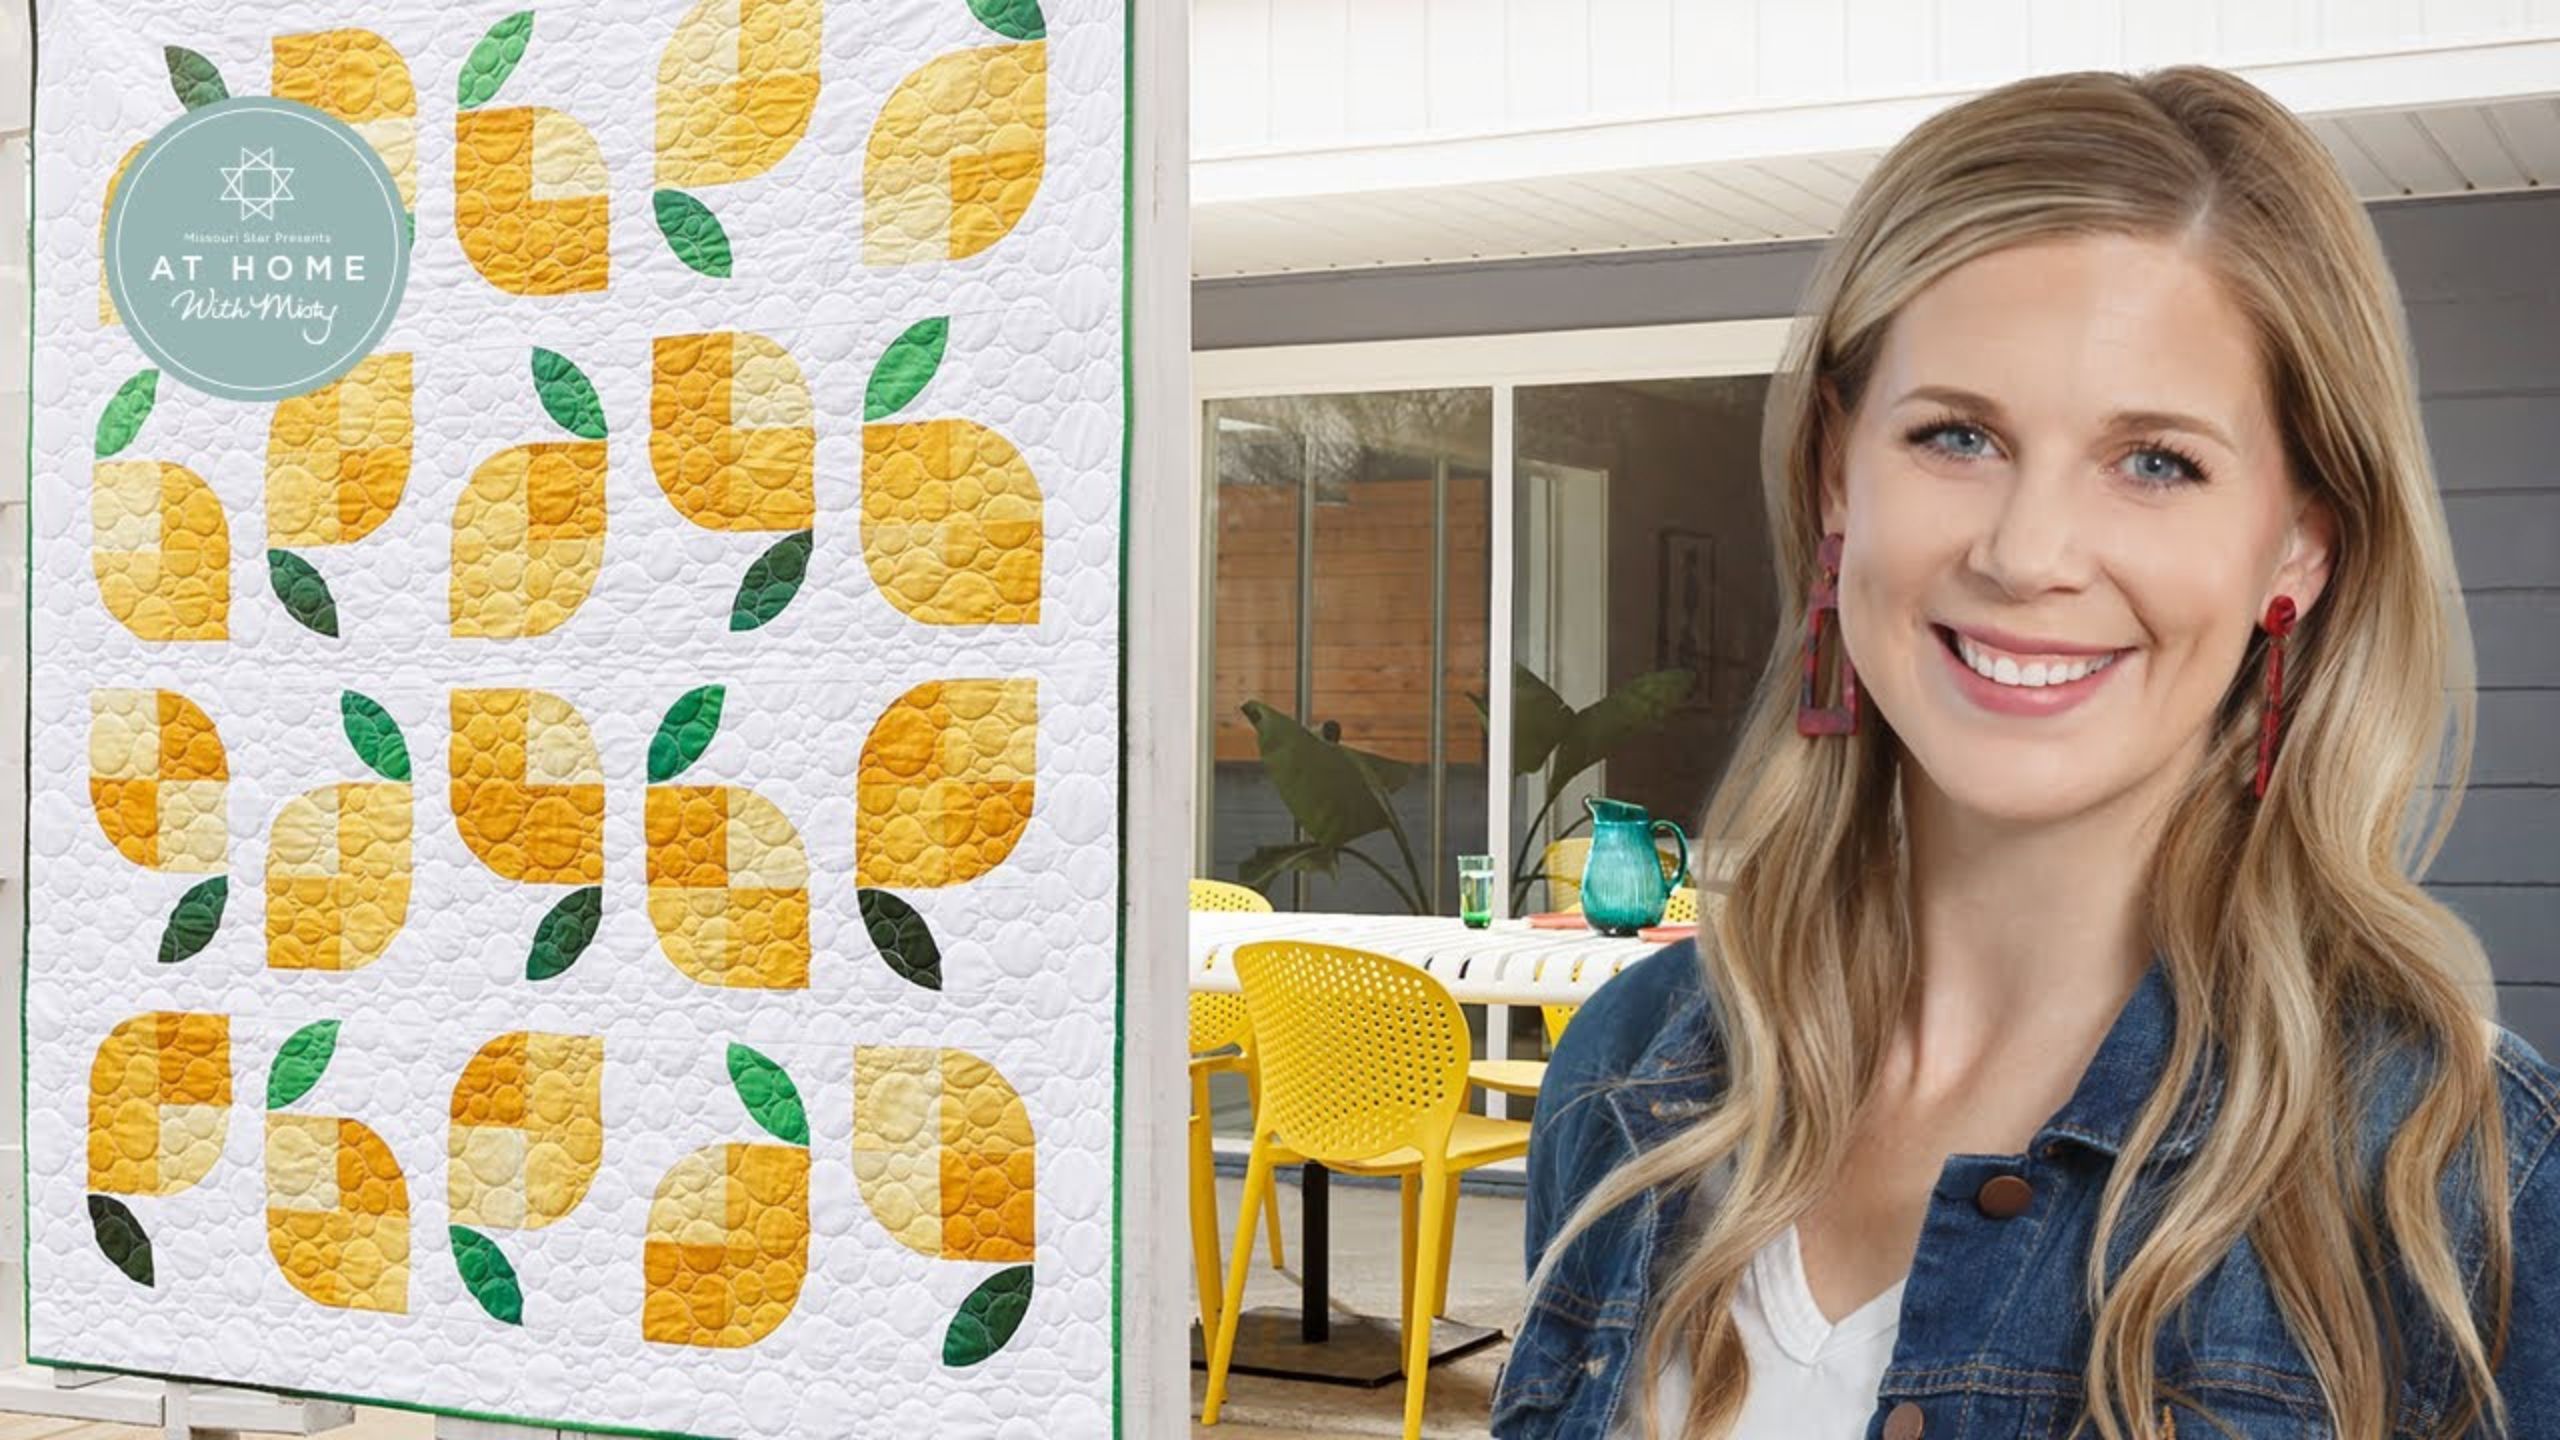
How to Make a Memi's Lemons Quilt - Free Quilt Tutorial with Misty Doan
 Misty Doan
- Fabric by Yard
- Modern
- Lap / Throw
- Quilt size 64" × 70"
Squeeze the day with this sweet like lemonade quilt! Join Misty Doan on At Home with Misty as she stitches up the Memi's Lemons Quilt. The quilt features over a dozen juicy lemons on a solid background--enough to make lemonade for the whole family. Have fun bringing in the Spring season with this lovely quilt!
Instructor
Misty Doan
Misty Doan grew up surrounded by sewing and quilting. She loves spending time sharing tutorials each week each week, and when she’s not stitching up one of her fun sewing projects for home decor, most likely you’ll find her hanging out with her husband and three awesome kids or working on a house project.
Shop this tutorial
 Gelato Ombre - Yellow Yardage$12.64Shop →
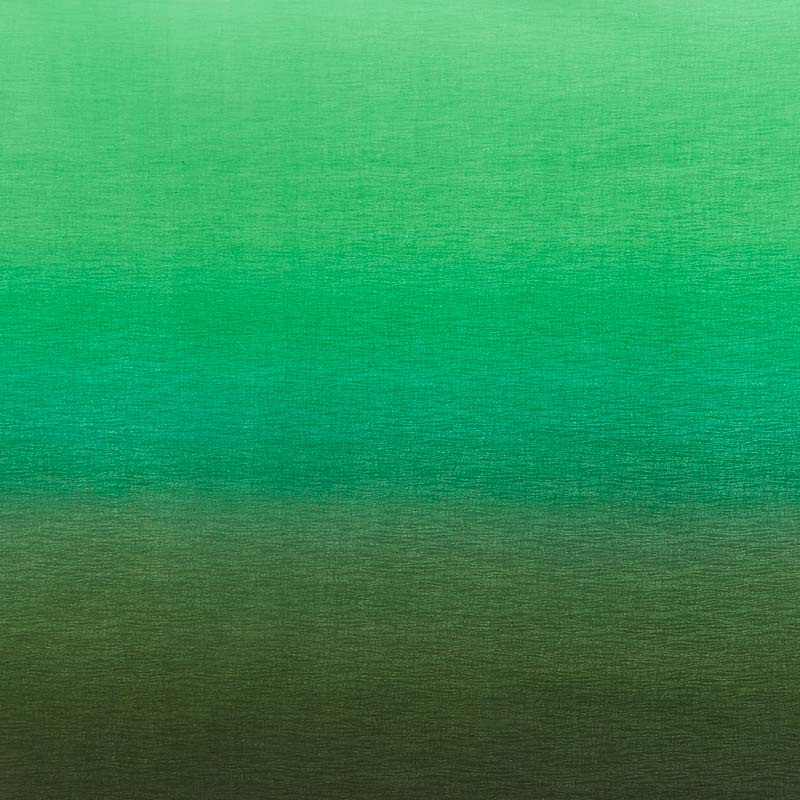 Gelato Ombre - Green Yardage$12.64Shop →
 Kona Cotton - White Yardage$7.28Shop →
 Lemon Fresh - Lemon Squeeze Blue Yardage$11.44Shop →
 Missouri Star Quilter’s Best Blend Twin Batting$26.45Shop →
 Missouri Star 6" x 6" Square Ruler$10.95Shop →
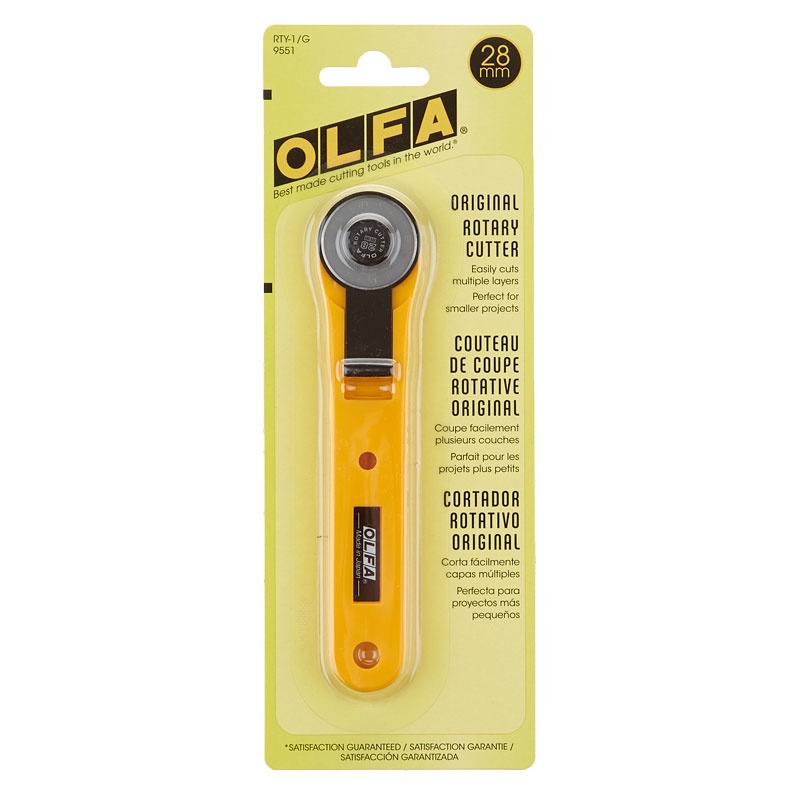 Olfa 28mm Rotary Cutter$15.95Shop →
 Olfa Splash 24" x 36" Cutting Mat Navy$68.95Shop →
 Elan 8" Dressmaker Scissors$20.95Shop →
 Exclusive Missouri Star Jenny TG1600 ProPlus Oliso Smart Iron$199.99Shop →
 Missouri Star Wooly Betty Board - 17.5" x 17.5" Aqua Border$88.95Shop →
 Magnetic Thread Spool Pin Holder - Pink$5.45Shop →
 Missouri Star 2.5" x 8" Ruler$10.95Shop →
 Olfa Splash Aqua 45mm Rotary Cutter$18.75Shop →
 Olfa 45mm Deluxe Ergonomic Rotary Cutter$32.95Shop →
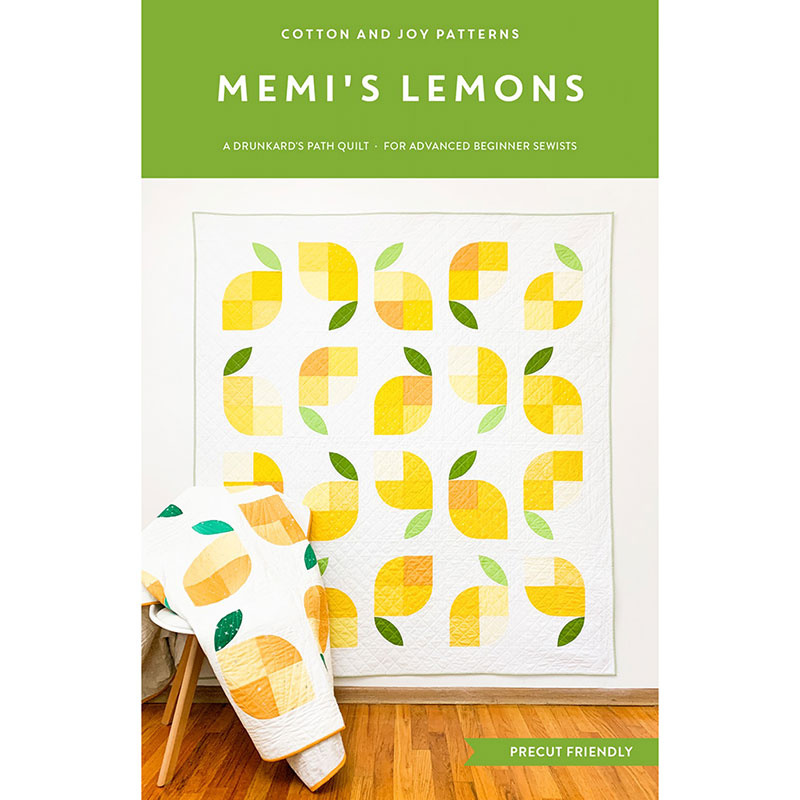 Memi's Lemons Quilt Pattern$13.00Shop →
Common Questions
What is covered in How to Make a Memi's Lemons Quilt - Free Quilt Tutorial with Misty Doan?
Squeeze the day with this sweet like lemonade quilt! Join Misty Doan on At Home with Misty as she stitches up the Memi's Lemons Quilt. The quilt features over a dozen juicy lemons on a solid background--enough to make lemonade for the whole family. Have fun bringing in the Spr...
How long is the tutorial video?
The tutorial video is 00:25:54.
Are supplies listed for this tutorial?
Yes. The tutorial page includes the supplies and materials connected to this project.
Is a transcript available?
Yes. A written transcript is available on the tutorial page.
Video Transcript
Fran: Hi Misty! Thank you so much for having me here today.
Misty: Thank you so much for being here, being willing to use the magic of technology to get us in the same room together! If you wouldn't mind giving people a little background into yourself and how you got started quilting and designing that would be amazing.
Fran: Yeah. Hi everybody! If you don't know me I'm Fran Gulick of Cotton and Joy and I got into quilting when I was pregnant with my oldest son. I guess nesting just kind of manifested in me and I joined a wonderful group of ladies at Fort Bliss in Texas called the Blissful Teachers Stitchers and they kind of took me under the wing and taught me how to sew. But I didn't really get really into quilting until after the birth of my second son. At the time we were living in Germany and I was going through some pretty bad postpartum depression and I needed something that was sort of tangible like I did this and it didn't get torn apart, it would still be there. Because when you're a mom you clean and then the kids wake up from the nap and it just gets torn apart.
Misty: Yeah.
Fran: I needed something really. At the end of the day that was like I did this like, look like it's here um and around the same time I found Instagram and the community of modern quilters on there and I just kind of fell in love with the community and quilting. At the time I was working as a graphic designer kind of on my own and I guess in the side of my brain just kind of couldn't help itself and I started thinking of my own like quilts that I wanted to make. I would go online and I couldn't find them so then I had to look up how to write a pattern and the math involved and then it just kind of took off from there.
Misty: I love that. That is amazing and so the pattern we're making today is called Meme's lemons and so I'm dying to know, who is Meme? Can you tell us the story behind the name?
Fran: Yes. It's in Spanish so it's actually pronounced memi, which is totally fine because everybody pronounce it Mimi. Meme was my grandmother. When I was young my mom was a single mom so we actually lived with my grandparents. And the house that my grandmother had, in the front yard
she had this beautiful lemon tree, and it was kind of like her pride and joy, this lemon tree, and I called her meme because I don't know that's the nickname I came up with. So this pattern is sort of like my Ode to her. it's kind of my tribute to her I guess. I should say it's her lemons that she loved and she really had a big hand in raising me into who I am today. So yeah that's kind of the story behind the pattern.
Misty: I'll get it correct going forward. I love that so much. I've shared my connection with my grandma and how important she was to me growing up and to my journey into quilting as well, so I love that you've given a tribute to her. So let's dive in and you can tell us how to make this because I really, really enjoyed making it - it's a great pattern. And if it's your first time making curves I think this is a great way to start, because Fran has made it really beginner friendly. Let's dive right In. Here's the pattern and here's the quilt and it's actually right behind me as well.
As Misty said this is very beginner friendly because the curved pieces on them as you can see are kind of pretty big pieces. I think that's a mistake a lot of people make when they try the first time when I talk with them in classes and things they're like well I try the smaller curve because I thought it would be easier, and I'm like no like the bigger the curve the more gradual is going to be the easier. So that's kind of why when with this burger curve for this pattern you don't need any sort of specialty templates they do cut. The pattern comes with two pages. As you can see here on the template, it has a dotted line and that's kind of where you want to cut it. I know Misty made some pretty special plastic pieces.
Misty: I did yeah. Here are my paper pieces that I cut out exactly from the pattern from Fran's pattern. The dashed line, like she said, that's where you cut and then the solid line is what it will end up after you've sewn it together and I was telling Fran for some reason when I'm cutting with paper pieces I like will cut through that template all day long but I went ahead and made some out of just template plastic which is just a little bit thicker. Don't get me wrong, a rotary cutter will absolutely still go through this, but it just seems to trick my brain and be a little bit easier to cut so that's totally an option as well. I just traced it onto the template plastic and used that. So, should we should we
show some cutting because some people are even nervous cutting curves?
Fran: Absolutely. One thing I wanted to mention - if you do have a smaller rotary cutter like the 28 millimeter that makes cutting curves a lot easier than the big 45 one. They're not super expensive. I know not everybody has them but they make cutting curves much easier and I think they're totally worth it.
Misty: That's a good tip because I actually don't have a small rotary cutter. I only have you know my regular 45 and then the jumbo cutter but I also I think it's important to note that if you don't have one it's still totally possible because I cut all of mine with this. You can totally do a quilt like this one
right here.
Fran: I cut my first quilt with this one and then somebody was like have you tried the smaller ones and I was like I thought those were like for playing like I don't know like why do people find the smaller ones. But I did my first curve and I was like oh, okay that's why people make this one.
Misty: That's so funny. I know a lot of people use them for like applique shapes and and things like that right that makes sense you have. You have more curves on applique so it would it would work for for this as well. So let's let's go ahead and cut a few pieces. So this is really fun because most of this is designed all of the lemons and the leaves are made to use five inch squares so if you have pre-cuts lying around this is totally pre-cut friendly which is awesome.
Fran: This one right here was done with pre-cuts.
Misty: I love that it's a little scrappy, it's so fun! So for the quilt that I made I used the throw size in Fran’s pattern. You can see it behind me here and we use these beautiful gelato ombres by Maywood Studio and so you get this full gradient in color in both the yellow and the green which just gives you that scrappy look without having to buy a bunch of different fabrics which I really like in the ombres. So I just cut five inch strips and sub cut those into five inch squares. And then for our yellow we are going to use that A template and so I'm going to use my template plastic and you can see it can just sit right on there and then you can just gently cut that curve just like so and then you're done. It is that simple! So then to go along with this inner curve you also need template C and what did you call this friend? You called it like the Arc?
Fran: The arch. Because it looks like an arch.
Misty: Yeah I love that! Look at it, that's perfect. And so then she recommended I think you said you cut these um five and a quarter by is it six and a half for your..
Fran: Yeah six and a half. So then they kind of nest together when you're cutting them and there's less waste fabric than if you are just cutting each piece each one five and a quarter.
Misty: That's a great tip and so I'll use the paper template here just so you can see you can use it either way. And so I have my rectangles here and we're just going to carefully cut out our arch shape
and just keep your fingers out of the way…
Fran: Yes, that's the most important thing.
Misty: Absolutely! So there I had two stacked together so I have two there and then we can just flip this around and then this fits perfectly on the opposite side and so then you just have the waste in the middle here it's very minimal. Just like so. Ta-da! All right so now we have some arches we cut one of our yellow Drunkard’s path shapes and then now Fran how do we get ready to stitch these together?
Fran: So when we're getting ready to sew these pieces together um the first thing you want to do is take your Drunkard's path or quarter circle whatever you want to call them and then fold them so that the straight edges meet and then you make a crease right at the center of that curve, and then you'll just finger press. Usually when I'm making a full throw size I'll have like my iron and just kind of like press a bunch together at the same time.
Misty: Yeah that's a great tip.
Fran: And then you'll want to do the same thing with your arch so have the straight edges meet at the ends and then finger press that curve right at the center and we're going to be using that so that you're going to lay your pieces together and meet them right at the crease. I know this looks a little funky and the way I always tell people is it looks kind of like a deer when you're looking at.
Misty: Oh yeah, like the antlers.
Fran: So you want to make a little deer with your two pieces and pin them right at the center.
Misty: I was going to ask how you pin it? Like do you pin closer to where the seam line will be or do you pin farther back?
Fran: I go right at the edge and then once you have your little deer all pinned together… I was telling Misty, I found there's lots of different ways that people do the curves. Some people pin with lots of pens and other people don't use any pins and other people use glue. I found I'm kind of like a minimal pinner. I teach this with three pins but I've gotten to the point where I only use this pin, but if you've ever done curves before you want to use this middle pin and then the one at the very beginning and this is when things start looking a little funky - it's okay, it'll work out.
Misty: But you're just gonna match that corner right? You just want to line those…
Fran: Yes it matches so it's kind of like the straight edges kind of like I have here. They meet together and then you'll do the same thing with the other end.
Misty: So just like that and like this. So let's go ahead and pin these three so you can see what we're talking about, if this is your first time. I will put one more pin over here and then we can take this to
the machine, right?
Fran: Yes.
Misty: Okay. Do you put your curved piece up or down like the white piece?
Fran: I always put the white piece up. I find that makes it a lot easier to sew the curve if you have the orange on the bottom.
Misty: I agree, I feel the same way. I have heard arguments for both and I was just curious which way you opted to go with.
Fran: Yes I've seen both but I'm always… my brain just wants that on the top.
Misty: I know, me too! I feel like I need to be able to maneuver that one a little bit more and I feel more comfortable when it's on top.
Fran: Yeah I think that's what it comes down to for me as well. I want to be able to kind of maneuver it a bit and you can't really do that when it's at the bottom.
Misty: Totally. All right, so then let's start stitching. So I'm just going to take a few little stitches before I get to that pin and then I can now kind of pull this out of the way and then I just kind of stretch my fabric because it is cut on a curve we've got quite a bit of bias with this piece which is our friend in this case. And so I just kind of make the fabric line up and then continue with a quarter inch seam all the way around.
Fran: Yeah that's exactly what I do as well. Just sew a couple stitches then kind of stretch the bottom so it's kind of flat on my machine and then I maneuver the top so they meet, the edges meet exactly.
Misty: And just never want to sew over those pins - just take your time and pull those out before you get to your needle. There we go, we are almost there, the last few stitches here. I think what's important to remember with this is you really do have to take your time, at least I do. Like it is not
as fast as normal piecing for me but that's okay, it’s part of the fun. But then you can see while it's under the machine it's all rumpled and looks kind of silly and then it naturally just wants to roll back.
Fran: For pressing I always tell people just do what the fabric wants to do at this point. Press it towards the white.
Misty: I know for some of us, you know we hear press to the dark side all the time with curves, it's just not always the case. Just do the best you can. So from here, Fran, what comes next?
Fran: Okay so then you have this piece and this is when people are just gonna go oh my god it works and I'm like yes it does.
Misty: Yes absolutely!
Fran: And then you'll notice this is a little bigger than five inches and that's because this arch piece, when I designed this pattern I made it a little bigger on purpose and that's because we're not perfect and sometimes there's just puckers and it makes this edge kind of a little uh not completely straight and that’s completely fine.
Misty: Yep a little wonky.
Fran: A little wiggle around so then at this point we need to trim this piece okay around two five inches you'll see it's a little smaller and the main thing you need to remember when trimming is to leave a quarter inch seam allowance here on the background piece.
Misty: Yeah so you can see here I just want to make sure I have a quarter inch hanging past on my ruler which I do. This works out just perfect so I'm just going to trim this up to five inches, just like so. We've got this great little quarter Circle block ready to go which is awesome. So then now for the leaf it's essentially the same thing right? We're just moving on and adding another right, am I right?
Fran: Okay yes, they're the same exact curves. So I know it kind of scares people because it's you don't have like a straight edge at any point with this piece. But it has the same exact steps do you just fold your little leaf in half and finger press it. Then you take your arch piece, your first one,
finger press it and then you once again pin them and um it's a little scary the first time. And once again you make your little deer, a little antlers and then um it doesn't seem like they would match up here, but as you can see there they do match up kind of at the edge of the leaf. So then you can pin that at the beginning and at the end.
Misty: Perfect. I will go ahead and add that and then we'll go ahead and stitch this one as well so you guys can see that it works just in the same way. I think it's really fun. like these types of projects at least for me on my quilting journey were so satisfying because it's truly something that I just never thought I would do. I didn't think I would ever enjoy sewing curves and now yeah so many of my favorite patterns to make have curved piecing in them and I just, I love that. I think it just it just goes to show that even if you're not on the part of your journey where curves feel doable, like don't give up because it could be you in a year or in a month you just never know.
Fran: Oh completely yeah. And like I said, the bigger the curve, the easier it's gonna be. Don’t be afraid of the curved pieces. I always tell people and they always look at me like oh I don't know you're just saying that and I'm like no you really can do it, you can do it, you totally can. It's not as hard as we make it out in our brains to be.
Misty: So that's exactly right and like I I had built up this fear in my mind and hadn't even tried for so long because I was afraid of it and like I said, now it's become one of my favorite things. So all of you who are watching that haven't given it a shot yet, let this be your day. You can totally do it! yeah
Fran: Yeah that was me when I was designing this pattern I was like oh I don't know this has curves like maybe I should try to make it without curves and one of my friends was like you should just try it!
Just try it for one curve, and I'm like okay I can do one curve. And then I did the next one and then I had a lemon!
Misty: I love it! So we've got that first side done and it looks great. So then now on this do you just go ahead and add the other side or…?
Fran: I trim at this point. You just line up the like five inch and five inch and then have the quarter inch seam allowance.
Misty: Yeah so let's do that then.
Fran: And the reason you trim again is because you'll need to line up the next arch with that.
Misty: Ahh so it has to fit against that. I see what you're saying. Okay so so I'm just looking here. Here's the edge of my leaf, this is my quarter inch line here, my quarter inch line here, and you can see I've got enough to trim this off and have it be nice and square. So I'm just going to cut off these two sides just like so and now we can add our other curve. So, just like Fran has taught us. I'm gonna finger press here so I have that center curve on the other side and we will press this one. There we go, and then line these up into our little deer. I will never forget that now Fran, I love that so much.
Fran: Yeah somebody said that once in my class was like oh it looks like a deer and I'm like yeah it totally does.
Misty: That's perfect. All right. So then I am going to just start - I'm only going to use that center pin and be brave - oh dear oh dear indeed.
Fran: That's how I do it as well now because I've I guess I'm just at the point where I've sewn so many of these that I can just use that middle pin and I found that a lot easier.
Misty: Yeah, I agree as I've done a few I I have gotten really comfortable and it works great and so I just kind of start and then get to the halfway point and then the same idea I'm just going to pull this end piece around and match it up with my finger and so I'm just going to hold this down here with my finger and then just let this curve do its magic under the presser foot and line it up as I go with my other hand.
Fran: Yeah and you just kind of slowly yeah readjust it over so that it's just kind of straight.
Misty: Take your time. Lovely and now we can press this one. Look at that! I never get tired of it - every time I'm shocked that it works. It’s so magical. All right and so then we're just gonna trim this again to our five inches?
Fran: Yes and sometimes that will happen to where you need to re-trim the first side.
Misty: I was just gonna ask that because I can see this is a little bit wonky, but I still have plenty of room to trim so…
Fran: You'll have plenty of room and it's just a little extra step but then it makes the quilt come together very nicely.
Misty: Yeah absolutely. So let's trim these two sides here and then I am going to rotate this just so that this other side will be nice and square just like so. Look at that lovely five inch square block! Okay so now we have our components made. We've learned how to make the curves for the lemon and the leaves and so now it's all in the layout. So we have a couple of our curves that go together like this, and then our solid five inch yellow squares and then when we sew those together that will make our lemon. And then Fran you had a great call out about the leaves, so let's talk a little bit about that.
Fran: So I have my little board here . The leaves will face in two different directions, okay. It's kind of the left side and the right side and it's just kind of how it fits with the lemon. Okay the lemon itself you are able to kind of twist and turn to make it fit with the leaves but the leaves you cannot, so it just kind of depends on how they're facing in comparison to the white square.
Misty: Yeah I see. So like here, you know this this would be the same way I've got here. And so then in the other other way…can I see your cheat sheet again?
Fran: Oh yes.
Misty: There we go. Mine must be flipped. I don't know what I've done but it doesn't look like yours but it looks like my lemonade. Okay so that looks right and so then the other one would go like this I think so then the lemon would actually need to to rotate is that right?
Fran: So it's actually it's on the pattern. So if I show you right here because you have the right facing and the left facing and it's just which way the leaf how it's facing. And it just adds a lot of movement to the quilt when it's all done so they're not all exactly the same.
Misty: I love that. Yeah, it does. It looks like the lemons are just rolled out on the grass waiting for you on a beautiful summer day so yes so bright and happy and fun. Well thank you so much Fran for being here and for sharing a little bit of the story behind this pattern and being willing to share it with everyone here on At Home with Misty. I really appreciate it so can you tell everybody again where they can find you if they want to follow along?
Fran: Yeah thank you so much for having me. It's been so much fun talking to you and I loved meeting you. I hope to meet you again for sure. You can find me on my website cottonandjoy.com and then I'm also on Instagram @cottonandjoy and then randomly on TikTok when I
feel like.
Misty: Thank you so much Fran. I hope we get to do more together in the future and be sure to check out more of the great patterns that she has available. There are so many wonderful ones you won't want to miss them. We will see you next time on At Home with Misty!


