

How To Make A Moon And Star Quilt - Free Quilting Tutorial
 Jenny Doan
- Layer Cake
- Traditional
- Double
- Beginner
- Quilt size 78" × 78"
Jenny Doan is stitching up a new layer cake quilt with applique moons and patchwork stars. Moon and Star is an old fashioned pattern made easy with half-square triangles, scrappy sashing, and fuss-free machine applique. Watch the tutorial, grab your favorite precuts, and reach for the stars!
Instructor
Jenny Doan
Jenny Doan is an American quilter, author, and YouTube personality. Jenny started Missouri Star Quilt Company in 2008 and today it is the largest quilting supply vendor in the United States.
Shop this tutorial
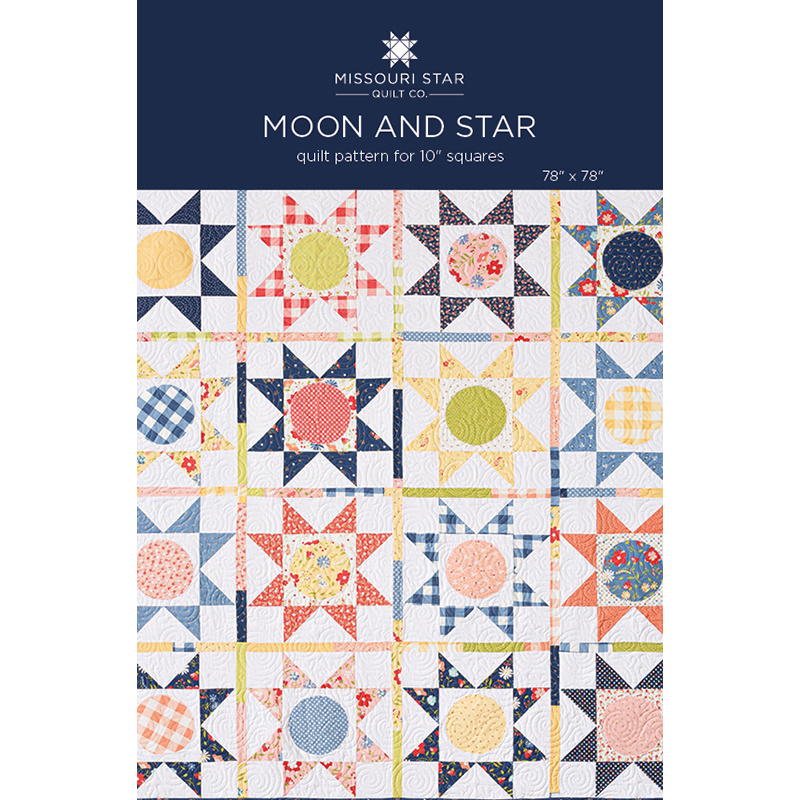 Moon and Star Quilt Pattern by Missouri Star$6.95Shop →
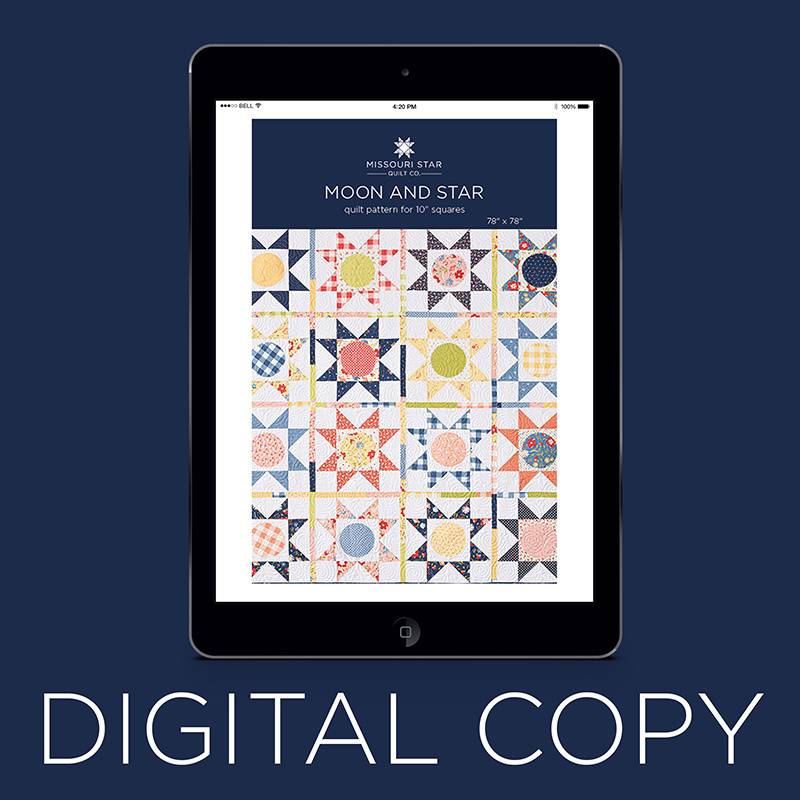 Digital Download - Moon and Star Quilt Pattern by Missouri Star$4.95Shop →
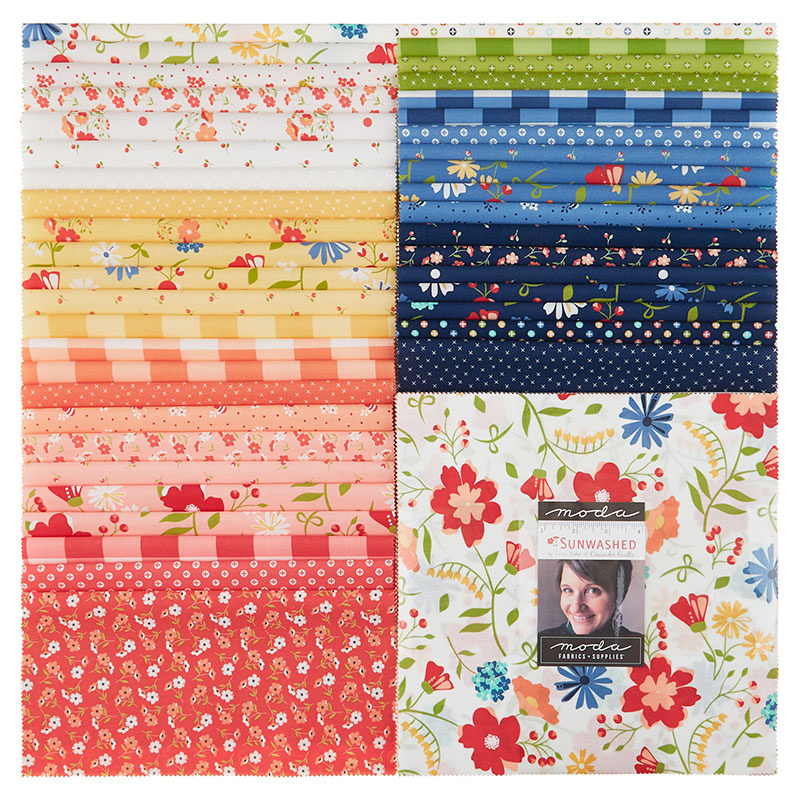 Sunwashed Layer Cake$45.95Shop →
 Bella Solids - White Bleached Yardage$8.24Shop →
 Missouri Star Sew Light Fusible Adhesive - 17" x 2 yards$4.95Shop →
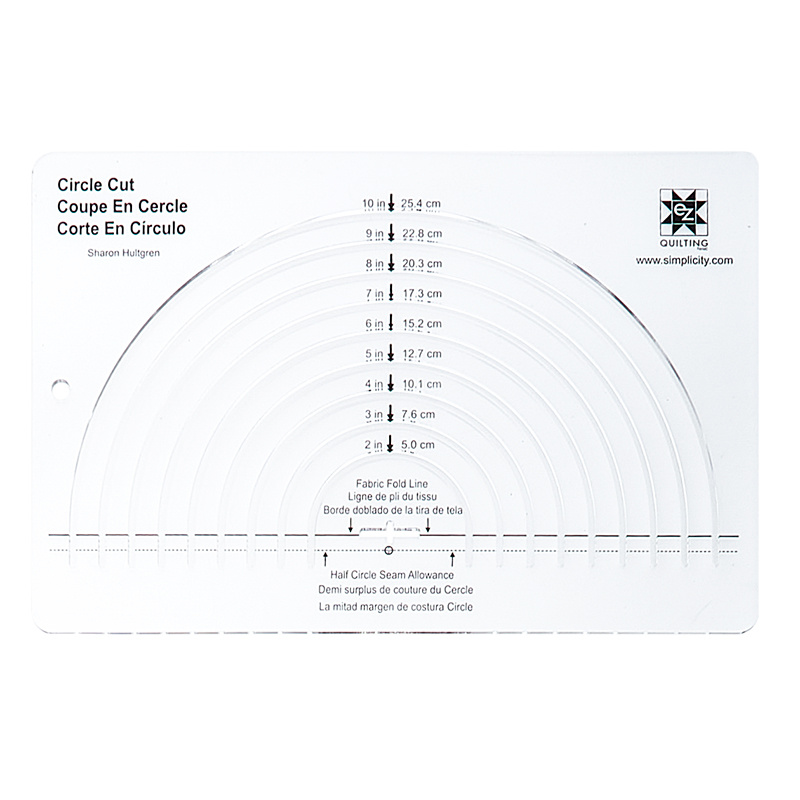 Easy Circle Cut Ruler$22.95Shop →
 Clearly Perfect Slotted Trimmers$31.95Shop →
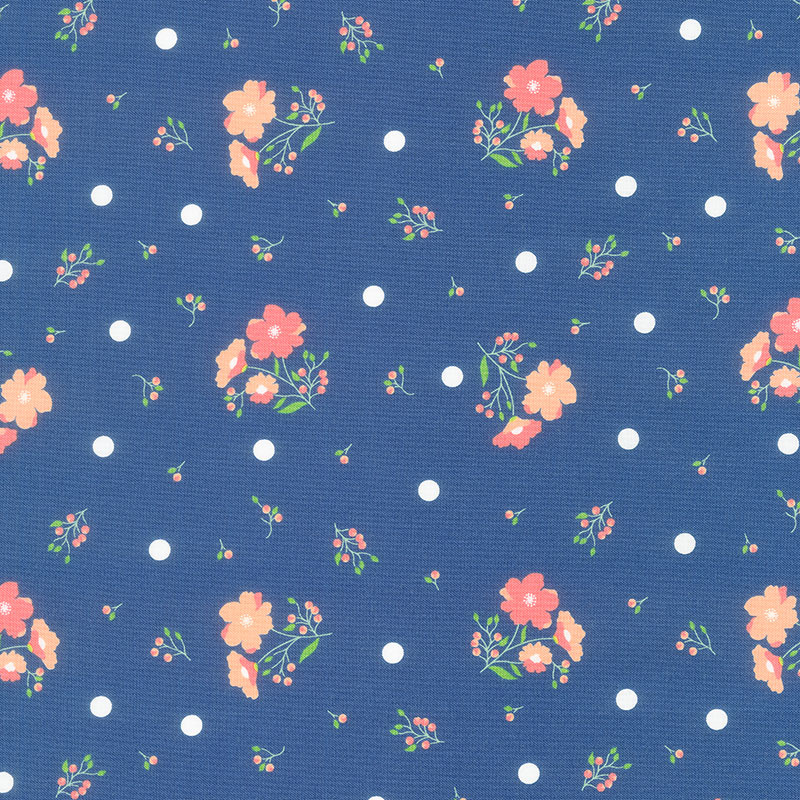 Sunwashed - Summer Soiree Midnight Yardage$11.96Shop →
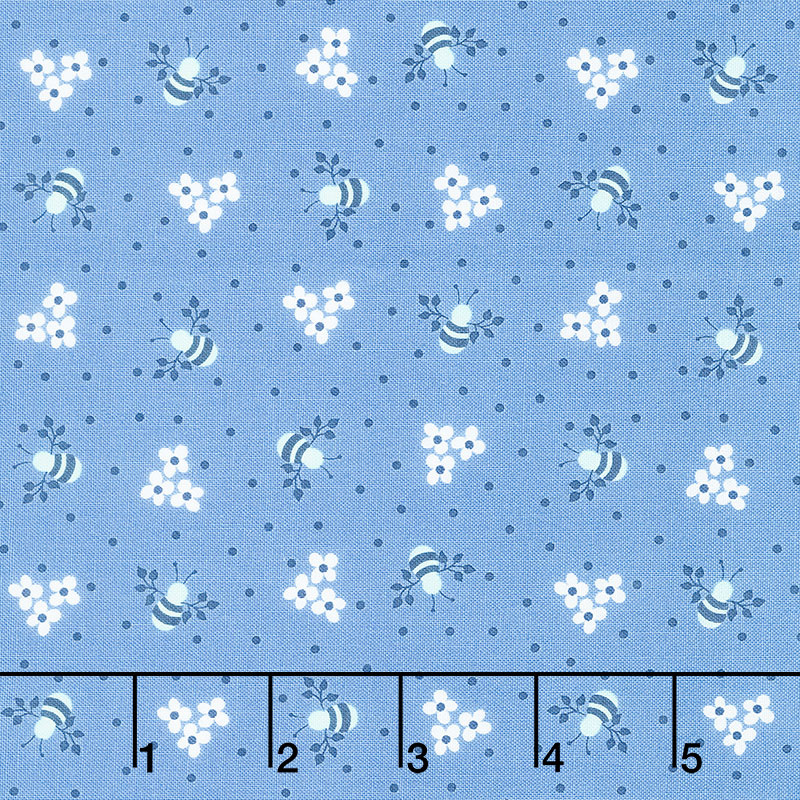 Sunwashed - Busy Bee Sky Yardage$11.96Shop →
Common Questions
What is covered in How To Make A Moon And Star Quilt - Free Quilting Tutorial?
Jenny Doan is stitching up a new layer cake quilt with applique moons and patchwork stars. Moon and Star is an old fashioned pattern made easy with half-square triangles, scrappy sashing, and fuss-free machine applique. Watch the tutorial, grab your favorite precuts, and reach...
How long is the tutorial video?
The tutorial video is 00:16:23.
Are supplies listed for this tutorial?
Yes. The tutorial page includes the supplies and materials connected to this project.
Is a transcript available?
Yes. A written transcript is available on the tutorial page.
Video Transcript
Hi, everybody, it's Jenny from the Missouri Star Quilt Company and I've got a fun project for you. It's based on an old quilt block called Moon and Star, and it's just a beautiful, fun quilt and I'm going to show you a quick and easy way to do it.
So to make this quilt, you're going to need one packet of 10 inch squares and we have used Sunwashed by Corey Yoder from Moda Fabrics. You're also going to need some eight and a half inch squares to go behind your moons and you can use yardage, which is three yards, or you can use some 10 inch squares and cut them down. Our border is a nice big six inch border and you're going to need one and a half yards for that. Our backing is five and a half yards of a 45, or two and a half yards of a 108 wide. You're going to need some of our Missouri Star Sew Light Fusible and a couple of helpful tools will be the Clearly Perfect Slotted Trimmer and the circle ruler. And we do have a circle template for you in the pattern. So let me show you how to make this.
Let's take a look at this quilt behind me. So this is made up of this block right here, which is made up of several components. We have the star legs, we have our center square with the circle in it, and then we have this fun sashing, and I'm going to show you how to do that. So let's start with the star legs. The star legs, we're just going to choose a fabric that's going to show up on our background and we are going to choose a white 10 inch square to go with it, and we're going to make half square triangles the easy eight method.
So what I'm going to do on this is I'm just going to take my ruler and I'm going to draw two lines like this, diagonally this way and diagonally this way. This will give us eight half square triangles, which is just the amount we need for our star legs. So what we're going to do now is we're going to sew on both sides of both of these lines. So we'll head to the sewing machine and get settled in. And sew a quarter of an inch away from that line and then flip this around and go down the other way. All right, then we're going to come over here and go the other side and then come back down that side. Stay right, a quarter of an inch away from that line.
All right, and then we're going to cut this and what we're going to do is I'm just going to lay my ruler on the edge because it's a five inch ruler. We're cutting directly through the center on both sides, and you want to cut vertically and horizontally first because there's no lines there. Everything else has a line for you to cut on. So now we're cutting diagonally and we're going to go the other direction as well. And this is a really fun method. It works with any square and just like that, you get eight of these. So let's go ahead and square these up and I'm going to use the Clearly Perfect Slotted Trimmer for this. And I'm just going to lay my line on the stitch line. You can use any squaring tool, anything that has a diagonal line, you can use. A Bloc Loc Ruler works great. A regular ruler with a 45 works great. You just want to be able to square these to four and a half.
So now we're going to press these open and I'm going to put them dark side facing up because I just want to roll them back. I want to keep my seam to the dark side. All right, go ahead and iron all of these. One more here. And the last one. All right, then to make our star legs, what we're going to do is we're going to sew all of these together with the whites coming together in the middle. So they're going to go together like this, and we're going to sew four pairs of these. So I'm just going to lay these right on top of each other. And sew on the white side, four sets.
And so I'm just going to grab two of these. And just make sure your whites are together and your blues are coming down toward the outside, or your leg color, whatever your leg color is. And then we will just sew these together. Here's our last little set. And then we're going to press these open. And these form the outside of our moon. These form the star part of the moon, if you will.
So two of these are going to be sewn directly to our star, and then two of them need some cornerstones on them. So we are going to go ahead and these are squared to four and a half, so our cornerstones need to be four and a half, and I have some of those here. So two of these are going to get cornerstones on the edges. So we're going to go ahead and put a piece on either side like this, on two of those. So we'll come over here and add that on. Slide another one in here. We'll do both sides and then I'll flip it around and do the other side. And then we'll flip this around and do over here. Again, these are four and a half and our little half square triangles are squared to four and a half.
All right. Now I'm going to press these nice and flat just like this and like this. And then we're just going to set these aside until we get to the leg part. Now we need to make our center. So in your layer cake, you want to check and see if you have any light squares. I had some light ones that I felt were too light that they wouldn't stand out against white. And so I used those behind some of my stars. So you need a total of 16. I didn't have 16 in here. So some of mine are solid white, and then some of them have the print in them. I used all the prints I could because they're so darling, but I did have to add in some whites. And of course that's included in the yardage that I told you. And so you're going to cut that background square down to eight and a half. So if you're using one of these, you're going to cut this one down to eight and a half. And so we're going to go ahead and take off an inch and a half.
So we're going to take off an inch and a half off of two sides like this, and that should give you an eight and a half inch square. Now save these, save those. So this should be 1, 2, 3, 4, 5, 6, 7, 8 and a half, and it is. But once you get your square cut to eight and a half, we're ready to make our moon. Now the moon, you want it to make sure there's some good contrast, so you can see the center of that star. And what I'm going to do is I'm going to cut three inches off of both sides just like this because I'm going to save this for my sashing. So right away I can cut this into one and a half because my sashing strips are one and a half. So I'm just going to go ahead and cut that and set it over in a pile. And then I'm going to cut three inches off of this side as well like this. And then again, come in and cut an inch and a half and just set these aside over here.
And then this is the square I'm going to work with for my little moon. So I have some HeatnBond Lite. It's basically just to stick it to the square so it doesn't have to go all the way to the edges, but I'm just going to cut a little piece and iron that on the back of this like this. Now you can find a six and a half inch circle. I generally look for things at my house like a salad plate or something like that, but we also have this good circle ruler and we also have a template in your pattern, so you don't really need to hunt through your cupboards to find what you need.
We're going to cut a six inch circle right here, and I've folded mine in half and laid it right along here. So we're cutting a half a circle. And so I'm coming to the six inch line. I'm putting my rotary cutter in there and just coming around the edge right there. And that should give me a nice little circle, and it does. This part can go in the trash. And then I'm going to mount this to my background circle. And so I'm going to fold it in half, finger press it like this so that I know where the middle is, and I can finger press this so I know where the middle is. And then I'm going to line those right up.
I'm going to take my paper off first and then I'm going to line these up right here, and then I'm going to press that down. So just give it a hold. If you move your iron back and forth too much, it could slide. So you just want to make sure that you're just pressing it and it's going to stick on there. Now on my finished ones back here, I did a little tiny zigzag around all of them. I think it looks very cute. It's very easy. If you want to needle turn these, you can. I just wanted to iron it on and do that.
So once you get your middle on and your little edge on, my machine here only does a straight stitch. So I would normally, at this point before you get the star legs on, I would go ahead and stitch this down. You can use an appliqué stitch or a zigzag, whatever you'd like. Then we're ready to add our star legs. So we're going to add these two to the sides like this. And then this one is ready to go top and bottom like that. So just like that. See how that's going to come together.
All right, so I'm going to start by lining these up right here and sewing a quarter of an inch right down the side. I always start from my middle. That's just my brain. And I'm going to come here and I'm going to flip this around and do this side as well. Now, on a few of these, I did forget and put my legs on before I sewed my middle down, before I appliquéd it on. And it's fine. It works fine. It's just a little less bulk to worry about when you're doing an appliqué stitch when you just have that one little square. So that's just a tip, not a have to.
All right, so now I'm ready to add my top and bottom, and we're just going to go ahead and lay those on here. I'm going to start on this edge right here. Do a few little anchoring stitches. And then I'm going to make sure this first seam nests up and it fits perfectly. There's no line in your middle, so just go across. And when you get to that middle seam, just make sure your next seam is nested up and you'll know that you've got that right in the middle. Then on this side as well. Let me start here. Make sure that it's nested in nice. All righty. So you are going to do this 16 times. You're going to make 16 of these stars and hang them up on your board as you go along. I always love seeing that progress. And here's our little star right here.
And then we're ready to sash them. And of course we could use any normal sashing, but I had all these one and a half inch strips left over, and so I just decided to sew them together in a long, long strip like this and just put them wherever they fell. So I added here like this. I just took my block. Let me just show you. I just took my block and I just sewed down the side like this. Line it up. These are inch and a half strips. We've trimmed the pieces that we cut off to inch and a half. And we're just going to come down the side of this. And I wasn't worried if I had a 10 inch piece or a six inch piece or a two inch piece. I just went ahead and used them. Whoops. And then I just clipped this off like this and ironed it back and added my next star.
So let me show you how this comes together in the quilt. Here it is right here. And so I sewed this to my next star. Sewed a sashing on, sewed it to my next star. And then I put this little row in here. Now if you want, you can do a row this way, which is really a good hack. So if you put this on the bottom edge of your block, let's see. I'm not going to start with this guy, so I want to start here with the yellow. So if you border your blocks like this, you don't ever have to do that small little sashing in between, and this is really a good little hack. So I'm going to [inaudible 00:15:01].
All right. So now I'm going to just clip this off. I'm pretty sure in the pattern they measured. I did not measure. I just sewed them on and clipped them off, and I did it on two sides, and then I just sewed my blocks together. So you can see right here how this is going to go. So once you get all these together, you can see how cute it works. You're just going to add your next row because you've got your sashing going like this. You're going to have 1, 2, 3, 4 by 4, 16 stars, and it makes a quilt, it is 78 by 78, it should come out square. Let me show you the back on this. Cute little back. The quilting pattern that we used is called Sticky Buns, and it's just a circular pattern that kind of keeps everything together. I think it's so darling. I love the scrappy look. I love how this came out. I think it was really fun. And we hope you enjoyed this tutorial on the Moon and Stars quilt from the Missouri Star Quilt Company.
Hi, everybody, it's Jenny from the Missouri Star Quilt Company. We hope you enjoyed watching this video. If you aren't already part of the Missouri Star Quilt Company family, be sure to subscribe so you won't miss a thing. And if you click that bell, it'll notify you every time a new tutorial comes out. See you next Friday.



