

How to Make a Papel Picado Table Runner - Free Project Tutorial
 Misty Doan
- Fabric by Yard
- Holiday
- Table Runner
- Beginner
- Quilt size 12" × 60"
Celebrate Hispanic Heritage Month by creating this cute Dia De Los Muertos inspired table runner! Follow along with Misty as she creates the Papel Picado table runner, perfect for all your Day of the Dead celebrations. Have fun this Hispanic Heritage Month and create something special for Dia De Los Muertos!
Instructor
Misty Doan
Misty Doan grew up surrounded by sewing and quilting. She loves spending time sharing tutorials each week each week, and when she’s not stitching up one of her fun sewing projects for home decor, most likely you’ll find her hanging out with her husband and three awesome kids or working on a house project.
Shop this tutorial
 Wandering - Confetti Mulberry Yardage$11.96Shop →
 Wandering - Bliss Yellow Yardage$11.96Shop →
 Wandering - Confetti Coral Yardage$11.96Shop →
 Wandering - Daydream Blossom Golden Yardage$11.96Shop →
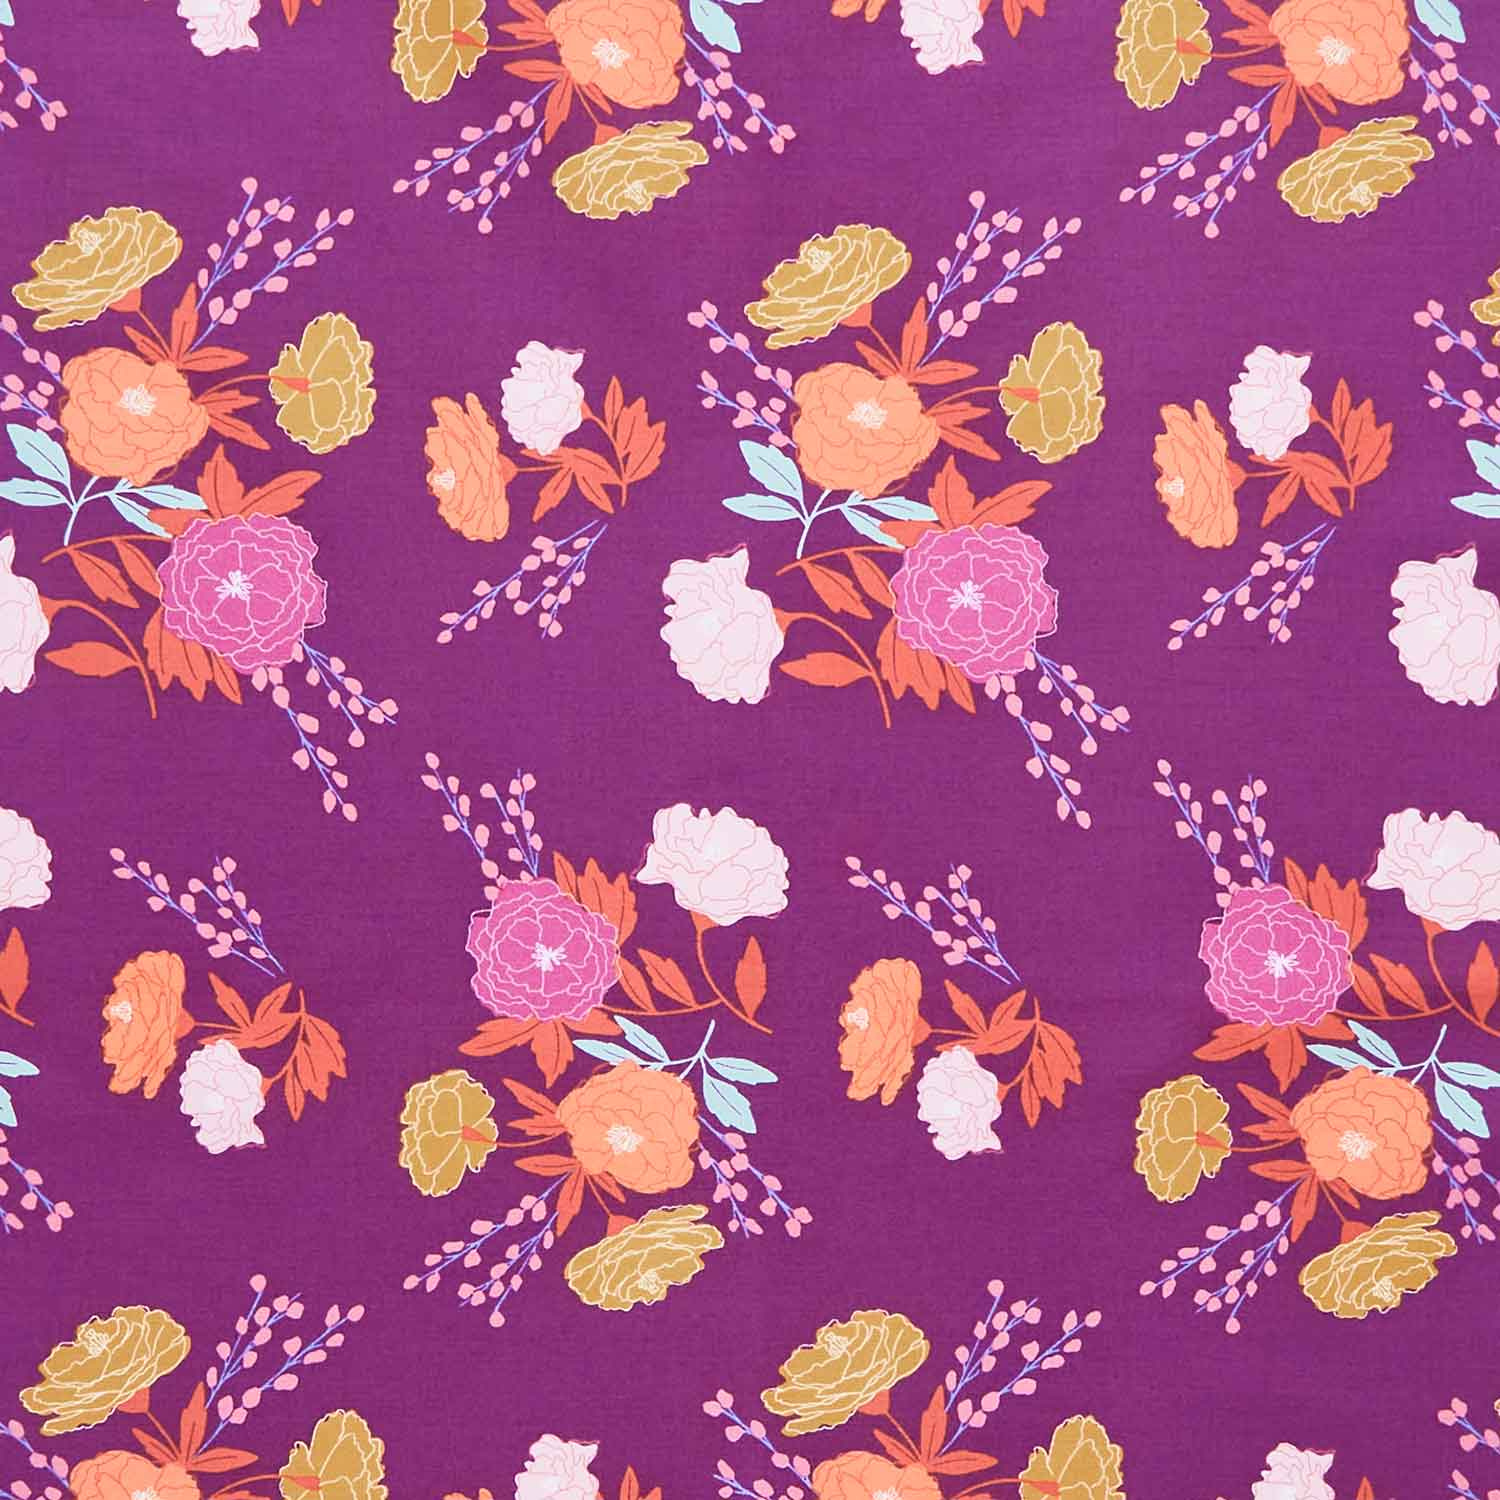 Wandering - Blossom Mulberry Yardage$11.96Shop →
 Kona Cotton - White Yardage$7.28Shop →
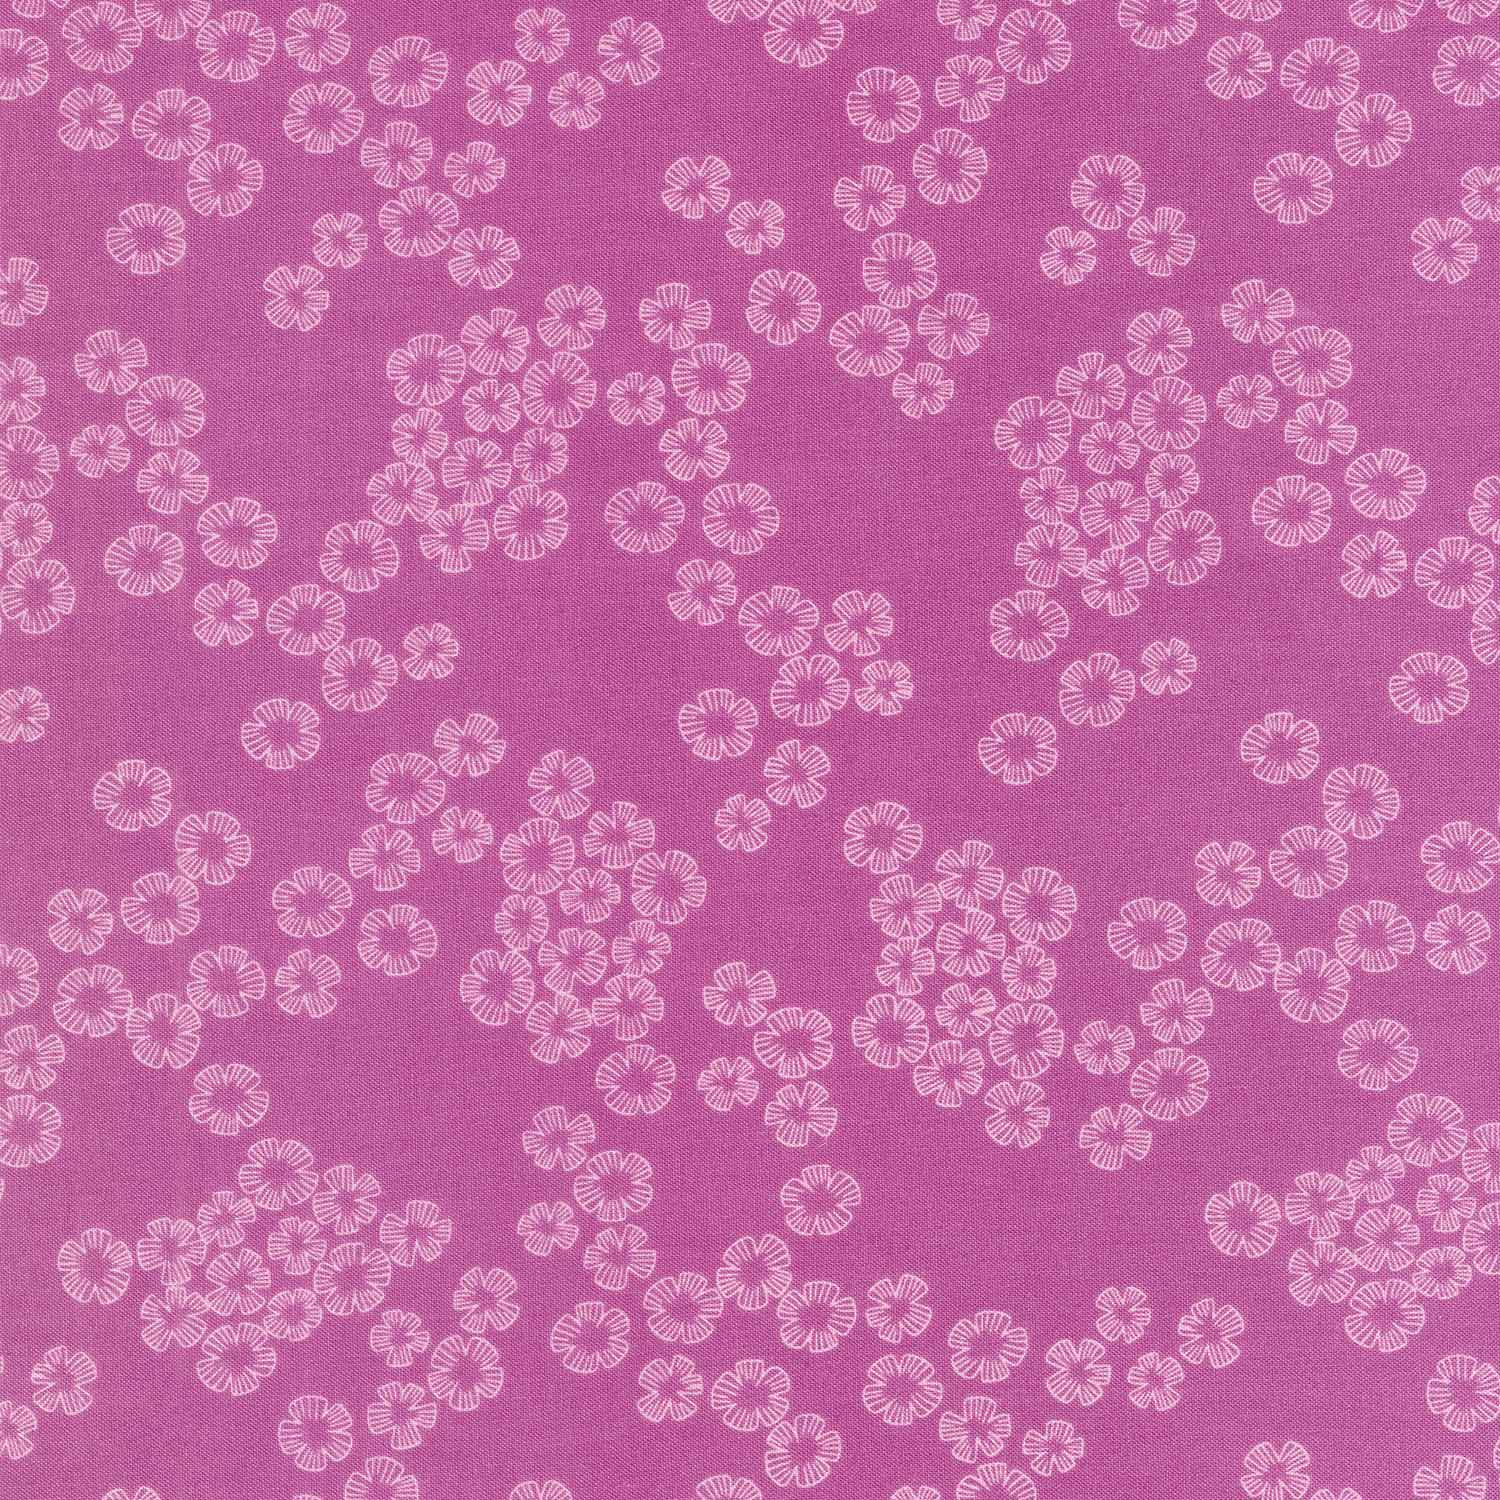 Wandering - Charm Orchid Yardage$11.96Shop →
 Missouri Star Quilter's Best Blend Bed/Table Runner Batting$14.95Shop →
 Missouri Star Sew Light Fusible Adhesive - 17" x 2 yards$4.95Shop →
 Olfa Splash Aqua 45mm Rotary Cutter$18.75Shop →
 Missouri Star 2.5" x 8" Ruler$10.95Shop →
 Clearly Perfect Slotted Trimmers$31.95Shop →
 Missouri Star 50 WT Cotton Thread White$6.95Shop →
 Exclusive Missouri Star Jenny TG1600 ProPlus Oliso Smart Iron$199.99Shop →
 Missouri Star Wooly Betty Board - 17.25" x 25.5" Orange Border$98.95Shop →
 Perfect Scissors 6" Medium$29.25Shop →
 Baby Lock Accomplish - 1500 SPM Straight Stitch Machine$999.00Shop →
Common Questions
What is covered in How to Make a Papel Picado Table Runner - Free Project Tutorial?
Celebrate Hispanic Heritage Month by creating this cute Dia De Los Muertos inspired table runner! Follow along with Misty as she creates the Papel Picado table runner, perfect for all your Day of the Dead celebrations. Have fun this Hispanic Heritage Month and create something...
How long is the tutorial video?
The tutorial video is 00:21:56.
Are supplies listed for this tutorial?
Yes. The tutorial page includes the supplies and materials connected to this project.
Is a transcript available?
Yes. A written transcript is available on the tutorial page.
Video Transcript
Misty: I'm so excited to have Stephanie Organes back. Steph tell everybody a little bit about yourself!
Stehanie: Hi Misty! Hello, thank you for having me. Well my name is Stephanie Organes. I'm from Mexico City, well I'm from Guadalajara but I live in Mexico City and I'm super honored to be here.
Misty: We have a great project that we want to show you
Stephanie: Yeah absolutely!
Misty: Stephanie and I have worked on this together. I was so excited that she could come and we decided it would be really neat for her to share some of her traditions around Dia de los Muertos. She has designed this
beautiful runner that you can use for your table or for your offrenda if you
are celebrating. She's going to share some of the the back story behind this celebration so that we can honor it in the right way.
Stephanie: Yeah I'm excited about this. When we were talking about it we
were like okay let's do something that people can make at home that feels like very easy to make and that you can cherish and have it and use it every year. I'm going to explain a little bit but the day of the Day of the
Dead is a celebration. Well it's a Mexican tradition that we celebrate each
year in in November. So the main element of our tradition is we put up an ofrenda. That is an altar that's made for our loved ones that have passed away already. So the idea is to to make this altar for them before the 31st of October until the second or third of November. I think it was a great
idea to make a table runner to decorate it. So we're gonna show you a
bit how to make it awesome, and we can go through all the elements as
well. We have different elements that we always use in an ofrenda.
We can show you here just a few of the elements that I'm so happy that I brought them from Mexico City.
First of all we always have to put a picture of our loved one that we're honoring, because in this celebration it's festive, it's something to to be joyous. It's where we celebrate and honor them and remember them as if they were here with us.
Misty: Absolutely. And I was so excited because for people who know my story, you know how important my grandma was for me coming to quilting. So I put a picture of my grandma Sandy here on our ofrenda and I even found a picture of her in one of her quilted vests which felt very
appropriate. So it's just really fun to honor her in this way. It feels full circle to also be sharing a quilting project around for her.
Stephanie: The flowers are so important. We always decorate and and it's to make it so beautiful. The main flower that we use is the marigold that in Spanish is called cempasúchil. I told Misty she has to pronounce it.
Misty: She's trying to teach me and I don't want to destroy this beautiful language but say it one more time.
Stephanie: Cempasúchil.
Misty: Cempasúchil.
Stephanie: That's a marigold for us. So this is the main flower that we always use in for this holiday. The cempasúchil is very important and also we always have the sugars skulls, calaveras de azucar. The sugar skulls are this one over here - these are made of sugar and they're decorated with royal icing and usually they put like the name of the of our loved ones. People decorate in different ways and you can have it like small or big. They're like very creative in the world.
Misty: I love learning this because as someone who's only seen this
celebration from maybe the commercialized United States view I didn't know that they were truly made out of sugar.
Stephanie: Yeah the kids can eat them and really they make them also in chocolate. But the ones that we always use are the sugar ones.
Misty: Uh-huh, so fun!
Stephanie: Yeah. Also we always have candles. The candles represent the light and the hope and it's like to to bring our loved ones to come back and to have their spirit with us. We have the bread, that's pan de muerto. That it's a sweet bread - that is like a round loaf that we have over there and it has bones in on the top. It represents well the bones of a skeleton.
Misty: Sure yeah.
Stephanie: So you can put like different things, like of the people of our loved ones. You can add things that they usually drink or or ate,
or things that they love. I mean whatever you want to honor them right?
Misty: Exactly.
Stephanie: Exactly and people celebrate in so many ways. I mean people
do like huge altars. People go to the cemeteries as well and to celebrate and I mean it's to celebrate the circle of life and to be happy and and to remember them.
Misty: Yeah I love that! I Iove that it's truly a joyous celebration and and to
think back on the people who have made an impact on our life that are no longer with us.
Stephanie: So we're gonna start our project, but first I wanted to explain you how the inspiration on this table runner comes from. Over here we have, this is papel picado. This is like a very traditional decoration that we would use at the Day of the Dead for our altars. You have to say it now: papel picado.
Misty: Papel picado.
Stephanie: So it's trim paper. We use all the time to to decorate so beyond going with this idea I wanted to make for a runner something like a papel picado. I love it with our fabric.
Misty: Yep it turned out beautiful.
Stephanie: We're going to show you how to make this. It's applique and it's really simple to make.
Misty: It is very simple.
Stephanie: We're using my Wandering collection for Andover Fabrics.
Misty: So we selected five of the prints for the front and you're going to need a half yard each. That's going to give you plenty where if you wanted to even make this a little bit longer you could. And that will also give you enough for your binding, so just keep that in mind. And then some background yardage as well, we just use white to go with that. Oh you'll also need some fusible web because this is just going to be some iron-on applique. All right, let's do it!
Stephanie: So for our applique you can download the templates. We have three different designs for the papel picado that are this ones.
Misty: You've made it as easy for us as possible!
Stephanie: Yes it's very easy. It's like, I don't know if you make you made
when you were little, like snowflakes?
Misty: Absolutely.
Stephanie: Same idea. Okay, to make papel picado, same technique we used to make this. You fold and fold again and then you just cut it. So
we're gonna do the same thing here.
Misty: Okay, great!
Stephanie: Okay so we're gonna start. So we have already, this is our fusible web that is already in the size that we need, so we're gonna fold it in half and then fold it in half again.
Misty: Okay perfect.
Stephanie: Okay, so we have the the lines. So we're gonna open it and we're gonna trace it in one of the corners. They're following the the folding line.
Misty: Here's a pen.
Stephanie: And also you can make your own designs.
Misty: This is just foolproof if you want to just accept some options,
but it would be fun to just play.
Stephanie: You don't have to be like super exact, to just trace it. I mean it's so fun because the shape that you have here it's gonna go
on the other side so you know.
Misty: All connected.
Stephanie: Like this. You're gonna have hearts.
Misty: Yeah.
Stephanie: I mean you can do lots of things. And then we do our borders
it could be like scallops or or um something more geometric.
Misty: You've given some variety in each of these as well, like the shapes are just a little bit different which I think is really fun. This one's more geometric this one is kind of a softer scallop, those are closer together. Even just printing these off for your own ideas, even if you want to make your own it's a great starting place.
Stephanie: So after this we already have it here, we have to fuse it to our fabric. You're coming from the wrong side like this and when you just
go to the iron. Let it cool a little bit,
Misty: Yeah it's a little warm.
Stephanie: So once it's ready, you're gonna fold it again, following the lines that you already have.
Misty: And I found this to be really forgiving too, so it is it's such a fun and quick project that kind of gives a a big impact which is really great. You could definitely do this in like an afternoon. You just need a couple hours.
Stephanie: Yeah exactly. And what I like is with a fusible also it's so easy to cut the fabric. Just cut them out the only tricky part is here in the middle. You have just to make like what I usually do is like I I fold it maybe in
half I make like a small cut like this. And then from there you're gonna start working like cutting in the inside so you have like this diamond here. The idea is to get all the shapes from there out and then...I mean if your fabric shape shifts a little bit I mean it doesn't work and it doesn't have to be perfect and like symmetrical from the other side. When you open it it's gonna look, yeah exactly. And I think this is a great project to do with your kids.
Misty: Oh absolutely.
Stephanie: I like to decorate my altar with my kids. They always paint like the skulls, those are made from wood, and they just paint them. So this is like a good activity for them. See I'm supposed to follow the line, but you know it's okay.
Misty: That's the whole point. It's really just a guideline more than anything.
Stephanie: Yeah and I love how it's gonna give you a different look when you open it. It's like a surprise until you open it.
Misty: All right, so we are gonna finish cutting this out and we'll meet you back here when it's all done.
Stephanie: Okay so now that we're finished cutting all the pieces...
Misty: There's the magic! Oh look at that! It looks great.
Stephanie: It's so fun. And from here, okay we're gonna attach it to the
background. We have our square. To center I folded in half and then in
half again so we have a like a guide. I mean you can eyeball it but it's easy to do this exactly. Because we already have the lines also in the in the papel picado, so this could be our guide. Try to to put it here in the middle.
So we're gonna peel off this.
Misty: And if you're not familiar with a fusible like this, the paper will be removed and it leaves kind of this shiny that will become the glue when we we iron it down.
Stephanie: And then we'll put it here, there we have it in the center and then we're gonna press it.
Misty: All right, okay.
Stephanie: I always like to start like in the middle and then go move out over here.
Misty: This is so fun because it looks like you've worked super hard. It's just happy. You're right it takes you back to childhood, like making the paper snowflakes.
Stephanie: And it looks like intricate, but it's fast. I think we are ready.
Misty: Beautiful.
Stephanie: Then from there we can stitch all around, applique with
a straight stitch, blanket stitch, a little zigzag, whatever. I mean really
whatever you prefer. You could test out all the fun stitches on your machine if you wanted.
Misty: Awesome! That's great. So I have one here that we just straight stitched, so if we want to show as an example. Here's this yellow and
it's a different one of the templates and so we just matched our thread and went around all of those openings and it just turns out beautifully. so now let's show them how to make the half square triangles that finish off the edges.
Stephanie: So now we're gonna make the half square triangles that are these ones over here. So cute on the sides. So we're gonna do four at a time. So we put our fabrics right sides together, and we are gonna stitch just a quarter of an inch in the outside all the way all the way around.
Misty: Yeah, all the way around got it. Okay there we go.
Stephanie: Now from here we're just gonna cut like in diagonals from corner to corner. I love this method, then you can make four at a time.
Misty: It's pretty great. Okay beautiful and then we just square it up. So now we can use our Clearly Perfect Slotted Trimmer and we are looking for the six and a half. So we're gonna put our stitch line on the stitch line
and we can just square these up. Plenty of room to trim. Very forgiving there we go. If you want to press then I'll keep trimming these.
Stephanie: Now that we have this all squared up we're gonna lay them out all together so we can build our table runner.
Misty: Awesome! Let's do it!
Stephanie: So these are gonna go like this.
Misty: Whites together, I can do that. There's that one okay, so this one too. All right there we go. So we have the yellows ready and I have the purples ready too and so now we can just show them how this lays out. So we did three in the middle on ours. I just have two of the blocks here but you can see how you could make this whatever size you want.
Stephanie: Exactly. Depending on the table you're gonna use...
Misty: If you have a small area even just one would be beautiful you can see how cute that looks. And then you're just going to sew these all together and you can see here on our finished runner we just quilted
it on our long arm and then finished it off with this great little flange binding. And it turns out so fun, so this is our beautiful runner. I think
it turned out so good. Thank you so much Stephanie! Do you want to just run through it one more time for everyone?
Stephanie: Yeah of course I can make a small summary in Spanish so I can explain it a little bit.
Misty: I love it yeah.
Stephanie: Yeah I hope you like it. It's made well with my Wandering collection that I'm so happy that all the colors blended perfectly for the celebration. The purples and the yellows and the oranges, and so I really hope you like it!
Misty: I absolutely love it and I am so grateful to you Stephanie for coming and sharing not only this project, your beautiful collection, but also more about this wonderful holiday. I hope you all enjoyed it and you will also celebrate Dia de los Muertos and honor the loved ones in your life. We will see you again soon!


