

How To Make A Prairie Flower Quilt - Free Quilting Tutorial
 Jenny Doan
- Layer Cake
- Traditional
- Double
- Beginner
- Quilt size 74" × 89"
Jenny shows us how to make a traditional Prairie Flower quilt with snowballed corners and sashing with cornerstones 10 inch squares of precut fabric (layer cakes) or 5 inch squares (charm packs). This quilt will have you feeling at home on the range!
Instructor
Jenny Doan
Jenny Doan is an American quilter, author, and YouTube personality. Jenny started Missouri Star Quilt Company in 2008 and today it is the largest quilting supply vendor in the United States.
Shop this tutorial
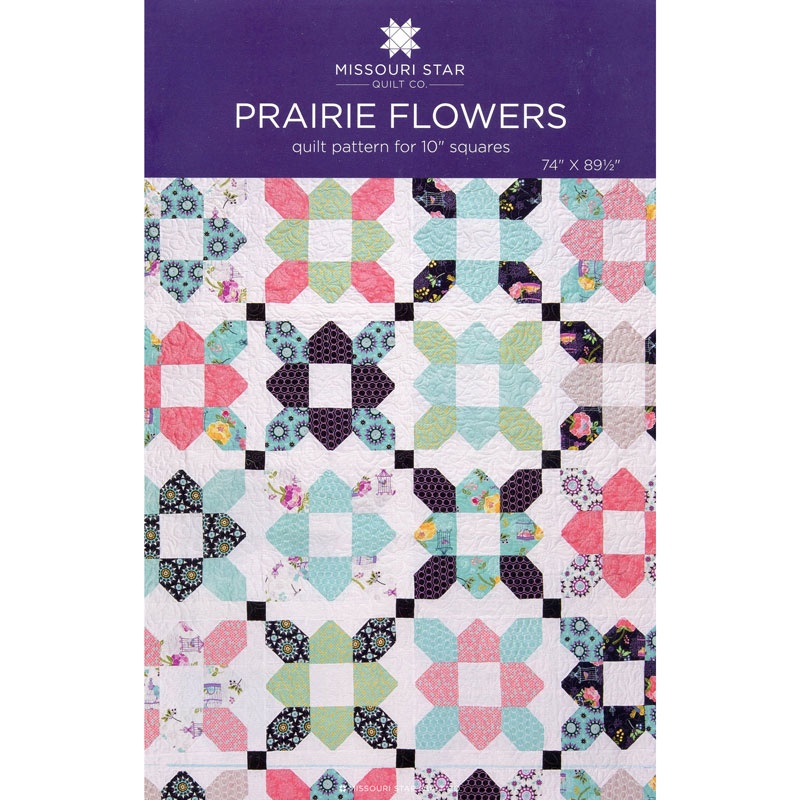 Prairie Flower Pattern by Missouri Star$6.95Shop →
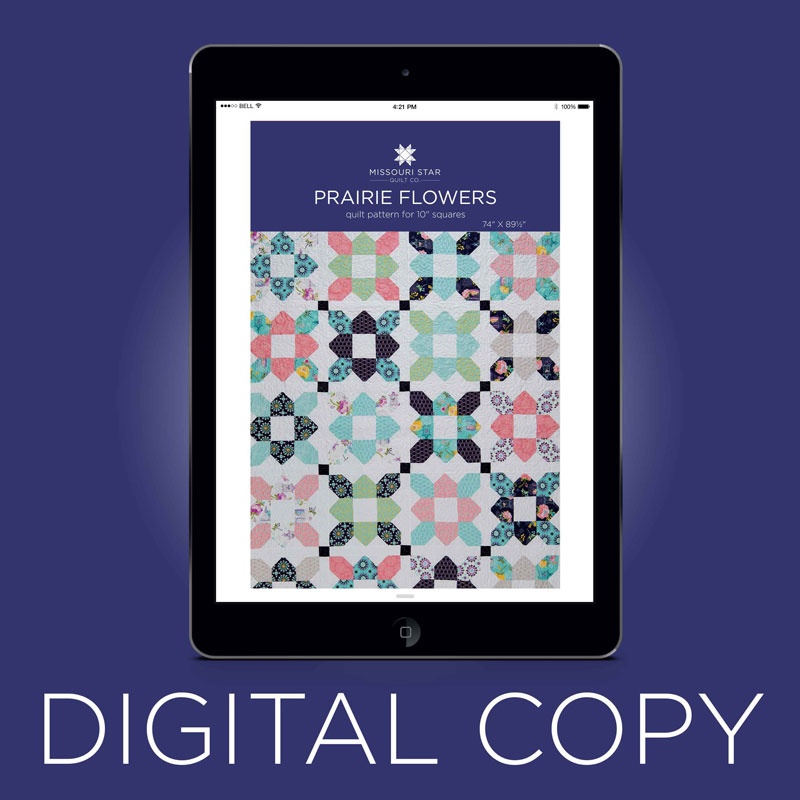 Digital Download - Prairie Flower Quilt Pattern by Missouri Star$4.95Shop →
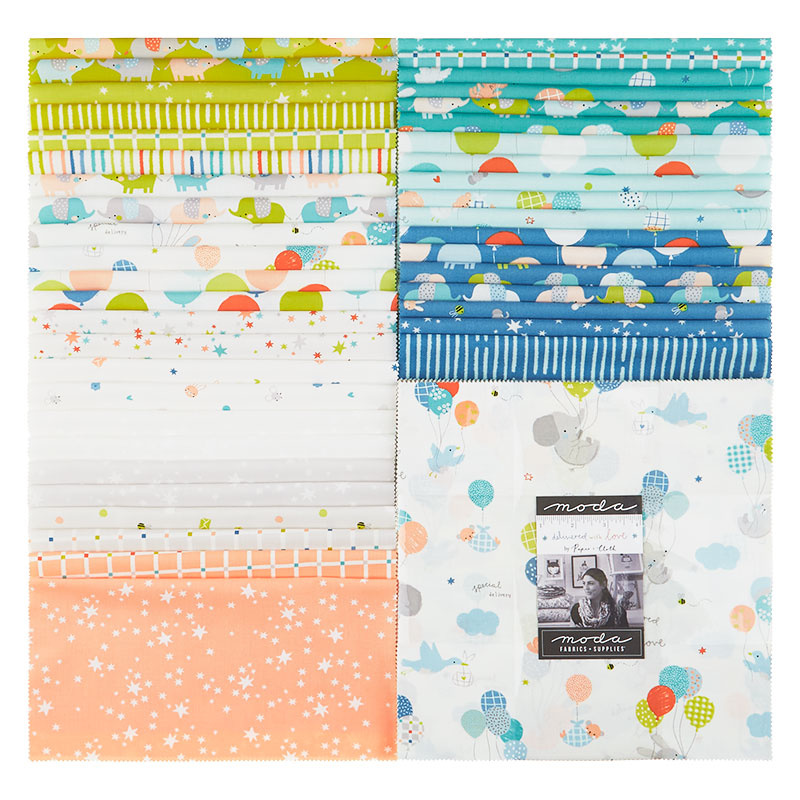 Delivered with Love Layer Cake$45.95Shop →
 Bella Solids - White Bleached Yardage$8.24Shop →
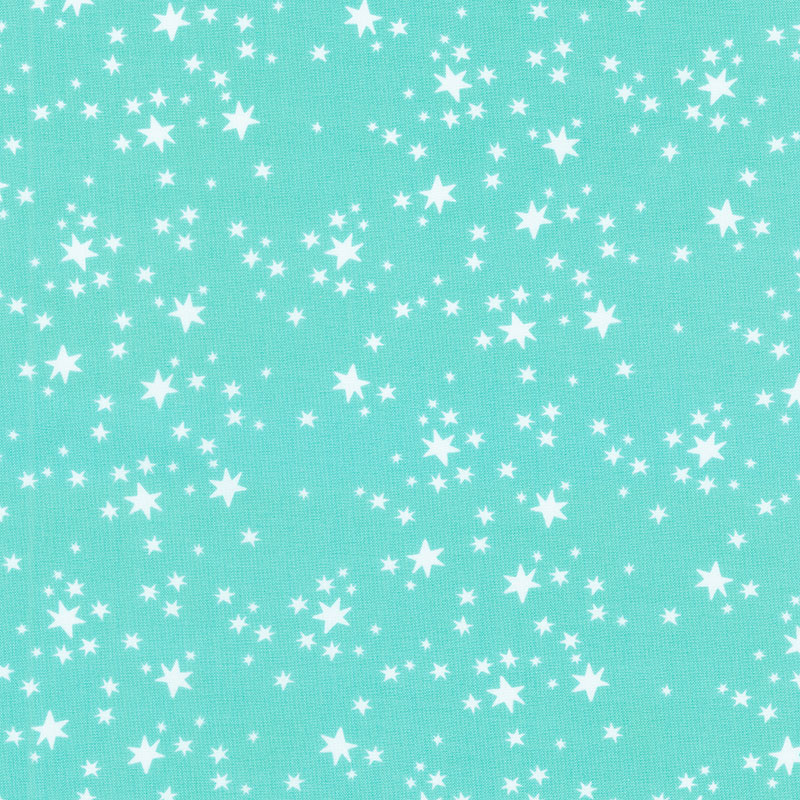 Delivered with Love - Starry Dreams Aqua Yardage$11.96Shop →
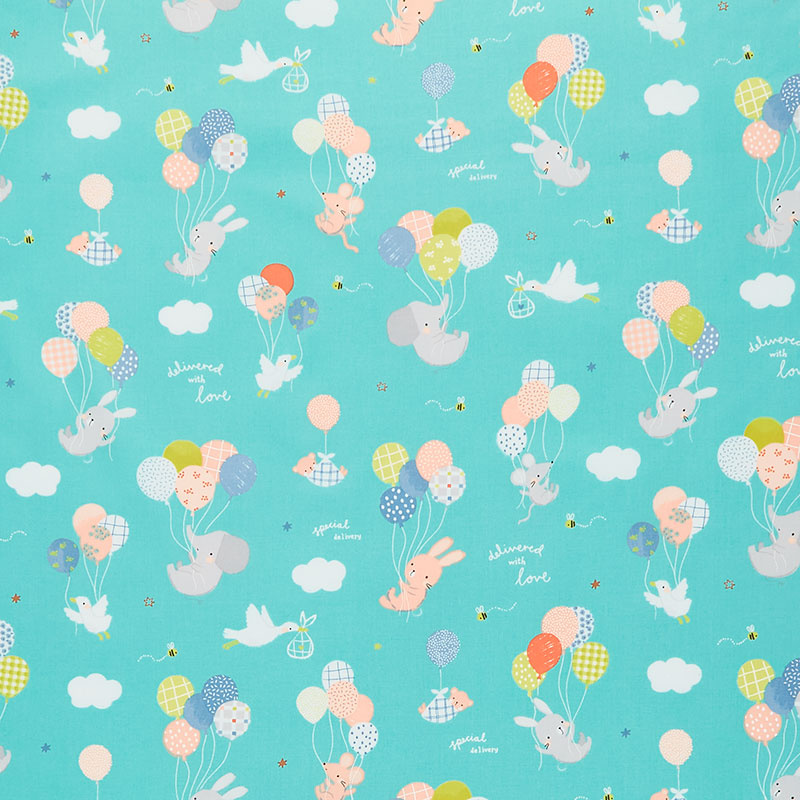 Delivered with Love - Special Delivery Aqua Yardage$11.96Shop →
Common Questions
What is covered in How To Make A Prairie Flower Quilt - Free Quilting Tutorial?
Jenny shows us how to make a traditional Prairie Flower quilt with snowballed corners and sashing with cornerstones 10 inch squares of precut fabric (layer cakes) or 5 inch squares (charm packs). This quilt will have you feeling at home on the range!
How long is the tutorial video?
The tutorial video is 00:15:54.
Are supplies listed for this tutorial?
Yes. The tutorial page includes the supplies and materials connected to this project.
Is a transcript available?
Yes. A written transcript is available on the tutorial page.
Video Transcript
Hi everybody. It's Jenny from the Missouri Star Quilt Company and I'm here today with Natalie, and we are back with one of our favorite 15 quilts.
Natalie:
This is one of my favorites. I've always loved prairie flowers.
Jenny:
It is so simple and quick and so fun. Let's look at the quilt behind us. This is darling fabric, I think too. Just so cute.
Natalie:
It is. It's so cute.
Jenny:
Love that little stars in the border.
Natalie:
Sweet little elephants.
Jenny:
Really fun. Yeah/ So to make this quilt, you're going to need one packet of 10 inch squares, and we have used Delivered With Love by Paper and Cloth from Moda Fabrics, and it is a darling, just a darling fabric line.
Natalie:
It is so darling. But, this quilt, it looks great in all fabrics.
Jenny:
It really does.
Natalie:
I love this fabric.
Jenny:
Yeah, that's what makes it one of our favorites.
Natalie:
Yeah.
Jenny:
So you're going to need some background fabric as well. We have three and a half yards here, and that includes the sashing and the inner border. You're going to need a quarter of a yard for your cornerstones, and those are these right here in your sashing. And we've actually pulled ours in from the border and used the same border fabric, but you can use whatever you want. So if you want to put it with your border, just add a quarter yard onto that. The outer border is one and a half yards, and we have a nice big six inch border out here.
Natalie:
That's beautiful.
Jenny:
And then let's look at our backing.
Natalie:
Oh my goodness.
Jenny:
The backing is five and a half yards.
Natalie:
That is so cute.
Jenny:
And it's all these little elephants, and storks, and...
Natalie:
Mice and bunnies.
Jenny:
Bunnies
Natalie:
Balloons.
Jenny:
Just such a cute little baby fabric.
Natalie:
Oh, I love it.
Jenny:
We got a baby coming in our family and we're pretty excited about it.
Natalie:
I know. Any day now.
Jenny:
So we also used, the quilt pattern on this is curly twirly flowers, which I think is fun. It's one of those that covers a lot of area, but then it has the cute little flowers in it and that sort of thing. And this quilt is 74 by 89, so it's a pretty good-sized one.
Natalie:
Yep. Perfect for a-
Jenny:
Probably you could make four baby quilts out of this one group of fabric.
Natalie:
Yeah, easily. Easily you could make four baby quilts, but this is also perfect for a twin bed.
Jenny:
So let's get started on how to make this. This block is pretty simple. This is the block we're looking for and it has the four pedal blocks on the outside and then these four, what I call X and O blocks. And so they're both a really simple block, which just involves a little bit of snowballing. So basically what you're going to do is you're going to take your background and you're going to cut a five-inch strip and you're going to cut that, subcut that into five-inch squares. You're also going to need two-and-a-half-inch squares, and you're going to need 16 of these. So one strip will do the whole block.
Natalie:
Oh, that's nice to know.
Jenny:
Yeah. Just kind of cool. And so I'm going to take two colors that are contrasting and I love this little one with its little tiny cornerstones in it. And I'm going to line these up and I'm just going to cut these into four squares. And we're going to decide which one we want to be the pedal and which one we want to be the X block. So what are you thinking, Natalie? These are our two options right here.
Natalie:
I think make the Xs the peach. This is one I think would be cute for the outside X blocks.
Jenny:
Okay, so let's do that block first then.
Natalie:
All right. Do you want me to sew?
Jenny:
Actually, let me sew this one and you can press.
Natalie:
Okay.
Jenny:
So this one, what we're going to do is we're going to take a two-and-a-half-inch square and we are going to sew just diagonally right down the, from corner to corner. And we're going to put two on each block like this. And so we're just going to go right across here and right across there. So make sure your little block stays in the corner and make sure that this point stays lined up with your red line here in the middle. And then we're just going to sew straight across like that.
Natalie:
Okay. Do you want to do all four?
Jenny:
Yeah. We'll just chain piece these. We'll do all of one side and then we'll do all of the other.
Natalie:
Okay.
Jenny:
And then just like this again, lining my point up on the red line, and I think I probably dropped one of my squares off the back.
Natalie:
That's okay. I saved it for you.
Jenny:
And then this one. So we're chain piecing. We'll get all four of these done just like that. And then we're going to flip these around and do the other side. So you just put your squares on opposite sides. And I always take a couple little anchoring stitches and then I make sure I'm lined up on the line. And then this one, thank you. One of the hardest things for me is to get them apart, as you know,
Natalie:
Because the fabric is-
Jenny:
The fabric just sticks.
Natalie:
Sticks together.
Jenny:
I'm always licking my fingers and people are like, don't lick your fingers. Can't help it. All right, and one more. And Natalie, if you want, you can take a scissor and cut some of the back ones of those off and then we're just going to trim it off at the quarter inch and press it back. So do you want a scissor cut?
Natalie:
Yeah. You can scissor and I'll rotary.
Jenny:
I'll scissor and you can rotary.
Natalie:
Because it doesn't matter. You can do it either way.
Jenny:
So we're just going about a quarter of an inch from our seam line like that.
Natalie:
And if you're really into minis, this is a good place where you could just sew half an inch away from your line and you cut out all those little triangles.
Jenny:
You could. You sure could. All right, I'm going to let you iron those, and then I'm going to get going on our next block, which is super easy as well. So on this block, this is it right here, and it has just the two snowballs on the top of the block. So these are directional, and so you might want to make sure that your snowballs are on the top. However, when this snowball comes around to the bottom, they will be upside down, so just think about it how you want it to do.
To me, I don't ever pay attention to that because I'm just sewing and I'm putting it together, so it's just not a big deal. So these are our corner blocks right here, and we are onto these. So Natalie, if you'll get me four for these, I'm going to do the same thing. I'm going to start right here on this side, and I'm just going to sew a line-up with my diagonal seam tape and you will want to grab these. Actually, you know what? Here's a little hack. Because these are five inches and these are two and a half, we can actually put two on here and they won't overlap. So we could actually sew up here and down here and the whole block would be done.
Natalie:
Yeah. That'd work.
Jenny:
So I'm going to do that on this. I'll give you these two to trim, but then I'll show that little hack on this one. So here's this. We go up one side and down the other. There we go. And now that block is just done. And we're not worried about losing that point at all because it's part of the flower.
Natalie:
It's lost on purpose.
Jenny:
There's that one, and then these two, and this one right here. So that's kind of a cool hack. I forgot about that when I started, but my brain does those quick things and it remembered it really fast.
All right, there's that one, and I will trim this edge and we'll just lay this block out for you. Now, you'll notice our center block right here. Our center block is just our background fabric. So we're going to cut a five-inch square for that, and we've done that right here. And then we're going to put these with our points to the outside. And so right here like this. I'm going to get these off of here.
Natalie:
There you go.
Jenny:
And so always make sure your points are to the outside. And then these are the corner blocks and your color goes right into the middle, and that's how I remember. Those are my little mantras. Color goes into the middle like that. And then there's our block. And so what we're going to do-
Natalie:
That's so simple. I love it.
Jenny:
Isn't it simple? And it's just really fun. And this really is one of those blocks that has a lot of what ifs about it. Every time I do it, I'm like, then I have to stop myself because it'll confuse everybody.
Natalie:
Yeah, because if you turn these in, you get a star.
Jenny:
You get a star, right?
Natalie:
So cute.
Jenny:
Now you just did it. You just confused everybody.
Natalie:
I'm sorry. It's all right.
Jenny:
Anyway, so I'm going to go and sew this column down, and then I'll add these three over here. So I'm just going to lay these on top of each other like that, and we'll sew them one after the other and they will chain piece together. And so they'll be hooked together with what I like to call my thread pins. Those are my threads that hold it together. And this one, and then this one here. And then I'm just going to bring these right back down and open up the top one and add this side, remembering that my color goes to color and the white goes to white. And then this one right here. And then our color to color, white to white. We've seen this one in a lot of fabrics too, haven't we Natalie?
Natalie:
Yes.
Jenny:
Christmas. It looks gorgeous.
Natalie:
It really does. It's just beautiful in every color, every fabric.
Jenny:
All right, now I'm sewing my rows together. I guess I should show you that. Here we go. I got my three rows here. They're hooked together with my little fabric pins. And we're just going to lay this one on top of here. The only thing I really watch when I'm sewing these together is I watch that my middle seams are going the same direction on this row and the row I'm going to add. So right now, my little seams are going out to the outside, and so I just have to remember that when I get over here to this other center block over here. So I'm going to lay this on top of here, and then I'm going to remember that this middle seam right here is already going out, and so I want it to go out on this side as well, because that's the only block that connects to the others. So make sure it's going out. And then when you iron it, it will lay nice and flat.
Natalie:
All right.
Jenny:
And then we'll look at how this goes into the quilt. This is pretty straightforward and pretty easy. It's just a quick, fun pattern. It would be fun to make it in a mini as well. It would be really cute as a mini.
Natalie:
That's a great idea.
Jenny:
Maybe we should use it for a triple play.
Natalie:
I think so.
Jenny:
All right, so let's look at this. Here's our block. Isn't that cute? So here's how they go into the quilt, just like this. And then what we did was we put a sashing strip. So you'll measure the length of your block, and these sashing strips are two and a half. And you'll put a sashing strip in here like this, and then you can either sew your whole sashing strip together this way, or you can do that corner hack that I like to do. So there is one, two, three, four by one, two, three, four, five down, so 20 of these blocks because it takes two layer cakes to make each block, so that's 42 layer cakes, 20 blocks.
So let me show you how to do my sashing hack. So your block is here. You're going to measure it, and we're going to cut a piece exactly this length. Mine happens to be 14, but everybody's seam allowances are a little different. So just measure yours and make sure. And so then what I'm going to do is I'm going to sew a strip here, and then I'm going to sew a little cornerstone and this strip as well. So we're making the block. This sashing is now part of the block.
And so let's go ahead and we'll cut this. I know my block is 14, so here's a two-and-a-half-inch strip of fabric. I'm going to straighten up the end right here like this. And then I have my ruler has 14 inches on it. It's actually a 15-inch ruler. So I'm going to come to 14 inches right here, and this will give me two pieces. And so what I'm going to do is I'm going to sew this on one side right here like this, and then I'm going to take this bottom piece right here and attach a two and a half inch square that I've cut from my border strip. So just right here like this. Let me get this up here so you can see this a little better.
All right, so this one gets sewn onto there. These two get sewn together and then they're going to be added on there. So this is actually my finished block now, and that's just a little hack. That's not how it says to do it in the pattern, but it's a great way to sash a block, and then you just set these next to each other and they set up here. And then-
Natalie:
So this one final block, you just sew a strip on the bottom?
Jenny:
Right.
Natalie:
Because the outside is your inner border.
Jenny:
The outside is your inner border. So just watch that.
Natalie:
So you can do that to the first three in every row all the way down, and then this row is just a sashing strip on the bottom
Jenny:
Right.
Natalie:
Super easy.
Jenny:
And of course you can, a hundred percent you can just sew these four blocks together like this, and then you can make this little sashing row right here with the little cornerstones and then sew that to the bottom. That's how we originally did it, and you totally can do that.
Natalie:
Both ways work great.
Jenny:
Both ways work great. So we hope you enjoyed this remake of our Prairie Flower Quilt. It's pretty fabulous, isn't it?
Natalie:
It's beautiful.
Jenny:
It's one of our favorites. Anyway, we hope you enjoyed this tutorial from the Missouri Star Quilt Company.
Hi everybody, it's Jenny from the Missouri Star Quilt Company. We hope you enjoyed watching this video. If you aren't already part of the Missouri Star Quilt Company family, be sure to subscribe so you won't miss a thing. And if you click that bell, it'll notify you every time a new tutorial comes out. See you next Friday.



