

How to Make a Quatrefoil Quilt - Free Quilting Tutorial
 Jenny Doan
- Layer Cake
- Modern
- Queen
- Beginner
- Quilt size 84" × 98"
A quatrefoil is a four-lobed symbol—just like a 4-leaf clover. It’s found in art all over the word, from ancient Mayan carvings to Gothic cathedrals. 8 years ago, Jenny’s debuted her layer cake Quatrefoil quilt, and it was an instant favorite. This week, she's remaking it - more colorful than ever - with Rainbow Kaffe Classics for FreeSpirit Fabrics.
Instructor
Jenny Doan
Jenny Doan is an American quilter, author, and YouTube personality. Jenny started Missouri Star Quilt Company in 2008 and today it is the largest quilting supply vendor in the United States.
Shop this tutorial
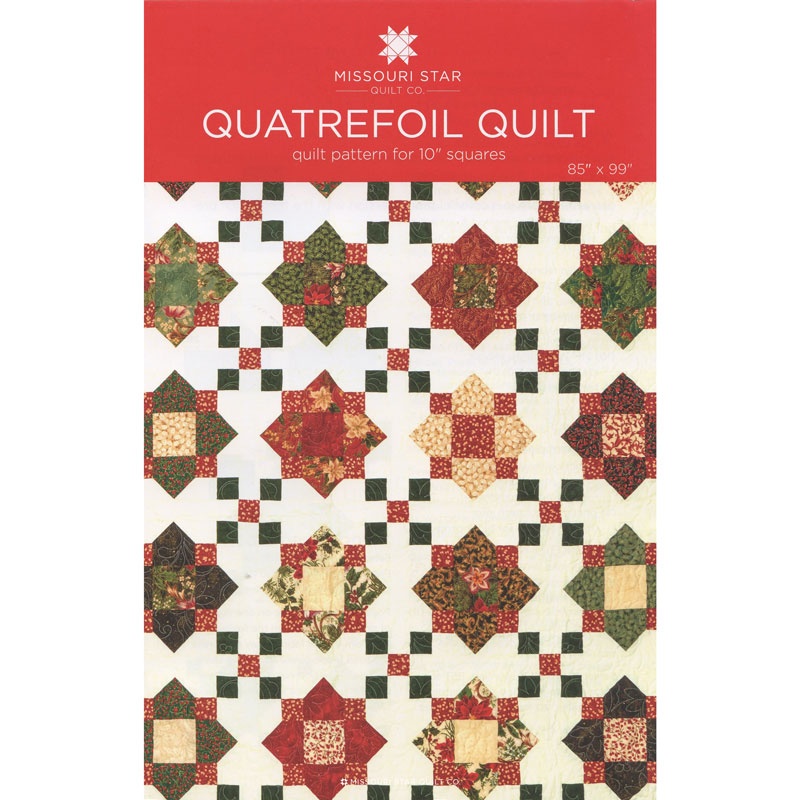 Quatrefoil Quilt Pattern by Missouri Star$6.95Shop →
 Digital Download - Quatrefoil Quilt Pattern by Missouri Star$4.95Shop →
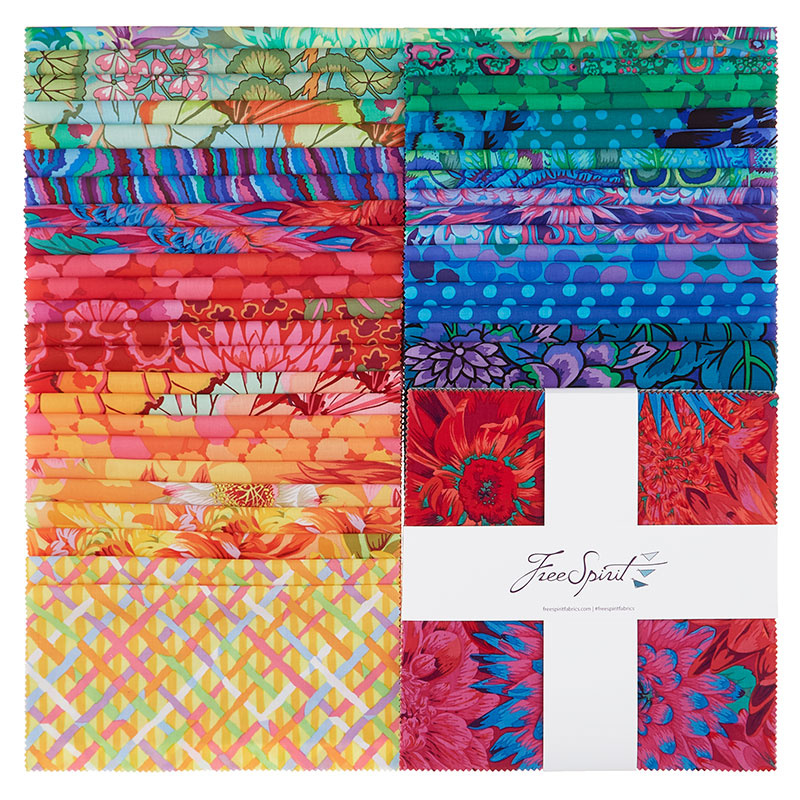 Kaffe Classics - Rainbow Colorway 10" Squares$43.95Shop →
 Designer Essential Solids - Arctic White Yardage$8.24Shop →
 Designer Essential Solids - Black Yardage$8.24Shop →
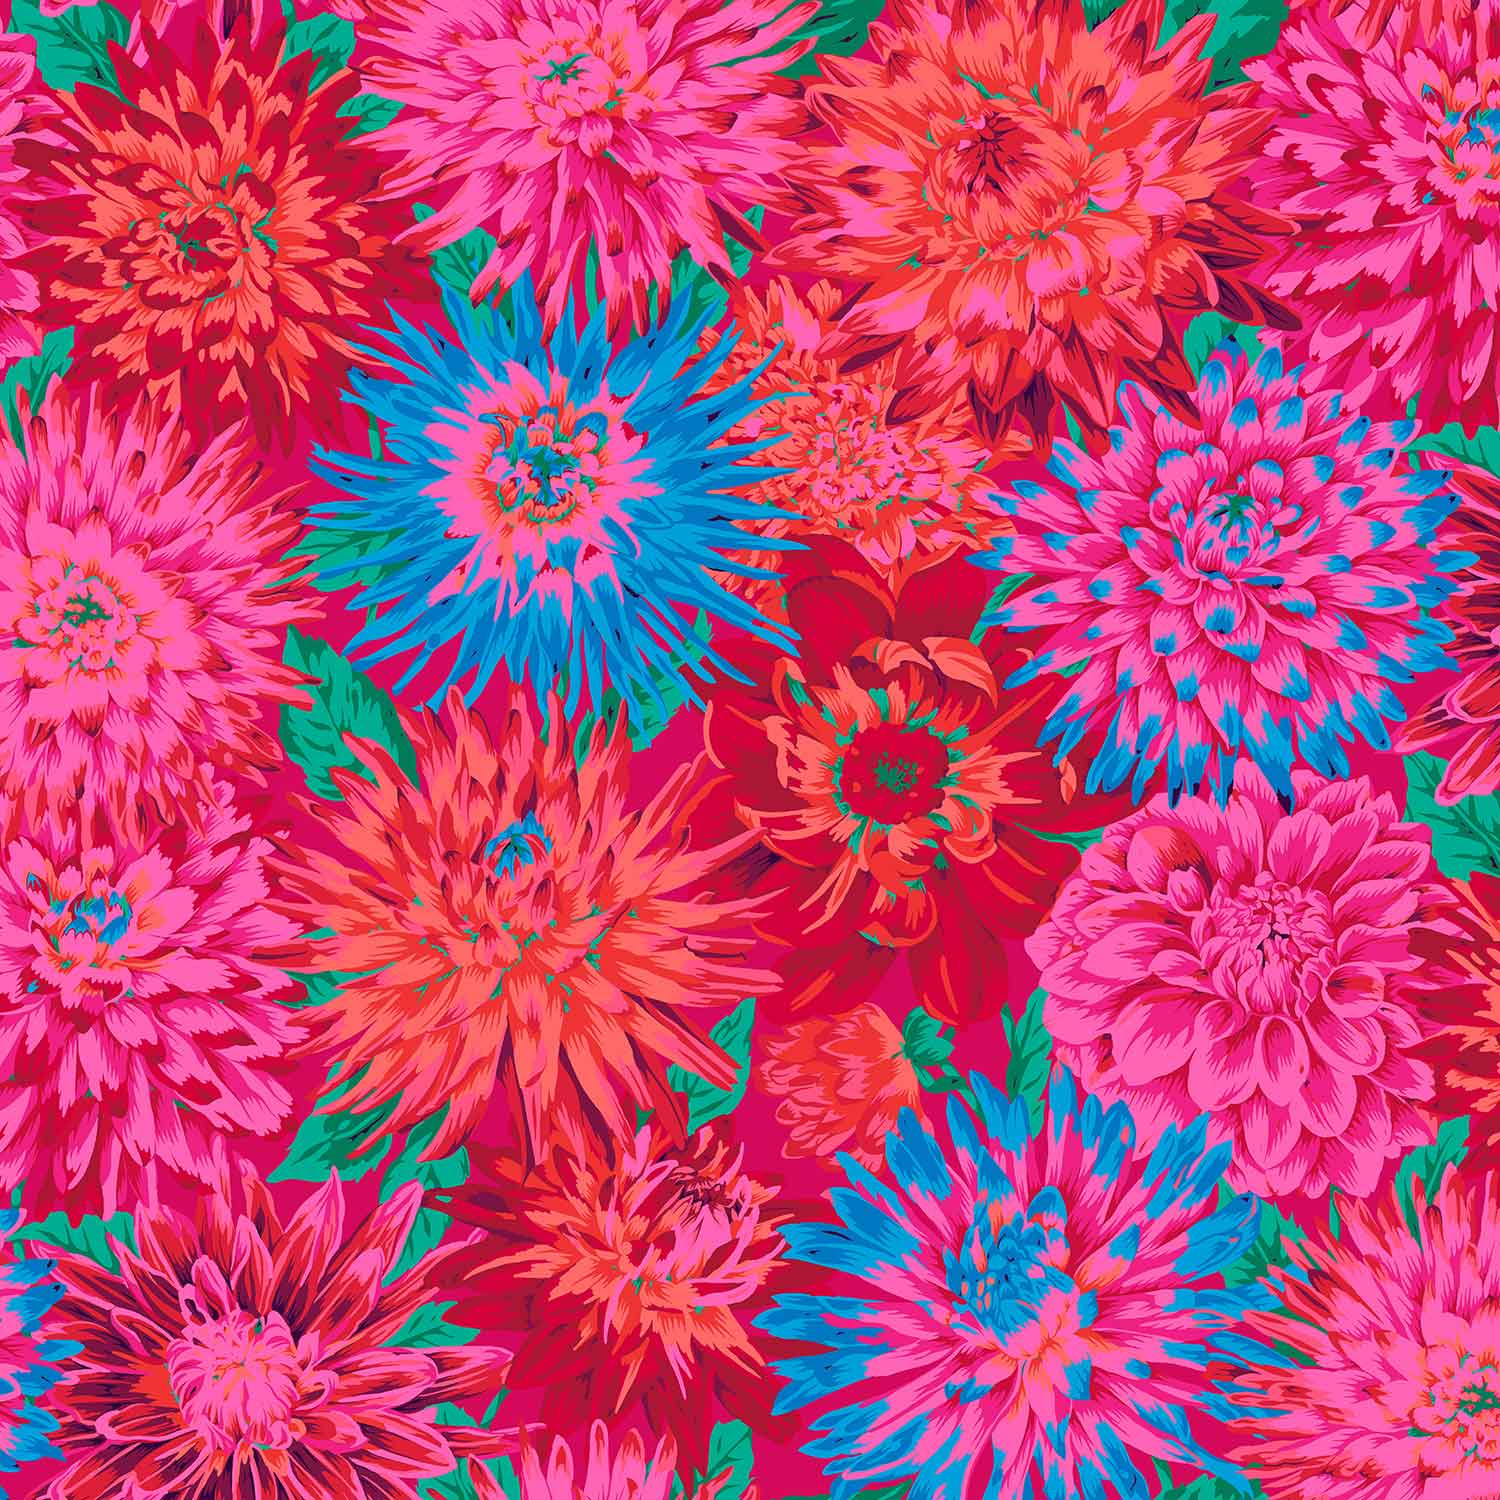 Kaffe Fassett Collective - Rainbow Stash Cactus Dahlia Red Yardage$12.64Shop →
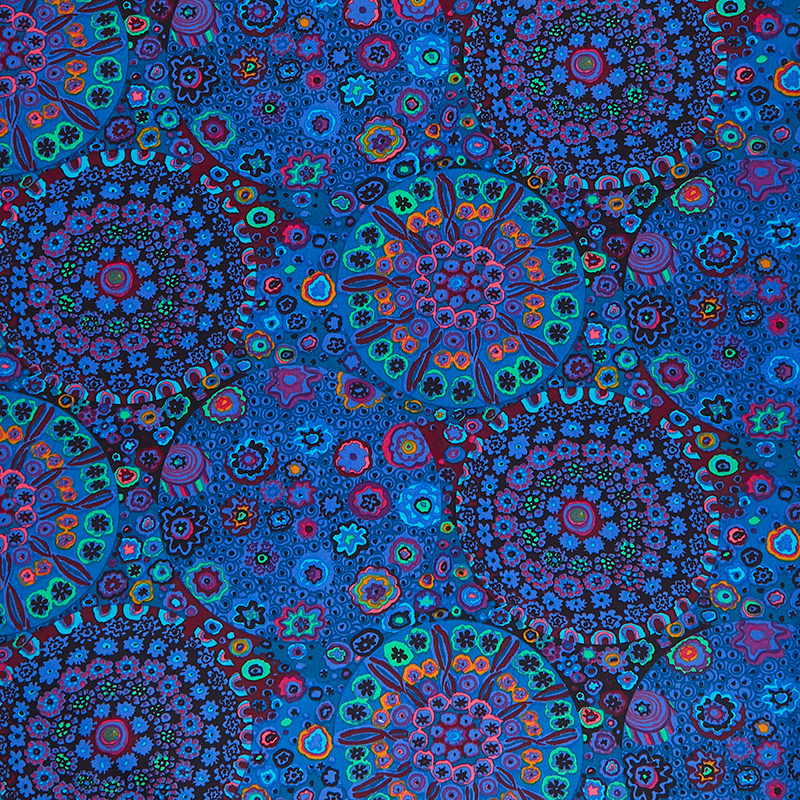 Kaffe Collective - Millefiore Blue 108" Wide Backing Yardage$23.96Shop →
 Missouri Star Quilter’s Best Blend Queen Batting$37.45Shop →
Common Questions
What is covered in How to Make a Quatrefoil Quilt - Free Quilting Tutorial?
A quatrefoil is a four-lobed symbol—just like a 4-leaf clover. It’s found in art all over the word, from ancient Mayan carvings to Gothic cathedrals. 8 years ago, Jenny’s debuted her layer cake Quatrefoil quilt, and it was an instant favorite. This week, she's remaking it - mo...
How long is the tutorial video?
The tutorial video is 00:20:04.
Are supplies listed for this tutorial?
Yes. The tutorial page includes the supplies and materials connected to this project.
Is a transcript available?
Yes. A written transcript is available on the tutorial page.
Video Transcript
Hi everybody, it's Jenny from the Missouri Star Quilt Company and I'm here with Natalie today because today is one of our fabulous favorite-
Natalie:
Favorite fifteens.
Jenny:
... fifteens. Yes.
Natalie:
We got some good ones.
Jenny:
We do. And so this one is the Quatrefoil quilt, which people love. They just love this one and we get to see it.
Natalie:
It's fun and it looks great in every fabric we've done.
Jenny:
We've done it in several different fabrics and it's great and it is one of our favorites. So to make this quilt, we chose Kaffe fabric and we're using his Rainbow Colorway. And it's gorgeous, isn't it?
Natalie:
It really is.
Jenny:
I love that big floral print on the border. Really, really pretty. So to make this quilt, you're going to need one packet of 10 inch squares, and we have used Kaffe Classics, Rainbow Colorway, and it's gorgeous. It's just beautiful. You can see the fabrics and the quilt behind us. I mean, it's just beautiful.
You're going to need some background. You're going to need four yards of this. This takes care of your four patches, your sashing, your inner border. Any place there's white that will do it. You're going to need some accent because we're making four patches with this black right here. And you can see, it just makes those colors just population. Three quarters of a yard for that.
Now our cornerstones and our other four patches are all made out of this fabric right here, and you'll need three quarters of a yard for that. But we use the same fabric in our border. And so for the border you'll need a yard and three quarter, so you'll need both of those. And you can choose any accent fabric you want for those blocks, but we went with this border fabric on both pieces.
Now our backing right here is nine yards, which sounds like a lot, but it's three, three yard cuts because this quilt is huge. The quilt is 84 by 98, and so it makes a really nice, great quilt and we're super excited to show you how to do it.
So there are several components to this block and we have a four patch and we have this block right here. And so four patch this block. And then we also have a center block that is just a four and a half inch square. So we're going to start with these blocks right here, and you're going to need four of those, and they all come out of one layer cake.
So let's go ahead and cut four of those. These are going to be four and a half inches. All these blocks turn out to be four and a half inches. So I'm going to lay my ruler right on the edge of that and then come over four and a half right here. This little piece will go in my crumb bin 'cause that is plenty big enough for that. And so then we're going to go ahead and cut these into four and a half inch squares as well. So four and a half, and then four and a half.
Man, this rotary cutter is so smooth. There we go. All right. So we have four of these and what we're going to do now is we are going to snowball the corners on these right here. So we're going to take four, two and a half inch squares. Natalie, do you want to cut me some two and... Oh, not this one. This is our sashing. Hang on, I have a piece here. Maybe.
Do you have one down there? A strip? There we go. All right, so what we're going to do is we are going to cut a two and a half inch strip off of this. And I'm just going to leave it all folded up nicely like this. Make sure that my folds are lined up. This is something that saves a lot of time. Knowing that we're going to subcut this into two and a half inch blocks, even if it has a little elbow, it's not going to matter 'cause we're going to cut this into two and a half inch squares.
So I now have how many layers of fabric here? Eight?
Natalie:
Eight.
Jenny:
Eight. Look at that baby. Rolls right through it. So then what I'm going to do is I'm going to open this up so I can see where the salvages are and just cut that part off.
Natalie:
You might want to pull that down just so that it covers.
Jenny:
Good idea.
Natalie:
So you get a little more out of your,-
Jenny:
Good idea.
Natalie:
... out of your strip.
Jenny:
And then after cutting eight, that just feels like butter. All right, so-
Natalie:
All the squares are two and a half in this project?
Jenny:
They are.
Natalie:
Nice.
Jenny:
And so then, what we're going to do is, you can press a line. You want to press a few of those?
Natalie:
Sure.
Jenny:
You can draw a line. You can also use your diagonal seam tape. Because what we're going to do is we're going to sew a corner on all four of these. This corner and this corner. We have to do them one at a time because there'll be overlap. And so I'm just going to come to the sewing machine and sew four of these like this.
Now watch this. This fabric is very thin and so you don't want to get two of them together. Well, if you do, you just take them apart. It's not the end of the world, but I just almost sewed two squares together. So we're just going to chain piece these and keep sewing them right on the line.
Natalie:
There you go.
Jenny:
And here's these.
Natalie:
These are to be cut apart.
Jenny:
You can trim and cut, and then I'll add the square to the other side. I love filming with Natalie because I have a helper.
Natalie:
But I also-
Jenny:
Well, there's a lot more other reasons too, Natalie.
Natalie:
Press it back. Yes.
Jenny:
And then I will start adding the square on the other side. So I'm just going to put this one here like this, and sew up to the corner and then that will give me a little point right there. See if I can keep up with her.
Natalie:
No, I have to keep up with you.
Jenny:
Sometimes that changes. But I'll put these back over here so that you can trim those as well.
Natalie:
Okay.
Jenny:
All right, here's one more right here. And then I will trim these off for you.
Natalie:
Oh, thank you.
Jenny:
And that one. And now we have all of our middle blocks are done just by snowballing those tops like that. So we are going to put these all in one spot. And then we have a middle block right here that is cut four and a half and I believe it is.
When you're doing a project like this where all the blocks are four and a half, it's super handy to have a four and a half inch ruler. You can just lay it on your blocks to make sure that they all stay four and a half, that they stay that same size. So then when you sew them all together, they all fit.
All right, so now we have our four blocks right here. And then we need a center block, which is four and a half. So you'll take another layer cake. I like to use some of the layer cakes that have different colors in them like this one. Because literally, we're going to cut four squares and there'll be four centers, but because of the different colors, they're going to look like they came from different fabrics.
So I'm just going to go ahead and cut some four and a half inch squares off of this one and one more here. And then we'll layer these up and cut two more off of those. And these are really, they're going to look like they came from different fabrics, don't you think?
Natalie:
Yes.
Jenny:
I mean the pattern is kind of the same and some of his have a completely different pattern on them, so you can really get blocks that look different.
Natalie:
It's really fun.
Jenny:
So look at those two. Same piece, completely different, but you need a four and a half inch square for the middle of your block. So you'll set these aside for some of the other blocks and we will add this one. Actually let's add this blue one. I like blue.
Natalie:
Contrast is good.
Jenny:
So I like this blue over here. Then the next block we're going to do is our four patches. The four patches made from two strip sets. One is a background and the black, and the other one is the background and a print. Again, we use the same print as our border. You can see that right here.
So you're just going to sew two strips together like this. We have this one right here. And look, every time you cut this, it's going to look like you cut it from a different piece of fabric. So then we have this black and white as well. And what we're going to do, we can lay them together, or we can cut them separately. What do you think, Natalie? What do you usually do?
Natalie:
Well, I usually cut them separately, but I do both.
Jenny:
Let's do that. So what we're going to do here is we're going to trim off this salvage and the extra piece on here.
Natalie:
It doesn't matter how close you match up that first bit, it's always going to be a little bit different lengths.
Jenny:
A little bit. All right, so I'm going to cut one of these and then I'm going to cut one of these over here, this black and white as well. Make sure I'm catching my salvages. And then I'll let you cut a few more while I'm sewing these together.
Natalie:
Okay.
Jenny:
So two and a half. And so what we're going to do here is I'm going to let Natalie cut some more of these, but I'm going to be sewing these together and I'm going to turn them and sew them this way. It doesn't matter whether you're-
Natalie:
They'll always end up the same no matter what?
Jenny:
They'll end up the same no matter what. And so-
Natalie:
Cool.
Jenny:
... we're going to lay these together. If you press to the dark side like this, so press to the dark side, then when you put your pieces together, they should be opposite and those seams should nest up perfectly, just like that.
All right, so if you'll cut a few more. We need four of each to make the block.
Natalie:
Okay.
Jenny:
So I've got the centers lined up and I'm just going to sew down the side quarter of an inch. Several of you have asked about this thin foot that I use. This is the foot the sewing machine comes with and it is not a quarter of an inch, so you do have to follow your quarter of an inch line. But oh, look how perfect that came together.
Natalie:
Excellent.
Jenny:
All right, so I'm going to leave this for you to...
Natalie:
I'll press it in a minute.
Jenny:
And I'm going to sew a couple more together. Perfect. And again, if you are worried about if your blocks are coming out the right size, remember you can just set that four and a half inch ruler on there and just check. They should be four and a half square.
The most important thing right here, when you're lining these up, the most important thing is that your middles match. You might have a little extra over here on this side and a little extra on this side because when they cut a precut and put the pinks in, it's not quite the same size as a cut strip. But as long as your middle is lined up, I don't worry about what's hanging over on this edge right here because I can trim that up later. But I know that my middle is what I want to match.
So we've got our four patches done and Natalie is putting the block on those and squaring them all up. Now, sometimes when we make a block, it could be a little bit too small as well as too big. And so if it's too small, but still in that quarter of an inch, you can just hide that when you take the seam and don't worry about it too much.
These I used, instead of cutting my strips, I used a jelly roll strip and those because of the peak, they tend to be a little bigger than our regular two and a half inch cut when we cut with a ruler. So we're just trimming all those off so that feels good to us and we are able to use those and put those together so it makes a nice block.
Natalie:
But as long as everything is within a quarter of an inch, it'll fit, right?
Jenny:
Yeah. You might need to sneak a little bit on one side, but I mean honestly, if anybody looks inside your quilt to see the inside, they're not your friends. So don't even worry about that. All right, so now what we're going to do is we're going to put this block together. And I have four of these. Nope, this is another set I'm making here. I have four of these and on this one,-
Natalie:
Oh, there's our middle. I was like, "Where did the middle go? We lost it."
Jenny:
We can put our middle right here. On this one, these honestly, these are star legs, but when we turn them out this way, they look like the Quatrefoil block. If you turn them in this way, it's going to look like a star block.
Natalie:
That's cute.
Jenny:
I don't know,-
Natalie:
It's cute.
Jenny:
... lots of ideas. But we're going to turn them to the out like this and put ours on the outside. And then in our corners we're going to add our four patches. The four patches go color in.
Natalie:
Yes.
Jenny:
So I'm looking for colors that are going to stand out a little bit like this. How about this blue one over here?
Natalie:
Nice.
Jenny:
This makes our completed block. Let's quickly sew this together. I'm going to-
Natalie:
Chain piece it.
Jenny:
... chain piece it. And to each of our blocks we're going to add a strip of sashing, this little sashing right here. Hold that up, Natalie, so they can see what I'm talking about. So we'll add a little strip of sashing and the sashing will be the measurement of your block, which-
Natalie:
12 and a half.
Jenny:
... should be 12 and a half. Natalie's way better on that math stuff. All right, so I'm going to put this one on here. It's my last strip. Here's my middle, put this one on here and then here's my outside. This one goes here. And this chain piecing like this really works like pins for me.
So now I have these three blocks right here. Open it up, make sure everything is in the right places. Then what we'll do is we'll fold this one on top of this middle on this side, and I'm going to line up the edge and then take a few anchoring stitches. And then I'm going to go to my first, where my first two seams connect and make sure one seam is going in and one seam is going out. My middle seam is going to the outside. And so my top block seams will be going to the inside.
And then we're going to flip this around and do the same thing. I'm going to remember that my middle seam is going to the out because then when we iron it it will just lay nice and flat. So to the out. And I'll show you in a minute what I mean by to the out, because that could be a little confusing.
All right, so here's our finished block right here. It looks great.
Natalie:
So cute.
Jenny:
And this is what I mean. So this middle seam right here, it's going out this way. And then these seams right here are going, when we put our block together, these seams are going in. So what ends up happening is this whole block right here, so this is just going to make it lay nice and flat. So Natalie, if you want to press that.
And then I have some strips here. So you're going to cut a bunch of two and a half inch strips that are 12 and a half, and you'll sew them to the side of your block just like this. You'll sew them to the side of all of your blocks. So this one, this one, you're going to sew it on like this. So on the right hand side, your sashing will go. And so you'll have one, two, three, four, five like this.
On the last one you're going to leave your sashing off because we're going to sew a border all the way around it. So just on those middle ones. And then when you're ready to put your middle sashing in right here, you're going to sew 12 and a half to one corner square. You're going to do this all the way across. So one long strip and sew it across.
So then when you put them together, I want to show you what happens right here. So when you put them together, you'll see this sashing right here and you'll see this next row will come together like this. And here if you move this over like this a little bit. You'll be able to see how that little nine patch comes together in the center.
Natalie:
That's really cool.
Jenny:
You see that right there?
Natalie:
It's cool how that creates,-
Jenny:
I love secondary patterns when they appear and it's very, very fun. So you'll do that with all your rows. There's five in a row by six down and it just comes together so nice. Then you'll add your two and a half inch border on the outside. You'll add a nice big six inch border out here. Let's take a look at the back.
Natalie:
Oh, that's so pretty.
Jenny:
So here's the backing. They're just such vibrant and pretty colors. The quilt pattern we used on this is Cotton Candy. It's just like little clouds. It comes together so easily. So it was really fun to do a remake of this, wasn't it?
Natalie:
It was. It's a great quilt.
Jenny:
It's a great quilt. People have loved it. It's been very, very popular. It's super easy to put together and with a turn of the block, you get a whole new thing. So-
Natalie:
It's very cool.
Jenny:
... have fun with this and give it a try. We hope you enjoyed this tutorial on one of our favorite 15 quilts, the Quatrefoil quilt from the Missouri Star Quilt Company.
Hi everybody, it's Jenny from the Missouri Star Quilt Company. We hope you enjoyed watching this video. If you aren't already part of the Missouri Star Quilt Company family, be sure to subscribe so you won't miss a thing. And if you click that bell, it'll notify you every time a new tutorial comes out. See you next Friday.



