
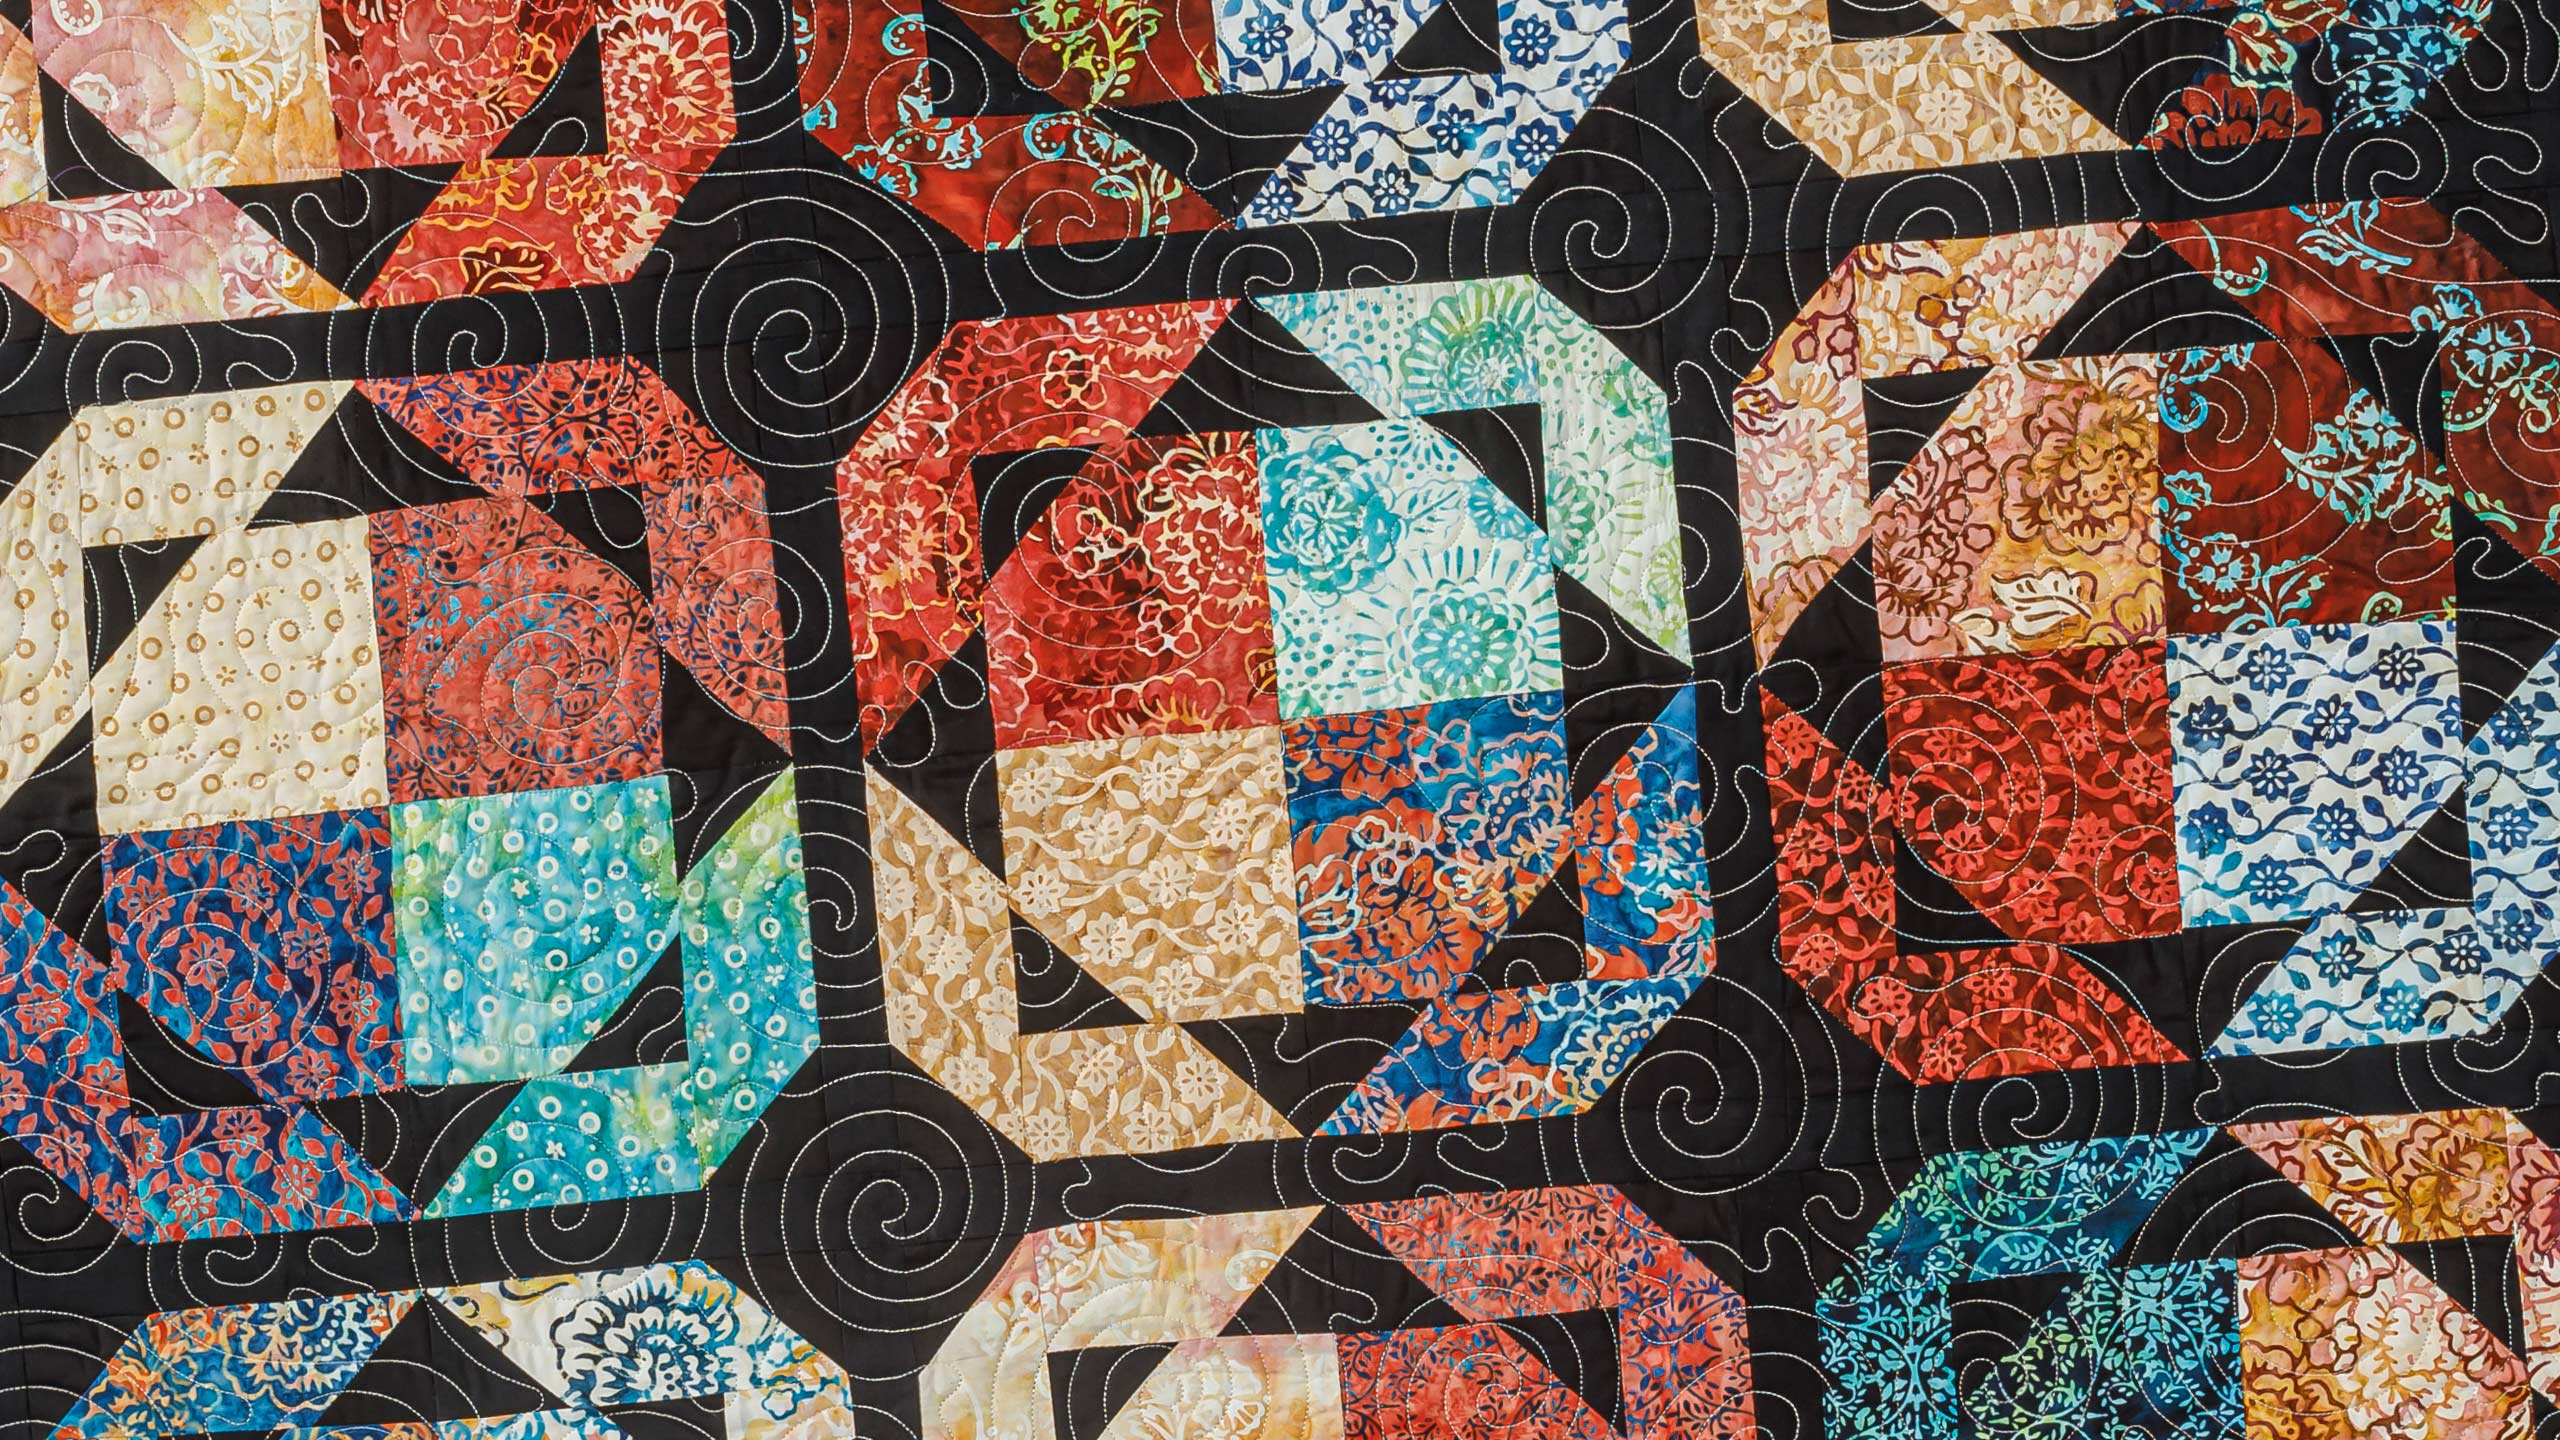
How to Make a Ring of Fire Quilt - Free Quilting Tutorial
 Jenny Doan
- Layer Cake
- Batik
- Lap / Throw
- Beginner
- Quilt size 54" × 54"
Jenny Doan is making a fiery ring of patchwork with precut layer cake squares from the Artisan Batiks Hermosa collection by Robert Kaufman. This pattern is based on the super-simple Pecking Order quilt, but a quick border gives each block an extra layer of pizzaz. (Go ahead and sing as you stitch: "I fell in to a burning ring of fire...")
Instructor
Jenny Doan
Jenny Doan is an American quilter, author, and YouTube personality. Jenny started Missouri Star Quilt Company in 2008 and today it is the largest quilting supply vendor in the United States.
Shop this tutorial
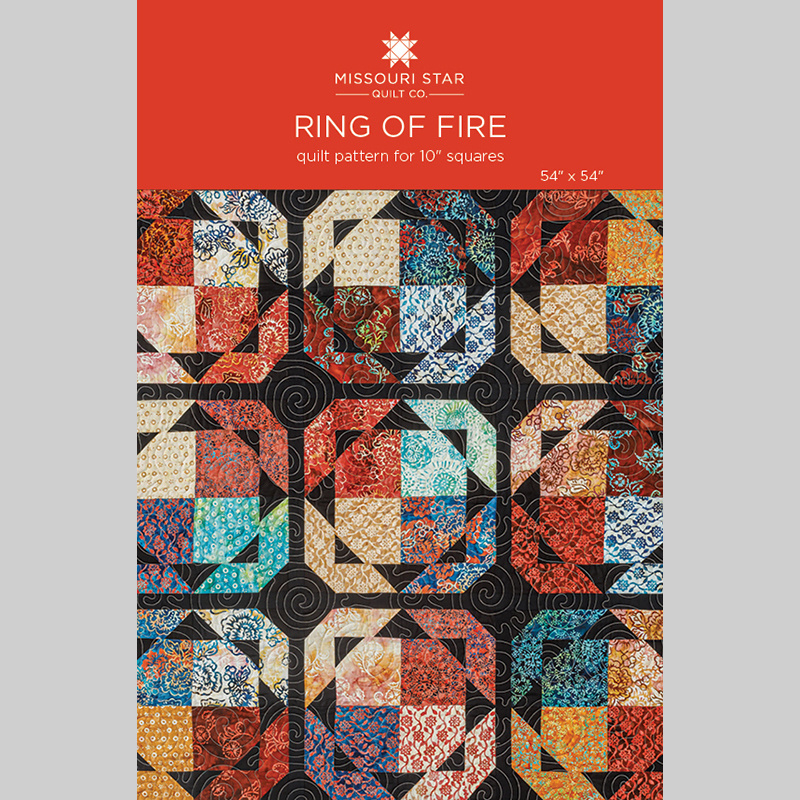 Ring of Fire Quilt Pattern by Missouri Star$6.95Shop →
 Digital Download - Ring of Fire Quilt Pattern by Missouri Star$4.95Shop →
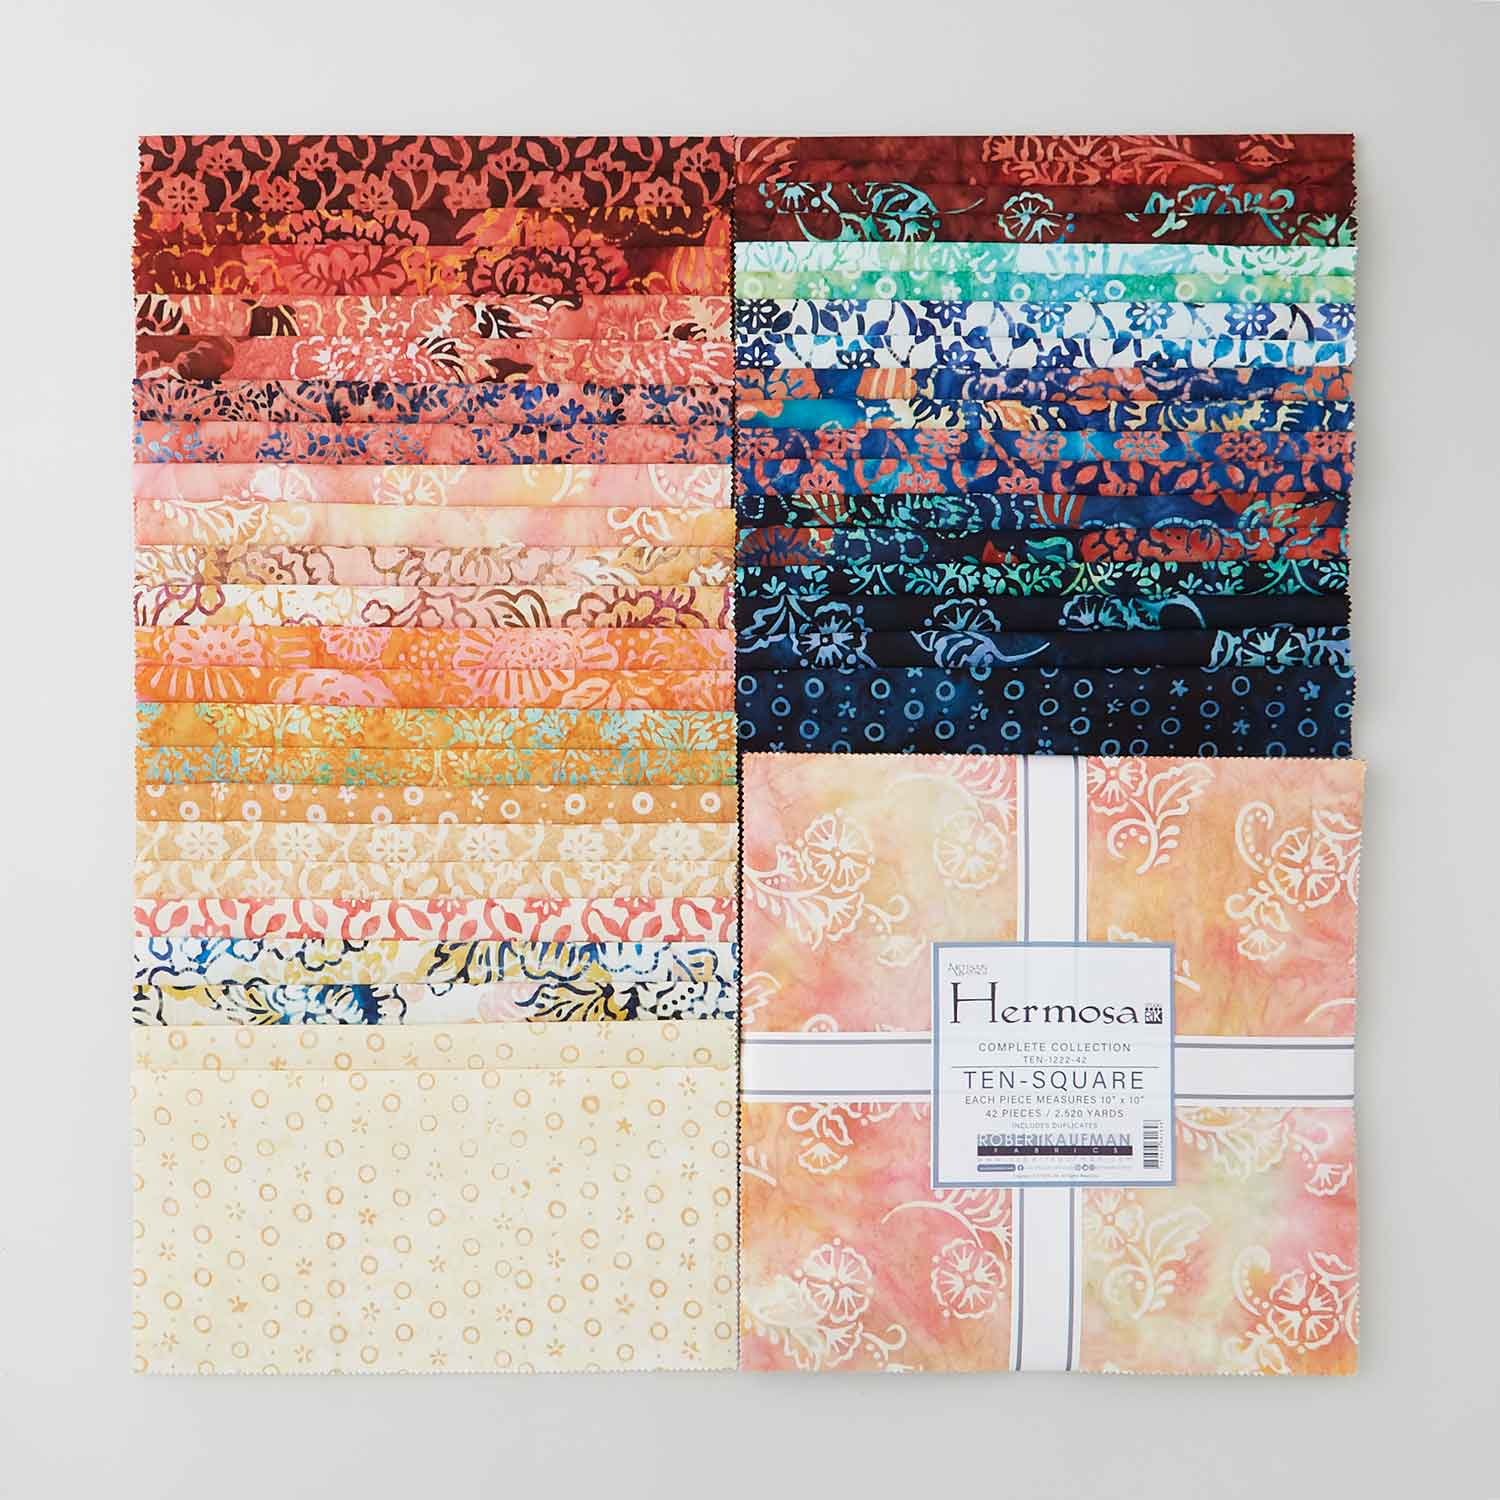 Artisan Batiks - Hermosa Ten Squares$41.95Shop →
 Kona Cotton - Black Yardage$7.28Shop →
 Artisan Batiks - Hermosa Stems Pomegranate Yardage$11.96Shop →
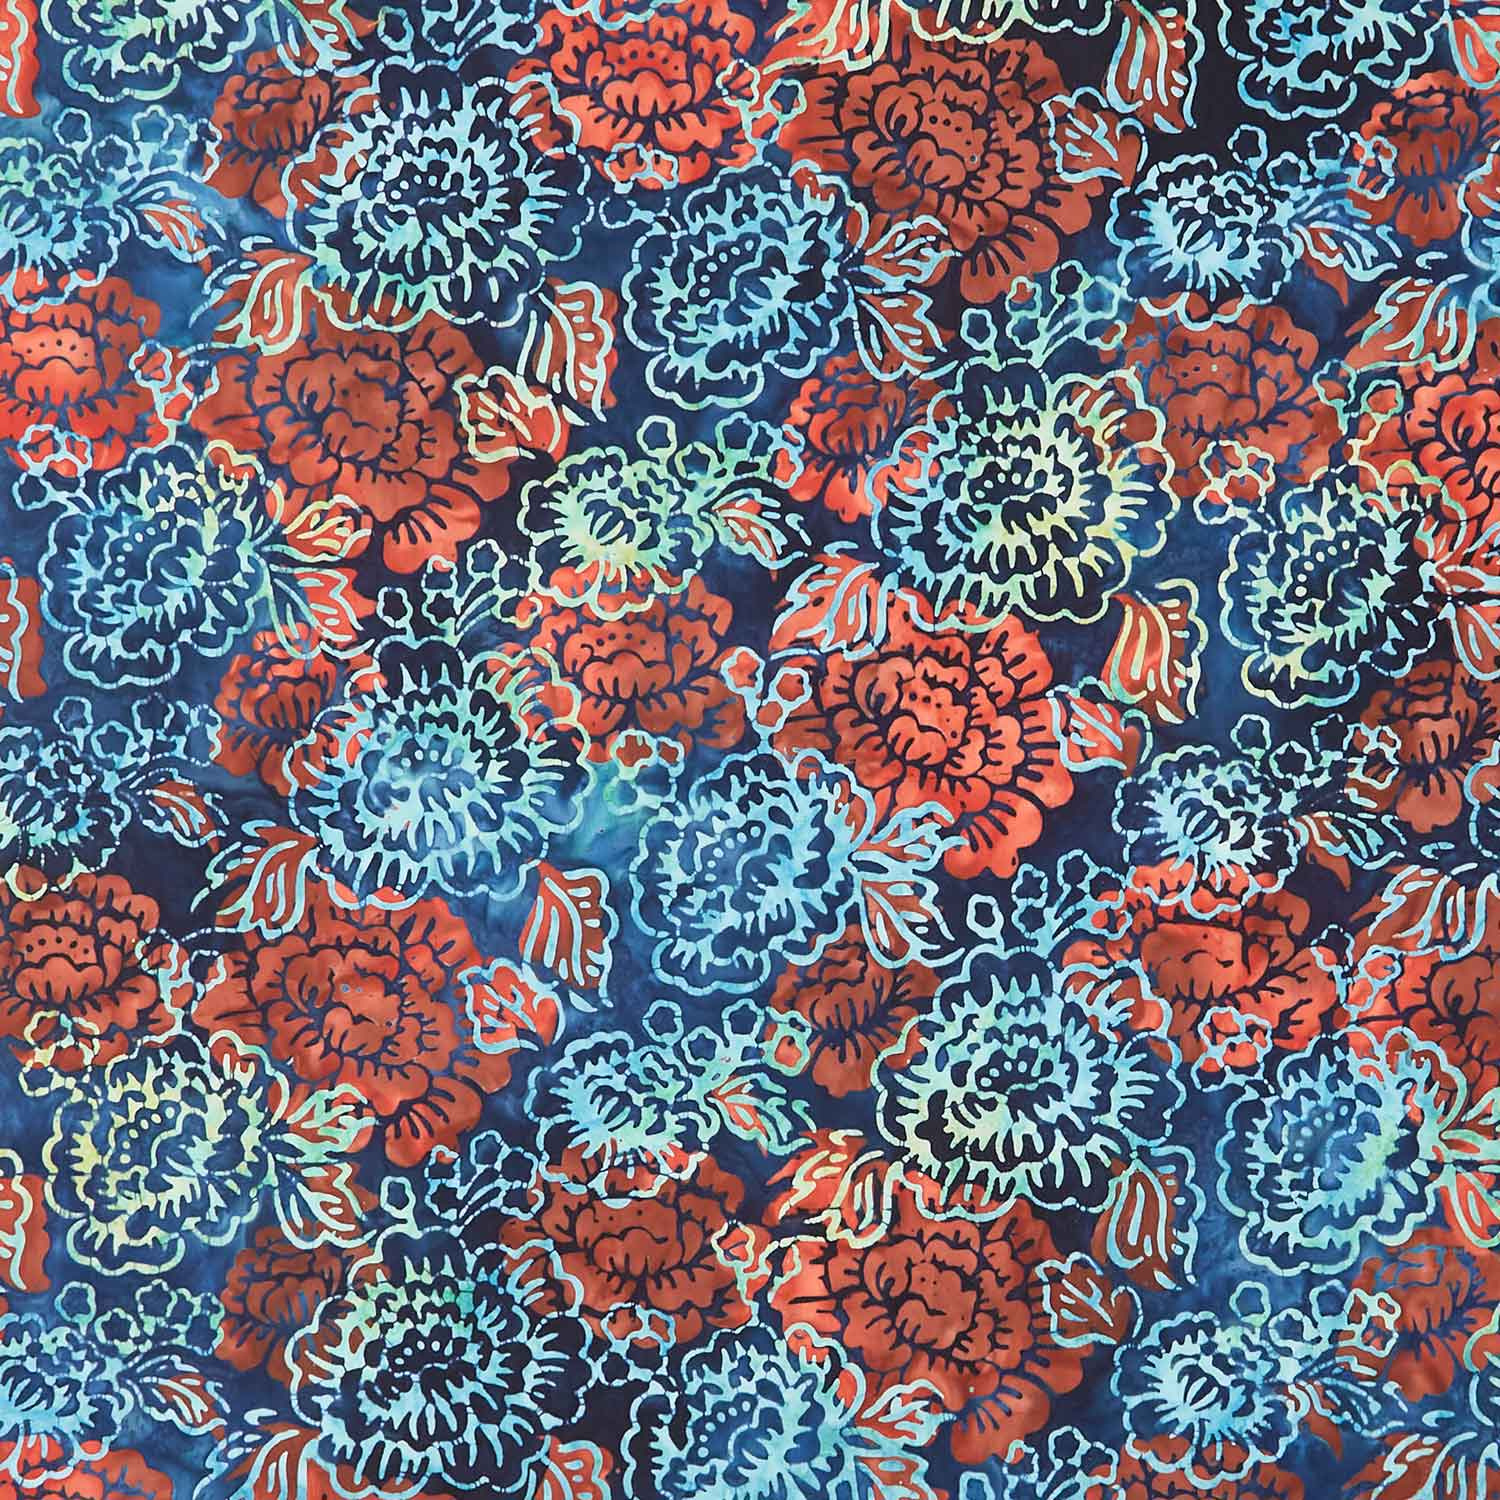 Artisan Batiks - Hermosa Floral Midnight Yardage$11.96Shop →
 Missouri Star Quilter's Best Blend Throw Batting$20.95Shop →
Common Questions
What is covered in How to Make a Ring of Fire Quilt - Free Quilting Tutorial?
Jenny Doan is making a fiery ring of patchwork with precut layer cake squares from the Artisan Batiks Hermosa collection by Robert Kaufman. This pattern is based on the super-simple Pecking Order quilt, but a quick border gives each block an extra layer of pizzaz. (Go ahead an...
How long is the tutorial video?
The tutorial video is 00:19:03.
Are supplies listed for this tutorial?
Yes. The tutorial page includes the supplies and materials connected to this project.
Is a transcript available?
Yes. A written transcript is available on the tutorial page.
Video Transcript
Hi everybody, it's Jenny from the Missouri Star Quilt Company and I've got a fun project for you today. Take a look at this quilt behind me. Isn't this fun? So this is actually based on my quilt called Pecking Order, where you just add one square, but all I did was put a border on it and it makes this great quilt, and I'm calling it Ring of Fire. Now you know what you're all thinking, you're all thinking Ring of Fire and you're all starting to sing that. That melody's going through your head, so let's just get it over with, "I fell into a burning ring of fire. I went down, down, down, and those flames went higher."
I know you're all singing it, so now we just did it together and we can get on with teaching this tutorial. So to make this quilt, you're going to need one 10-inch square packet of squares. And this is a beautiful line from Artisan Batiks, the Hermosa collection by Robert Kaufman. You're going to need some background, one and a quarter yard, and this is all the black that's in there, even the little borders and the binding. You're going to need an outer border, a nice big six-inch outer border out here, and that's one yard.
And then your backing is three and a half yards, and this is our backing here. We used this wonderful floral print. Doesn't it just look like fire? It has all the colors of fire. Nope, we'll get on with it. Let me show you how to do this, because it's really quick and really fun. Okay, so this is the block we're going for right here, and we are going to pick four different pieces out of this layer cake. We'll start with that top one and we'll just make sure we have some good contrast in here.
We'll go for this one right here. We'll get us a blue down here, the dark, and then let's get something turquoise, how about that, right here? And batiks are really fun because they stick together and they're easy to cut through, they're easy to iron, they're pretty delightful to work with. And so, I'm just going to stack these up like this, just like that, and one more. And then what we're going to do is we are going to cut these. We're going to cut two, two-and-a-half-inch strips.
Here's one right here, and then we're going to cut another one right here. So two, two-and-a-half-inch strips, and then we're going to cut this one five-inch square right off the side of this. All right, so this is going to be our center blocks. It's going to make our four patch and these are going to be our outer borders. You need one for each one, so we're going to need a five-inch one for one side, like this, and you're going to need a seven-inch one over here, just like that.
Then what we're going to do is we are going to take these four right here and we're going to cut a background square, so a two-and-a-half-inch square out of your yardage, or you can get these little Kona squares that are already two and a half, or your yardage. Either one works. I'm all about ease, so I'm going to do this. And I'm going to put one square like this on each one of these in the corner, like this, on all four, and I'm going to sew diagonally corner to corner on all four of these. So let's do that. I'll start right here, and I'm just going to go right across from corner to corner. And I have the diagonal seam tape on my sewing machine, so you can draw the line or iron it, but I'm just going to follow my diagonal seam tape, and you can see my white thread that I sewed right across there. And I'm going to do this to all four of these.
Here's one more. Make sure they stay lined up nice and tied in that corner, just like that. Then we're going to cut these apart, and then we'll trim them off. All right, so now what we're going to do is we're going to trim these off, and I'm going to come out here a quarter of an inch, like this, and trim, and then we're going to press them, like this. And these are the blocks that make the Pecking Order quilt. So if you want to see some fun ideas on the Pecking Order, that is available as a tutorial as well, but we are going to border these little squares.
All right, so now what we're going to do is we'll start with this one because these are on the top. This one goes this way and this one goes this way, so this is going to get bordered with two blocks on either side, but we're going to have to put our corners right here on this part of our border, and we're going to do that before we sew any of it together. And what you want to remember when you do this is you've got your borders lined up, and this one is going to come this way because we want them to line up with the dark facing the block. So this one's going to come this way and this one's going to come this way, so that it... Nope, sorry, this way.
Little angle-y challenge there. So this one goes this way, and this one goes this way, because you want it to look two down and one up. That's what we're going for, is that look right there. And because I'm angle-y challenged, I have to really make sure I do that. Like this one, I almost sewed it wrong. So let's go ahead and sew this on here and set it in. Again, I'm going to lay it down there and check it before I ever sew it together, because for people who are angle-y challenged like me, you just have to make sure. And once you get to doing a ton of these, it won't be anything at all to you, but when you start up, you just have to remember where they go. All right, so before we cut, we're going to go this, and this goes this way and these point this way, and this point's this way, so I know this is right.
Then what we're going to do is we're just going to trim this off right here and trim this one off right here, just a quarter of an inch or so, that doesn't matter. We're going to press these back, and this one as well, and we're going to place them back on here like this, and like this, always with your larger part of your contrast to your fabric. So we're going to go ahead and sew this five-inch piece on here and make sure that fits nice and straight, and then we're going to press this back, and then we'll put this one on. Alrighty, now let's press this open, just like this.
And then what we're going to do is we are going to go ahead and add a snowball right out here on this side, just like this. And so where this comes to a point, we're going to sew diagonally here to here, because this is going to come back like this. Does that make sense? All right, so let's do that. And this is one quarter of our burning Ring of Fire. Make sure I got my foot on the right pedal and sew across there, and then we're going to come and cut this. And I have some of these close to finished over here, and so I'm going to grab some of those so I can show you what's happening here. And let's see here, I've got this one. We're going to put these together like this. Do you see what's happening? Like this, and like this.
And these ones don't have the outer square on it yet, so let me go ahead and add those. You can add it after, actually. After you sew the whole block together, you can actually snowball all these outer corners, but we'll just go ahead and do it. It works either way. And one more square, here we go. And I have to tell you, I love this Johnny Cash song. I'm singing it all the time and [inaudible 00:10:11] always like, "Oh, not Ring of Fire again." I just can't help myself. All right. And obviously you can use a rotary cutter or scissors, I'm just going old school here. And then we're going to press this back, and then we'll press all of these back just like this.
Then what we're going to do is we are going to put all four of these together just like a big-four patch, so get your fabrics where you want them and see how that comes together and it makes that ring. Isn't that fun? All right, so let's go ahead. Now where these two seams come together right here, you're going to want to watch that, and you're going to want to watch where these two seams come together as well. So let's go ahead and sew this on, and then this one as well. This one, I sewed on before and picked off. It's got some threads leftover. And I feel for where these two little seams meet up and make sure there's no fabric between them and then just sew down.
There we go. And then we're going to open these up, make sure we're still in the right place, fold them over and then sew them back on. You want to make sure that they stay lined up really nice. These little outside black triangles that are on the edge, make sure those line up really nice and tight, and then your center. And then these ones, now these are a little bit apart, so I'm glad the one that's a little longer is on the bottom because the feed dogs will take that in. So I'm just going to hold this over on the seam right here and scrunch the bottom part a little bit because I know that the feed dogs will ease that in.
I'm going to sew slowly along here to make sure it eases in, and then we'll take a look and see how we did. All right, so there we go. And it's straight... Oh, this one isn't quite straight. You know what? I think I'm going to pull that out and redo that one because I like these to match up, so let's go ahead and just open up this seam a little bit. Let's see if we can make those line up a little bit better. All right, so I'm going to come down here and I'm going to make sure that this is the part that's matching up right here. I don't know how I missed that, but I must have.
Well, we all know how we missed it, we get busy doing something. And then we have to rip a little, just a little, just a touch. Okay, hang on. I don't think this is going to come together right. Maybe this little seam needs to be a little bit deeper. And some of you don't get your quarter-inch seam right, so I'm just going to take this one and make sure it's a quarter of an inch because sometimes at the end, I veer off a little bit. I know you do too, but we're going to go ahead and make sure that this is a nice straight quarter of an inch, and then we're going to line it up.
There we go, I think that's going to fit now. All right, let's go ahead and start that. And sometimes you have to do a little finagling to get something to work, and you want to be careful ripping batiks because they do seem to be a little bit more fragile as far as making them fit together, and I have been known to take out a seam a few times just to make sure. All right, we're going to look again. I think I've got this together, looking pretty good. That looks pretty good, right? All right, so let's go see how this goes together in the quilt.
Now to be honest, when I design, I design from the block out, and so I make the block and I see what it looks like. And I started off by putting all these pieces together, like this, and it literally went to mush. And so I thought, well, I need to add a little sashing in here, so that's what I did. So I put my block in here like this. You can see it rings, so if you have an orange and an orange here, you can turn it. It works any position at all, any way. You can turn this as many times as you want to get the look that you're going for.
And then the length of this block is the length that you're going to cut your sashing right here. And so what I did was I sewed a sashing here and I sewed a sashing here, so then what we're going to do is we're going to sash it and you're going to sash it on two sides, this side and the bottom side. And what you can do is you can cut one-and-a-half-inch strips from your background fabric or you can buy a Honey Bun. They're pretty convenient. And I use a lot of these pre-cut sizes, so I always have a Honey Bun and I always have a Jelly Roll. Those things, I always have handy so that I don't have to cut them. It saves me from having to do it.
So what we're going to do is we're going to sash this on one side and then across the bottom, and they're 13 and a half, and you can cut your pieces that size or like I do, you can just sew them on. So I'm just going to sew this on and then I'm going to finger press this down right here, and I'm going to come across the bottom right here and I'll show you, this is a little sashing hack that works really well. So going across the bottom, and I will do this to all my blocks, and I would use black thread as well. I have white. I'm using white to show you so you can see, but I would use black thread because you could see through the white, you could see the little stitches and we don't want that.
All right, I'm going to make sure my seam is all going out toward the sashing, and it is. Now let me show you how this is going to work in the quilt when we get ready to do it. It's going to go here and it will sash this part and this part. And so as you sash each block, it meets up with the next block, and your sashing is done for you when you've sewn three blocks together. Then when you get ready to add the next row, it also is sashed on the side and on the bottom. So it does the whole thing and it will even take care of that bottom row and this side row.
And then what you do is you just go back and you add a one-and-a-half-inch strip across the top and a one-and-a-half-inch strip down the side and your whole quilt is done, and then you add your border. It's a cool little hack that we do. I think it's really fun. I think this is a very fun block. It's got a lot of movement, a lot of stuff going on. The quilting pattern that I used is called sticky buns, and I think it's fun that right here where all the black comes together, it ended up doing it. And you'll notice that I used white thread. If I'd used black, it would've looked like I scribbled over here, but it would have hidden here. And so, what I wanted it to do was hide here but stand out on these darker places.
So I used Honey Bun. The quilt is 54 by 54, and we made nine blocks out of it. And it's just a fun, quick, easy thing to do based on the Pecking Order quilt. We hope you enjoyed this tutorial on the Ring of Fire from the Missouri Star Quilt Company. Hi everybody, it's Jenny from the Missouri Star Quilt Company. We hope you enjoyed watching this video. If you aren't already part of the Missouri Star Quilt Company family, be sure to subscribe so you won't miss a thing. And if you click that bell, it'll notify you every time a new tutorial comes out. See you next Friday. And if you don't play Johnny Cash music right then, I'm going to be really sad.



