

How to Make a Round Cuddle® Throw Pillow - Free Project Tutorial
 Misty Doan
- Fabric by Yard
- Modern
- Pillows & Cushions
- Beginner
- Quilt size 16" × 16"
Welcome to the second part of the Redecorate a Room series! Today's tutorial is for all you softies out there. Watch Misty Doan from At Home With Misty whip up a snuggle-certified, round, Cuddle® throw pillow that will make any couch extra comfy. This is a great project for quilters who enjoy sewing with Cuddle as much as they love snuggling it! Don't be surprised if guests don't want to leave your couch.
Instructor
Misty Doan
Misty Doan grew up surrounded by sewing and quilting. She loves spending time sharing tutorials each week each week, and when she’s not stitching up one of her fun sewing projects for home decor, most likely you’ll find her hanging out with her husband and three awesome kids or working on a house project.
Shop this tutorial
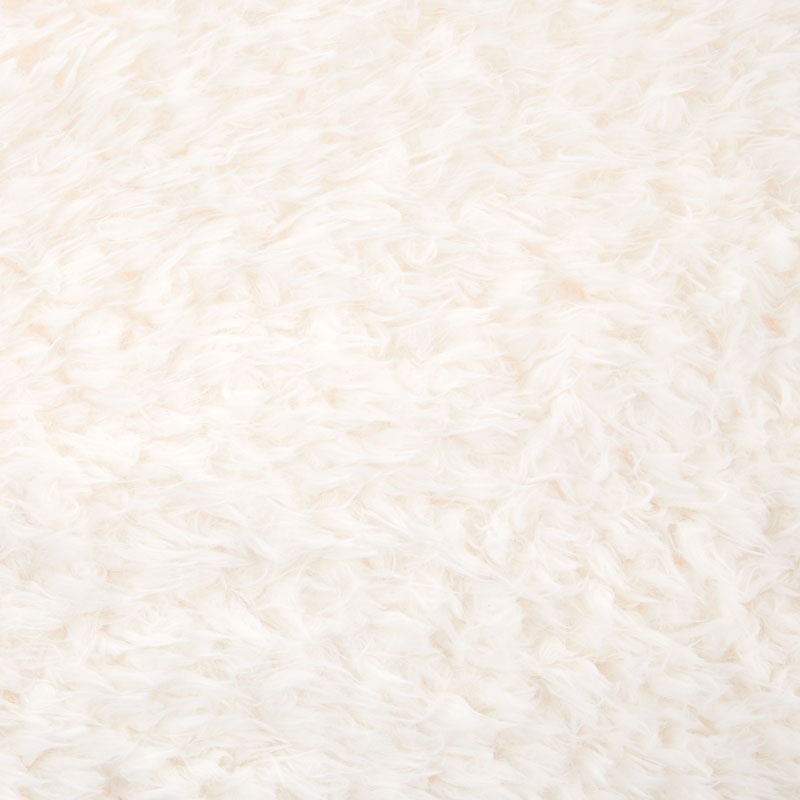 Luxe Cuddle® Llama - Ivory Minky Yardage$19.96Shop →
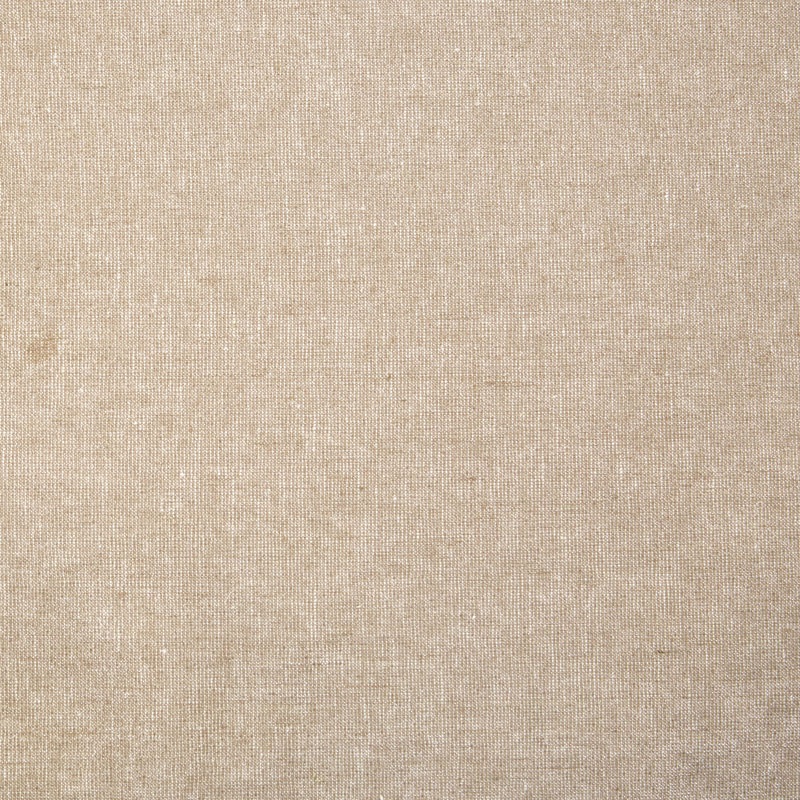 Essex Linen - Yarn Dyed Oyster Metallic Yardage$12.64Shop →
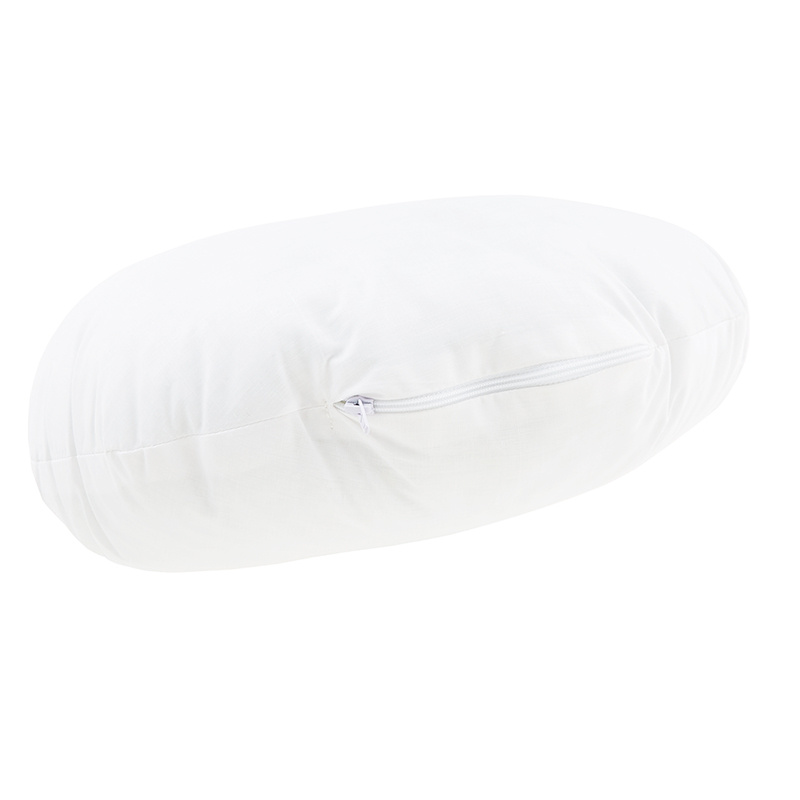 Poly-Fil® Round Accent Pillow Form - 16"$23.95Shop →
 Luxe Cuddle® - Oxford Black Minky Yardage$18.48Shop →
 Essex Linen - Black Yardage$10.96Shop →
 Olfa Splash Aqua 45mm Rotary Cutter$18.75Shop →
 Olfa Splash 24" x 36" Cutting Mat Navy$68.95Shop →
 Missouri Star 2.5" x 8" Ruler$10.95Shop →
 Missouri Star 5" x 15" Ruler$15.95Shop →
 Exclusive Missouri Star Jenny TG1600 ProPlus Oliso Smart Iron$199.99Shop →
 Missouri Star Wooly Betty Board - 17.25" x 25.5" Orange Border$98.95Shop →
 Missouri Star 50 WT Cotton Thread White$6.95Shop →
 Elan 8" Dressmaker Scissors$20.95Shop →
 Missouri Star Colorful Quilting Clips - Pack of 12$5.95Shop →
 Magnetic Thread Spool Pin Holder - Pink$5.45Shop →
Common Questions
What is covered in How to Make a Round Cuddle® Throw Pillow - Free Project Tutorial?
Welcome to the second part of the Redecorate a Room series! Today's tutorial is for all you softies out there. Watch Misty Doan from At Home With Misty whip up a snuggle-certified, round, Cuddle® throw pillow that will make any couch extra comfy. This is a great project for qu...
How long is the tutorial video?
The tutorial video is 00:06:38.
Are supplies listed for this tutorial?
Yes. The tutorial page includes the supplies and materials connected to this project.
Is a transcript available?
Yes. A written transcript is available on the tutorial page.
Video Transcript
So like I mentioned, we are in the middle of redecorating my daughter Ashelyn's room. This is the second week. If you missed out on the quilt we made last week, be sure to check that out!
Today we're making some great little Cuddle throw pillows. I'm going to walk you through making this round one. I've also whipped up a few square ones. We have printables for both, so be sure to download those and let's get started.
Let me set this here out of the way. I went ahead and printed off my round
pillow template and this is what it looks like once it's all taped together. So you can see I have that ready to go here. So when you are cutting this out
on the Cuddle, for example, you can fold it in half or you can just lay this on here and you're going to just use the half mark of this. This is designed so that you have the overlap for the back so when you lay this here you can see how it kind of continues past the center. This is your centerline of the circle.
So you can just trace this on the reverse side and cut it out. You know if
you've worked with Cuddle, you're going to have fluff going every which way so have a vacuum or a lint roller handy so that you can clean up some of that mess. Then you can see this is ready to go.
Now for the back I use this great Essex linen that has this metallic in it. I loved that extra texture so we have some fun on both the front and the
back of this pillow. I went ahead and folded this under, but I want to show you when you cut this out you'll notice this little notched edge. The reason that we have that is so that when you fold this under a quarter of an inch and then a quarter of an inch again, the little sides end up matching right
up with your circle. So it all it's just the angles that you need. As you're folding it works out.
So you're going to cut two of these shapes. We're going to press this under just like that. I'll go ahead and hit it with the iron one more time just so it's nice and smooth. Just make sure everything is laying nicely and then we are going to top stitch down this edge. I like to just run the edge of my presser foot along this straight side and then just start sewing down. There we go, all right. So you can see that turns out beautifully and now we have a finished edge with no seams showing, no raw edges that are going to poke through.
Now we can take our Cuddle circle. This is made to fit a 16 inch pillow form, so keep that in mind if you're looking for one. We're going to put the finished side down towards the fluffy side of our cuddle, and we're going to overlap and do the same thing with this one. So you'll see my seam is up and I'm just going to make sure that these are overlapping correctly and that the circle is just continuing through. I'm going to start by using some of my clips on either end here just to hold all of my layers in place. You could pin if you want, but I really love working with these clips. Now I'm just going to real quick clip all the way around and then I'll meet you at the sewing machine.
Okay I have clipped all the way around this and so now we can go ahead and take this to the machine and start sewing around. Because we do have so much bulk here with the cuddle I am going to lengthen my stitch length just a little bit - just about at three. Then I'm also going to take just a little wider seam allowance here. So you could go all the way up to a half inch seam allowance if you'd like. I'm probably going to do like ⅜”, just a little bit bigger than the typical quarter inch that we use for quilting and that will just help make sure we catch everything on this pillow.
So let's go ahead and start underneath here and then of course I'm going to pull my clips out as I go. So I'll just bring my bowl close to me so I can tuck those back in there as I go. Back stitch a little bit to start and just cruise around. All right we are almost to the end here. So I'm just gonna match up my stitches right where I started and back stitch again.
There we go. So now this is as simple as turning this right side out. If you had a serger you could absolutely run all the way around this edge to kind of contain this, but it's going to be inside your pillow so I'm not worried about it at all. So now we can just turn this right sides out, run our fingers along that edge to make sure everything lays nicely. Then, like I said, you can just pop in that round pillow form and you'll have a great little throw pillow that looks just like this! It can add some great texture to your bedroom or on your living room couch, whatever you decide!
So I hope you enjoyed this quick tutorial and be sure to tune in for the rest of our series on redecorating a room!


