

How to Make a Seatbelt Bag - Free Project Tutorial
 Misty Doan
- Fabric by Yard
- Modern
- Totes, Bag, Purses
- Intermediate
- Quilt size 15" × 11"
This tote went to market! Surprise your mother with something unique and stylish this Mother’s Day. Follow along with Misty as she teaches you how to stitch up the gorgeous Market Tote by Cozy Nest Designs using seat belt webbing. Give your mother a gift she’ll treasure and use for years to come.
Instructor
Misty Doan
Misty Doan grew up surrounded by sewing and quilting. She loves spending time sharing tutorials each week each week, and when she’s not stitching up one of her fun sewing projects for home decor, most likely you’ll find her hanging out with her husband and three awesome kids or working on a house project.
Shop this tutorial
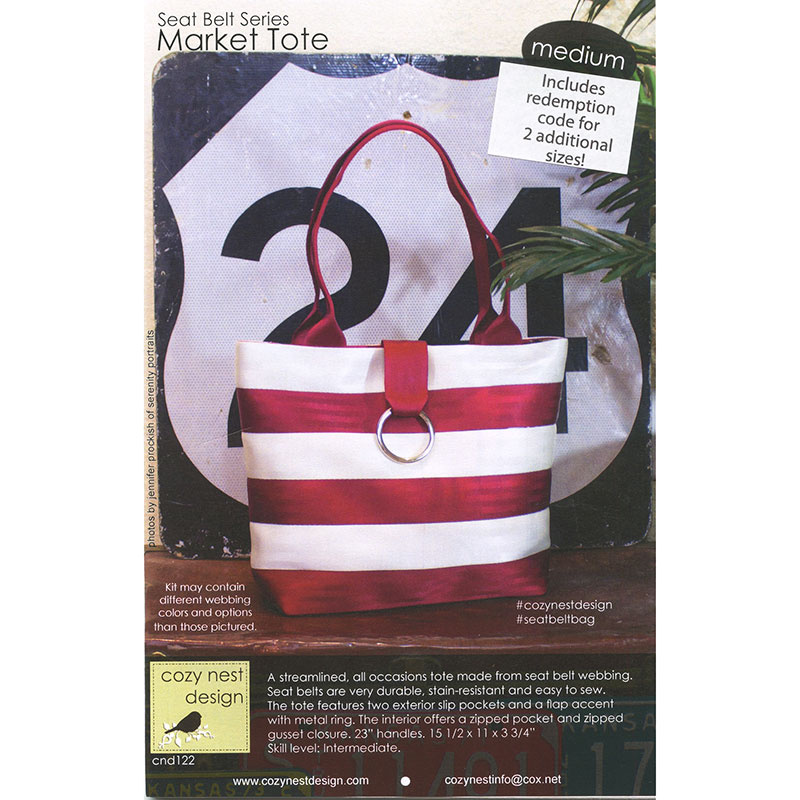 Market Tote Seat Belt Pattern - Medium$10.25Shop →
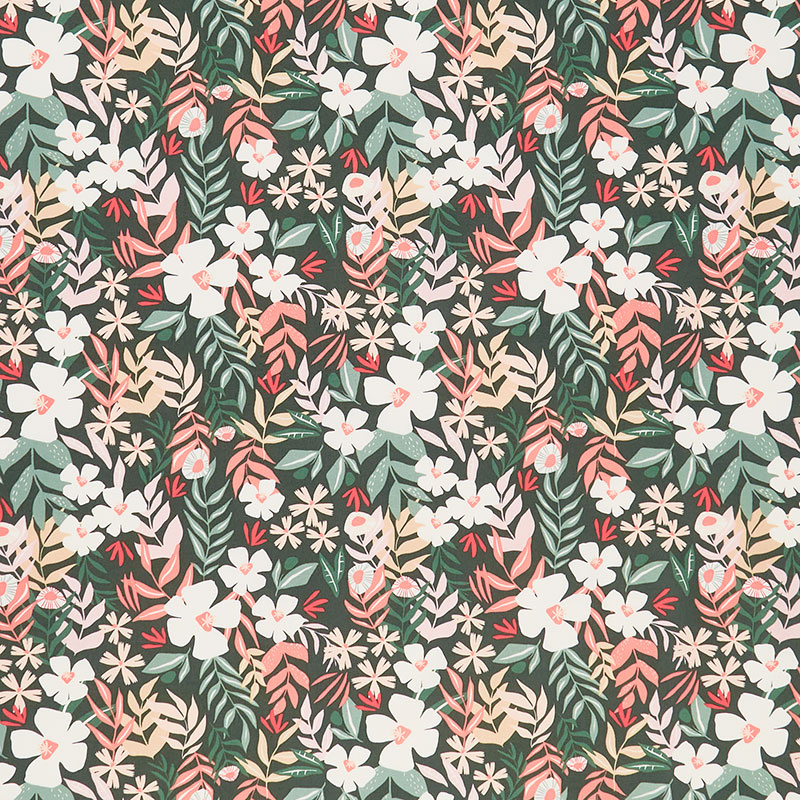 All is Well - Fields of May Green Yardage$12.44Shop →
 Kona Premium 44" Muslin - Bleached White Yardage$6.76Shop →
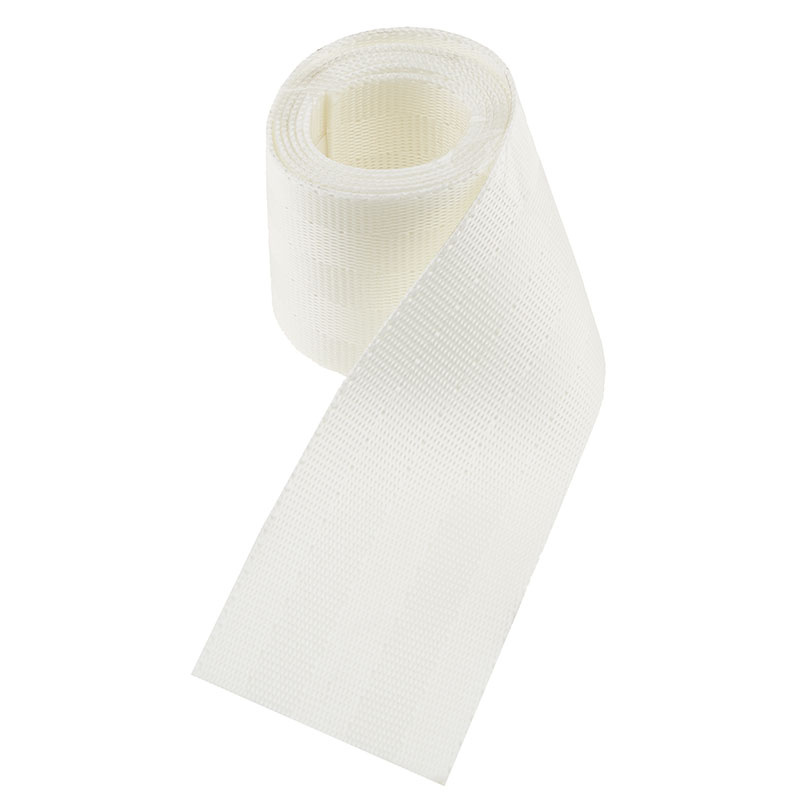 Seat Belt Webbing By-The-Yard - White$3.00Shop →
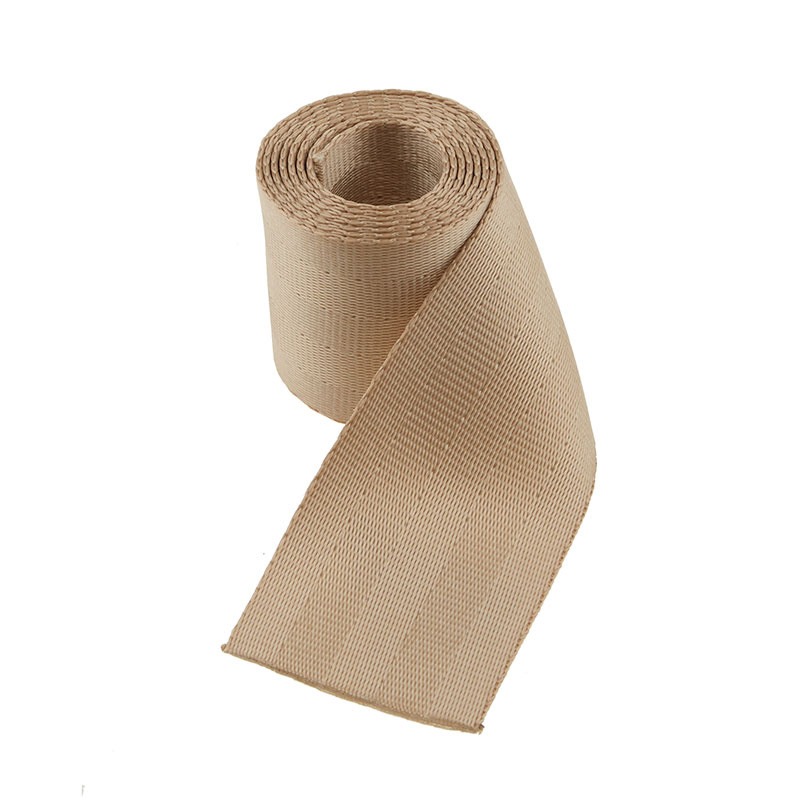 Seat Belt Webbing By-The-Yard - Honey Beige$3.00Shop →
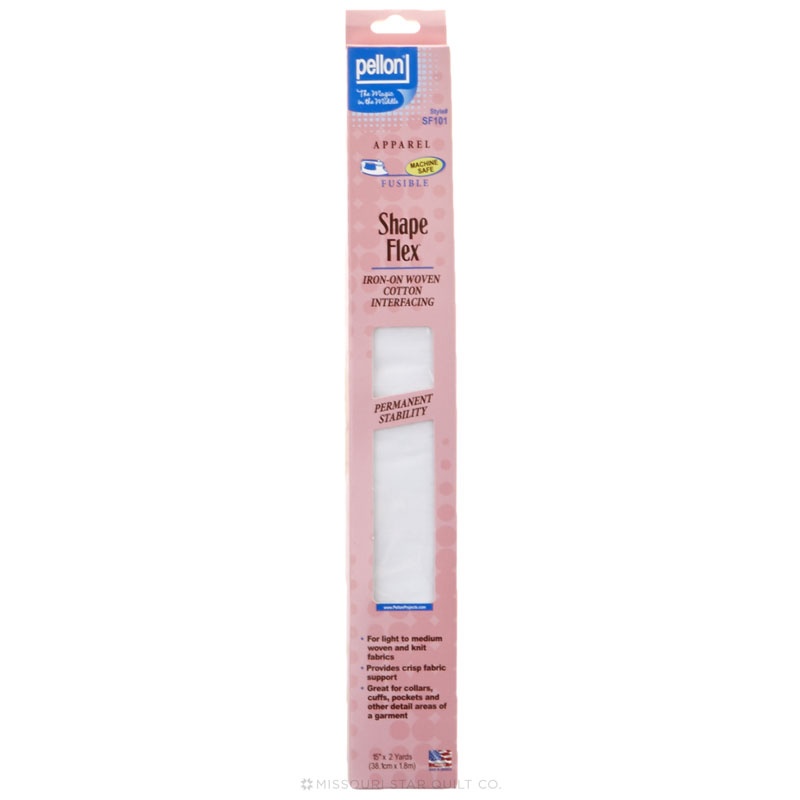 Shape-Flex 15" x 2yd$11.95Shop →
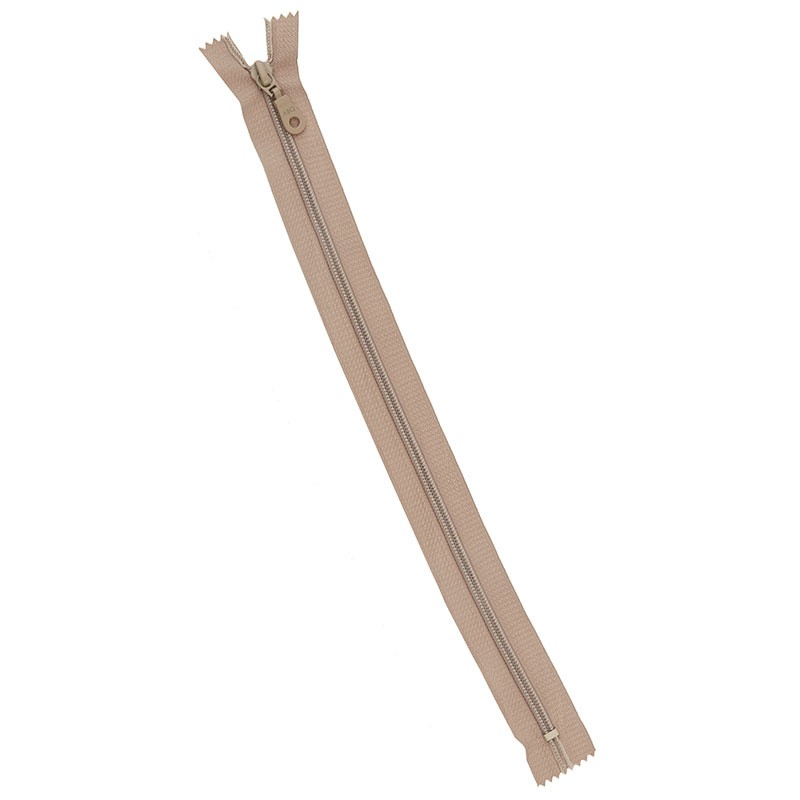 Bag Zipper 14" - Simply Taupe$4.15Shop →
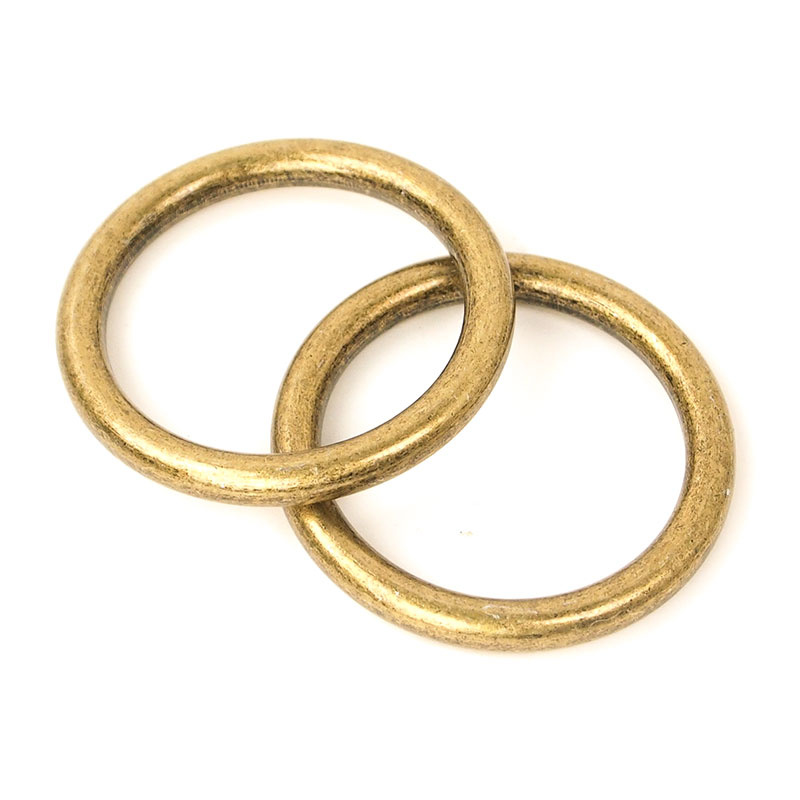 Sallie Tomato 1 1/2" O-Rings - Antique$5.75Shop →
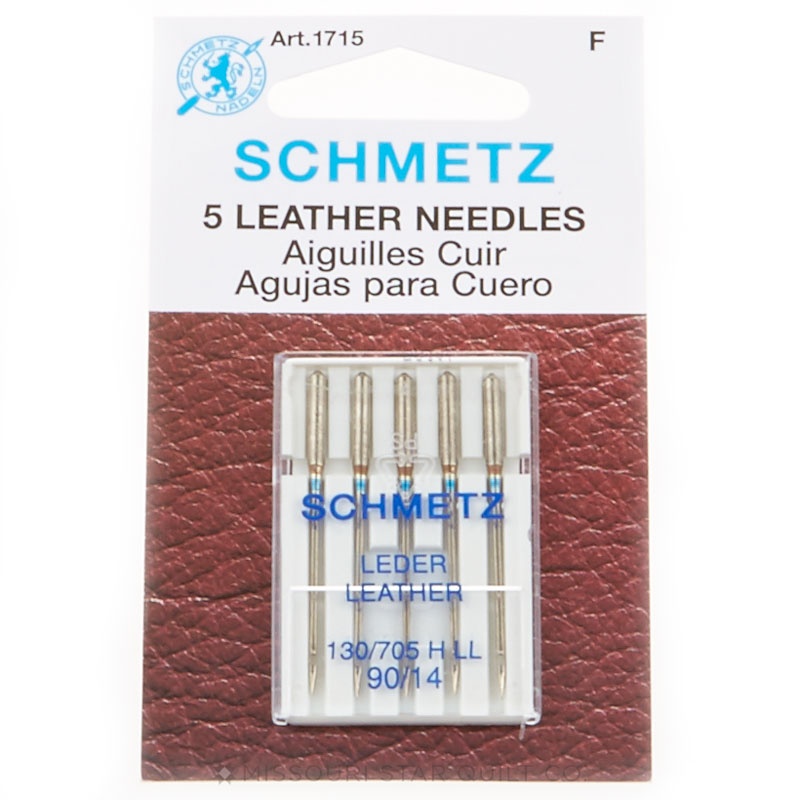 Leather Needles$5.75Shop →
 Olfa Splash Aqua 45mm Rotary Cutter$18.75Shop →
 Olfa Splash 24" x 36" Cutting Mat Navy$68.95Shop →
 Exclusive Missouri Star Jenny TG1600 ProPlus Oliso Smart Iron$199.99Shop →
 Missouri Star Wooly Betty Board - 17.5" x 17.5" Aqua Border$88.95Shop →
 Elan 8" Dressmaker Scissors$20.95Shop →
 Magnetic Thread Spool Pin Holder - Pink$5.45Shop →
 Madiera 60WT Monofil Thread$3.99Shop →
 Baby Lock Accomplish - 1500 SPM Straight Stitch Machine$999.00Shop →
 Missouri Star 2.5" x 8" Ruler$10.95Shop →
 Missouri Star 5" x 15" Ruler$15.95Shop →
 Missouri Star Colorful Quilting Clips - Pack of 12$5.95Shop →
Common Questions
What is covered in How to Make a Seatbelt Bag - Free Project Tutorial?
This tote went to market! Surprise your mother with something unique and stylish this Mother’s Day. Follow along with Misty as she teaches you how to stitch up the gorgeous Market Tote by Cozy Nest Designs using seat belt webbing. Give your mother a gift she’ll treasure and us...
How long is the tutorial video?
The tutorial video is 00:44:18.
Are supplies listed for this tutorial?
Yes. The tutorial page includes the supplies and materials connected to this project.
Is a transcript available?
Yes. A written transcript is available on the tutorial page.
Video Transcript
1. For this tutorial you're going to want a leather needle and nylon thread to keep things nice and sturdy.
2. You'll be making lots of marks and measurements on this bag. Be sure that when you're marking panels that will be seen on the exterior you use something that will wash away. Misty is using a chalk marker!
3. Trim your threads as you work so you don't have to worry about them getting caught.
4. You can use pins or clips - you may find clips easier once you get multiple layers together.
5. Just be patient and go slowly. This one can get a little bulky at the machine, but it all comes together beautifully in the end!


