
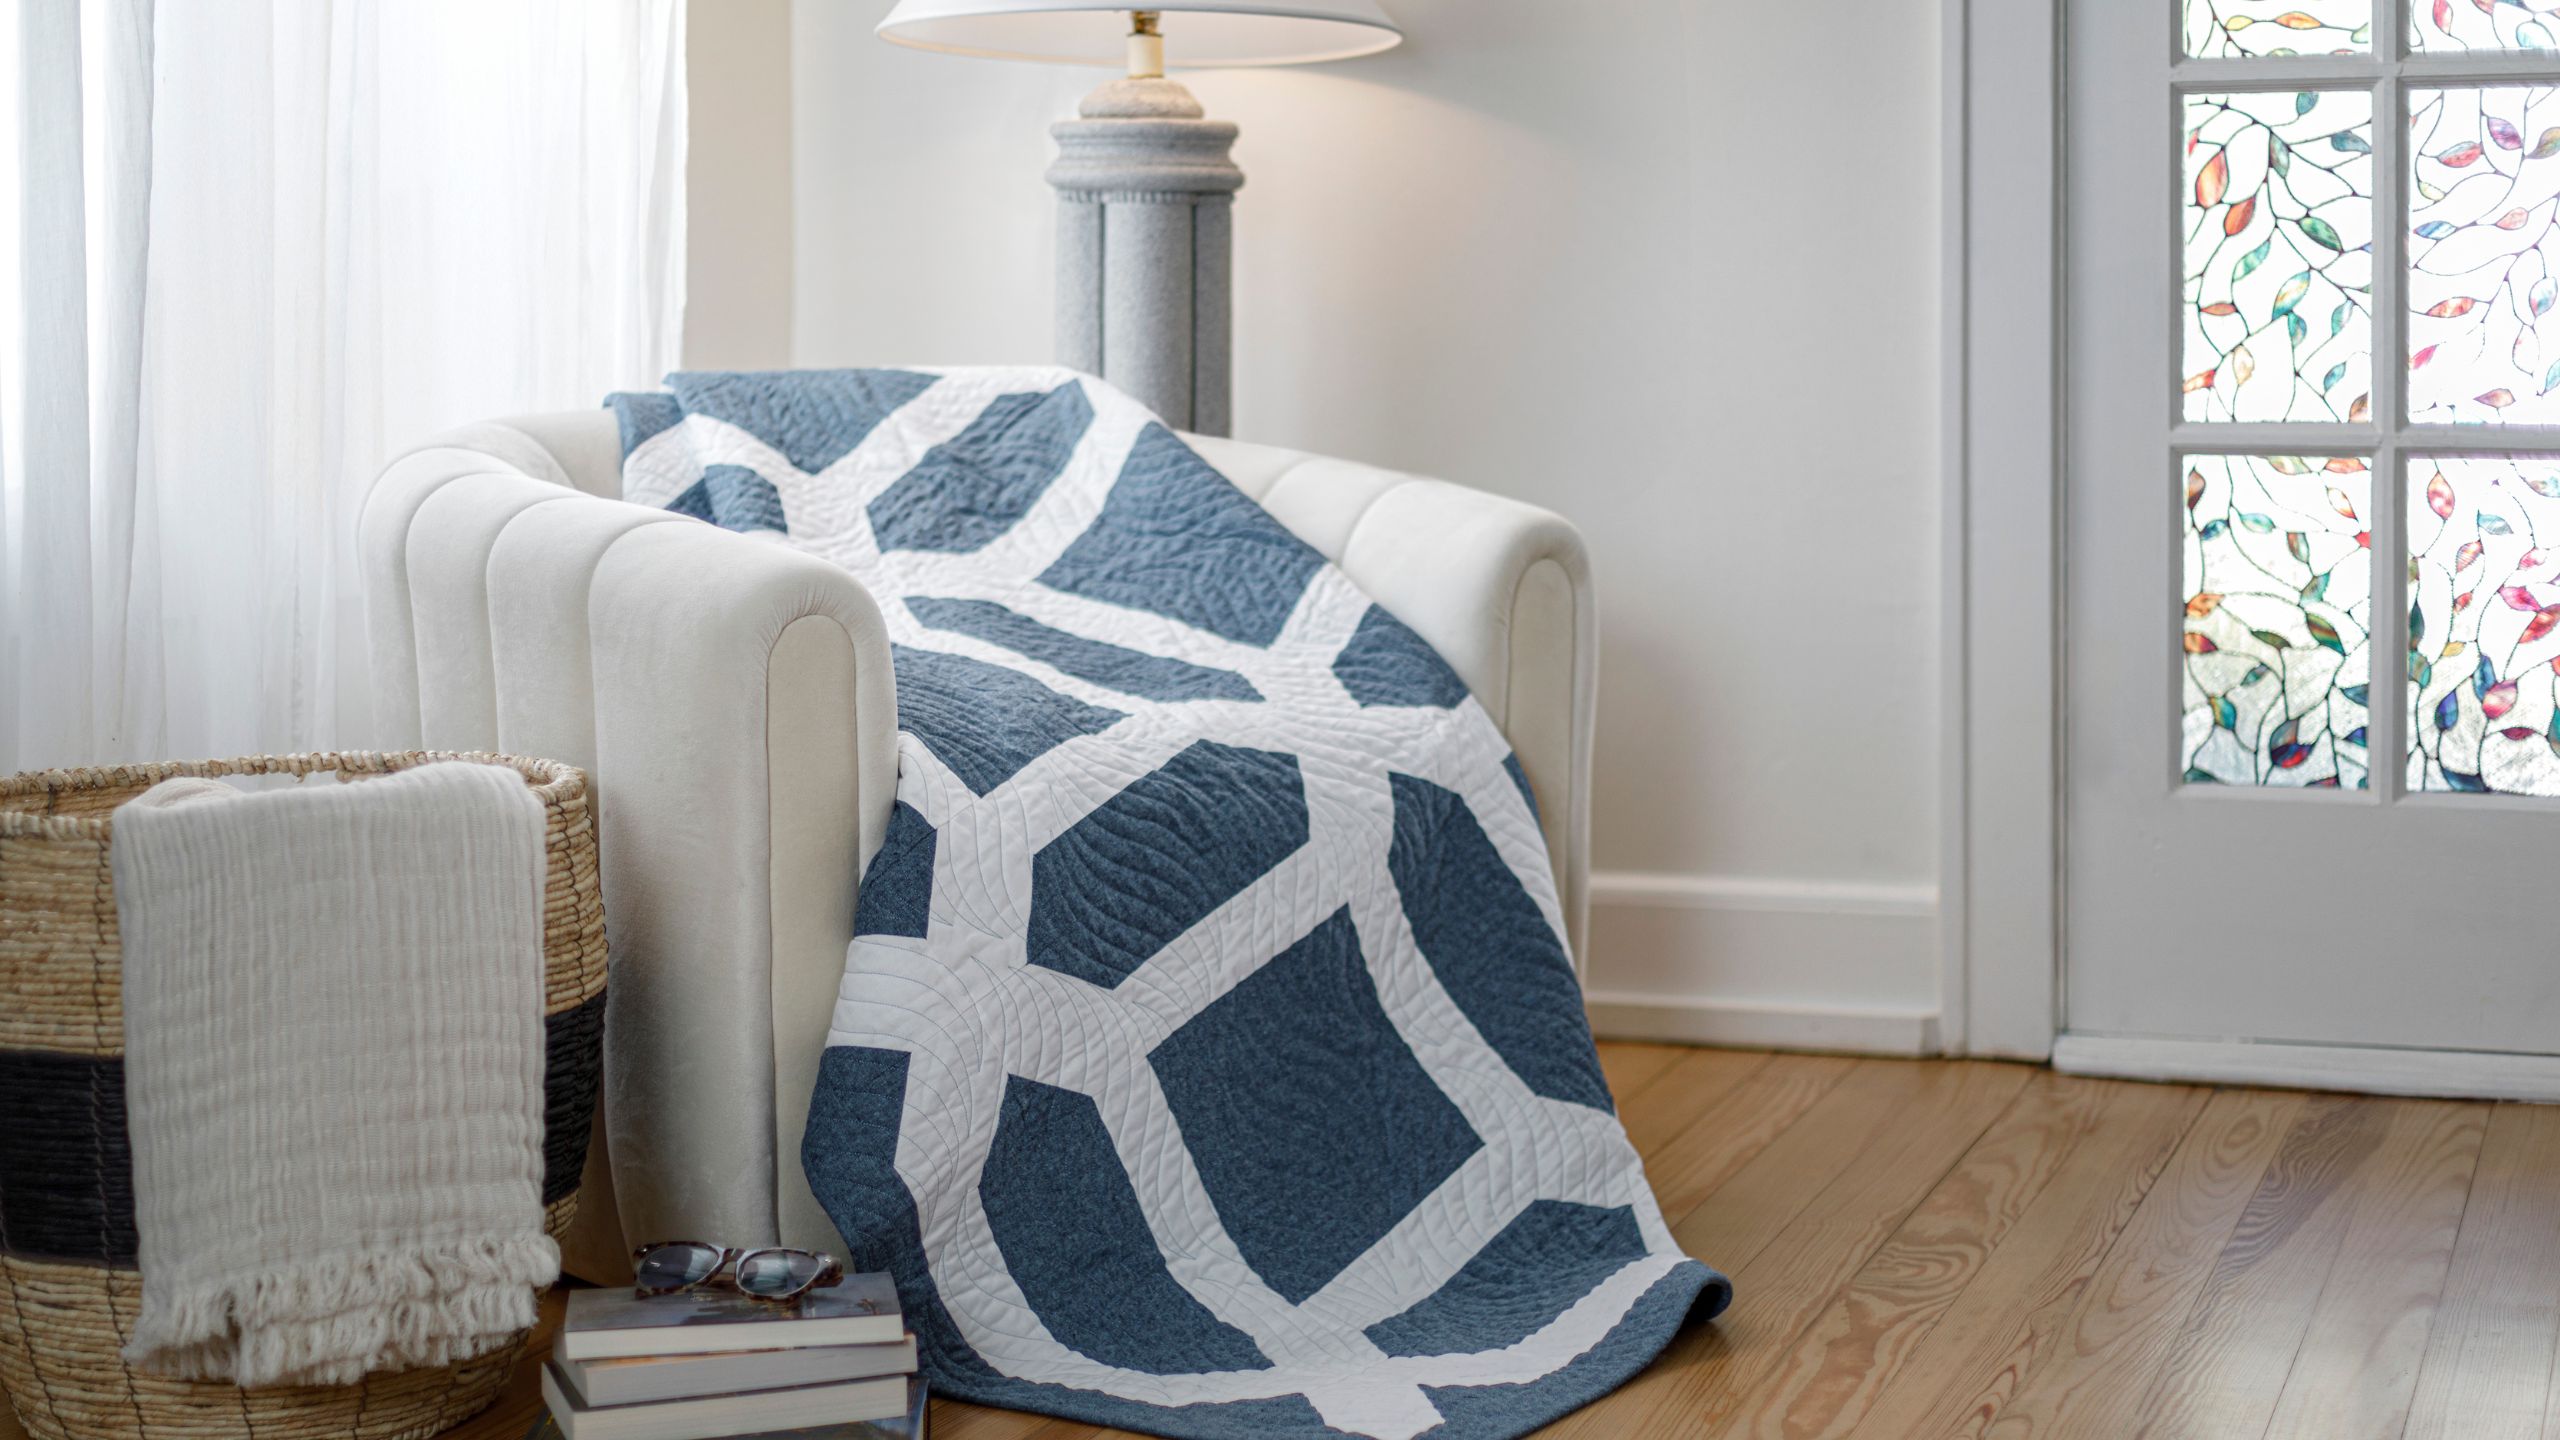
How to Make a Secret Garden quilt - Free Quilting Tutorial
 Misty Doan
- Fabric by Yard
- Modern
- Lap / Throw
- Beginner
- Quilt size 67" × 85"
You’ve found the most fashionable secret around! Follow along with Misty as she sews up this stylish quilt. Using fun solids, the Secret Garden Quilt shows off shapes linked together. It’s no secret - this quilt is the bee's knees!
Instructor
Misty Doan
Misty Doan grew up surrounded by sewing and quilting. She loves spending time sharing tutorials each week each week, and when she’s not stitching up one of her fun sewing projects for home decor, most likely you’ll find her hanging out with her husband and three awesome kids or working on a house project.
Shop this tutorial
 Secret Garden Pattern by Missouri Star$6.95Shop →
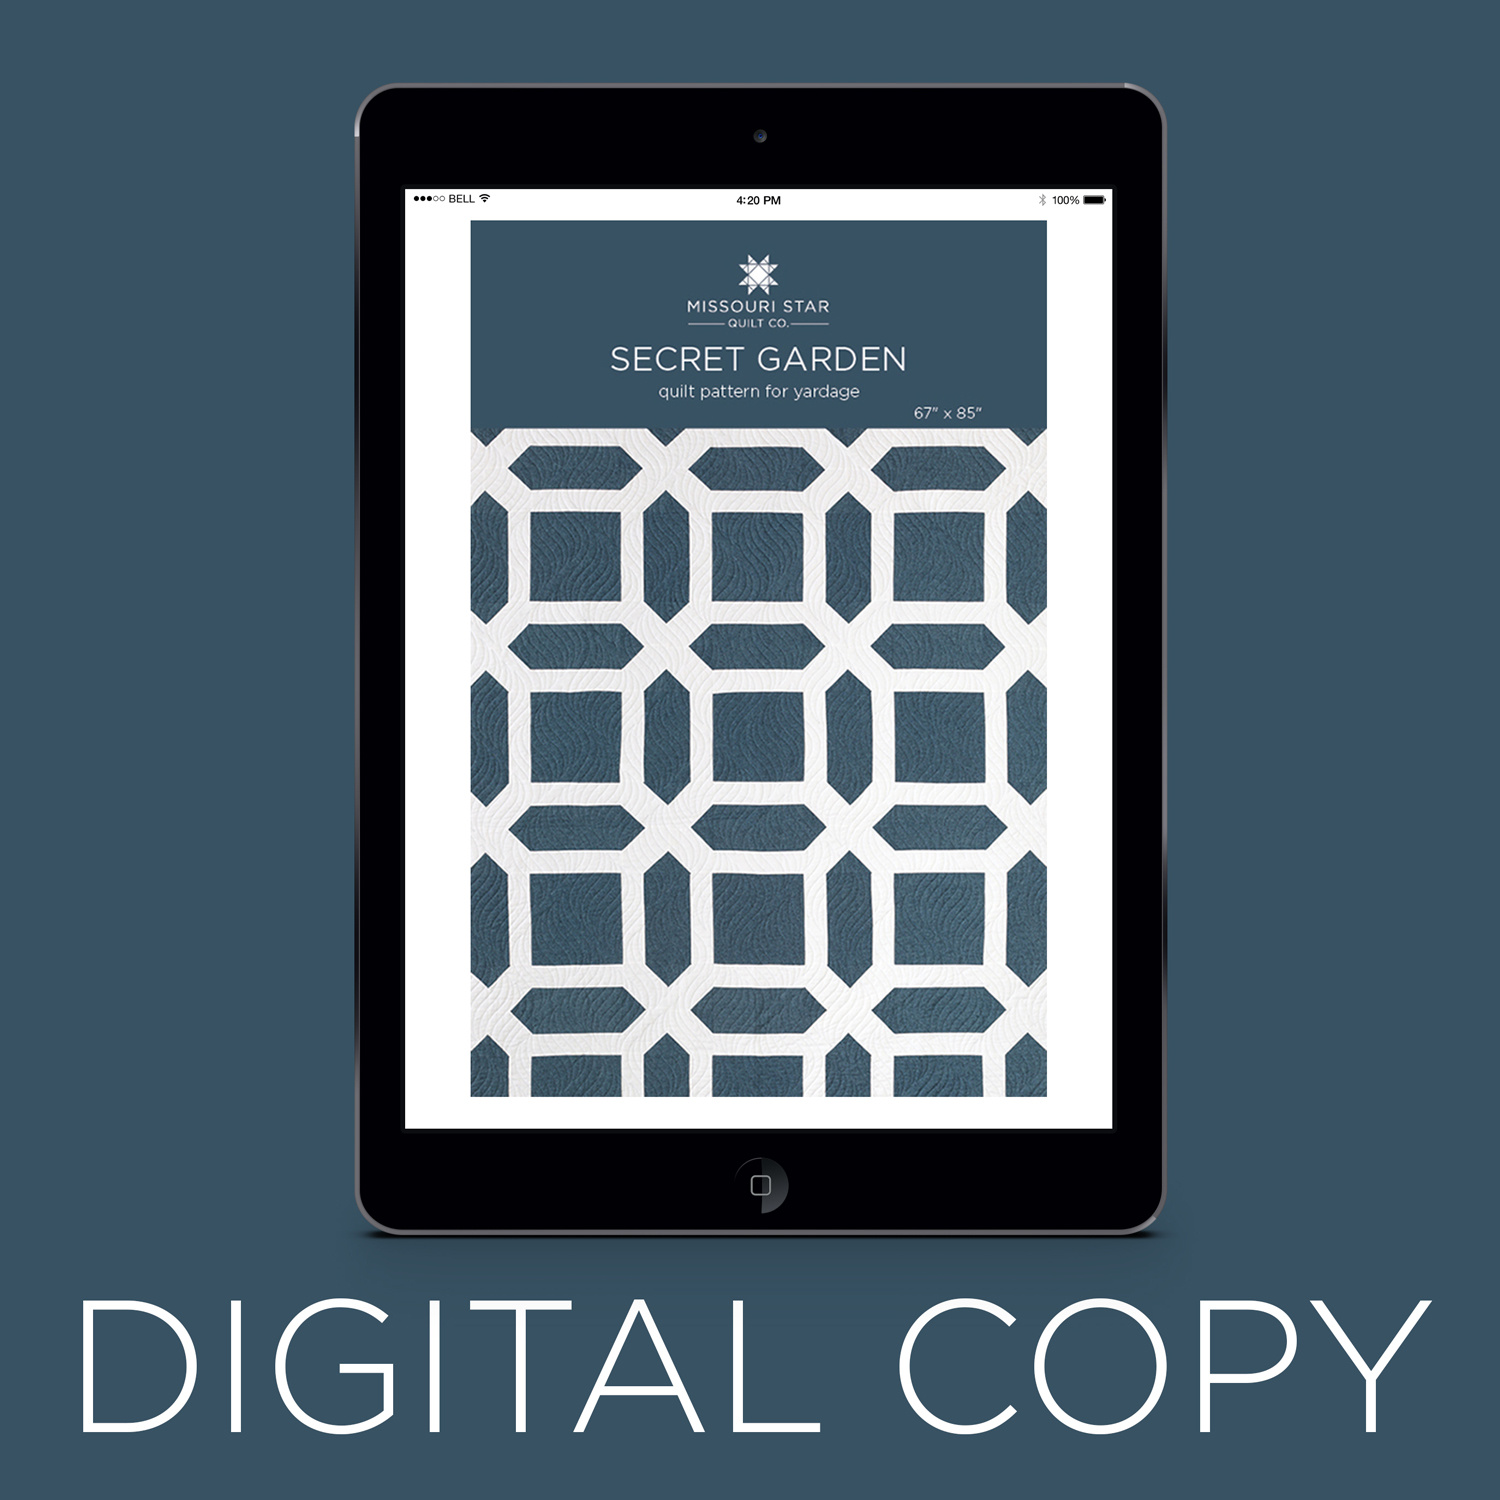 Digital Download - Secret Garden Pattern by Missouri Star$4.95Shop →
 Essex Yarn Dyed Linen - Nautical Yardage$11.24Shop →
 Kona Cotton - White Yardage$7.28Shop →
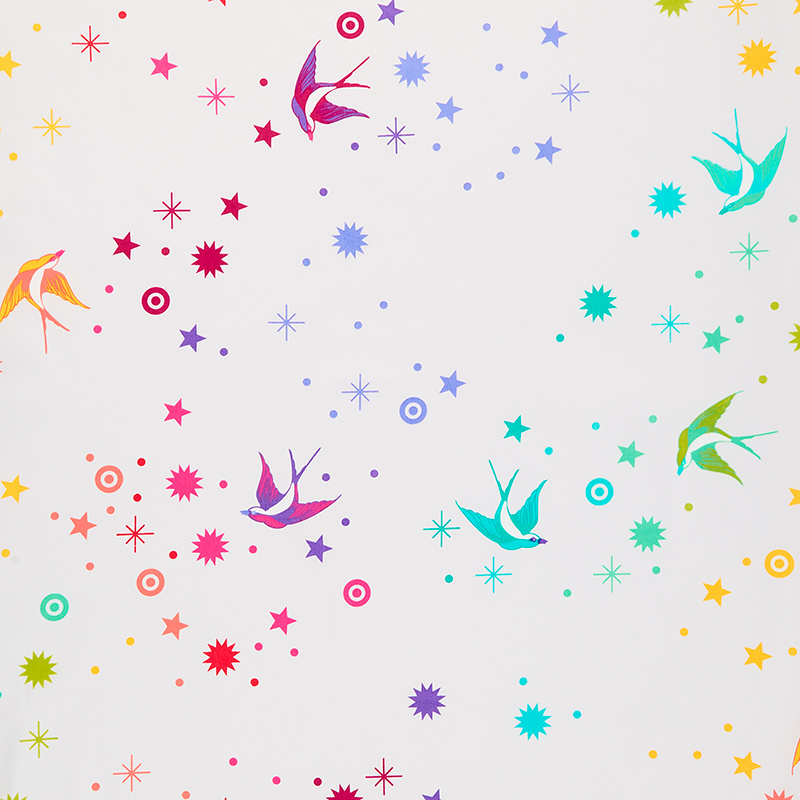 Tula Pink's True Colors - Fairy Dust XL Whisper 108" Yardage$23.96Shop →
 Missouri Star Quilter’s Best Blend Twin Batting$26.45Shop →
 Missouri Star 5" x 15" Ruler$15.95Shop →
 Missouri Star 45mm Rotary Cutter$19.95Shop →
 Exclusive Missouri Star Jenny TG1600 ProPlus Oliso Smart Iron$199.99Shop →
 Missouri Star Wooly Betty Board - 17.25" x 25.5" Orange Border$98.95Shop →
 Missouri Star 50 WT Cotton Thread White$6.95Shop →
 Baby Lock Accomplish - 1500 SPM Straight Stitch Machine$999.00Shop →
Common Questions
What is covered in How to Make a Secret Garden quilt - Free Quilting Tutorial?
You’ve found the most fashionable secret around! Follow along with Misty as she sews up this stylish quilt. Using fun solids, the Secret Garden Quilt shows off shapes linked together. It’s no secret - this quilt is the bee's knees!
How long is the tutorial video?
The tutorial video is 00:09:21.
Are supplies listed for this tutorial?
Yes. The tutorial page includes the supplies and materials connected to this project.
Is a transcript available?
Yes. A written transcript is available on the tutorial page.
Video Transcript
Garden because it kind of resembles the trellis that a rose might grow on and it was one of my favorite books growing up. So I hope you enjoy today's tutorial.
So you guys might not know this but I particularly love two color quilts.
They're just simple designs that can pop, which I think this quilt falls into this category. Like I said I'm calling it Secret Garden. My grand a bought me the most beautiful Illustrated Edition of The Secret Garden and I can remember just like pouring through it as a little kid and so it seemed like a a good nod to that.
This quilt is super fun to make. It's made up of two actually three very basic blocks and I'm going to walk you through all of those. So let's talk about what you're going to need. First up you're going to need this
blue fabric. I use this beautiful Essex linen of that you're going to need
3 and 1/2 yards. You're also going to need 2 and 3/4 yards of white and that's going to make your whole quilt top. For the backing you're going to need 5 and 1/4 yards with vertical seams or 2 and 3/4 yards of a 108. Let's dive right into this!
So first up let me show you what the whole quilt's conceived of so that you can see truly how simple it is. So these are the three blocks. We have an X
block, a bar block and a solid filler block. So this is how we're going to make the entire quilt .
So let's start by diving into this x block. In order to do that we are going to take a 5 inch background square, which I have in white here. Then we're going to take 2 and 3/4 inch squares of our blue. I don't know if you can
see but but I've drawn a line here corner to corner and we're actually just
going to place these on opposite sides and we're going to sew right on that line. Then we're going to repeat this four times, so we can put this together into our X.
So let's go ahead and take this to the machine and we're going to sew right on that drawn line. Just make sure it's all lined up in the center here.
There's the first one then we can spin this around and go down the other side as well. All right, so from there we can go ahead and cut off our excess. just leaving a quarter in seam allowance. So we'll trim and trim just like so and then we can take this over to the iron and just roll back those two corners, one and two. Then now like I said you're going to repeat this four times, so I have the other three ready to go exactly the same way. Then we can just lay this out so that it creates an X just like so.
Now we can put these two right sides together and these two and we'll sew these together like a four patch. So I'm just going to make sure
everything is nesting - you do want to check where those X seams come together. We want that to line up nicely. Then just continue on down and then you can actually just slide this next set in right under here. It's a great opportunity for chain piecing if you make all these blocks at once to do one after the other. There we go! Whoops and then we can just actually we don't even have to trim them we can just open it up double check make sure we still have that X shape we're looking for. Then we can fold those right sides together and sew down this seam. So I like to get to that first little X and then I want to make sure that the seams in the middle are
nesting. We'll sew to that point and then line these up as well. Now we can give that a press and our first block is complete. Make sure all of that lays
nicely.
All right, so you can see I have a stack of those done. I'm just going to set these aside for now and let's move on to the bar blocks. All right so the bar blocks are just as easy as the X. So from our blue fabric we are
going to cut a 5 by 9 and 1/2 inch rectangle. So you'll cut a 9 and 1/2 in
strip by the width of fabric and subcut that into your 5 inch rectangles. Then you're going to take from your background fabric and we're going to cut the same 9 and 1/2 inch and we're going to subcut that into the 2
and 3/4 inch. So that is what these measure and for each block you're
going to need two of those white rectangles. We are just going to sew
one along either long side of our blue rectangle. So I'll sew down this side and then come back and sew down this side as well. So let's go ahead and take this to the machine.
This is definitely one of those quilts that if you get all of your cutting done ahead of time you can just sit here and sew one after the other after the other, which is really nice and therapeutic to just be able to sit and sew. There's that one. We can flip this around here. Just make sure it's staying lined up, sew down with our quarter inch seam. All right, so let's give this one a press as well. We're just going to roll those back everything lays nice and flat so. Again this quilt is really that simple. You've got this easy bar block the X block and then you're going to need some solid squares.
So let's talk about how many of each one you're going to need. Of the X you're going to need 20 of this block. You're going to need 31 of the bar
blocks and you're going to need 12 of the solid blue. So let's start laying
this out cuz this is where the magic happens.
So I like to start with an X up in the corner. Then we bring in a bar block and then one of our solid blues is going to be in the middle here. We slide this up just a little bit to make sure we have plenty of room to get all of this on here. And then our X block and then the next row. These bars
rotate just like so and you can see how it's starting to take shape. I just love this so much much. So it's going to continue in the exact same way that you see here, seven across by nine down. You'll see I just finished it off with that nice little inner border, so everything just kind of floats on that blue background, which I think is really beautiful.
This quilt measures in the end 67 by 85 so it's a great throw size to snuggle up with or even toss on a bed - super versatile. I hope you guys really enjoyed this pattern. I can't wait to see the version that you made of The Secret Garden quilt and I'll see you next next time here on At Home.


