

How to Make a Serenity Table Runner - Free Project Tutorial
 Misty Doan
- Fabric by Yard
- Modern
- Table Runner
- Beginner
- Quilt size 22" × 62"
Get a peaceful, easy feeling with Misty and this Serenity table runner! From the ease of creating it to the pleasing finished look, you’ll love everything about this runner. Combining shades of the same color, like Misty does with the Kona Cotton she uses for this tutorial, will produce a lovely, calming palette. With our orange peel template, you’ll create pretty petal shapes that are accented by easy squares and triangles. Simply beautiful!
Instructor
Misty Doan
Misty Doan grew up surrounded by sewing and quilting. She loves spending time sharing tutorials each week each week, and when she’s not stitching up one of her fun sewing projects for home decor, most likely you’ll find her hanging out with her husband and three awesome kids or working on a house project.
Shop this tutorial
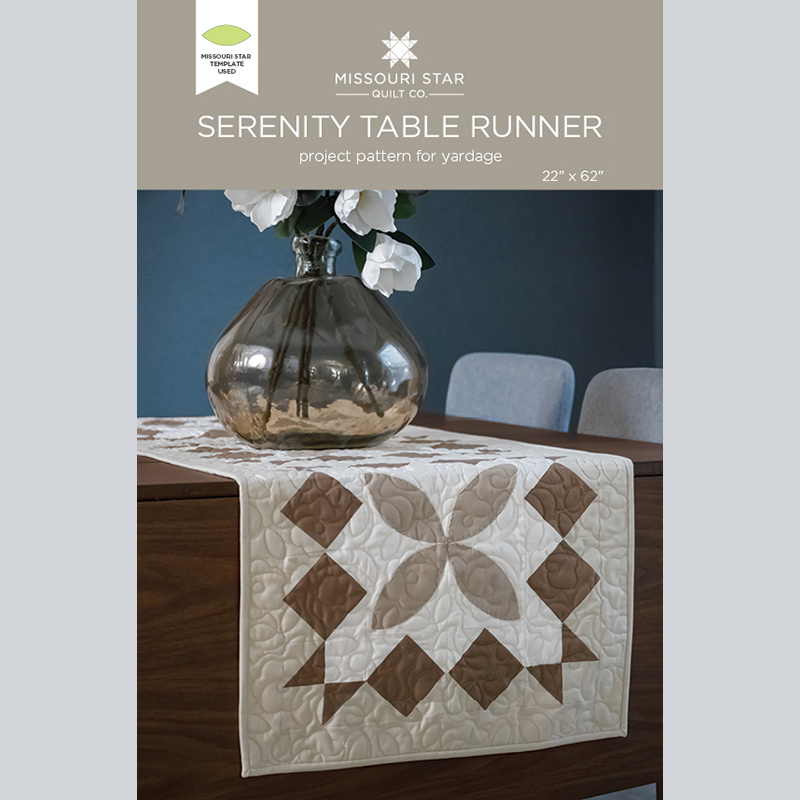 Serenity Table Runner Pattern by Missouri Star$6.95Shop →
 Digital Download - Serenity Table Runner Pattern by Missouri Star$4.95Shop →
 Kona Cotton - Taupe Yardage$7.28Shop →
 Kona Cotton - Parchment Yardage$7.28Shop →
 Kona Cotton - Putty Yardage$7.28Shop →
 Kona Cotton - Snow Yardage$7.28Shop →
 Pellon Shape-Flex Fusible Interfacing White Yardage$5.75Shop →
 Missouri Star Quilter's Best Blend Bed/Table Runner Batting$14.95Shop →
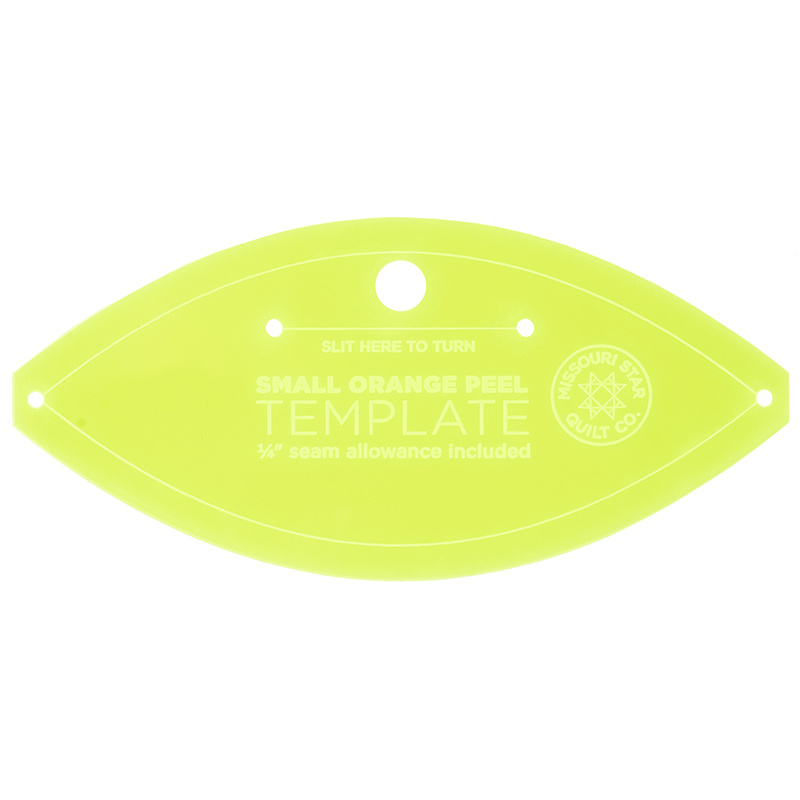 Missouri Star Small Orange Peel Template for 5" Charm Packs$7.95Shop →
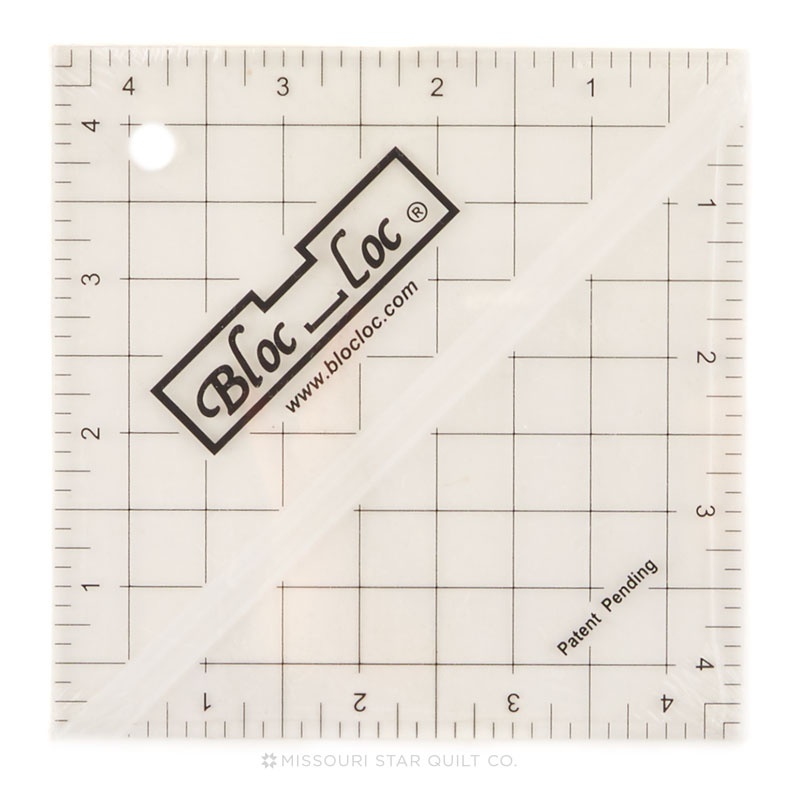 Bloc Loc 4 1/2" Square Up Ruler$25.00Shop →
 Missouri Star 2.5" X 15" Ruler$13.95Shop →
 Missouri Star 5" x 15" Ruler$15.95Shop →
 Missouri Star 45mm Rotary Cutter$19.95Shop →
 Exclusive Missouri Star Jenny TG1600 ProPlus Oliso Smart Iron$199.99Shop →
 Missouri Star Wooly Betty Board - 17.25" x 25.5" Orange Border$98.95Shop →
 Missouri Star 50 WT Cotton Thread White$6.95Shop →
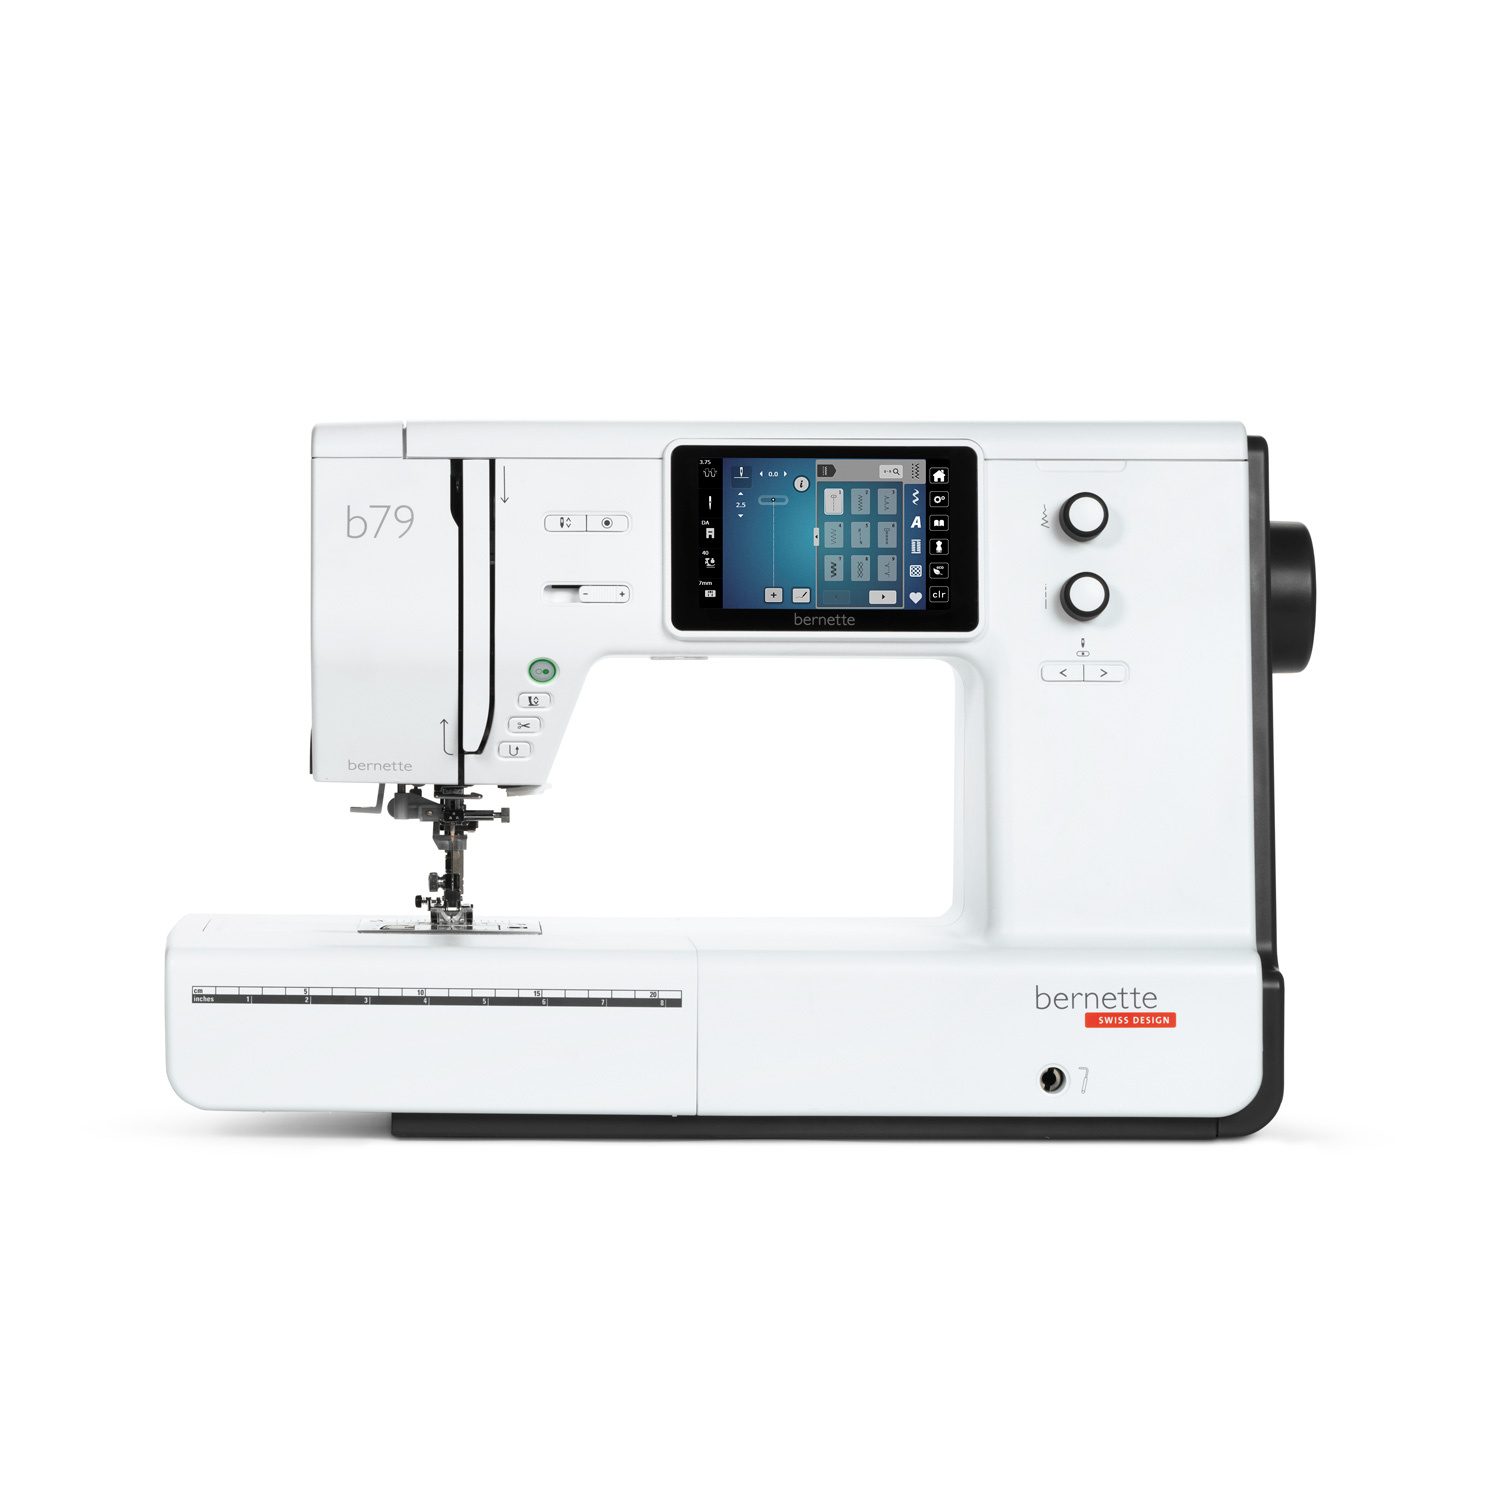 Bernette 79 Sewing and Embroidery Machine$2199.00Shop →
Chapters
- 0:00Intro
- 1:05Supplies
- 1:54First block step by step instructions
- 2:36Sewing a straight stitch onto the block
- 3:54Cutting and Ironing the block
- 6:50Pairing it up with a snow background and one putty
- 8:25Move on to next block
- 10:49Finished square block
- 12:05Making orange peels
- 16:50Placing orange peels on the snow background
- 18:29Machine Applique
- 22:04Putting blocks together
- 26:55Finished neutral table runner blocks
- 27:19Showing other colorways
Common Questions
What is covered in How to Make a Serenity Table Runner - Free Project Tutorial?
Get a peaceful, easy feeling with Misty and this Serenity table runner! From the ease of creating it to the pleasing finished look, you’ll love everything about this runner. Combining shades of the same color, like Misty does with the Kona Cotton she uses for this tutorial, wi...
How long is the tutorial video?
The tutorial video is 00:28:11.
Are supplies listed for this tutorial?
Yes. The tutorial page includes the supplies and materials connected to this project.
Is a transcript available?
Yes. A written transcript is available on the tutorial page.
Video Transcript
So it is a new year and I don't know about you, but I love to start things off
with you know a little bit of reorganizing and some future planning. I love to pick a word for the year and just kind of focus on that and my word for the year. This year is "ease." I'm hoping this will be a smoother year than some years in the past and I like that word because even when things are difficult or the challenges come our way, as they will, then we can just choose to to find an easy path through it and just focus on that. So that's what I'm hoping for and I hope all of that for you as well.
So this is the project that we're going to start off the year with. I just wanted something clean and simple to put on my table able to just start things fresh. So this is a really fun project. It's super easy to make and it uses yardage. So I picked these four great neutrals: taupe you're going to need 3/4 of a yard, then parchment you'll need 1/4 of a yard, one yard of putty and 3/4 of a yard of snow. In addition to that you're also going to need a half yard for your binding and a yard and a half for the backing, so make sure you grab that. You're going to need a half yard of fusible interfacing - that's to make the orange peels. So if you have this small orange peel template that will also be handy. And you'll need a squaring tool and I use the Bloc Loc.
So we're going to start with this corner block here. Then we'll move on to this kind of square in a square, and finish off with our orange peels. So let's go ahead and set this out of the way for now and then we can get started. So for that first block you are going to need a six and a half inch square of both the taupe and the putty. So you can see I have both of those here and I have them just stacked together. Then I'm going to go ahead and grab my ruler and a pencil and we are going to draw a line corner to corner, because what we're doing here is the easy eight method. So we're just making an X and then we're going to sew a quarter inch on both sides of the lines that we drew.
So let's go ahead and take this to the machine. So we're just going to sew a
straight stitch and I've got my machine set up quarter inch away from that line. So we're just going to sew down one side and back up the other. So we'll flip this around and come back the other way, and then I'll do the exact same thing on the other line.
All right, so now that we have both sides of both of those lines sewn we can go ahead and grab a ruler. We are going to start by cutting this in half both directions and since this measures 6 and 1/2 we need to come in 3 and 1/4. So that should intersect those stitch lines that we made. So I'm just going to make sure this is nice and straight and we'll make our first cut there. Then we can turn and we're going to cut this direction as well again it should measure 3 and 1/4 and make a cut. There we go, all right. And we can cut each of these in half now so that we'll get eight individual units. So let's go ahead and do that and one more.
All right, can put this away. So next up you're going to want to square these. So if you're using a Clearly Perfect Slotted Trimmer, you would leave them just like this. I prefer the Bloc Loc, so I'm going to go ahead and take this to the ironing board and then the squaring measurement you're looking for is 2 and 3/4. So let's go ahead and give these a press. Here we go, I'm just going to press one more because I have some of these done already.
All right ,so now let's square these. I'm going to use my Bloc Loc. If you have not used the Bloc Loc before, the logo goes on the light if you have pressed to the dark side. So I am just going to slide this down here and I'm just going to true up this edge, because it's just a little bit wonky. Just like
so. Now we can spin this around and slide it down to that 2 and 3/4 mark. So one, two and 3/4. See I have plenty of room to square this up. There we go and we'll do a few more just so you can see that again. And flip that around slide it down two and 3/4. Just trim a little bit off, here we go. And you'll go ahead and do that to all eight because for each block you're going to use all of those. But I am just going to make one of the corner units
cuz I have the other ones ready to go.
So now that we have done that we are going to pair it up with one snow
background and one putty. So we're actually going to put those in opposite directions and then our taupe is going to point in just like that. Then we're going to sew this together like a four patch. So let's go ahead and take this to the machine.
All right so now we'll just open that up, make sure it looks right and it does. So we can just put these right sides together. You could press in between if you'd like, but I find that it is easy enough to just go ahead and sew this next seam. Then I'm just going to take a few anchoring stitches there and then make sure that that middle seam will nest, and then line up my end, sew all the way down. There we go. All right so now we can give this a press. Beautiful and there is our corner block. You're going to repeat this so that you'll have four of these and I have my other three ready to go just like that.
So let's move on to our next block, which is this little kind of square in a square unit. So to do that we are going to take a 5 inch taupe square and then we have two 2 and 3/4 inch putty squares and two snow. So how this works is we are going to snowball the same color on matching sides.
So we'll begin with the putty and then we'll come back and add the snow. So let's go ahead and take this to the machine and I'll show you exactly what I mean. So we're just going to do one at a time and I'm just going to line this up right in the corner of my block. If you want to draw or press a
line you absolutely can, because we are going to sew exactly point to point. There's that one all right. So you can see I've just sewn point to point and we can go ahead and just trim off the excess fabric here leaving a quarter inch seam allowance. Then we'll press this back.
This is one of those instances where it's really helpful to have everything
close by. All right so we're just going to press that back. Once we have that
done then we're going to take the exact same color that we did already and we are going to put it on the opposite side here. We want to make sure it's going to overlap that first snowball that we added. And again we're sewing point to point, so let's go ahead and do that. Okay so again we can trim off that excess fabric, just going to leave that quarter inch seam allowance and then we'll press this back. So we're just going to roll that make sure it lays nice and flat. That looks great - that's exactly what we're looking for.
So now we're going to repeat that exact same thing with our snow squares on the other side. So I'm going to go ahead and do that and I'll meet you back here when it's done.
So here is our finished block. This is exactly how it looks. You're going to
make eight of these and we're going to sew these together in units of two. So I have another one completed here, and we are just going to match up so that those same colors are running across and so I'm just going to put this right sides together and we're going to sew this seam here with a quarter inch seam and then we will have this little two block unit ready to
go. Just making sure it all stays lined up the way that we want it.
Okay so now we'll press that back as well. Perfect! Okay so here is that unit. So as you can see I've repeated that three more times so we have four of these that are all identical ready to go. So we can set these aside with our corner blocks.
The last step for this runner is to make our orange peels for the center. And so I have a 5 inch square of both the parchment and this is the Shape Flex that I use. This is the iron-on fusible interfacing. And so I'm going to stack these together just like so and we're going to cut out our Orange Peel shape. So these are 5 inch squares. This fits perfectly on here and we can just gently ease our rotary cutter around that curve. Cut off that little
point then I'm going to go ahead and flip this around just to make it easier
on myself. Line that up again and we'll make these last little cuts and that little piece there.
Okay so if you're not familiar with this method let me explain it to you a little bit. This is our iron-on interfacing and it has a sticky or rough side. So we're going to call that the right side for this you know case. With solids this isn't super important, but if you were using a print you would want to make sure that you're putting right sides together. So this is the bumpy side of my interfacing facing the right sides of my fabric and we're going to sew around this all the way with a quarter inch seam. Then what we'll do at the end is we'll put a slit in here and turn this out so that the fusible is then on the outside of our project.
So let's go ahead and sew this - just make sure it's all lined up. And I will line this up under my presser foot. We will just ease this curve, it's a nice gentle curve so you don't have to worry too much about it. There's that first side then we can come back and do the exact same thing as we did here on the other side.
Okay perfect, so this is how that's going to look. You can see we've just stitched on the outer edge and now we're going to pinch this apart and I'm going to grab a nice sharp pair of scissors and I'm just going to do a little
cut across. This way then I can open this up and I'm going to make a nice slit going both directions so that I can easily flip this.
So now we can just kind of take the little pointy end there and the pointy
end here. One thing you want to keep in mind here is we do not want to press this until the very end when we're ready to attach this to our block. So if you have a little turning tool or something handy like this, it is perfect in this case.
So I'm just going to gently run along the seam edges to make sure this is going to lay super flat, just like so. That is the look that we're going for and you can kind of roll those seams with your fingers just to make sure that it's going to lay nicely. But don't press it or it will just stick to your ironing board and you will be super sad. So we're going to make four of these - I have the other three ready to go here.
So we have a 10 inch square here of our snow and we are just going to place these on here. Bt one thing I find really helpful is to press this in half
both directions. So let's go ahead and take this background square to the iron and we'll bring these with us because we'll iron these in place once we have it all ready to go. So let me make some room.
I'm going to start by making sure I don't have any extra wrinkles in here
and then we'll fold it in half and we'll get give that a press. These are just guidelines if you wanted to eyeball this you absolutely could, but I find this to be really helpful. So now that we have that first crease in there we'll turn this around and press it the other way. There we go, just like so. And so now I'm going to go ahead and open this up right here at the pressing mat and we can place each of our orange peels so that they kind of float. And I want them to be closer to the middle than to the outer edges just like so. Then I'm just going to check and make sure I'm happy with how that looks.
Now once you're ready, I can go ahead and hit this with an iron. So I'm just
going to gently press straight down and lift, press and lift. So you want to make sure you have a nice hot iron. We'll just take our time to make sure these fuse. Once they've started to stick, I like to flip them over and press them from the other side as well, just to make sure they're not going
to go anywhere.
All right, there we go. Our block is all pressed and ready. It looks beautiful! So now we can finish this off with some applique stitches. Let me go ahead and get the machine set up for that and I'll walk you through it all right?
So there are a lot of different stitches you can use to finish off your machine applique. I found one that I like and I did some test stitches on some scratch fabric just to make sure I was happy with how that was going to look. I always recommend that you do that before you do machine applique. The other thing I would note is typically you're going to want to match whatever piece you are appliqueing with your thread. I kept my white thread on here so you guys can see that, but it'll be a beautiful finish if you use matching thread. So just keep that in mind.
So I am going to go ahead and line this up. I'm going line the edge of my needle up with the outer edge of my orange peel and I like to start not right at a tip. I don't know why, but I just find it easier to start in the middle of the peel or a little ways down. And so we are just going to start stitching. And then when I get to the outer edge I am just going to make sure that I have my needle down and then I can lift my presser foot and I can just rotate so that I can continue down the other way. So I'll go ahead and put my presser foot back down and we'll continue stitching. Here again I'm at that outer point, so we're going to put that needle down we'll make this one last curve and we are just going to meet back up where we started. All right and so that is how that looks it just takes that little V in and a few straight stitches around the edge. Here is how it looks with the matching thread and all four petals done. So I think that just turns out so nicely.
So the last step is I made this 10 inches but we actually need to square it to 9 and 1/2. I think by giving that extra room while we're doing the applique it just gives us a really beautiful finish at the end. So let's clear some of this extra stuff out of the way so we can square up our block.
So I have my nice big 10 inch square ruler here. So since I know that I want
this to be 9 and 1/2, the middle should be 4 and 3/4. I'm actually going to
rotate this so I can see my numbers - that make sense for my brain. So here is my 4 and 3/4 that I want to be matching up in both directions and that looks right. So I'm going to go ahead and trim off these first two corners, one and two. So now that I've done that I can rotate this put this in the bottom corner and I can line this up now exactly on the 9 and ½ line just like so, and then trim off the excess. That looks perfect! There's one and two okay. So now that this is all square we can put our block together.
So let's bring back the other pieces that we've been working with. So here are our side units, and we are going to match up those lighter pieces with the middle, so just like so. And then we'll come in with our corner unit. Same thing, light goes to the middle just like that and so let's go ahead and sew these two pieces together, and our corners onto each and we'll sew this whole block together and it will be done.
So I'm going to bring these to the machine first and then we'll add the top and bottom right. We'll add the other side. Okay there is our center unit. Let's go ahead and give this a press. I will just leave this here and now
we're going to go ahead and add our corners to the top and bottom. So I'll
have both of these ready to go, and we'll do one after the other.
So same thing. We're just going to sew these down with a quarter inch seam. All right so I have sewn the last seam on our top and bottom pieces. So I'm going to go ahead and press both of these and then we will lay it all out and I'll show you how this is going to go back together.
So let's go ahead and press these. I'm going to press these kind of towards those middle units so that my corners will nest up. Well just make sure seams are going the way that I want them - there's one and one more here - perfect. Okay so now let's lay this out, see one more time how this is going to come together. And so we will just fold these in top and bottom and sew these long seams and our block will be all done.
So let's go ahead and do that. Set this to the side so I don't drop it. So as I'm approaching I want to make sure that those corners are nesting. It's really the only thing you have to match, make sure that stays laying flat and again as I'm getting closer to that other side. Okay we have added that top and bottom. Let's just give this one final press so it lays nice and flat. Turn this around. Beautiful - there we go! There is our finished block block.
So let's pull this runner back out. So you can see here I put three of these big blocks together and I just did a 2 and 1/2 inch sashing and outer border to finish this off. I bound it with that exact same color that we sashed it with. I just think it's so pretty and will be beautiful all year round.
If you aren't a fan of neutrals, I thought it would be fun to show you a couple of different colorways. So I have two others here. I just made a single block. So first up, how about Valentine's? I think this block is beautiful in the pink and red. It's really fun. And then here's one for the 4th of July. So just play with it - imagine it in colors that you love and I can't wait to see the version that you make. Be sure to tag it with #msqcshowandtell so we can check it out! I will see you next week on At Home.


