

How to Make a Snowball Squared Quilt - Free Quilting Tutorial
 Jenny Doan
- Layer Cake
- Modern
- Queen
- Beginner
- Quilt size 83" × 96"
Jenny Doan of Missouri Star Quilt Co shows how to make a frosty new quilt with 10 inch squares of precut fabric and plenty of snowballs! She is using the elegant florals of Local Honey Tiles by Heather Bailey for FIGO Fabrics paired with crisp white background fabric. (Flowers AND snow? Sure sounds like spring!)
Instructor
Jenny Doan
Jenny Doan is an American quilter, author, and YouTube personality. Jenny started Missouri Star Quilt Company in 2008 and today it is the largest quilting supply vendor in the United States.
Shop this tutorial
 Snowball Squared Quilt Pattern by Missouri Star$6.95Shop →
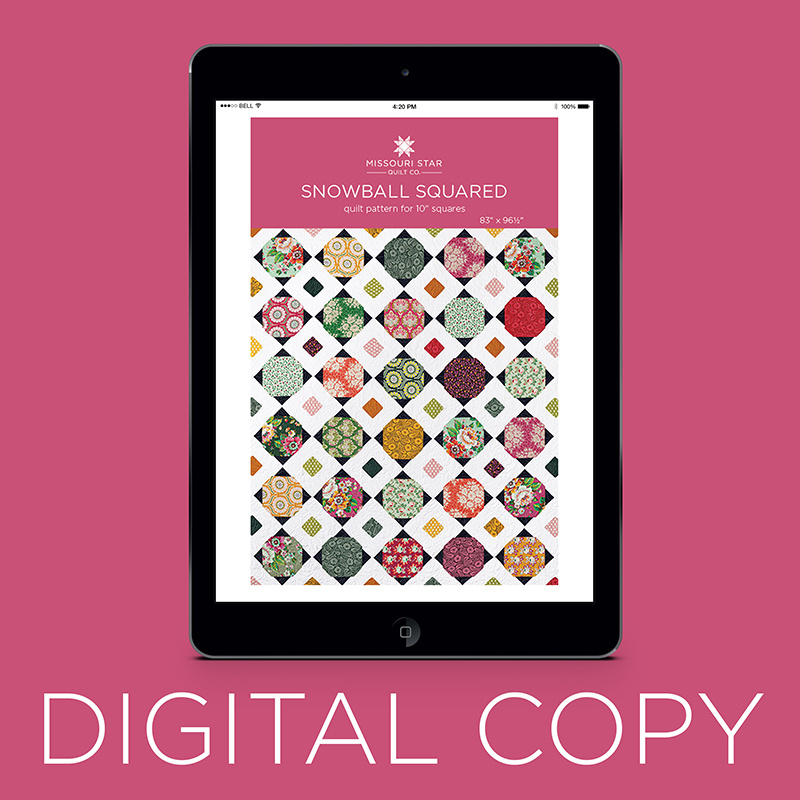 Digital Download - Snowball Squared Quilt Pattern by Missouri Star$4.95Shop →
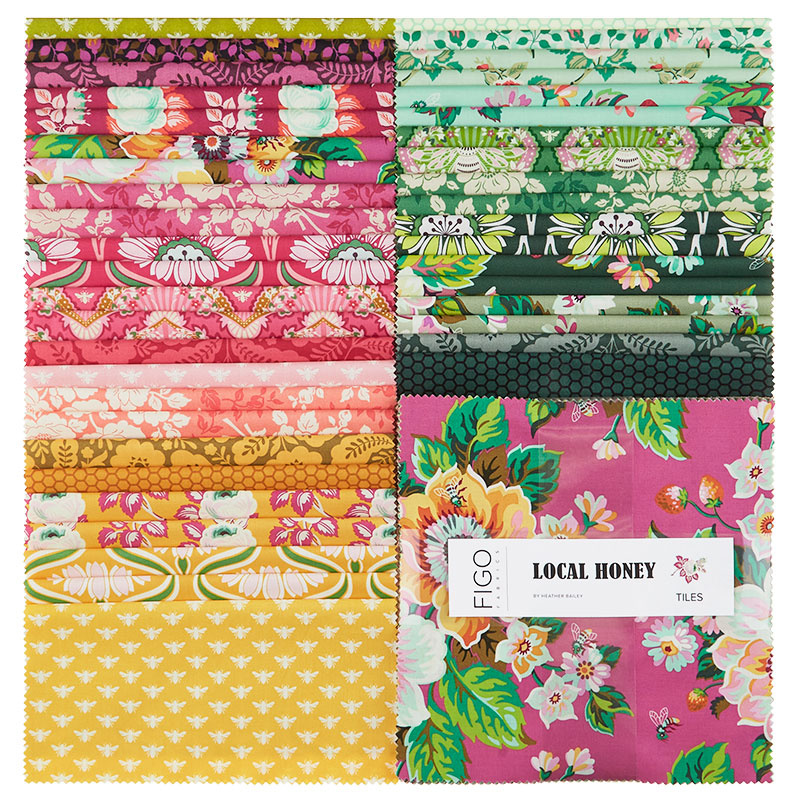 Local Honey Tiles$37.95Shop →
 Kona Cotton - White Mini Charm Pack$6.95Shop →
 Kona Cotton - White Yardage$7.28Shop →
 Kona Cotton - Navy Yardage$7.28Shop →
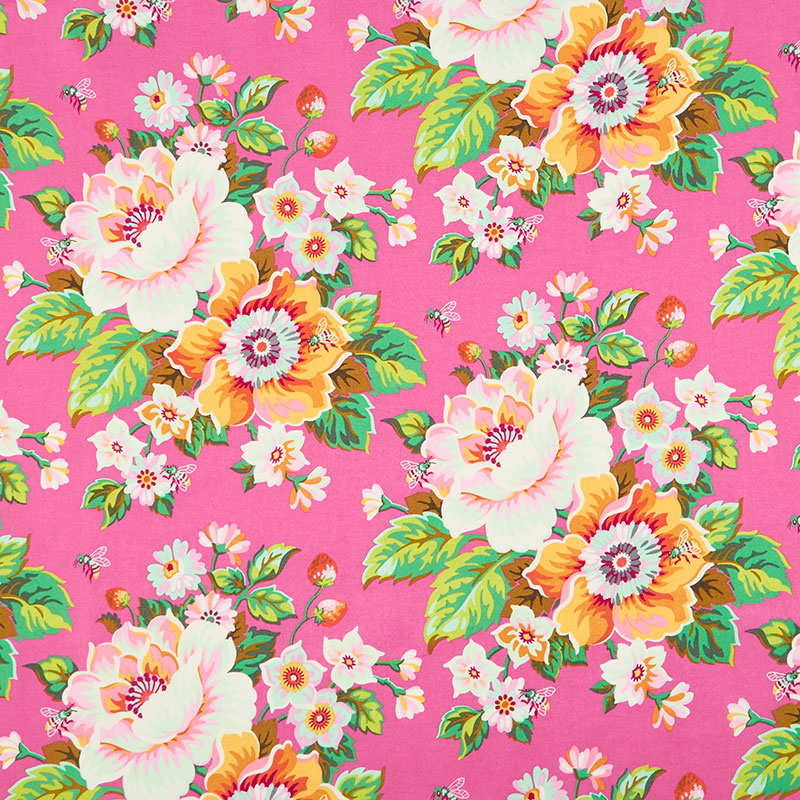 Local Honey - Summertime Violet Yardage$11.76Shop →
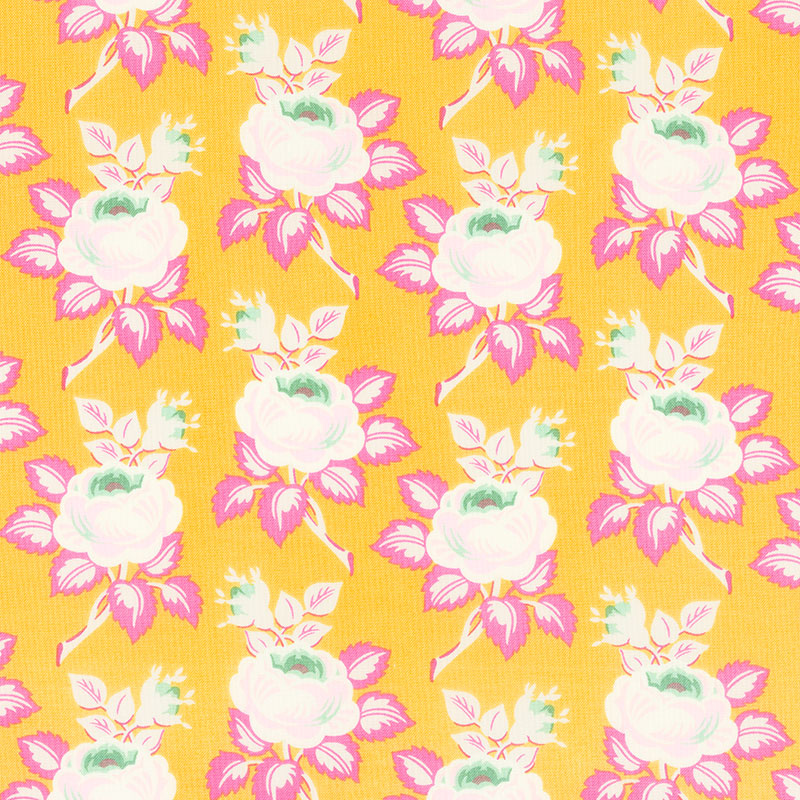 Local Honey - Sweet Honey Yardage$11.76Shop →
Common Questions
What is covered in How to Make a Snowball Squared Quilt - Free Quilting Tutorial?
Jenny Doan of Missouri Star Quilt Co shows how to make a frosty new quilt with 10 inch squares of precut fabric and plenty of snowballs! She is using the elegant florals of Local Honey Tiles by Heather Bailey for FIGO Fabrics paired with crisp white background fabric. (Flowers...
How long is the tutorial video?
The tutorial video is 00:14:33.
Are supplies listed for this tutorial?
Yes. The tutorial page includes the supplies and materials connected to this project.
Is a transcript available?
Yes. A written transcript is available on the tutorial page.
Video Transcript
So to make this quilt, you're going to need one packet of 10" squares, and we have used Local Honey by Heather Bailey for Figo Fabrics. And you're going to need four packages of 2.5" Squares and four packages of 5" squares or four yards of background fabric, and you can cut those yourself. You're also going to need some accent fabric. That's the navy that's in here, and that is 1 1/4 yards of that. For your outer border, you're going to need 1 3/4 yards, and that's a nice big 6" border. And then the backing is 8 3/4 yards or 3 yards of a 108. For your binding, you're going to need 3/4 of a yard.
So Heather Bailey designs this gorgeous fabric that is huge florals, and I just love it. You can see on the quilt behind me there are great, big, gorgeous florals. And sometimes you get a print you don't want to cut up, a fabric that you just can't bear to cut into. And so I wanted to come up with something where we leave these mostly whole. So let me show you how we did this. So the first thing we're going to do is you're going to pull out your favorite fabrics, 30 of them, from our pack of 42. And we are going to trim these down to 9 1/2. And so we're just going to take a 1/2" off two sides like this, so one and two.
And then we're going to snowball this block. When you snowball a block, it means that you take a block that is smaller and you put it on all four corners, and so diagonally across it, and that gives the square a little bit more round look to it. All right, so I used these little 2.5. They're so convenient, but you can so easily just cut a 2.5" strip and cut it into 2.5" squares, and it will give you about 16 squares out of each strip. But this is a very handy. So what we're going to do here is we're going to put one of these on each corner. Sew diagonally all the way across, and then trim it. And it will take a square block to a more curved look. And so I'm just going to go ahead and do that. I'm using my diagonal seam tape. You can draw a line or iron a line. I'm just going to aim this corner to corner and use my seam tape. The diagonal seam tape is also such a nice shortcut for those of us who do a lot of this sewing. It really makes it worth it.
All right, there's two. And here's three. And here's four. All right, so now what we're going to do is we're going to trim these off and press them back like this. And I'm just guessing go about 1/4" and just trim them off. And then we're going to press this back like this. And you're going to do this to 30 of your blocks. So we'll make a little block like that. I have a little stack of them going over here, and I'm going to set these right down here.
All right, the next thing you're going to do, once you've done that to 30 of them, you're going to take 11 more squares. And we are going to cut those into four 5" squares. So we'll take our ruler and cut it in half like this and like this. And you're going to do this to 11 of your squares. And you're just going to put these in a stack with all the other squares that you've cut into pieces like that. And you'll mix them and match them all up. But guess what? We're going to snowball this again.
So you're going to take four of your 5" squares, and we're going to sew around all the corners. And I'm going to do it to this one I just cut like this. And again, we're going to do the same thing. We're going to put a square on the corner, but this is now a 5" square with 2.5" corner squares. And so we're going to put them on opposite sides, trim them, and then do the opposite sides. You can't quite go all the way around with this one. Maybe we can, let me look. Let me see if I can put that on there and have it not... Oh, I don't love it to squeeze over the middle, so I'm going to go to my opposite side and just put that one on and trim these off. And usually, honestly, I use a pair of scissors and just sit in my chair and just trim them off with a pair of scissors. But a rotary cutter works too. I'm a little old school that way.
All right, so press that and then we're going to add the corner on two more squares on the corners like this. So we'll put this one here and this one here. And we'll do the same thing. Okay, so we're going to go ahead and sew right on the line directly across, right down the center of that block. Flip it to the other one, and do the same thing. And then we're going to trim these off. Press it out. And you will have a little snowball block like this. So we'll set this one aside.
Now for our sashing row right here... This is what I'm calling the sashing row right here. This is our cornerstone, main block, and this is our sashing row. We're going to take a 5" square. Now you can use a charm pack, or you can cut a 5" strip and cut it into... You'll get eight 5" squares out of each strip that you cut. And what we're going to do with those is we are going to snowball one side of our block. And so I have two squares here. The snowball is going to be made up of a 2.5" square of your accent fabric. And so you'll cut a 2.5" strip, and then you'll get a 16 2.5" squares to make that block. And so what I'm going to do here is I'm just going to put one on the corner and sew it corner to corner, just like this. Again, you can draw that line, iron the line, use your seam tape. So I'm going to sew one on two corners of these, and I'm just going to slide another one in here, like that.
And then I'm going to trim these off this way and this way. We're going to press them back, and then we're going to add another corner. And you want your corner to be on the same side as the one that you're working on, so it's going to go right here. And we're going to sew corner to corner, like that. Let me grab this one. And we are going to put this together right here, so so many snowballs on this block. That's why I called it Snowball Squared. It's just like snowball after snowball. But the best part about it is allows us to leave that big, beautiful fabric big and really enjoy those gorgeous prints. All right, we're trimming these off, and then we're going to press these back like this.
And then we're going to sew these together this way, so that our navies meet up. And so I'm going to lay this right on top, right sides together. Now, this is really an interesting thing right here to take note of. So we know our 5" squares are square. We cut them their square. Sometimes when we put those corners on, they get a little bit wonky or a little bit off. And so I always use this side to line up my block, and then if it stands out... So right here, see, I'm a little bit off, so that bottom one peaks out. I know that I'm just going to keep sewing straight and use this as my guide, if you will. But we're going to sew across the top. So line your blocks up and then sew across the top like this. And yes, you completely are losing your point on this, and that's what we want. And so this is your sash block.
So you're going to need two sashing blocks. This is one, and then this is the other. So you'll notice in the quilt that these have two on both sides, but this outside border only has one. So when you put these together, you're just going to sew a corner on one side. We're going to trim it, and we're going to press it back like this. And we're going to sew these together like this. So once you get all your pieces made, we are ready to put our block together. Now, there's lots of ways to put this together. Obviously, you can do it by rows. But the way I did it was I took my big block, and I sewed a sashing to the side right here. And then I sewed the sashing to the bottom and a cornerstone in here. This was my block, so I just set it in, and it worked. So let me show you how I made this. So let's put this together right here, and sew this side on. And then I'll show you how it fits into the quilt.
All right, so next we're going to sew our little cornerstone to another sashing piece. And by the way, this is a fun sashing idea to use on... We're always looking for fun and creative sashing ideas, and this gives it a little different look. And I think it's really fun. All right, so now we have this piece which we are going to sew onto this piece right here, so you can see right here it goes like that. And we're going to sew that on there. So let me just line that up. Take a few anchoring stitches, and then I'm going to come down here to this first junction where the seams meet and make sure my seams are nesting. And then the other one, I'm just making sure it goes to the end. There's nothing else to line up. All right, now let's press this.
Now, if any of this gets confusing to you, like how I'm putting the block together, and you'd rather sew it together in rows, you totally can. It'll be the same thing. This is the brain thing. All of our brains work differently. And for me, this is just a brain thing. It feels like a shortcut. I don't think it is a shortcut, but it feels like a shortcut. So I'm going to just make some of these seams go the way I want them to, make them behave. And then this is our little block right here, and let me show you how it fits in the quilt. Look, I even have the exact same fabric on both of them. So this is how it goes in the quilt. So this is your block, and we're going to put 1, 2, 3, 4, 5 of these. And then we're going to add this last sashing and the last cornerstone up here to form our row.
And so, you're just going to make rows of that and put it together, because when we put this one up with the next row, again, it's already done, already cornered and sashed and ready to go. And so it just goes together really quick and fun. So you'll need 49 of these doubles and 22 of the singles. And then you'll start to put your blocks together. When you put your blocks together, this is going to be an inner block, where you have your doubles on both sides, but your border block is going to be out here. It'll have this one with your corner, and then it'll have this over here with your other corner. And that makes the corner of the block and that keeps your outer border, so you have this nice little white edge on the top that feels a little bit like a finished border. I really like how that looks.
So now that you have all of your quilt together, you're going to border it with this nice big 6" border, and we love that. And let me show you the back. Look how pretty that is. This is quilted with a pattern called Just Roses, and it makes a quilt that is 83 by 96. Just a gorgeous big quilt, beautiful fun to put together. And so if you have fabric that you just don't want to cut up, this is the perfect quilt for you. So we hope you enjoyed this tutorial from the Missouri Star Quilt Company.
Hi everybody. It's Jenny from the Missouri Star Quilt Company. We hope you enjoyed watching this video. If you aren't already part of the Missouri Star Quilt Company family, be sure to subscribe, so you won't miss a thing. And if you click that bell, it'll notify you every time a new tutorial comes out. See you next Friday.



