

How to Make a Squared Up Quilt - Free Quilt Tutorial
 Misty Doan
- Layer Cake
- Modern
- Lap / Throw
- Beginner
- Quilt size 60" × 72"
Quilters, it's think INSIDE the box. In this episode, Misty dazzles us with the Squared Up pattern by Cotton and Joy! Shown here in Moonchild fabrics for Riley Blake, this geometric wonder will frame up all your favorite prints in the prettiest setting. This quick and easy project is perfect for 10" precut squares!
Instructor
Misty Doan
Misty Doan grew up surrounded by sewing and quilting. She loves spending time sharing tutorials each week each week, and when she’s not stitching up one of her fun sewing projects for home decor, most likely you’ll find her hanging out with her husband and three awesome kids or working on a house project.
Shop this tutorial
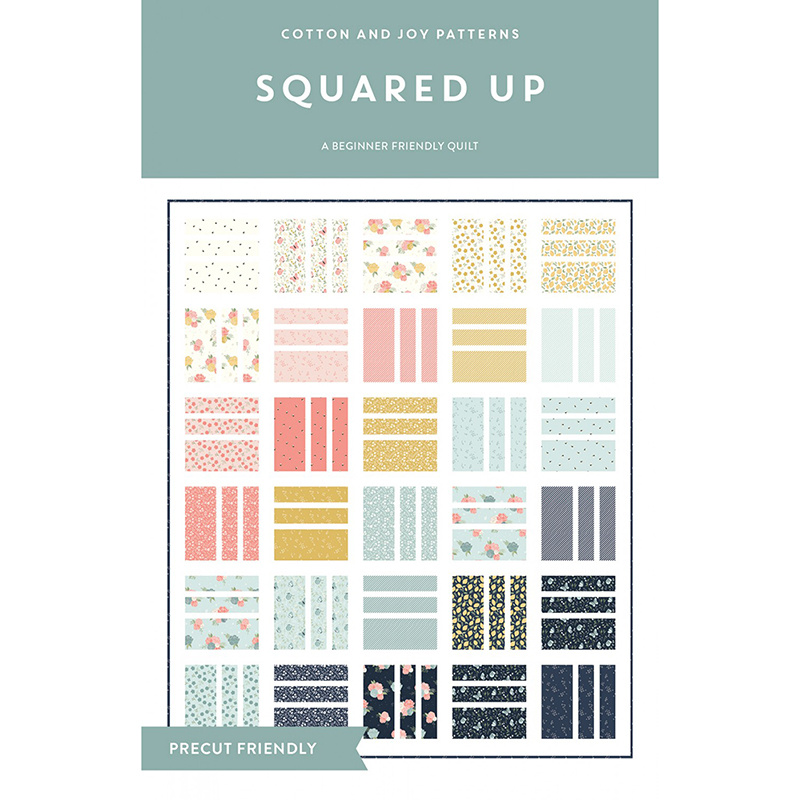 Squared Up Quilt Pattern$13.00Shop →
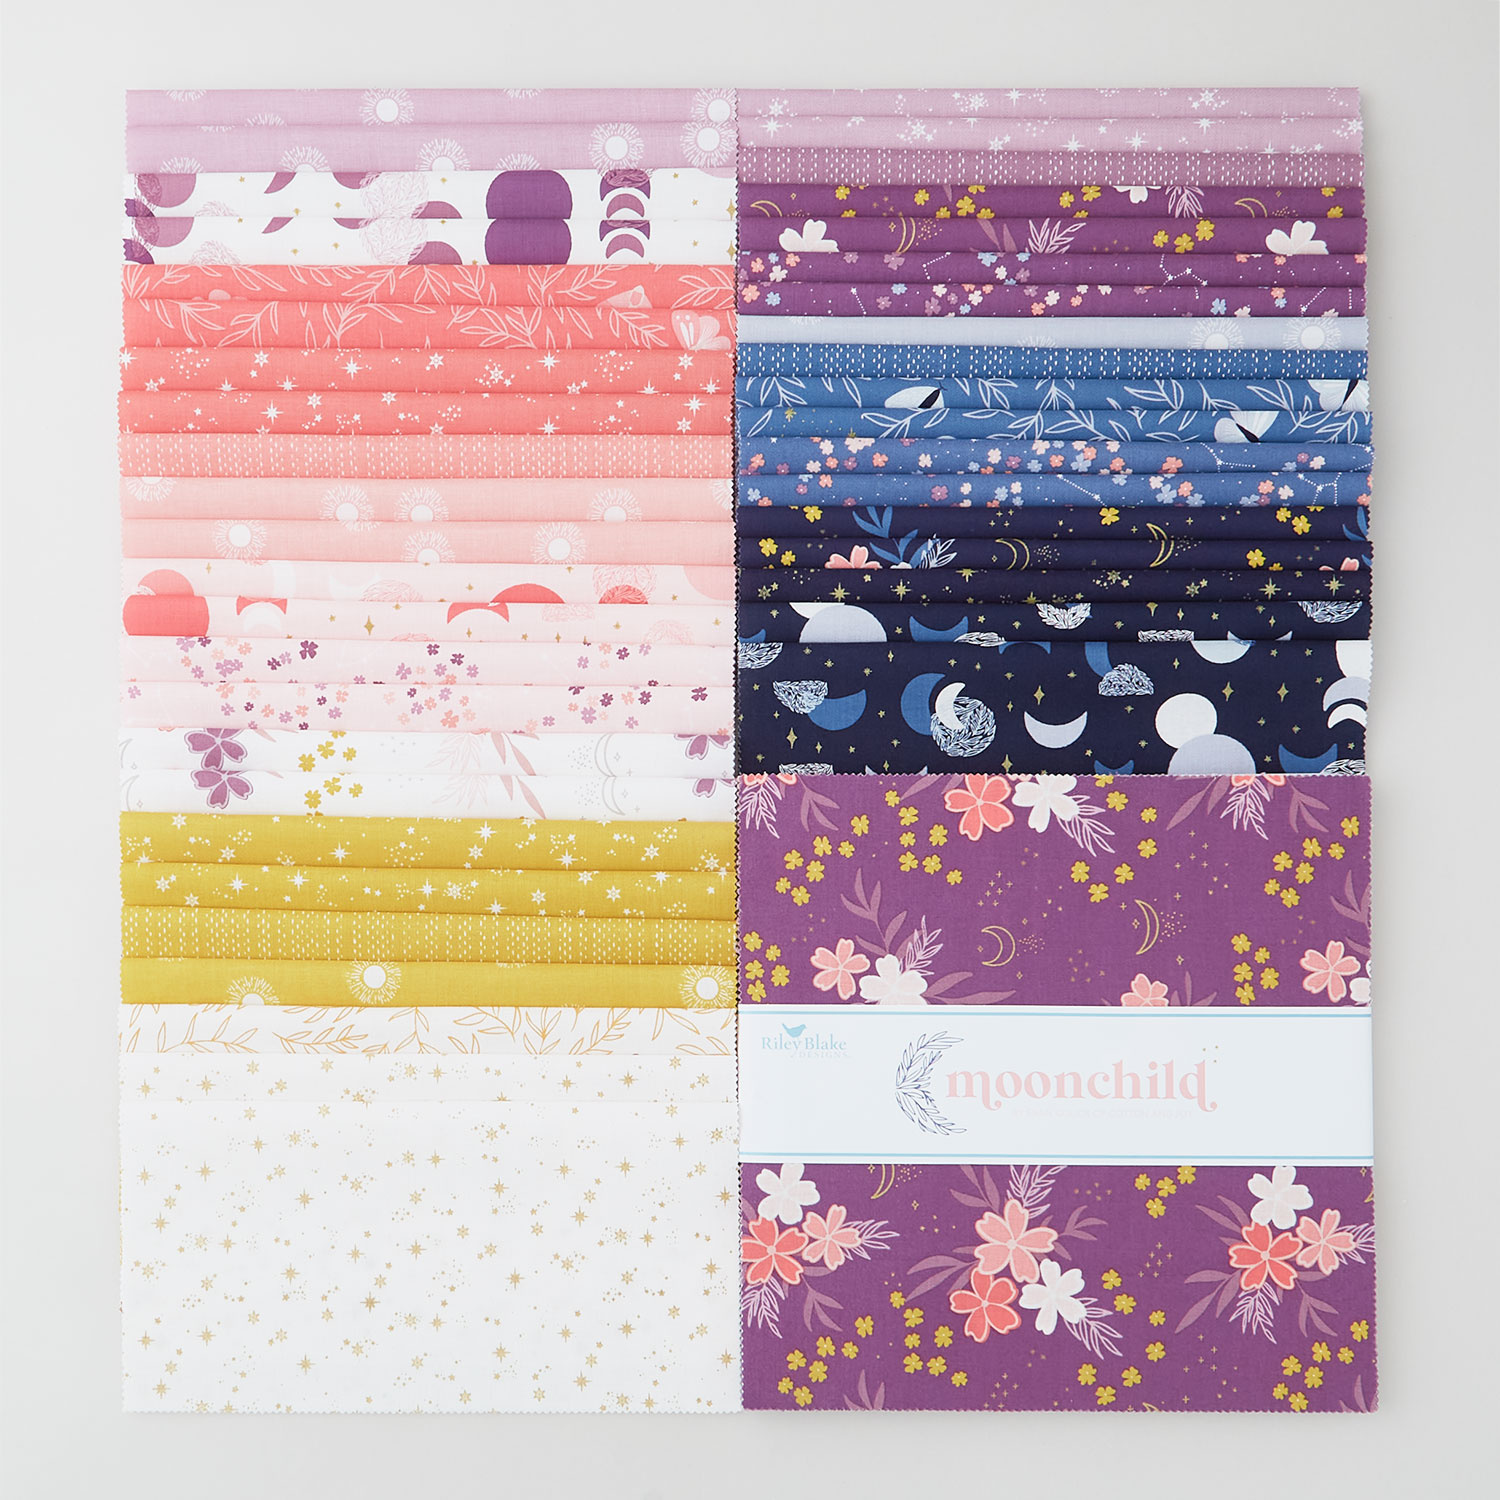 Moonchild 10" Stackers$39.95Shop →
 Confetti Cottons - Crayola Solid Color Riley White Yardage$7.76Shop →
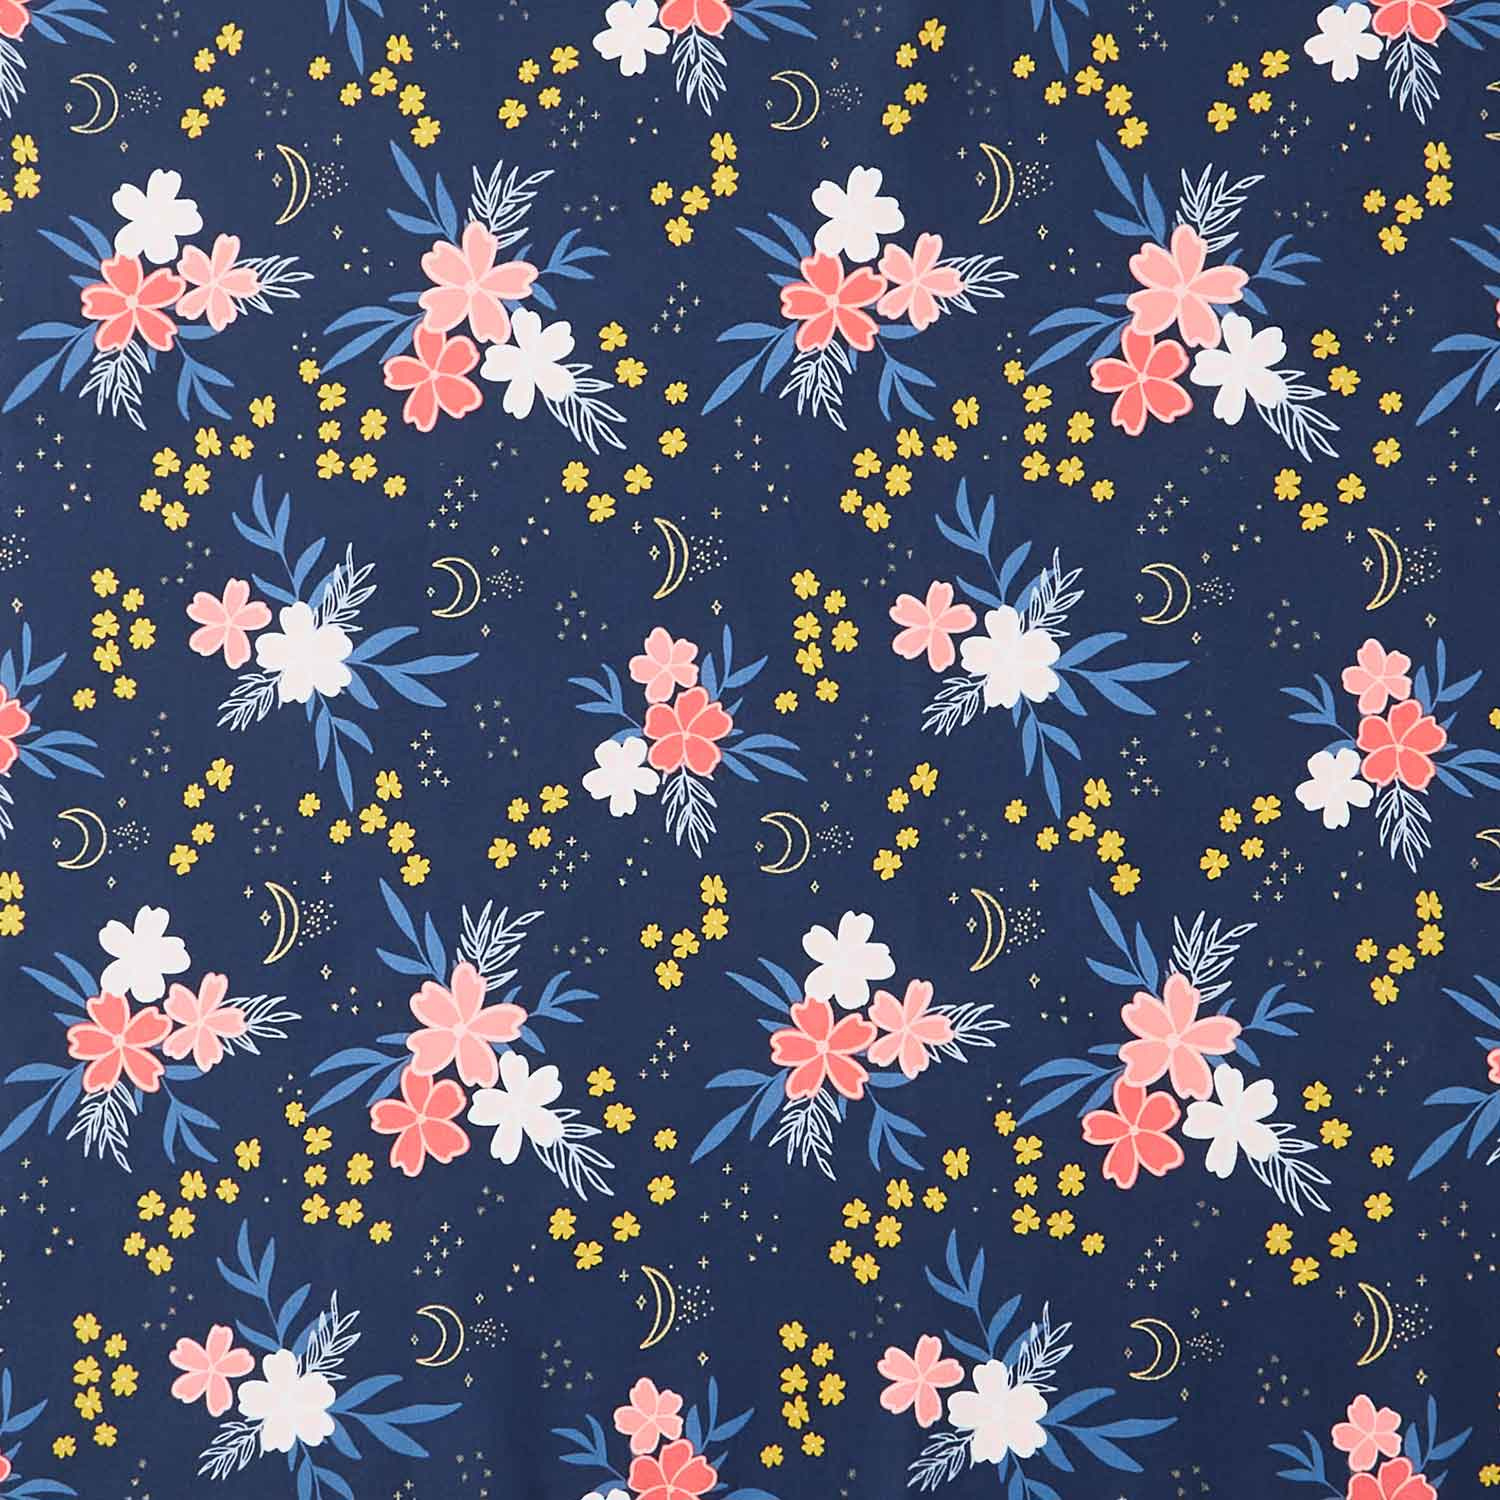 Moonchild - Main Midnight Metallic Yardage$11.96Shop →
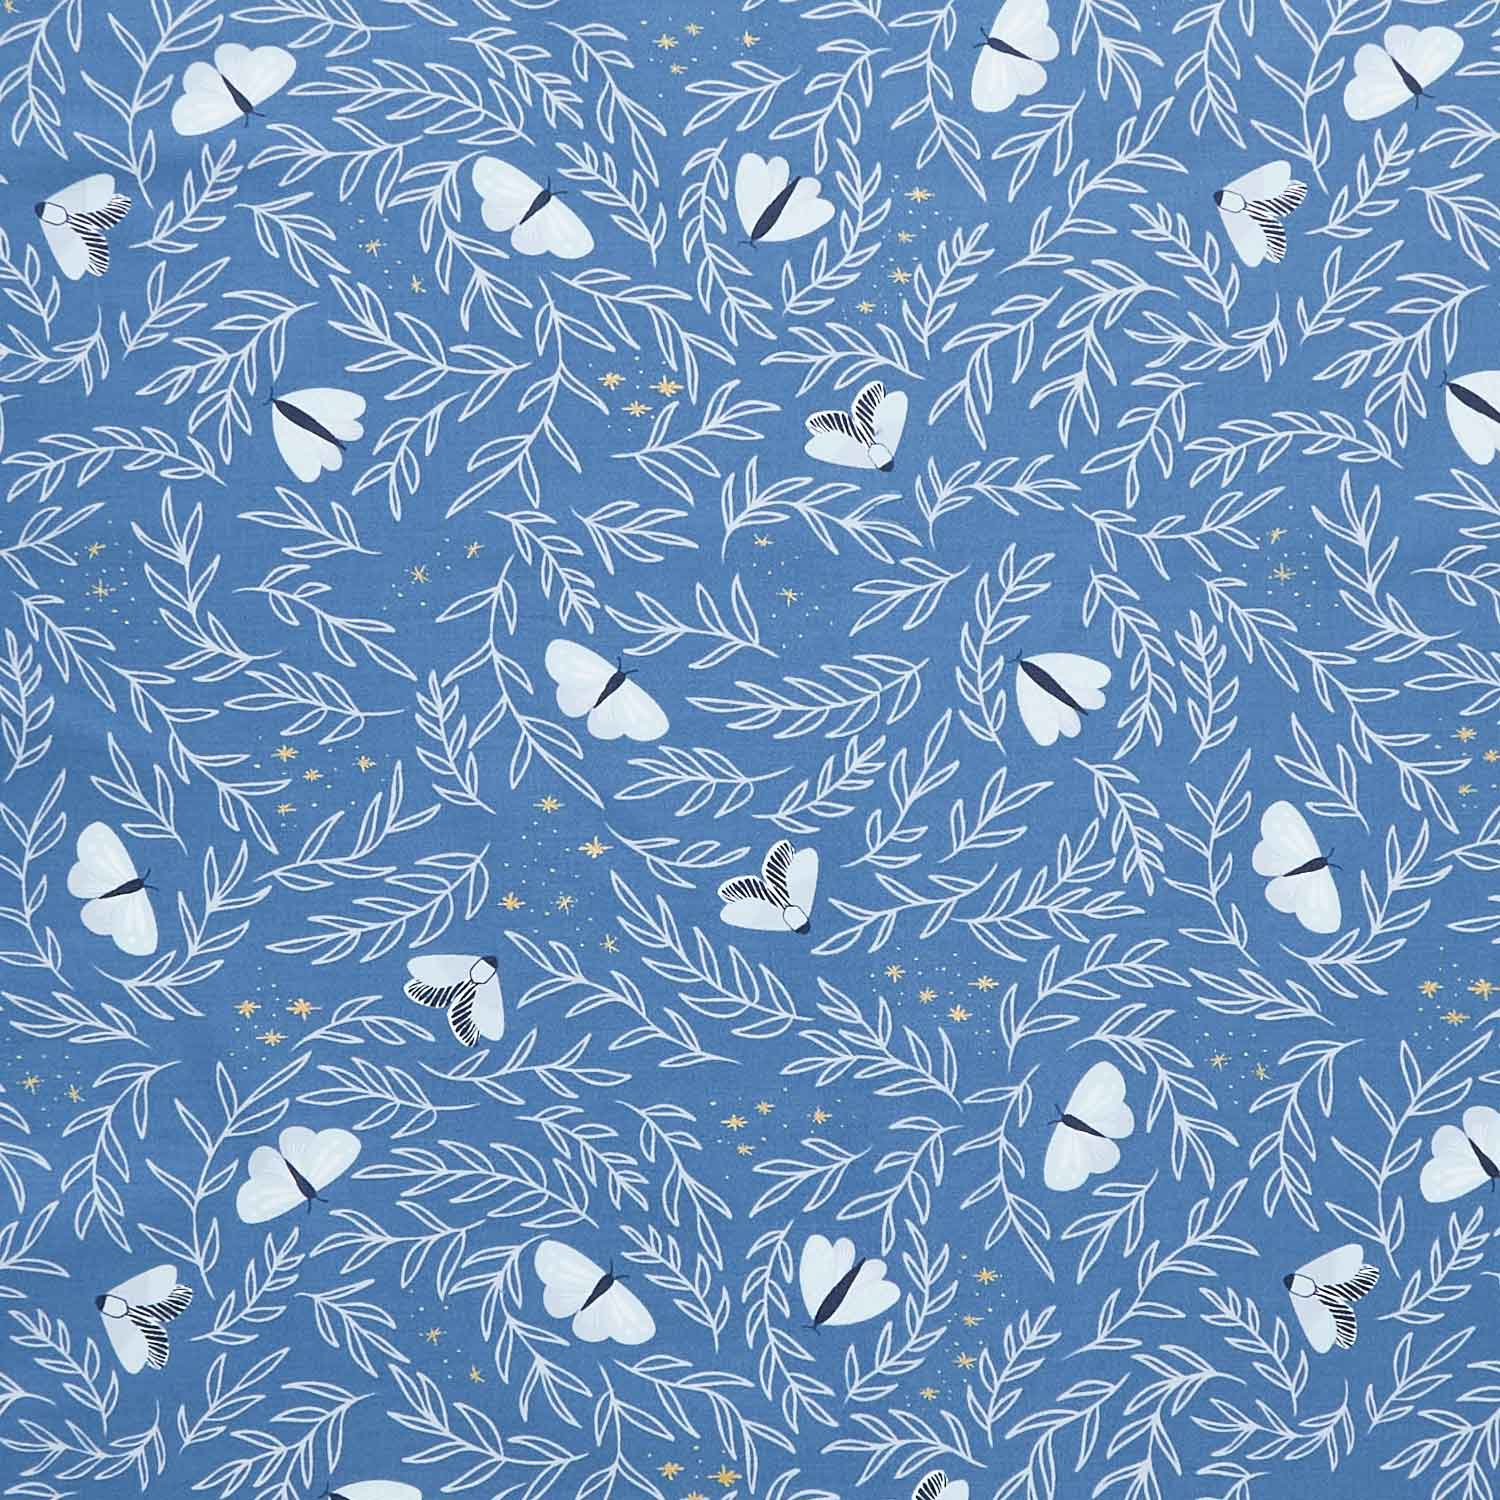 Moonchild - Moths Denim Metallic Yardage$11.96Shop →
 Missouri Star Quilter’s Best Blend Twin Batting$26.45Shop →
 Missouri Star 5" x 15" Ruler$15.95Shop →
 Olfa Splash Aqua 45mm Rotary Cutter$18.75Shop →
 Exclusive Missouri Star Jenny TG1600 ProPlus Oliso Smart Iron$199.99Shop →
 Missouri Star Wooly Betty Board - 17.25" x 25.5" Orange Border$98.95Shop →
 Missouri Star 50 WT Cotton Thread White$6.95Shop →
 Baby Lock Accomplish - 1500 SPM Straight Stitch Machine$999.00Shop →
Common Questions
What is covered in How to Make a Squared Up Quilt - Free Quilt Tutorial?
Quilters, it's think INSIDE the box. In this episode, Misty dazzles us with the Squared Up pattern by Cotton and Joy! Shown here in Moonchild fabrics for Riley Blake, this geometric wonder will frame up all your favorite prints in the prettiest setting. This quick and easy pro...
How long is the tutorial video?
The tutorial video is 00:05:37.
Are supplies listed for this tutorial?
Yes. The tutorial page includes the supplies and materials connected to this project.
Is a transcript available?
Yes. A written transcript is available on the tutorial page.
Video Transcript
my good friend Fran over at Cotton and Joy. This quilt is called Squared Up and let me show you how to make it!
All right, this quilt is truly beginner friendly. It's quick and easy, but gives
you a beautiful modern result. So first up, pick up the Squared Up pattern by Cotton and Joy. It's available here at Missouri Star and it will walk you
through four different sizes, as well as different layout options.
I'm just going to show you what I did today to make the throw size which measures 60 by 71. You're also going to need two yards of background fabric for that size and you'll need one package of 10 inch squares, which is why I chose this size, because there's only two that you can get out of one package of 10 inch squares. They're all pre-cut friendly though, so keep that in mind. We're only going to use 30 of those squares today. I also use this beautiful main print for the backing. Whatever print from the Collection you choose is going to be beautiful, but this one was my
favorite. So let's dive into making this!
All right so first up we are just going to grab a 10 inch square. I've got this
beautiful pink with these lunar moths. I just love all of the prints in this line. And so to make this quilt we are just going to make three cuts across our squares. So I'm going to make the first one here and then slide this one over and then here. So these are the pieces that we need. Then in between these we're going to be putting a sashing strip. So I have those cut and ready to go and they measure the same length as our pre-cut square.
So we are just going to sandwich all of these together and sew one after the other after the other. And that is truly as simple as it is to make this block. So I'm going to stack all of these up just like so and take these to the
machine and we can just add one after the other. So first up, we'll add that
sashing strip just make sure everything stays lined up. I'm just going to finger press that back and then add my next piece of my print, making sure that we put those right sides together and keep it all lined up all the way down.
Now if you wanted to take this to your ironing board and press in between you absolutely could. This works well enough for me. So we are just going to keep adding these until our block is done and our last piece here is ready to go. Again we just want to make sure everything is same staying straight.
All right. Now that we have all of those sewn together, let's go ahead and give this a really good press here at the pressing mat. I'm just going to roll these back just like so. So that is our block - it is truly that easy! It comes together so fast.
Like I mentioned earlier, Fran has all kinds of great advice in the pattern about your different layouts. She even has some ombre options that she
walks you through. So I've got a few blocks down here and you'll notice in
the quilt behind me that these are set together with kind of like colors in a
row. That's the option I went with and so I've got my whites my pinks, my yellows, my purple, my kind of medium blue and then finally finishing off with the navy. So these are five across by six down and she's used a wider sashing in between those blocks and on those rows to really give it some space and separation. It just gives an absolutely beautiful finish! I love this quilt. I finished it off with a simple baptist fan quilting pattern and it's the perfect throw, especially if you want to put together a great little quilt for a gift or for a friend. I can't recommend it enough!
So I hope you enjoyed this and I'll see you next time on At Home.



