
How to Make a Star Flower Tote Bag - Free Project Tutorial
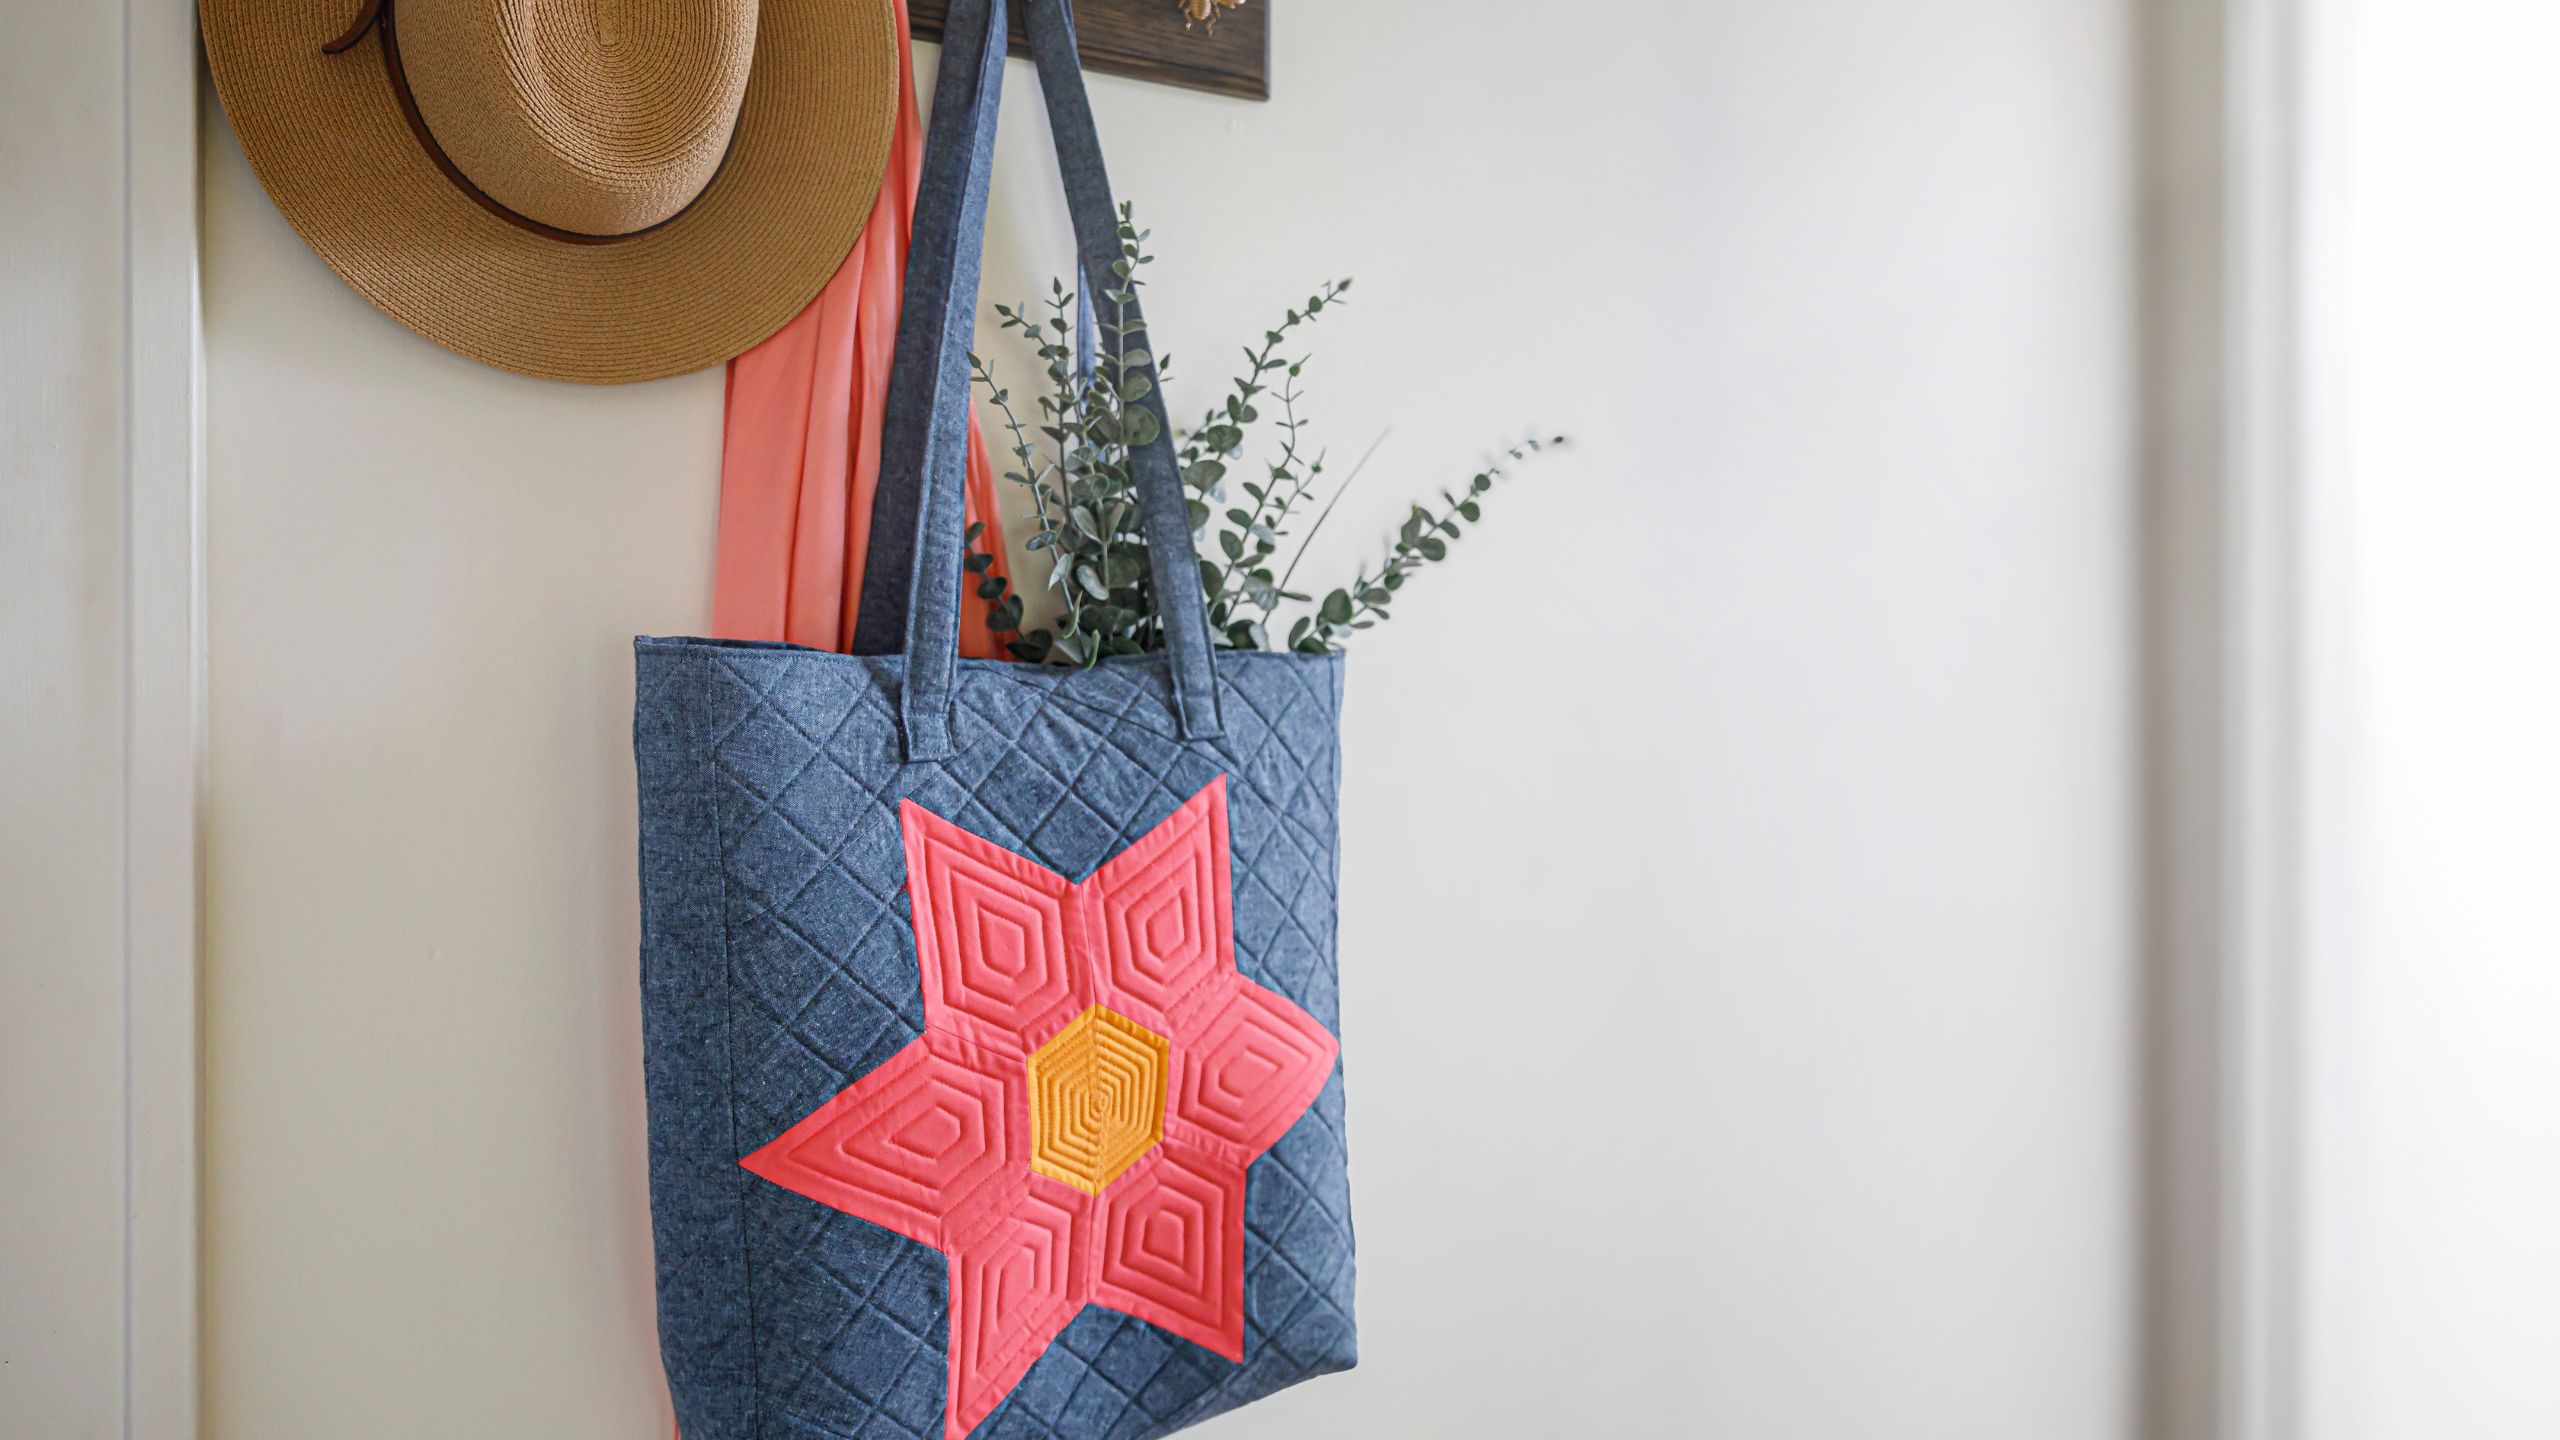
You're totes going to love this fun fall and winter project! Join Misty as she demonstrates how to make a beautiful star flower tote bag using a big star block from Daisy & Grace Quilt As You Go templates. This simple yet stylish design can make a great gift for anyone on your Christmas list, including yourself!

Instructor
Misty Doan
Misty Doan grew up surrounded by sewing and quilting. She loves spending time sharing tutorials each week each week, and when she’s not stitching up one of her fun sewing projects for home decor, most likely you’ll find her hanging out with her husband and three awesome kids or working on a house project.
Shop this tutorial
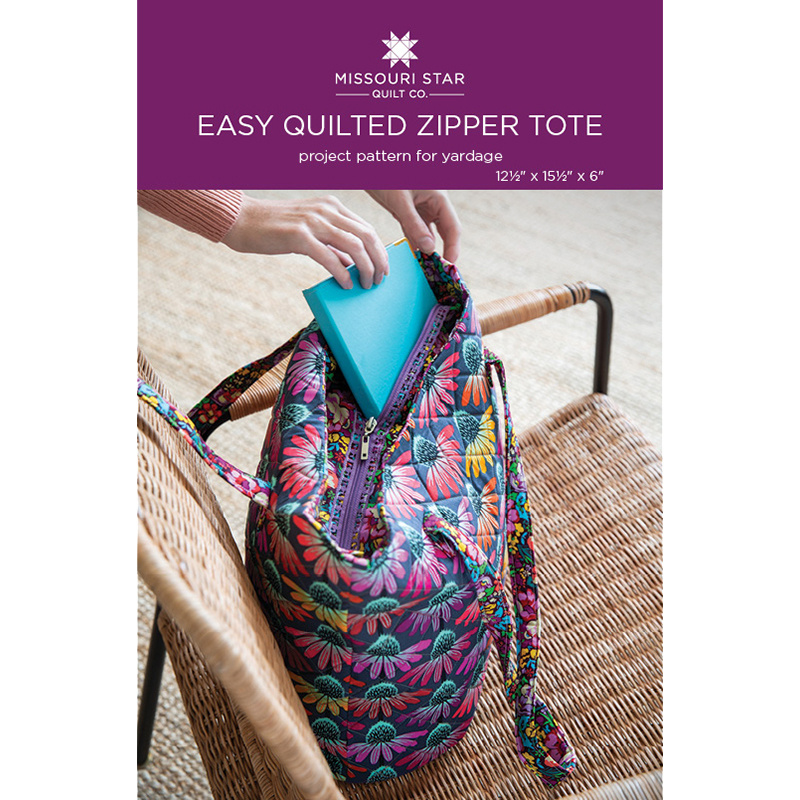 Easy Quilted Zipper Tote Pattern by Missouri Star$6.95Shop →
 Digital Download - Easy Quilted Zipper Tote Pattern by Missouri Star$4.95Shop →
 Kona Cotton - Cheddar Yardage$7.28Shop →
 Kona Cotton - Azalea Yardage$7.28Shop →
 Essex Linen - Solid Midnight Yardage$10.96Shop →
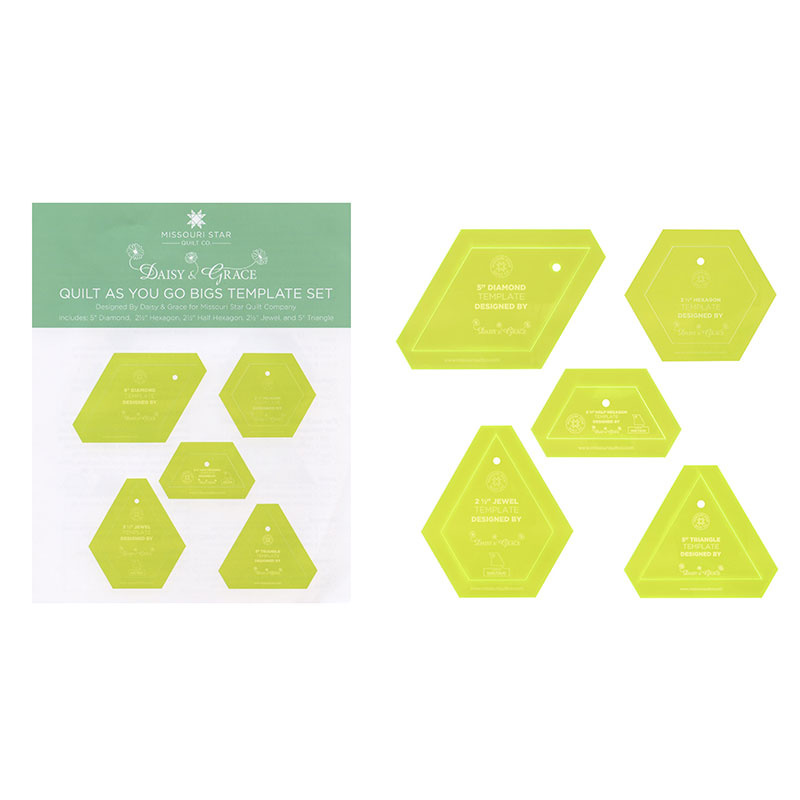 Quilt As You Go Big's Set by Daisy & Grace for Missouri Star$69.95Shop →
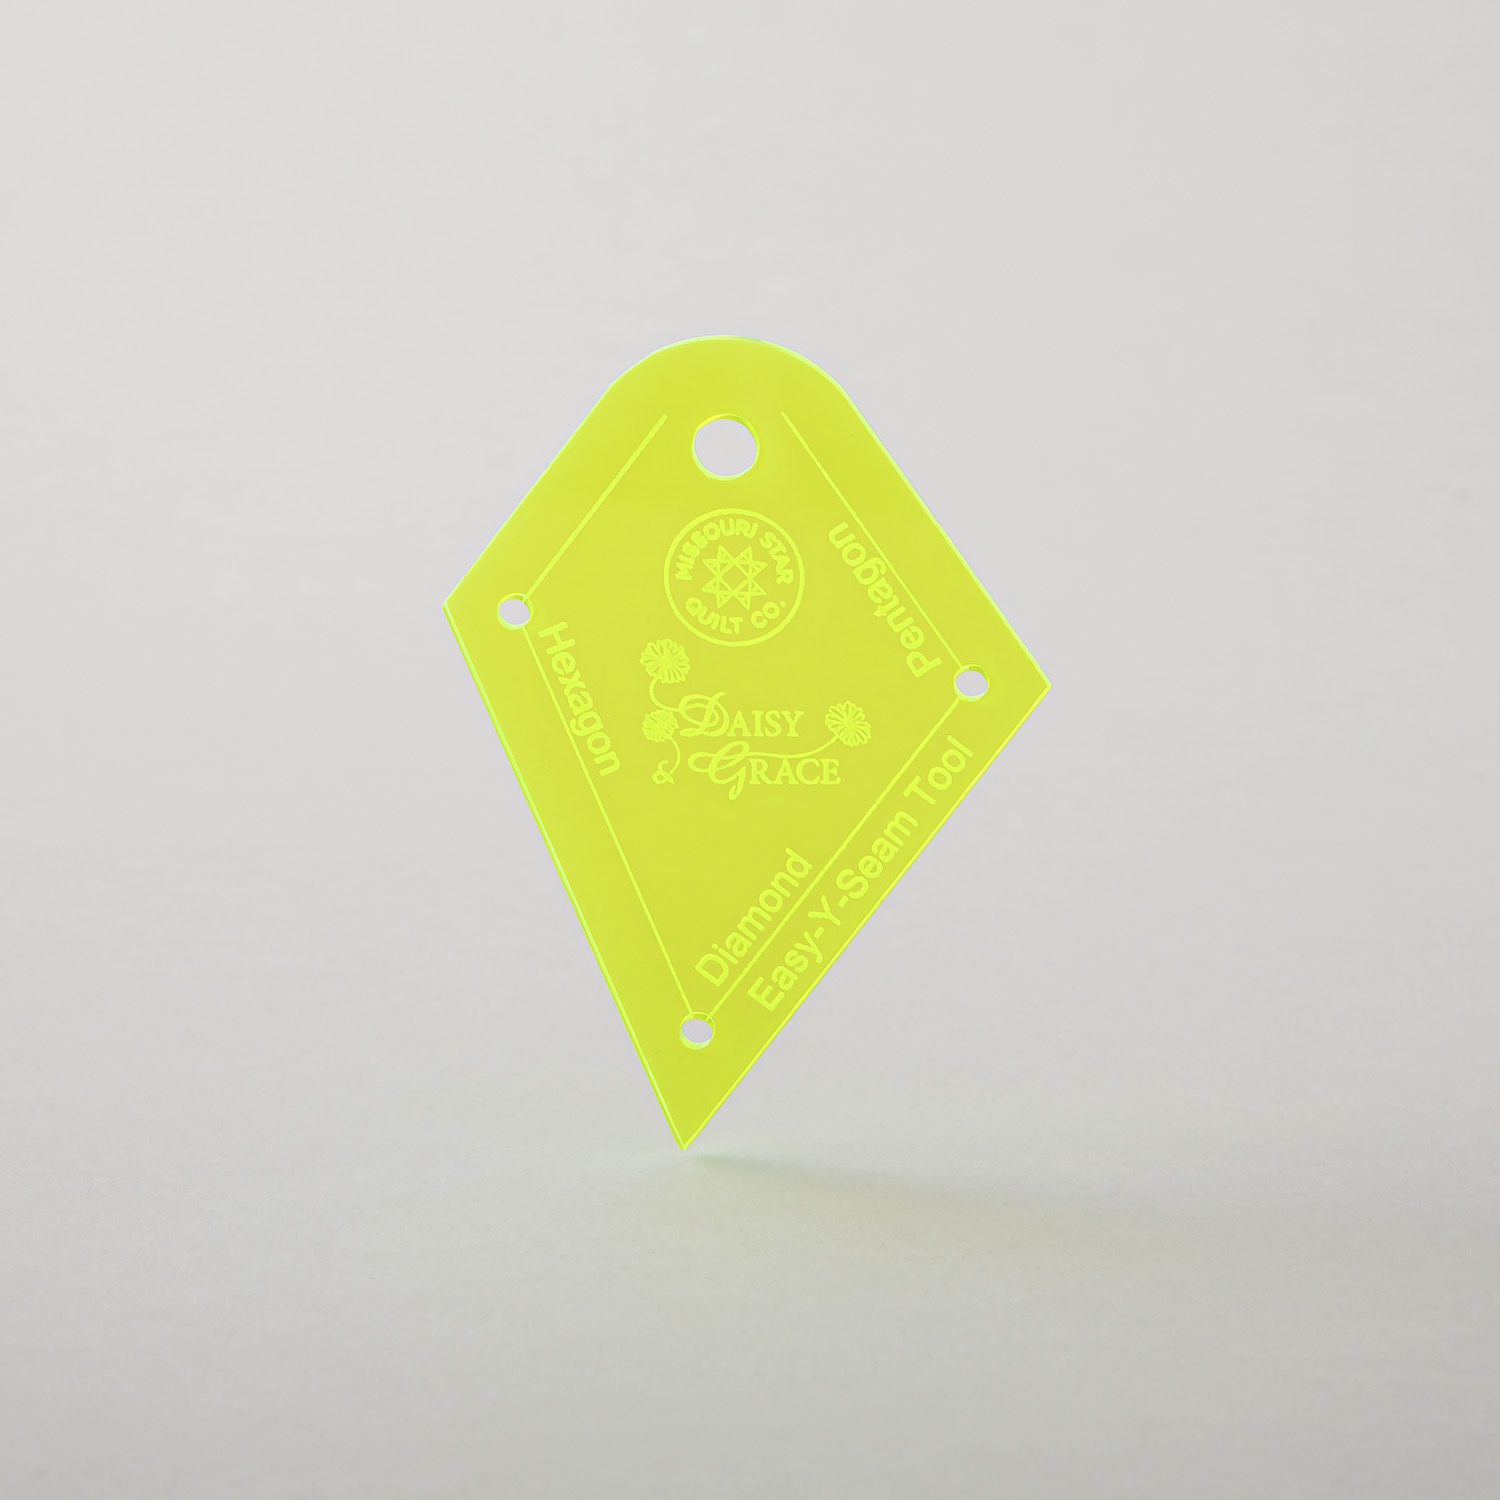 Easy Y Seam Tool designed by Daisy & Grace for Missouri Star Quilt Company$6.45Shop →
 Missouri Star 2.5" x 8" Ruler$10.95Shop →
 Missouri Star 5" x 15" Ruler$15.95Shop →
 Missouri Star 45mm Rotary Cutter$19.95Shop →
 Missouri Star 6" Everyday Scissors$12.95Shop →
 Exclusive Missouri Star Jenny TG1600 ProPlus Oliso Smart Iron$199.99Shop →
 Missouri Star Wooly Betty Board - 17.25" x 25.5" Orange Border$98.95Shop →
 Baby Lock Accomplish - 1500 SPM Straight Stitch Machine$999.00Shop →
Common Questions
What is covered in How to Make a Star Flower Tote Bag - Free Project Tutorial?
You're totes going to love this fun fall and winter project! Join Misty as she demonstrates how to make a beautiful star flower tote bag using a big star block from Daisy & Grace Quilt As You Go templates. This simple yet stylish design can make a great gift for anyone on your...
How long is the tutorial video?
The tutorial video is 00:19:10.
Are supplies listed for this tutorial?
Yes. The tutorial page includes the supplies and materials connected to this project.
Is a transcript available?
Yes. A written transcript is available on the tutorial page.
Video Transcript
All right so this is the great little bag we're going to make today. It is based on the easy quilted zipper tote pattern and so all of the construction
besides this beautiful block that you see behind me is exactly as it is in
this pattern and as it is in the original tutorial. But we're gonna learn something new today.
We have this great new template from Daisy and Grace called the Y seam tool and what this does is it takes all of their Quilt As You Go templates, which you see some of here, and it turns them into regular piecing templates by giving you the marks for where you need to start and stop your stitching to to do some y seams.
So I thought what better way to do this than to make one big block, learn this together and add it to our bag. So let's dive right into it!
All right, so for today's project we are going to be using this 2 and 1/2 inch Jewel Template by Daisy and Grace. We're only going to be using the inside portion, so you can set aside the quilt as you go. We're also going to use the 5 inch diamond and the 2 and a 1/2 inch half hexy. So if you have these go ahead and grab them! And then of course you're going to need that Y seam tool as well.
You’ll need your background fabric, whatever is going to be the body of your bag, your lining, and your straps. I went ahead and did the same fabric for all of this which means you're going to need two yards. I use this beautiful Essex linen and then of whatever the petals are you're going to need about a quarter of a yard or a fat quarter and then even less than that for your center. So these are the two colors that I chose for that.
So to start off with we are going to do some cutting of our orange since that's the middle of our flower. We're going to cut two of our half hexy shapes and so I'm just going to lay this here. So we're going to make
sure it's nice and straight. This looks like a straighter edge. I'm just going to lay this along here and we are going to cut out two of our half hexis. There we go. So I'll set these aside.
And so really even if you just had a 5 inch square for your center that would be perfect. You don't need very much of that at all. Then from the pink, I've already done some cutting on this one you can see. But we are going to cut some more of our petal shapes. That's what they call the jewel template and so you're going to need six of these total. Let me move these over to the other side. I just like to kind of turn it every which way to fit as many as I can with this little waste. So we're going to cut this one right here. Oops let me cut through that, so I can get that out of the way. Then I'm going to rotate this so I'm not cutting towards myself. We always want to be safe when we're cutting. Spin a little bit more. I'm going to go ahead and cut off the rest of this fabric. There we go, just like so until you have six that look just like that.
We'll set that aside and then lastly we are going to use our Diamond template and we are going to cut six from our background fabric. So I just have a strip. I could even get a little bit wider. I think this looks like it measures 1 2 3 4 and 1/2 in tall, just shy of that. So if you cut a 4 and
1/2 in strip you could just lay this on here and have little waste but whatever you have will work and so let's go ahead and just cut a few of these out. There we go.
All right and you'll just continue until you have six in addition to that to
finish off the front of your bag. You're going to need two 10 inch squares and two 2 and 1/4 by 20 in strips of this fabric. So be sure and do all of that cutting and have it ready to go and now let's dive into how to sew these Y seams.
So Y seams aren't as difficult as they appear or as some of us fear, especially when you have a marking tool like this one. So we are going to start by taking a few of our Jewel shapes here, two of them to be exact, and these are going to match up like this. But the thing that we need to remember is that eventually this is going to have to be set in as well. So here is that Y seam that we're referring to. So I'm going to use this tool and you'll notice on the different sides there's hexagon, diamond, and pentagon. And so what you're looking for is will this fit. So see how this angle is not right, I know that's not the mark that I need and so you're just going to rotate it until it nestles right up with your piece.
So this is the side that I'm looking for so then I'm going to take a marking tool. I just have a pen here and I'm going to put a dot right inside there, so you can see how that looks on the fabric. Then we're going to flip this over and do the same thing to the other side. What this dot is going to be is our starting and stopping point. so we do not want to stitch past that dot. So even when I lay these right sides together I'm actually going to mark it on the side that I'll be looking at when I'm sewing. But I wanted you guys to see what I was referring to.
So we're going to make a mark here and so that's where I'm going to start. Then when I come down to this side, I need to do the same thing because all of these little joints are going to come together. So we need to make sure we're not sewing past that, so that we can add our Y seams. So then another little dot right here, so we're going to start with my needle right there and I'm going to stop at this point. So let's take this to the machine.
Okay so lining this up I'm going to put my needle down right in that first dot that we marked and I'm even going to take a stitch and back stitch one. And then we're going to sew until we get to our other dot. We're going to be really careful as we approach so that we do not go past it. I'm going to back stitch and trim my thread. So that's what that looks like. You can see I've I've only stitched between those two marks.
So now we can open this up and we're going to next add this diamond shape. So this is going to fit in here and this is going to be our first Y seam that we're going to stitch. So let's go ahead and use our tool. We have this little shape right here. We're going to make a mark on that fabric and when I flip this over I can see my mark right there. So when I match this up, we're going to do one side at a time. We are going to start and stop at that mark. I want to make sure I can see it. And if it helps for you guys to pin this you absolutely can.
So as I come down here, I need to mark this opposite side. Actually this one doesn't intersect, so I don't think I need to mark this opposite side. You see once we add our diamond shapes that's what's going to round out this block. So we can actually sew all the way of. We're going to start on this side, right at that point and we're going to go all the way to the end with a quarter inch seam. So let's go ahead and take this to the sewing machine.
When you have this little guide it really makes this whole process so much easier. So again I'm putting my needle down right in that mark that I drew. We're going to take one stitch forward, one stitch back and then we're going to sew all the way down to the end of this. There we go.
See that first little seam? This is looking exactly right. And so now same
idea, except we're going to flip this over to the other side. And so since I
haven't stitched on this side yet, we're going to make that mark as a reference. So I'm just going to set this in right here.
At this point you can kind of see where you already started and stopped. So if you didn't want to mark everyone you can probably tell, but this is just a great reminder. When you see that little black dot, it's time to stop. So again we're going to line this up. We'll start all the way at the end here and so until we get there…
Here we go all right, moment of truth. That looks so nice! Let's give this a
press, so we can get everything laying nicely and that looks absolutely
beautiful. So I am going to continue building out the rest of this half by
adding another petal, and this piece here, and then this piece here in the exact same way that you've seen me do. And when I have this half done, I'll meet you back here.
All right, so here is our half all complete and I have another one ready to go. So you can see those are going to come together just like this. And then to finish out our flower, we'll add in these last two diamonds and so one straight seam across here and two more Y seams on the side. So then we're going to have a block that looks like this. So I've already sewn that one together.
Now we need to finish up these outer angles, and the easiest way I found
to do this is kind of some tricky math. I just took two 10 inch squares.
I've got these stacked up right here and we are just going to cut these point to point once in half. Then I can just add these to my four corners and you can see these are too big. We're going to trim it all down.
So we're just going to start with one and add one to each side. Here we go. I can go ahead and do opposite sides. Then we'll trim these and come back and do the other two. Those can just kind of float that on there. So we're just going to line this up and sew down with a 1/4 inch seam. I just want to make sure that it's going to overlap that first triangle that I sewed.
Like I said, we'll trim off that bulk later. There we go. And then we can flip this around and do that same thing to this opposite side here. So again just making sure we're going to overlap that bottom edge. Sewing with a 1/4 inch seam… All right. So now let's press this.
All right, so once we have this nice and pressed we need to go ahead and add our other triangles to these two sides. So I want to point out the goal that we have here is to be able to square this up into a rectangle. So we
actually want to cheat this up a little bit so that we can come back and have enough fabric to square this up. So same thing on this side. You're not really, you're kind of ignoring where they intersect and we'll trim off this bulk later.
So we're just going to add this to this side, basically centering it up on that a little bit more to the north, if you need to. So we'll sew this side and then we'll come back and add the other one as well. All right. So now we're just going to sew this down with a 1/4 inch seam. I'm just using my top triangle as my guide; I'm not worrying about this extra fabric at all.
There we go. So now we can turn and do the same thing to this other side. Remember, we're going to center that up on that bit that we're trying to cover and we are going to sew our ¼ inch seam. Now we're going to press this back on both sides here and I'm going to start by using the straight edges of my block. We're going to come and just follow along with that. And we're going to trim this off straight.
So let's go ahead and do that. We'll do the same thing up here, there we go. We're going to flip this and do the same thing to the opposite side. So now this should measure 15 and 3/4 inch tall and we need to trim it this way to 20 inches. So I'm going to measure over from my center point 10 inch in both directions. So I'm at the 12 inch point here, which means I need to come over to 22 and we can just square this up, okay?
So we're just going to line this up on the 22 inch mark and we are going to cut and I'm just going to go a little ways and make sure I'm straight at the top here, trim that all the way off. Then we can flip and do the same thing on the other side, because remember we want this to measure 20 inches across. So I'm just going to make sure everything is nice and straight and then we'll come and we will give this a trim. And if for some reason, like this little corner looks like it might be just a hair short, I know I can catch that in my quarter inch seam. I probably just needed to shift this triangle a little bit farther north to cover that, there we go. Oops, missed this bottom edge. So now our trimming is done.
Now remember we have those 2 and 1/4 inch strips. So we're going to add
one to each of these sides here and then the whole front of our bag will be done. So let's go ahead and sew those down and I'll meet you back here.
All right the front of our bag is all complete. You guys have learned how to use this great little Y seam tool and tested one block to learn that skill. So I hope you really enjoyed it!
So now you will finish this bag exactly like the original easy quilted zipper tote. So I will just use some Bosal foam, press this onto here to hold it in place and then I just did some simple cross hatch quilting.
Let's actually bring the bag up here, because I did do some echo quilting on the flower itself and I want to make sure you guys can see that. You can see I just followed the color of the thread and I went around the middle. Then I added some detail around the petal itself and then finished out all of the background with that crosshatch. So be sure to pop over to that original tutorial to figure out how to do all the rest of this bag construction. The only thing I did differently is I just left off the zipper, so it's just an open top tote where that original also has a zipper option. So you could totally do that as well if you want.
So I hope you enjoyed this and I will see you next time on At Home.


