

How To Make A Star Shine Quilt - Free Quilting Tutorial
 Jenny Doan
- Layer Cake
- Batik
- Lap / Throw
- Beginner
- Quilt size 53" × 53"
Jenny demonstrates how to make a dazzling new star quilt with precut layer cake squares from the Artisan Batiks Tranquil Gardens collection by Lunn Studios for Robert Kaufman. The wonky legs of these pretty stars create the illusion of twinkling, and they're framed with a simple, pieced border.
Instructor
Jenny Doan
Jenny Doan is an American quilter, author, and YouTube personality. Jenny started Missouri Star Quilt Company in 2008 and today it is the largest quilting supply vendor in the United States.
Shop this tutorial
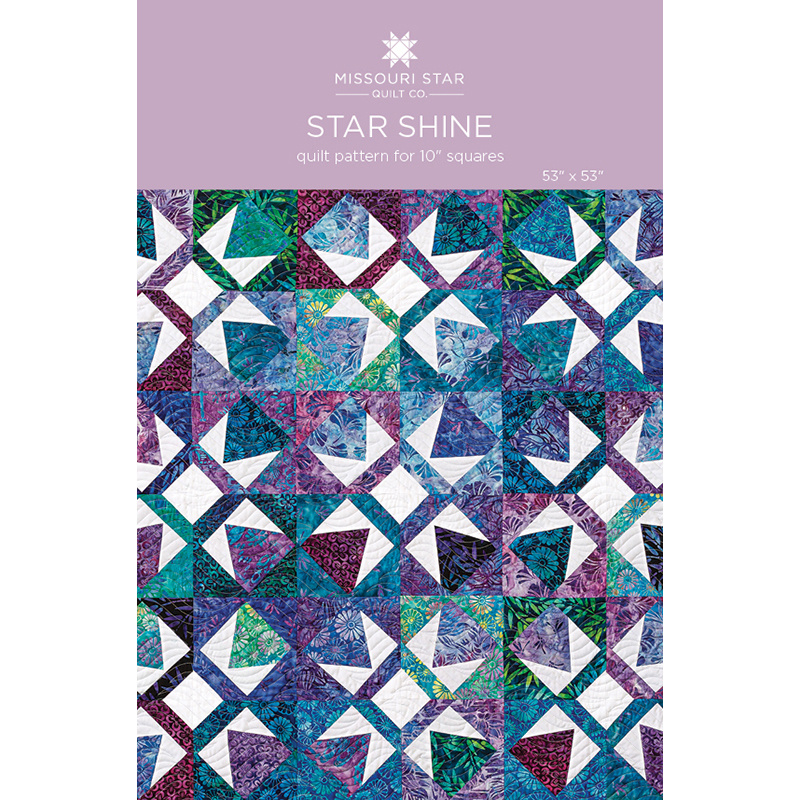 Star Shine Quilt Pattern by Missouri Star$6.95Shop →
 Digital Download - Star Shine Quilt Pattern by Missouri Star$4.95Shop →
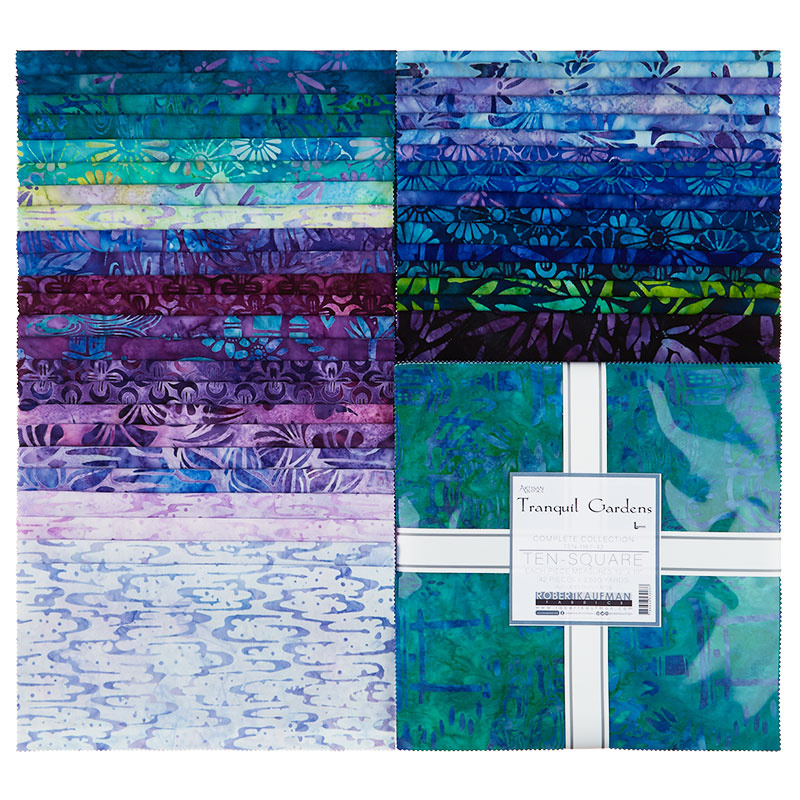 Artisan Batiks Tranquil Gardens Ten Squares$41.95Shop →
 Kona Cotton - White Yardage$7.28Shop →
 Artisan Batiks - Tranquil Gardens Lotus Orchid Yardage$11.96Shop →
 Artisan Batiks - Tranquil Gardens Bamboo Midnight Purple Yardage$11.96Shop →
 Missouri Star Quilter's Best Blend Throw Batting$20.95Shop →
 Missouri Star 2.5" x 8" Ruler$10.95Shop →
 Missouri Star 5" x 15" Ruler$15.95Shop →
 Olfa Splash Aqua 45mm Rotary Cutter$18.75Shop →
 Exclusive Missouri Star Jenny TG1600 ProPlus Oliso Smart Iron$199.99Shop →
 Missouri Star Wooly Betty Board - 17.25" x 25.5" Orange Border$98.95Shop →
 Missouri Star 50 WT Cotton Thread White$6.95Shop →
 Baby Lock Accomplish - 1500 SPM Straight Stitch Machine$999.00Shop →
 Elan 8" Dressmaker Scissors$20.95Shop →
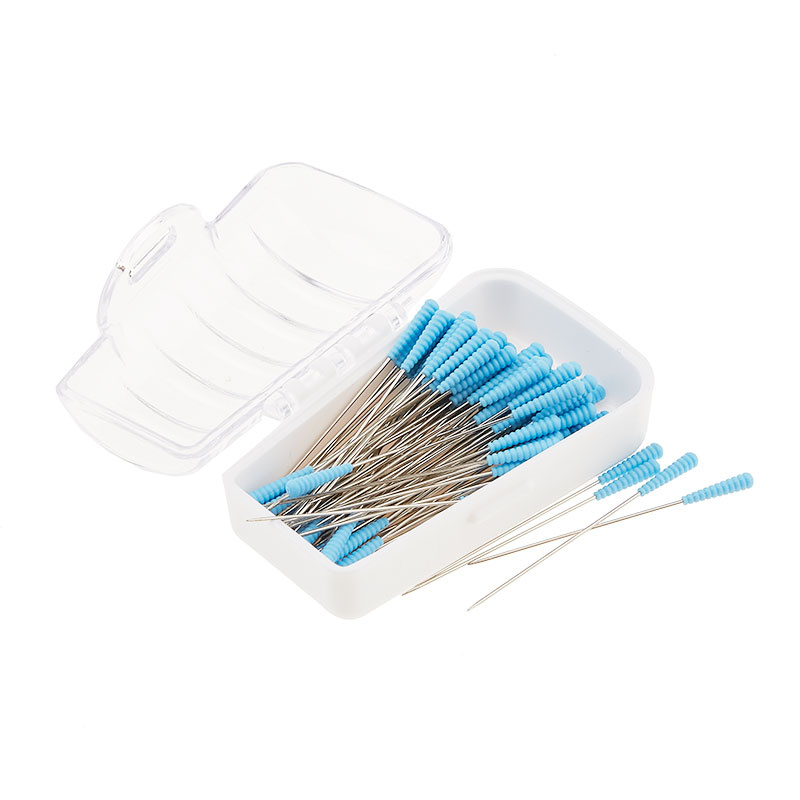 Magic Pins™ Quilting Pins - 100 count$18.75Shop →
Common Questions
What is covered in How To Make A Star Shine Quilt - Free Quilting Tutorial?
Jenny demonstrates how to make a dazzling new star quilt with precut layer cake squares from the Artisan Batiks Tranquil Gardens collection by Lunn Studios for Robert Kaufman. The wonky legs of these pretty stars create the illusion of twinkling, and they're framed with a simp...
How long is the tutorial video?
The tutorial video is 00:12:24.
Are supplies listed for this tutorial?
Yes. The tutorial page includes the supplies and materials connected to this project.
Is a transcript available?
Yes. A written transcript is available on the tutorial page.
Video Transcript
So, to make this quilt, you're going to need one packet of 10-inch squares, and we have used Tranquil Gardens for Lunn Studios for Robert Kaufman. You're going to need some background, and for that, you're going to need one and a quarter yards. And your background is going to be the legs and the center squares, and this first little inch-and-a-half sashing border. I used my charms for my outer border out here. And so, that's all included in the layer cake. And then our backing back here, isn't that gorgeous? Look how pretty that is. And the backing is three and a half yards. And my quilting pattern is Time Warp. And this makes a great picnic size quilt. It's 53 by 53, and it's just fun and easy to make, and let me show you how.
All right, so this is the block we're talking about right here, and this is one quarter of our star. And what we're going to do first is we're going to take our background and we're going to cut some five-inch squares, some two-and-a-half-inch squares and some one-and-a-half-inch strips. So, once you get your layer cake opened, what you want to do is you want to separate your lights and your darks. I kept my lights for my outer border out here. These are just five-inch squares that I sewed together and made my outer border, and then I kept my dark stars to the middle. In the beginning, I had lights and darks all mixed in, and I just kept losing my star points with the lights. So I kept the dark to the middle, and I used my light ones in my outer border, and that's just part of designing. You see what works as you go along, and, of course, every layer cake is going to be different, but this one works pretty good.
So then I'm going to take two layer cakes, and I am going to stack them, and they're going to be contrasting. So I have this green and this purple right here. And so, they're going to show up, one from another, and I'm going to lay my ruler along the edge, make sure they're lined up. Lay my ruler along the edge, and I'm just going to cut it in half, because it's a five-inch ruler and we're cutting 10-inch squares, and we're going to cut it in half, both directions. Just like this. All right. So then, what I'm going to do is I'm going to take the piece that I want to be my middle, right here, to be this little middle part right here. I'm going to take that piece, and I'm going to decide that I want that to be the green. And then, what I'm going to do is I'm going to grab one of my five-inch squares and we're going to make wonky legs. And I know you're going to be surprised that this is a wonky leg block, but this is really fun.
So, to make wonky leg stars, which you know I love and I use a lot of them, I'm going to take my white charm, and I'm going to lay it so that it comes past the center, past the middle. So if you worry about where the middle of your charm is, you can just press a finger-plate. And you're just going to go past that. And then, over on this side, you can come down as short or long as your square will allow. And I'm a [inaudible 00:03:18], so mine tends to almost always fall in the same spot, which doesn't make it very wonky, but either way works. So then I'm just going to sew down the side like that. And then I'm going to come over here and I'm going to press this back. Keep your color square on the bottom and press that back.
I'm going to flip this over, and I'm going to use my square as my guide. And so, I'm just going to trim this white square off, and I trim all the way up like this, and pull that aside, and then I'm going to trim this little top piece off right here. And then I'm going to add my wonky leg to the other side. So, I'm going to use this cut as my inside piece. So, I'm crossing over, making sure you're crossed over right here. And then I'm just going to bring that leg wherever I want it to go. And so, right along here. So let's just put our foot at the quarter of an inch, and then I'm going to press this over, and then I'll flip it. And then we're going to trim this back up so it returns to a five-inch square. And these are just little waste pieces right here.
So this now becomes the middle of your block, and what we're going to do is we're going to set this on point. And to do that, we need to take our other squares, and we're going to take them and cut them diagonally, corner to corner, like this. And you're going to need four of these. So, I have two right here. So then, what we're going to do is we're going to take these triangles that we've cut, and we're going to add two to the sides, just like this, and then one to the top and the bottom like this. And what that will do, when we get it all sewn together, is it will throw this block on point, because the block will turn like this, and it'll throw it on point. So, let's go back, and we're going to start by sewing our side triangles on first, and you can crease these like this so that you know exactly where the middle is right here.
And then you just want to lay it on there like that. I got pretty used to guessing how much was hanging over either side, and so did both sides. But let's go ahead and sew this one on, and we'll sew the other side on as well. And then I'm going to put this one on. And again, I'm just eyeballing that. And then we're going to press these open. So, we're just going to roll this back. And I'm going to go ahead and trim these corners off right here. You don't have to do this part, but it just makes it easy. So trim those little edges off, right there. Use this as your guide. And then we're going to set these little triangles on here like this. And this should hang over about a quarter of an inch on each side. So, this one's a little easier to tell. See how it just hangs barely a quarter of an inch over.
So we'll go ahead and sew that on like this, and then we'll flip it around. Just hang that edge over a quarter of an inch. And you can always do the centerfold as well, and make sure that it's exact. We're going to square these up a little bit, and then we'll press this out like this. And I love pressing boutiques because they just lay down so, so nice. All right. So now, what we're going to do is we're going to make sure that this measures at seven and a half. So, I have never been able to sew side triangles on and have them come out perfectly. And so, I like that I get a little bit of room to square up, so I'm going to start here with this side.
And you can see we have lots of room here, so we don't lose those points. So, I'm going to start here, and I'm just going to trim this up so it's nice and straight. And then I will use this edge right here, right on my map, so I know that it's exactly straight, and then I'm going to come over here and I'm going to trim this at the half mark, because we want to go seven and a half. And then I'm going to do the same thing right here. So, I'll straighten out one side. And I can see how much this is hanging over here, so I'm just going to cut, oh, I don't know, eighth, quarter of an inch off on this side. Make sure that it's lined up on the top and bottom, which we already straightened. Put our ruler right over here, and on the half. And just like this, we get this block that looks like we just did it absolutely perfectly. It just makes a great little block.
All right, so now, what we're going to do is we are going to take our little two-and-a-half inch square right here, and right up here at the top of the legs, right here, on this side, we're going to line this up on this corner, and we're going to sew corner to corner on here. And so, that's going to give us our little middle of our block. Just like that. We're going to trim that off and move all these little pieces. And we're going to press that back. Now, sometimes, this one can get a little wonky too, so make sure that it stays a nice seven and a half inches, and that looks pretty good. And you're going to need four of these to make your block. Now, I have some made over here, and you can see they look the same. And I've tried to keep the same color all the way around my center wonky leg, my wonky star leg. And so, what we're going to do is we're going to put these together, so that the whites come to the middle like this. And just like this, we get this cool star.
Isn't that fun? So, let's sew that together like a big four patch. Let me get these out of the way, and I'll show you how it fits into the quilt. And on this, when you're sewing this side right here, I tried to make sure that my little white sections up here joined together, that they matched up. And so, just watch that little seam. I don't think it's going to matter a ton, but, I mean, if we can make it work, let's make it work. All right. So now we have two of these sewn together, we'll open them up, make sure we're in the right spot, and then we'll fold this over and sew this down. So, I'm going to line up those edges, and then make sure that this one lines up right here. My center seam is nested. One side goes one direction, one side goes the other. And then, we're just going to press it. It looks so good. I love how just adding that snowball adds that inner detail. It makes that square just pop.
And so then, this is what we have, right here. Here's how it looks in the quilt. Isn't that great? I think it's a really fun block, a lot of interest to it. I think it'll be fun in a lot of fabrics. So you'll just sew nine of these squares together, and then you'll add this inner border, and it's a little one-and-a-half inch strip, and I just cut some of those ahead of time. And then out here, I just took my light charms and I just, literally, they're five inches, and I sewed them together and made one long strip, and then I just added it to the quilt. Now, you can see not all of these are perfect five-inch squares, but I didn't worry about that. So, I put my sides on first, and then I put my top and bottom on. And every once in a while, one came out a little short, but I just didn't worry about it. I just thought it was fun and it had that scrappy look to it. So, we hope you enjoy this tutorial on the Star Shine Quilt from the Missouri Star Quilt Company.
Hi everybody, it's Jenny from the Missouri Star Quilt Company. We hope you enjoyed watching this video. If you aren't already part of the Missouri Star Quilt Company family, be sure to subscribe so you won't miss a thing. And if you click that bell, it'll notify you every time a new tutorial comes out. See you next Friday.



