

How To Make A Starburst Table Runner - Free Quilting Tutorial
 Jenny Doan
- Layer Cake
- Holiday
- Table Runner
- Beginner
- Quilt size 20" × 48"
Would you like to swing on a star? Jenny’s stitching up a Starburst Table Runner with precut layer cake squares and the Four Patch Double Wide Dresden Template. These intricate little Starburst blocks look sweet in Reindeer Games prints by Me & My Sister Designs for Moda Fabrics, and they’re such fun to make!
Instructor
Jenny Doan
Jenny Doan is an American quilter, author, and YouTube personality. Jenny started Missouri Star Quilt Company in 2008 and today it is the largest quilting supply vendor in the United States.
Shop this tutorial
 Starburst Table Runner Pattern by Missouri Star$6.95Shop →
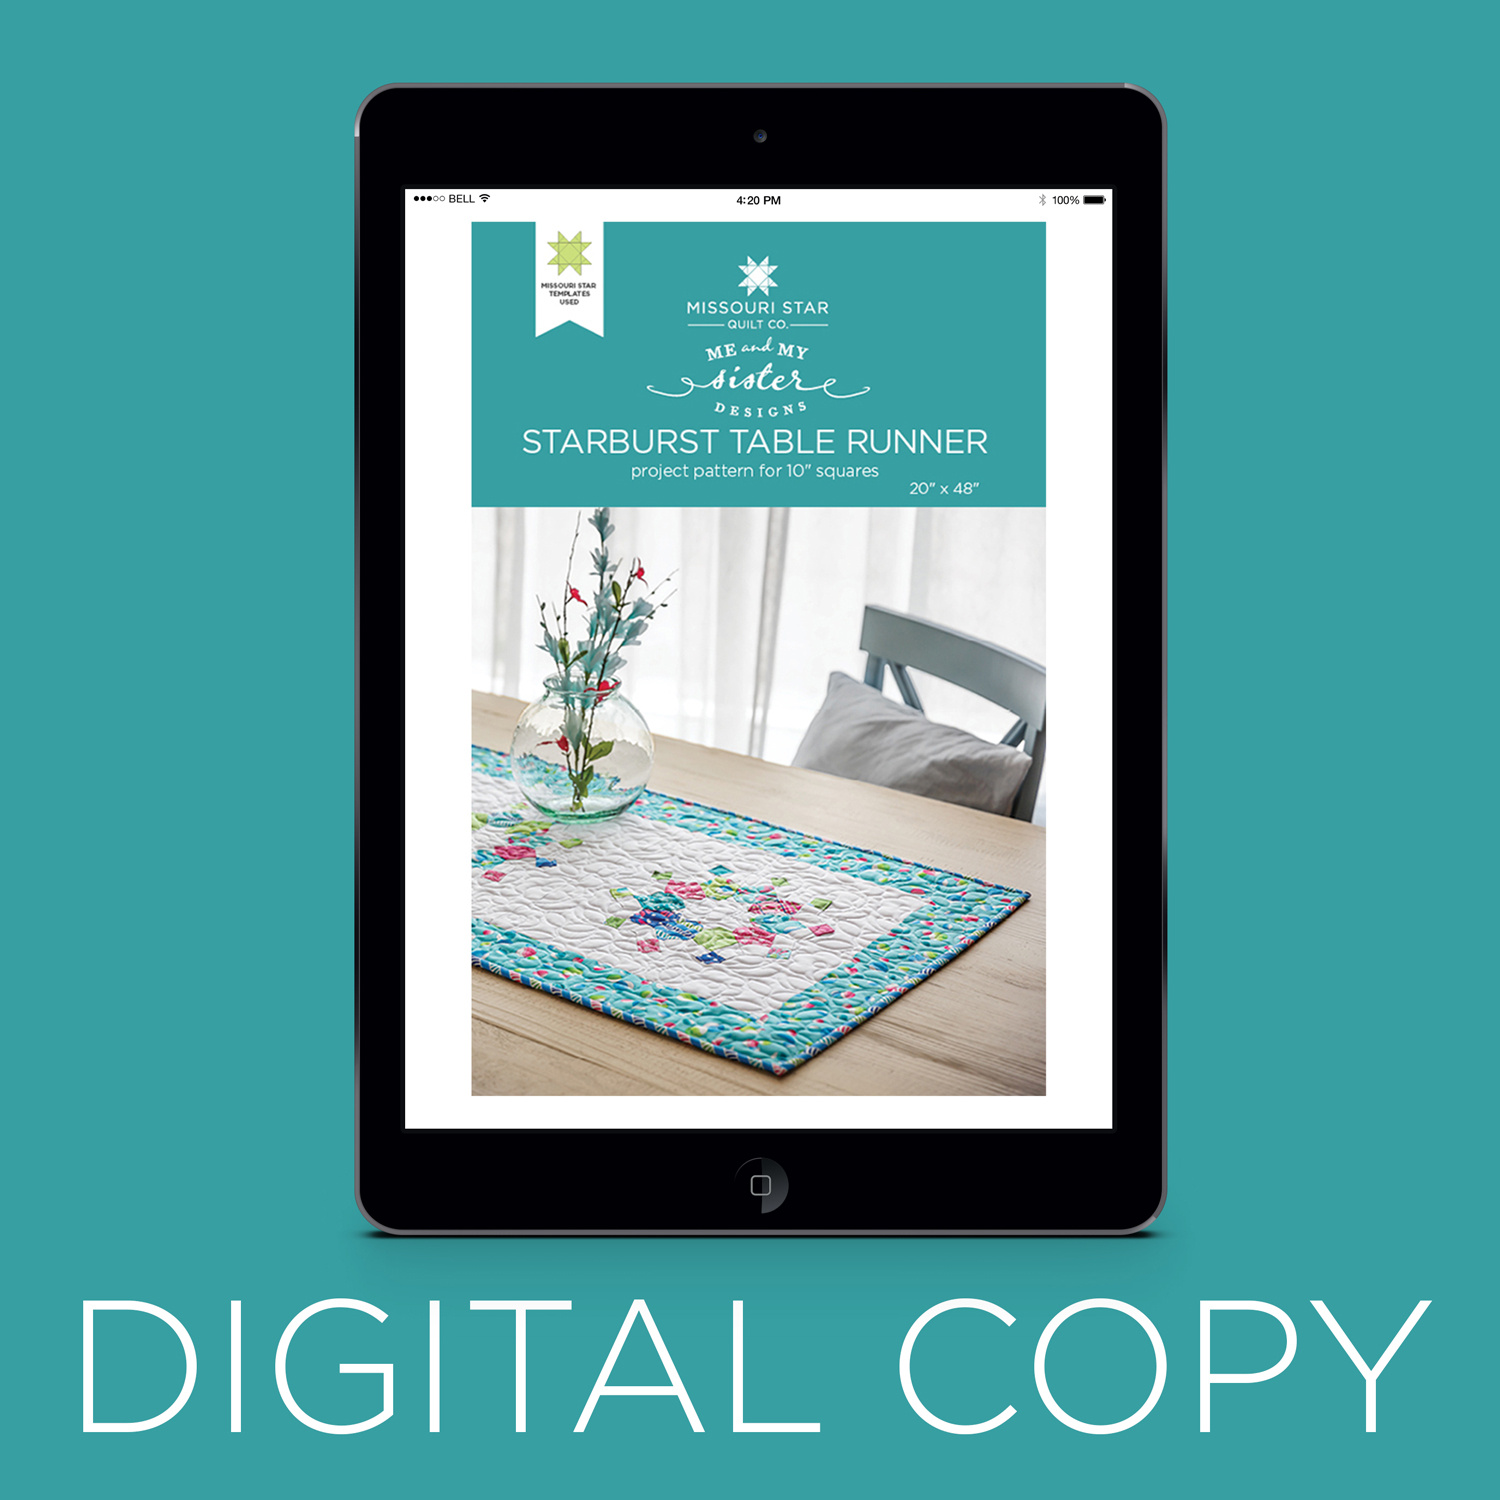 Digital Download - Starburst Table Runner Pattern by Missouri Star$4.95Shop →
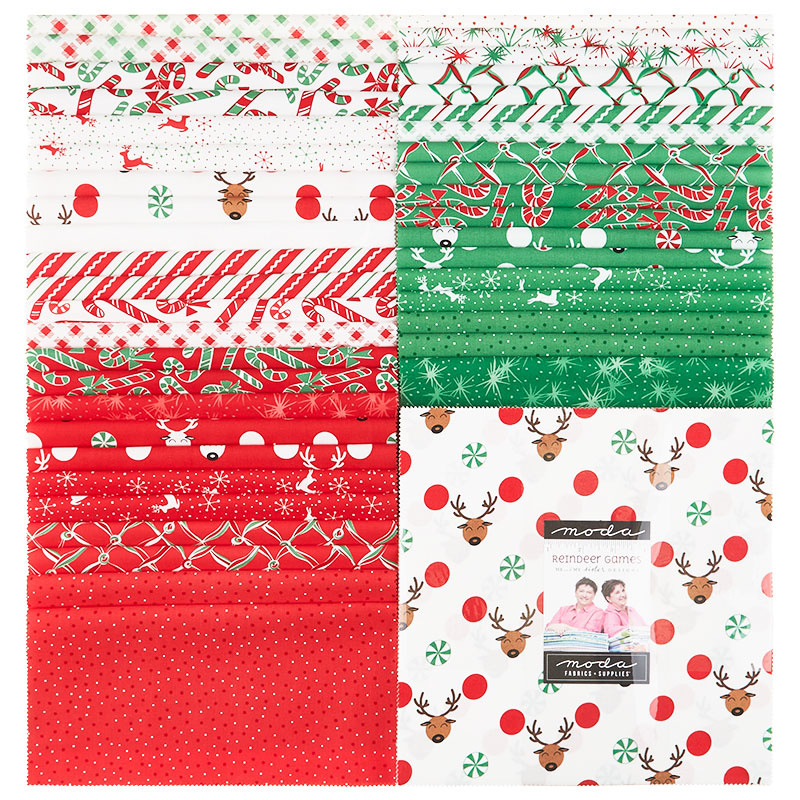 Reindeer Games Layer Cake$45.95Shop →
 Pin Dot - Red on White Yardage$10.76Shop →
 Bella Solids - White Bleached Yardage$8.24Shop →
 Reindeer Games - Christmas Sparks Evergreen Yardage$11.96Shop →
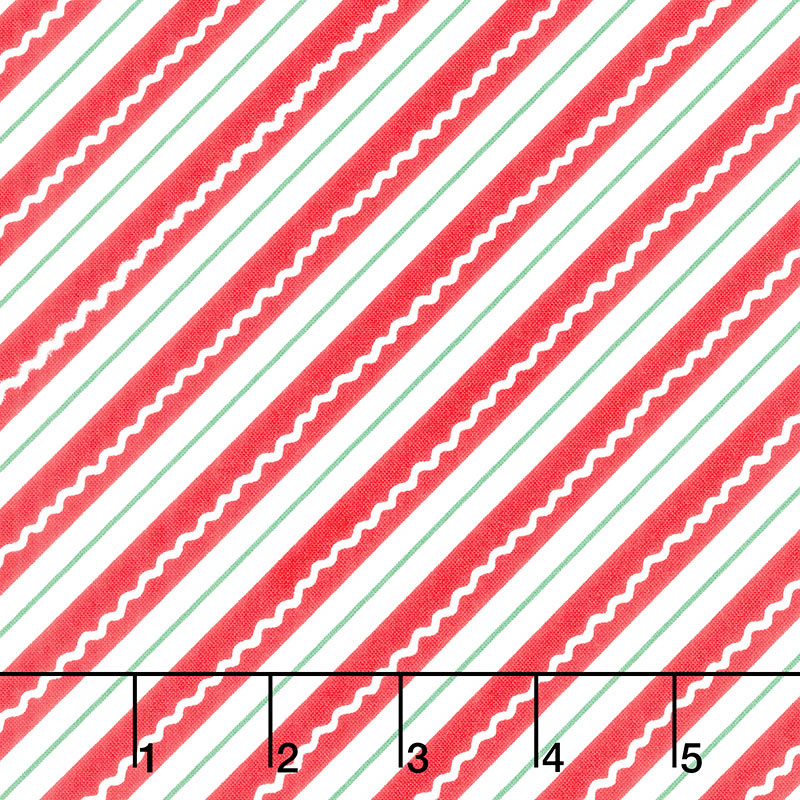 Reindeer Games - Candy Cane Stripe Poinsettia Red Yardage$11.96Shop →
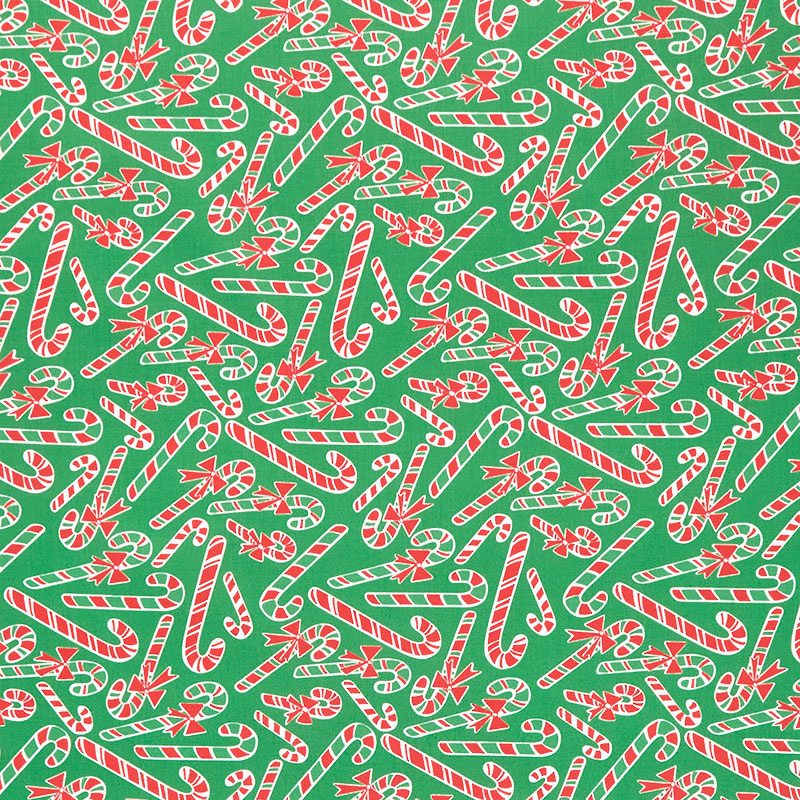 Reindeer Games - Candy Cane Dance Evergreen Yardage$11.96Shop →
Common Questions
What is covered in How To Make A Starburst Table Runner - Free Quilting Tutorial?
Would you like to swing on a star? Jenny’s stitching up a Starburst Table Runner with precut layer cake squares and the Four Patch Double Wide Dresden Template. These intricate little Starburst blocks look sweet in Reindeer Games prints by Me & My Sister Designs for Moda Fabri...
How long is the tutorial video?
The tutorial video is 00:15:39.
Are supplies listed for this tutorial?
Yes. The tutorial page includes the supplies and materials connected to this project.
Is a transcript available?
Yes. A written transcript is available on the tutorial page.
Video Transcript
Hi everybody, it's Jenny from the Missouri Star Quilt Company and I have such a fun project for you today. We have joined with Barb and Mary from Me and My Sister Designs to make their template, their double wide Dresden template. And this is the four patch template. It has a line in it and it makes this darling runner. Let's look at this quilt. So isn't this gorgeous? I mean, it looks like when you use this kind of background fabric, it looks like these just pop off and it's so much work and I can hardly wait to show you how to do that.
To make this quilt, you're going to need one packet of 10 inch squares and we have used the reindeer games by Me and My Sister for Moda. You're going to need some background fabric and we just use this white. You're also going to need background fabric to put your squares on. And for that you're going to need three quarters of a yard. Your border is a half a yard and your backing is going to be one in three quarters yard. And of course, anytime there's a stripe in the line, I love the stripe. And so for this little binding out here, we used a half a yard for that as well. Now the pattern is written for a border, but you can see we also have one without a border because sometimes you just want that plane perfect runner on there with no border.
I'm a border lover and so I added a border, but I can hardly wait to show you how to do this. So let's get started. Okay, so you guys know I love Dresdens and this is a twist on the Dresden. I think it's just going to kind of blow your mind when you see how easy this is to do because it's so fun. With a layer cake, obviously you can make more than one of these because you're going to basically need ten four patches to make this. This is the block we're going for right here. And so I have just stacked a printed piece with a solid piece, and of course I use the one with reindeer because we're making reindeer games. And so we're going to cut all of these into three inch squares. I've layered them up and honestly you can layer at least four of these together, if not six, if your blade's nice.
And sharp and we're just going to cut three-inch strips out of our layer cake like this, and you should be able to get three sets of these and just that's the little bit of waste right there. I'm going to stack these up on top of each other like this. And this is a quick way to get a lot of cuts all at once. Now to make mine, you'll need half of them will be red and half will be green. And I'm just cutting a red one right now. Normally I would stack the green one in there as well, but I have some of those already cut, but honestly it can be scrappy. I love thinking about the idea of this runner in all different fabrics. Just seems like it would be so fun. All right, that's extra as well.
And so now what we're going to do is we're going to sew a red to a white and a green to a white, which I have done already here. And we're going to make four patches and you can chain piece these and do a bunch. It doesn't matter what side you sew them on, we're just going to line them up like this, line up our quarter inch, and sew down the side and we'll do a few of those. Let's see, just your color with your white. And I have two reds here, so I'm going to throw a green one in here. Here's a green right here and it's so easy to do, and for those of you who have never done Dresdens, don't let this scare you because it is so fun and quick. All right, so now we're going to press these open and we're going to press to the dark side.
So we put our darker color on top and just peel those back like that. Same here. And then we're just going to line these up like a four patch. So when you're making a four patch, you're going to have two light fabrics and two contrasting or dark fabrics. And we're going to put those together so that they're opposite. And that makes a block, we call the four patch. Now when you press to the dark side, these two seams right here will nest up nicely and you'll see that one seam is going that direction and one seam is going the other direction. And that's what I refer to as nesting. And you want those to match up. You want to be able to feel with your fingers that there's no fabric in between. Now, you can put a pin in there if you want to hold it down.
I find it's just easier to take a few anchoring stitches and then lift those up and make sure they're pressed nicely into each other. Hold that with your finger and just sew along that edge. And we're going to do another one of these too. Again, I'm going to turn this so that my lights and darks are our opposite. I will take a few anchoring stitches and lift it up and make sure that my center seam is just smushed right tight together. We're going to do that and then we're going to press these open and this is the block for our little Dresden and wait till you see what it looks like. It's just going to surprise you, I think. This is the ruler that you'll need, and it's a little double wide Dresden. So you can see right here it has this little x line and this is what's going to give you that look where you have a little stone that just pops off and you didn't even have to cut that little stone.
Here's what we're going to do. We're going to lay our block like this. Now half of them are going to be this way and half are going to be this way. And what we're going to do is we're going to put our cross lines on here like this. Now this wide part is the top of your Dresden, and so we want half of the tops to be green and half of the tops to be red. This one, we're just going to trim out like this and we're just going to cut, make sure your line stays right on the line like this. And then I'm just going to turn this around. This is a great place for a rotating mat and across here. So this is your piece you get right here just like this. Now this next one, I want the red to be at the top. And so I'm going to lay my ruler on here like this. So my red is at the top and the green is at the bottom. And we're going to cut around this as well. Turn it around, line my line back up.
Make sure your lines stay on your four patch lines, so your four patch seam lines and do this. All right. Now what we're going to do once you get all your pieces cut and you need 10 to make a plate, and this is a plate right here, this is what I'm referring to as a plate, this one little round wreath piece. You need 10 of those. Now I have eight of these made and I'm going to show you how to do these last two. What we're going to do is we're going to fold these in half like this, and I'm going to go ahead and give them a little press and just line them up exactly. And we are just going to give this a little press and we'll do the same thing to the red one. Move this out of the way and make sure you can see it. There we go.
That one didn't quite get it the way I wanted it to, so I'm going to repress it. There we go. All right, now what we're going to do is we're going to come to the sewing machine and we're just going to sew straight across this top. Make sure these are lined up. We gave them a little press, it's not a hundred percent necessary, but it does help a little bit as you are sewing it down. We're going to line this up in our quarter inch line. We're going to sew straight across. Now, whenever you're sewing a small area like this, you want to shorten up your stitch length just a little bit so that it doesn't come out as easy.
And you can chain piece these. You can chain piece all 10 of these and do all the tops like this. And then you can flip them around and do the bottoms. This is where it's different because normally with a Dresden, we only do the top, but we are doing the top and the bottoms on this. And so this is a really short little piece. So your little seam length matters here. I actually took a little back stitch at the beginning because we don't want that coming apart. And then we're going to put this again, lined it up on your quarter inch seam, sew straight across.
And then we're going to cut these apart. Now what I'm going to do right now in cutting these apart is I'm going to just clip this little corner right here. You don't have to do that, but it will help a little bit with the bulk. And then I have this little seam turner right here that I like to use. It's got kind of a dull tip on it and so it won't poke through the fabric. I'm just going to poke that in that corner right there and make sure that my point is out there nice and pointy. And so here, this one as well, the bottom one as well. And then we're going to look at this...
Look at this little shape right here, isn't that interesting? So now you can see where I pressed on the back there's a line, so you want your seam line to match up with that line. And then we're going to press that down so it stays nice and flat. I'm lining up my seam line with that. And I'm going to just give this a press. And then I'm going to line up the bottom one with that seam line as well and press that across there. And we're going to do that with both of these.
Actually, you're going to do it with all 10 of yours. So this one I'm going to flip again, push my little, make my little point out there. Yesterday I was working on this and I did it with some scissors and kind of went through that one, so I had to do it again. It's better to have a more dull point on your turner. You could use the purple thing or a shish kebab skewer, just not the pointy part. All right, let me see if I got that right in the middle. Then you have these two pieces right here. And you can see one has the little red top and one has the little green top. And the bottoms are also opposites. And that's what I was going for when I was making this. This is the first part of these right here, and you can see how these are going to fit in here.
We're going to need a red right here and a green right here. And that's going to make our circle, but look at that cute star in the middle. What I'm going to do now is I'm going to lay these on top of each other like this, and I'm going to sew down the side. Now if your little side seam right here, if it doesn't line up exactly, then just kind of readjust your little fold on the bottom so that they line up. It won't show too much. It's not that big of a deal, but I noticed that several of mine weren't exact. And so while it doesn't really matter, we're always looking for that to make it as good as we can. Okay, so you can see these two seams right here are lining up right here.
And I'm going to lay my quarter inch foot on there and just go right down the side. I'm going to back stitch a little bit at the top. You don't have to do that, but it will help. And then we're going to sew our last seam here, and these actually go together so quickly. Just like that. So out of a four patch, you get this cool looking little Dresden. We're going to press this nice and flat and they just lay down so nice and they make that darling little star in the middle. I placed mine on a background square of this red and white dot. Now there's a couple of thought processes about this that I want to talk to you about because on here, when you put this on here, this red and white background has a little bit of movement to it, which I like, but it also is very much the same color as these pieces right here. So what it does is it makes this piece that's colored and this piece that's colored, it really makes them pop. It really makes them stand out.
And so when you place this, what I did was I folded this in half like this and in half again and just gave some finger press lines. You can press it with the machine if you want to. And then just line it up on here like this. And I lined so that my same seams. So these points are on a line, and this seam in right here is on a line. They're lined up nice, you know that it's in the center. And then you can just pin it on here. And then you just, however you want to applique this, you can. You can hand sew it like a Dresden, you can top stitch it in the pattern. And on these we just top stitched it down right by the edge. You can do a applique stitch. Any of those is fine. But I want to show you what happens when you change out your background fabric.
I have this piece right here that just is, I wouldn't probably pick this color, but it's going to let this whole star really show up. So look how different that looks when you get this star on a background that's completely different. It highlights these white places and really sets it off. Now I also made a couple of little pieces here where I didn't use the white, and that would also look darling on here where I just did it with the reds and the greens. And so have fun with this and scrap it up and just try some different things. I can see this in Halloween. I can see this in 4th of July. I can see it in all kinds of things because this is such a cool detail and it's so simple. So this one right here, we did three across, and then I added a little three-inch border out here on the outside edge. The backing on this is we use the candy canes, and of course we use the little stripe on this.
This little runner comes together, it's 20 inches wide by 48 inches long, and we use the tiny little Christmas light quilting pattern on here, which is just so cute. This one is going to be just a little smaller because we didn't put the border on, but sometimes you like to see things without borders, and it's just a really fun thing. So it's all made with a four patch and this ruler. We hope you enjoyed this tutorial on the starburst table runner with Me and My Sister and the Missouri Star Quilt Company.
Hi everybody, it's Jenny from the Missouri Star Quilt Company. We hope you enjoyed watching this video. If you aren't already part of the Missouri Star Quilt Company family, be sure to subscribe so you won't miss a thing. And if you click that bell, it'll notify you every time a new tutorial comes out. See you next Friday.



