

How To Make A Starlight Quilt - Free Quilting Tutorial
 Jenny Doan
- Layer Cake
- Modern
- Lap / Throw
- Beginner
- Quilt size 58" × 58"
Jenny Doan is dancing with the stars—patchwork stars, that is! Starlight is a new quilt pattern designed by Fran Gulick of Cotton and Joy. These pretty star blocks are made with precut layer cake squares from the Everglow collection by Tula Pink for Free Spirit Fabrics. Like many of our favorite patterns, Starlight looks complex but comes together quickly with easy half-square triangles.
Instructor
Jenny Doan
Jenny Doan is an American quilter, author, and YouTube personality. Jenny started Missouri Star Quilt Company in 2008 and today it is the largest quilting supply vendor in the United States.
Shop this tutorial
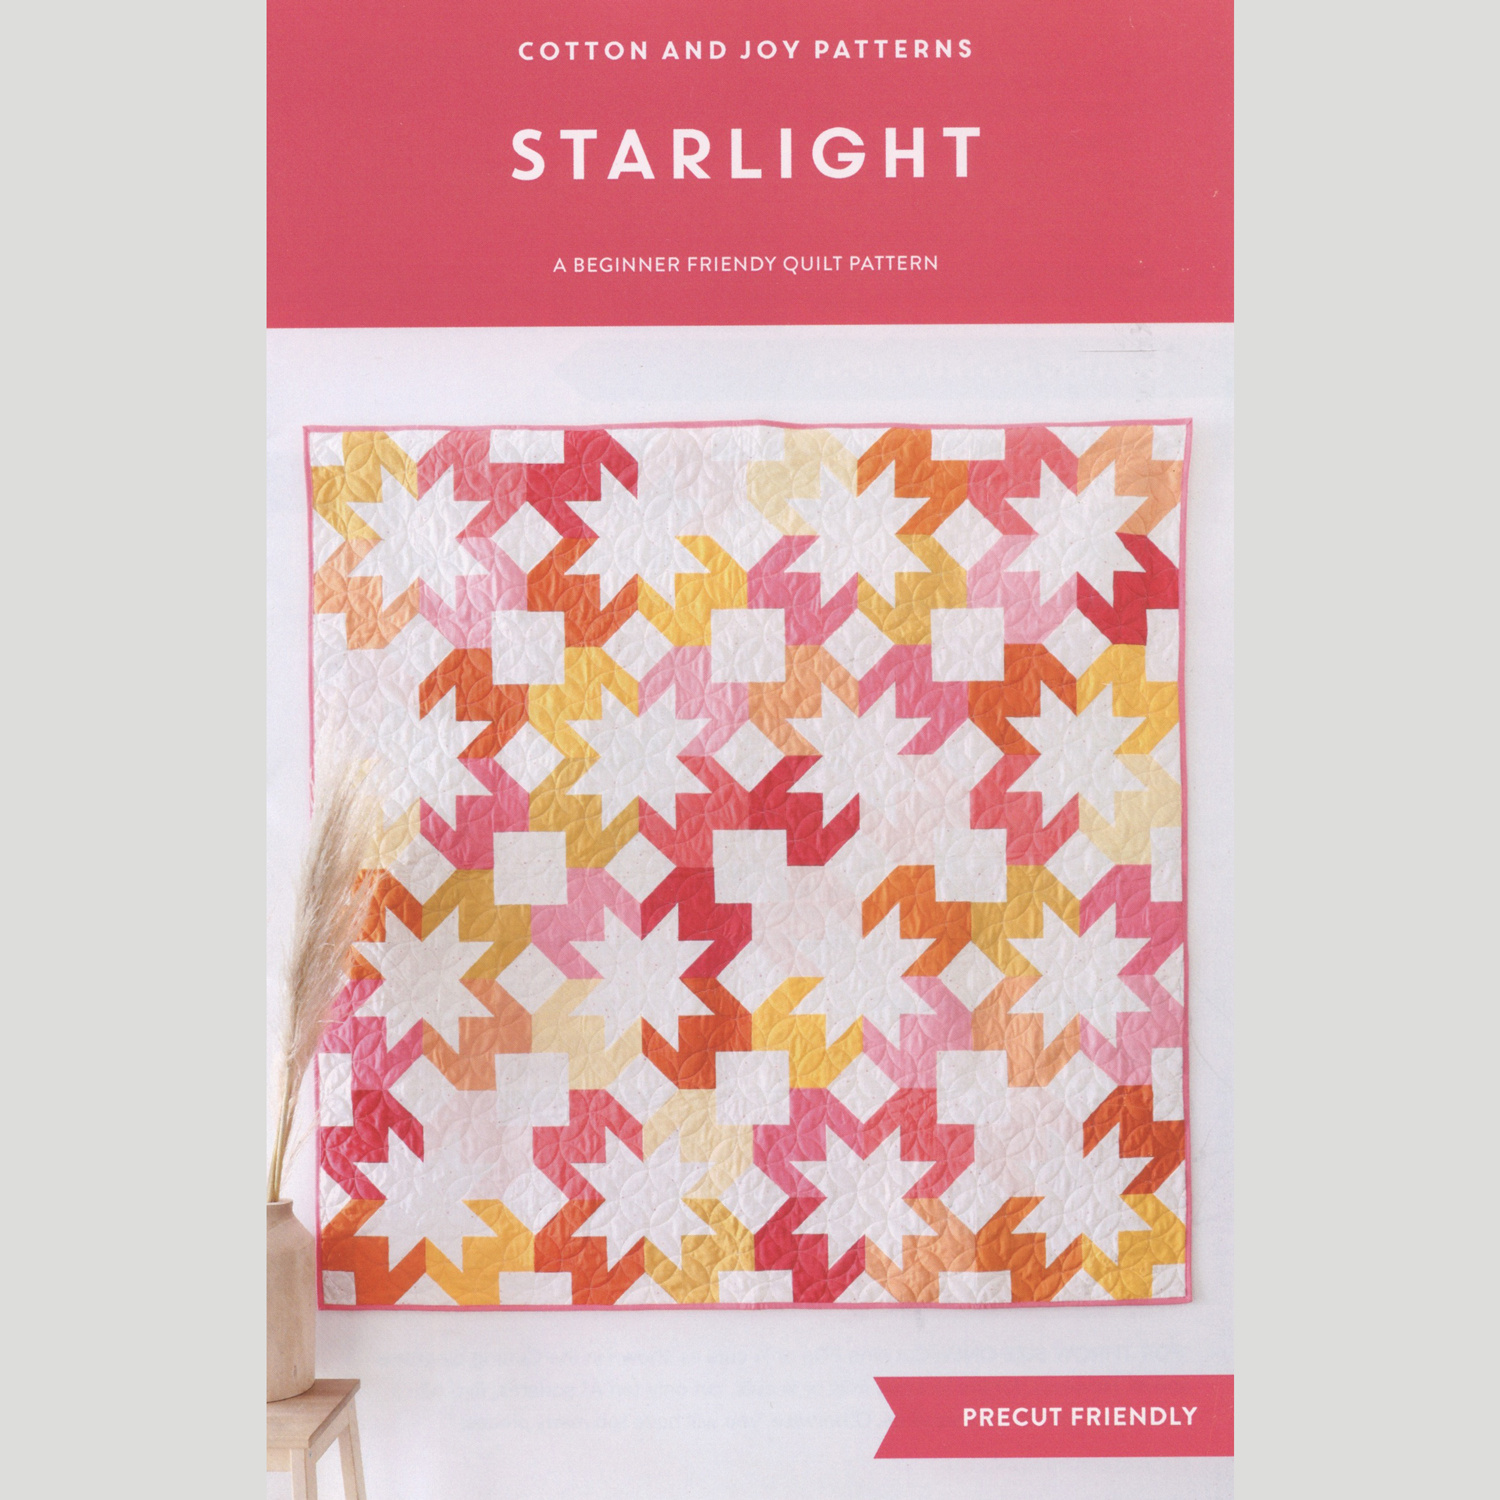 Starlight Quilt Pattern$13.00Shop →
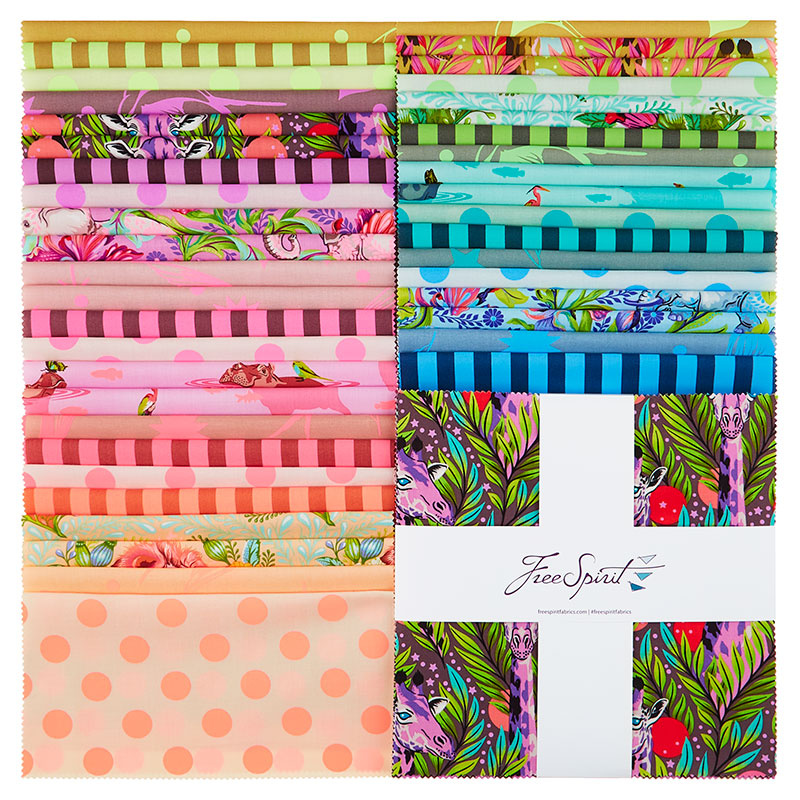 Everglow 10" Squares$48.95Shop →
 Kona Cotton - White Yardage$7.28Shop →
 Clearly Perfect Slotted Trimmers$31.95Shop →
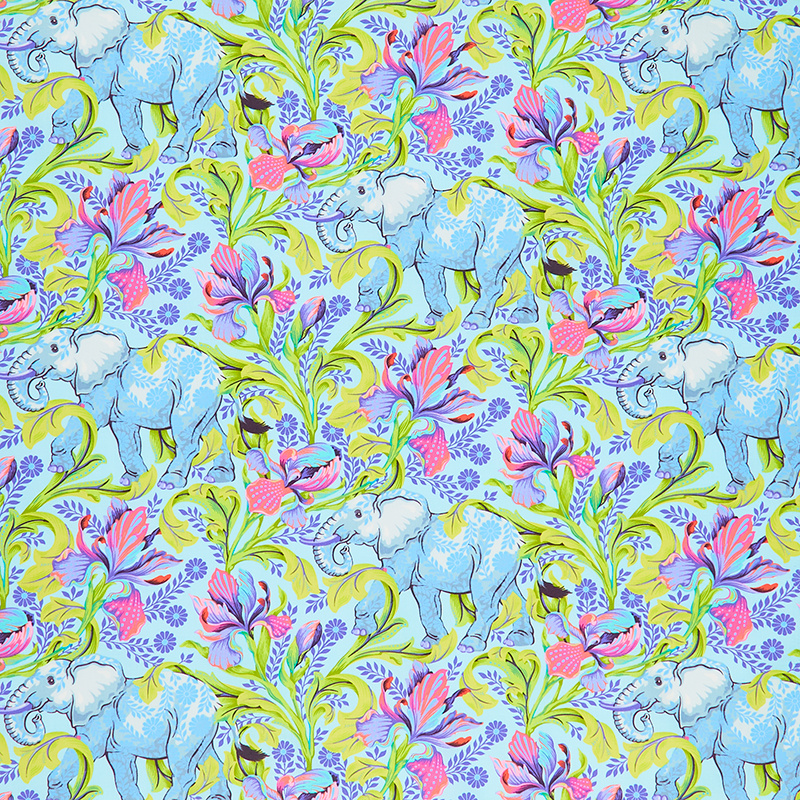 Everglow - All Ears Aura Yardage$13.00Shop →
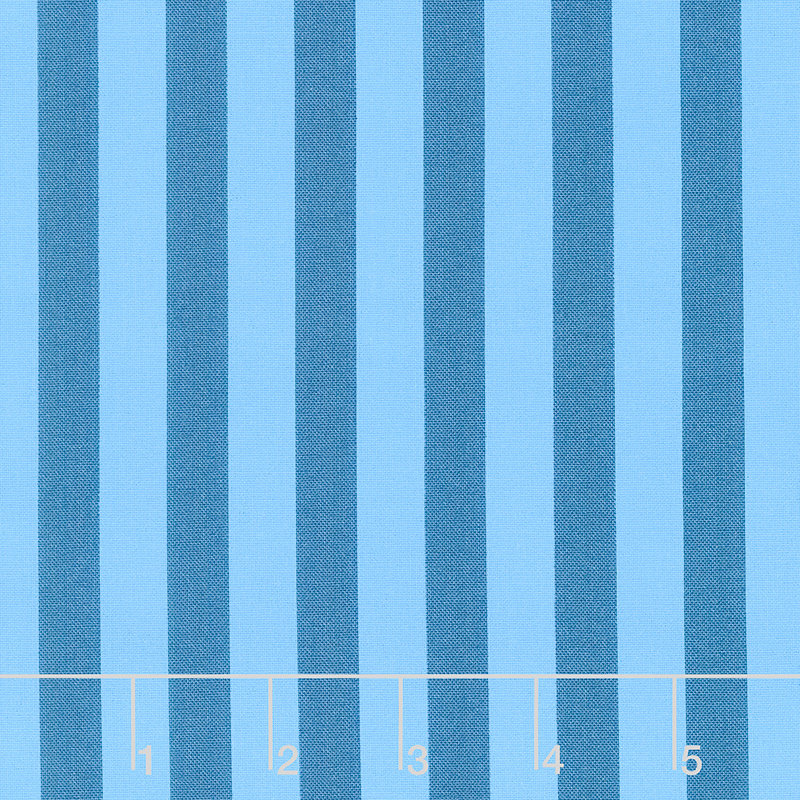 Tula Pink's True Colors - Tent Stripe Aura Yardage$12.96Shop →
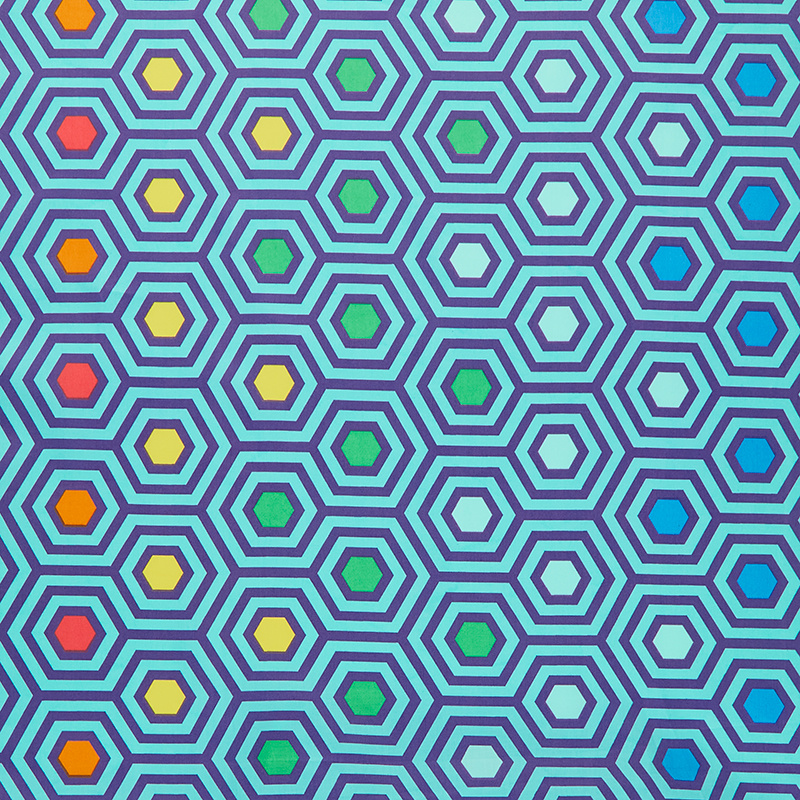 Tula Pink's True Colors - Rainbow Hexy XL Peacock 108" Yardage$23.96Shop →
 Missouri Star Quilter's Best Blend Throw Batting$20.95Shop →
Common Questions
What is covered in How To Make A Starlight Quilt - Free Quilting Tutorial?
Jenny Doan is dancing with the stars—patchwork stars, that is! Starlight is a new quilt pattern designed by Fran Gulick of Cotton and Joy. These pretty star blocks are made with precut layer cake squares from the Everglow collection by Tula Pink for Free Spirit Fabrics. Like m...
How long is the tutorial video?
The tutorial video is 00:12:50.
Are supplies listed for this tutorial?
Yes. The tutorial page includes the supplies and materials connected to this project.
Is a transcript available?
Yes. A written transcript is available on the tutorial page.
Video Transcript
Hi everybody, it's Jenny from the Missouri Star Quilt Company and I am super excited about today's quilt. First of all, how darling this is. This is a pattern called Starlight and it's by Fran Gulick from Cotton and Joy. And when she put it up on her Instagram, I was right on that messenger saying, can I do a tutorial on this? I just loved how it came together and the fabric that I had to work on was Tula Pink. And so today I'm going to show you how to do this, and it's super quick and easy and a very fun pattern.
All right. So to make this quilt, you're going to need one packet of 10 inch squares, and we have used Ever Glow by Tula Pink for free spirit fabrics. Such a great line. You're going to need some background. We have used one and eighth yards of background right here, and that's our white that's in here. Now, the pattern is not written with a border, but I could not not put a border on here. So if you put an inner border on here, right here, you're going to need an additional half a yard of your background. But look at these elephants. I had to do this border out here. It's so dang cute.
And so for the border, you're going to need, the outer border is one yard and it's a five-inch border. This quilt is only 55 by 55, so it's not huge. Tula came out with this backing right here, right here, and it's a 108. And so you'll need two yards of that, and you're going to have a sum leftover on that as well. And then of course, whenever there's a cute stripe in the line, I love to use it on the binding. And so I use this little stripe on the line. So let me show you how to make this because it goes together really great.
So Fran originally wrote this pattern as a fat quarter pattern, which you can do. And I asked her, I said, can it be done in precut? Because I had this awesome tool precut and I wanted to use it in this. And she said, oh, of course. And so she figured that out, added it to the pattern. And so now you can choose whichever you want to do. So the first thing we're going to do is some cutting and out of your background, we're going to need some three and a half inch squares, and we're going to need some three inch squares as well. So I'm just going to cut a strip of both of those.
So here's our three-inch strip, and we're going to cut those into some squares right here. And I'm just going to cut off my salvages and my fold, and then I'm going to cut my three-inch squares. And I just like to cut a stack of these so I have them handy, and I'll work until my stack is gone, and then I'll cut some more. That's kind of how I do it. All right. So now we have three and a half inch squares as well right here. And I'm going to line these up on the line to make sure they stay nice and straight. And let's line that up again and three and a half, so threes and three and a halves of these.
And she has this great cutting diagram in her pattern so you won't get lost at all. And so then what we're going to do is we're going to cut a layer cake and we're going to do the same cut. We're going to do some threes and some three and a halves. Look at these two halves. Oh, it just makes me smile. I just love this so much all. So we're going to go with three and a halves first for I am hoping to catch a giraffe head in my square because I think it would be ever so cute. And then we've got three-inch squares right here. And then what we're going to do is I'm going to cut these up into their right sizes as well. So I'm going to cut three inches right here. I'm going to have to move this over a little bit so I can catch his face because I need that little face in there. This is fussy cutting. We are fussy cutting a giraffe face. I love it. Tula is so clever.
All right, so there it took a very long time to get that one three inch square, the rest of them no faces, so I can just sail along and cut three inches and three inches right there. All right, so this next one over here is going to be three and a half, and I'm just going to go ahead and cut this strip as well. Now, you don't use everything in this precut, so there is a little bit of waste. Well, Tula fabric is never a waste, but you have these little pieces left and I am sure we are going to save them and use them for something amazing. So the first thing we're going to do, let me show you the block. This is the block we're working on right here. It kind of looks like an M, and it's this corner of the star right here, right there.
Look at that lion face. Oh, my. Anyway, it's going to go in here like this, and that's how that block is going to fit. So what we're going to do is we're going to go ahead and lay out our block, but the first thing we have to make two half square triangles. So we're going to take our three and a half inch print blocks and regular blocks, and we are going to draw the line on them and so on both sides of the line and make two, three and a half inch, half square triangles. All right, so let's sew on both sides of this. Like this and one on the other side. And one more. All right. So once you get your little half square triangles sewn, we're going to cut them in half and we're going to square these to three inches. All the blocks in this little block, all the little individual blocks in this little block are going to be squared to three inches except for our one rectangle, which is three by five and a half.
And so we are going to go ahead and have these ready to go, and we are going to square these, and I'm going to use the clearly perfect slotted trimmer. So I'm going to delay my seam line on theirs, right here. And we are just going to trim around this. And for this, you actually don't have to iron open first. I got a little ahead of myself right there, but they'll be ready to go anyway. All right, here we go. Line my seam line up on their seam line, trim and trim, and you can trim up those little points if you'd like. And then this one, trim and trim and this one. Because you are going to use all four of these for your block.
All right. So then we've got four of these in our block and we need one rectangle. And honestly, right here, I had my three-inch strip, and I really only need one three inch square. And I could have gotten my three by five and a half inch rectangle out of the other piece, but I made a cutting error. So don't do that. But you do have this other piece in case you make a cutting error. So I'm going to put my ruler here on five and a half. We're going to do it this way first. I'm going to come over here with this one and do five and a half,
Five and a half right here by three. So here's my three line right here, and I'm at five and a half. So I'm just going to trim this right here and across here. So we need this piece, we need our four pieces. We need one single piece, and then we need two plain three inch squares. So let me show you how to put this block together. Now, once you make one, you'll want to keep it right by your sewing machine, and you'll want to make all the blocks the same so that it all works and it all goes. And I know myself, how confused I get. So I keep one block close by and I make them all the same.
All right, so we're going here. Our top row is a white block, our colored block with our fabulous giraffe face and our half square triangle block with the color to the middle like this. Then we put our long block in our rectangle, then we put another half square triangle, and it goes up like this. On our bottom row, we've got two half square triangles. One up like this and one down like this. And then this white one finishes up our block in the corner. So let's go ahead. We're going to sew this together by rows, and then we'll put our rose together. So I'm going to start with these two right here.
And I'll add that third block on right here with my color to the middle. Now, this block isn't harder than any of the other blocks. You just have to think a little more. And they're sizes that we're not real familiar with. We usually tend to stay at four and a half and two and a half, and this is three and three and a half. So it's just a little bit more attention to detail. All right, so these two I'm picking up, they go together and make that long diamond unit, but it's not any harder. And gosh, I love how it looks. I love clever people, and Fran makes clever patterns. So you'll have to check her out. Don't forget, she's Cotton and Joy. All right, so now these three go together like this, and I'm just going to put my square line up. And these two are the match. This first seam doesn't match anything, but the last seam does. And then one more row here, and this one lines up,
And this one has nothing to line. So only one scene that you have to kind of worry about. All right, now let me show you how these go together. Now, I made the baby size, but it's a little bit bigger because I added the border. And so we're going to put four of these together now to make the big star. So let me show you how that goes. So how remembered how to do this is that all of my plain white blocks came to the center like this and like this. So you're going to sew these four together and it's going to make a star just like this. And I just made nine of them. They came together 1, 2, 3, 4, 5, 6, 7, 8, 9. The layer cake will actually make 10 and a half stars, but that's not enough for another row. So I stopped at nine. I added an inner border to make it a little bit bigger.
And then of course, I couldn't resist putting this elephant pattern on the outer border. It's five inch border. The quilting pattern that we've used on here is called Time Warp, and it's just a fun, modern pattern. It's just so great. I'm so glad that Fran gave me permission to do a tutorial with her pattern. So we hope you enjoy this tutorial on the Cotton and Joy Starlight Quilt from the Missouri Star Quilt Company.
Hi everybody, it's Jenny from the Missouri Star Quilt Company. We hope you enjoyed watching this video. If you aren't already part of the Missouri Star Quilt Company family, be sure to subscribe so you won't miss a thing. And if you click that bell, it'll notify you every time a new tutorial comes out. See you next Friday.



