

How To Make A Summer Bazaar Quilt - Free Quilting Tutorial
 Jenny Doan
- Layer Cake
- Traditional
- Double
- Beginner
- Quilt size 65" × 84"
In the olden days, bazaars were held to raise funds for schools, churches, and causes. The ladies of the community baked. They embroidered. They quilted. They bought and sold handmade goods. And in the process, they changed the world. This week, Jenny Doan is making the Summer Bazaar quilt with precut layer cake squares and two of our favorite templates: the Large Tumbler Template for 10" Squares, and the Small Tumbler Template for 5" Charm Packs.
Instructor
Jenny Doan
Jenny Doan is an American quilter, author, and YouTube personality. Jenny started Missouri Star Quilt Company in 2008 and today it is the largest quilting supply vendor in the United States.
Shop this tutorial
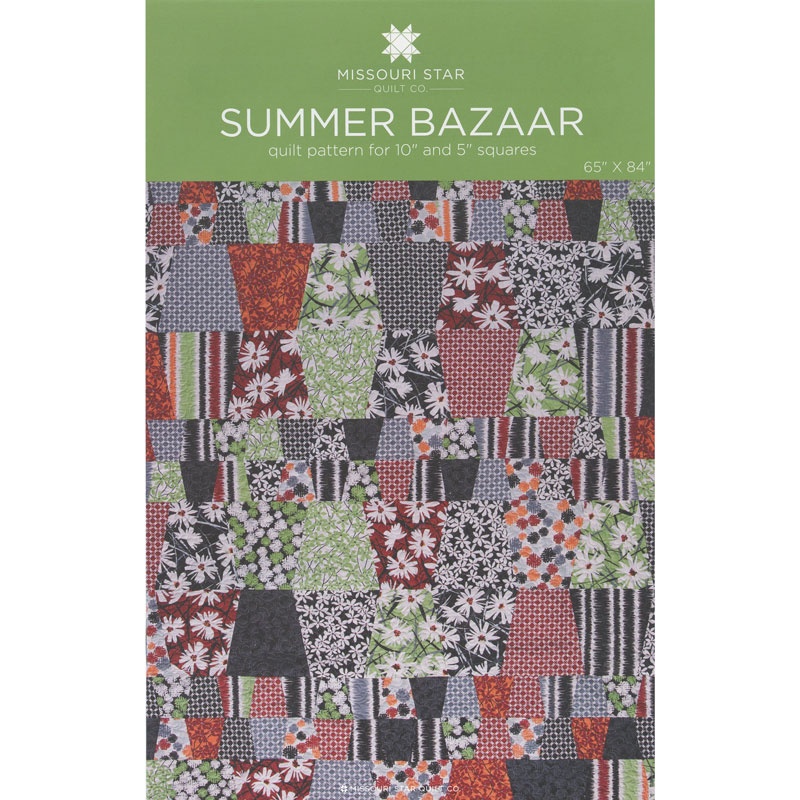 Summer Bazaar Pattern by Missouri Star$6.95Shop →
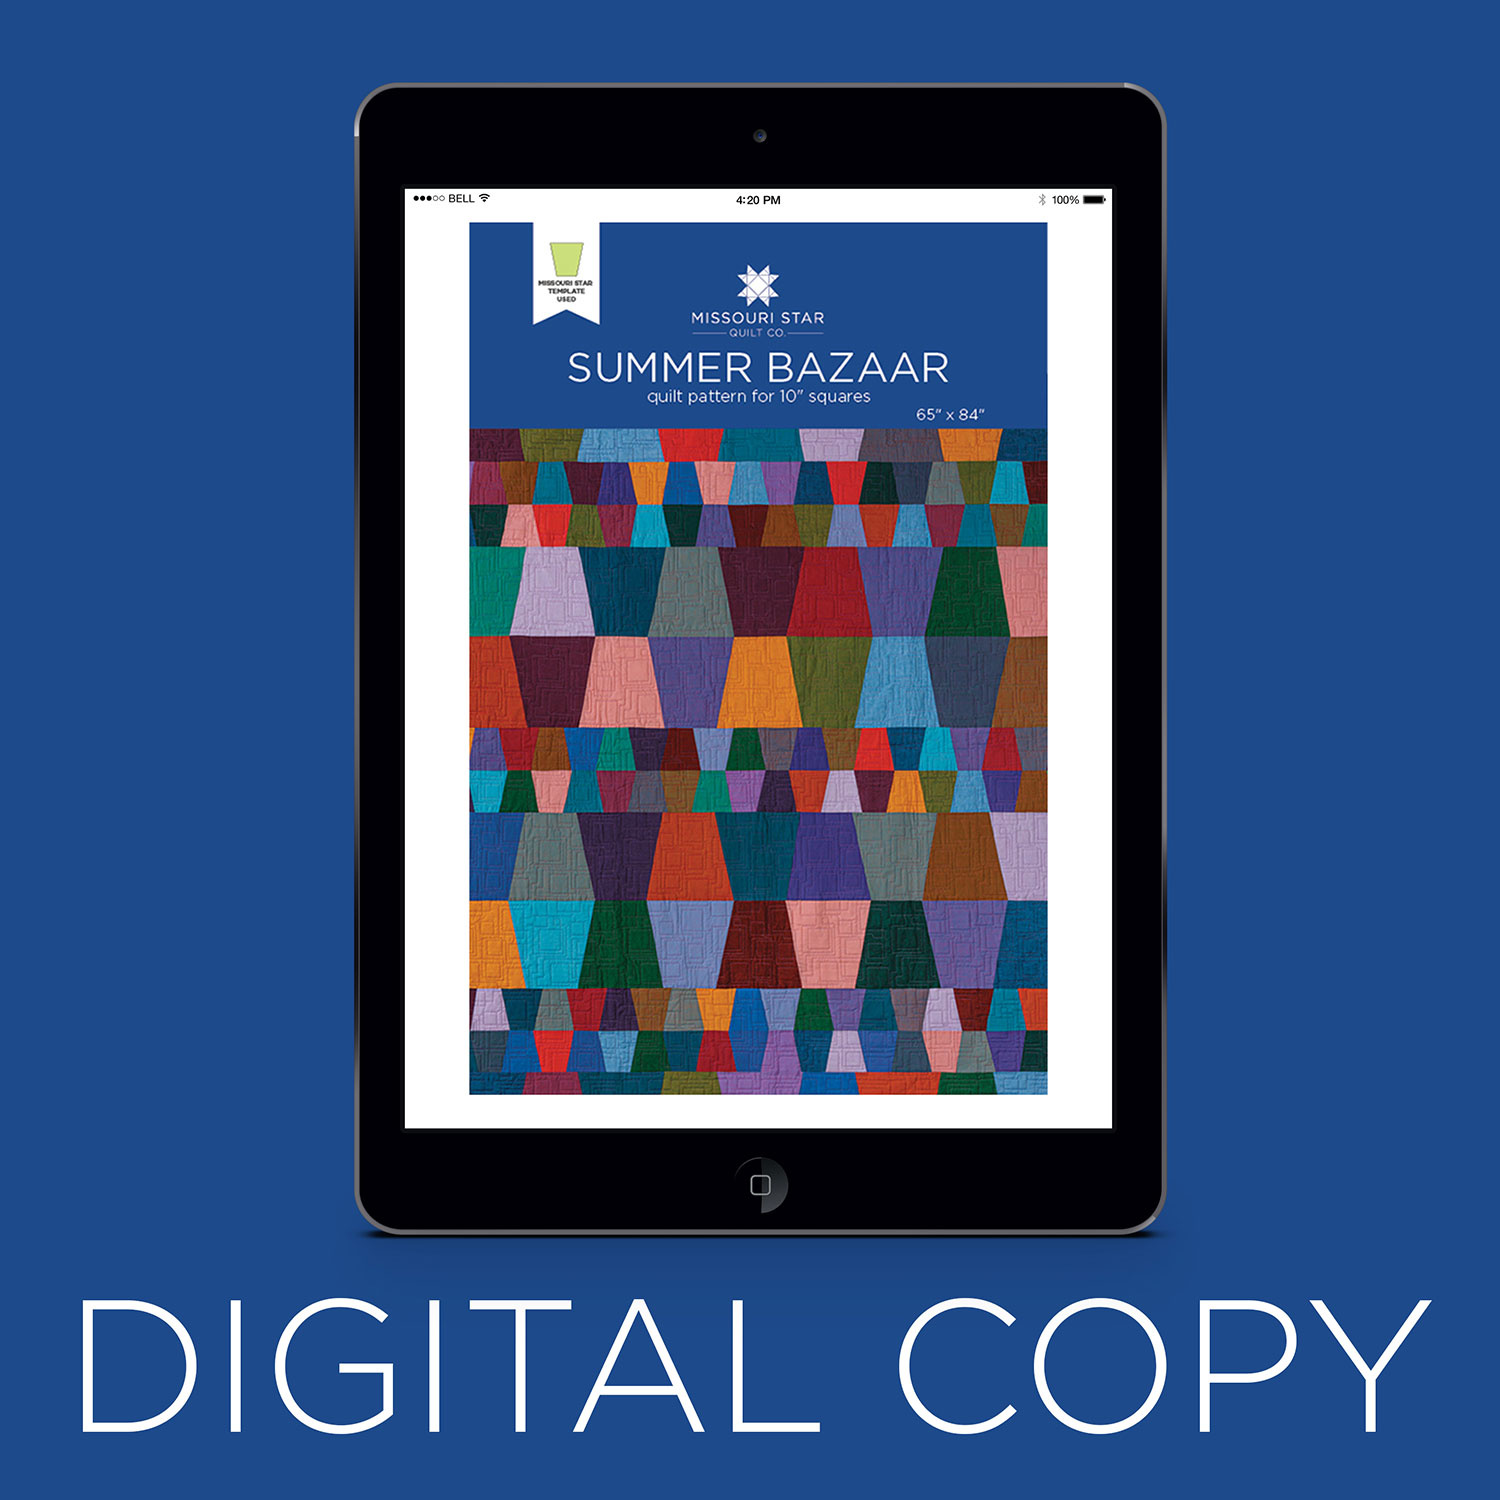 Digital Download - Summer Bazaar Pattern by Missouri Star$4.95Shop →
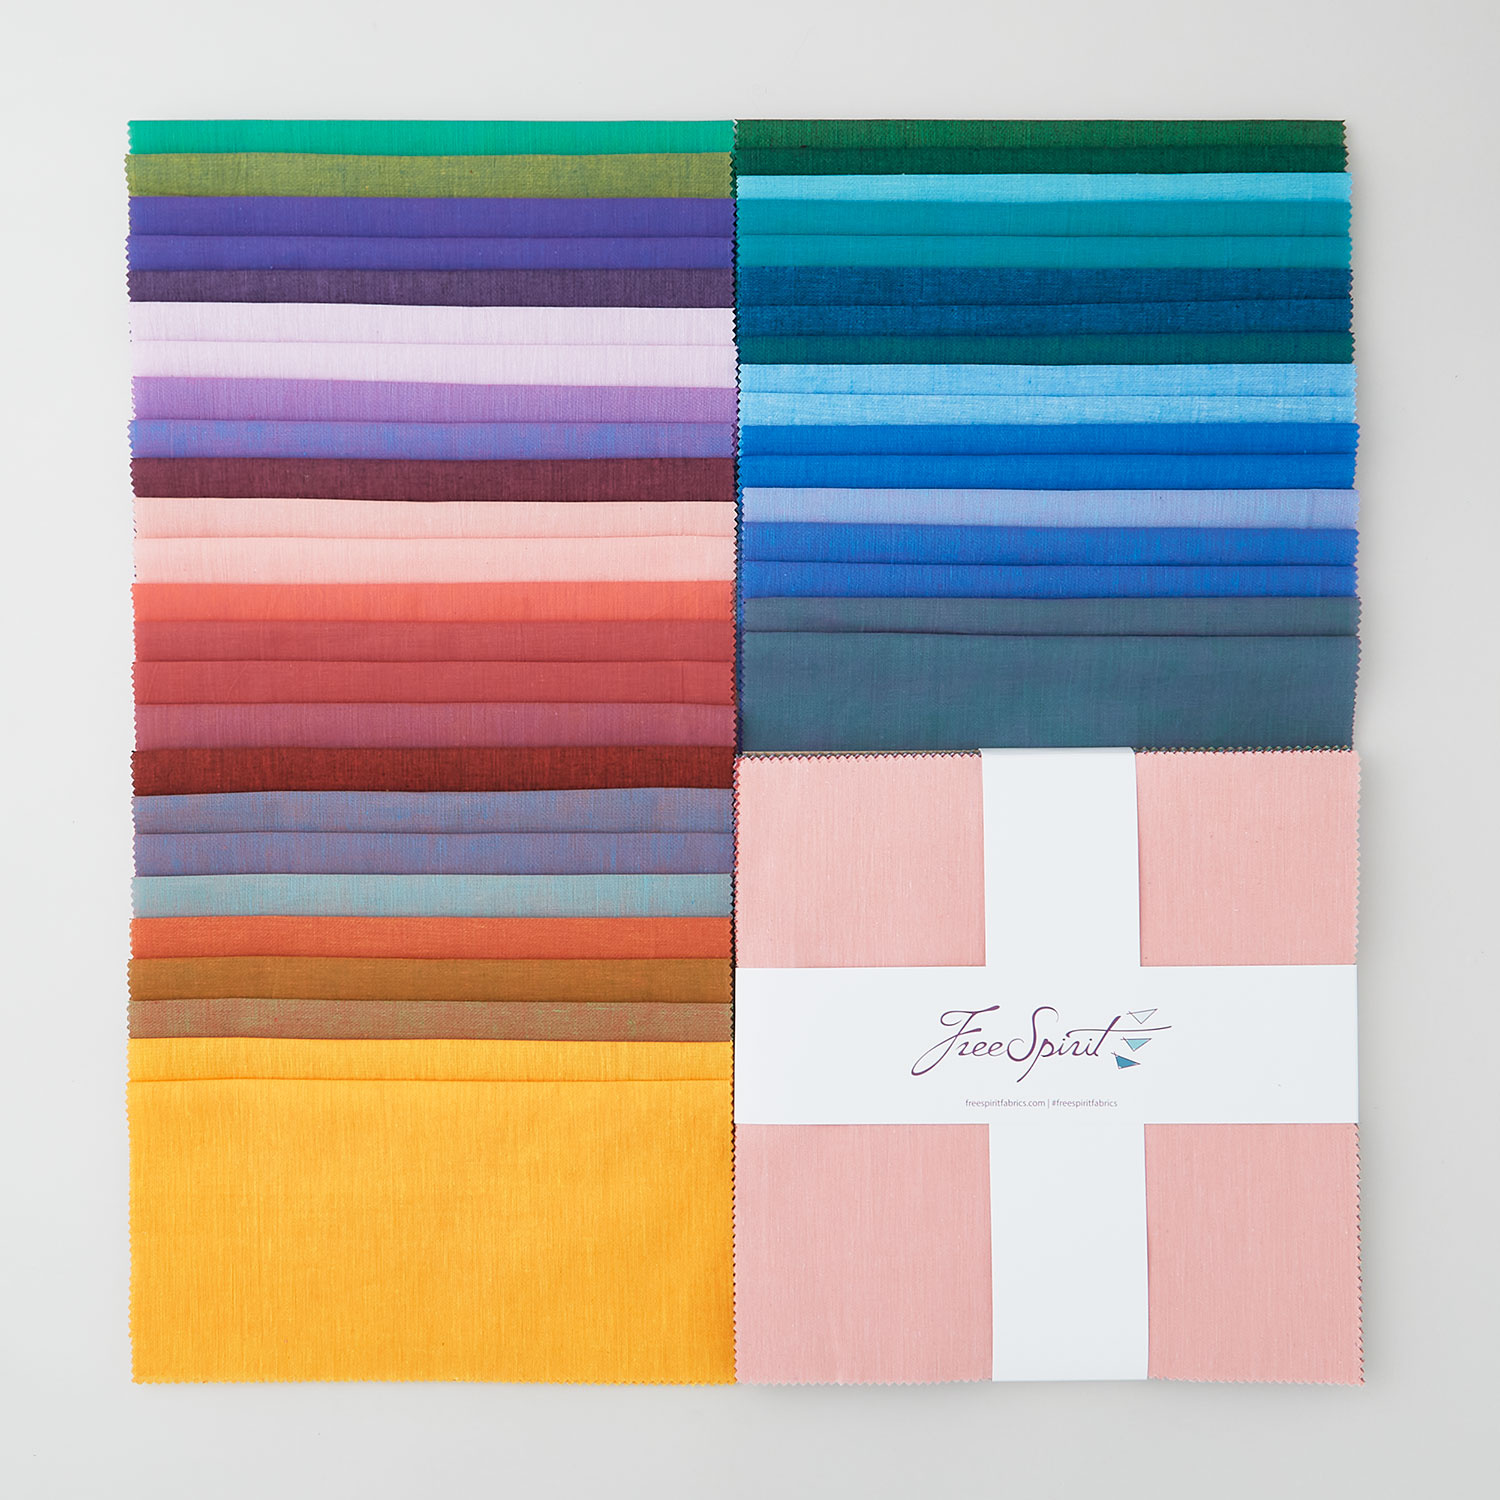 Kaffe Fassett Shot Cotton 10" Squares$43.95Shop →
 Kaffe Fassett Shot Cotton Stripes - Narrow Stripe Mallard Yardage$10.76Shop →
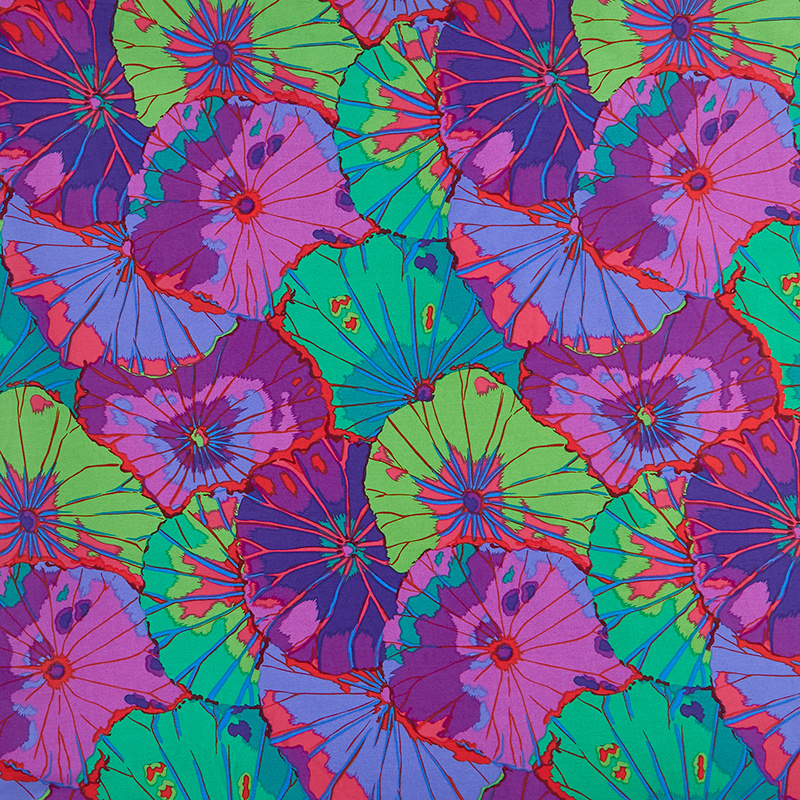 Kaffe Collective - Lotus Leaf Purple 108" Wide Backing Yardage$23.96Shop →
 Missouri Star Quilter’s Best Blend Twin Batting$26.45Shop →
 Missouri Star Small Tumbler Template for 5" Charm Packs$7.95Shop →
 Missouri Star Large Tumbler Template for 10" Squares$16.95Shop →
Common Questions
What is covered in How To Make A Summer Bazaar Quilt - Free Quilting Tutorial?
In the olden days, bazaars were held to raise funds for schools, churches, and causes. The ladies of the community baked. They embroidered. They quilted. They bought and sold handmade goods. And in the process, they changed the world. This week, Jenny Doan is making the Summer...
How long is the tutorial video?
The tutorial video is 00:07:59.
Are supplies listed for this tutorial?
Yes. The tutorial page includes the supplies and materials connected to this project.
Is a transcript available?
Yes. A written transcript is available on the tutorial page.
Video Transcript
Hi everybody, it's Jenny from the Missouri Star Quilt Co. Are you ready for a super easy, quick project? Well, I've got one for you. This is all based on our tumbler, our five and our 10- inch tumbler. Take a look at this quilt behind me. Isn't this fun? Now, this is done in solids, but I've done it in Christmas. Think of it in Halloween. I mean, if you want a quick, easy quilt, this is the one for you. Let me show you how to do this.
To make this quilt, you're going to need two packages of 10-inch squares, and we have used these beautiful Kaffe Fassett shot cottons from FreeSpirit Fabrics. You're also going to need some backing. You'll notice no border on here, but for the backing, you're going to need five yards. Then your binding, you'll need three quarters of a yard, and we use this little stripe. Isn't it cute? You're also going to need a five and a 10-inch tumbler template. Let me show you how to do this. It's super easy.
This is a quilt you may have seen before. We've had it patterned for quite a few years. It's called Summer Bazaar, but we never did a tutorial on it. I thought for all of you out there who want a quick, easy quilt or you're a beginner and you want something easy to do, this is a perfect quilt for you to start at, especially if you want to try out a template. I'm going to show you how to do that right now.
You'll need 54 big tumblers, and you'll just go through your pack and pick whichever ones you want. Let me show you how easy it is to cut with ours. Now, our templates are made for the pre-cuts, and so it's just perfect when you line them on here, they fit on their corner to corner, and you're literally only cutting off these little bits on the side right here, just like this and just like this.
Now, if you can't switch hands like that, use a rotating mat and just flip it around. It'd be so easy. Anyway, we're going to stack those up. For the small tumbler, you're going to cut them out of the same layer cakes. I'm going to grab a different color here, maybe this blue right here. What I like to do is I like to fold them in fourths, and I'm going to cut four at a time. Again, they're made for the pre-cuts. This is made for a charm square, which is a quarter of a layer cake.
I've got this folded into fourths, and I'm going to go ahead and just trim off this right here. Then I'm going to trim off this right here. See, it's so little waste. I have a fold down here, so I'm just going to slide it in just a hair and I'm going to trim that off right there, just like that.
After you pick your 54 tumblers, the rest will all get cut into the five-inch size. What we're going to do, you can see on here, we have one row of the big tumblers sewn together and they're easy. All right, so let's take a look at putting these together. The good thing about a shot cotton is that it doesn't have a right or wrong side. We're just going to lay these together and we're going to match this point as close as we can with the other point, keeping them just as close together as we can get them.
Then we're going to sew right down the side like this and we're going to make a row of these, just like this. Now, let's see how we did. It doesn't have to be perfect, but it should be close. That came out really close. All right, let's press this. Then when you go to add the next one, you're going to do the same thing. You're going to lay it on here, you're going to fold it over and you're going to line this up, this point to this one and this point to this one, just as close as you can get them to those points. Again, just so a quarter of an inch.
Then we'll press this open and then let me show you how it fits into the quilt. This one, they started with one coming in like this, and see how it just fits right in there? You'll notice that this part over here is straight. What we did when we got the whole quilt together, we just straightened out the edges and by doing that, what I did was I just took a regular ruler and I laid it on the edge like this. I straightened up my top, I made sure the top of my ruler right here went right along the top. This one stays right along that line.
Then you can just trim this off and this gives you your edge of the quilt, how to start your first row right there on that edge. Now, let's look at the quilt because there are 1, 2, 3, 4, 5, 6, 7, 8, 9 of these. Again, you're going to trim off this edge as well. Then we get to the little ones. There's nine of the big ones in a row, and then two rows of little ones, two rows of big, two rows of little, two rows of big. That's just easy. It's just how it goes.
Let's look at the small ones. The small ones, what we're going to do with those is the same thing. We're going to sew those together, just make a row of them, and we're going to sew the two rows together. Let me get a couple of different colors here. Again, I like to lay them out and just see what we're looking at. You're going to lay them out here, you're going to sew them right together, and we're going to do two rows of these. When you put them together, you want to put them opposite. This one goes up, that one goes down up like that. Then they come together.
Let's sew a couple of these so you can see how to do that and we're again, we're just going to line them up as exactly as we can get them point to point. We'll add another one on here just like this. You do that a few more times and you've got a row. Isn't that cute? I just love these. I love how quick and easy this is. You'll make a whole row of those.
Let's count how many are in this row. We've got 1, 2, 3, 4, 5, 6, 7, 8, 9, 10, 11, 12, 13, 14, 15, 16, 17, 18, 19, 20. So 20 in each row and you're going to do the same thing that you did before. Once you get your two rows, just come in here like this and trim those off straight so they match the other rows. That's how easy that is. I mean, it's just quick and easy. You sew it together, you make rows and you're going to feel so accomplished.
There's 20 blocks in these and you're going to want to line these up pretty good. But when you go to sew these into the big rows, there's no seams to line up. That is very simple. But you will want to watch when you're sewing your two rows of small ones together and make sure that these little junctions line up with each other.
Now, the quilt is a pretty big quilt. It is 65 by 84. I want to show you the back, because look at this back. Is this not a happy back or what? Look at that beautiful Kaffe fabric. It's just gorgeous. I think it's often really fun if you have a plain front to do a fancy back. I think that's really fun. The quilting pattern on this, which I think really shows off well, is called Meandering Squares, and it's a very modern pattern and really fun. But like I said, I can see this quilt in just almost any fabric you can think of. I hope you enjoy this tutorial on the Summer Bazaar Quilt, from the Missouri Star Quilt Co.
Hi everybody, it's Jenny from the Missouri Star Quilt Co. We hope you enjoyed watching this video. If you aren't already part of the Missouri Star Quilt Company family, be sure to subscribe so you won't miss a thing. If you click that bell, it'll notify you every time a new tutorial comes out. See you next Friday.



